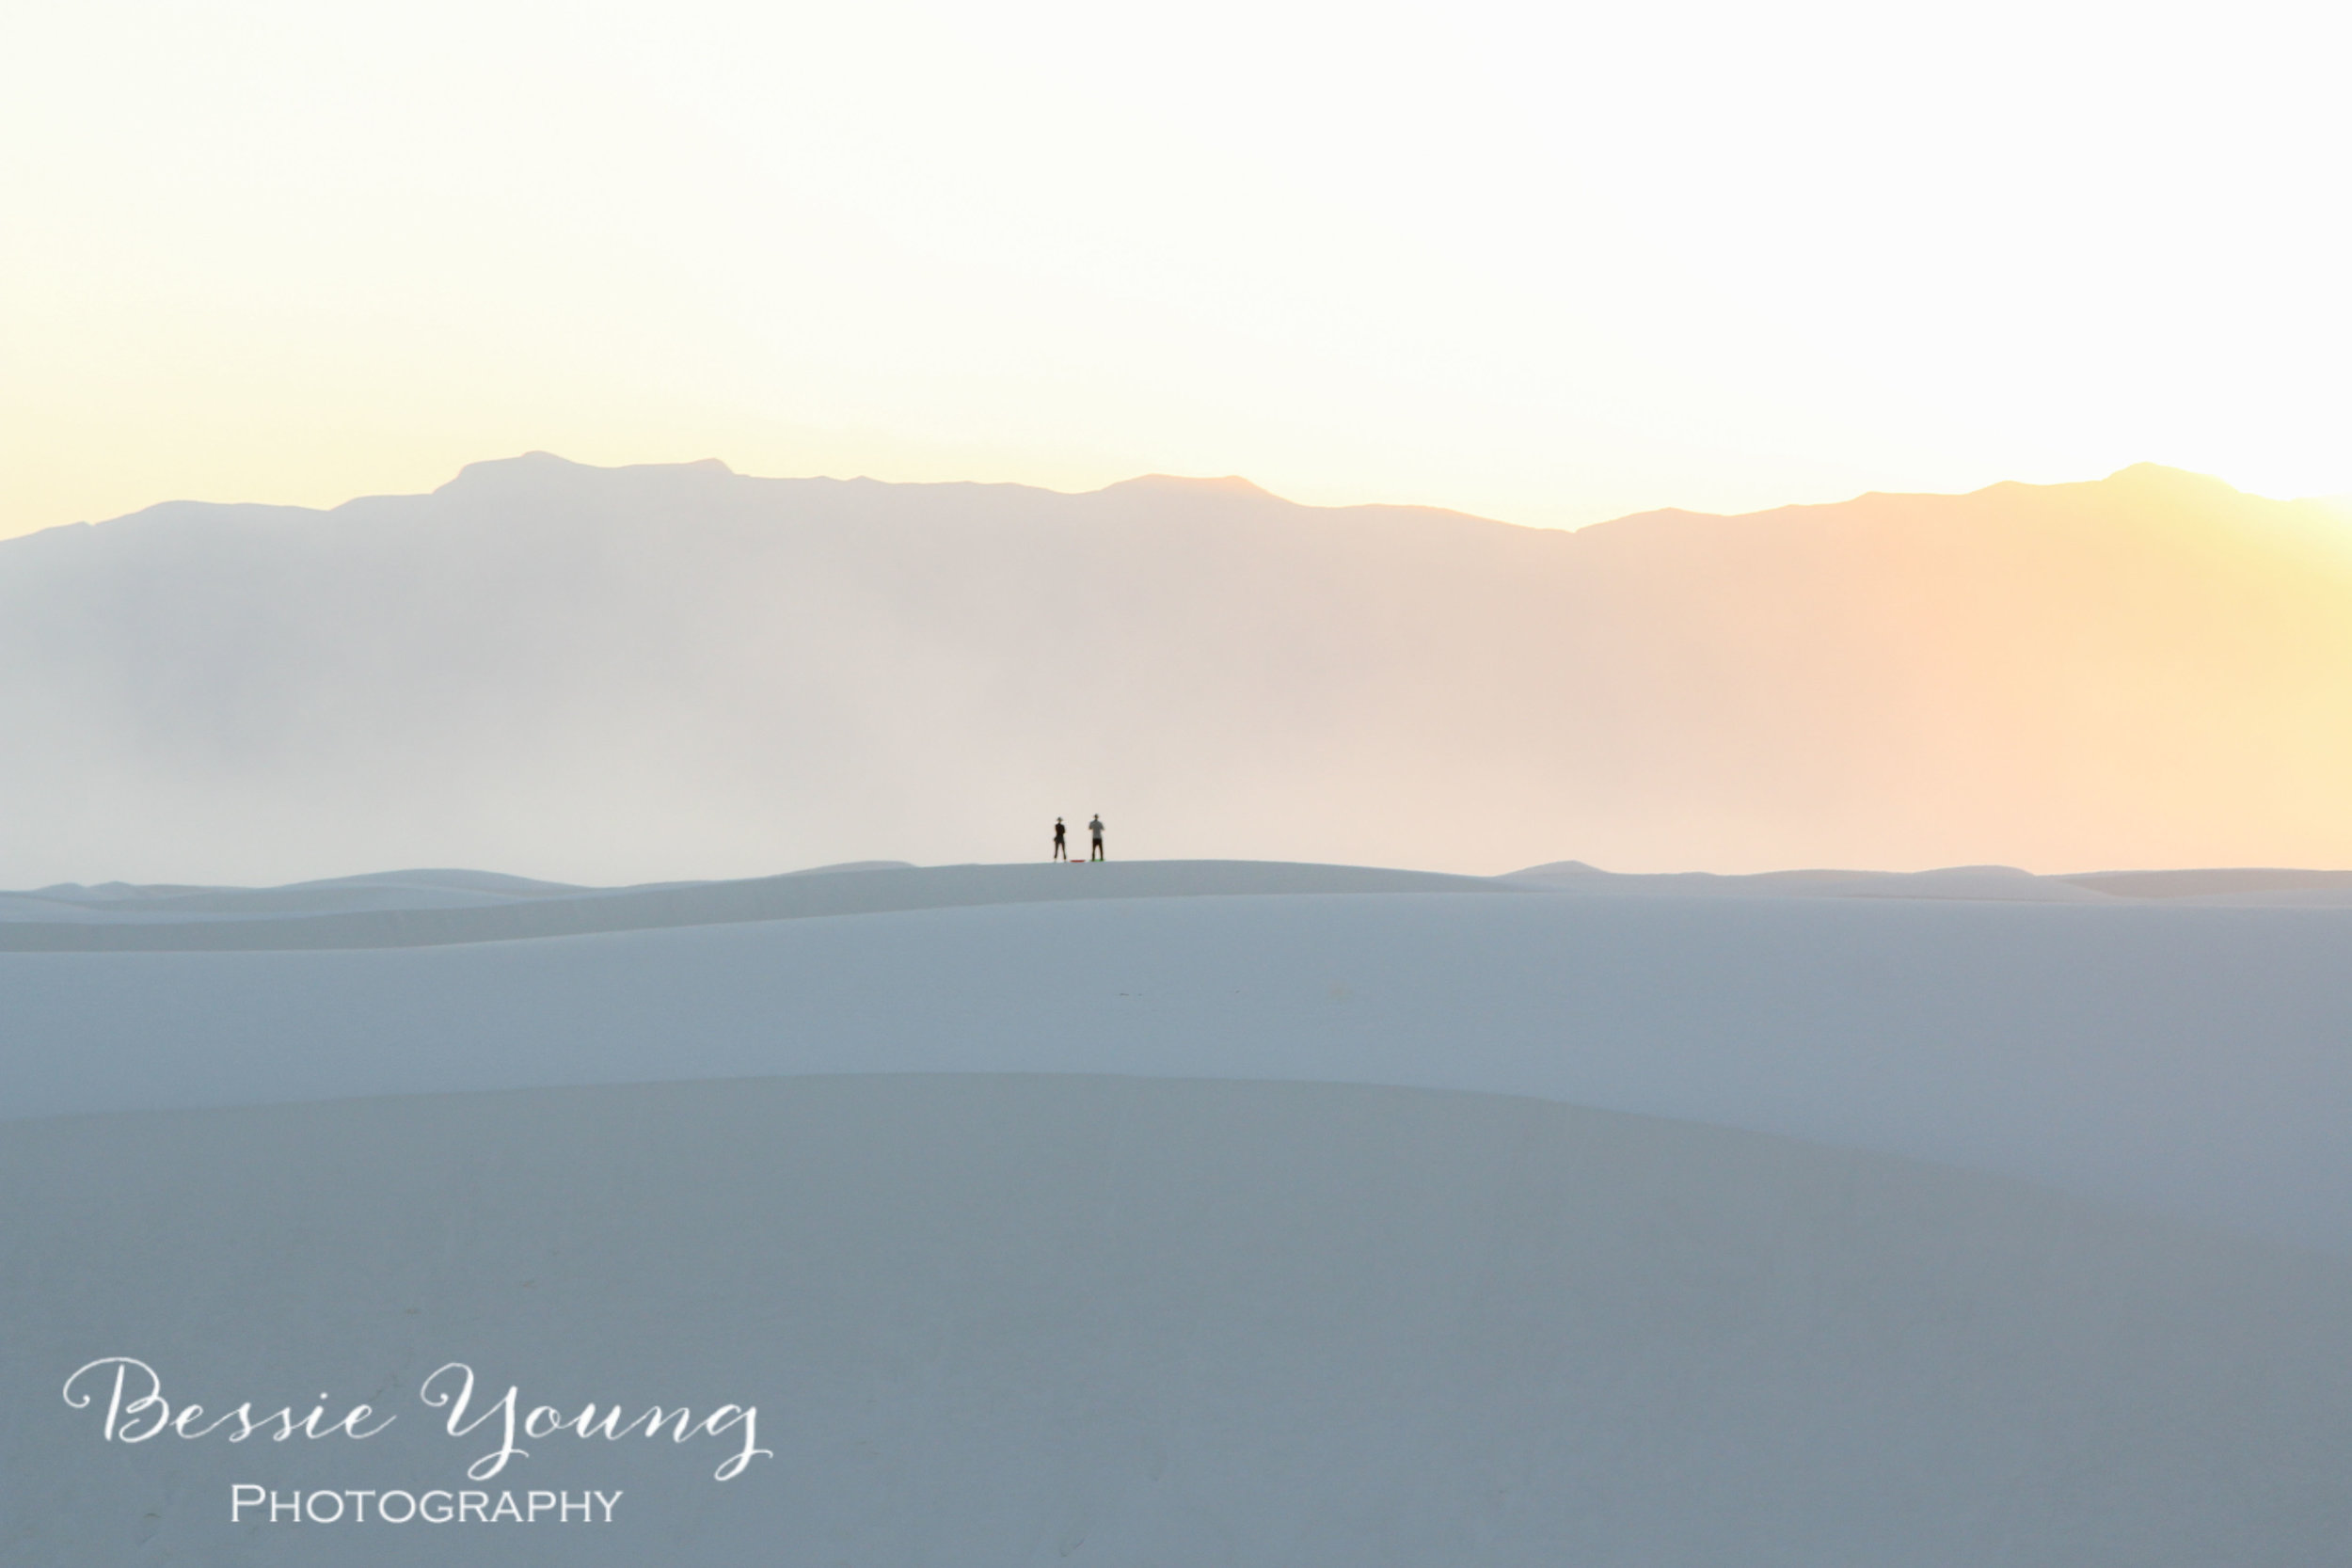
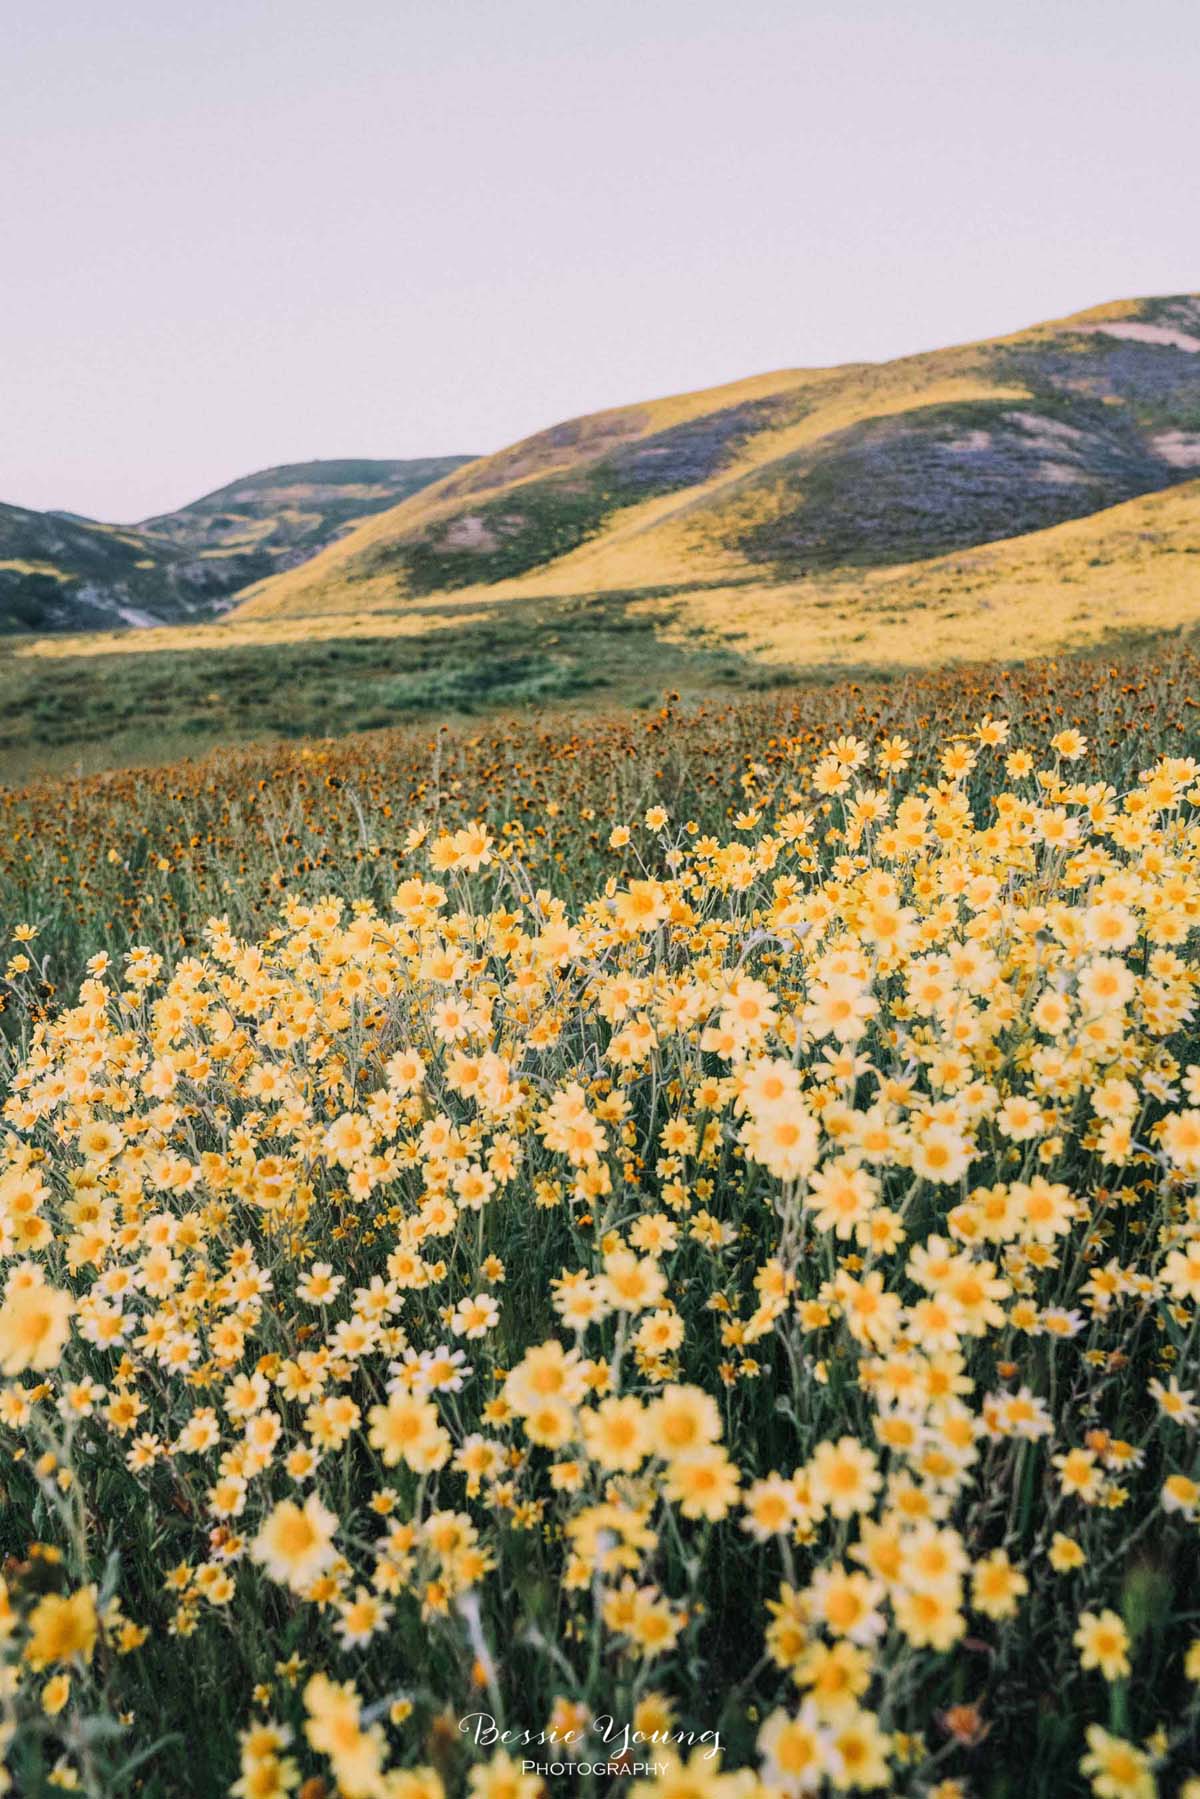
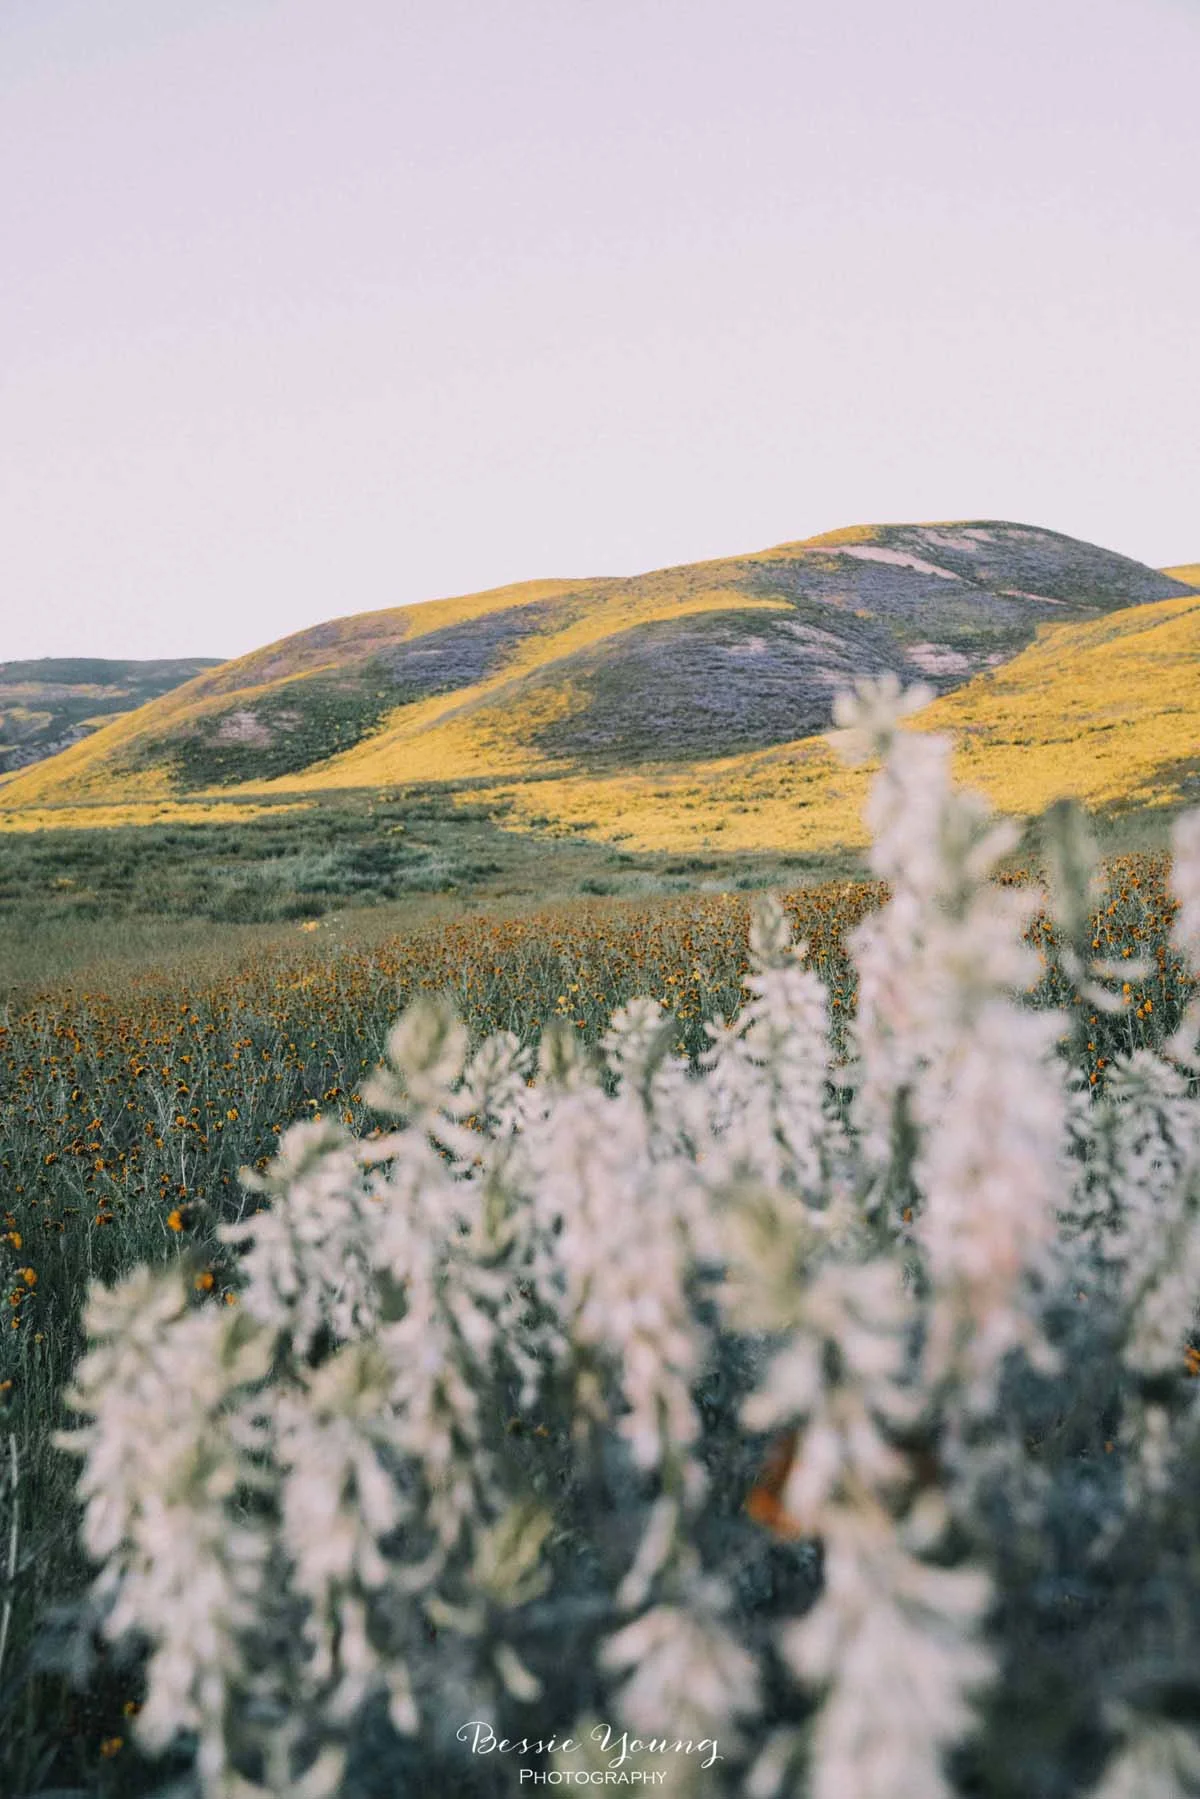
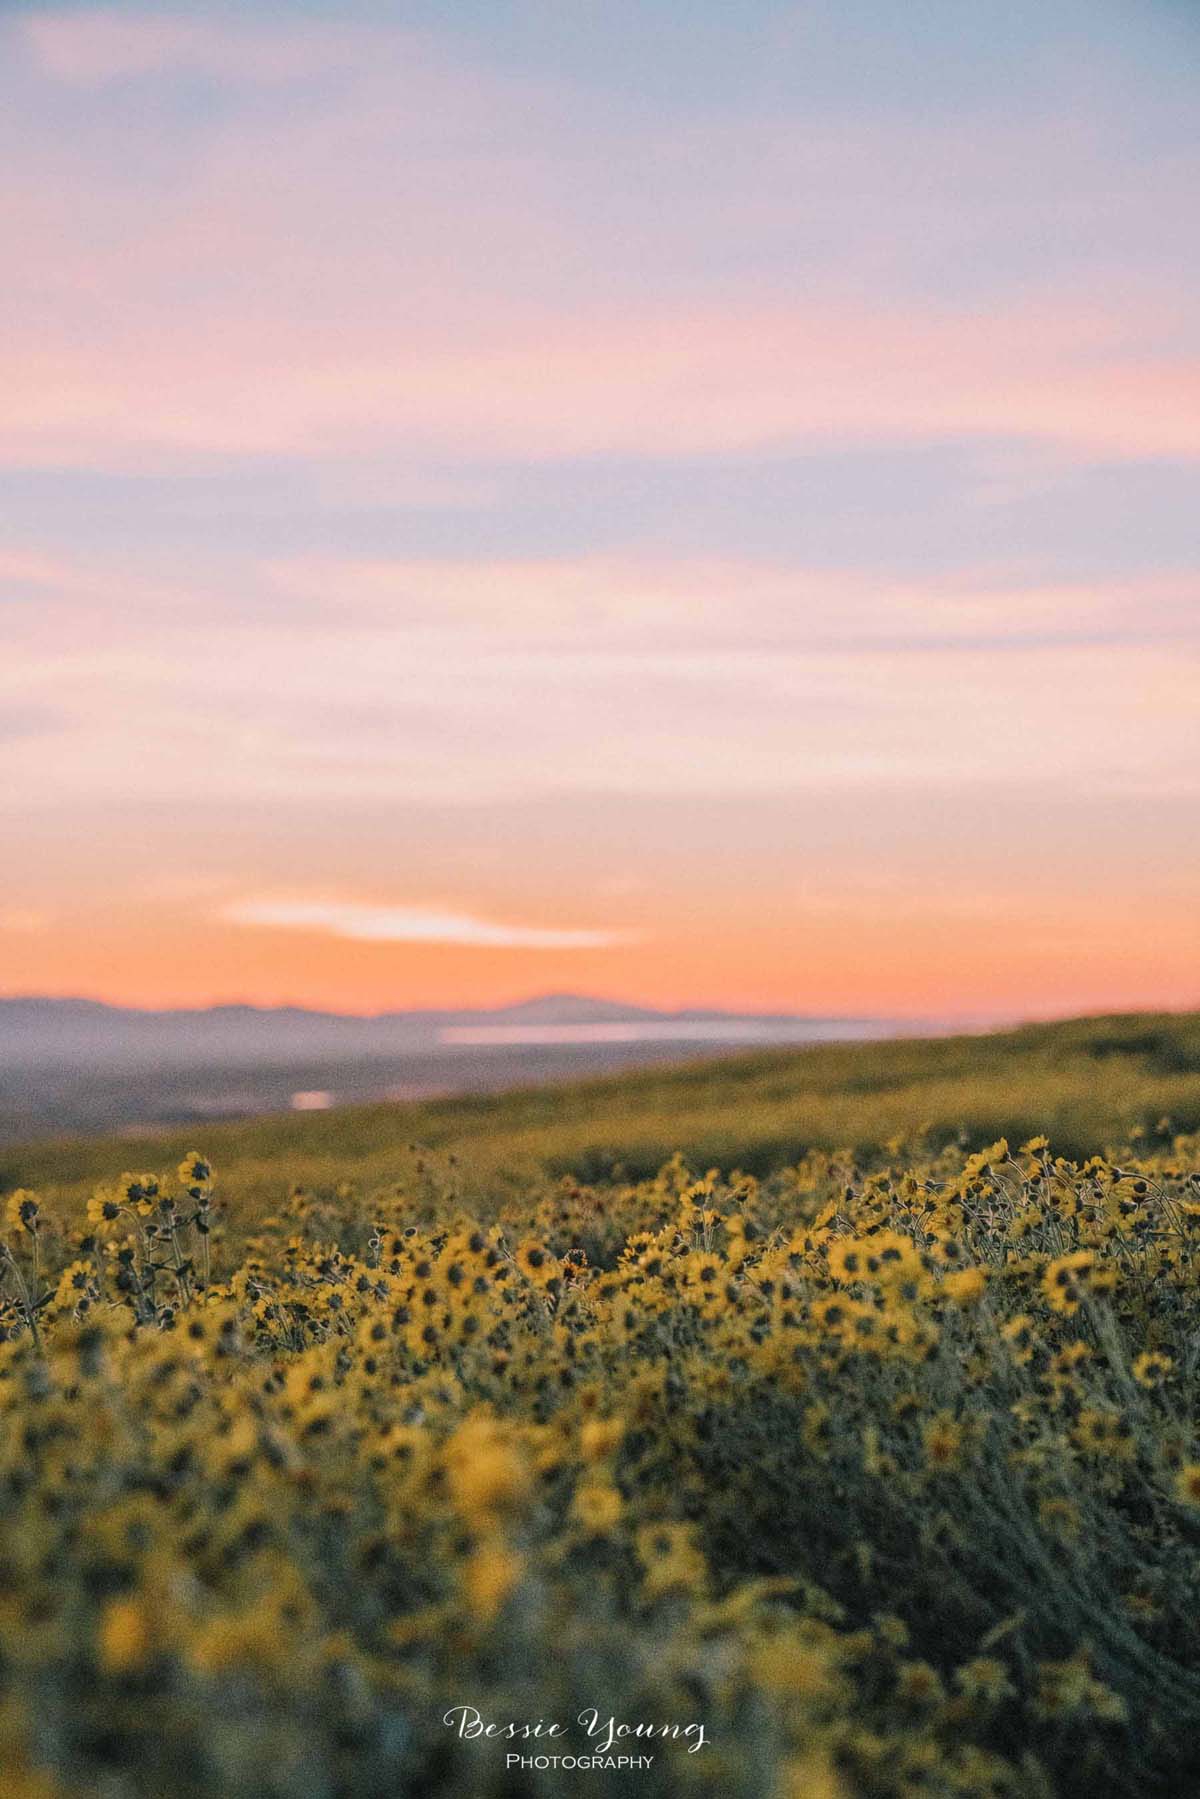
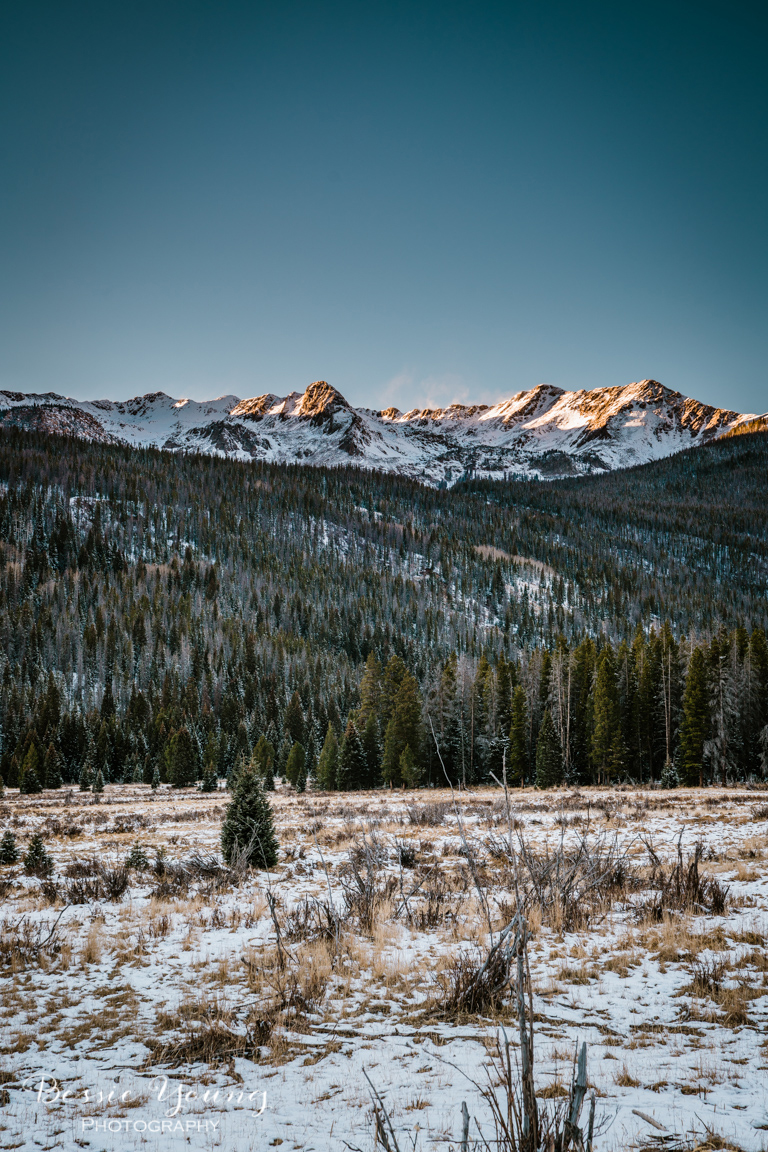
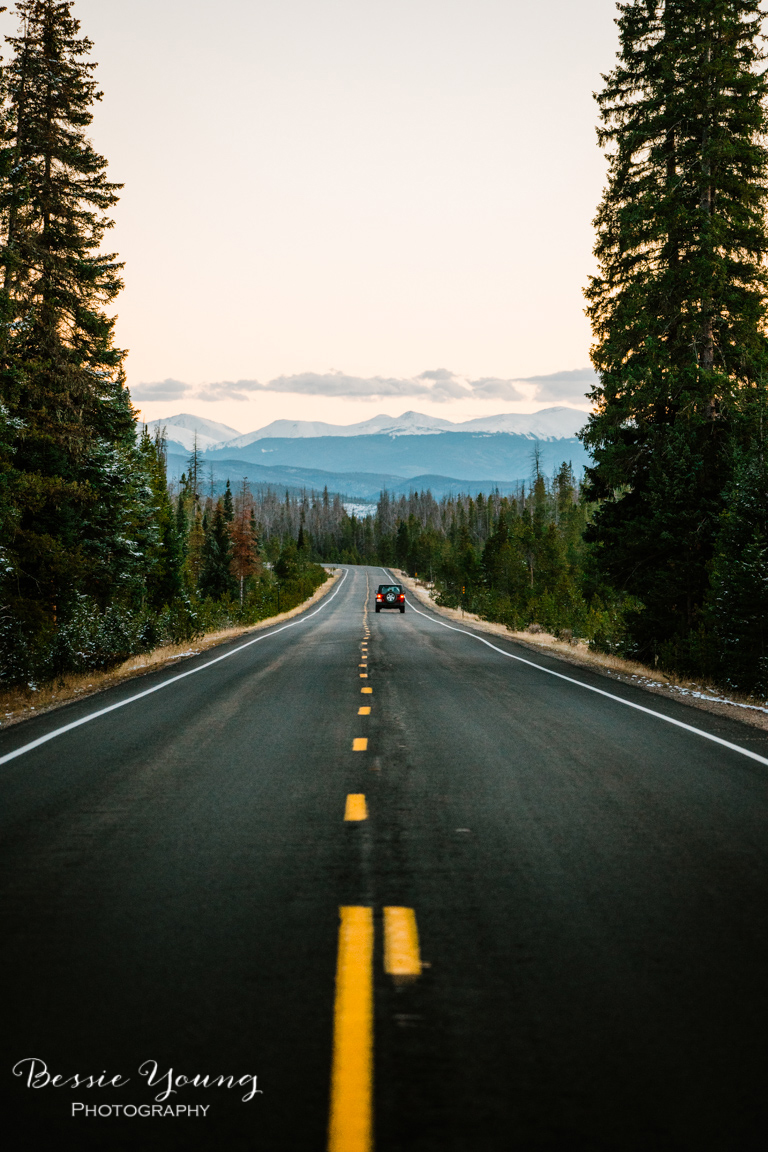
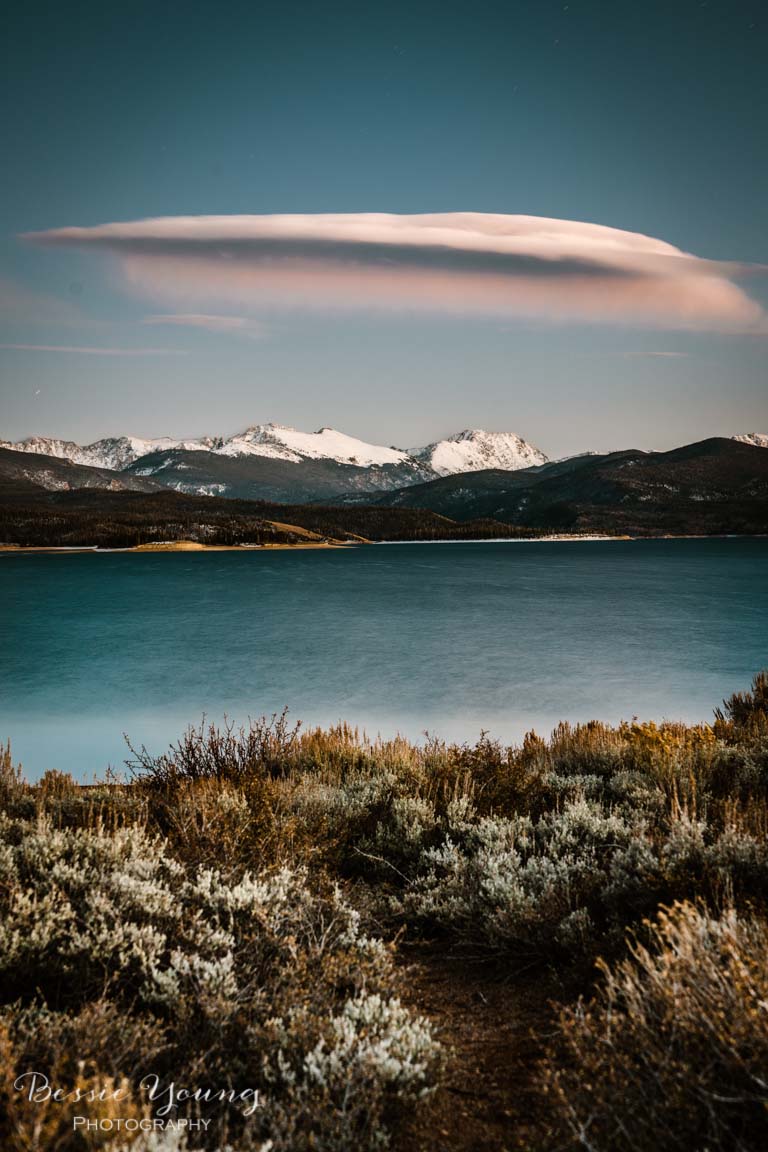
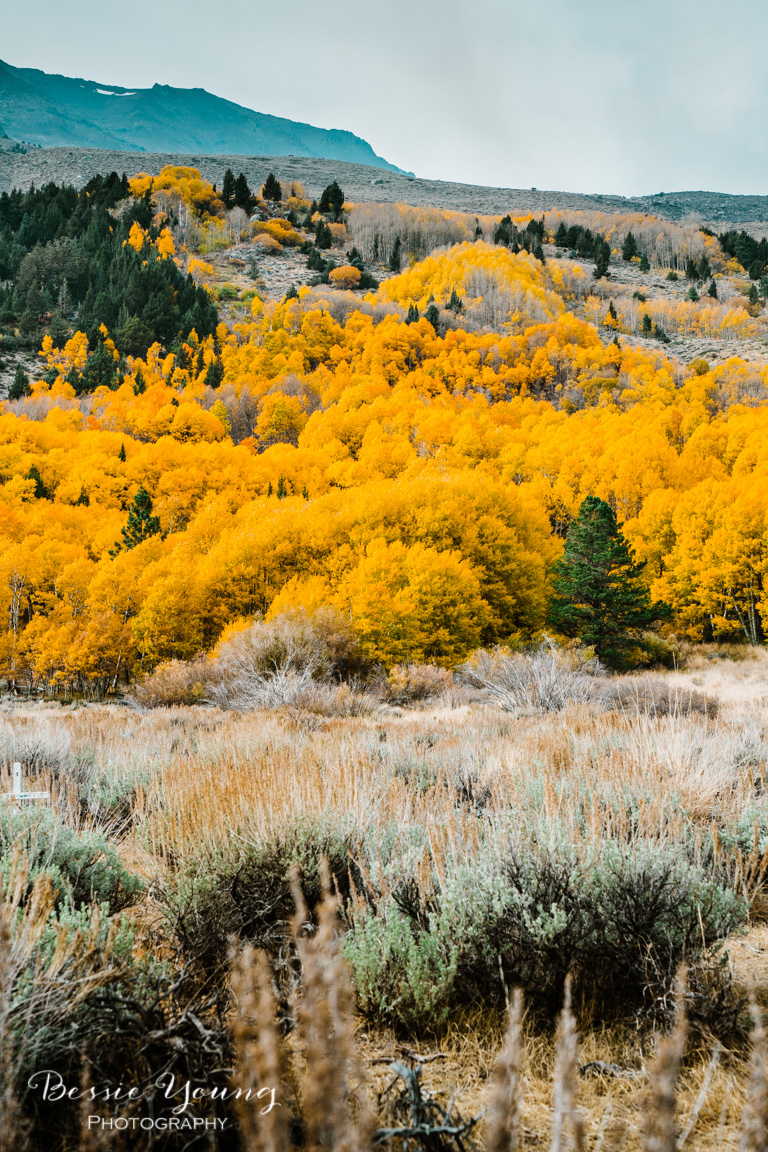
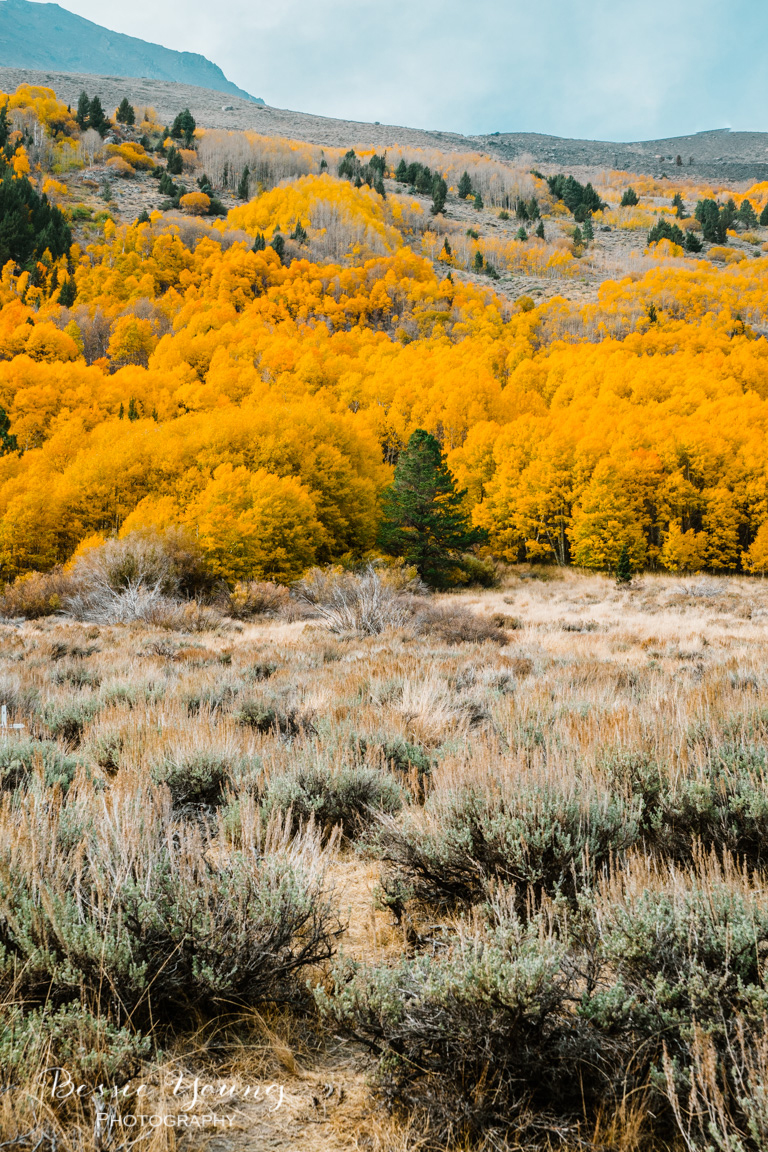
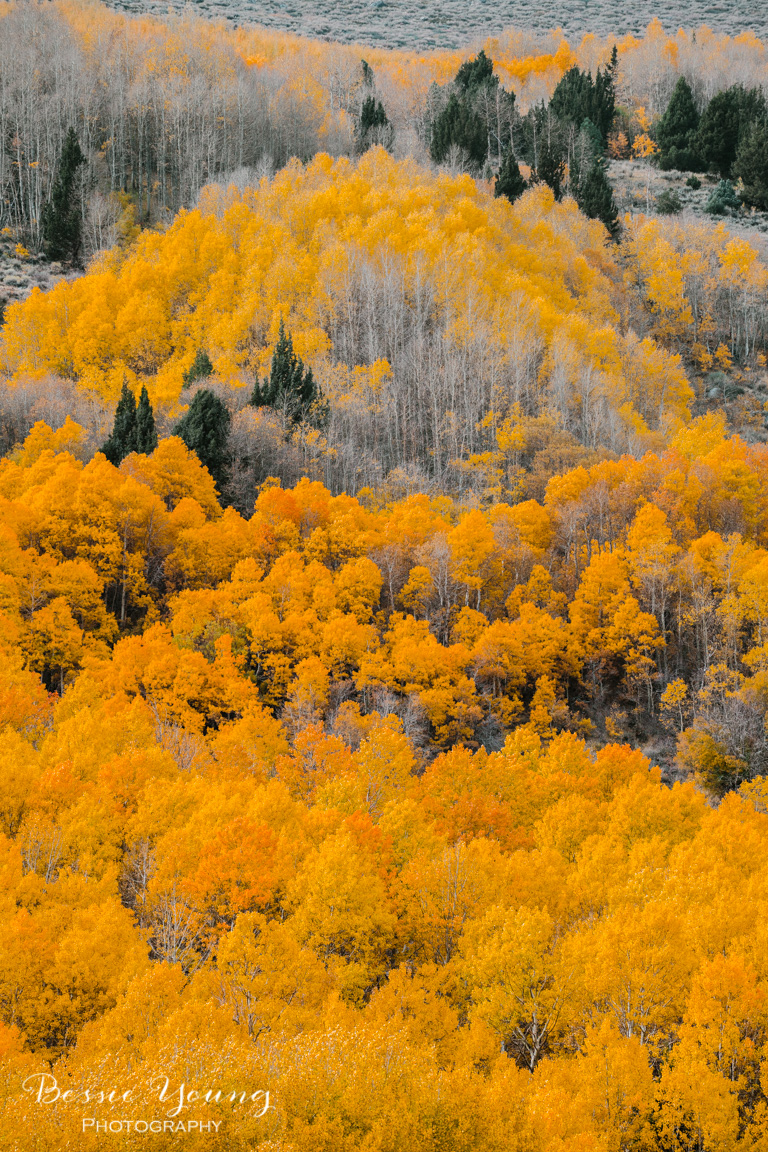
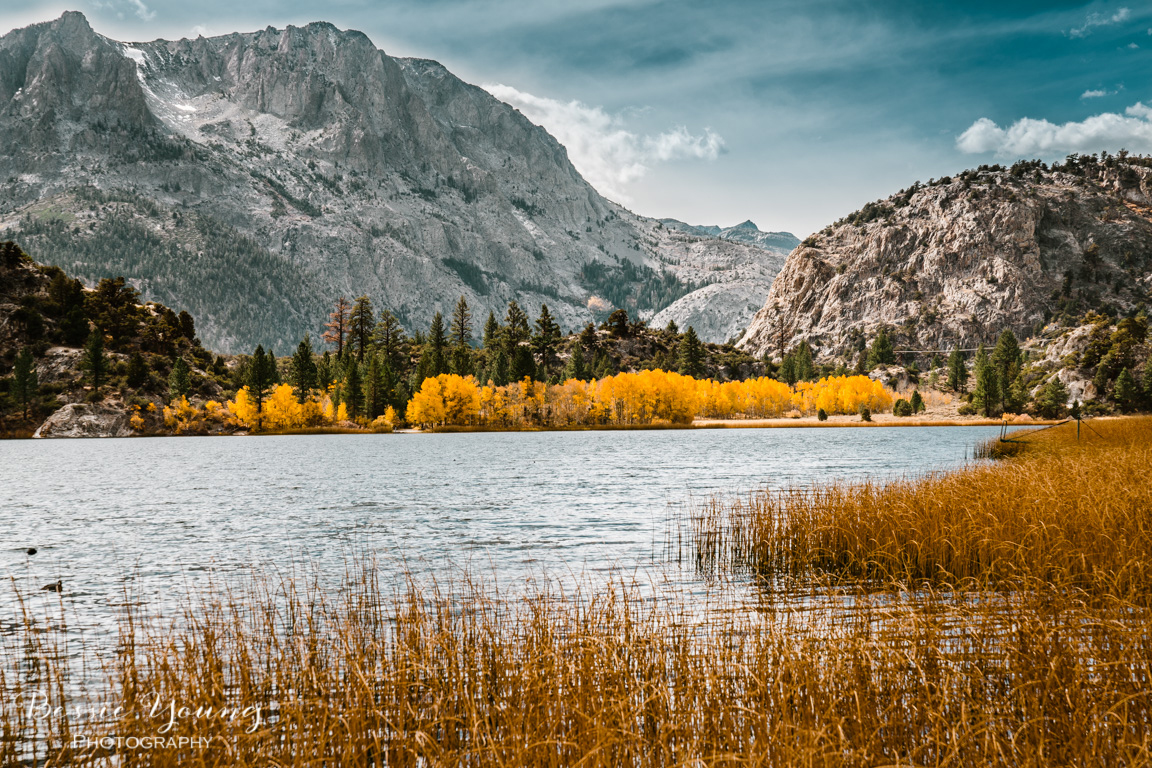
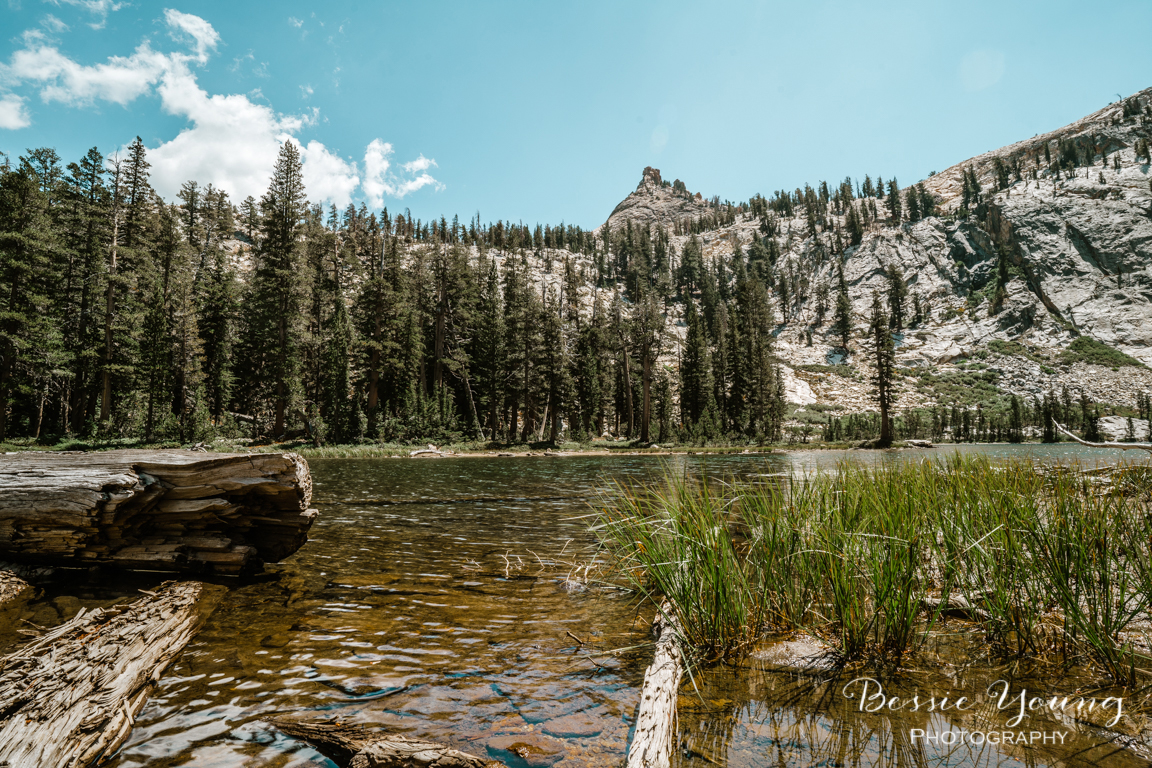
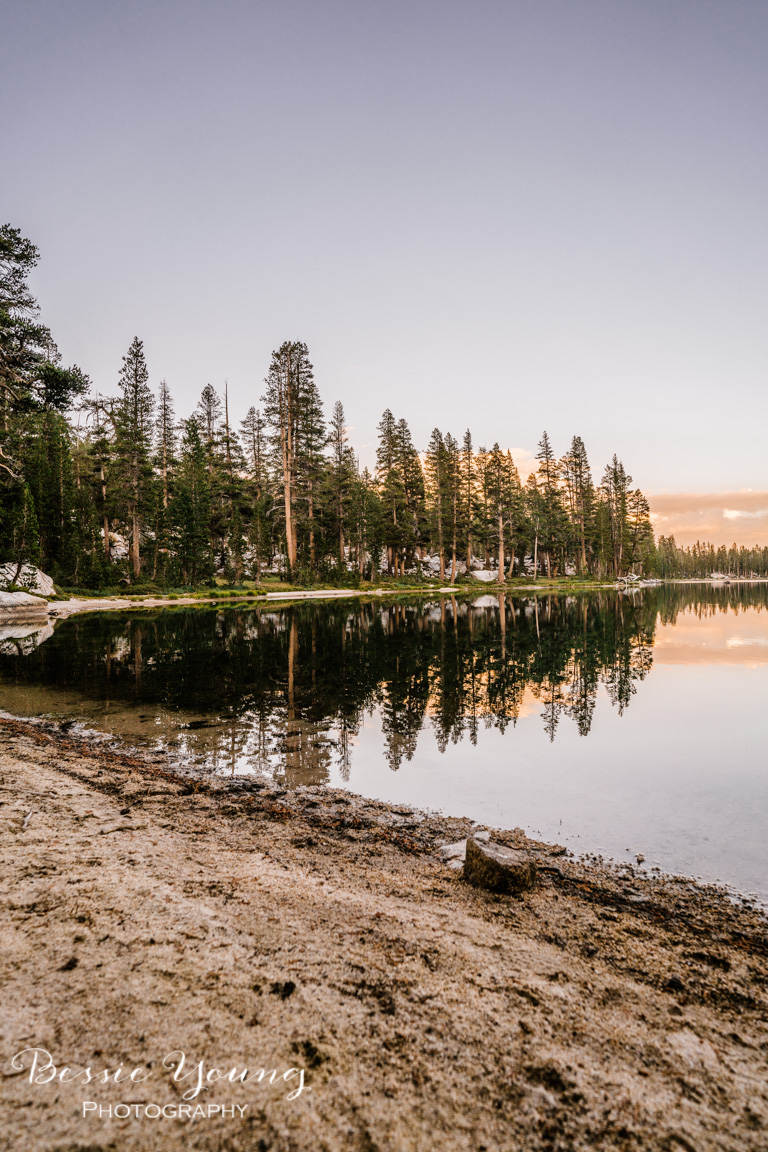
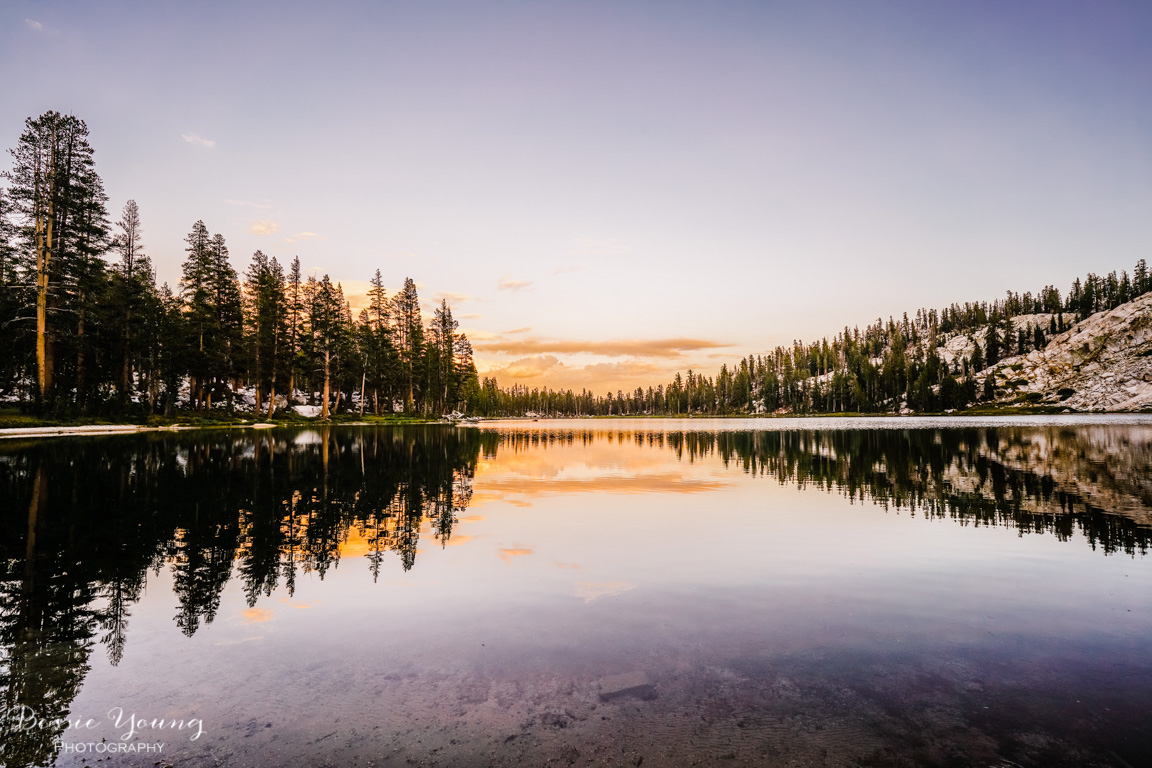
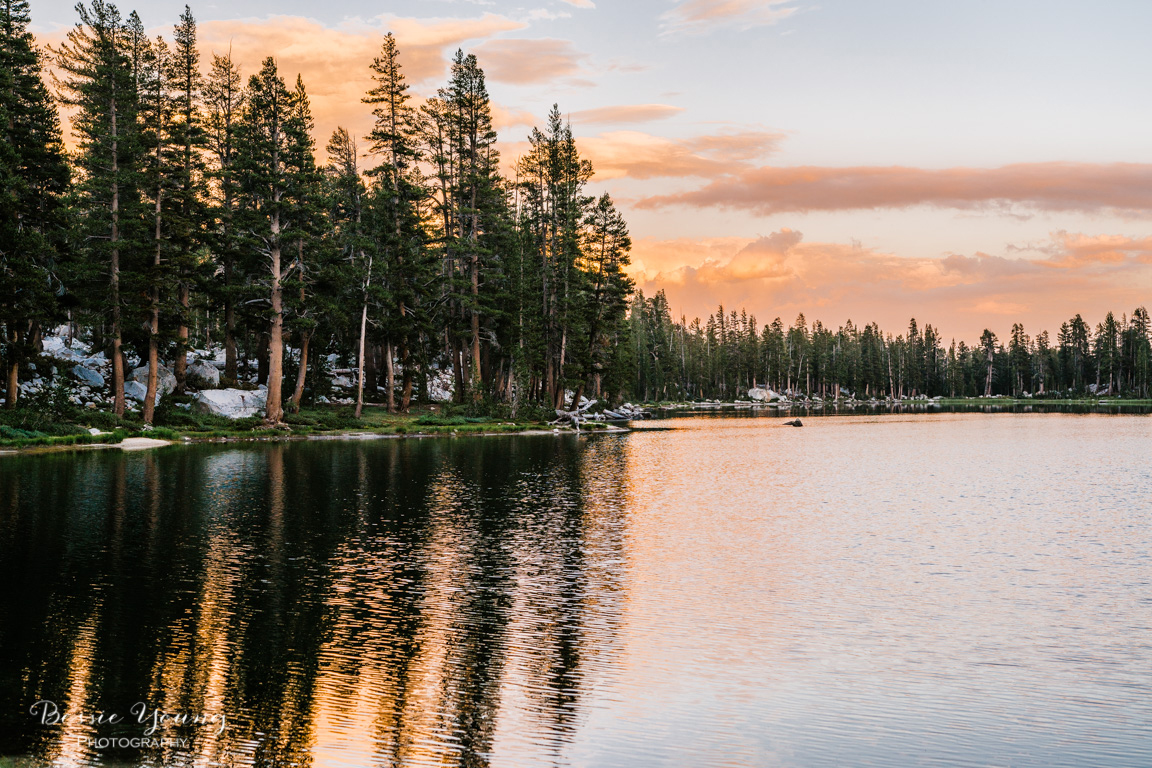
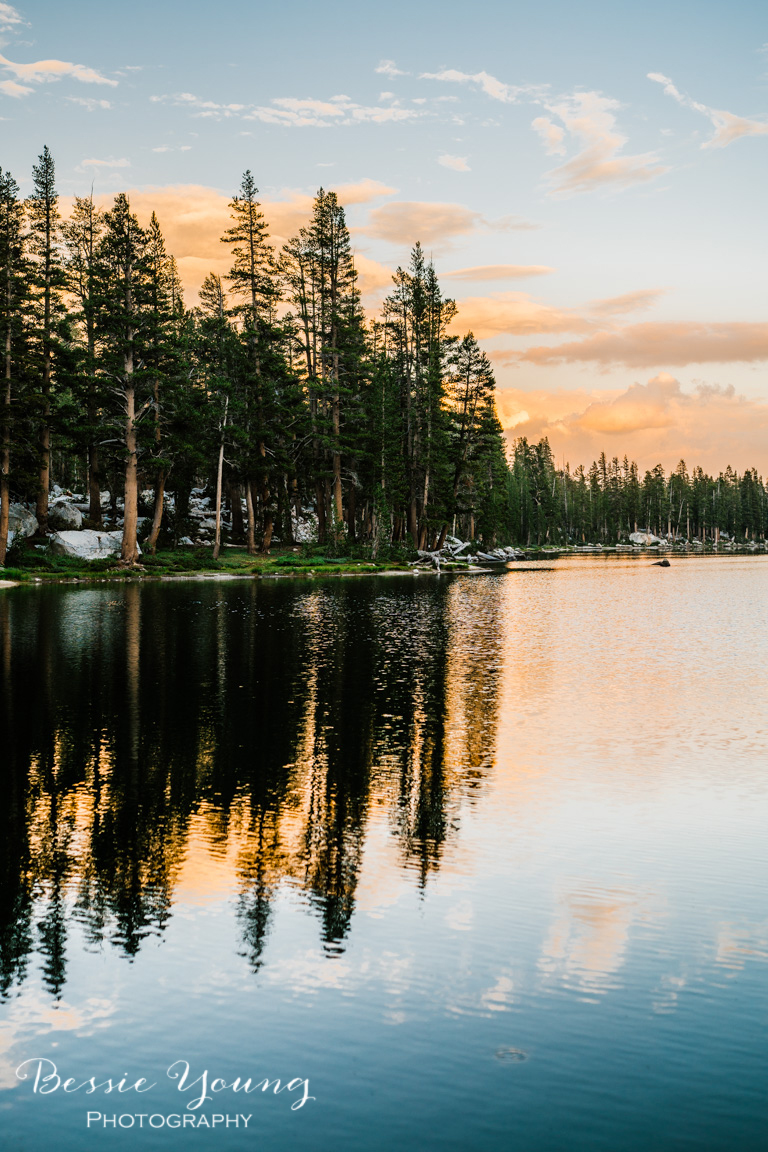
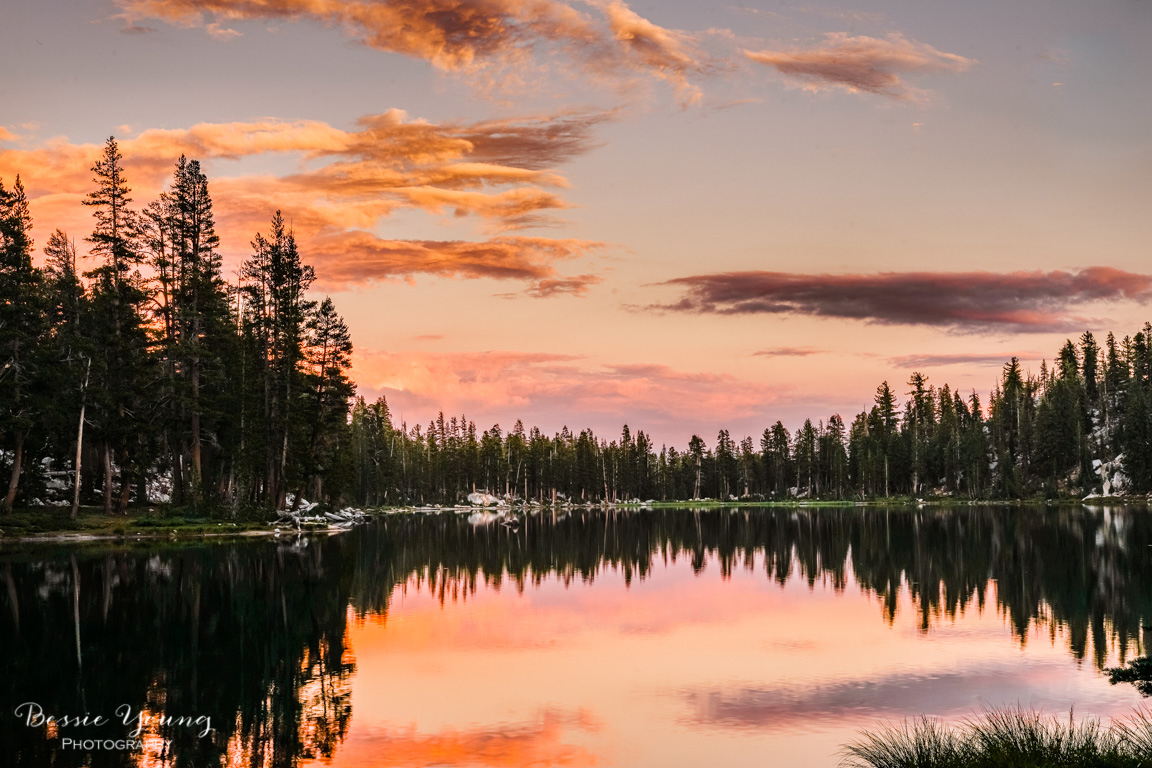
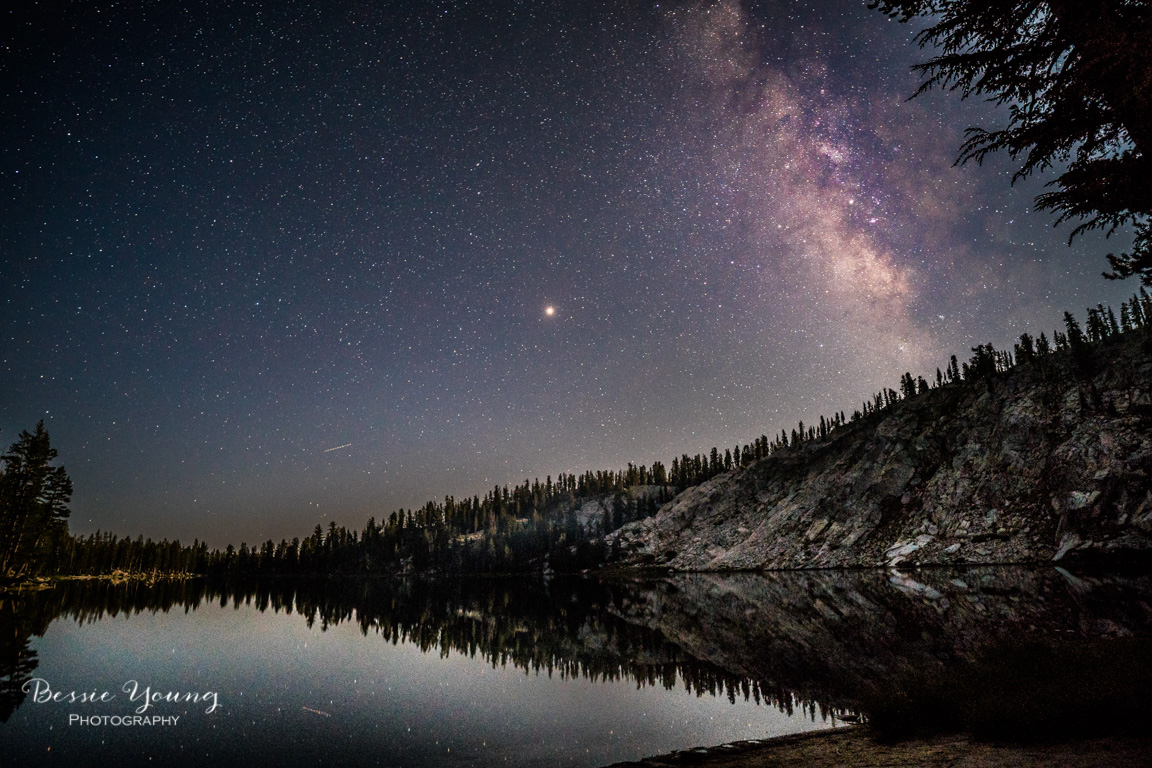
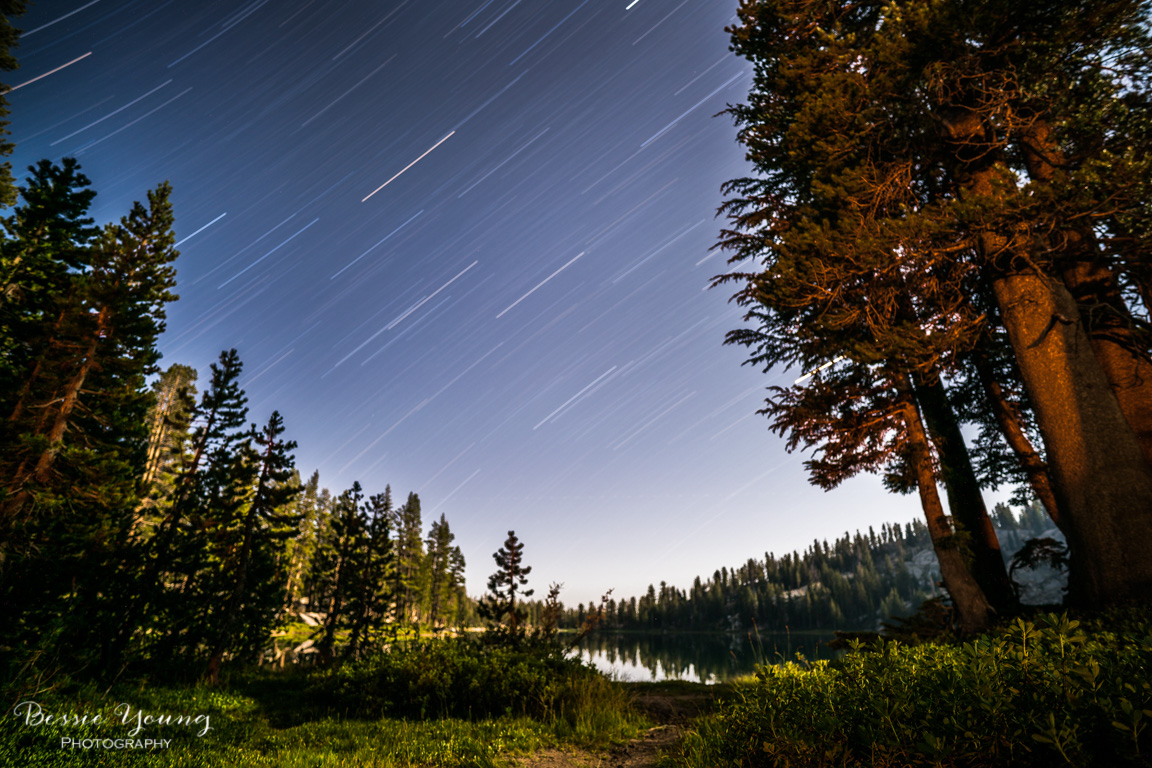
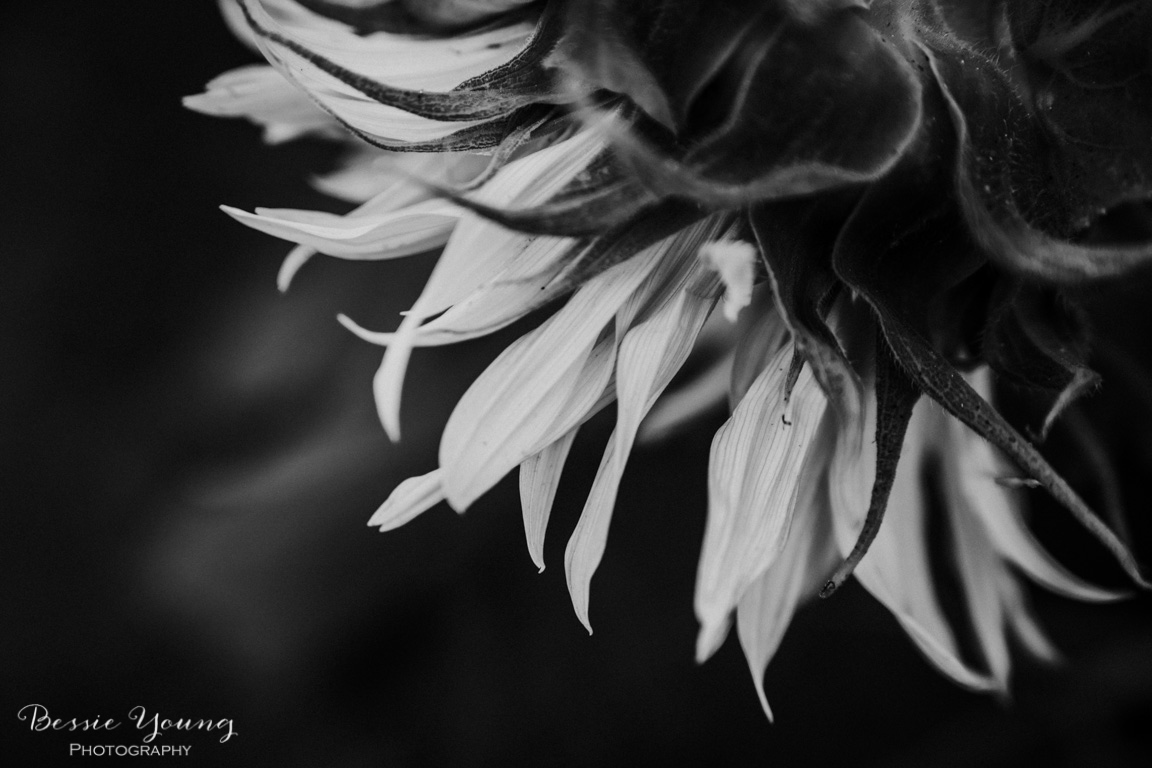
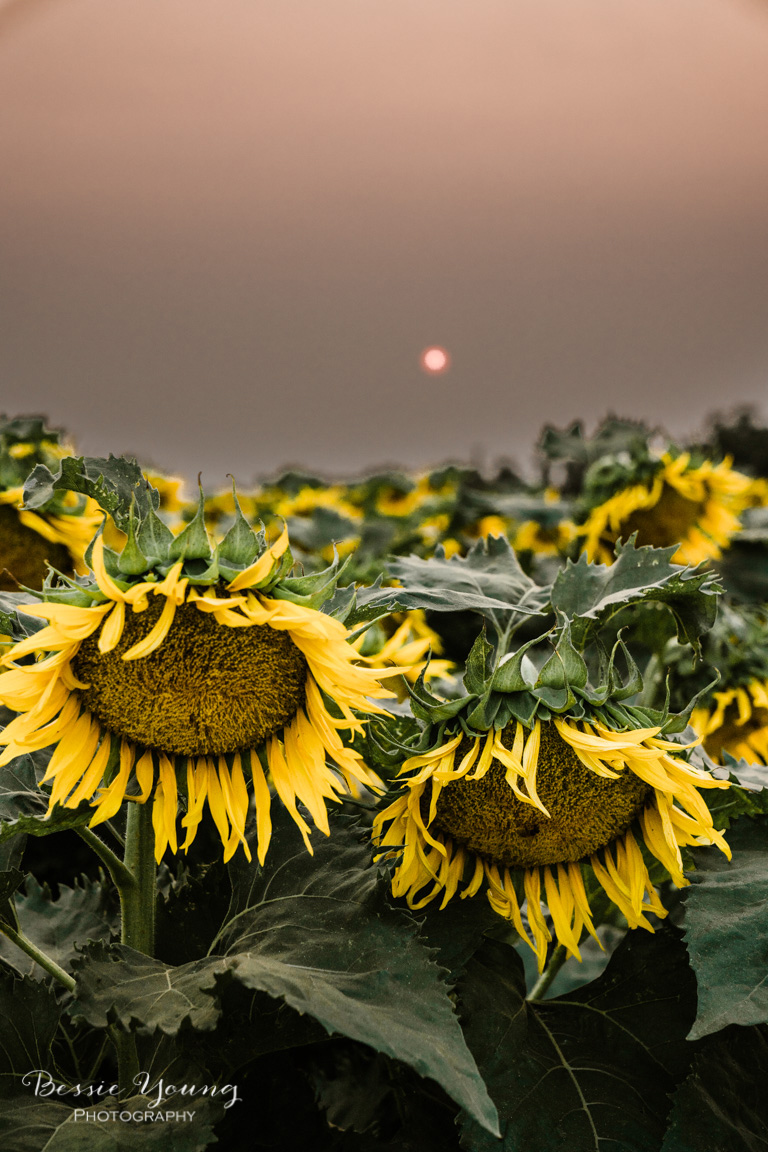
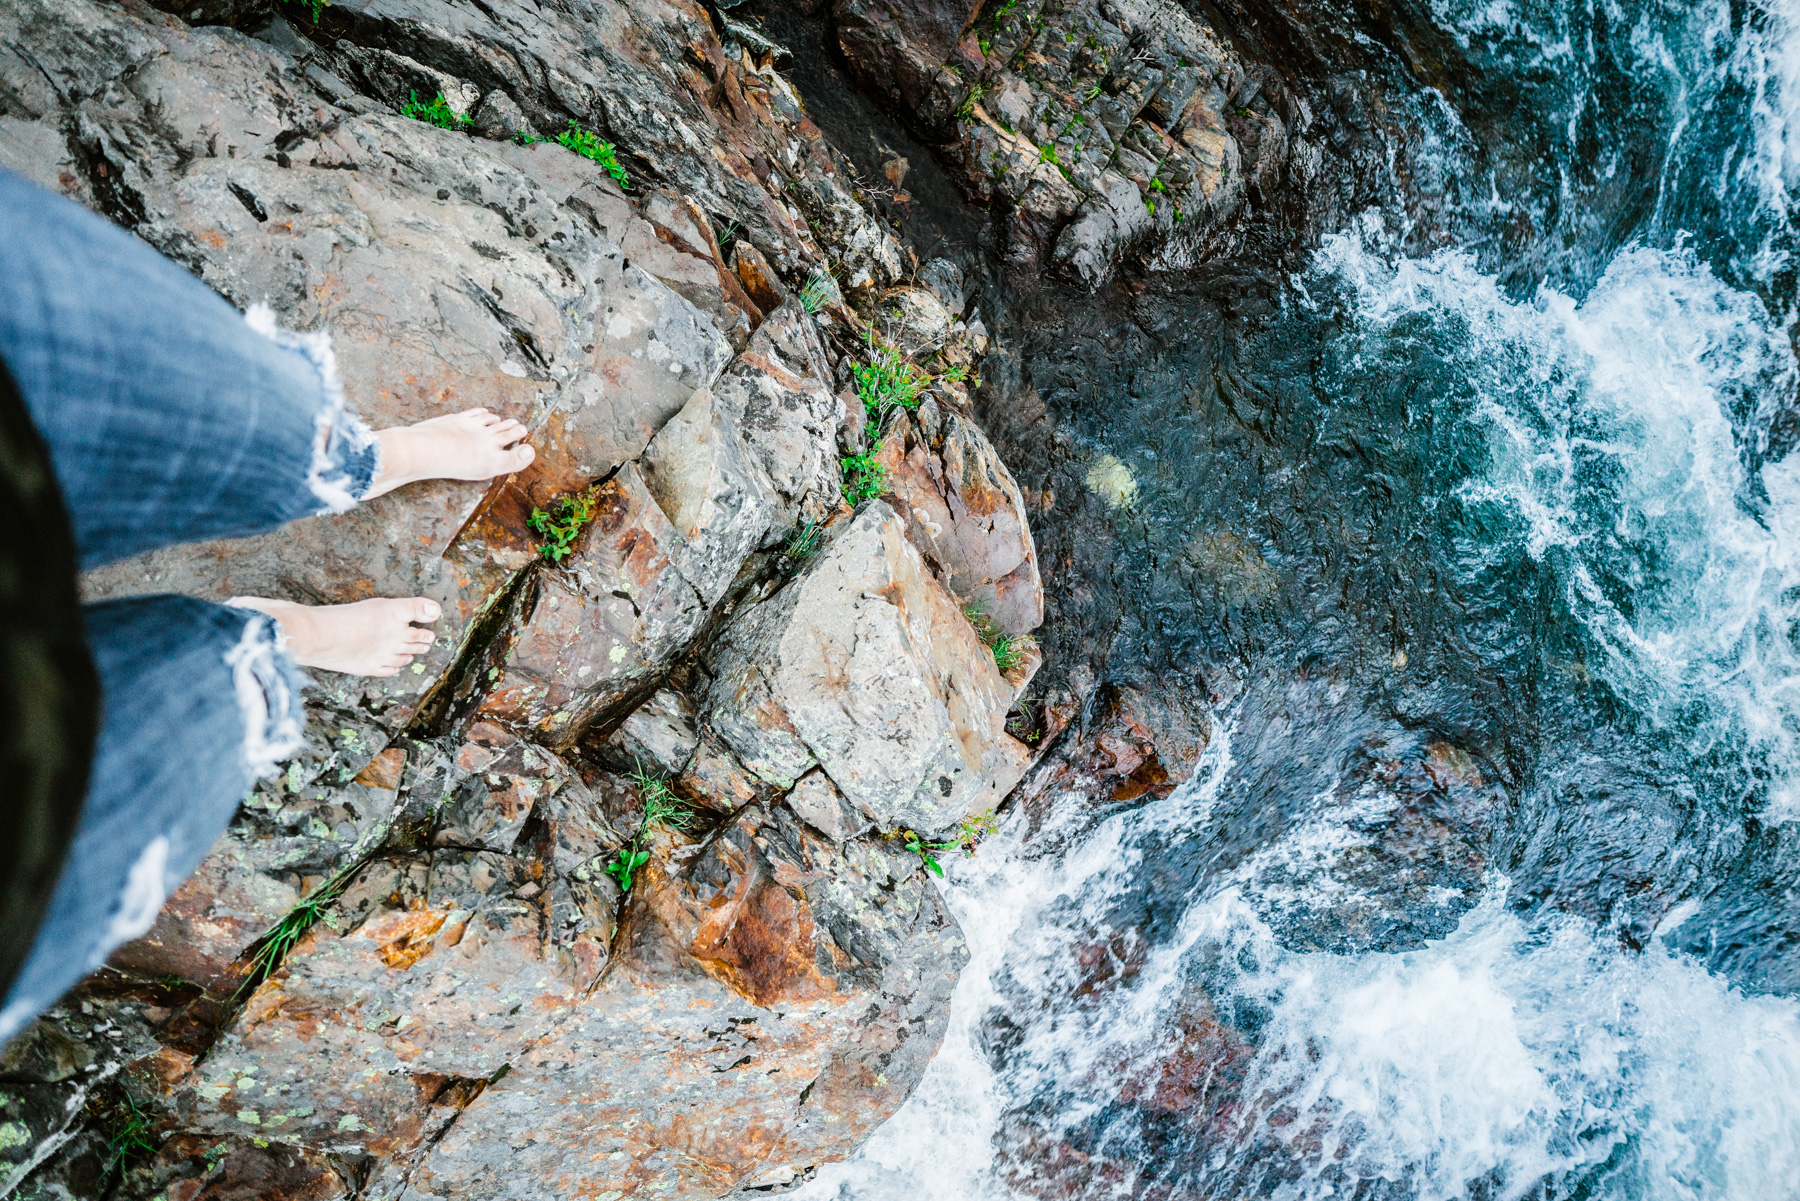
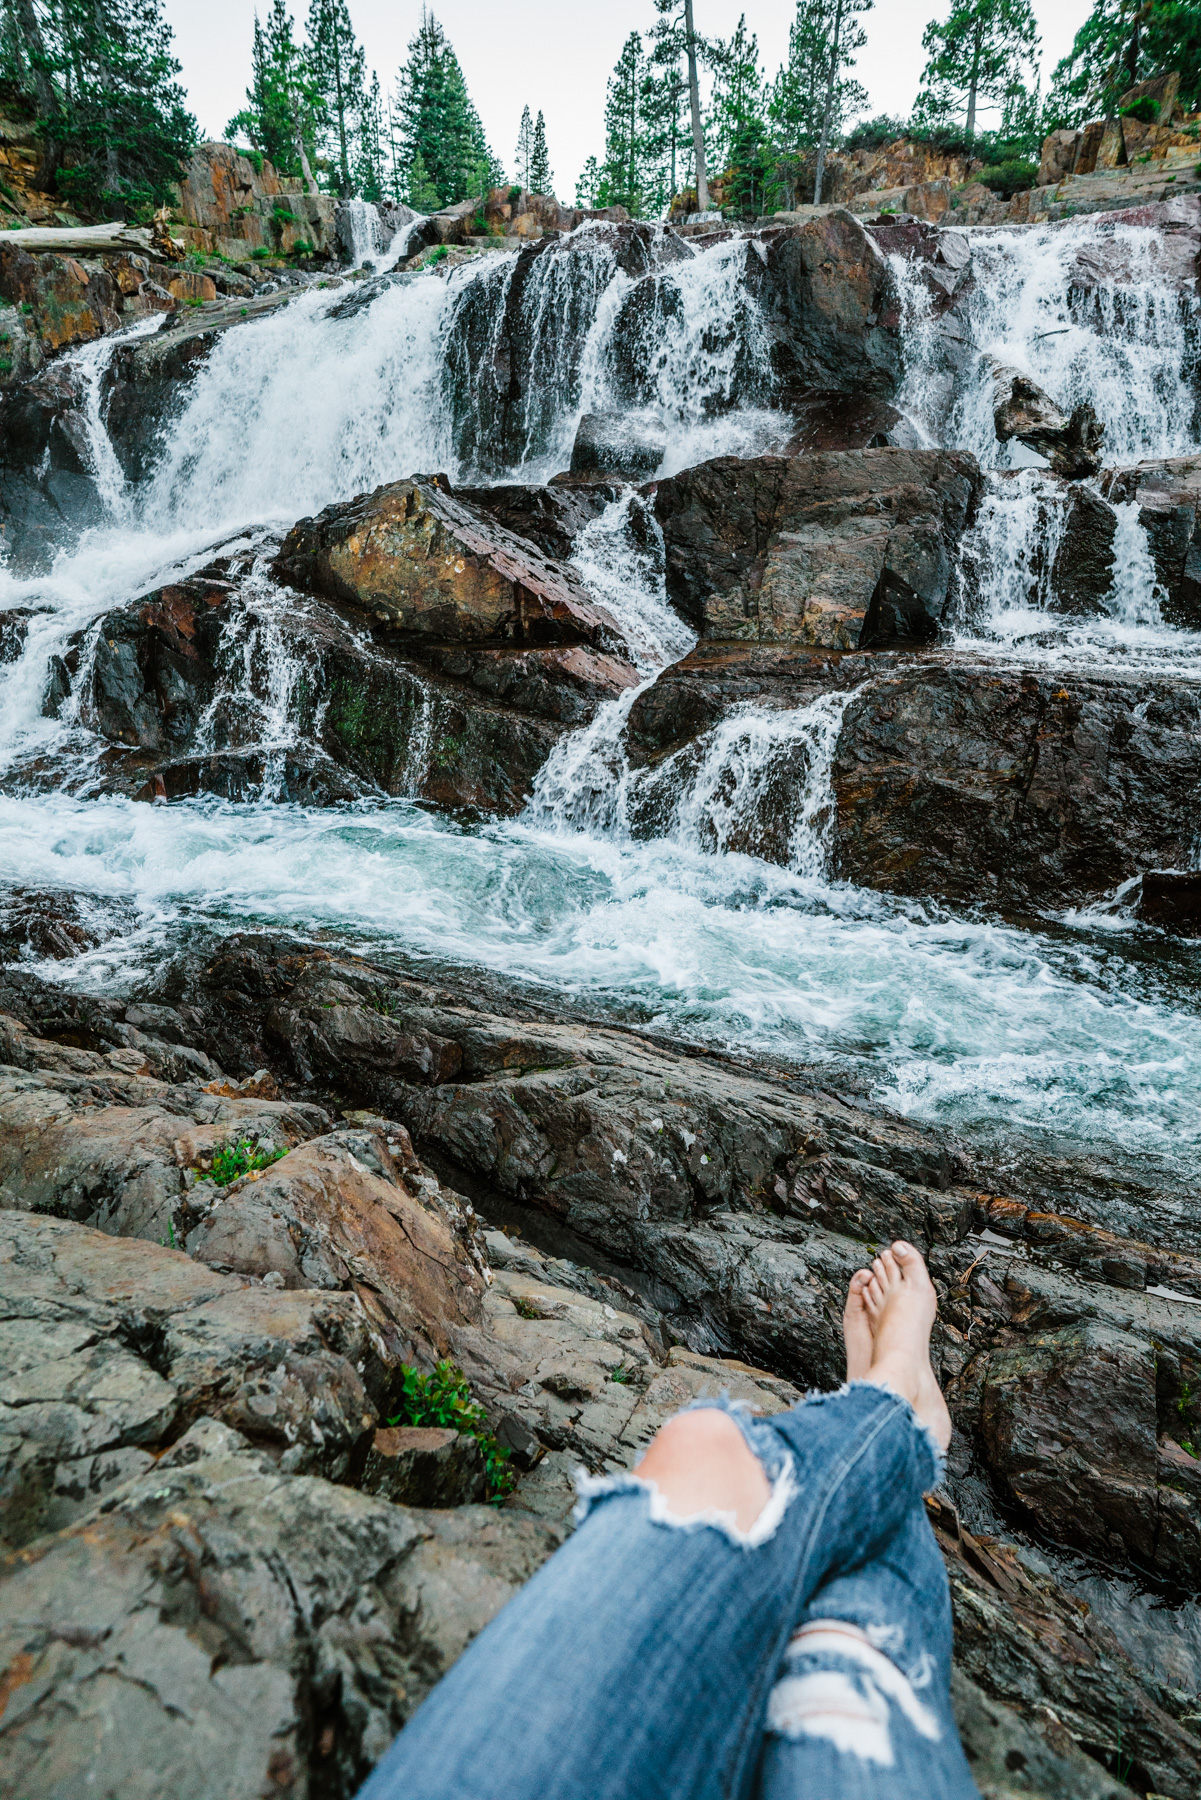
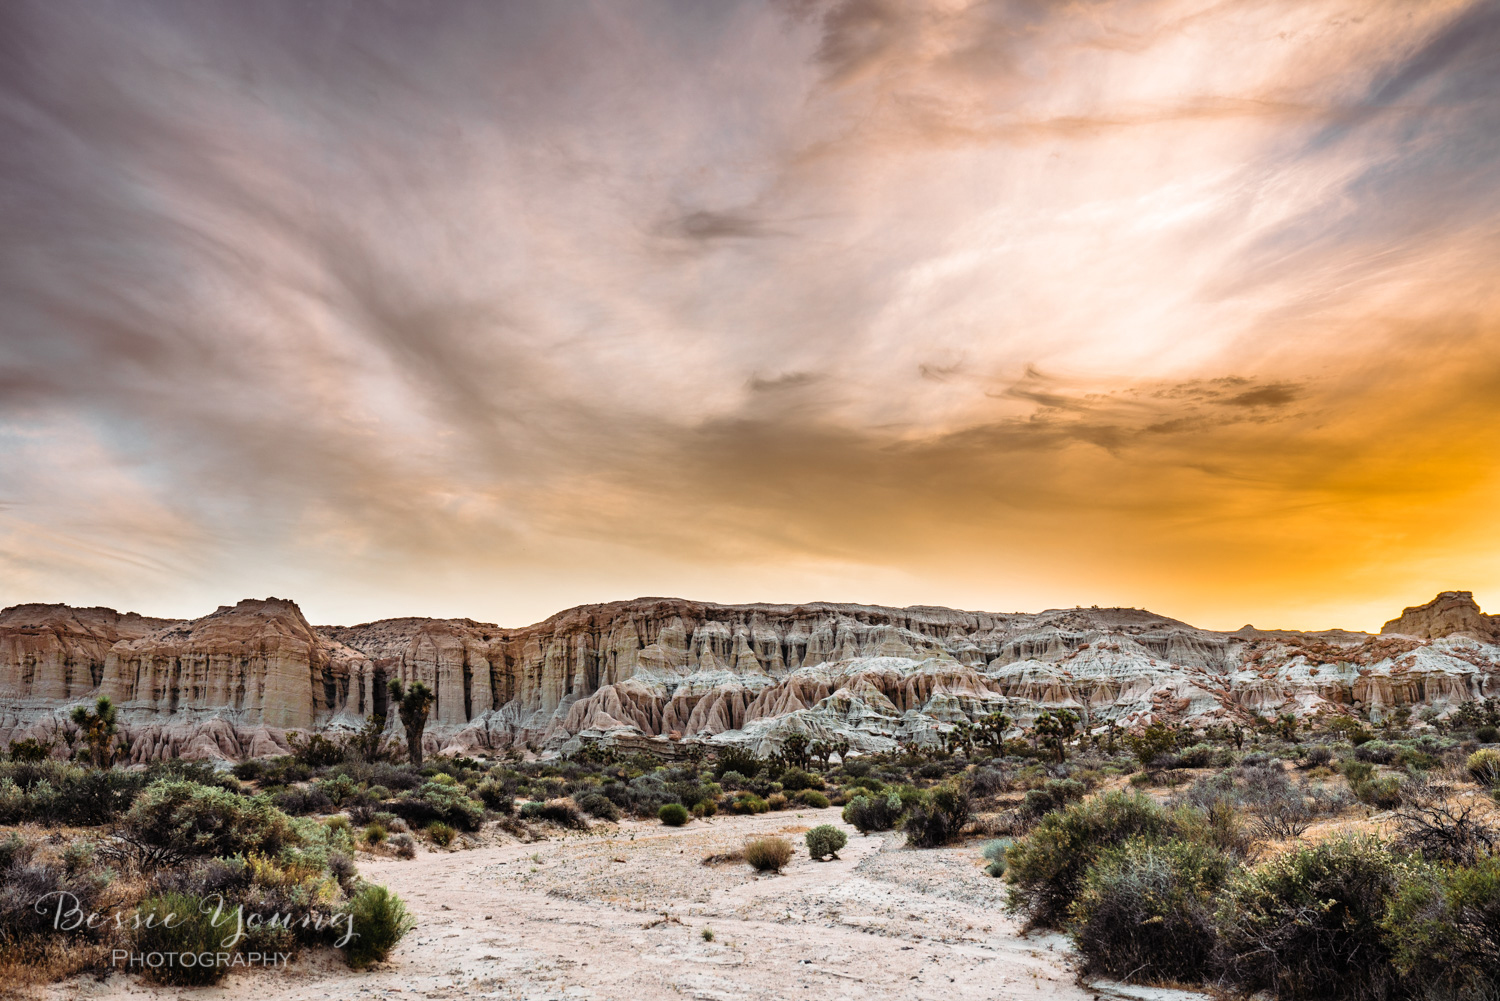
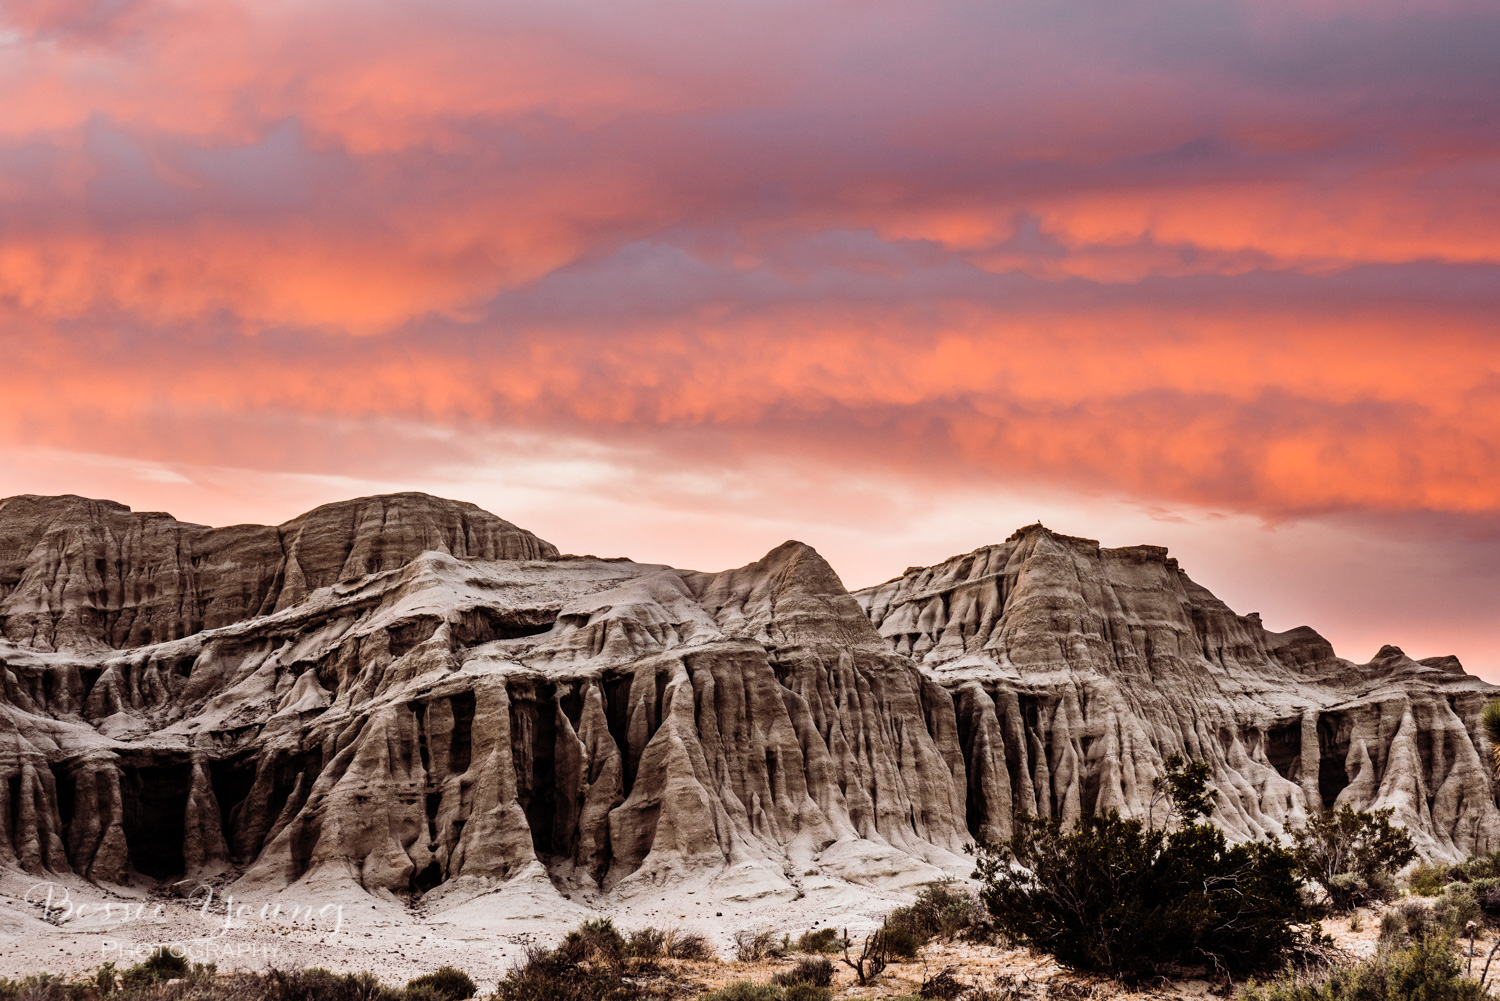
All Images For Sale in the BYP Shop-
Click the image to purchase or click the buy me button below.
Wow, this last weekend was kinda a whirlwind of emotions.
Thursday morning I woke up to find my Instagram page had been deleted. Yep, my entire photography page was gone. I kinda freaked out a little and then started googling what happened and/or how to get it back. Well, everything that I read said that once your IG is deleted there is no getting it back. It is gone forever.
Ya, after reading post after post about not being able to get your instagram page back, I freaked out a little more.
This entire situation made me think that I really needed to create a blog post about it, so make sure to check out that blog post here.
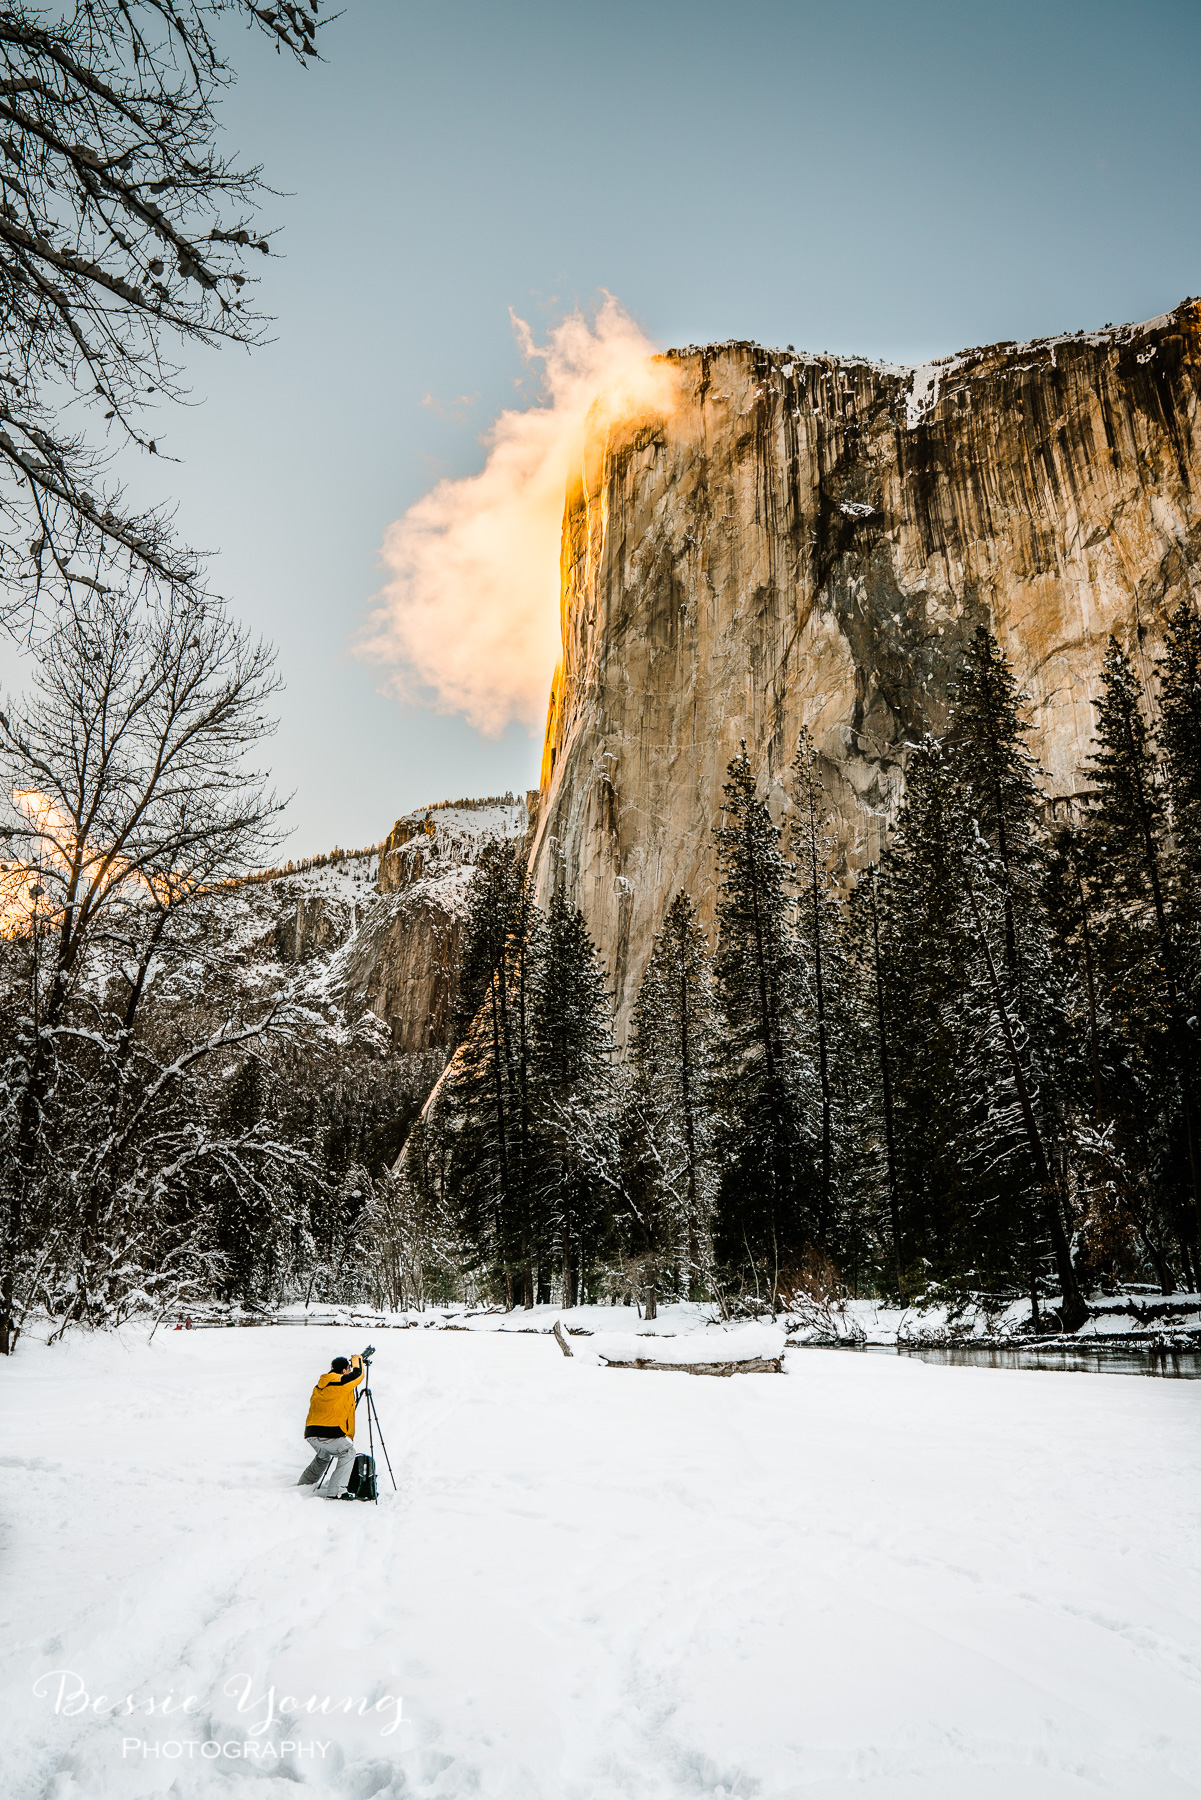
With this all happening, everything looked so grim. It looked like I was going to have to start from scratch. It really got me thinking about why I started my business, do I still want to continue my business, was it all worth it, and so forth. I ultimately decided to take a little road trip, head out on a camping adventure to a place with no cell phone reception. A place where I could find my love for photography all over again. So that is what I did. Alabama Hills Recreation Area was the perfect place on the map…
The Adventure
Off I went on a 5 hour trip to the desert. Let me tell you, everything was getting in my way and making me think that I shouldn’t be going. I was also super worried about missing an email from IG to restore my account, but I was determined. I needed peace and quiet. I needed to be able to be in nature. I needed to be able to just breath. To get away from all the hustle and bustle of the world. To just be.


So, I continued to push forward and drive. There was traffic everywhere. I missed my exit to grab food. There was a massive accident in Bakersfield that was causing huge delays, but I continued my trip.
After I got outside of Bakersfield I knew it was going to be smooth sailing :)
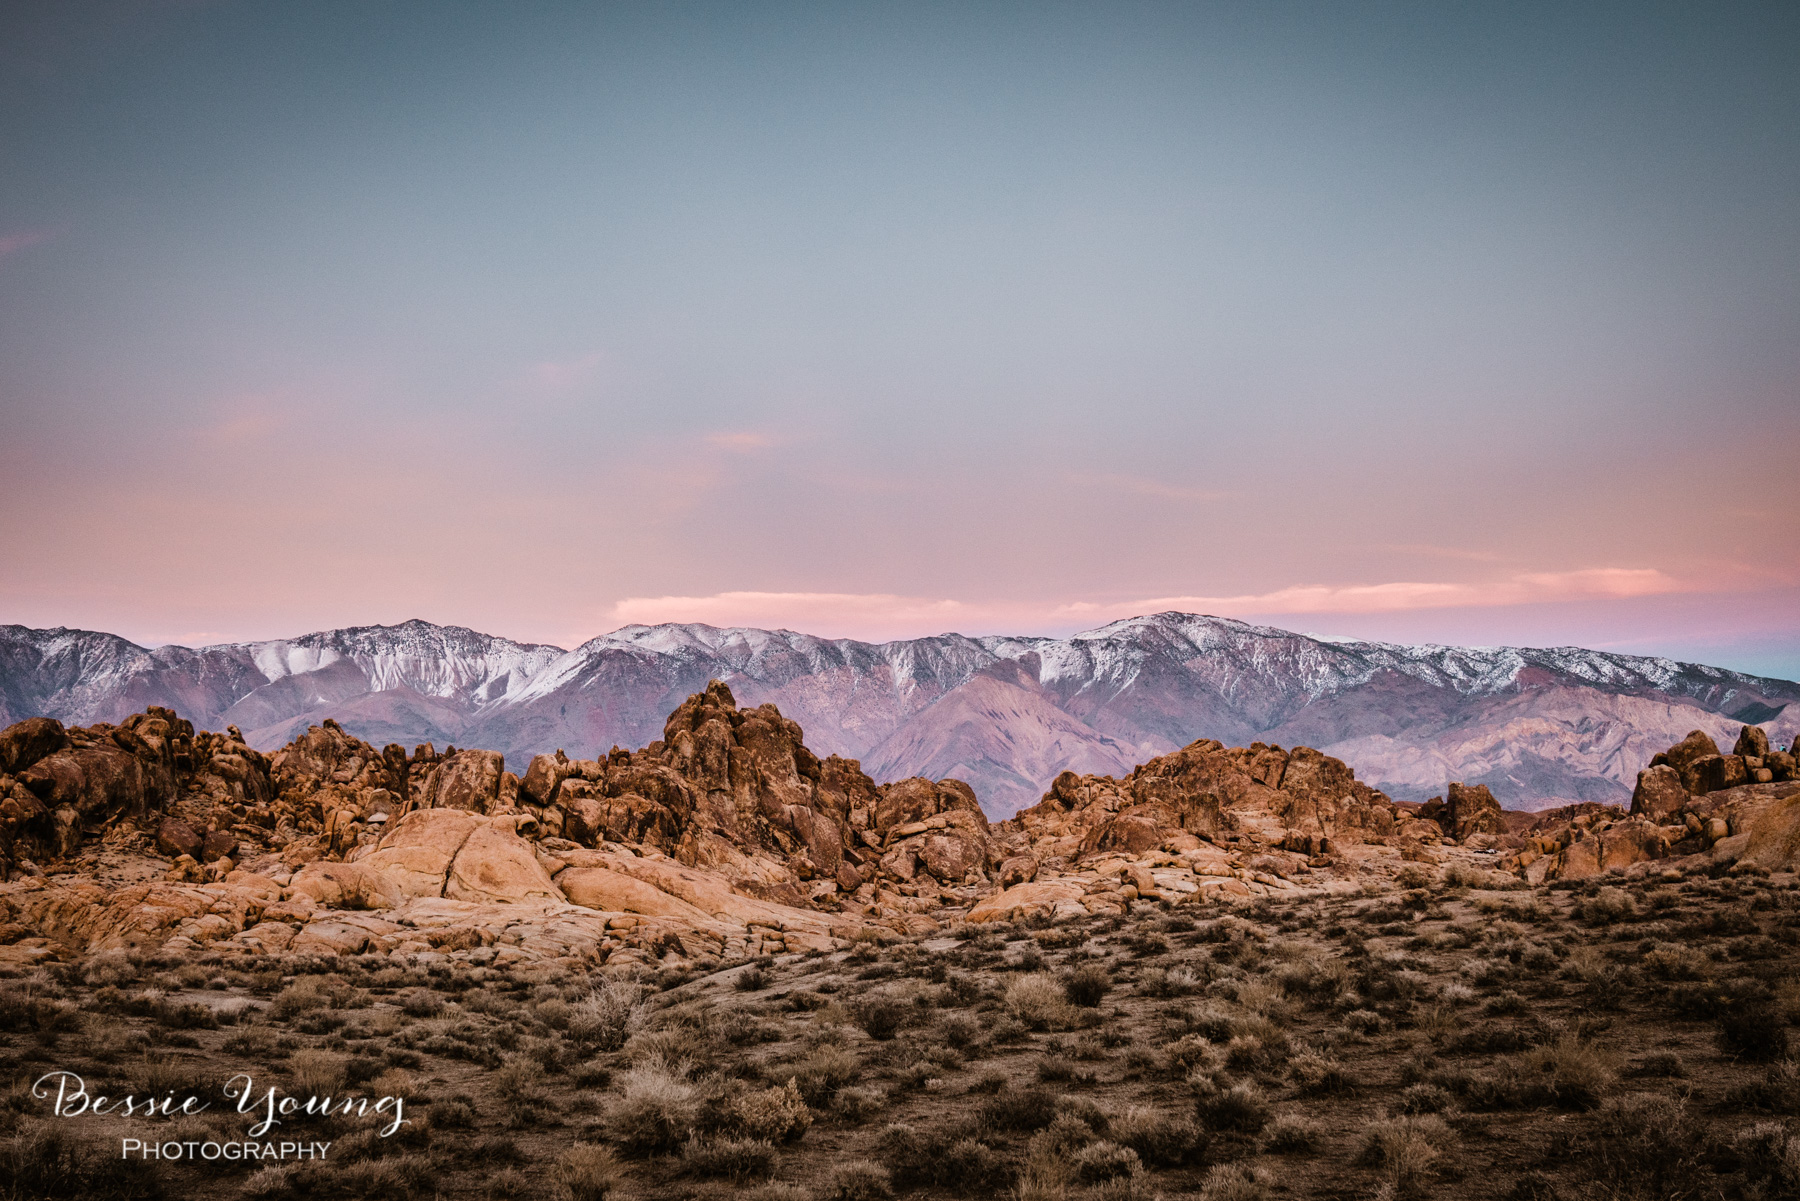
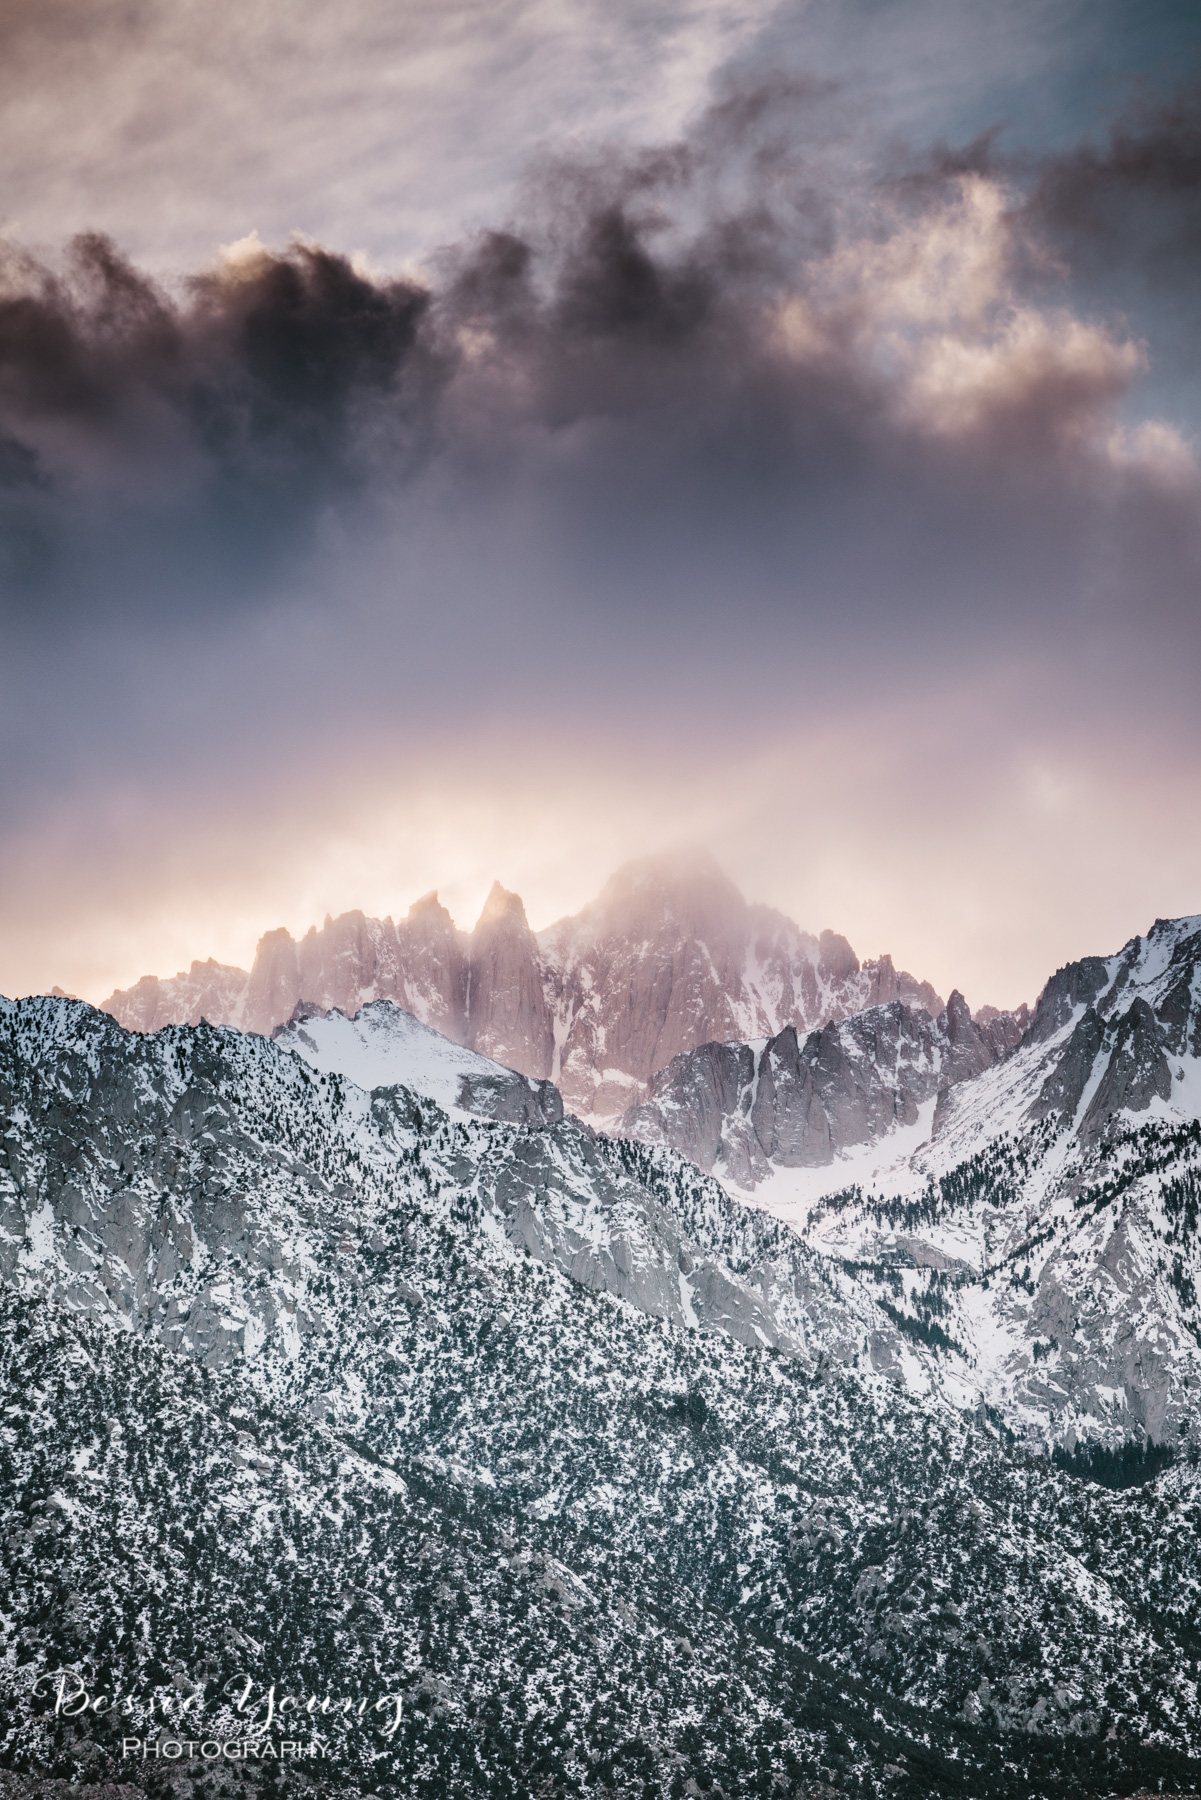
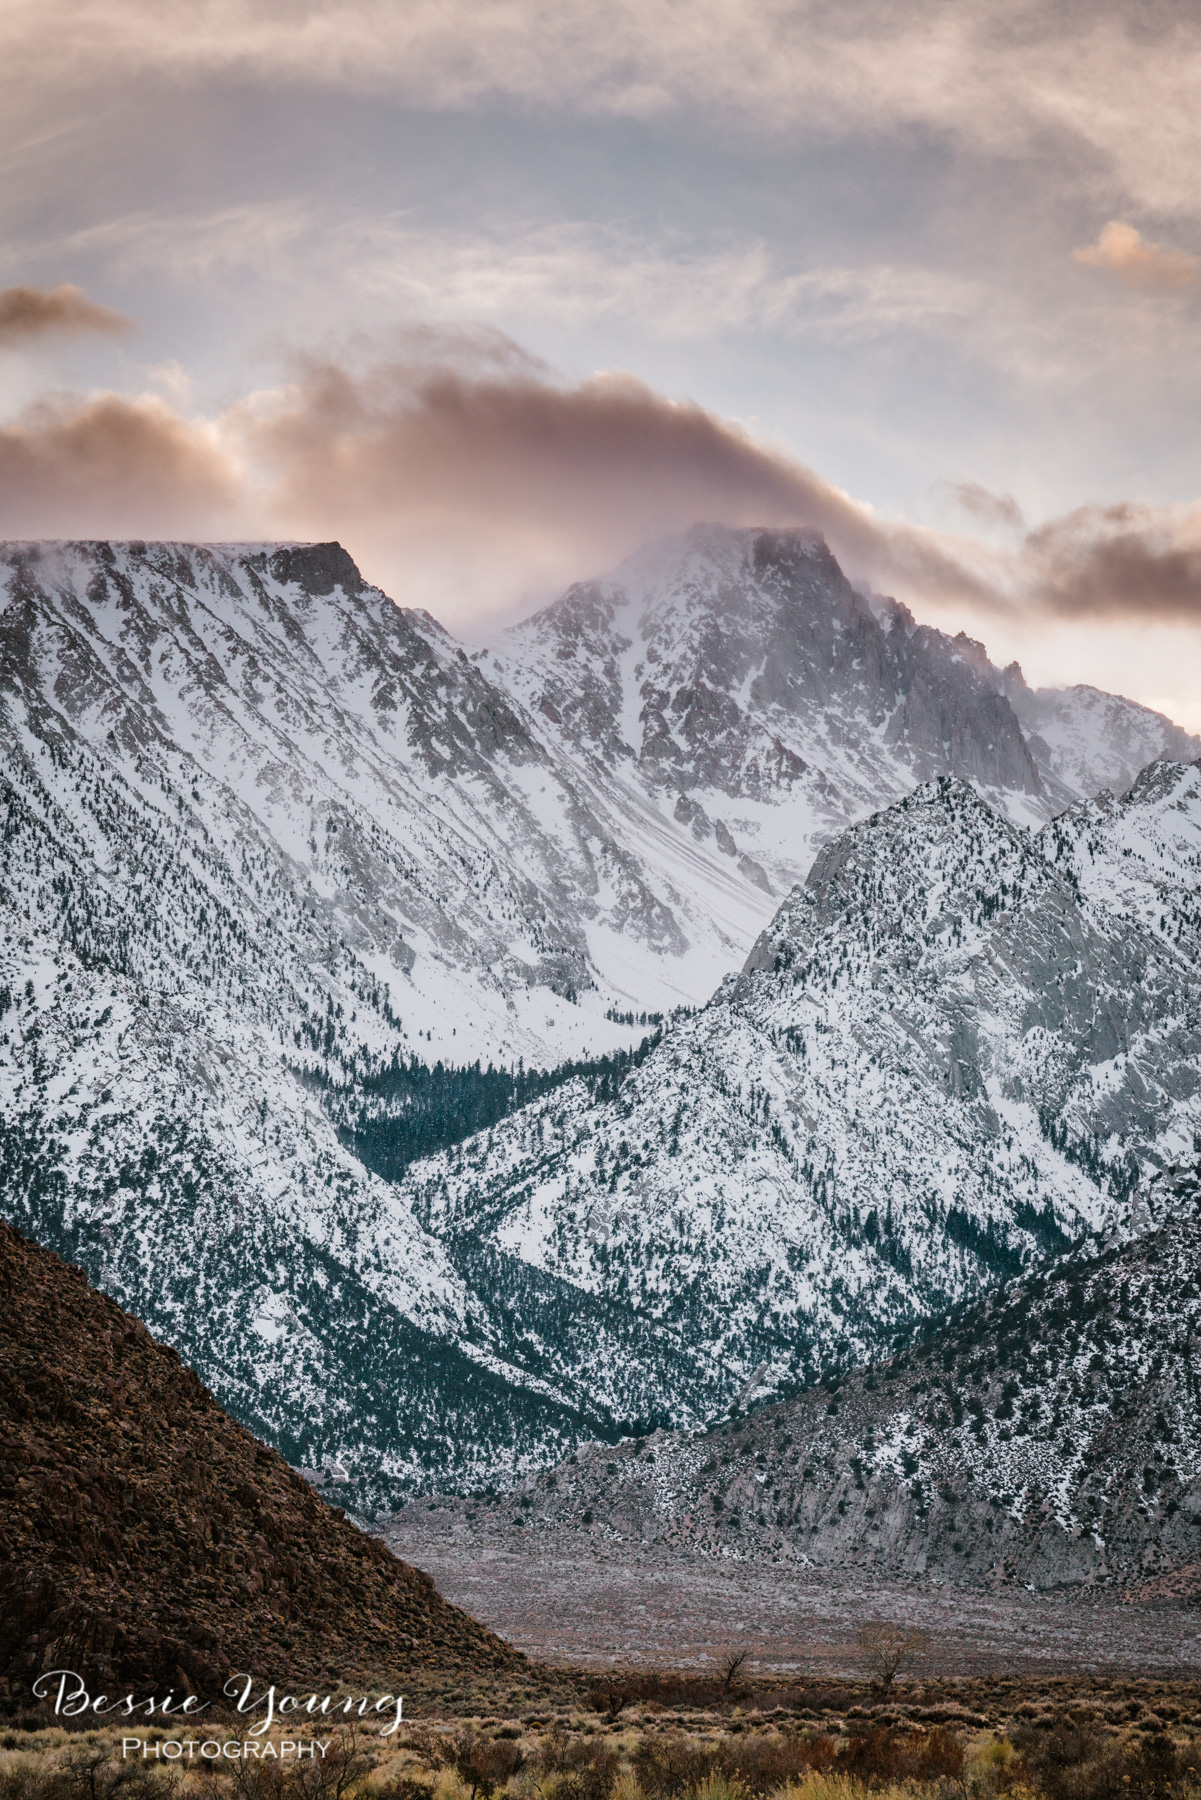
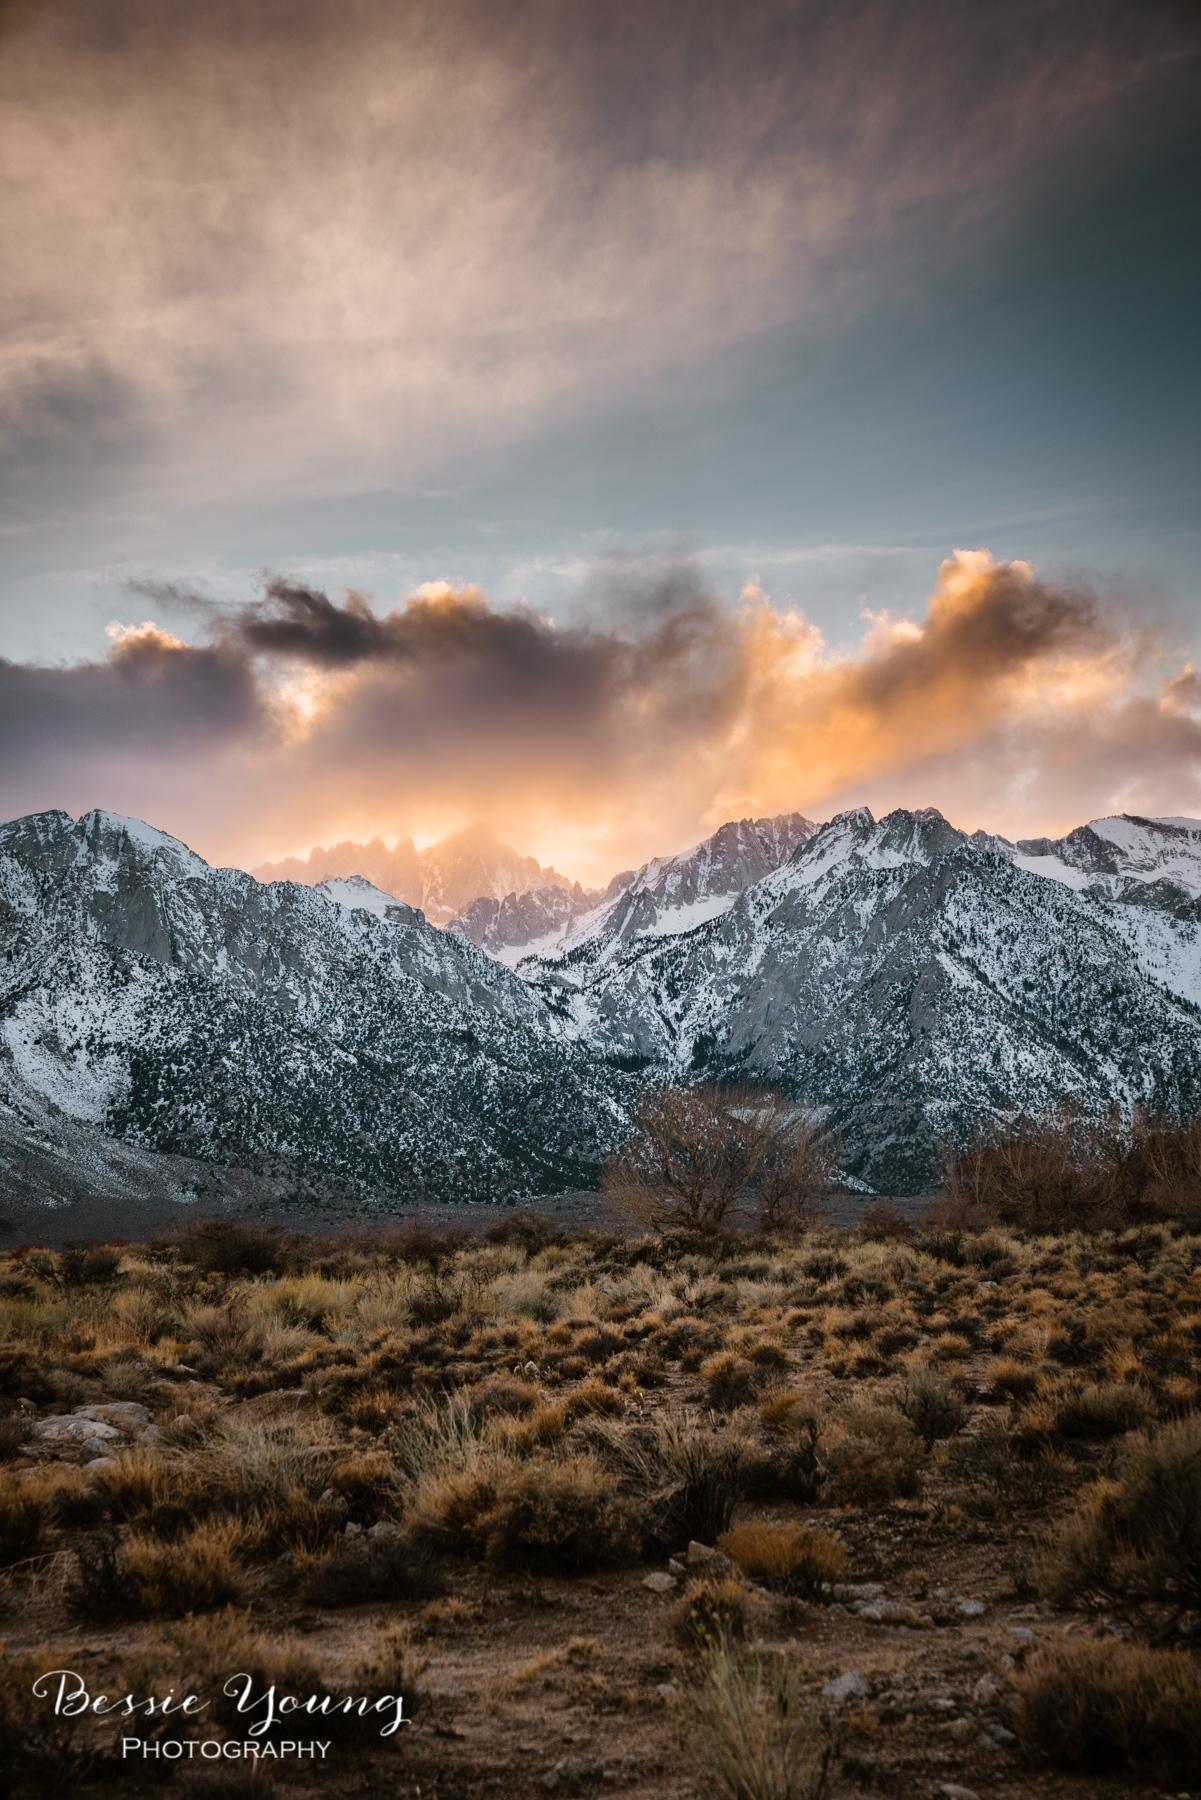
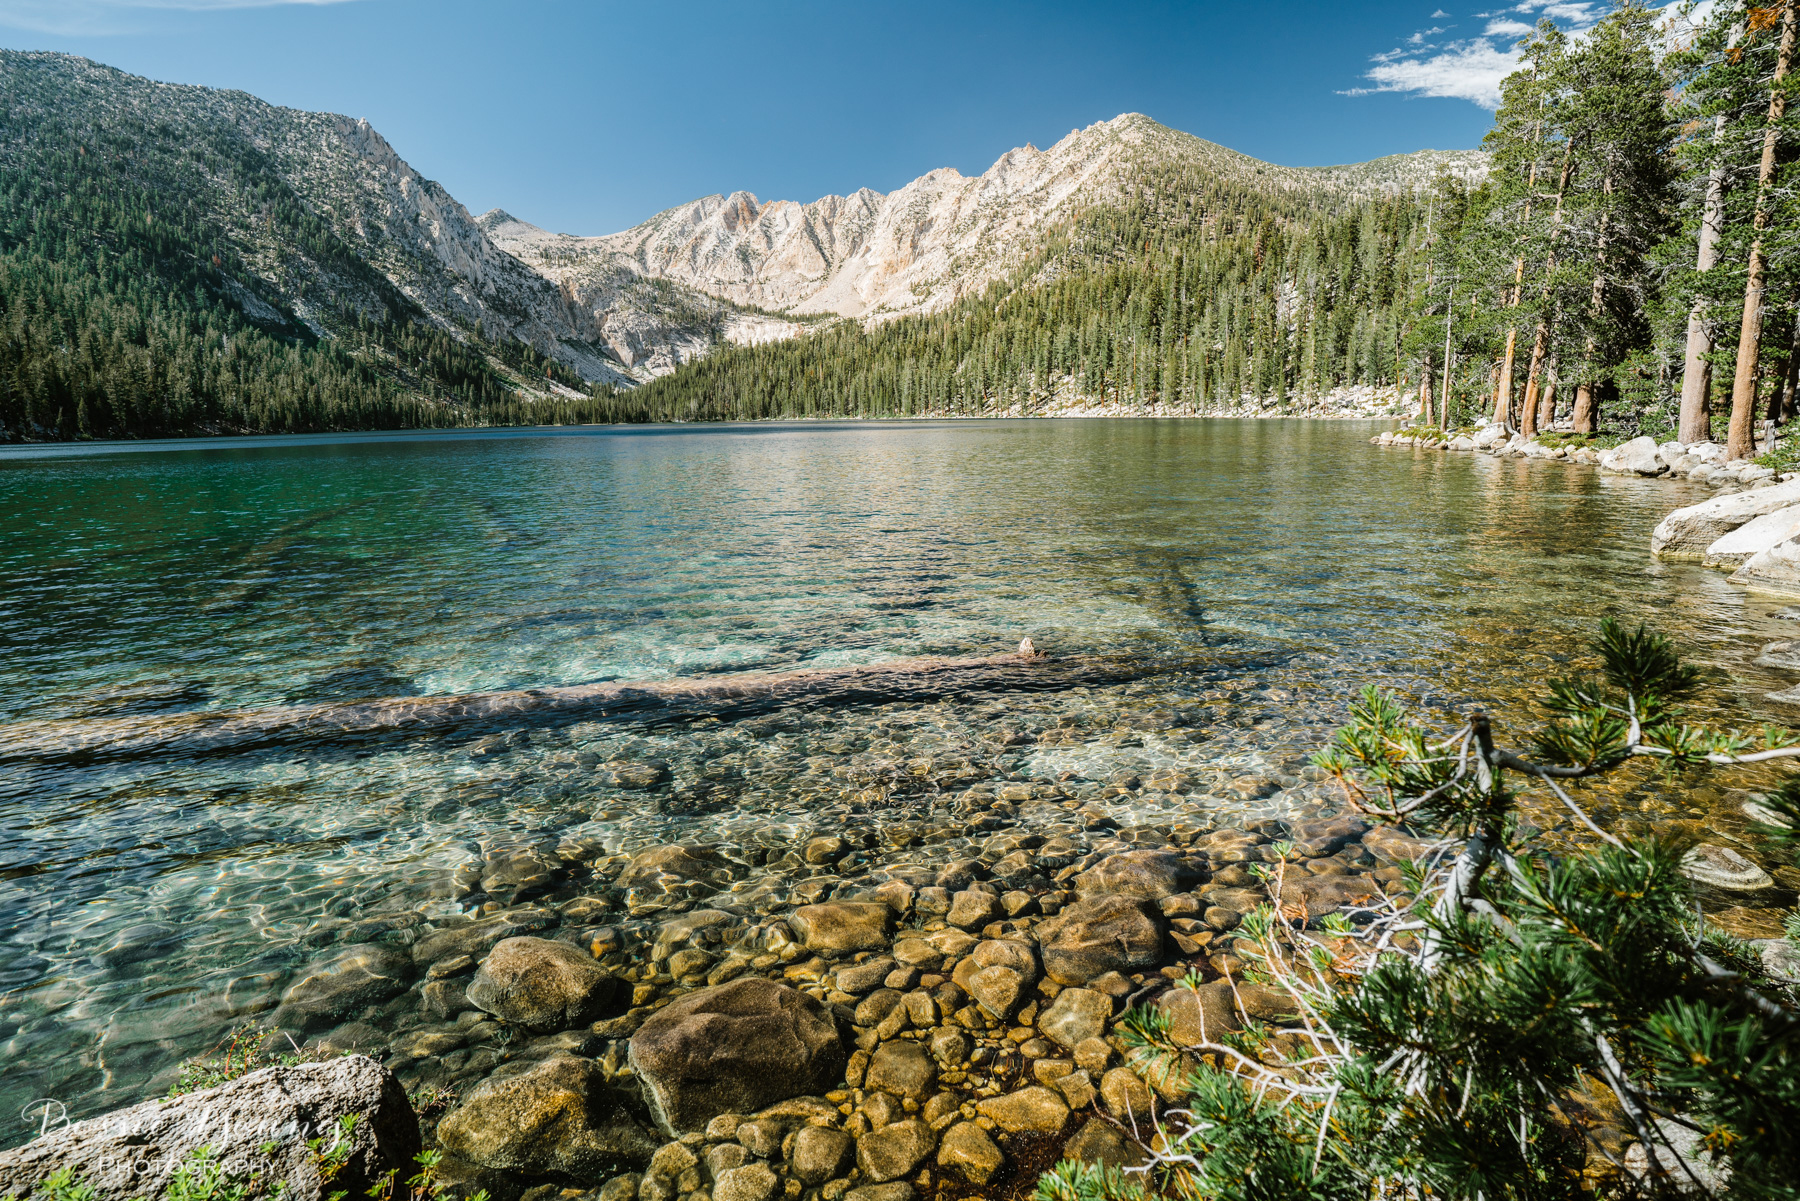
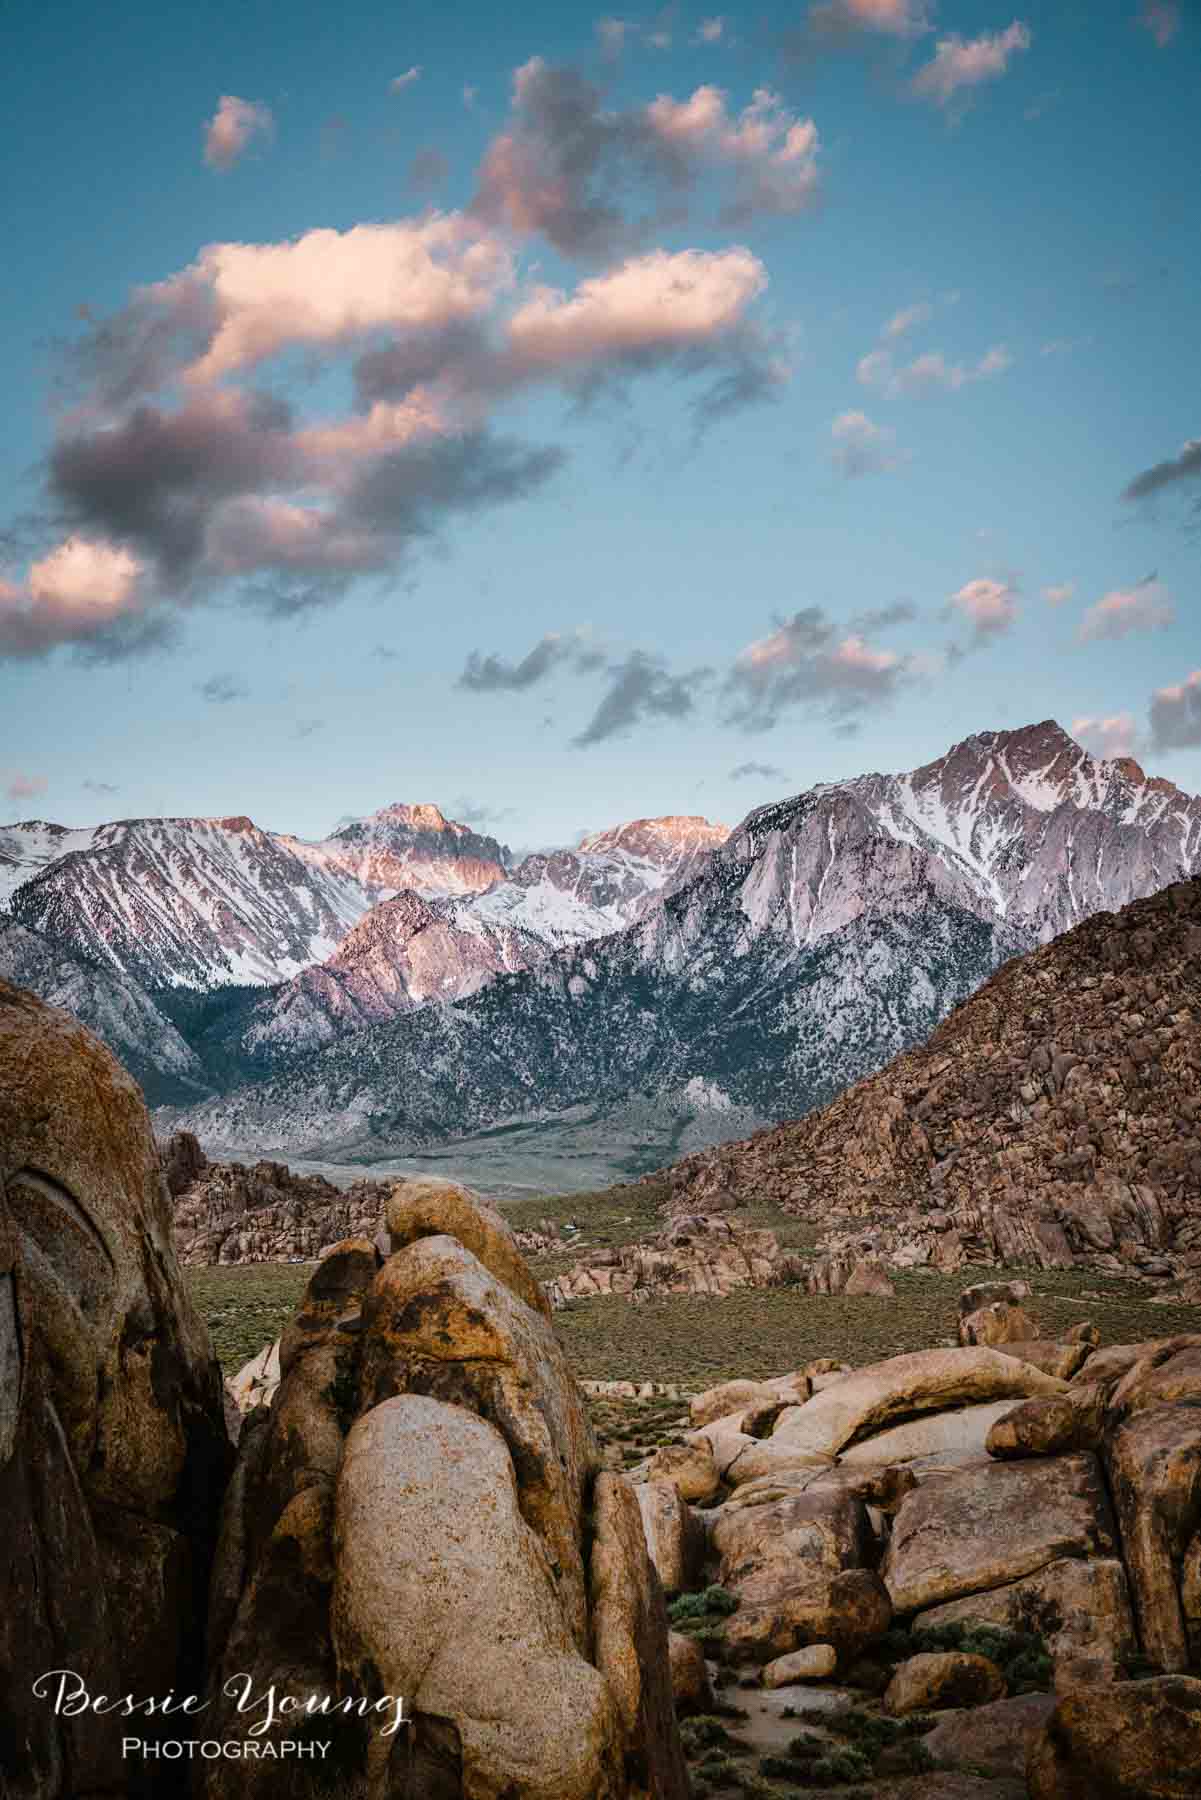
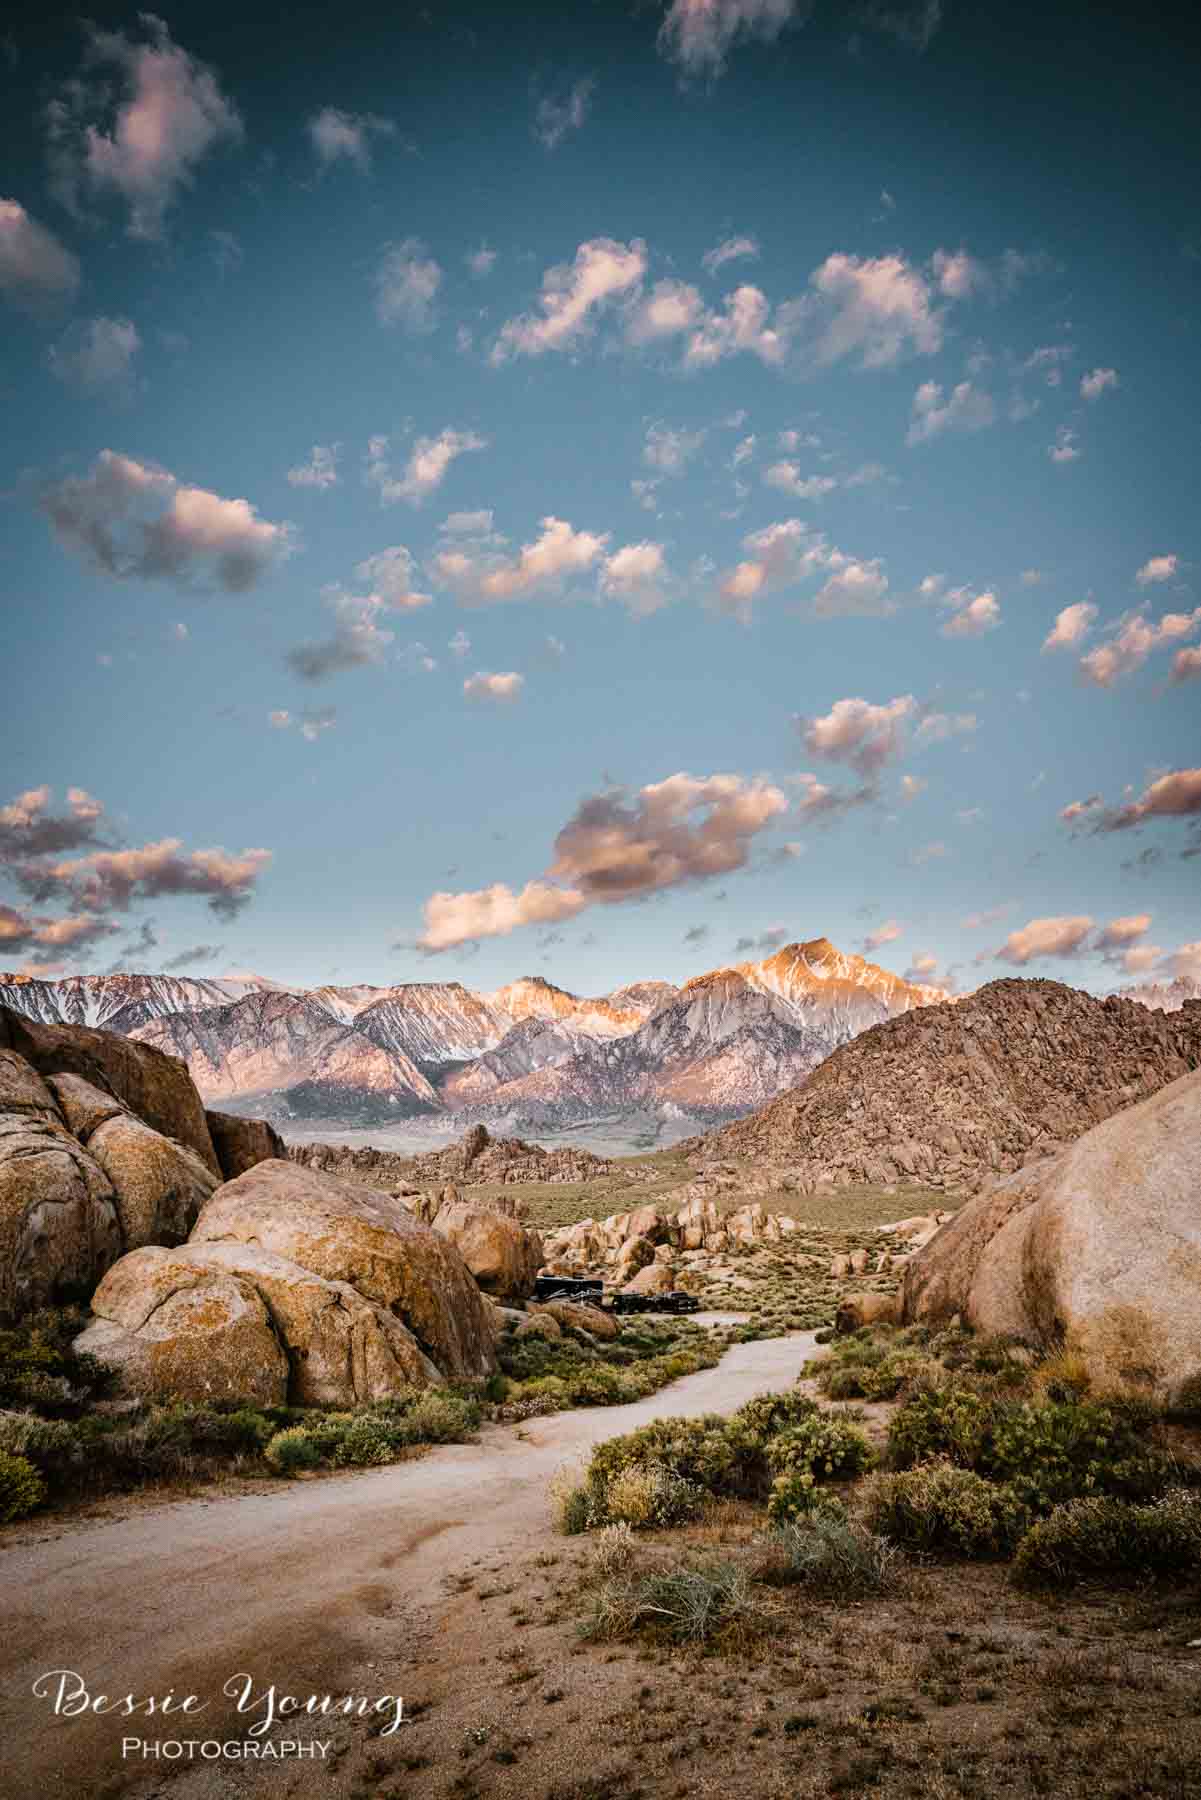
Alabama Hills Recreation Area
The Alabama Hills are a formation of rounded rocks and eroded hills set between the jagged peaks of the Sierra Nevada and the geologically complex Inyo Mountains. Both geologic features were shaped by the same uplifting occurring 100 million years ago.
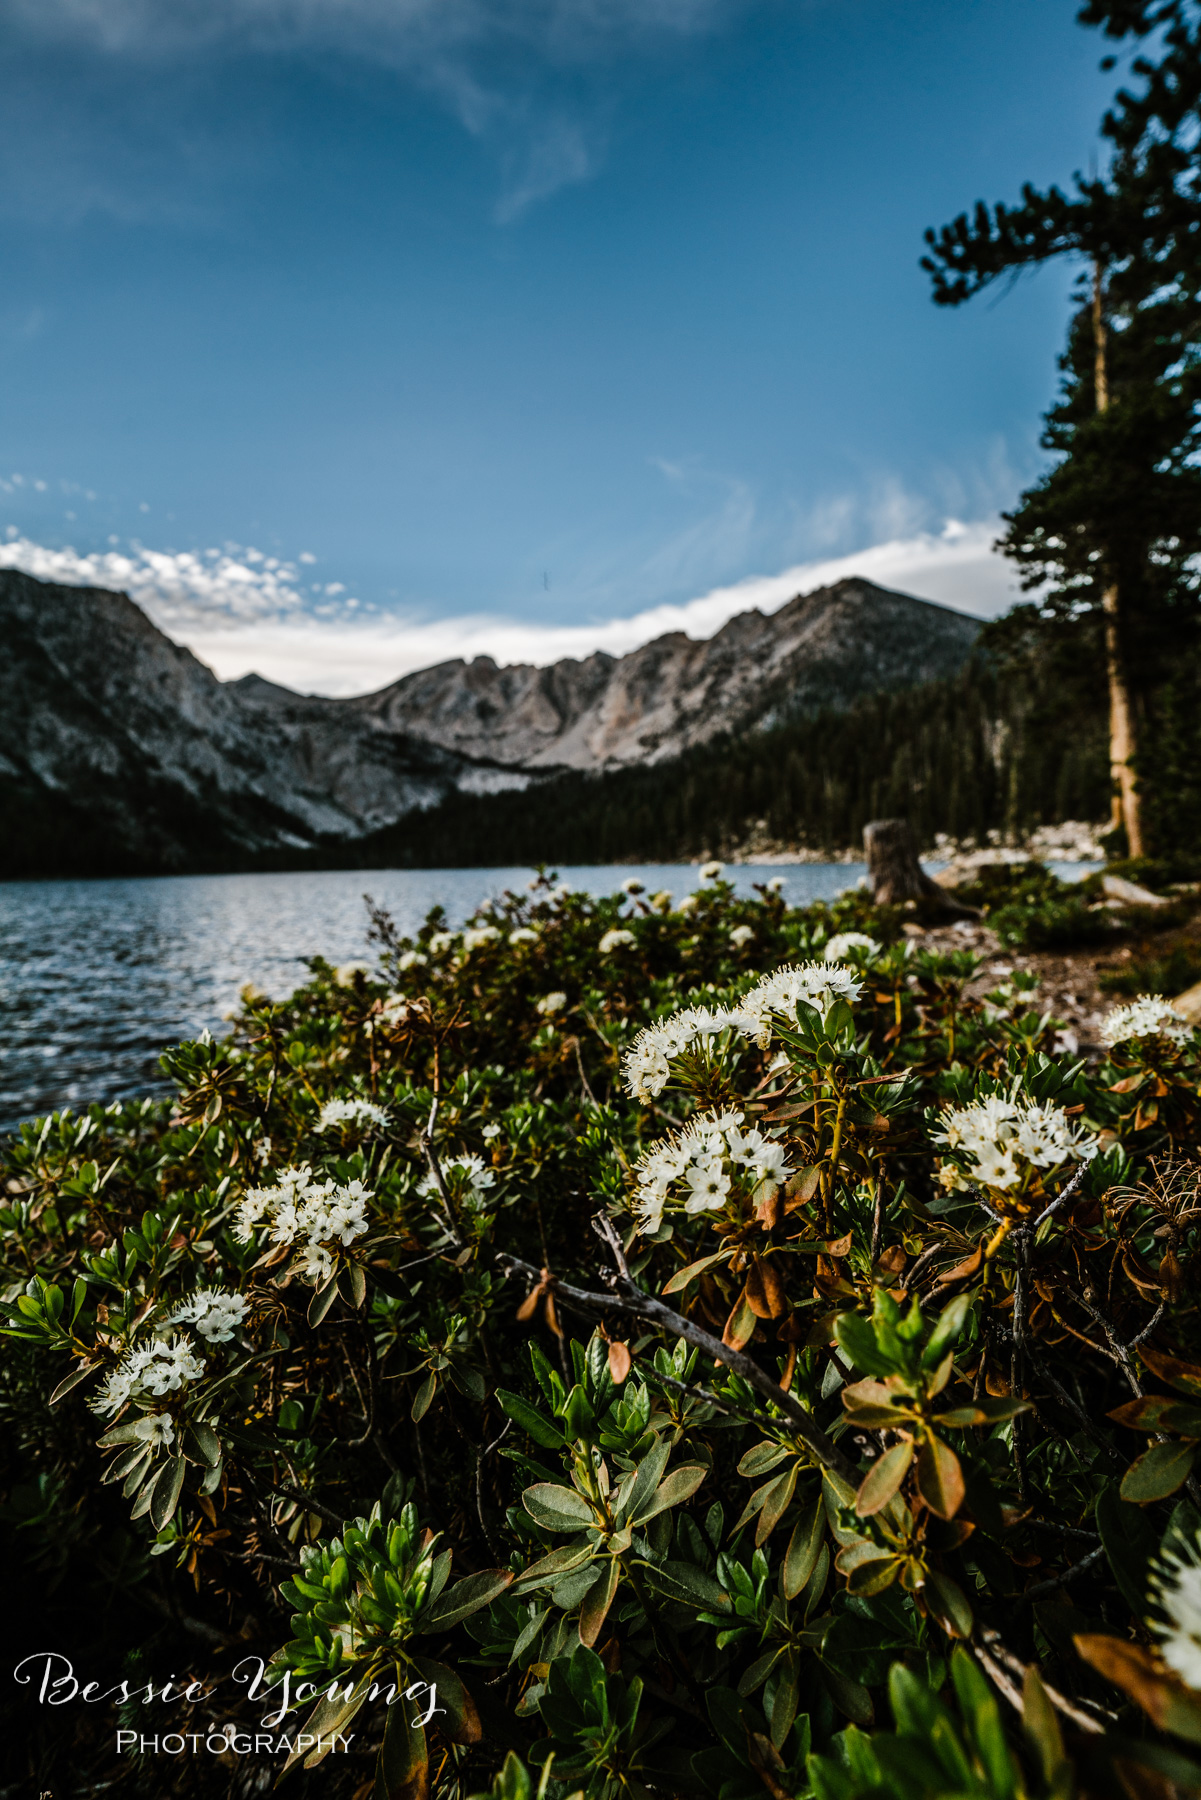
Visitors enjoy touring film sites, photography, rock climbing, exploring natural arches, and viewing the swaths of wildflowers that bloom every spring. Horseback riding and mountain biking are popular activities.
https://www.blm.gov/visit/alabama-hills
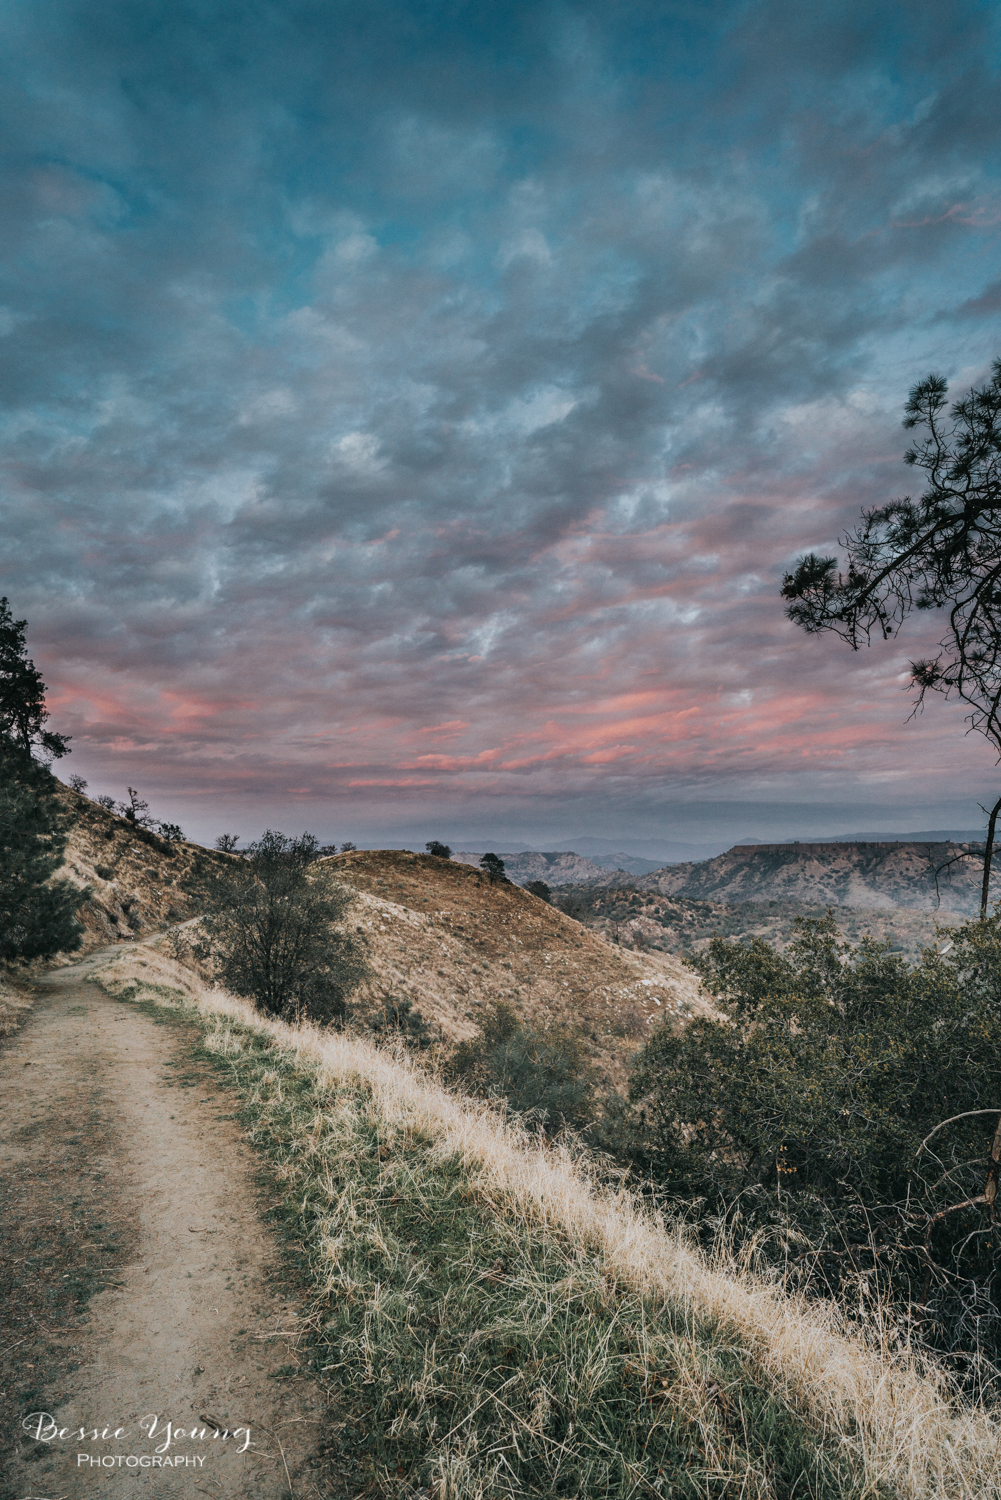
Alabama Hills is such an absolutely amazing place. It is just outside of Lone Pine, California. You can camp anywhere you want to as long as the signs permit.
The camping is free and is first come first serve. When I showed up the place was super busy. It was Friday evening and you could tell that everyone else had the same idea as I did.
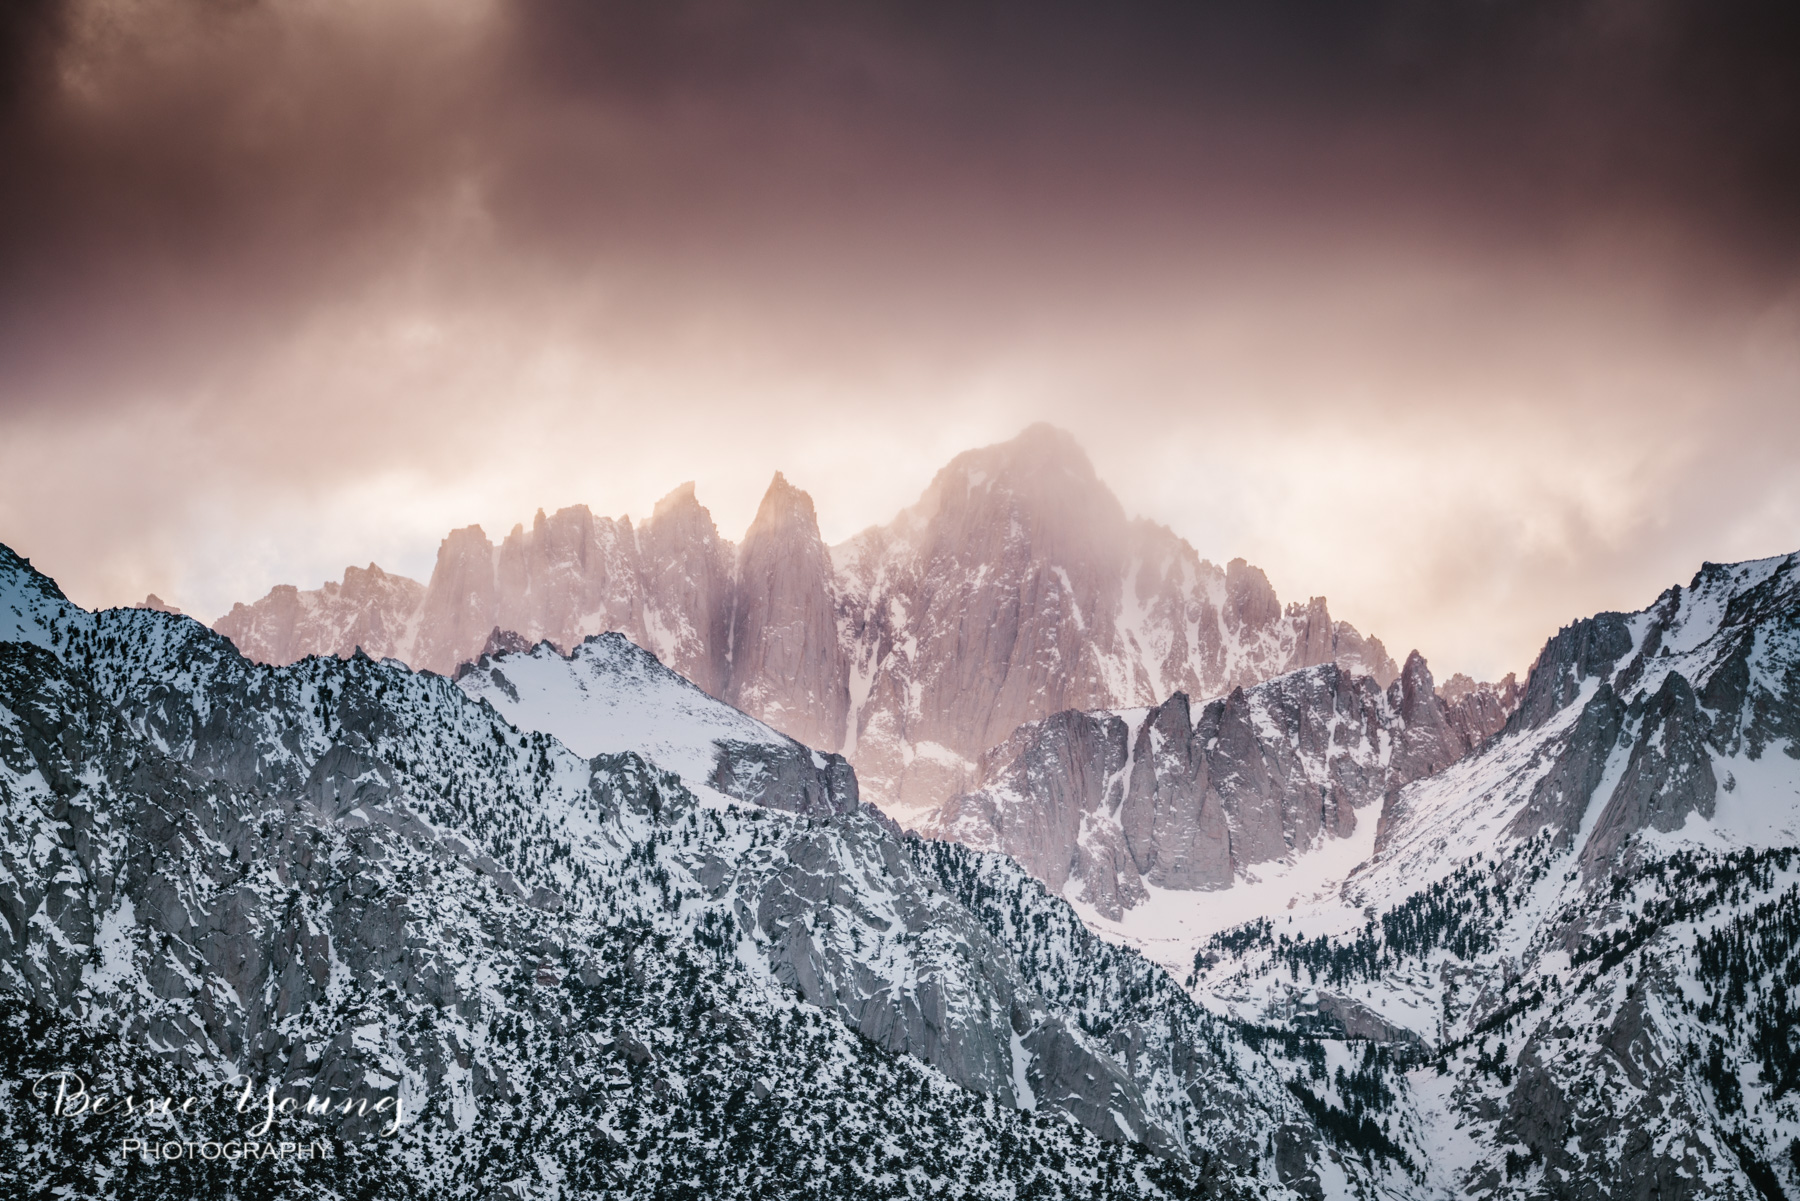
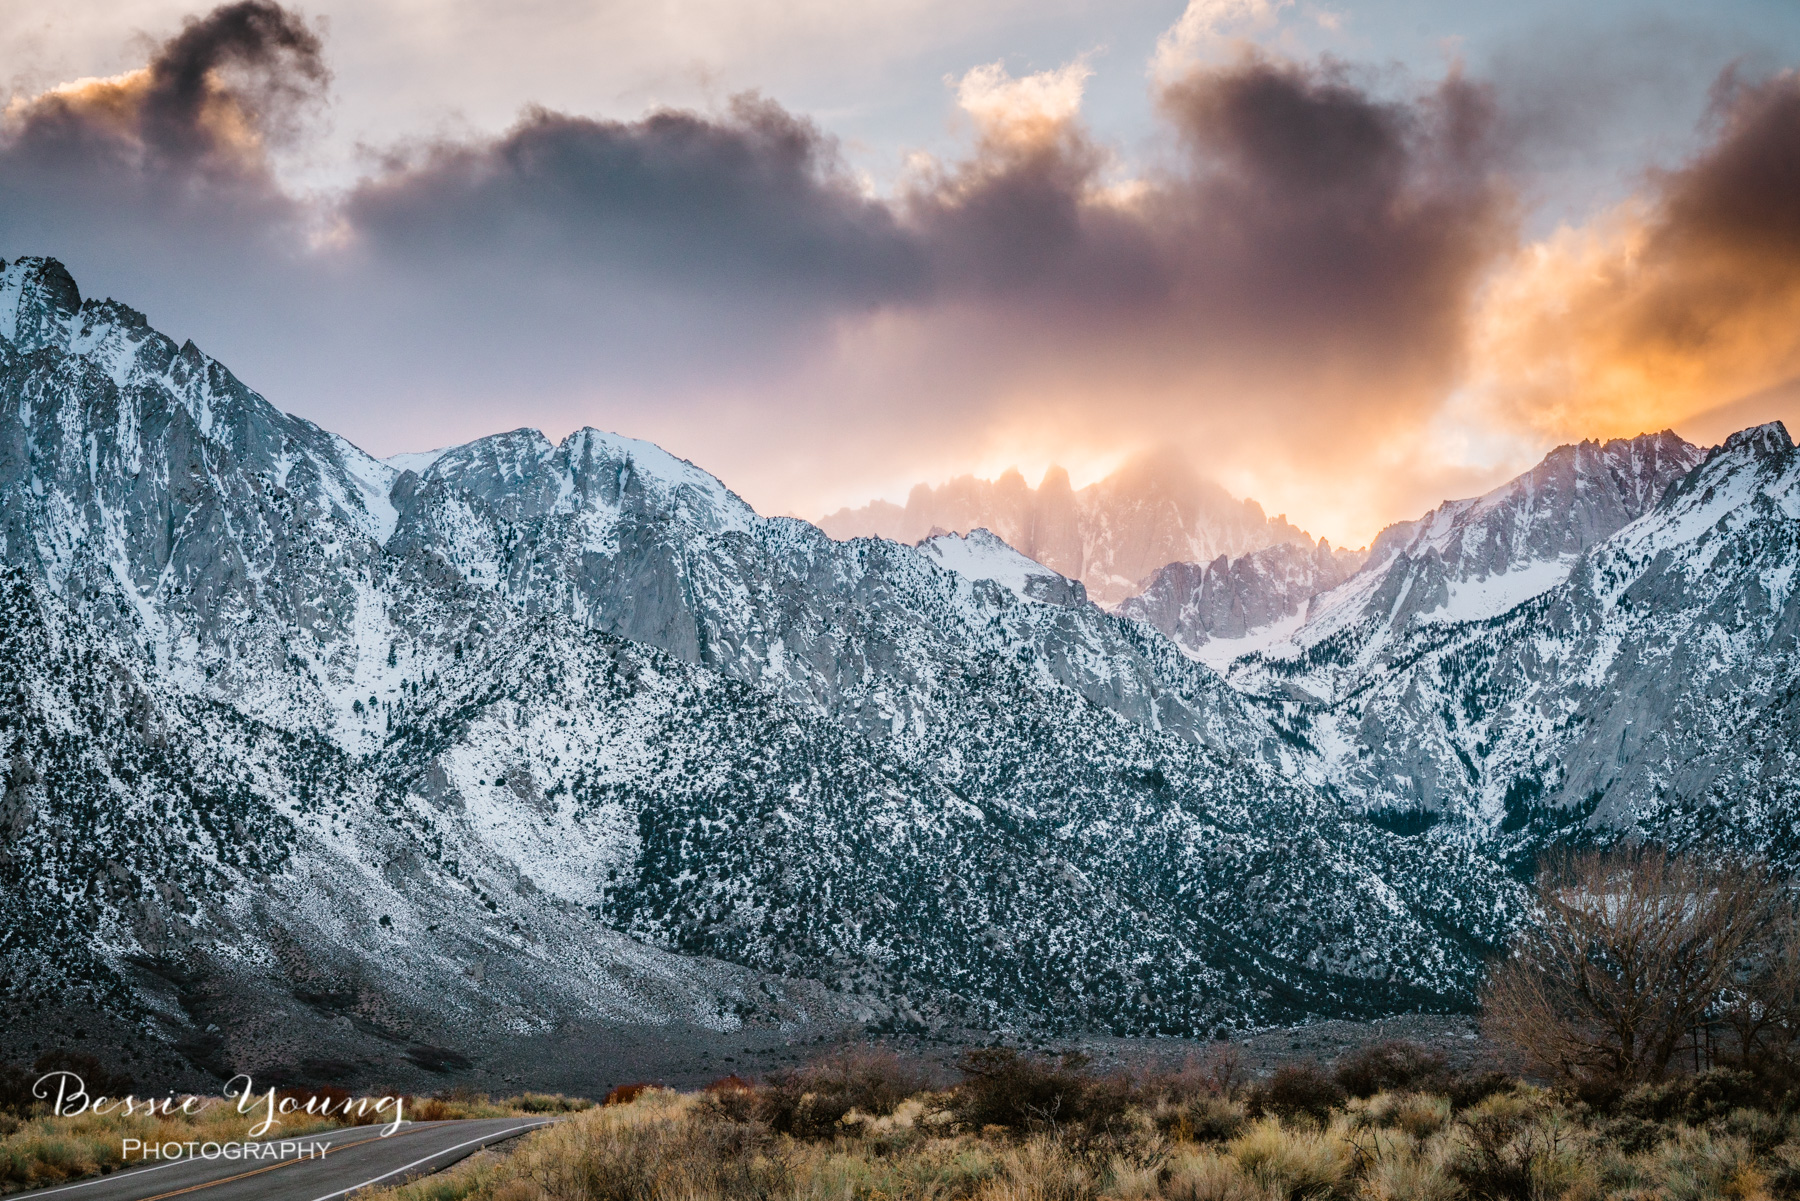
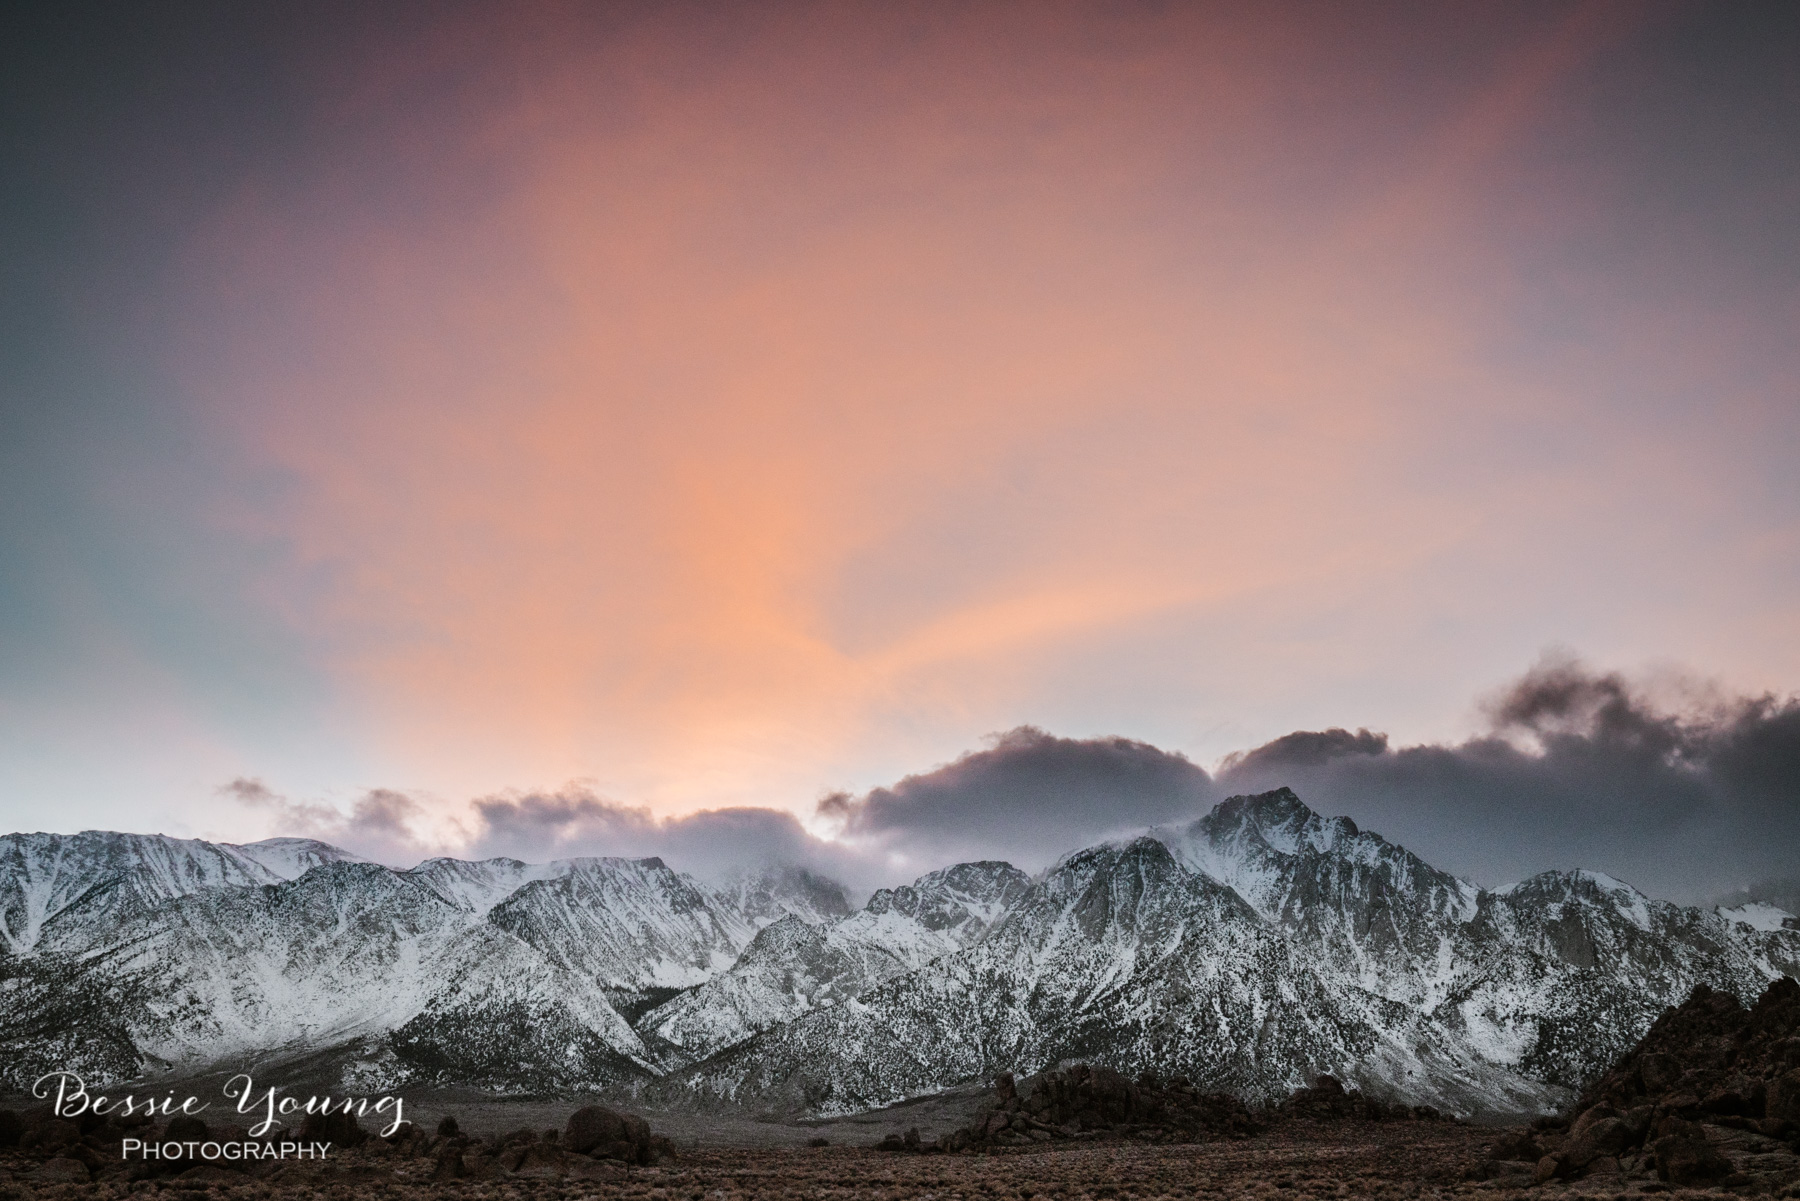
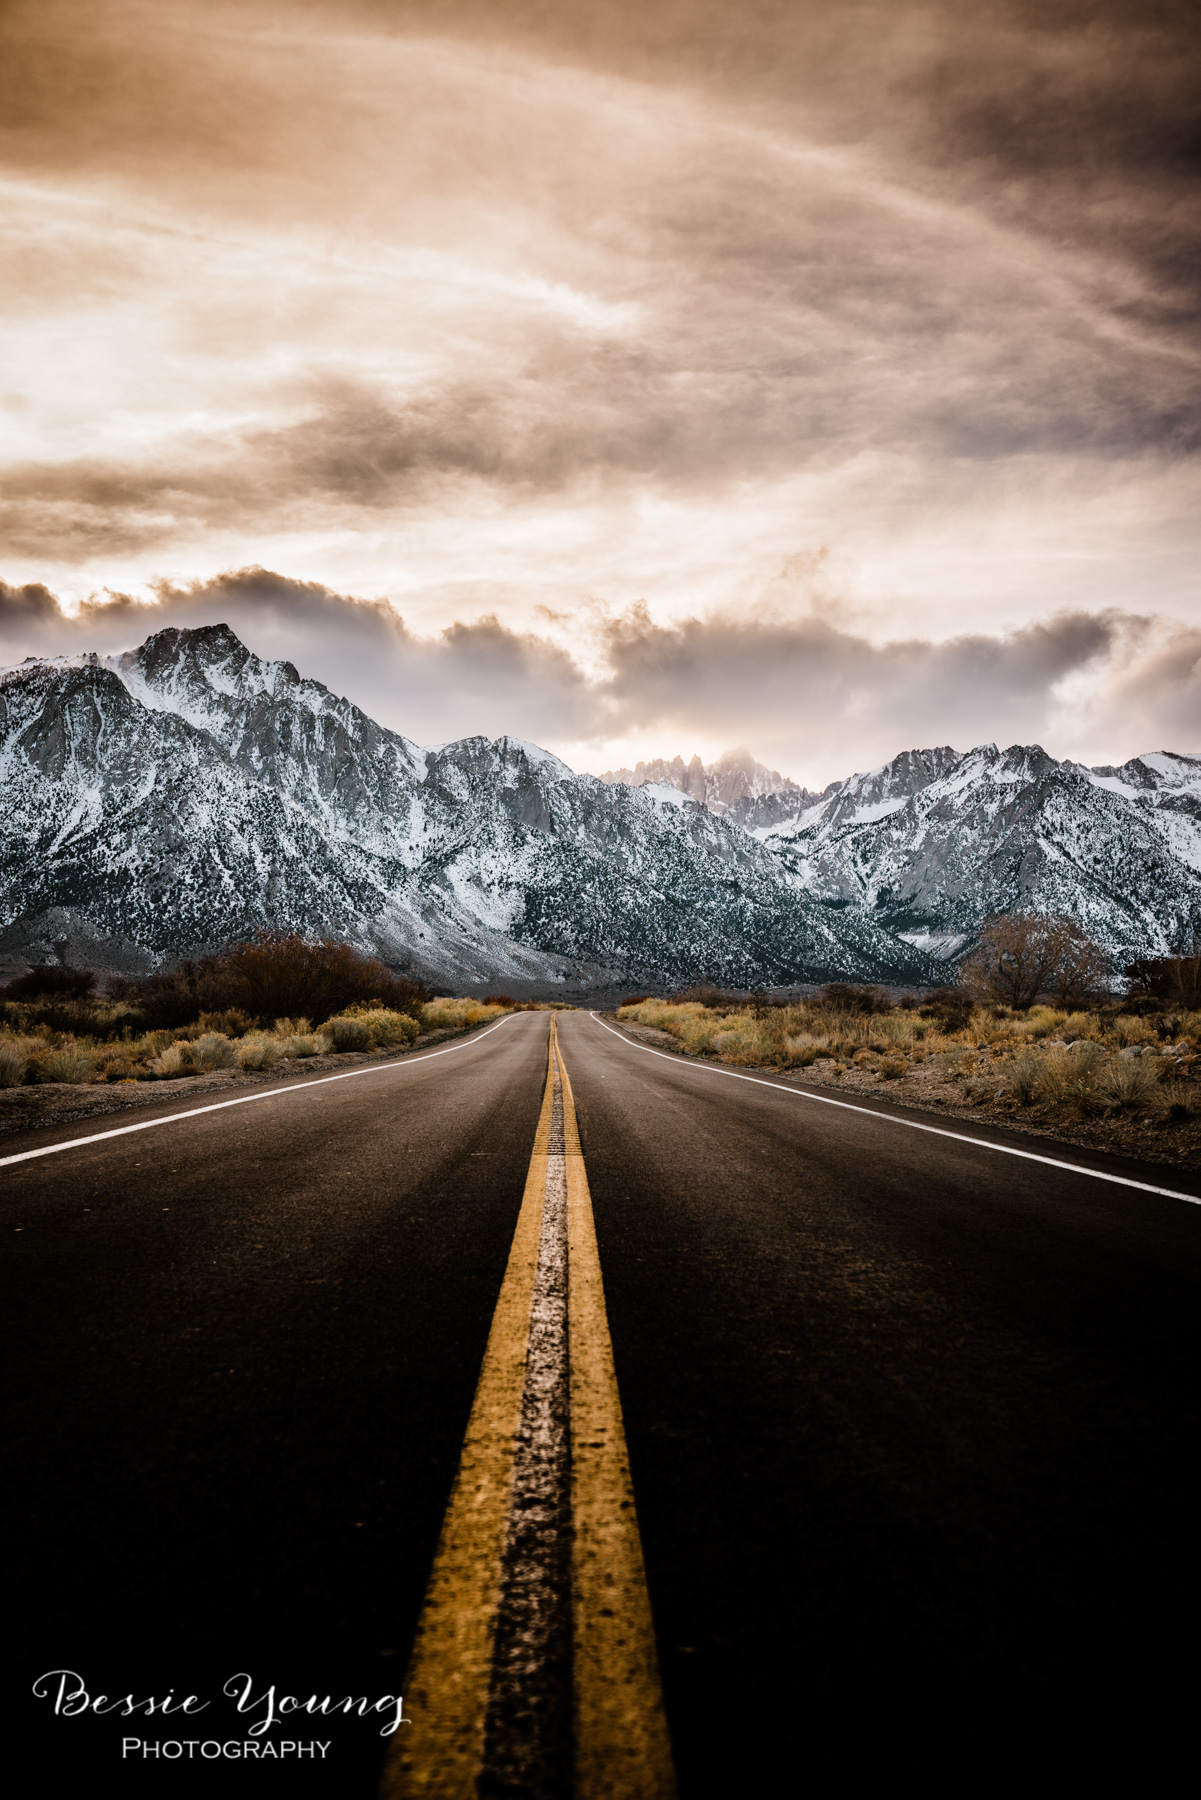
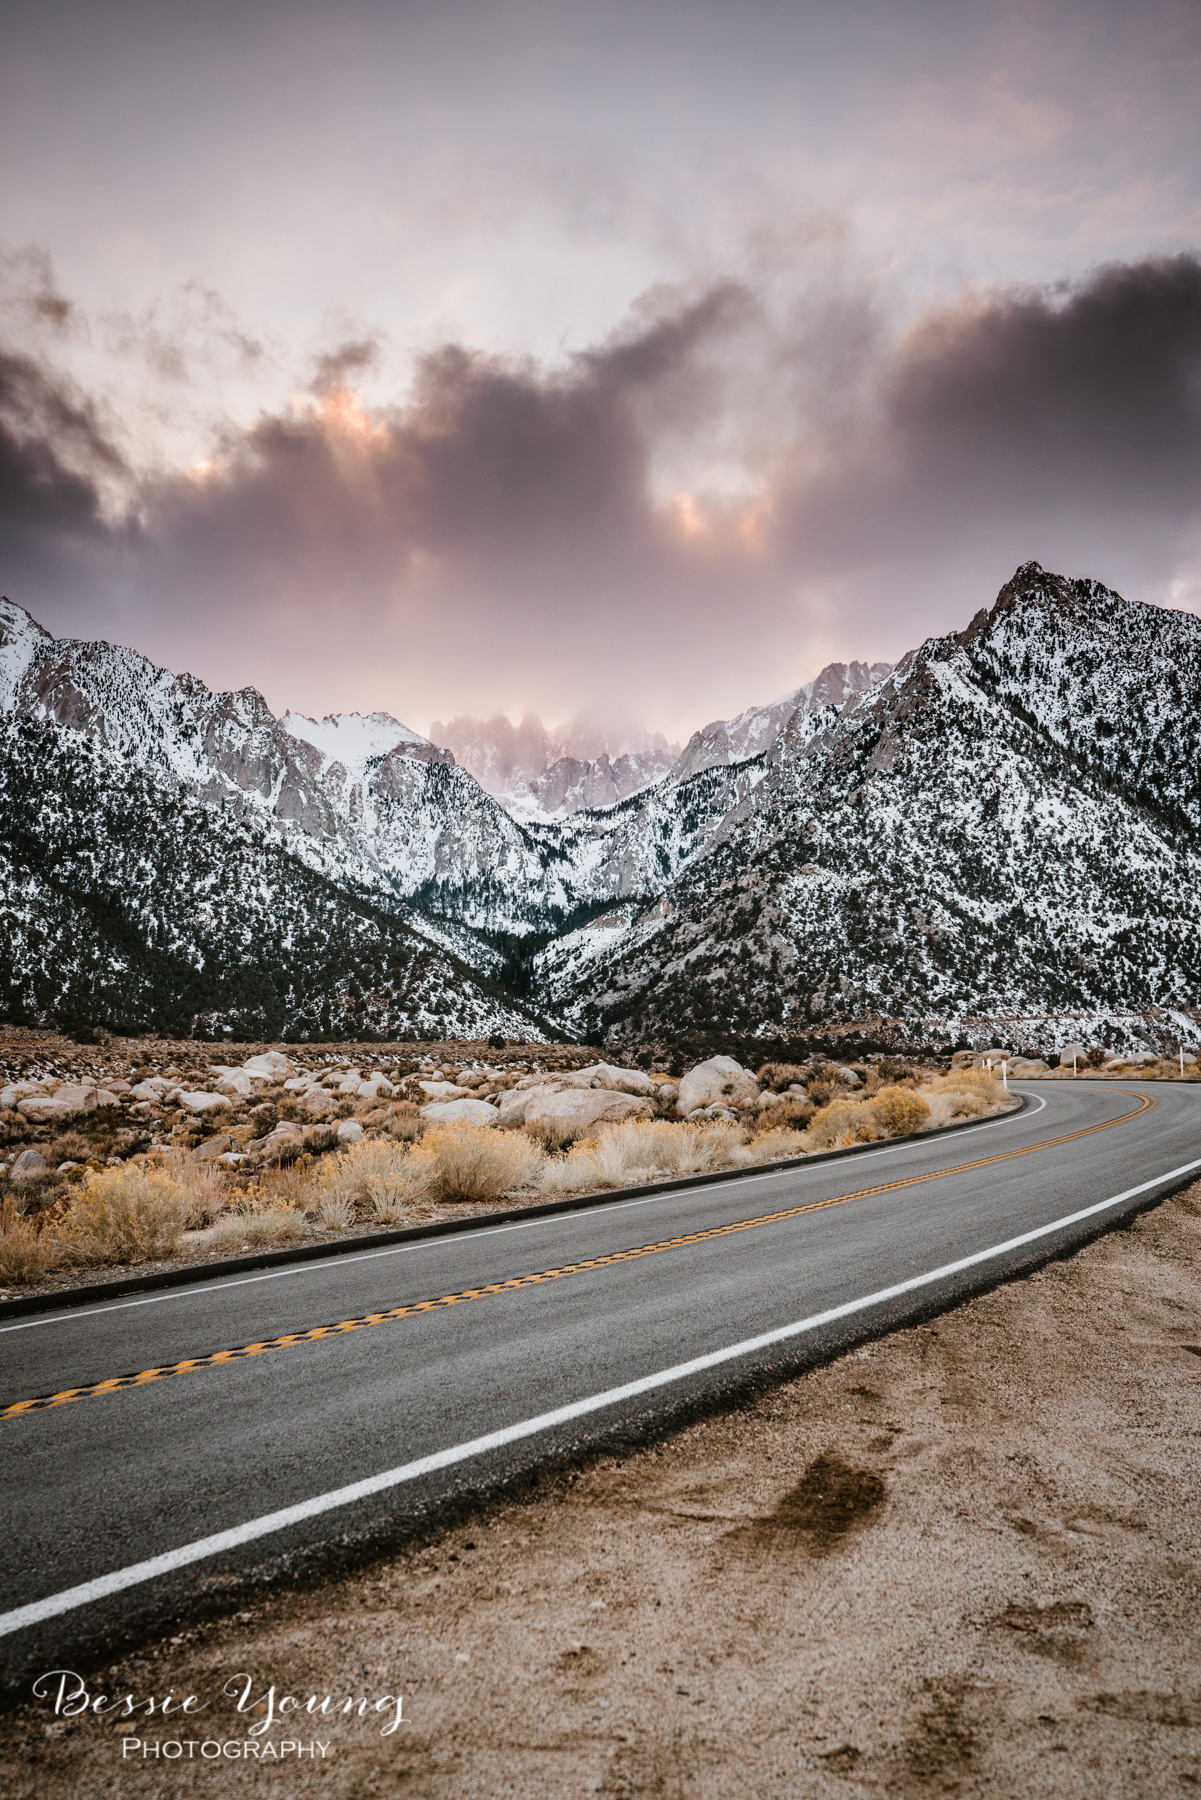
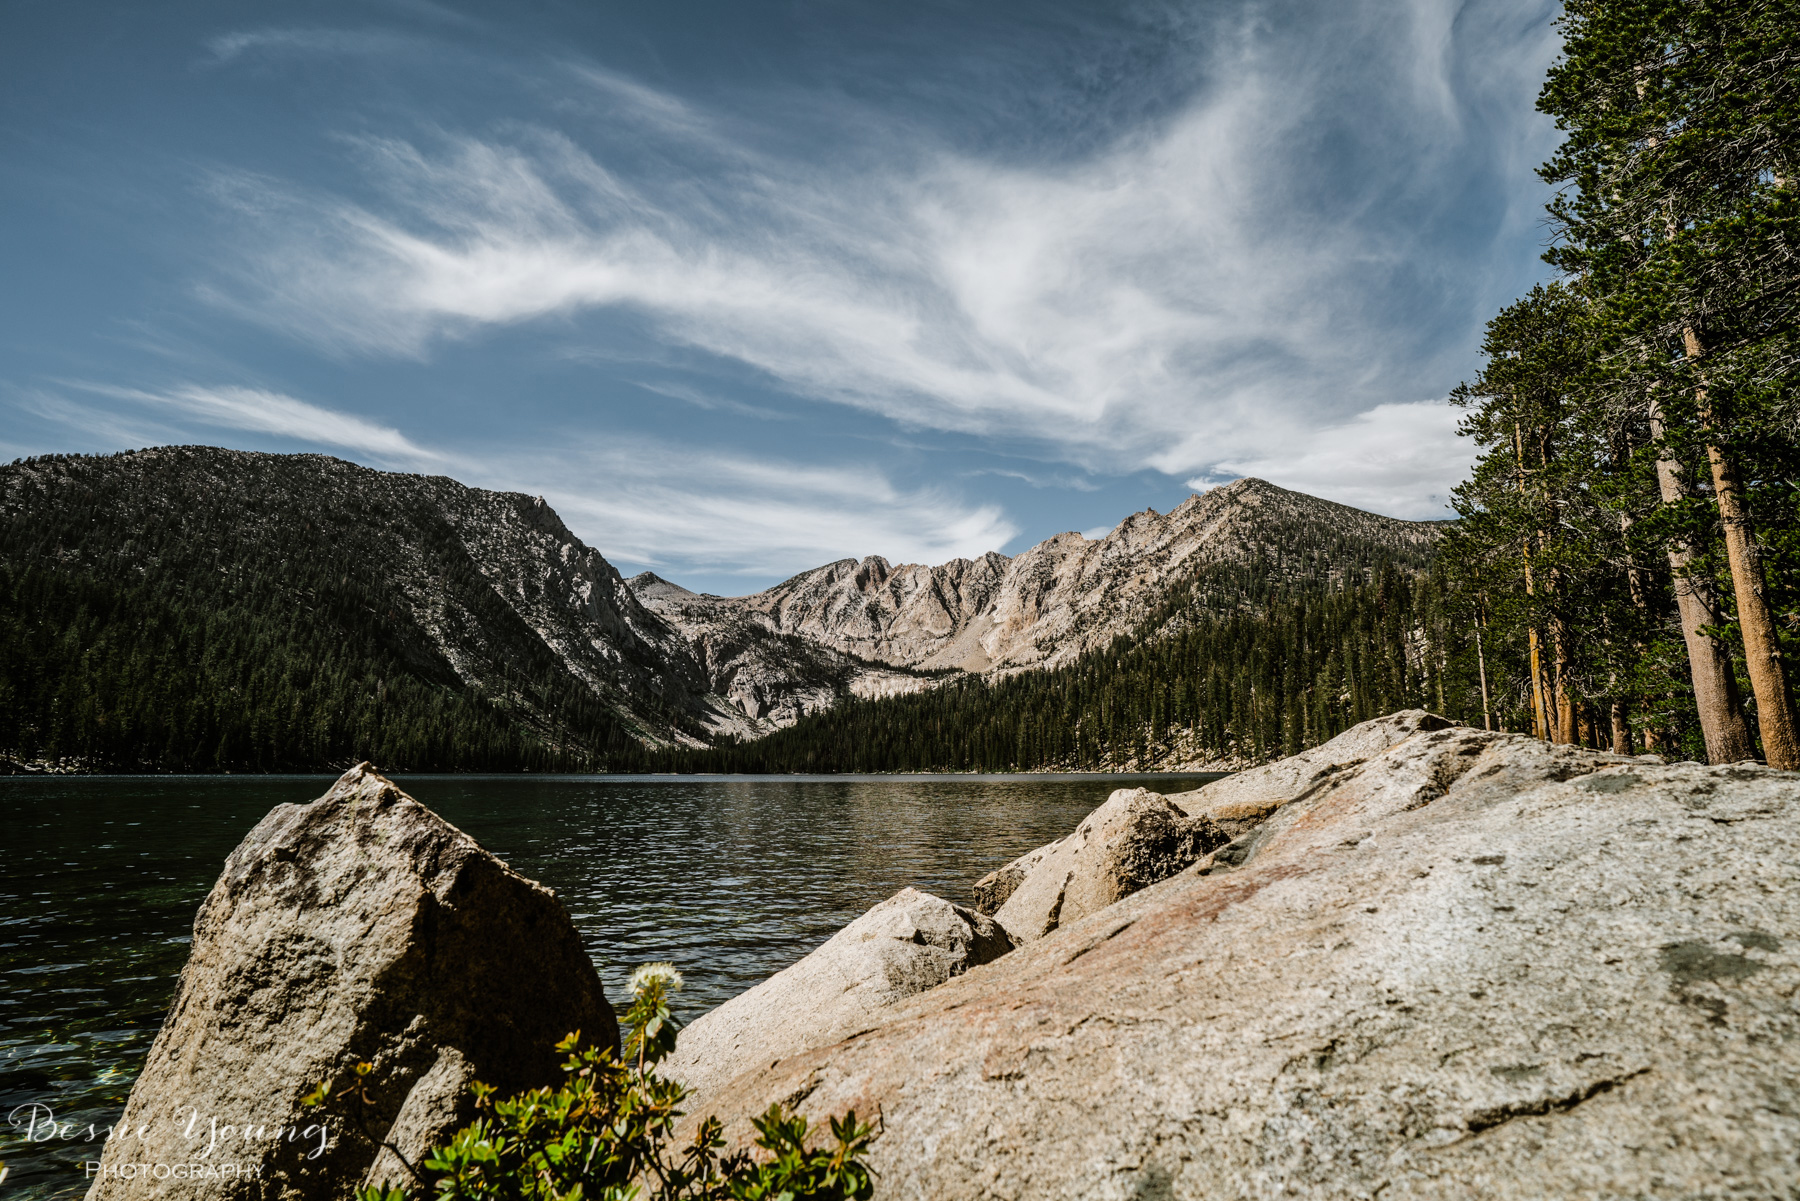
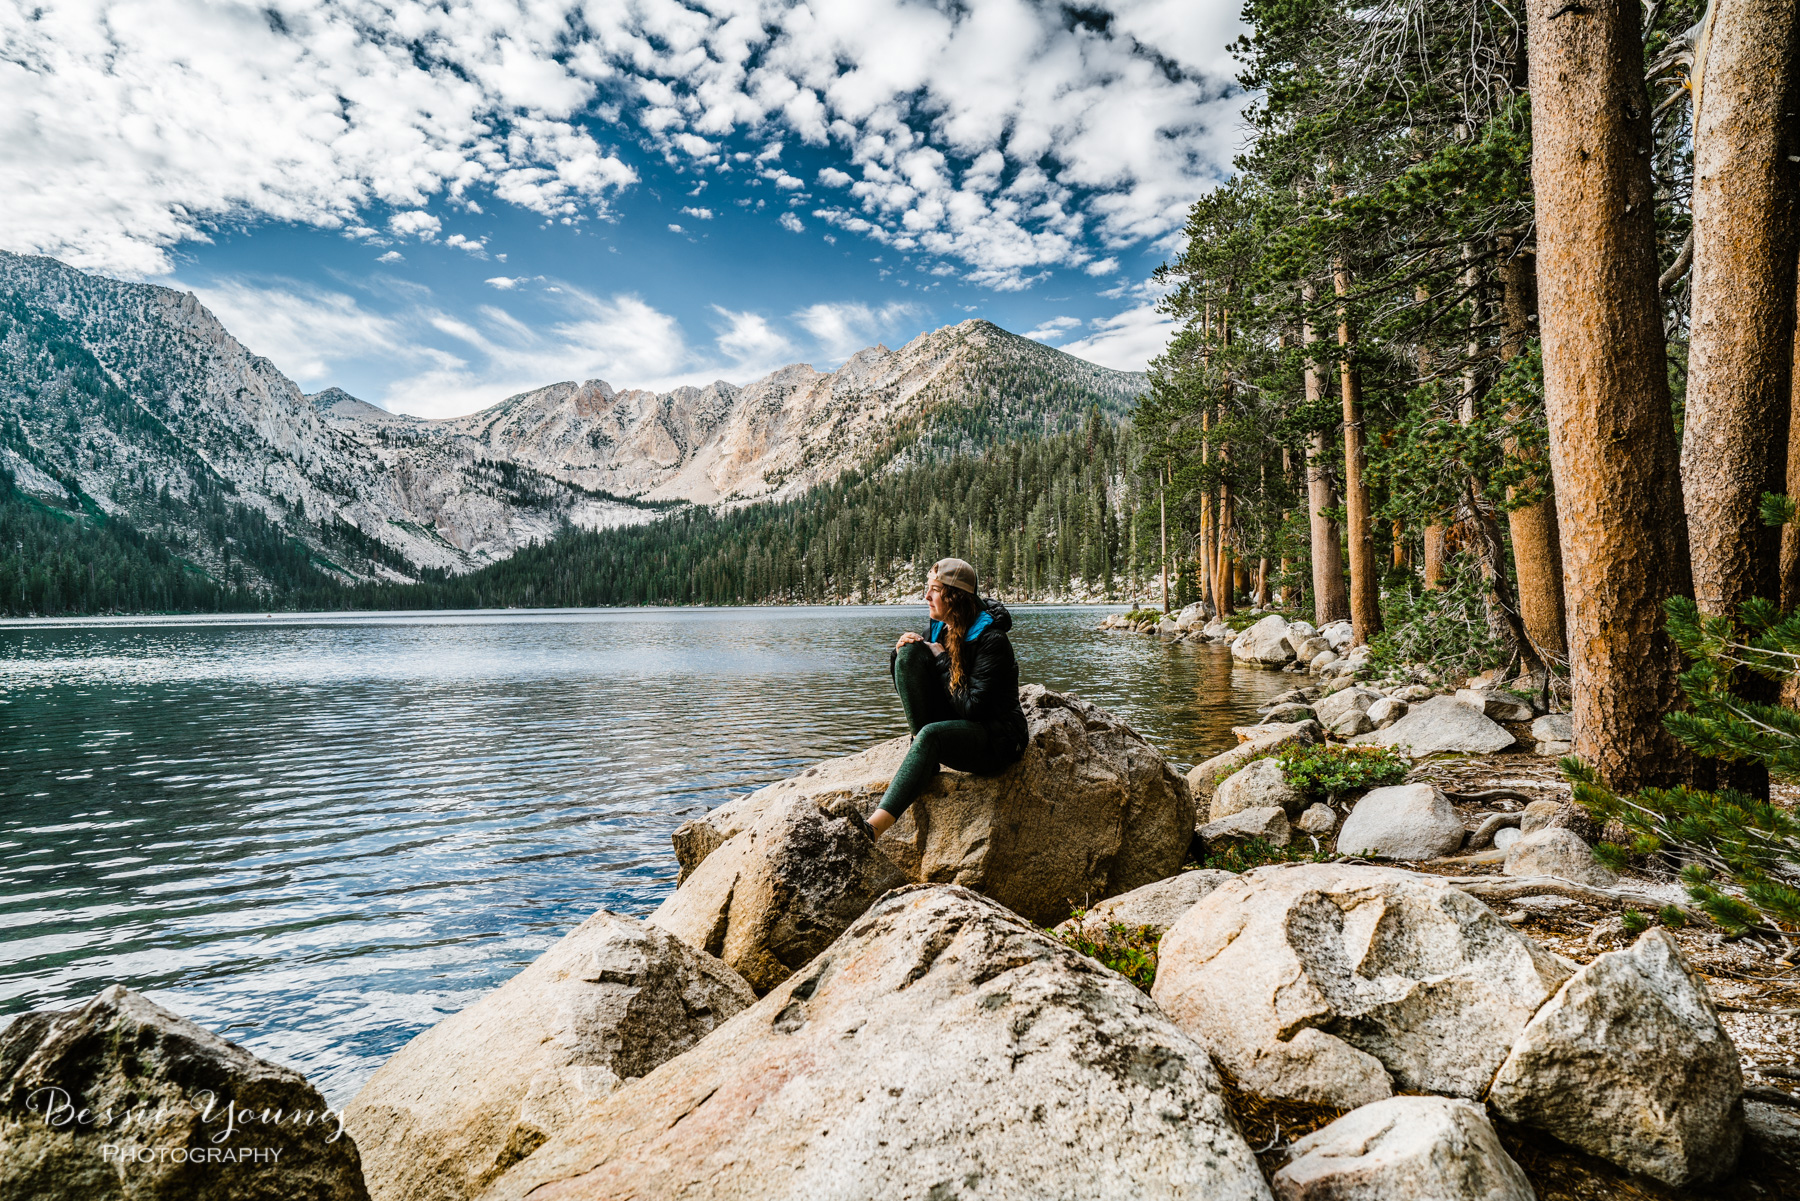
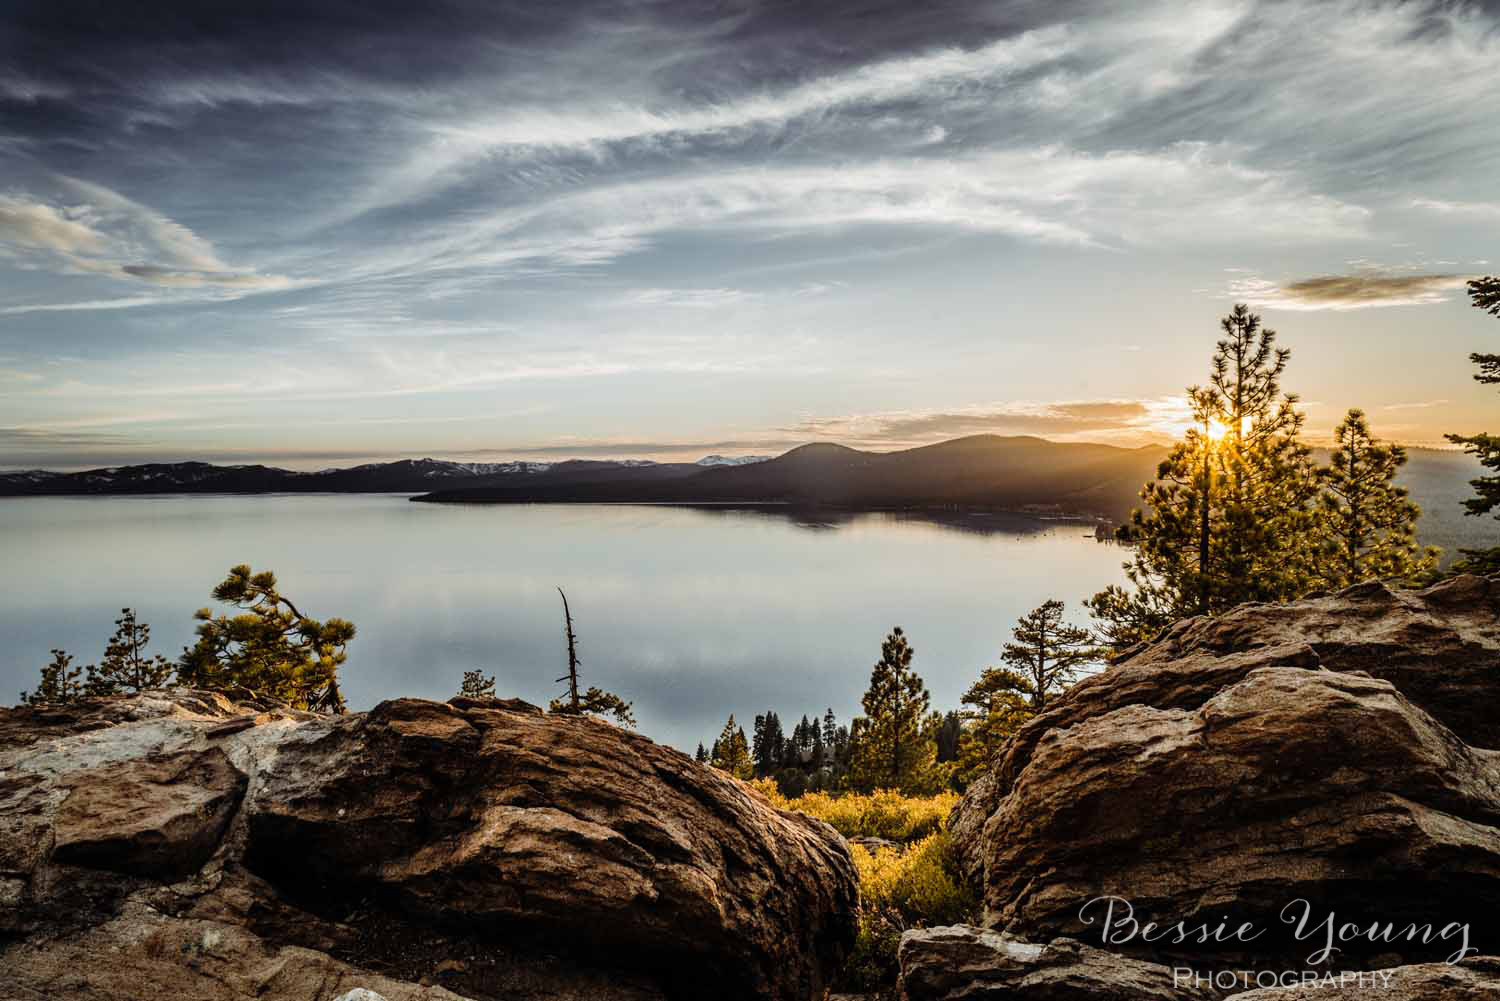
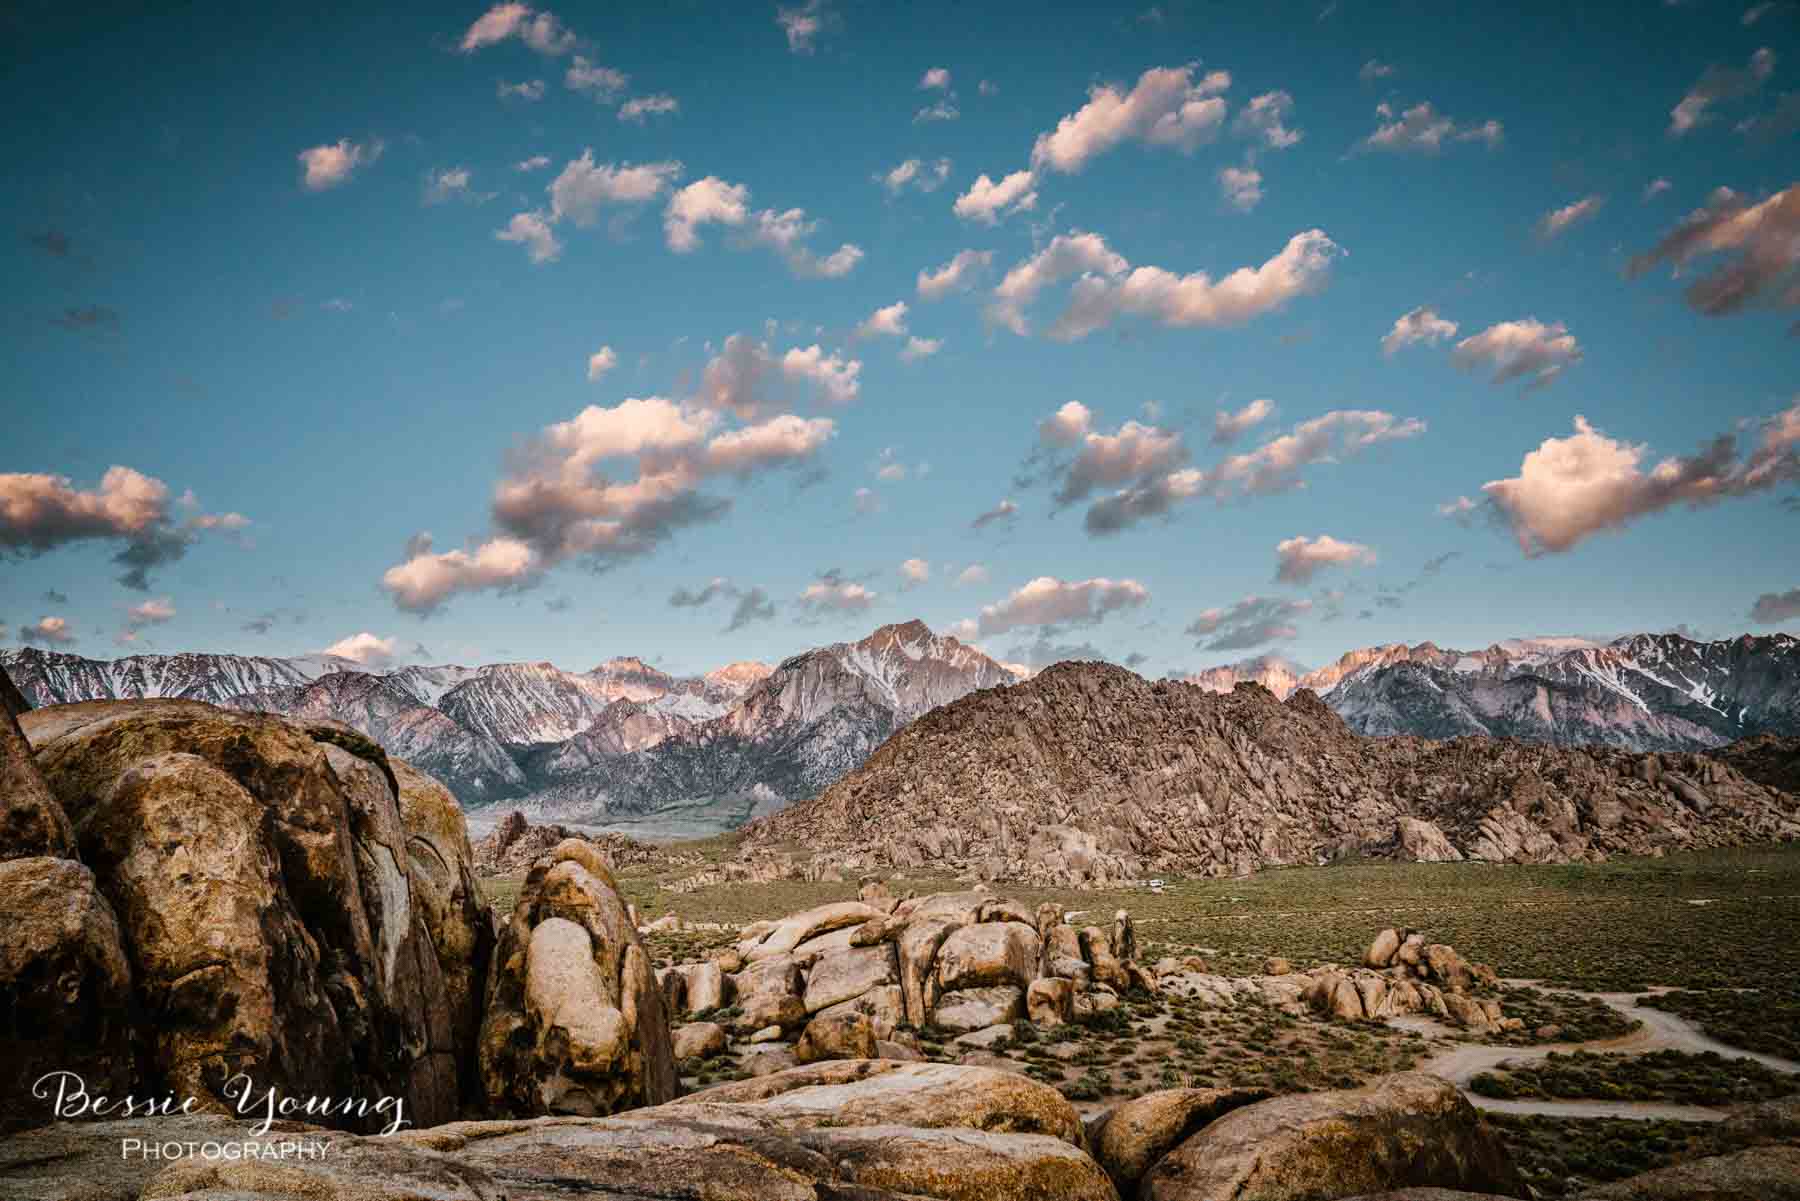
I drove around for quite some time to find that perfect spot, and I finally found it! It was the perfect little spot to view the mountains to the East and to view Mount Whitney to the West.


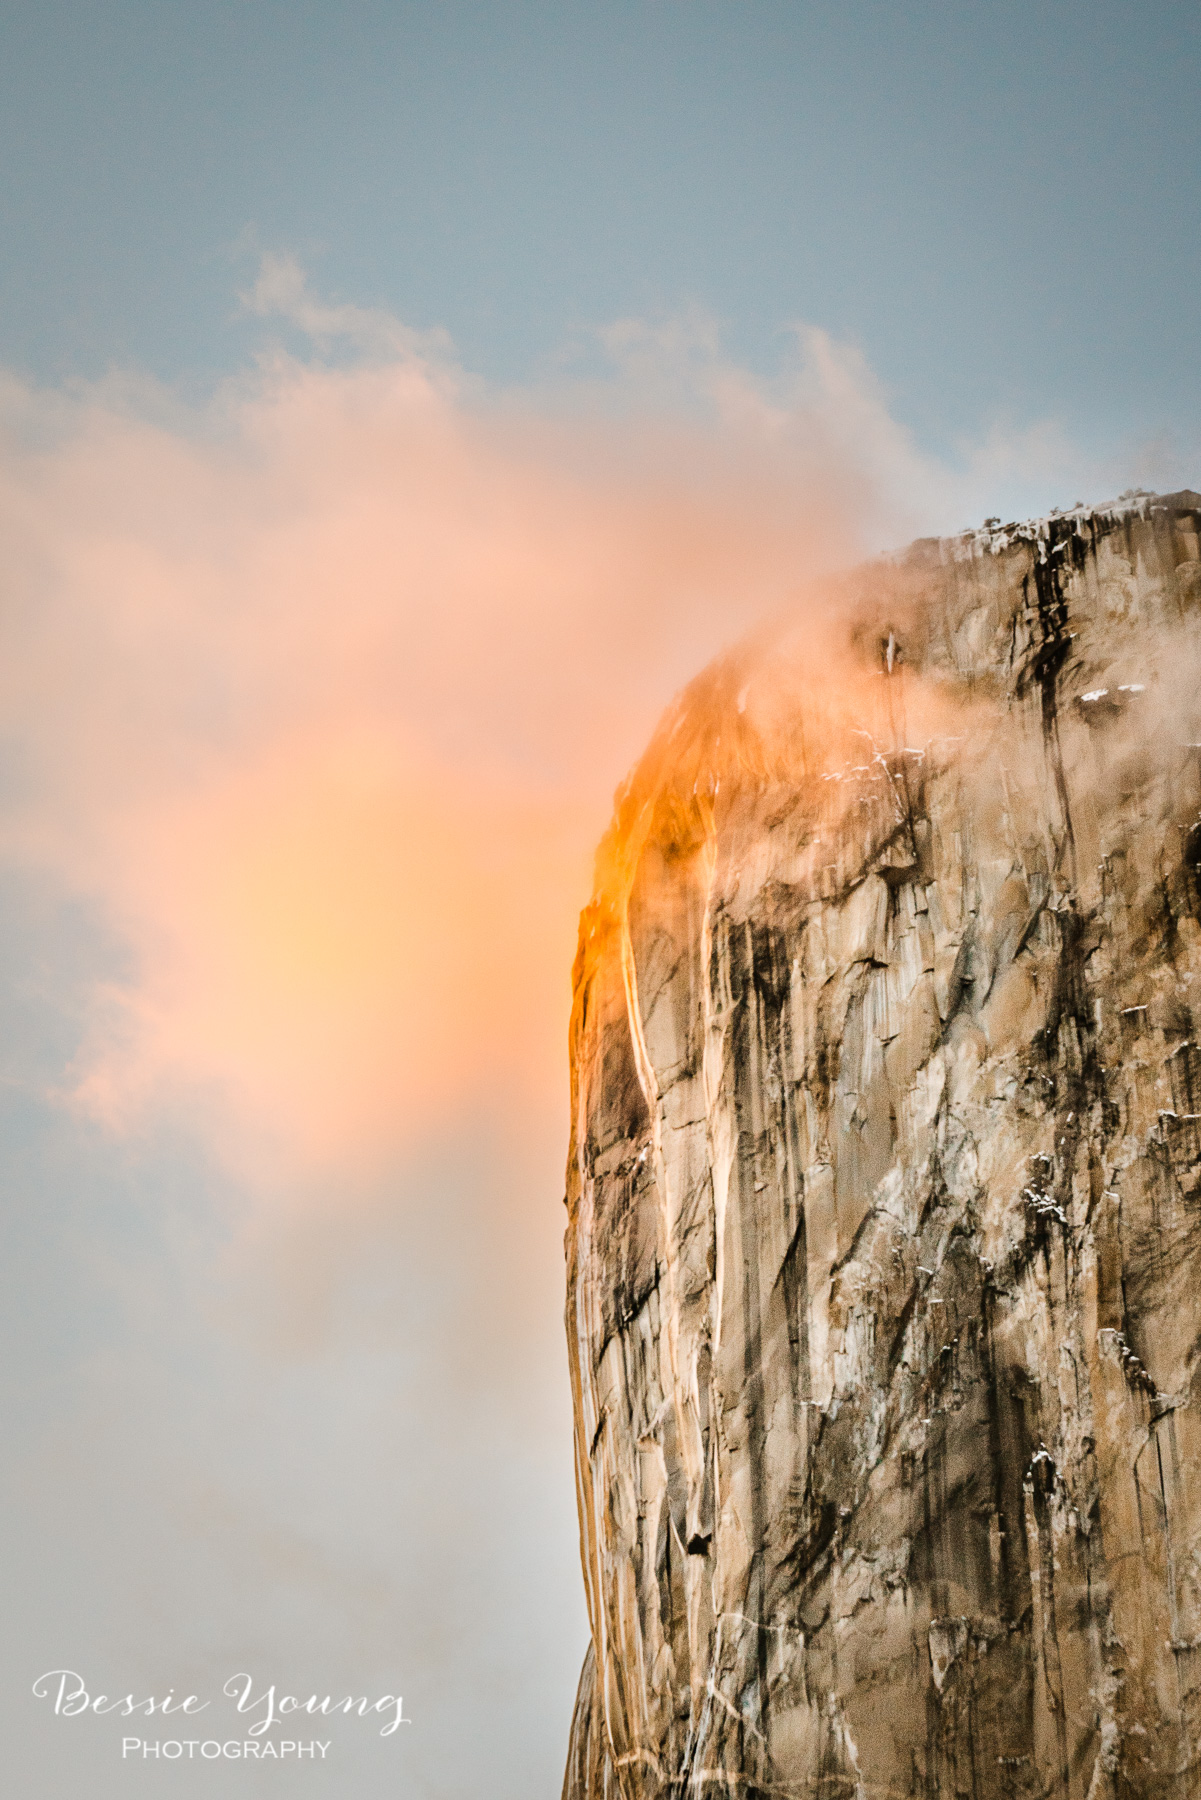
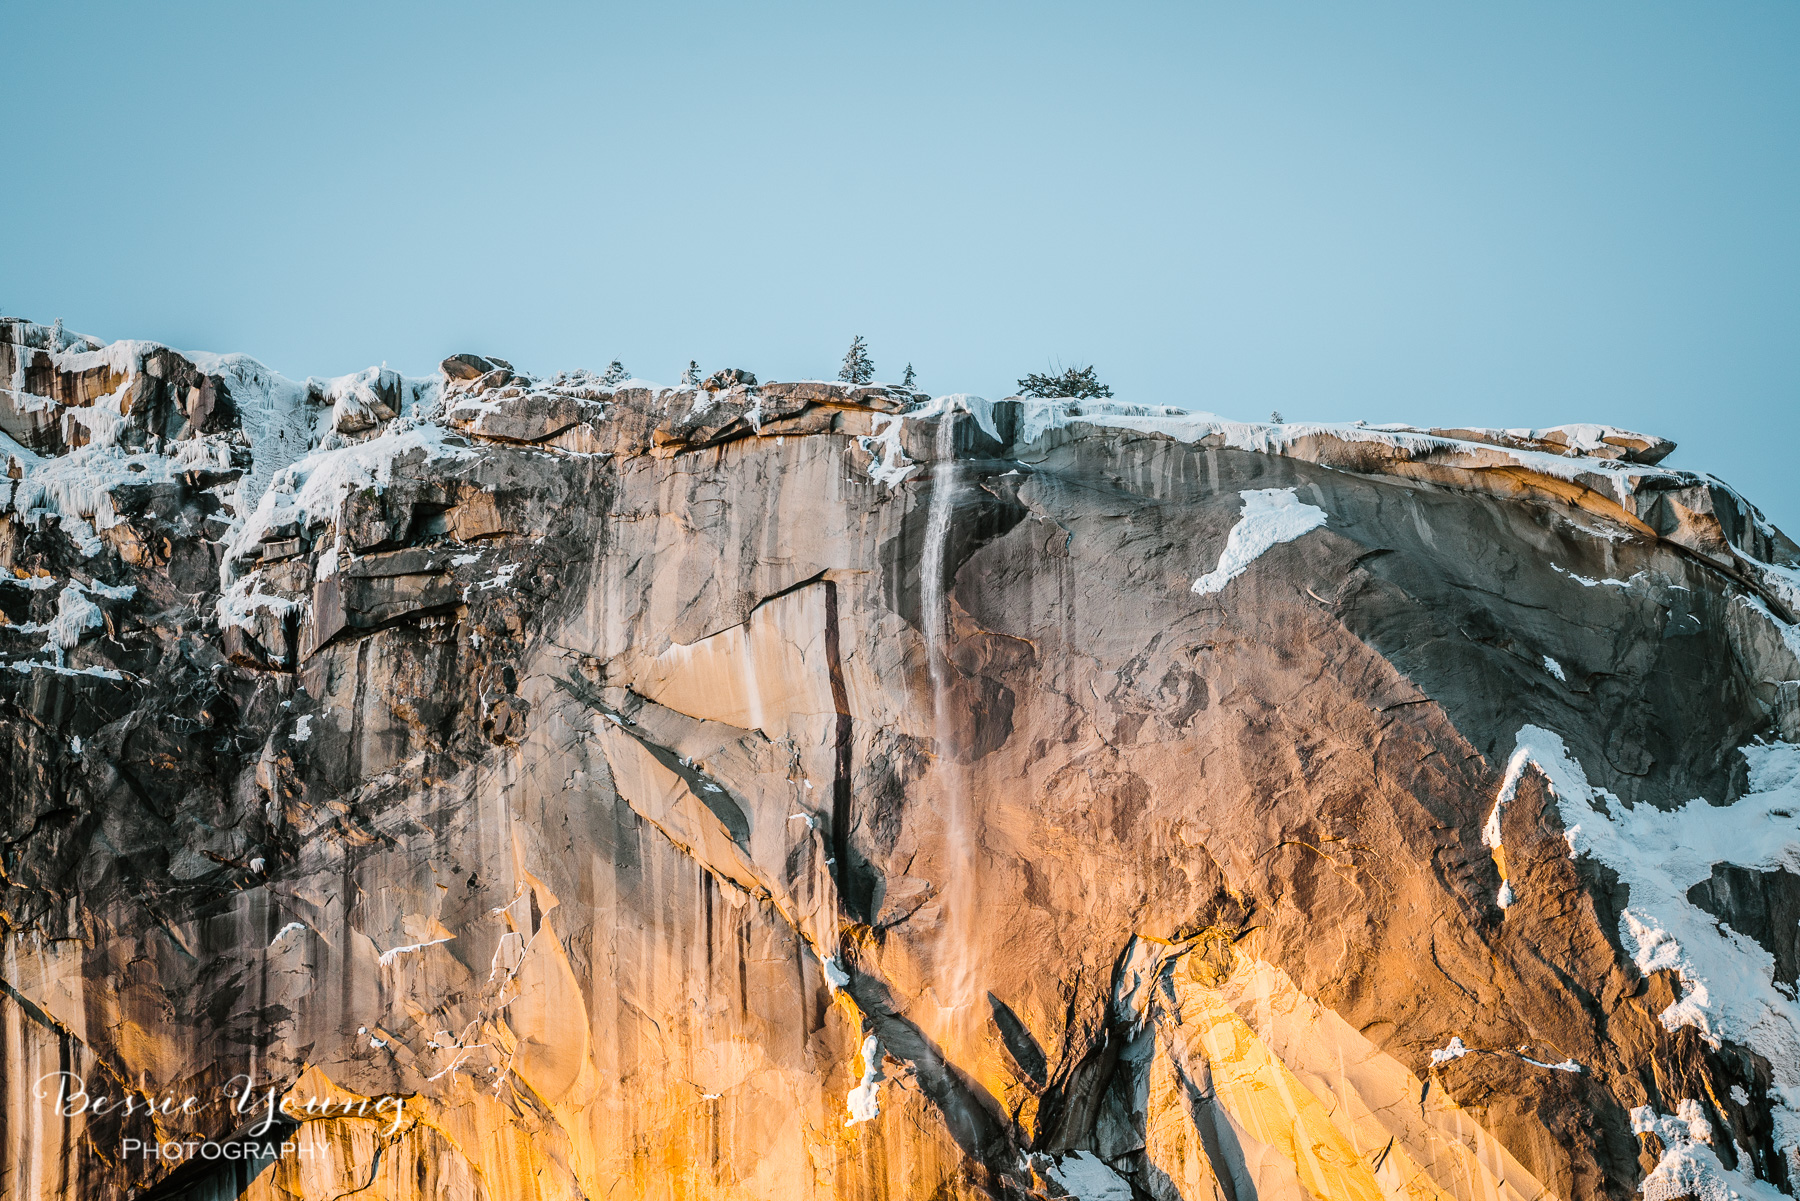
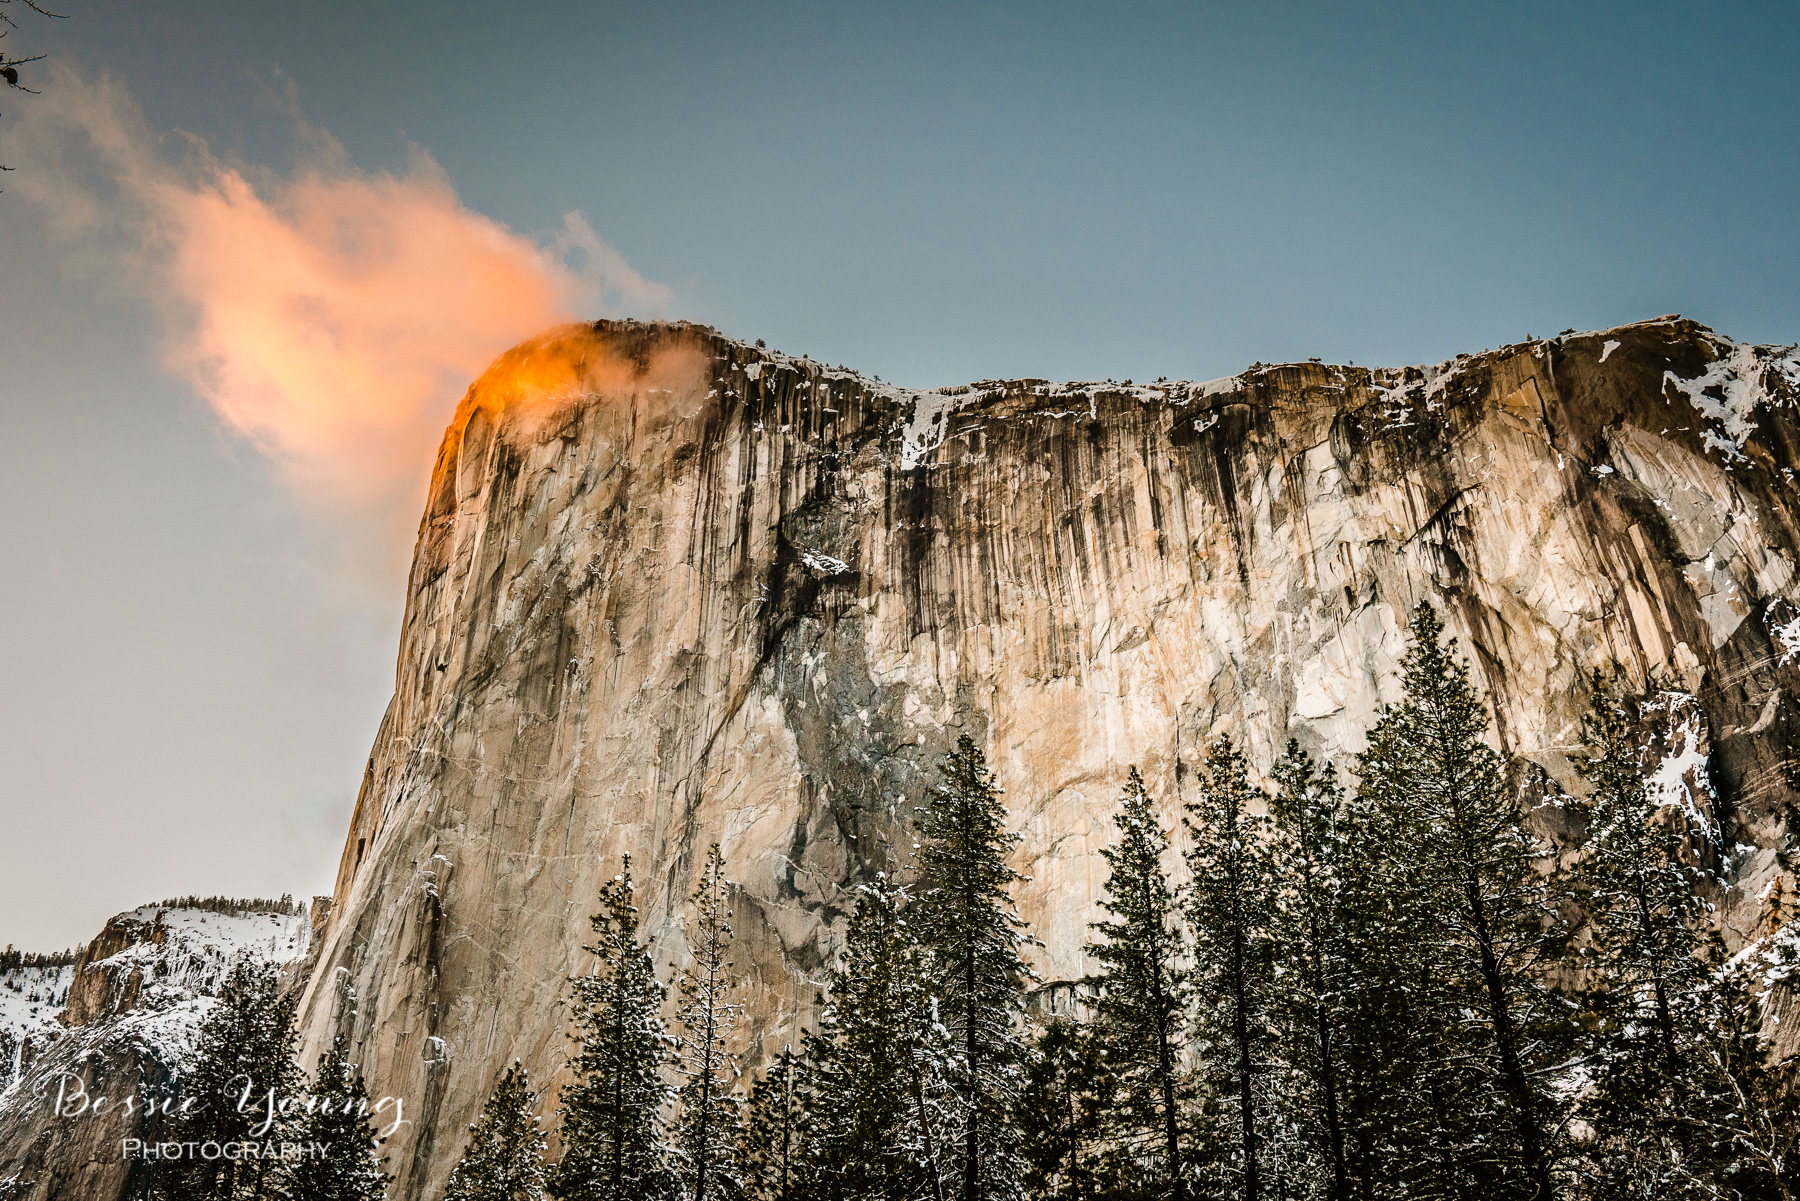
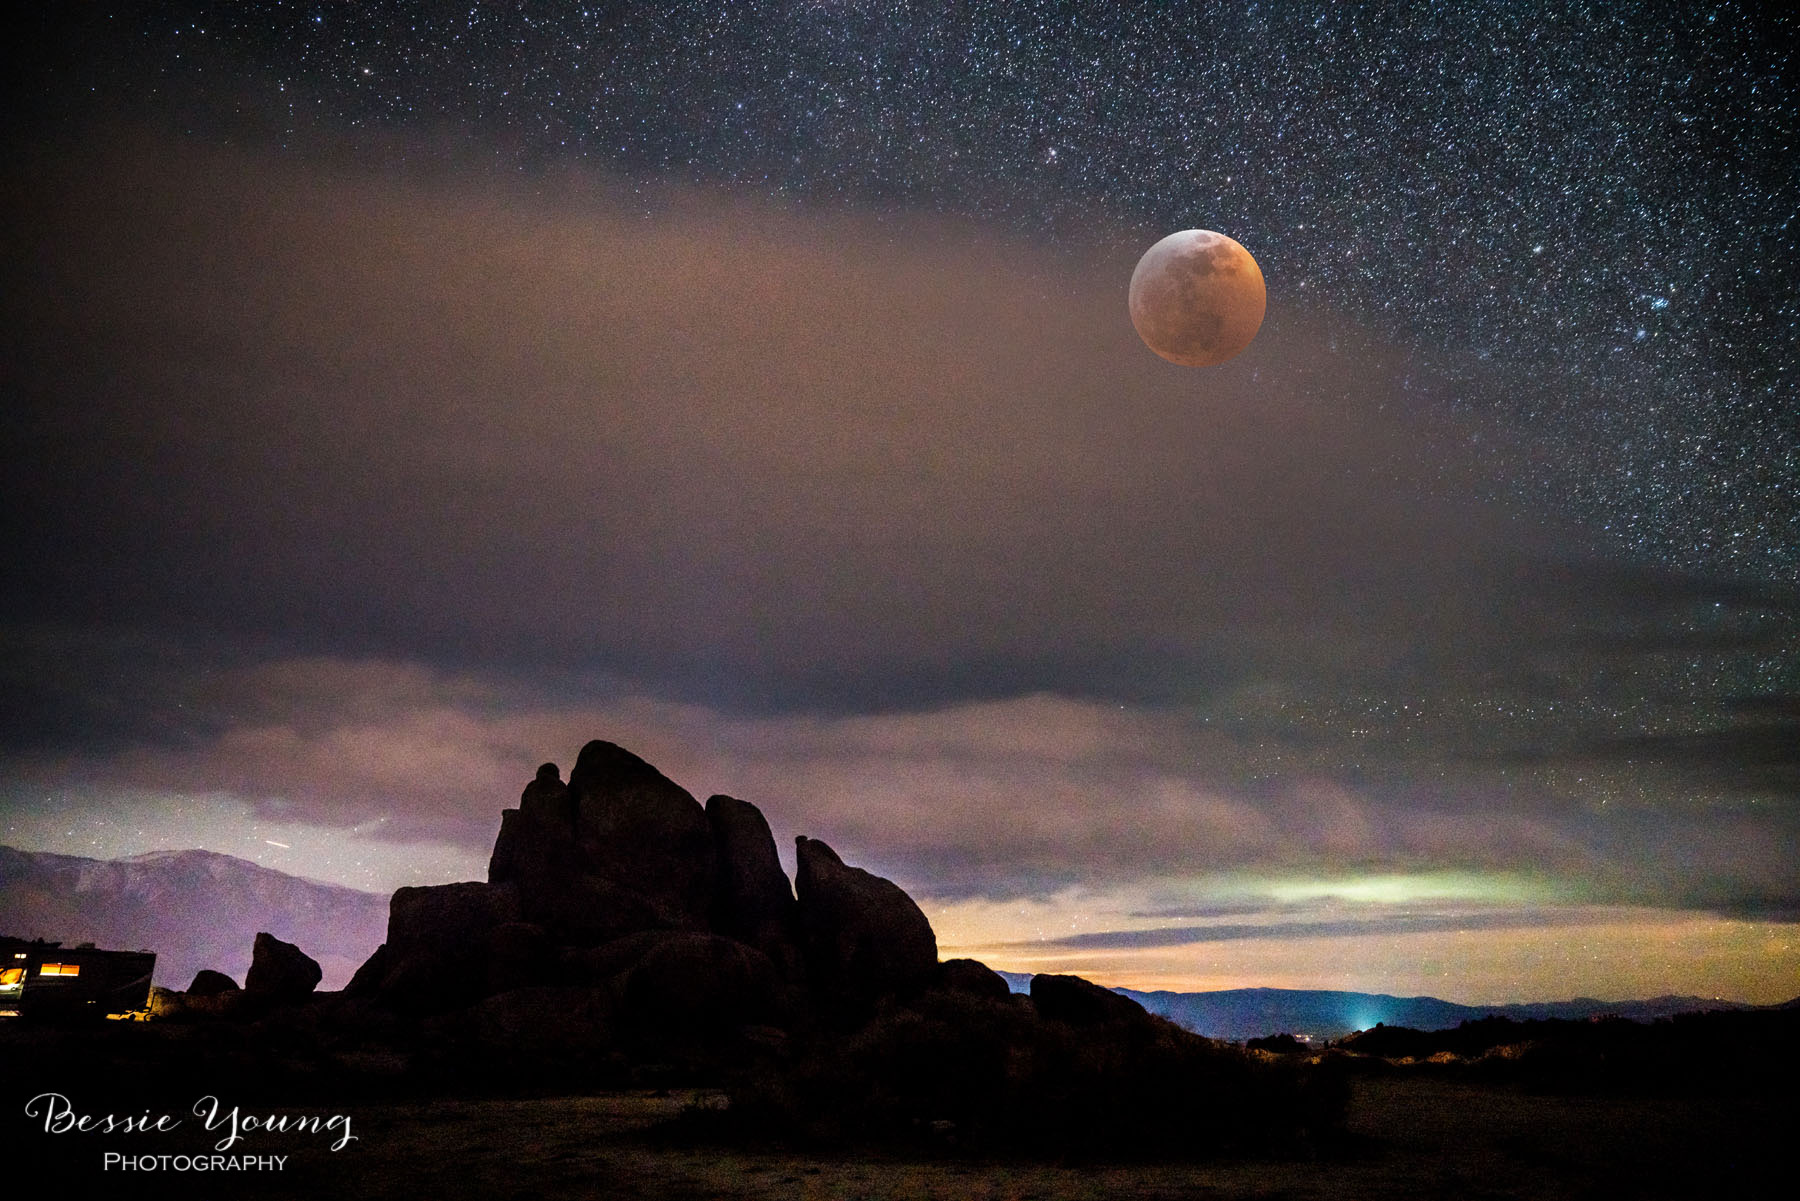
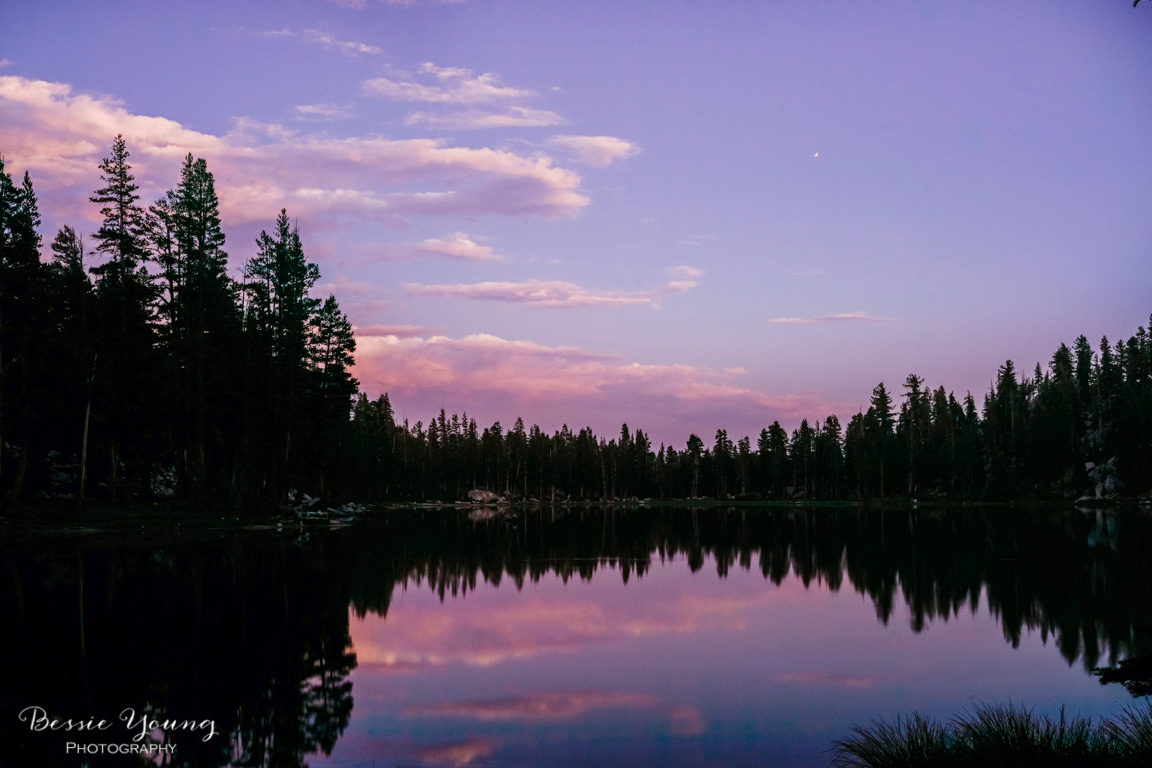
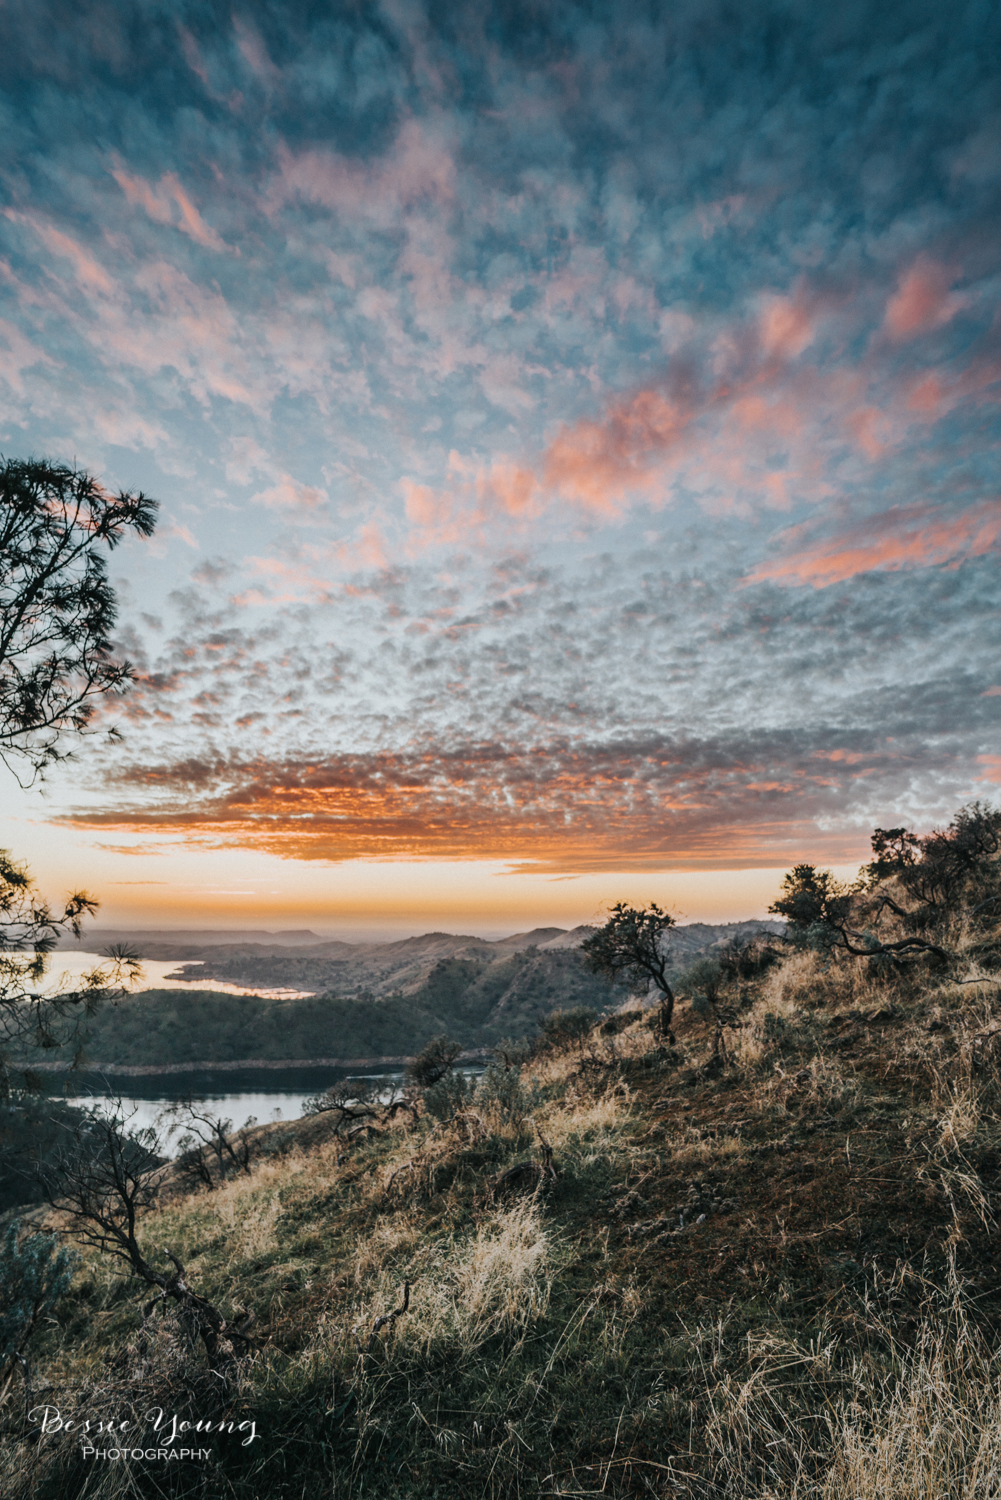
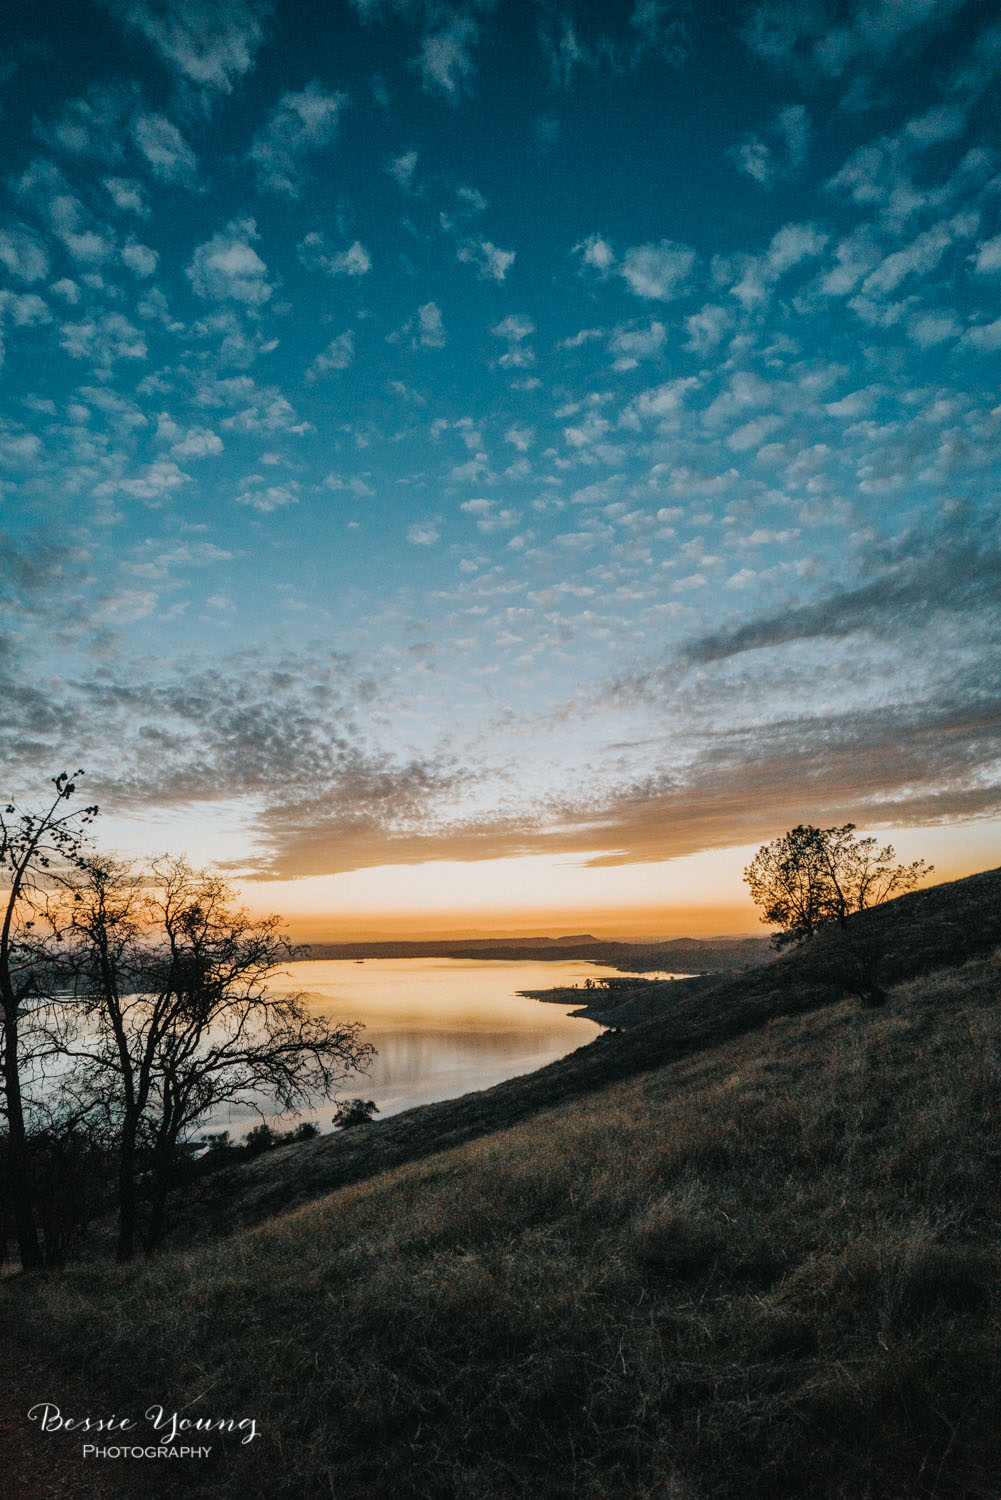
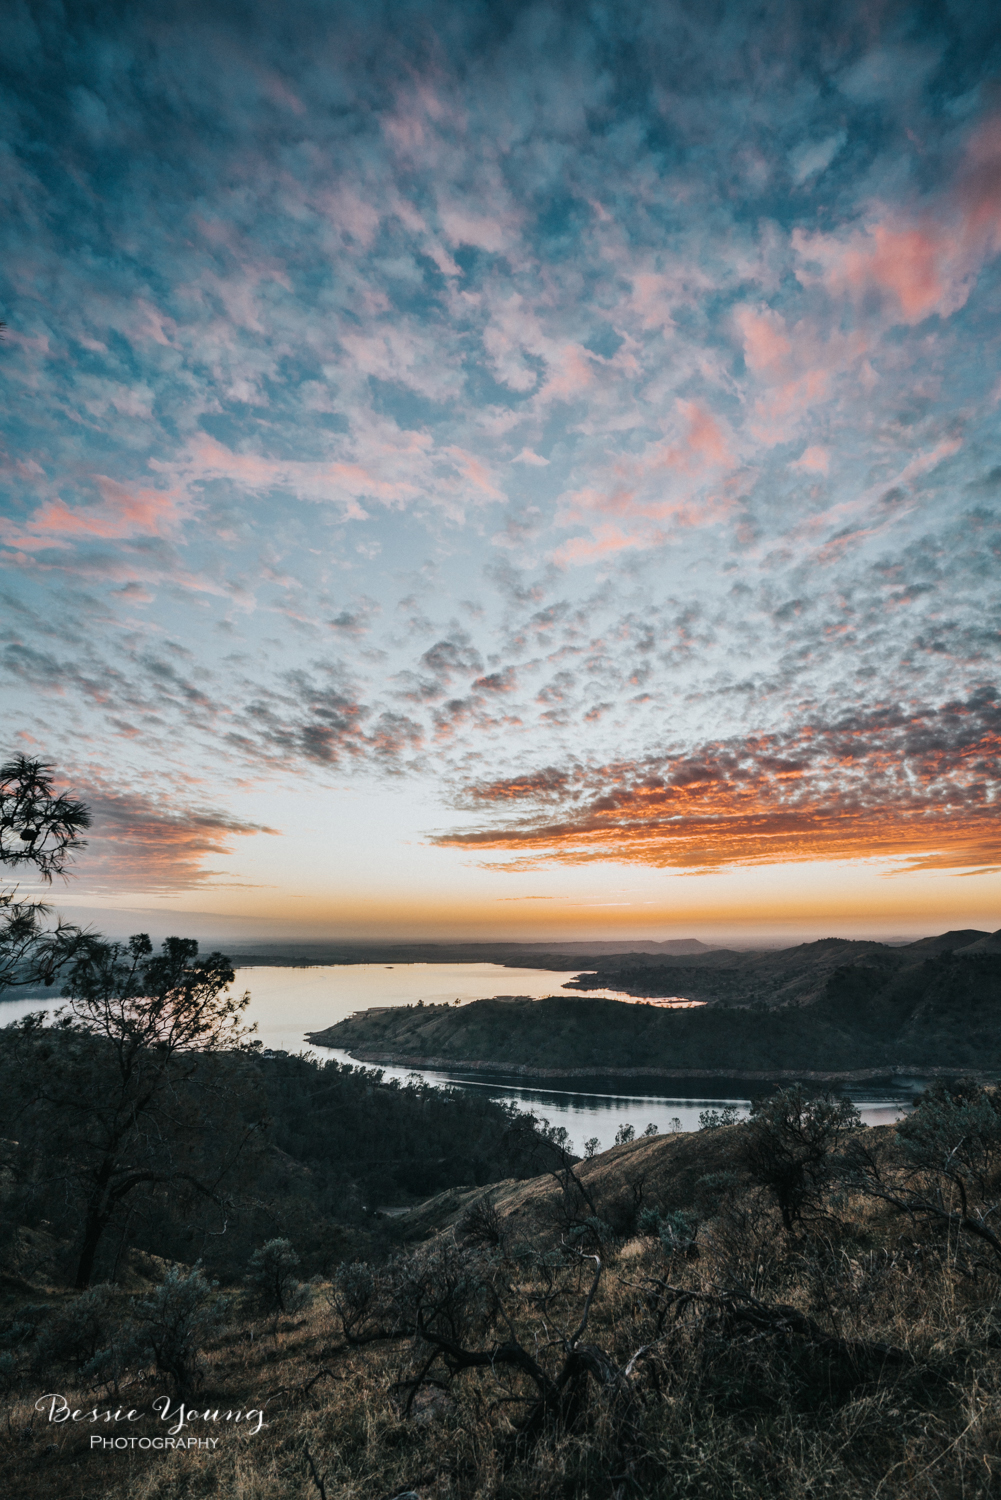
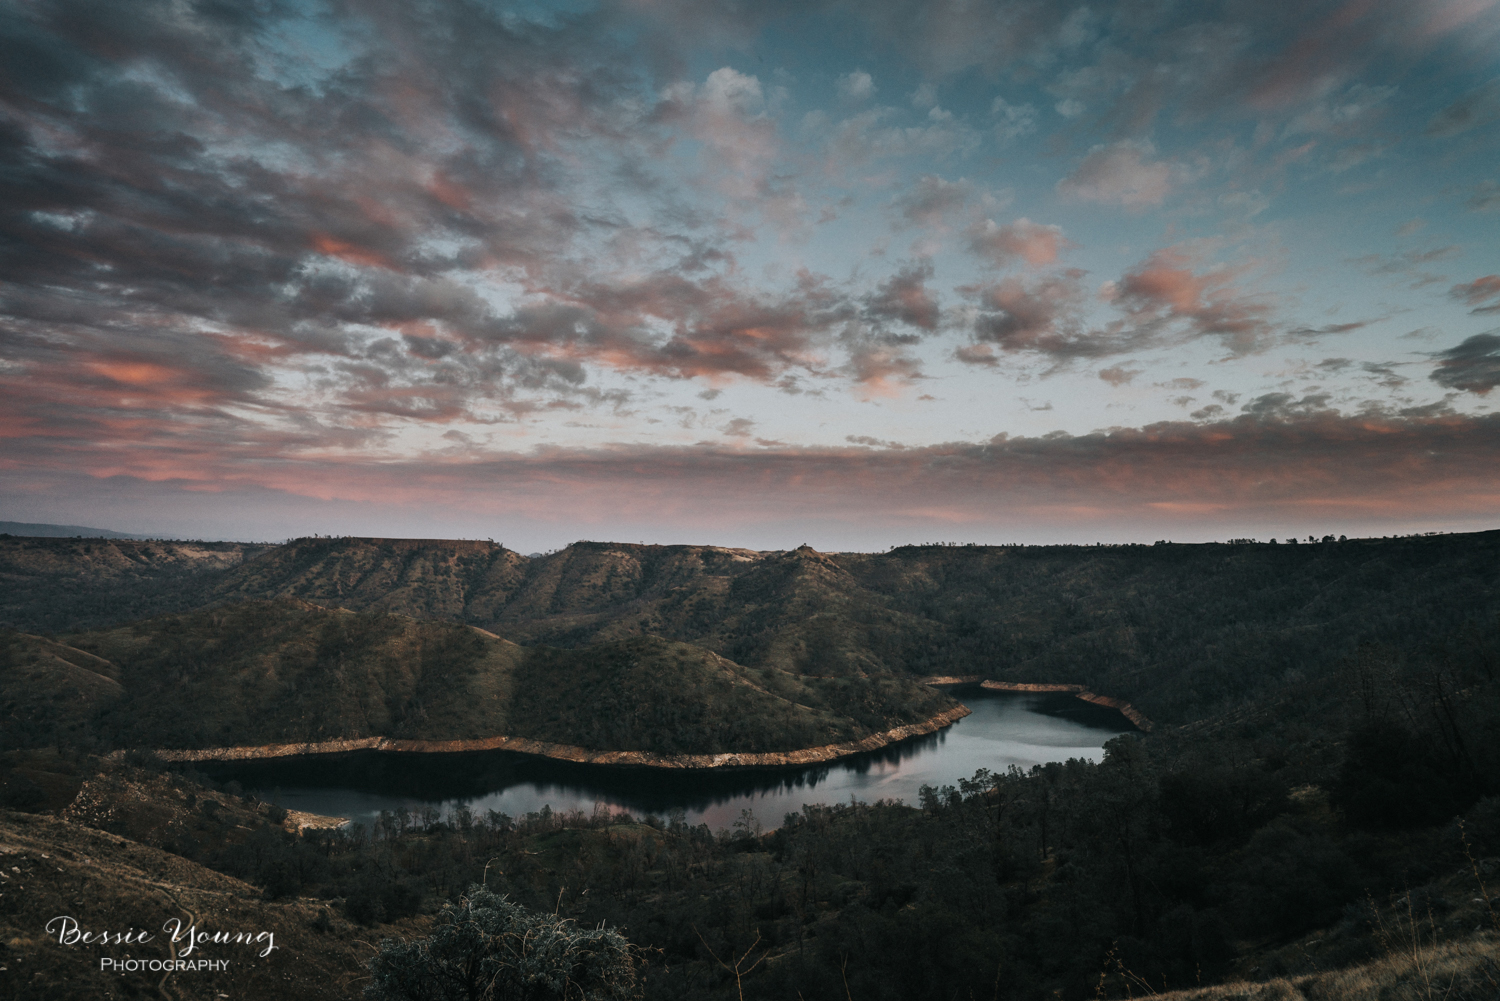
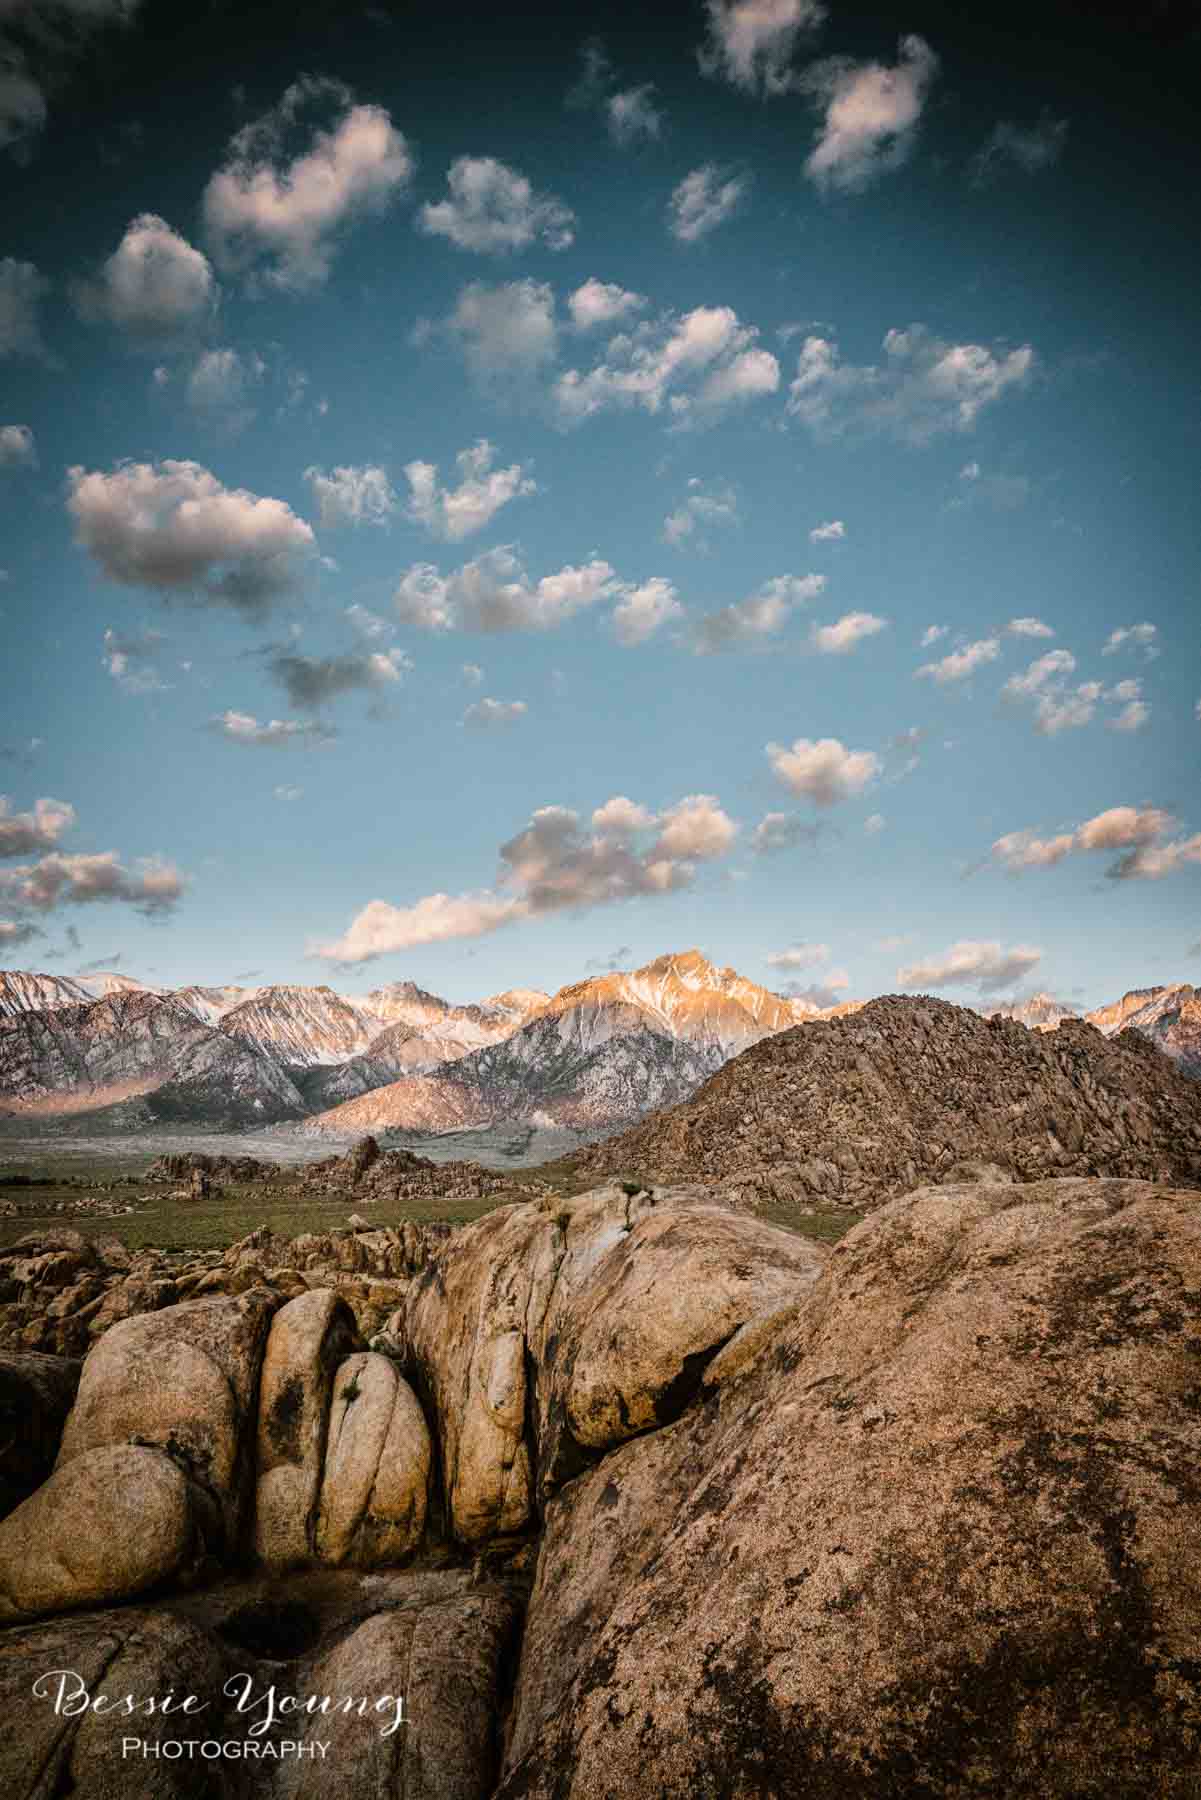
Alabama Hills Sunrise:
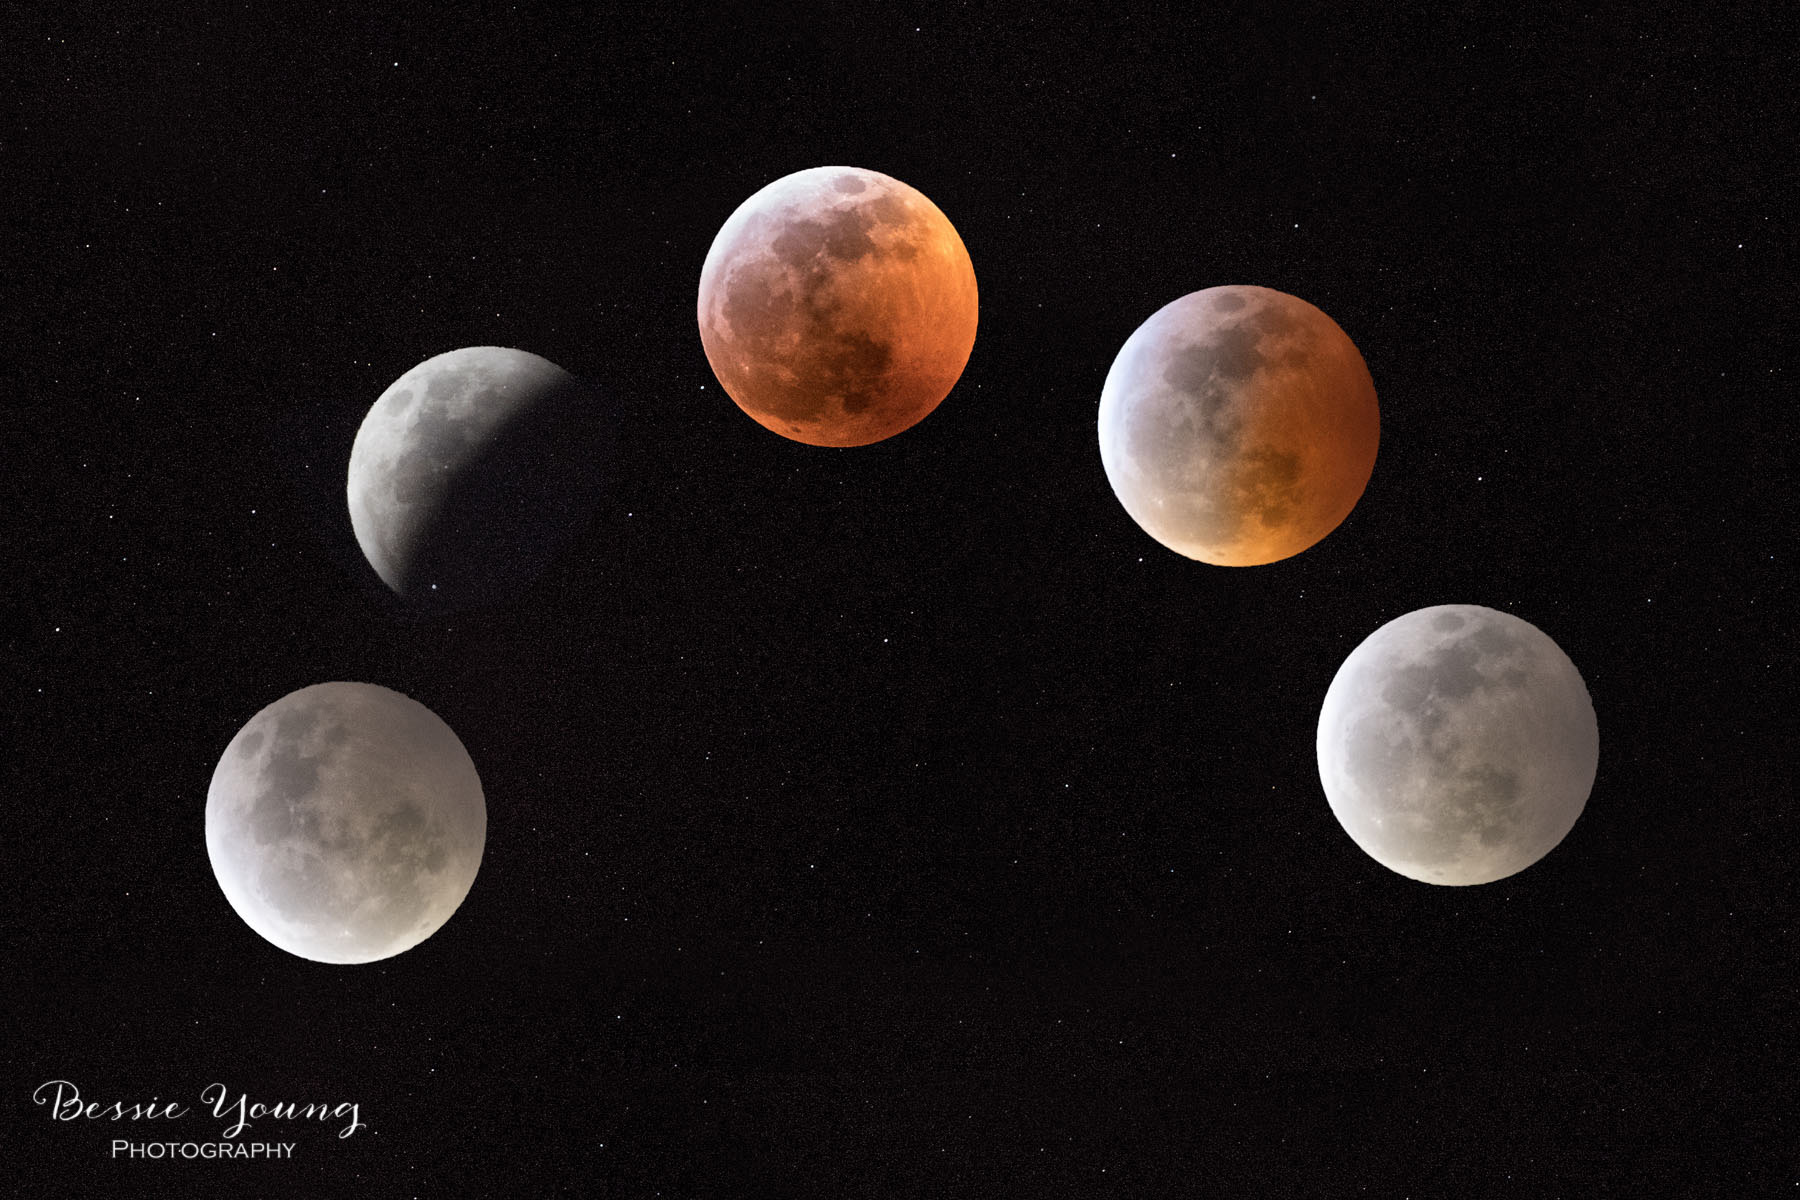
I woke up at the crack of dawn, literally lol. I was sleeping in the back of my truck and facing east. Yep, the light before the sunrise was crazy bright. It was about 5am, and I just knew I wasn’t able to go back to sleep. Plus, I had that little voice inside my head yelling at me, telling me
“You better get your bootay out of bed or else you are going to miss the sunrise!”
So, I dragged my lazy self out of bed, and started to witness a beautiful sunrise. I debated on creating a Youtube video for the trip. I wasn’t going to because I really wanted to focus on taking pictures, on falling in love with photography again, and realizing why the heck I do this in the first place, but I just couldn’t help myself. I HAD to create a video in order to share all the amazingness with you.
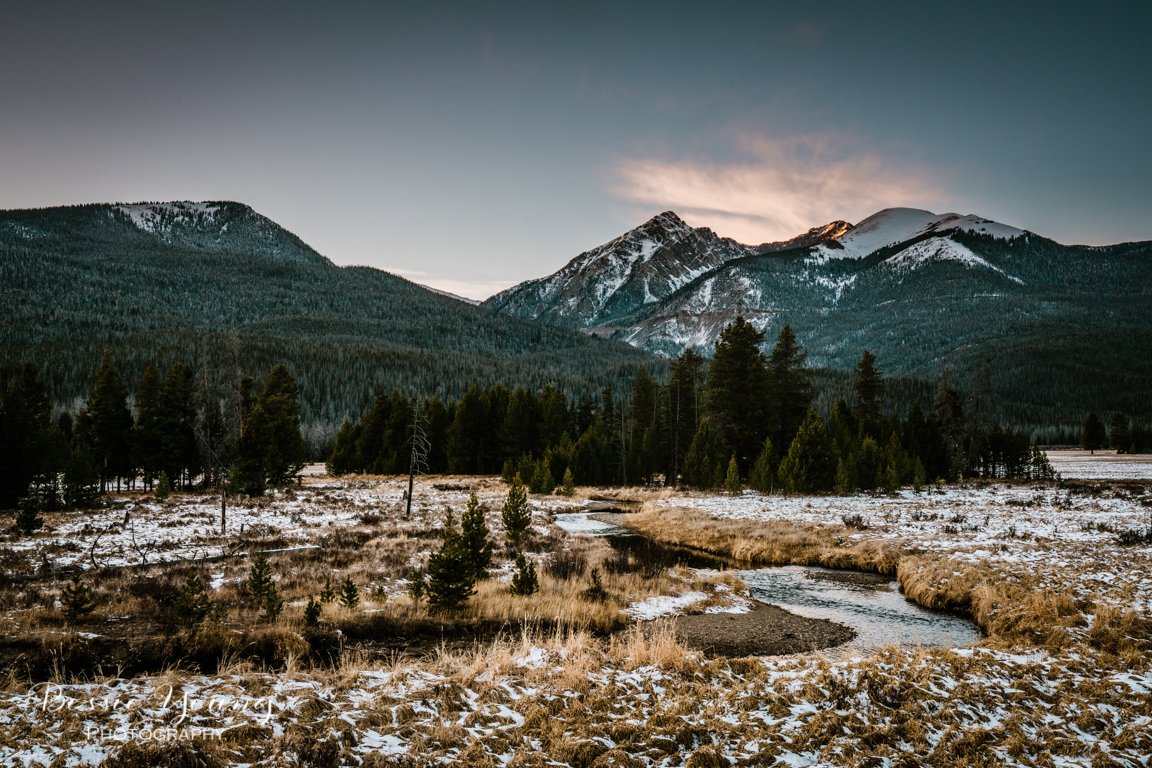
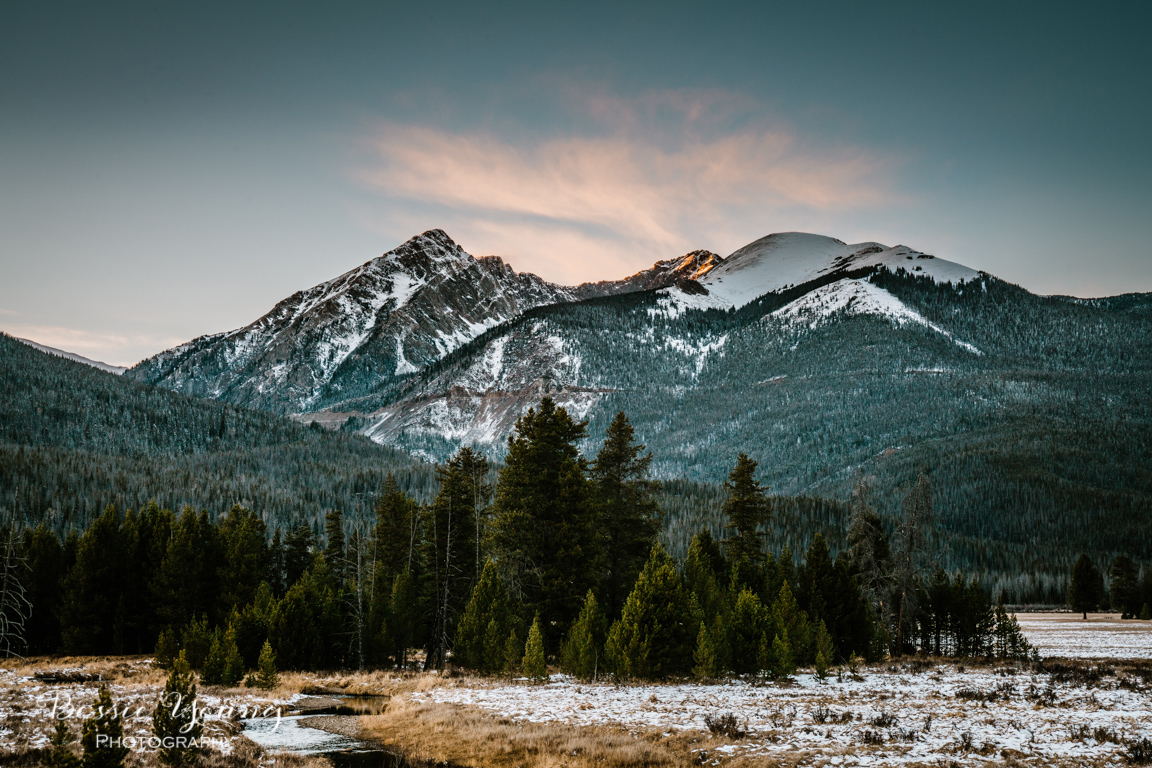
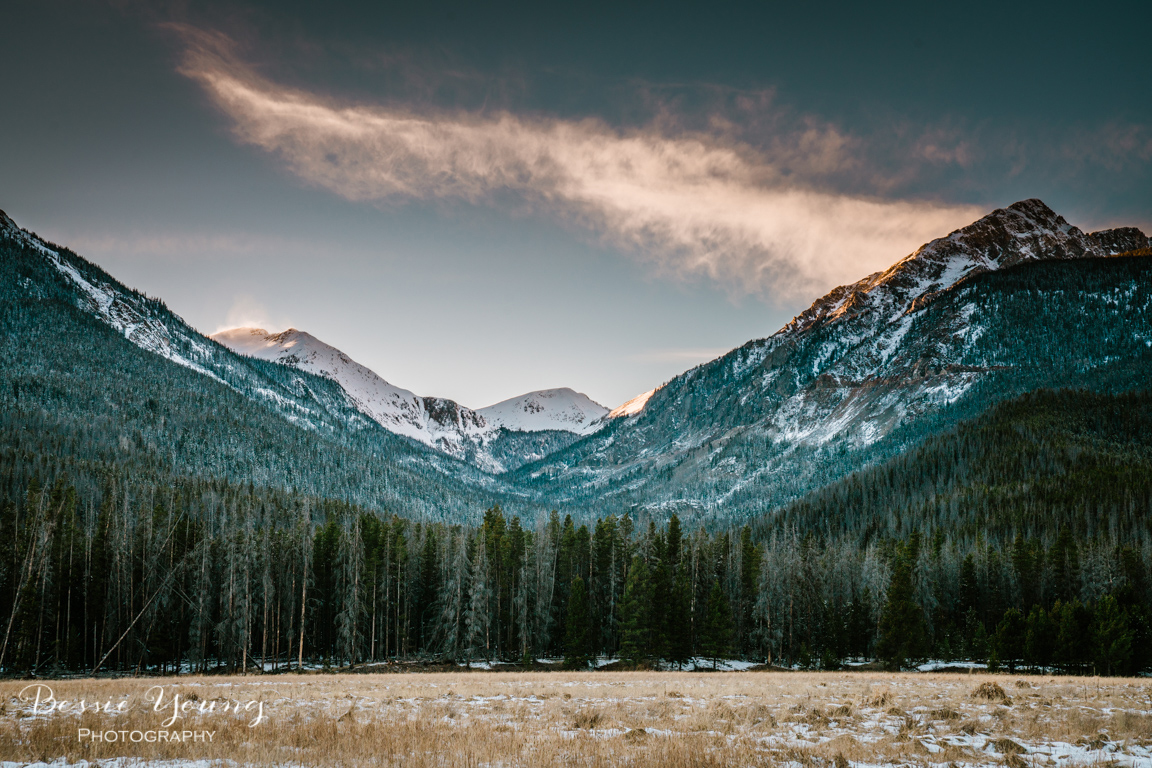
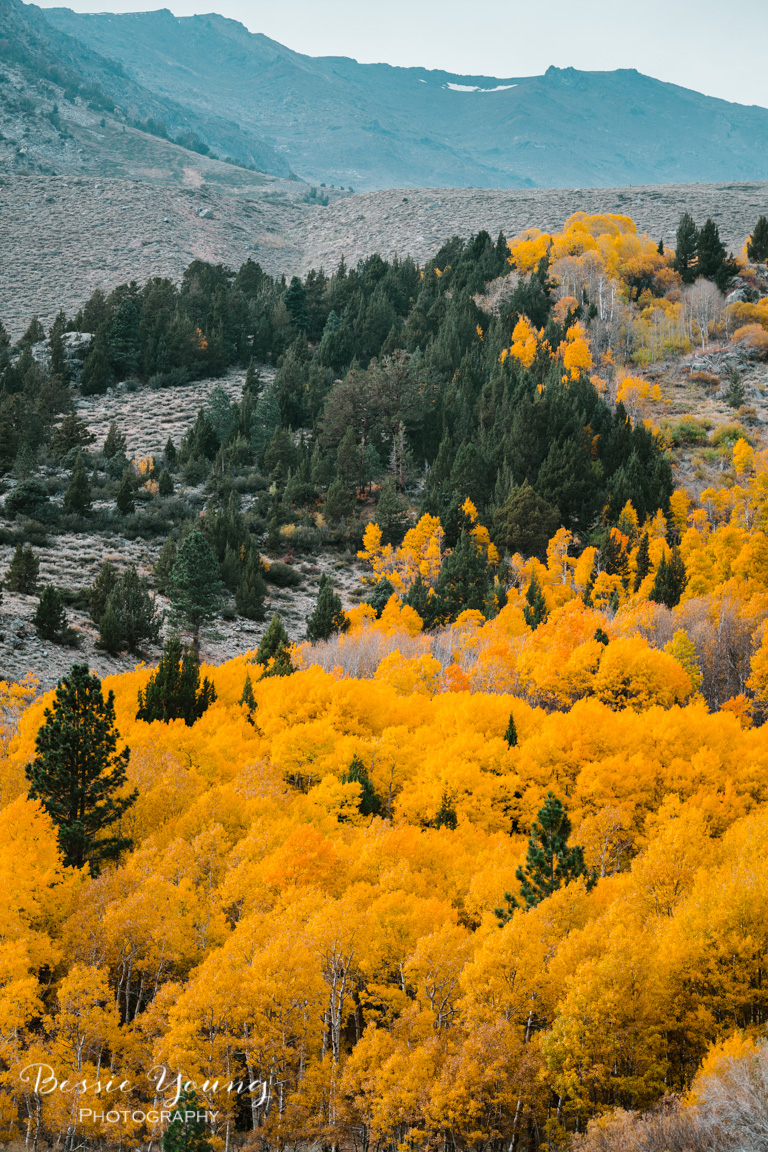
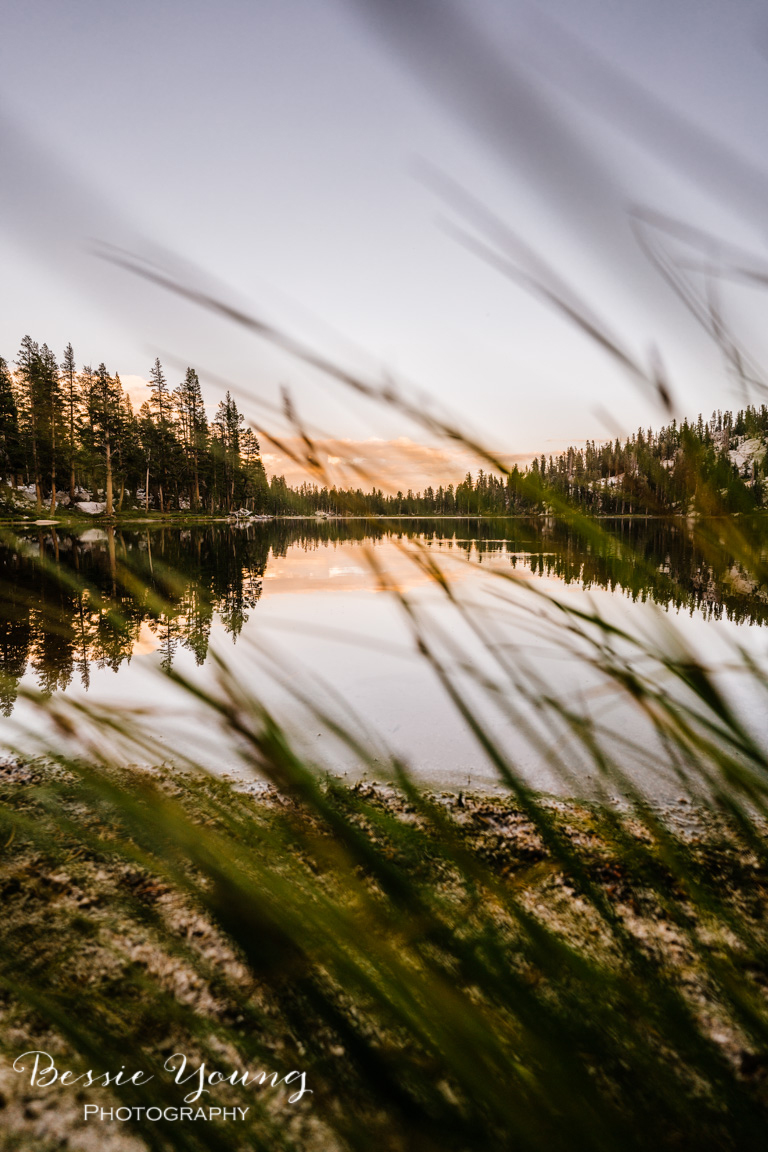
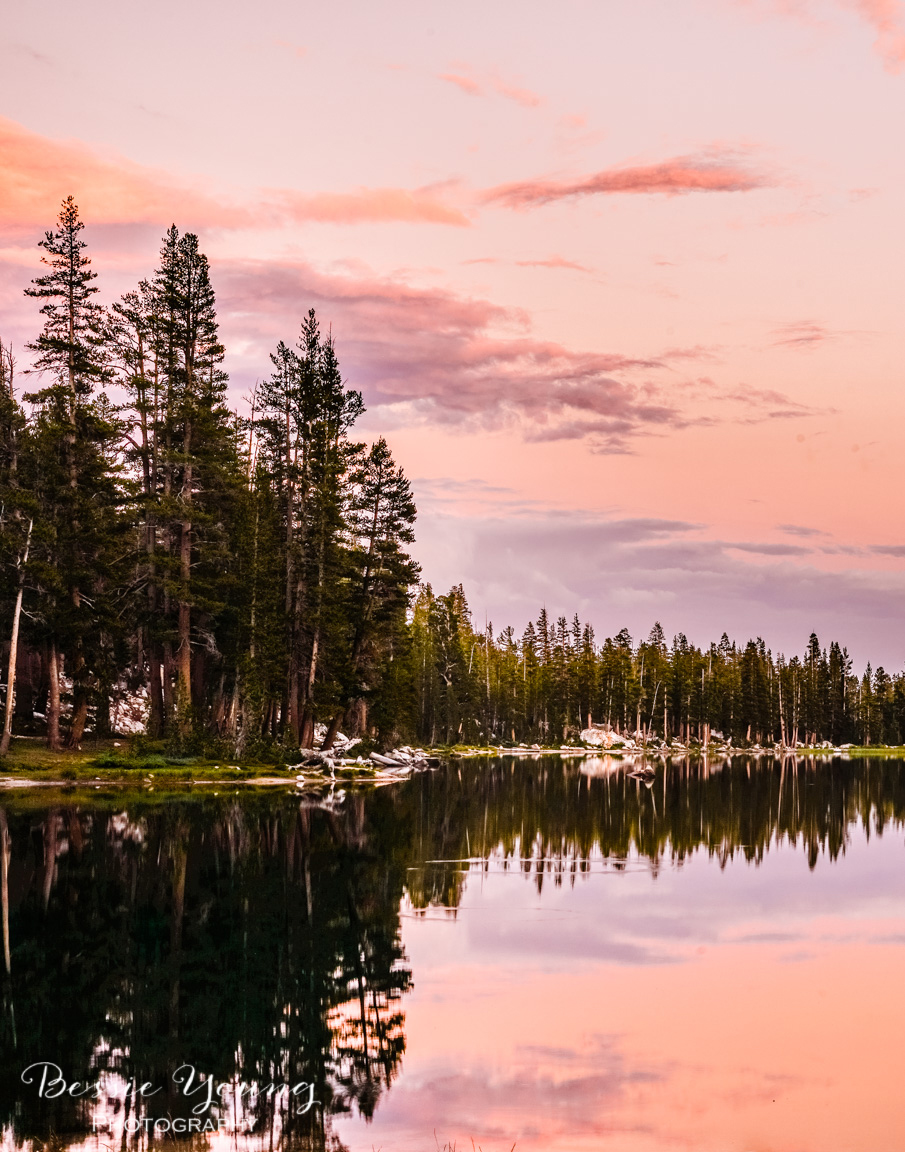
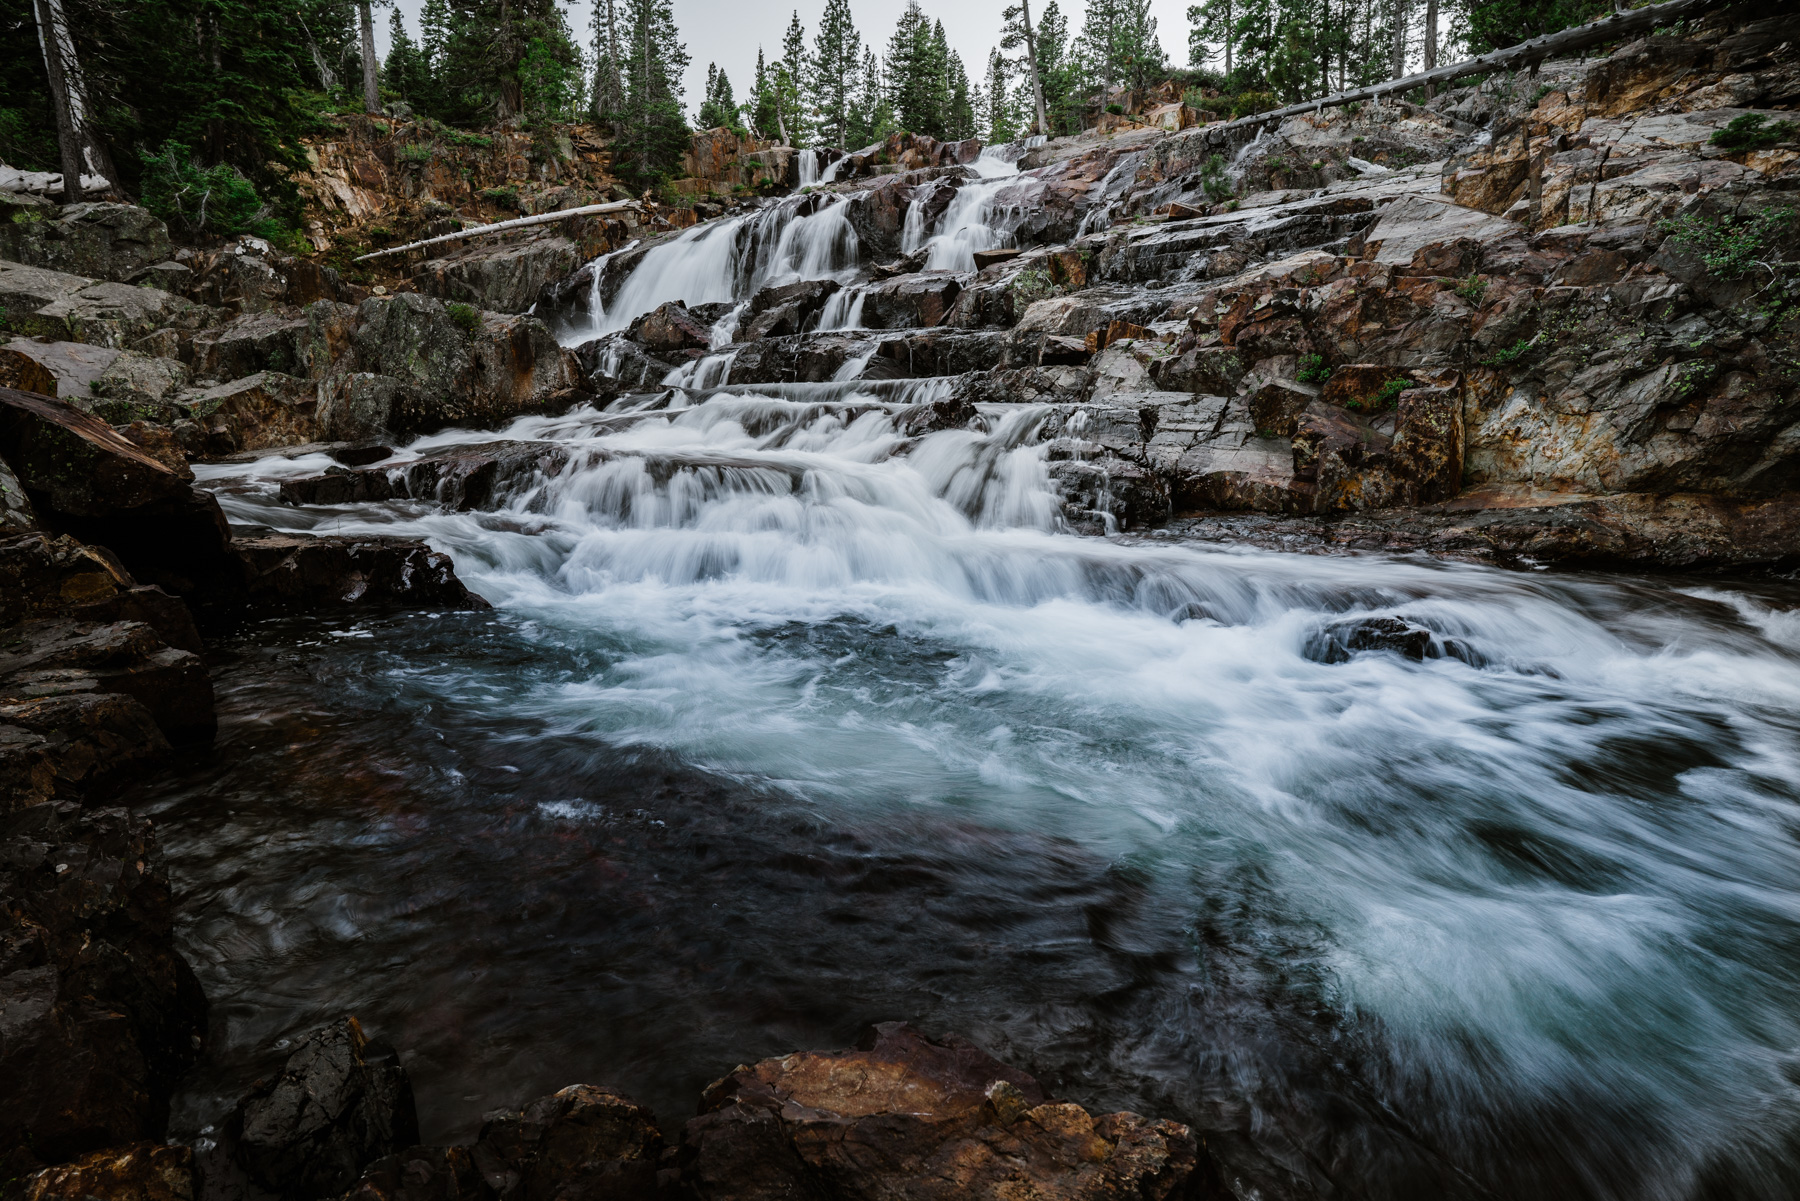
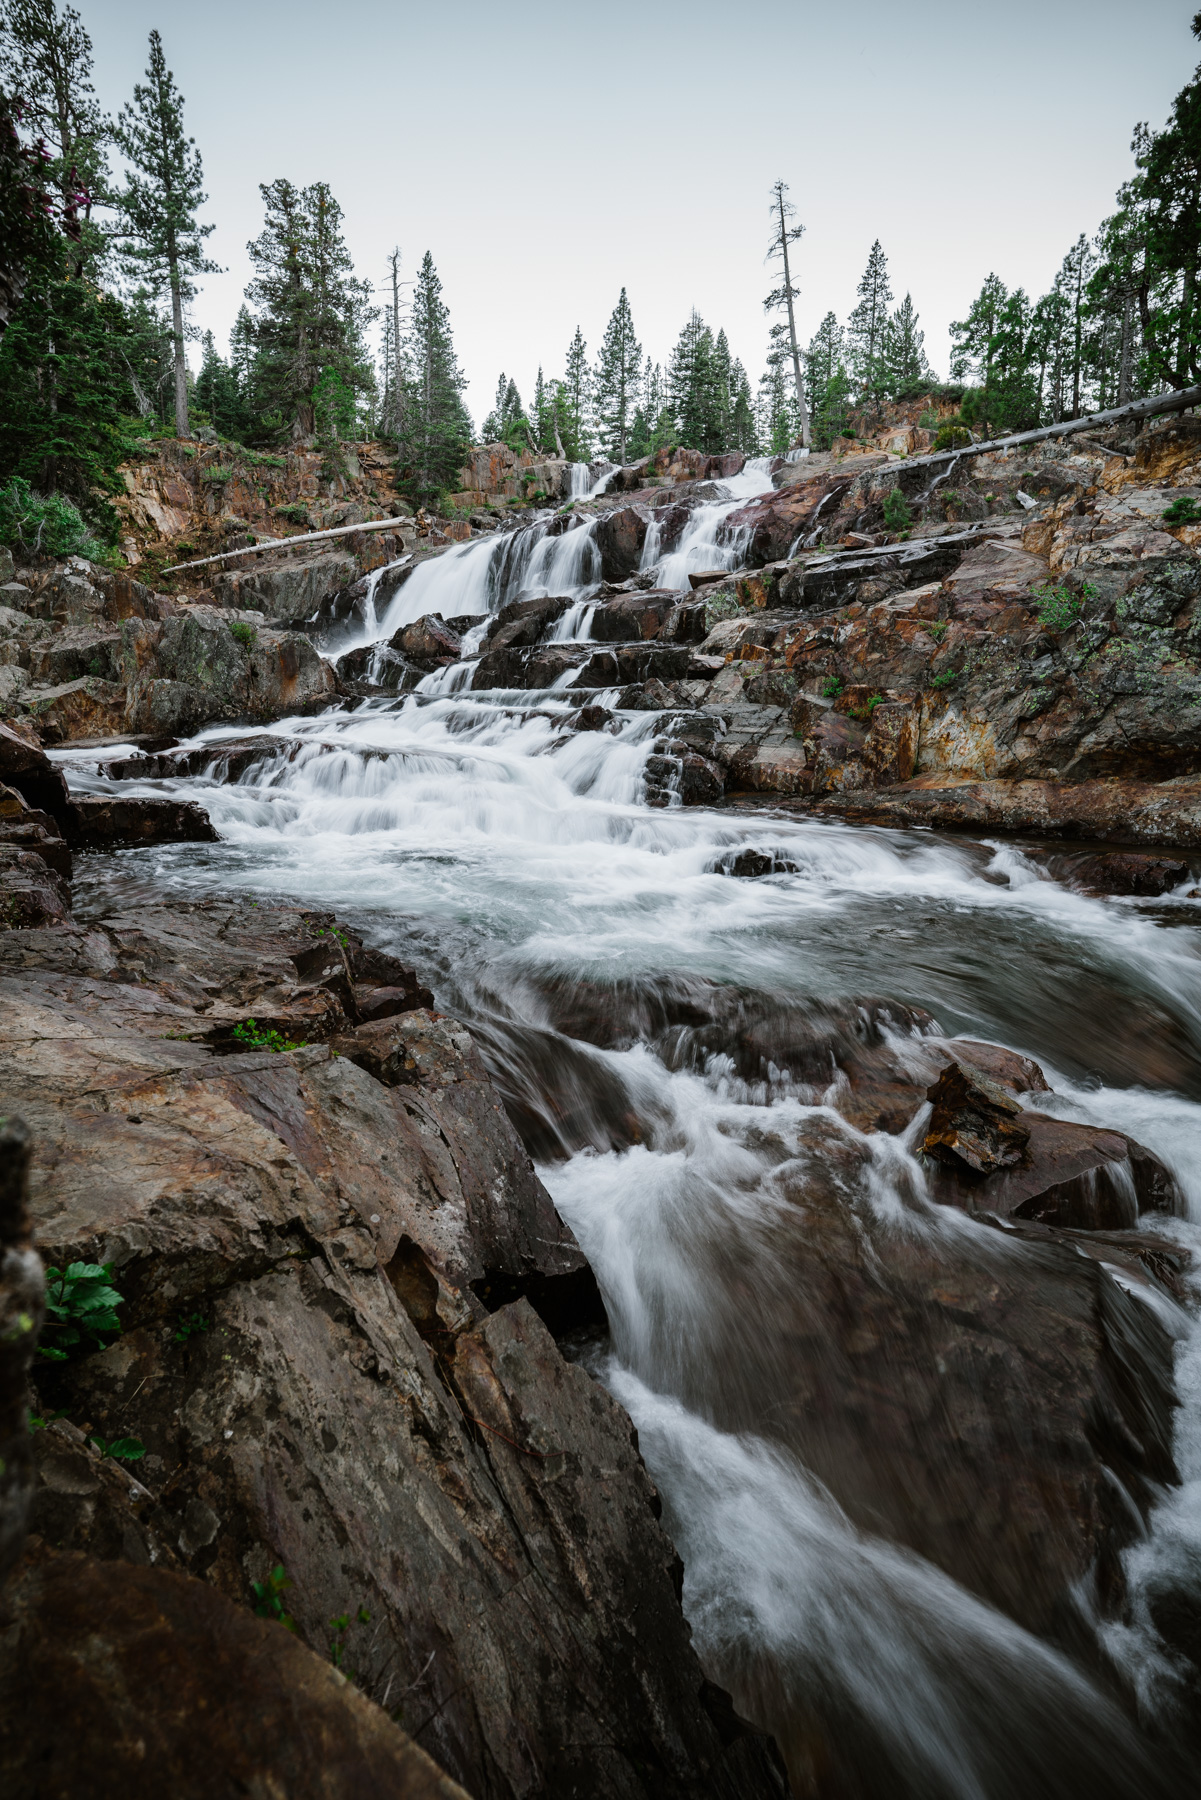
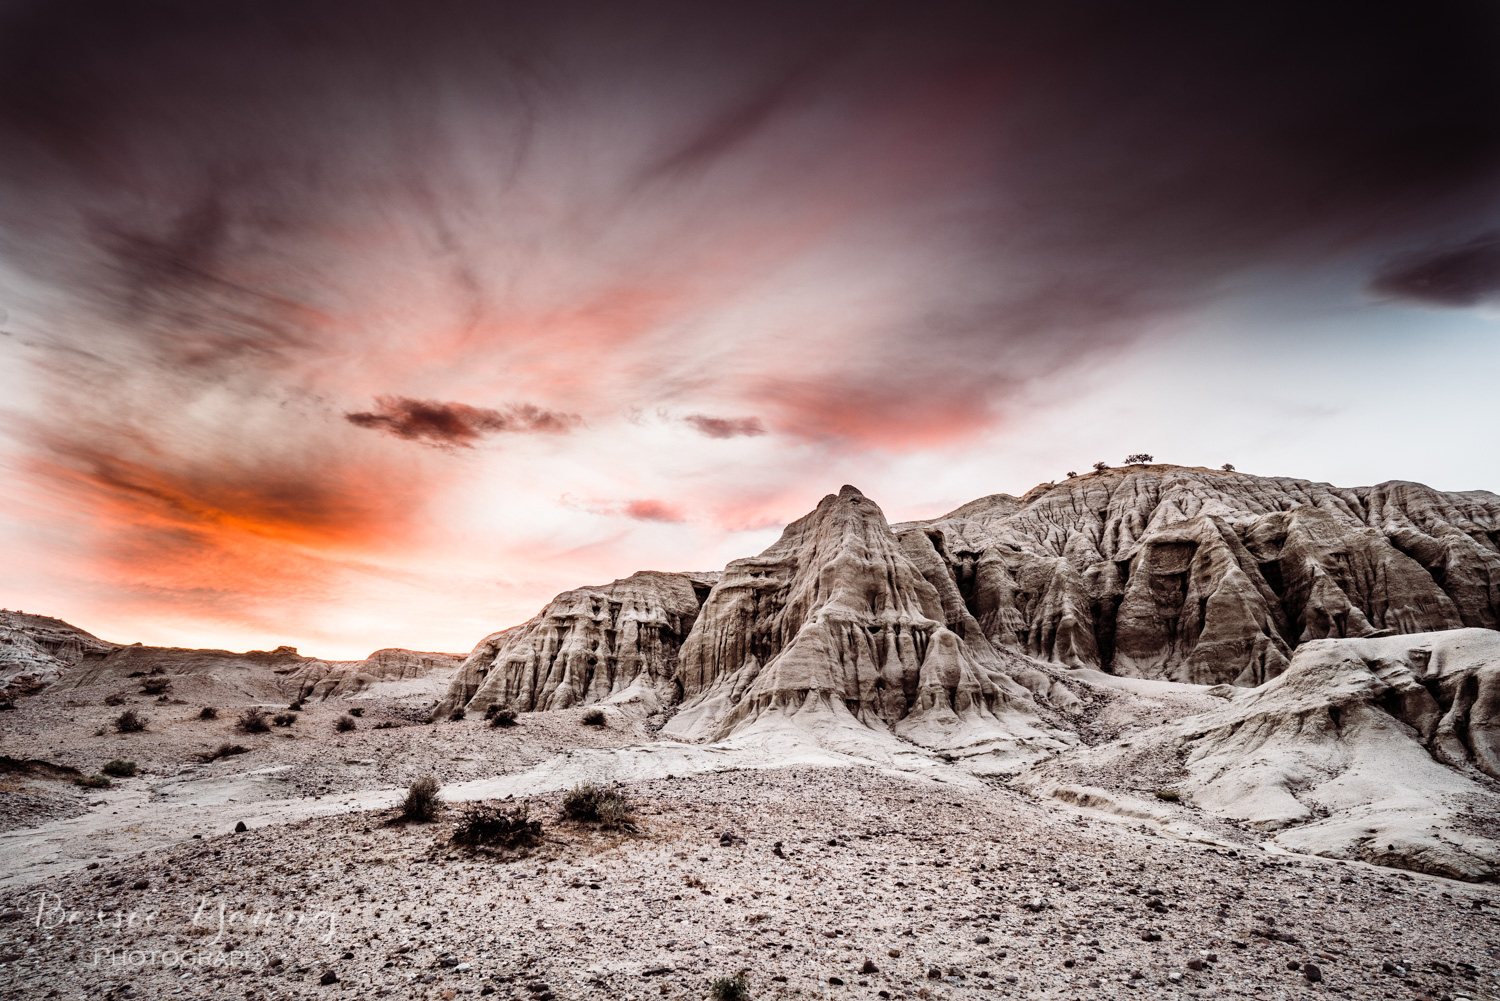
All Images For Sale in the BYP Shop-
Click the image to purchase

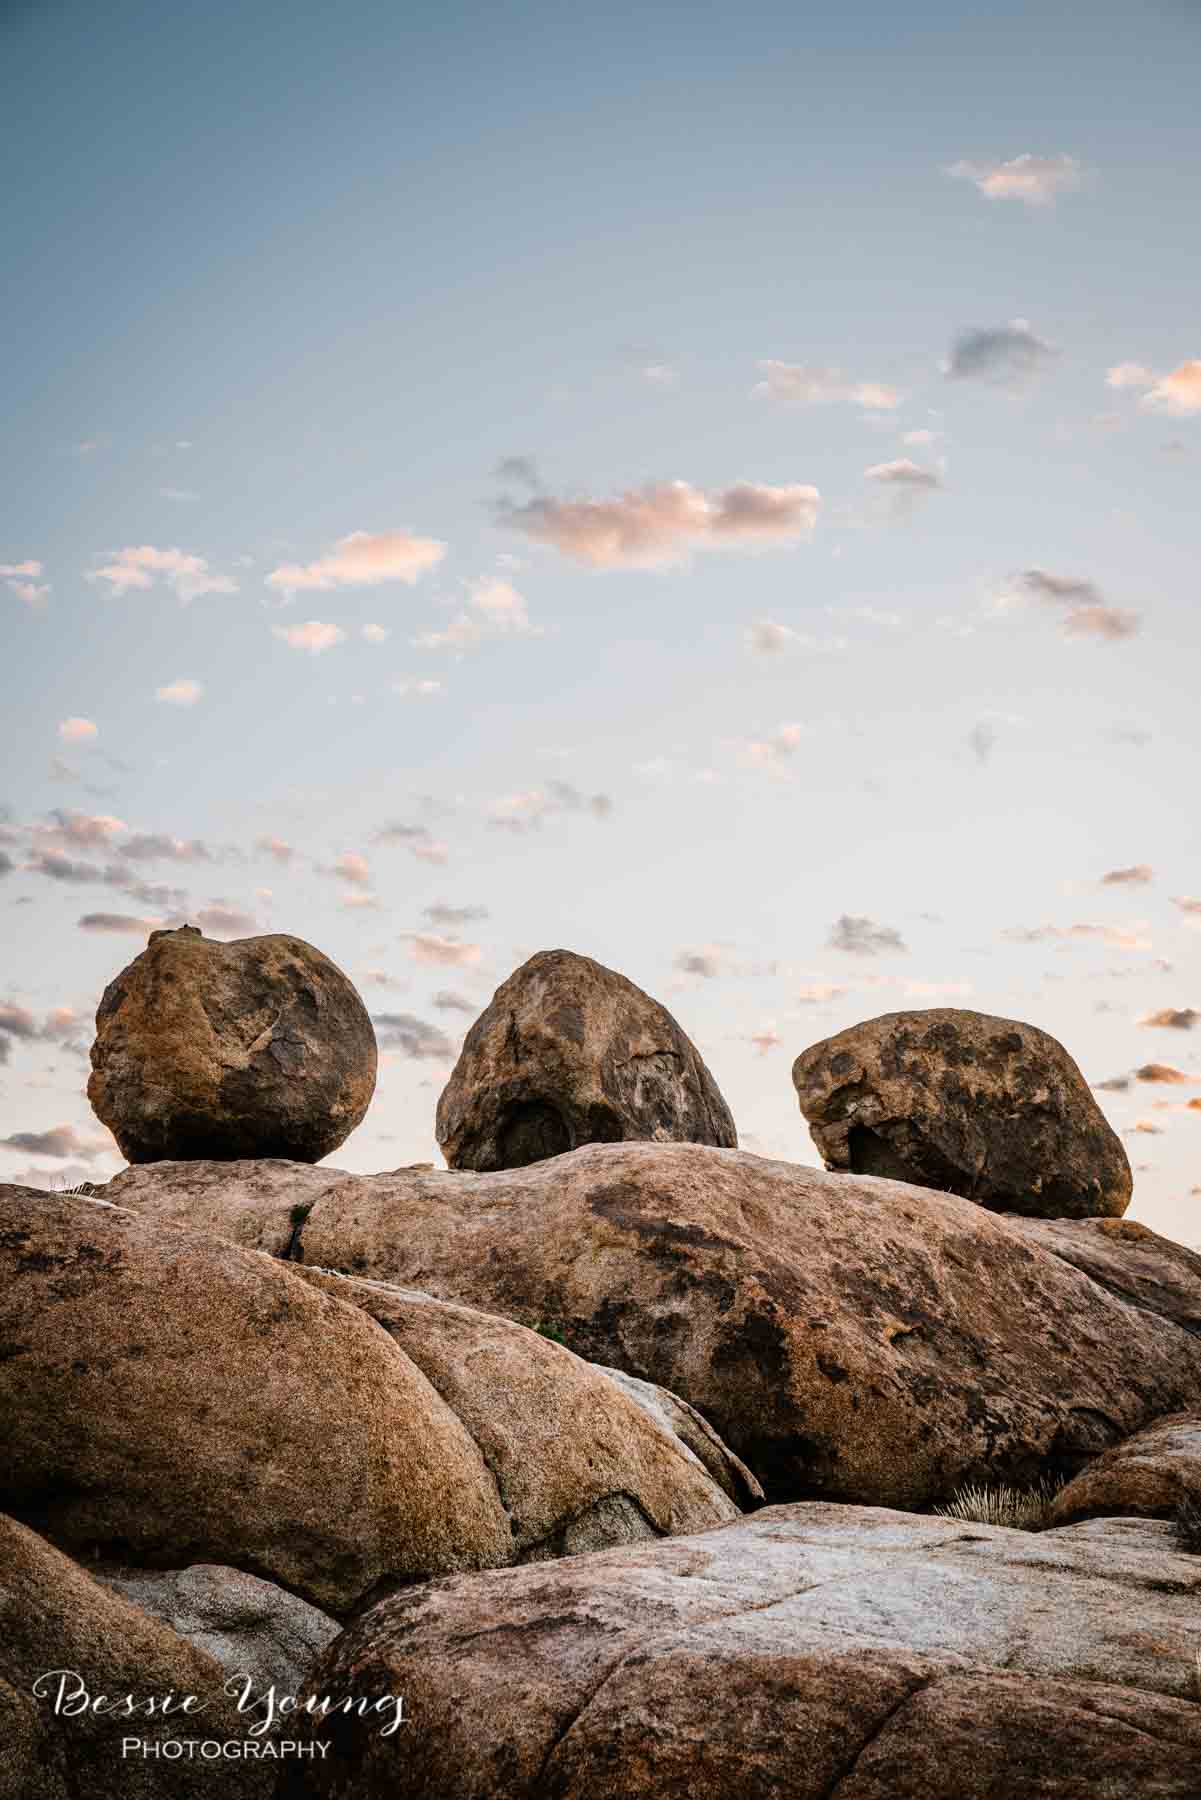
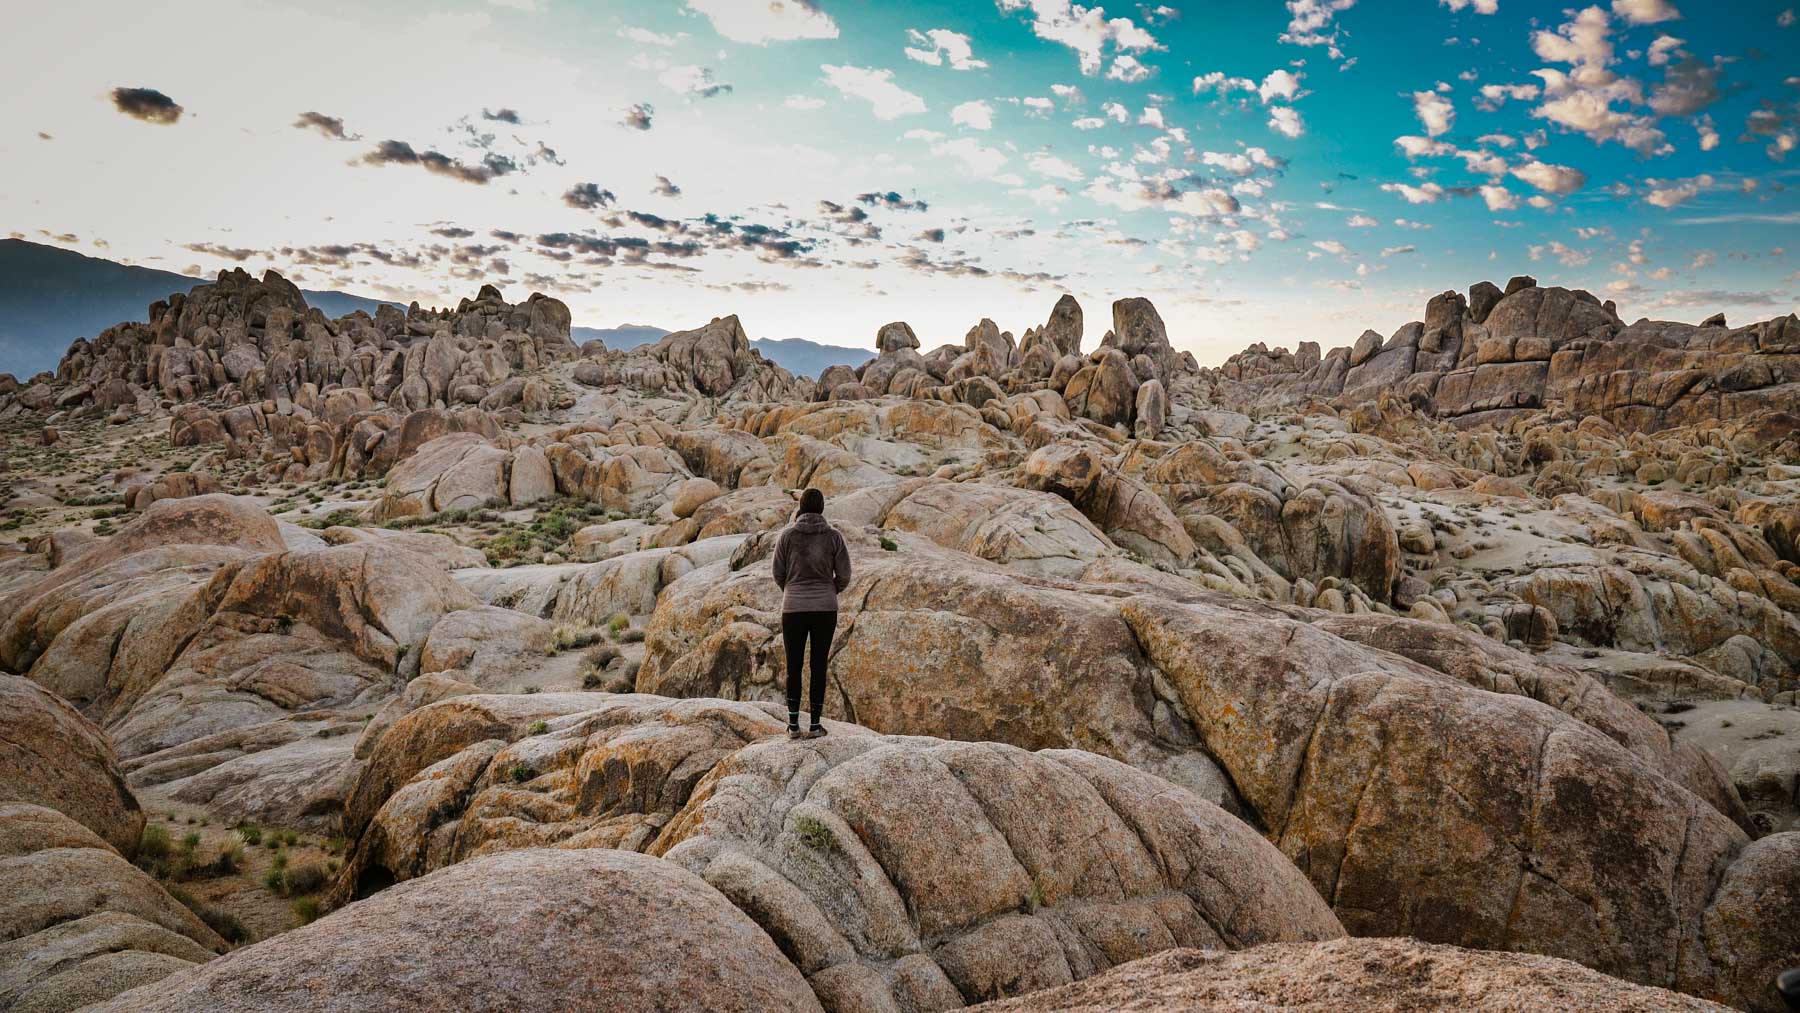
I went about this entire morning much different that I usually do. Normally, when creating a Youtube video, I would walk around and find one composition. This way I could talk through the composition, why I chose it, yadda yadda yadda. This time, I decided that I didn’t want to do that. I wanted to TAKE PICTURES! I wanted to walk around, see the beauty, and capture what I saw, so that is exactly what I did.
IT. WAS. AMAZING!

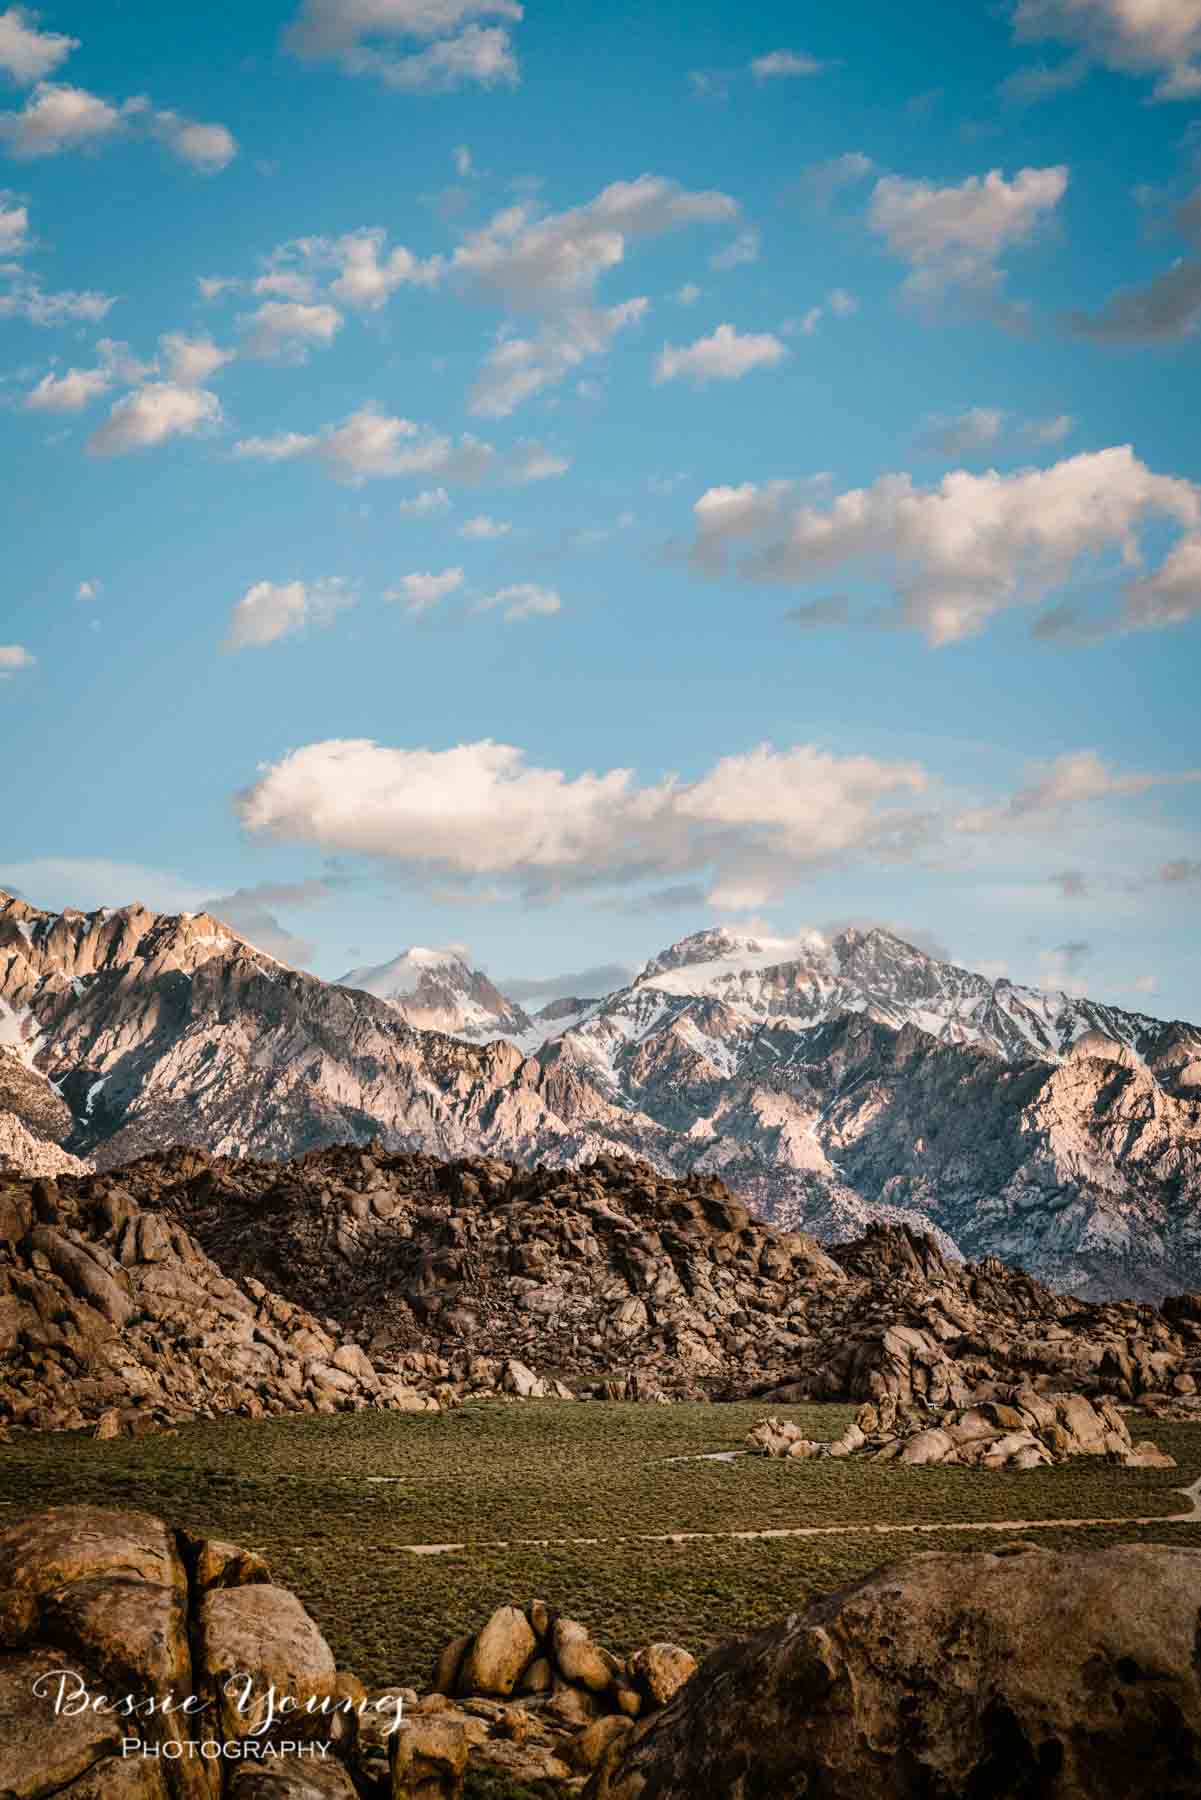
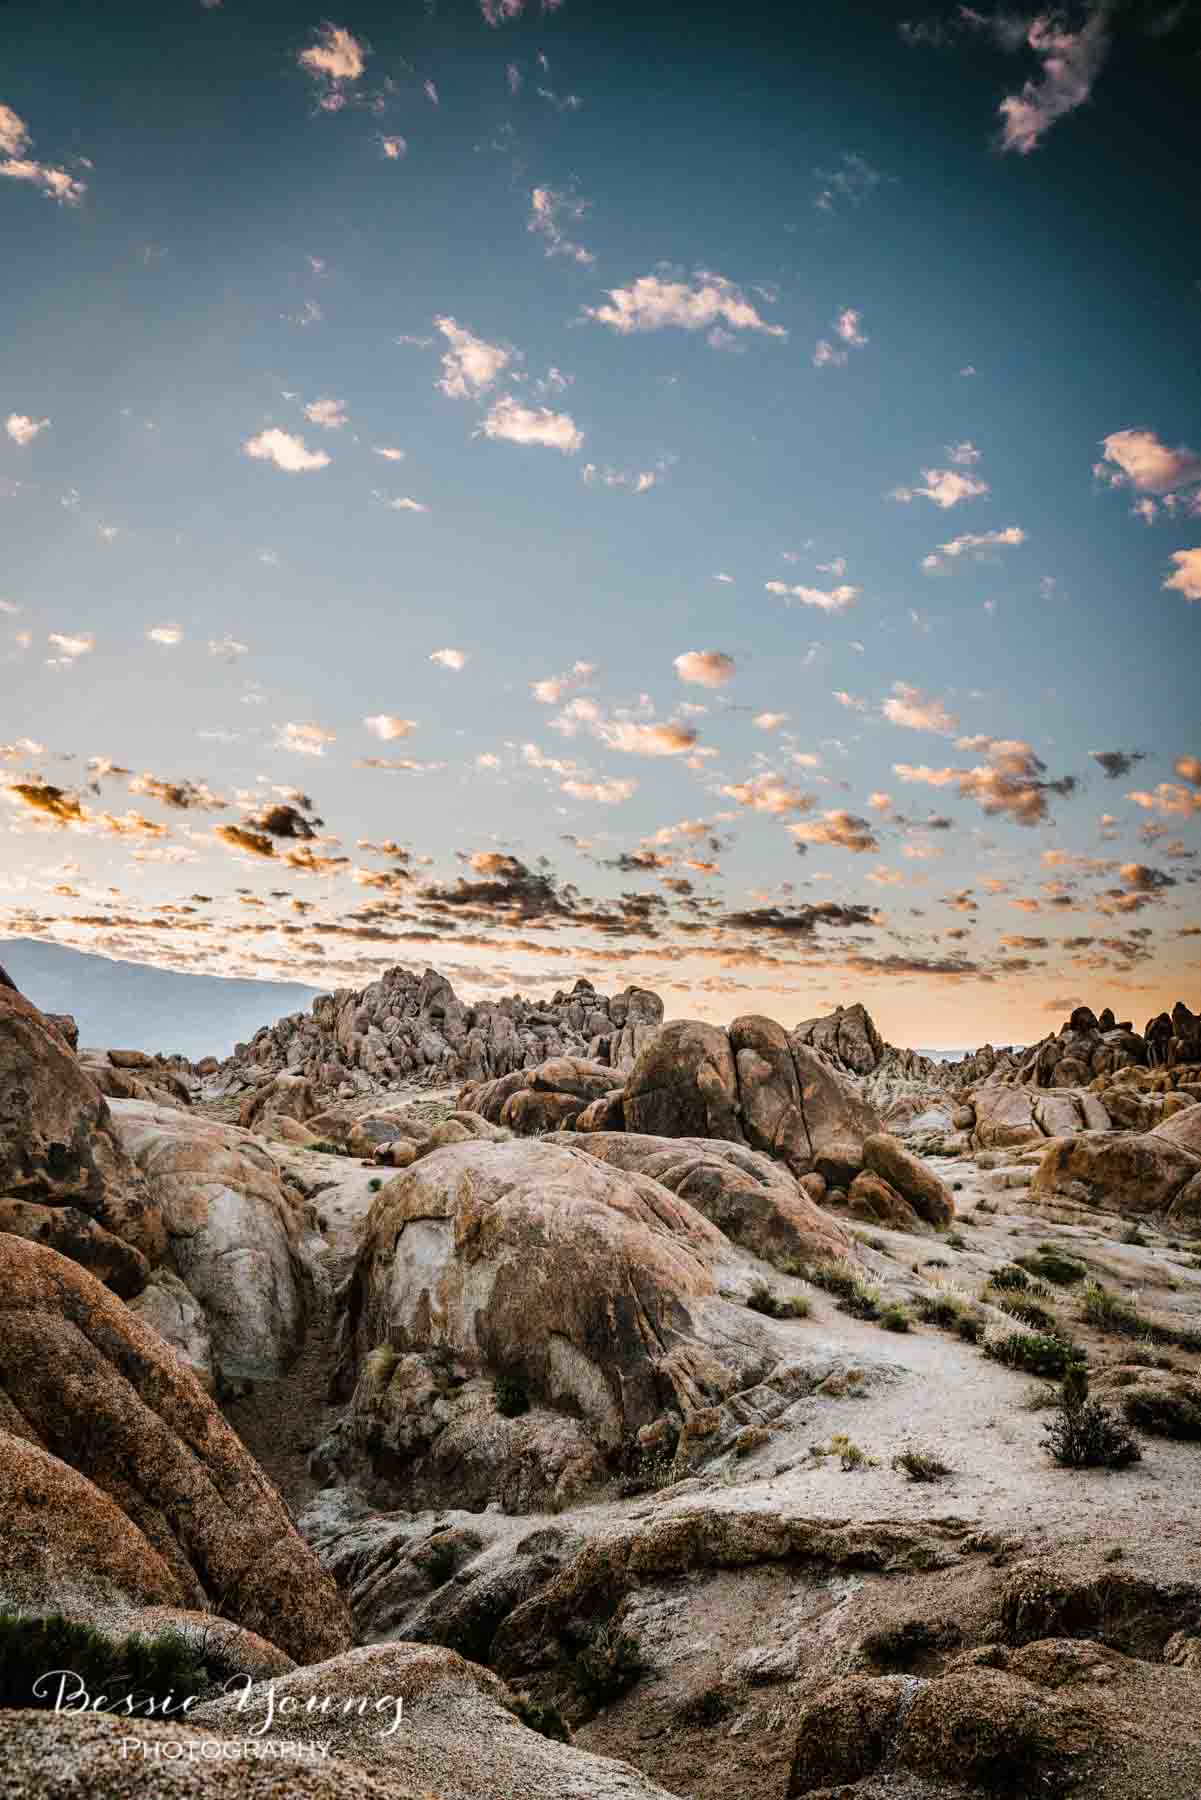
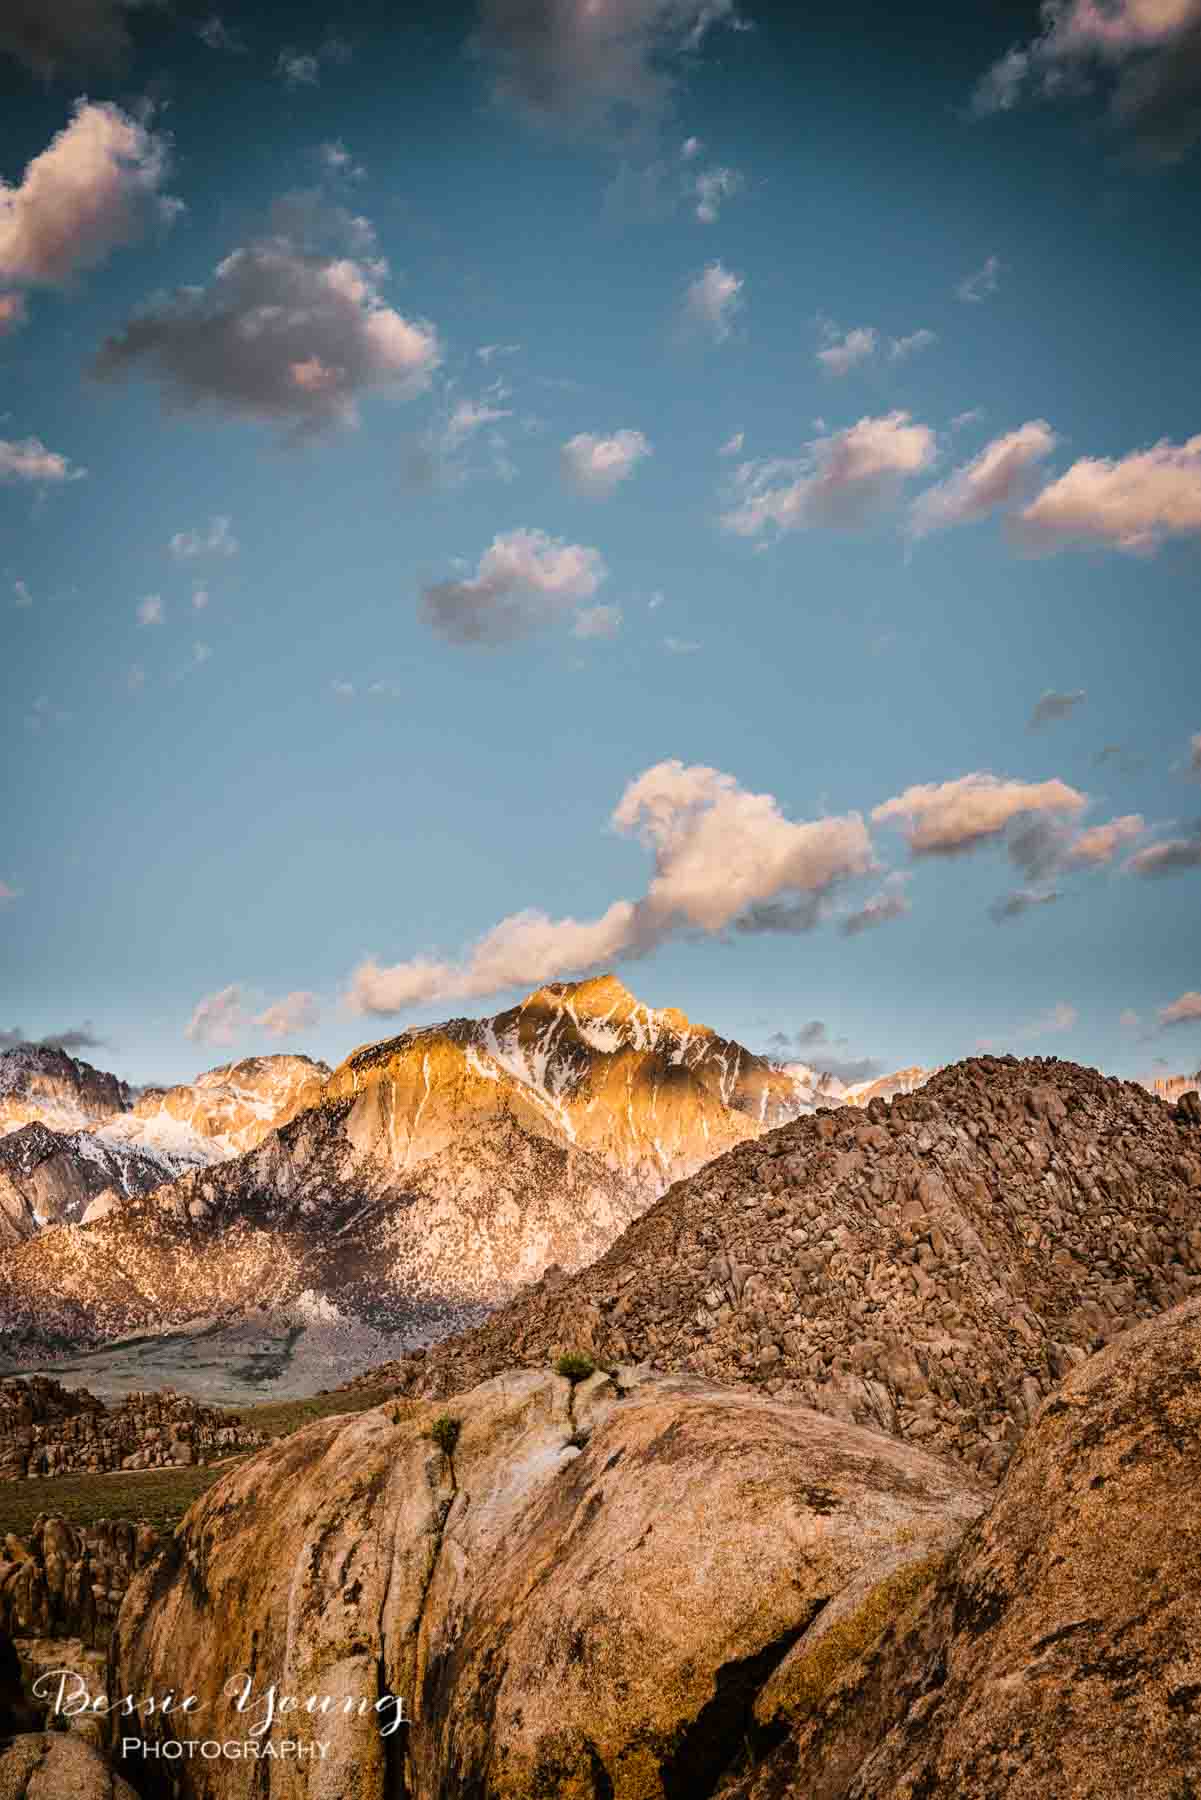
The one composition that I had to share
While I was walking around I found a crack in the rocks and thought it would be the perfect composition to talk through. I mean it was the absolute perfect example of a leading line. The crack in the rock lead you right to Mount Whitney.

It took me a few tries to actually get this one just right. I wanted Mount Whitney to be almost centered (which breaks alot of rules, but I think it works perfect for this image.). I wanted the rocks to lead straight to Mount Whitney and I wanted to be able to emphasis the fact that these rocks are massive. I did this be putting my camera between the rocks so that they took up the majority of the foreground.
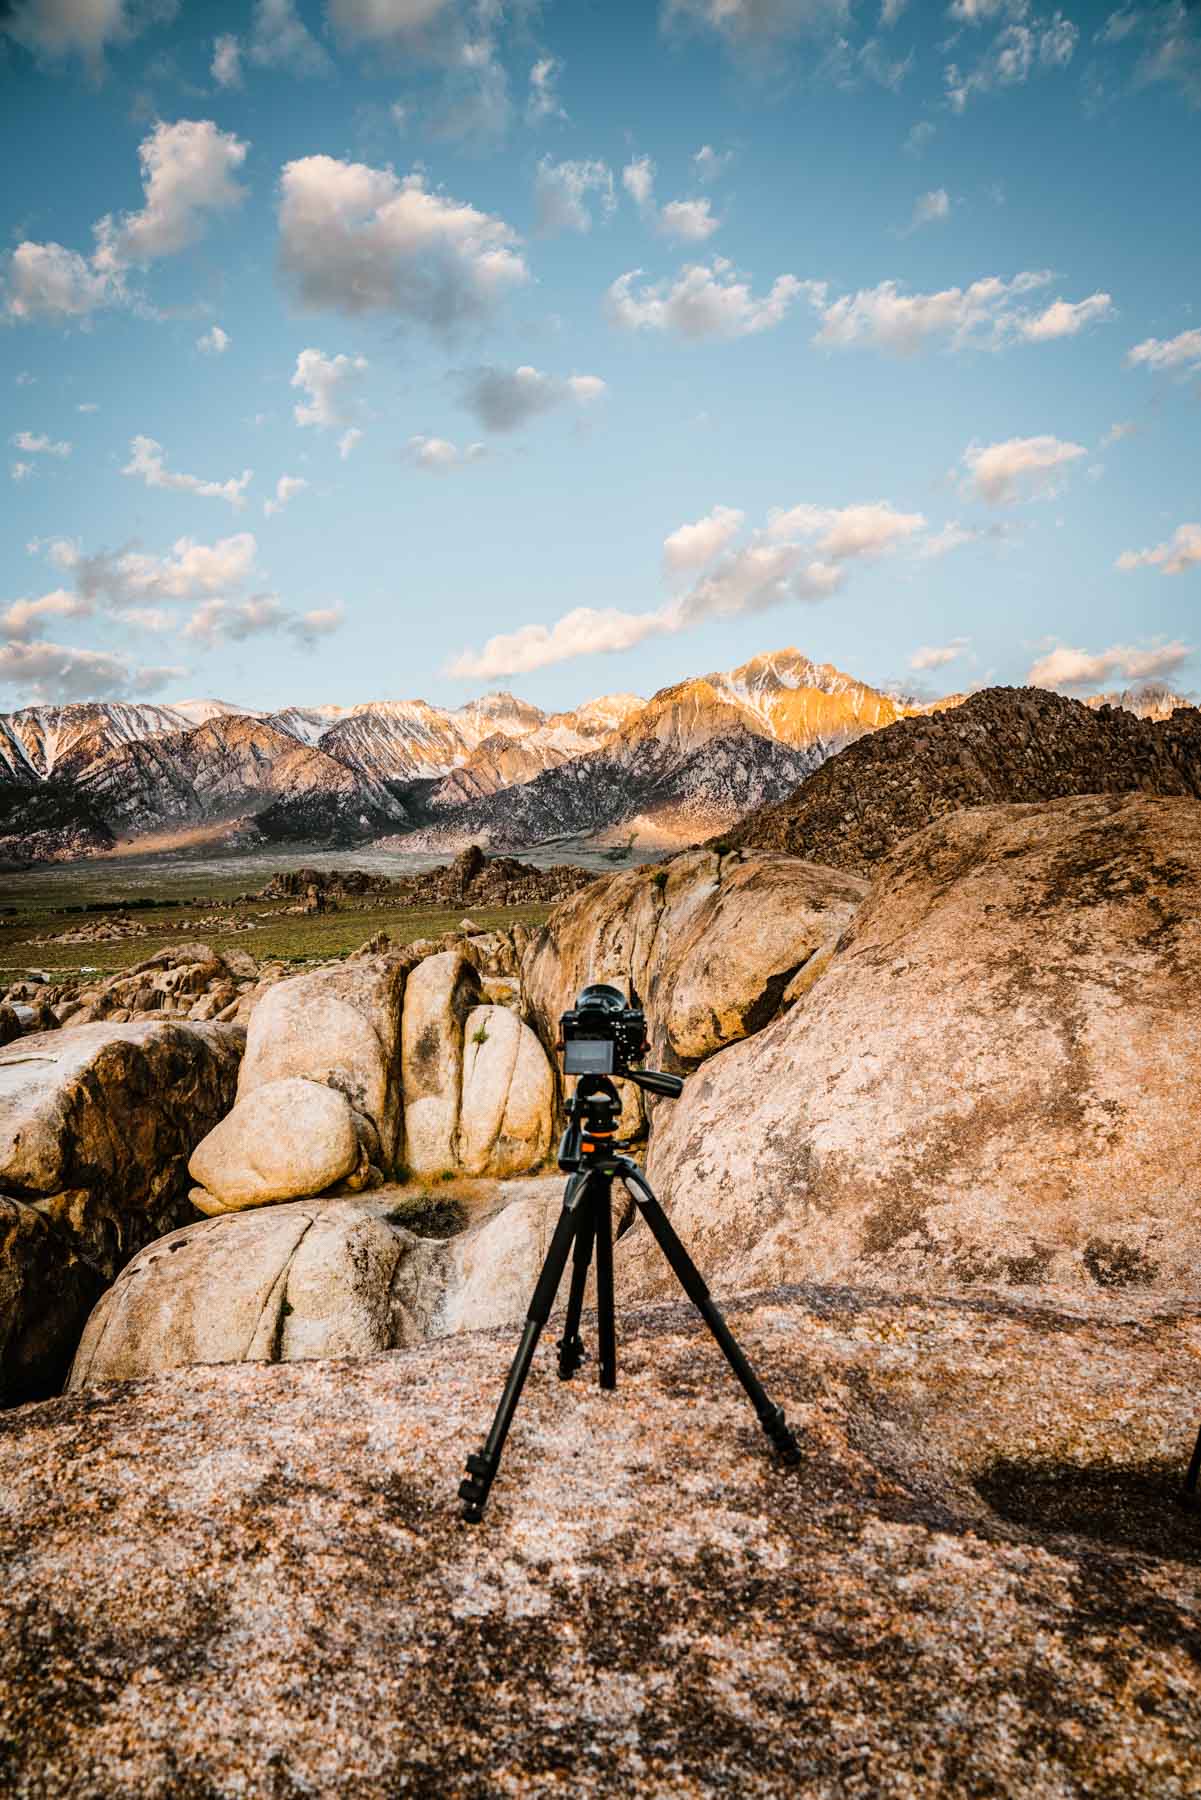
So what was my setup?
Camera: Sony A7riii
Lens: Sony 24-70mm G master F2.8
and of course a handy dandy tripod.
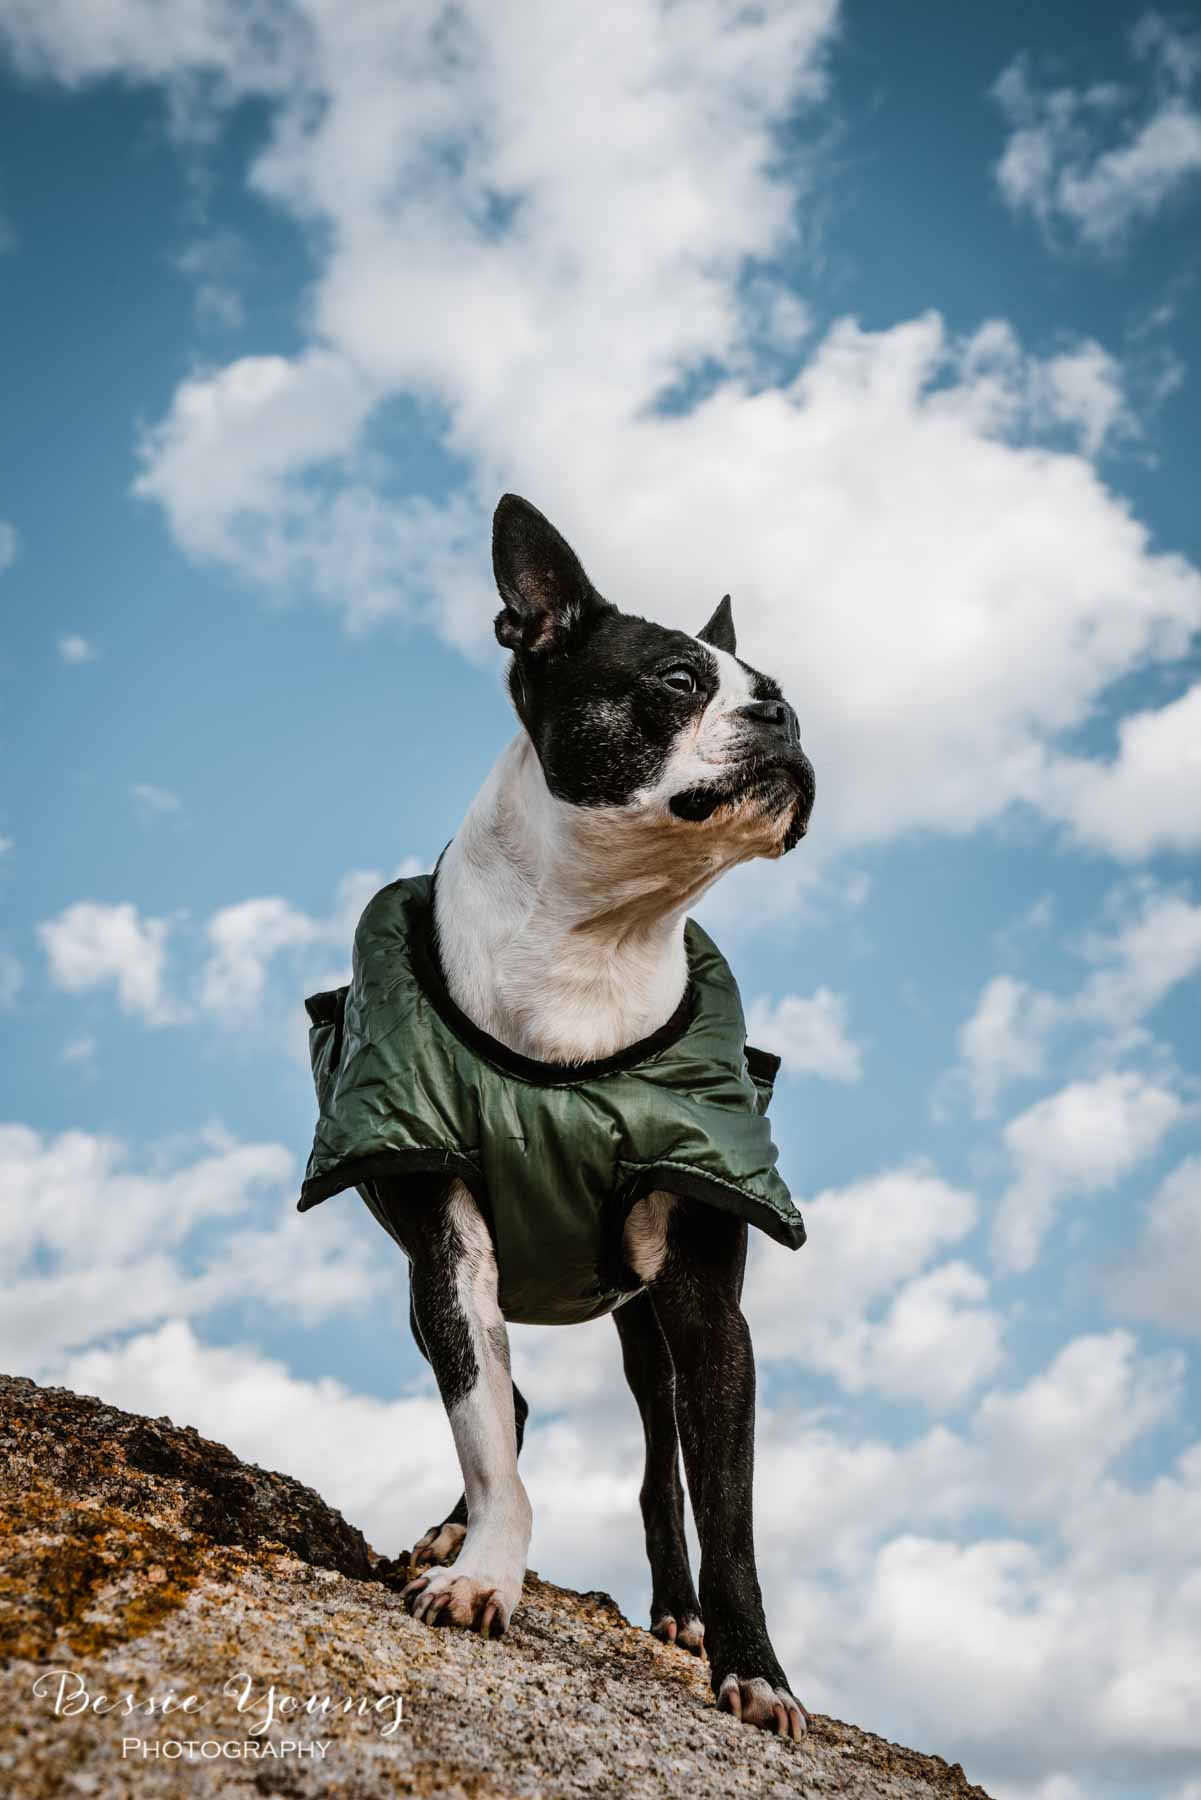
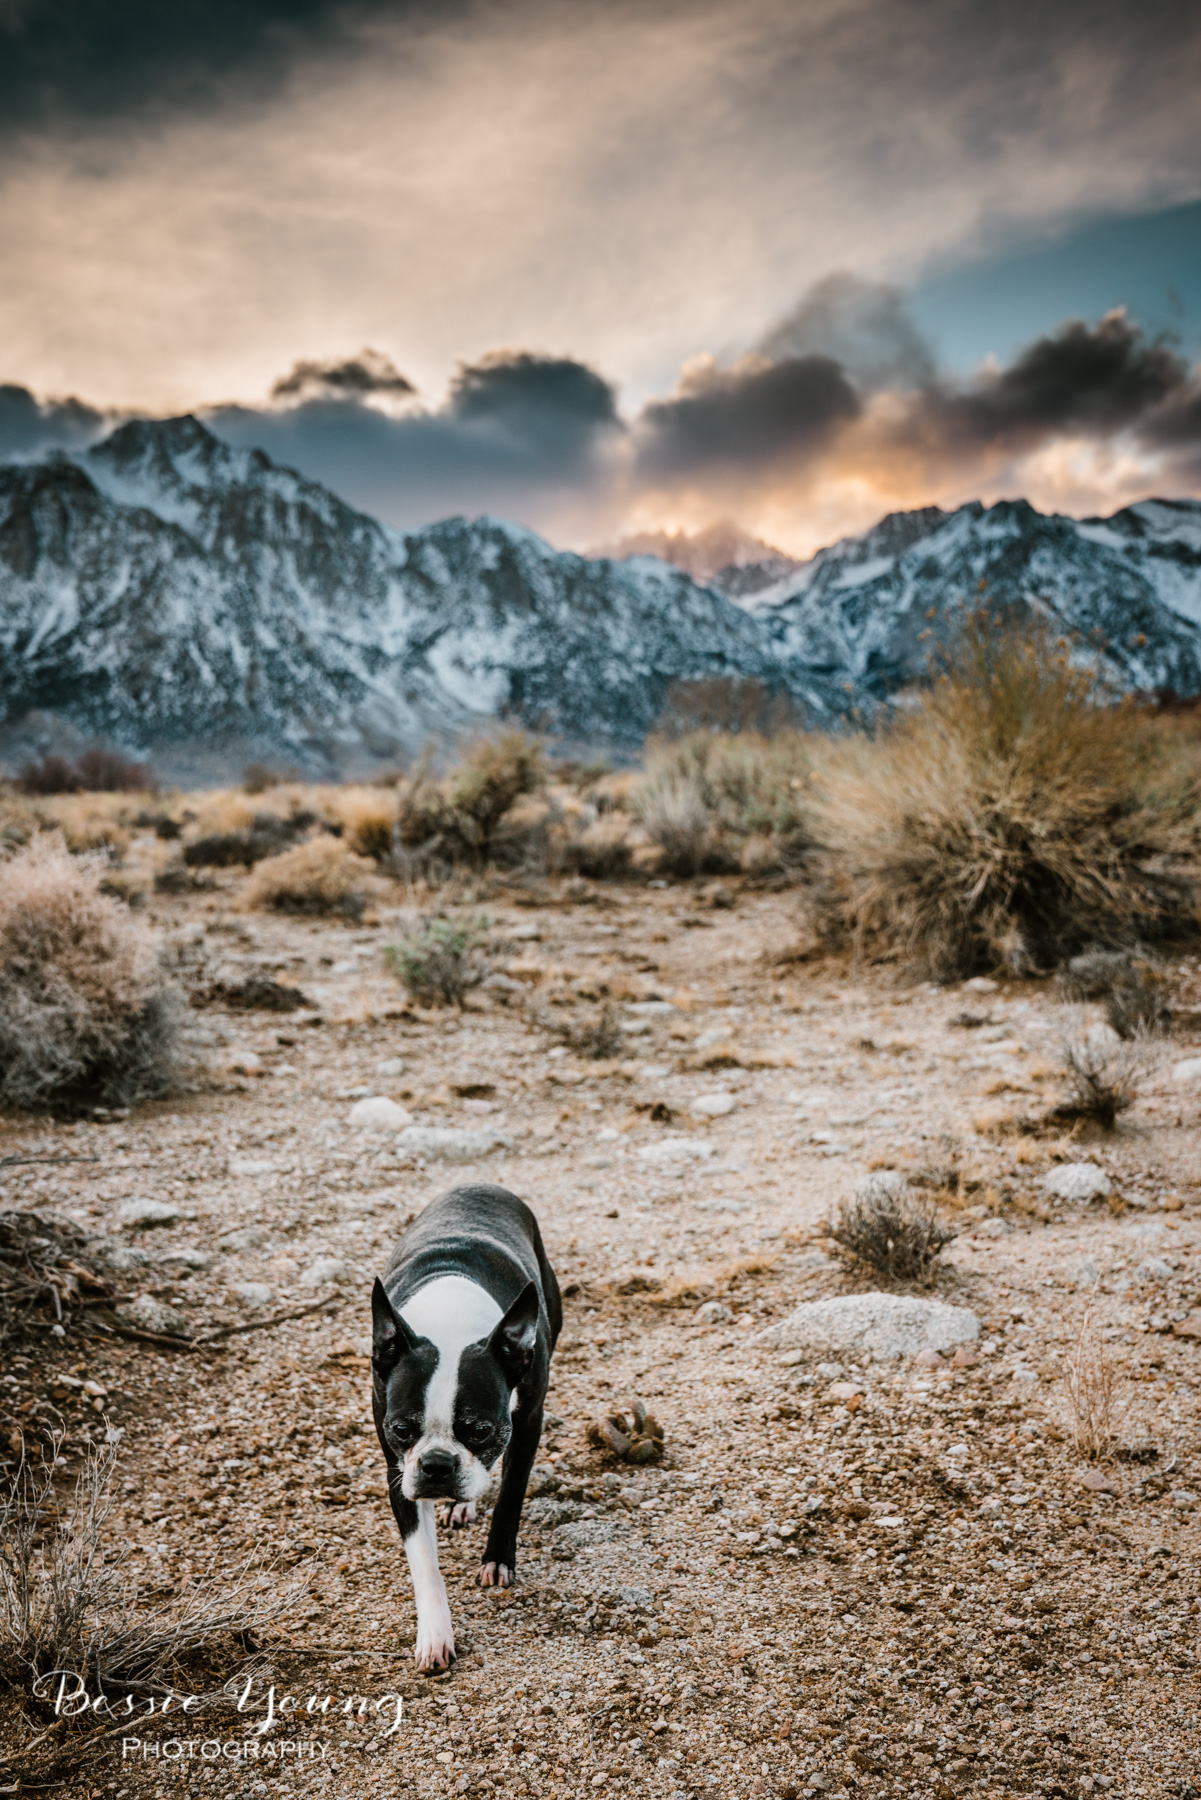
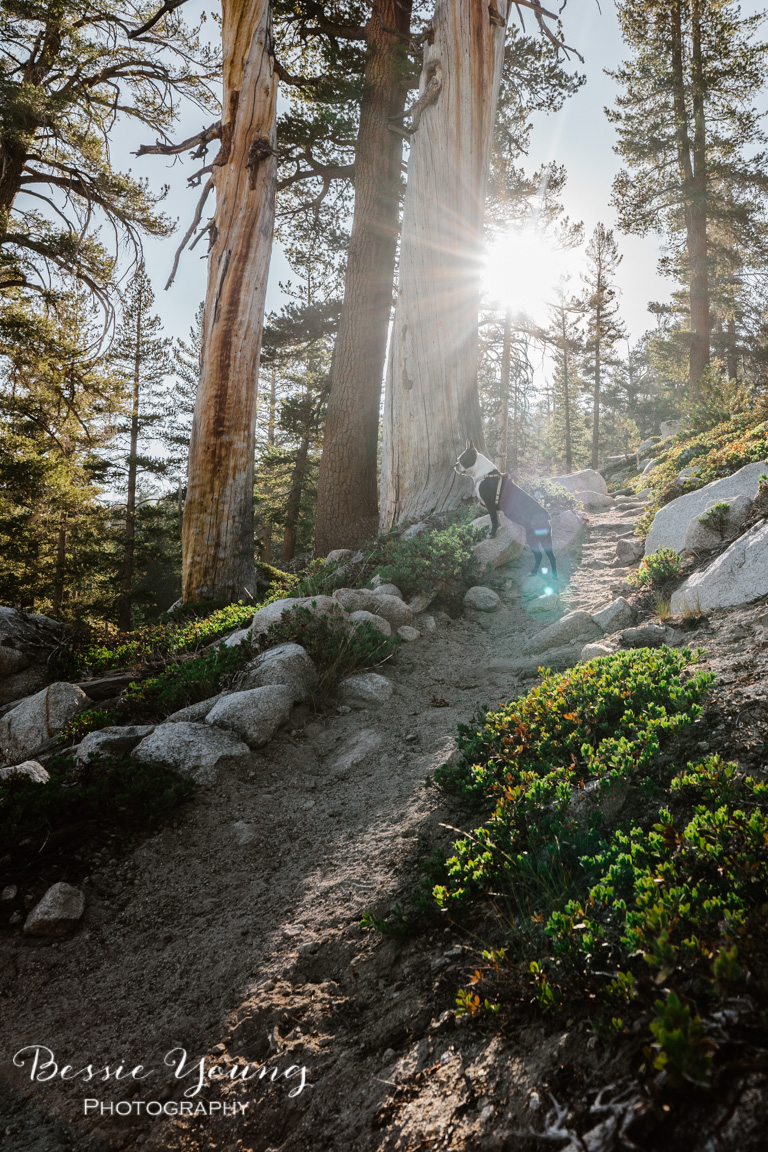
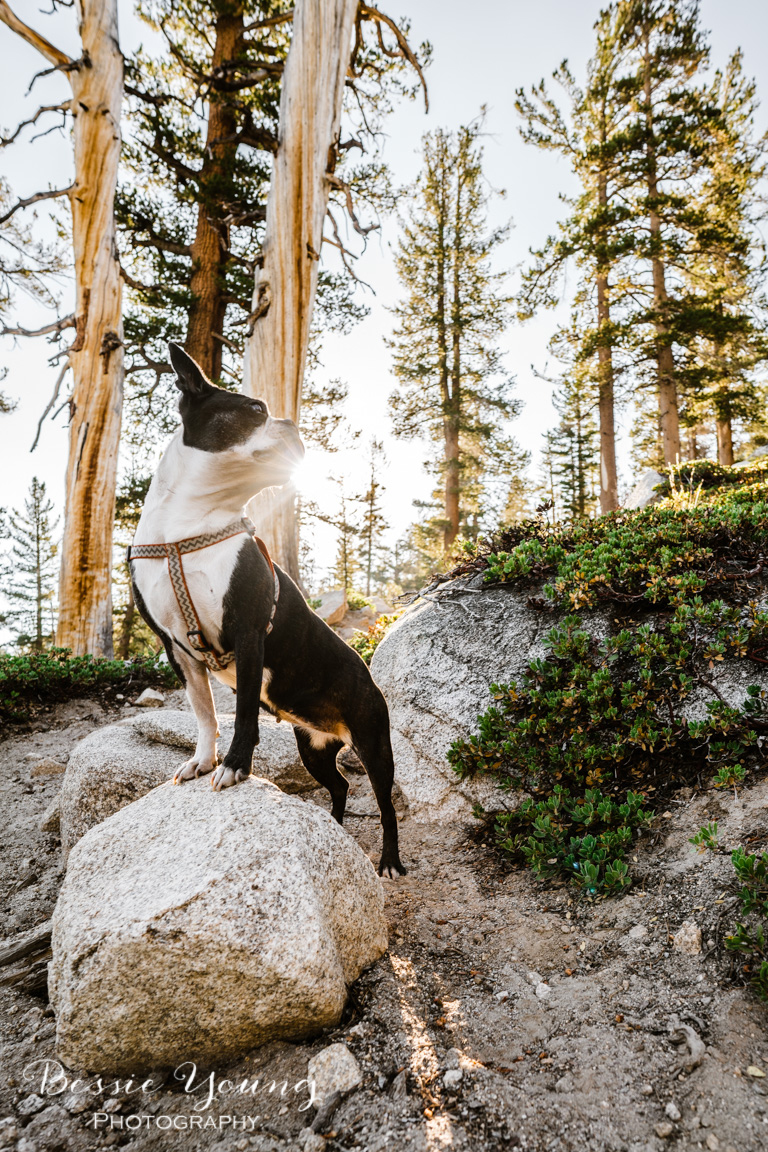
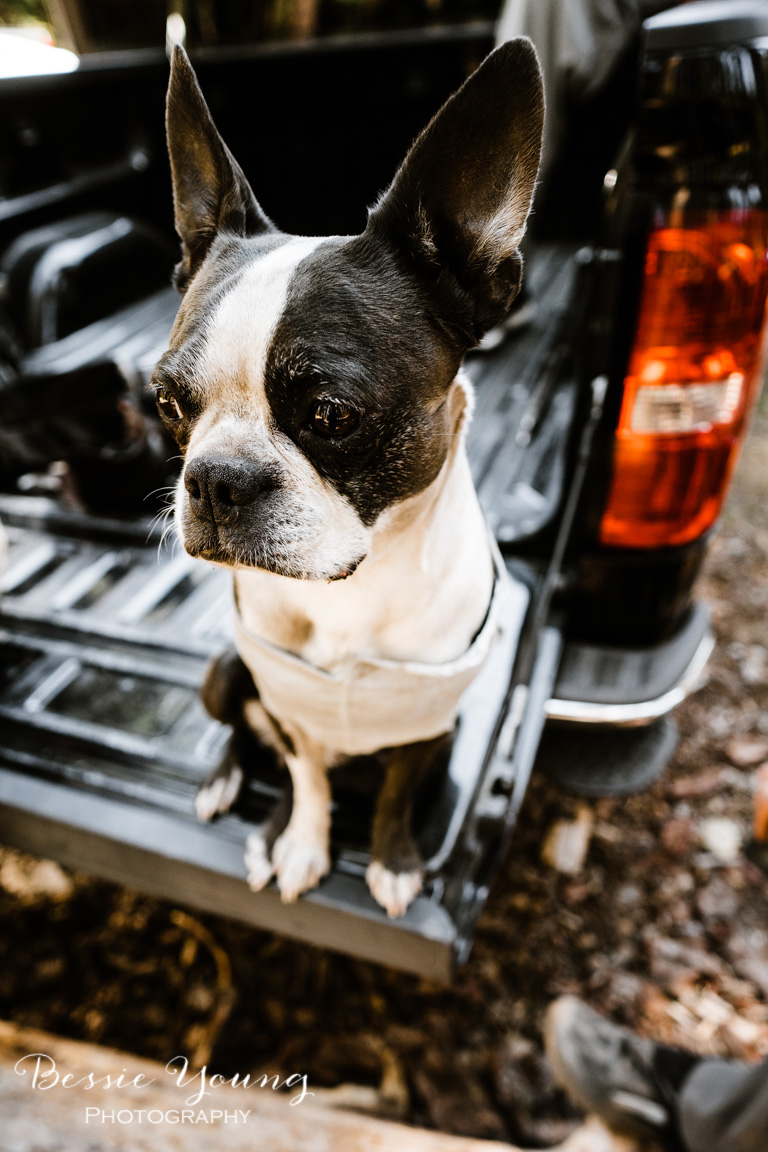
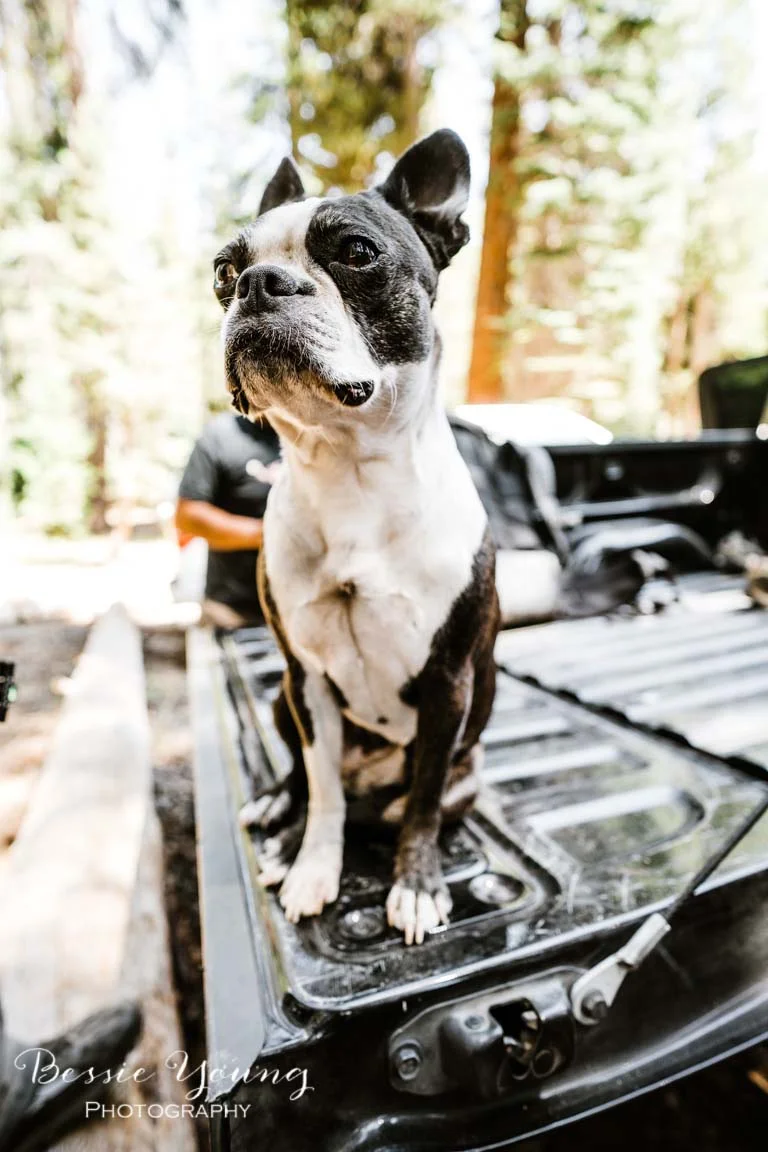
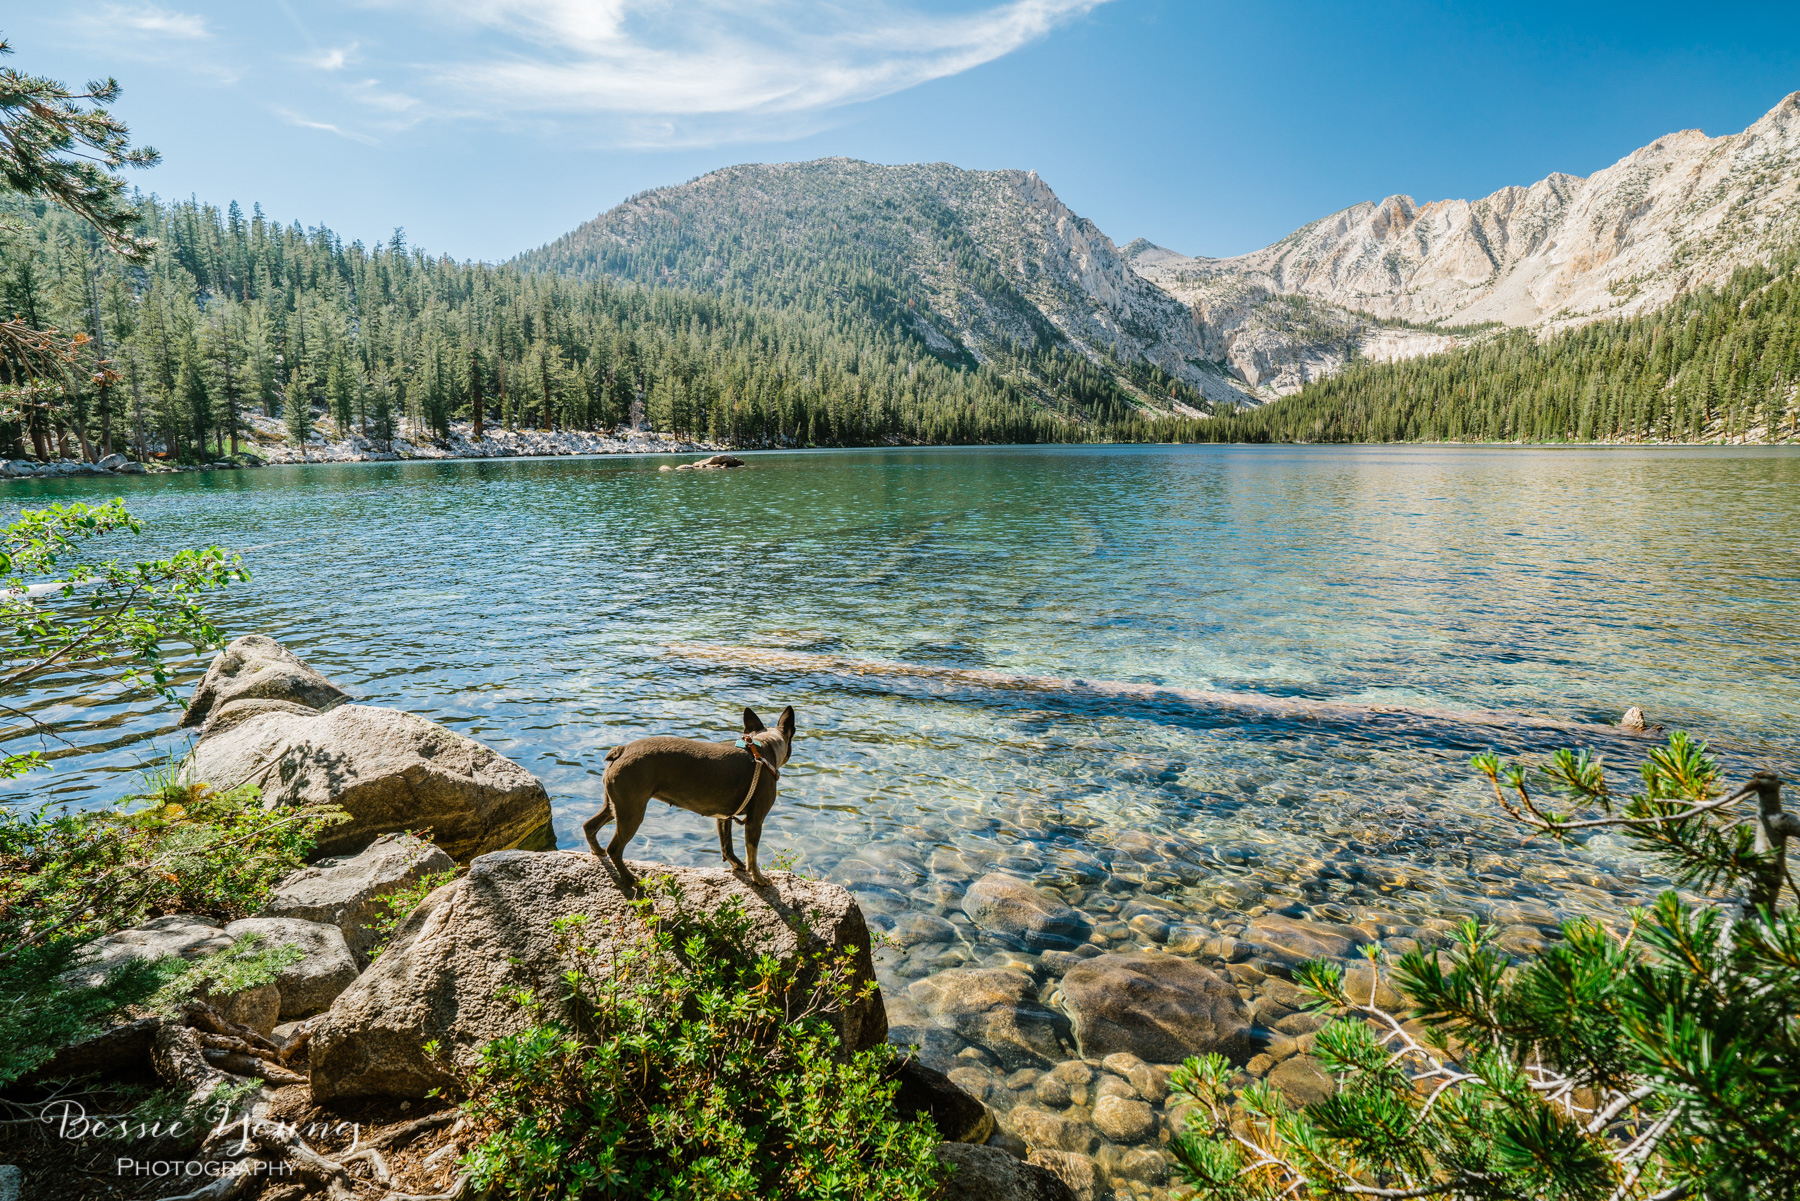
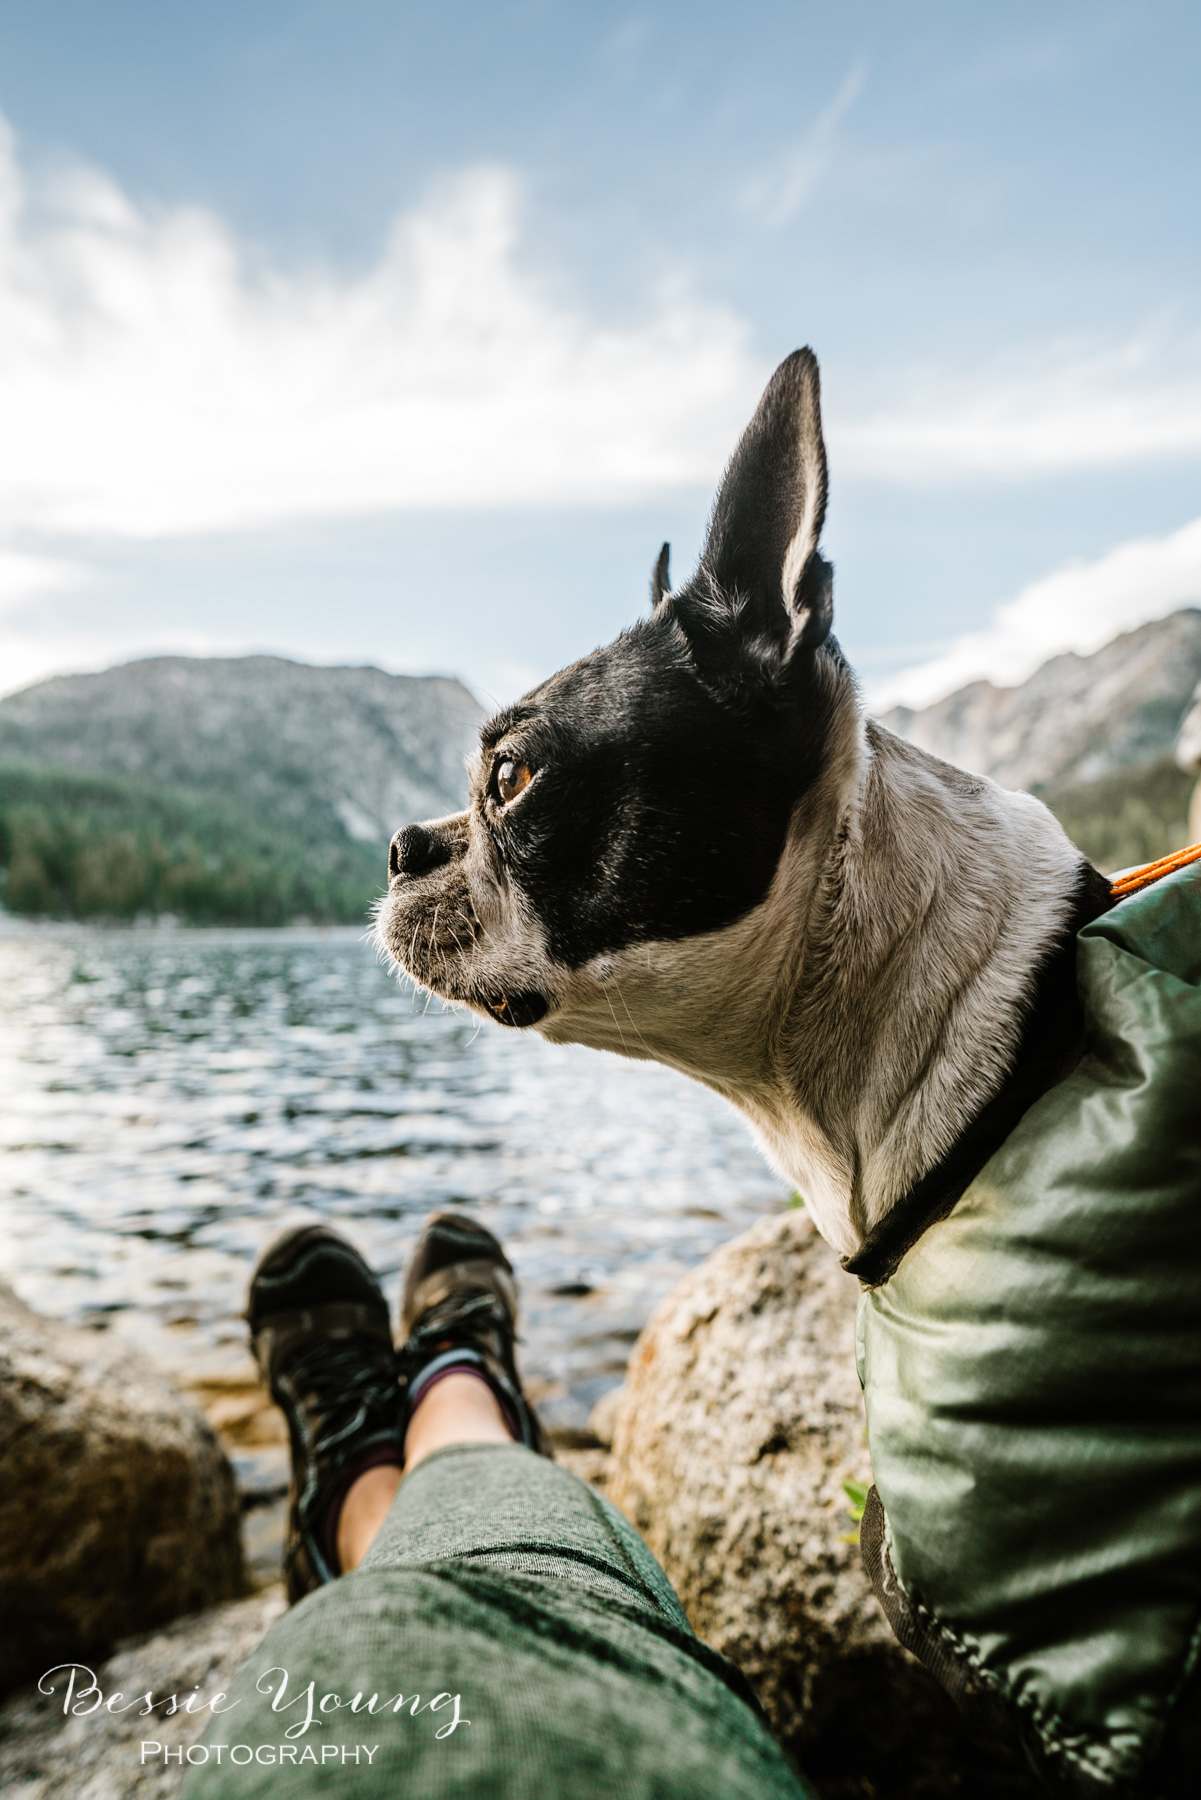
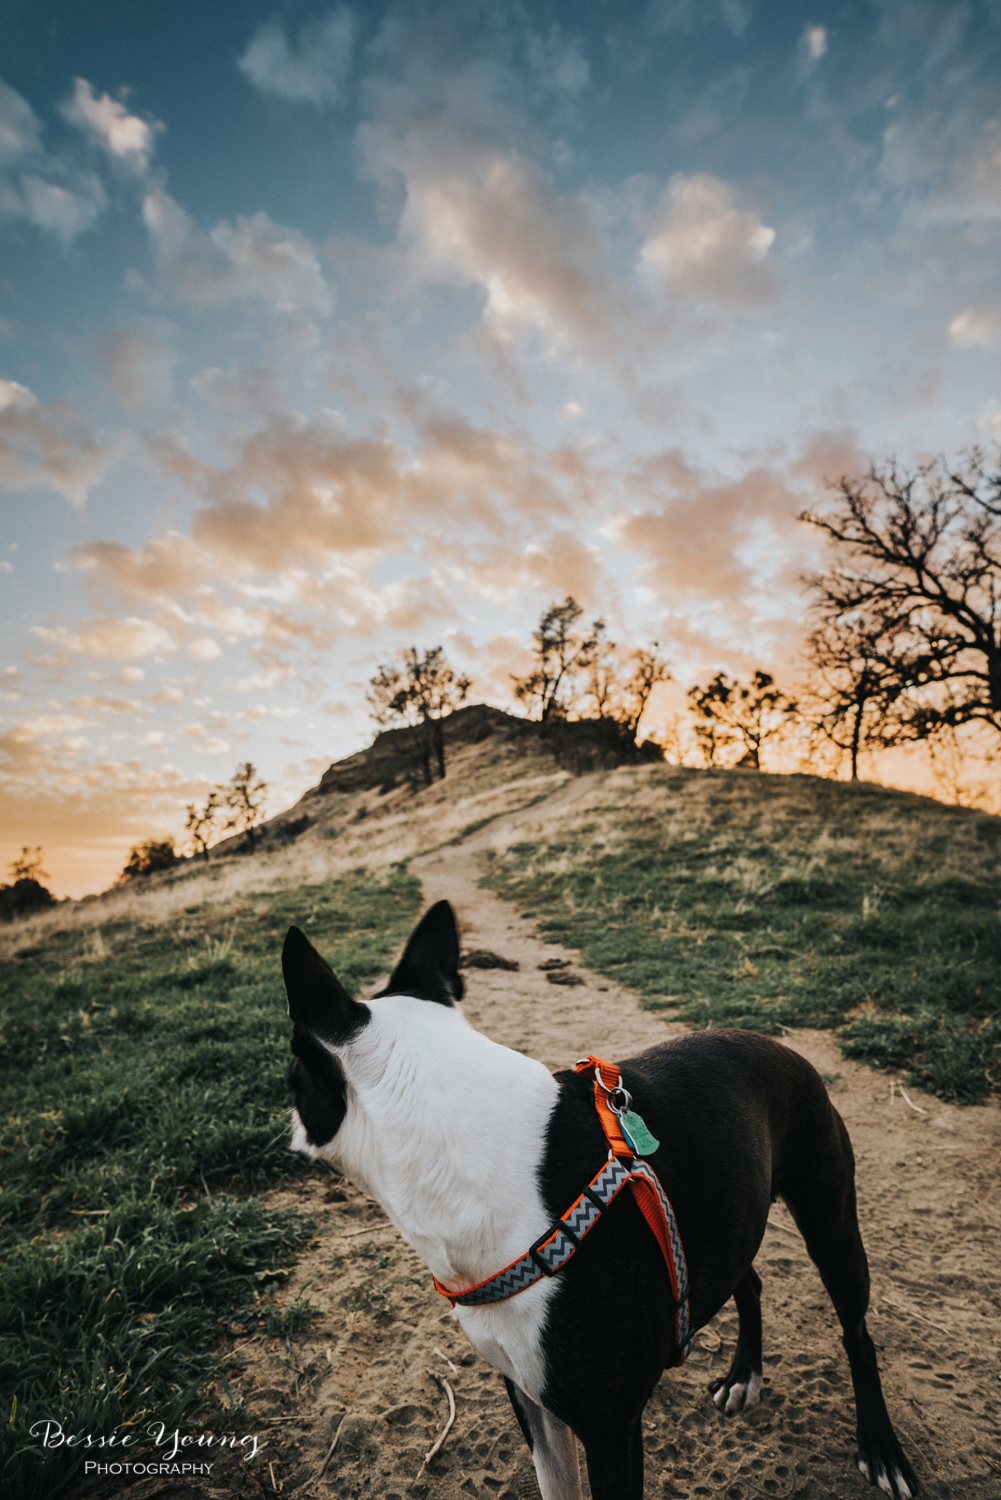
I continued to walk around capturing fun images of Yota, taking a timelaps with my Sony A7rii and just enjoying the view. It was gorgeous and I couldn’t have asked for a better morning. Let me tell you, it was exactly what I needed.

The sun finally peaked over the mountain tops and it was time to head back to camp for coffee and breakfast. Yes, I did all of this before coffee. Like who the heck am I ?

I ended up spending another night here at Alabama Hills. It is exactly what I needed. I seriously couldn’t have asked for a better trip. I felt inspired and rejuvenated. It helped me relax and it reminded me why I started this business:
to capture Gods beauty with my camera the best way I can
to share the world the way I see it, through my lens
to help you learn photography
to show you that it is possible to do what you love
to inspire you
Have you ever been to Alabama Hills? Did you even know about it before you saw this post? Comment below and let me know.
Do you have any questions for me? Ask your question in the comments below and I will get back to you.
Wishing you the very best!
Bessie
P.s. Love this post? Check out these similar ones: