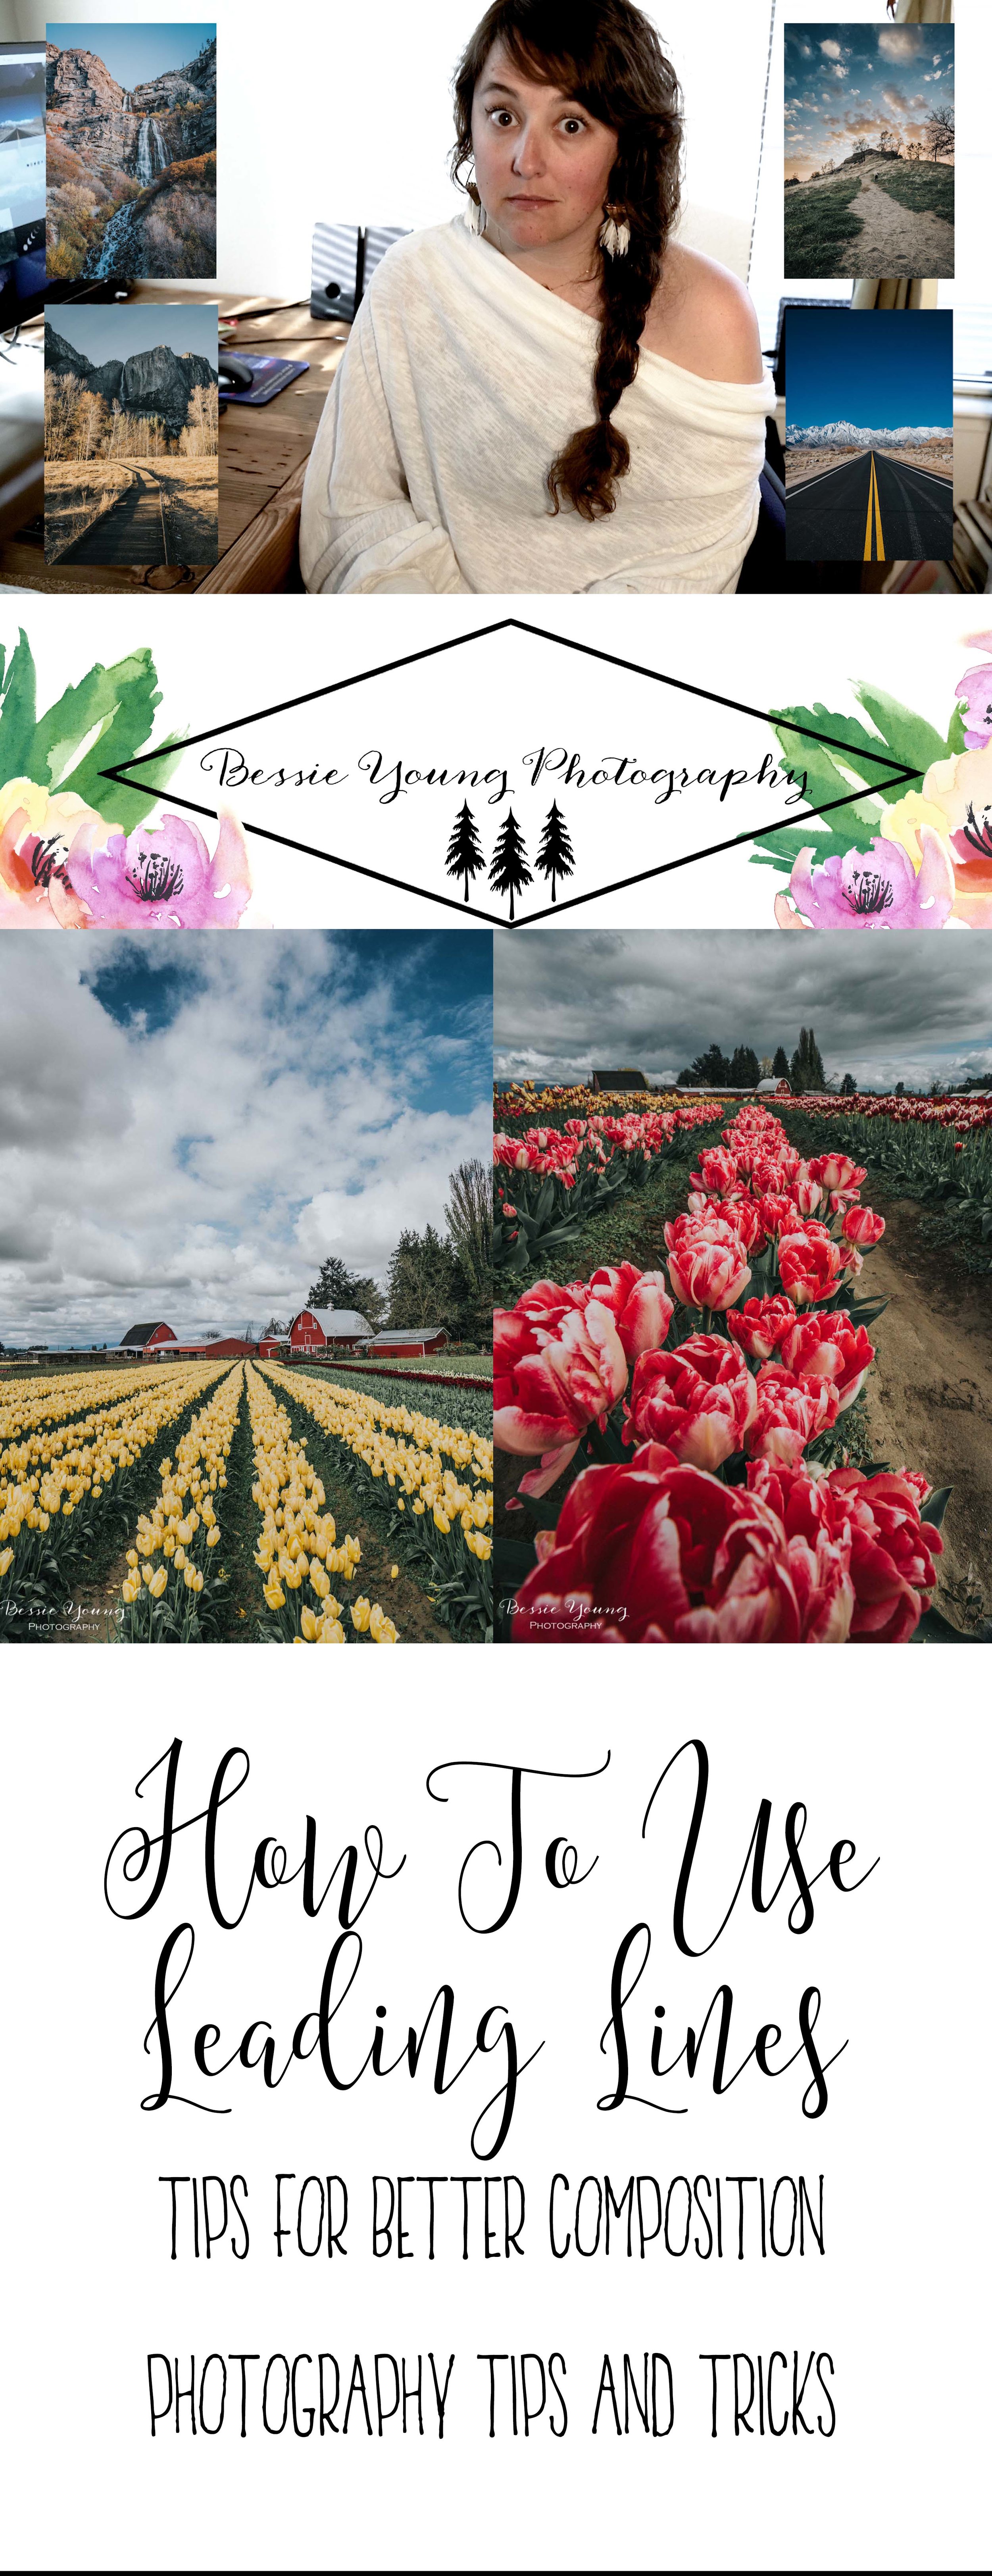
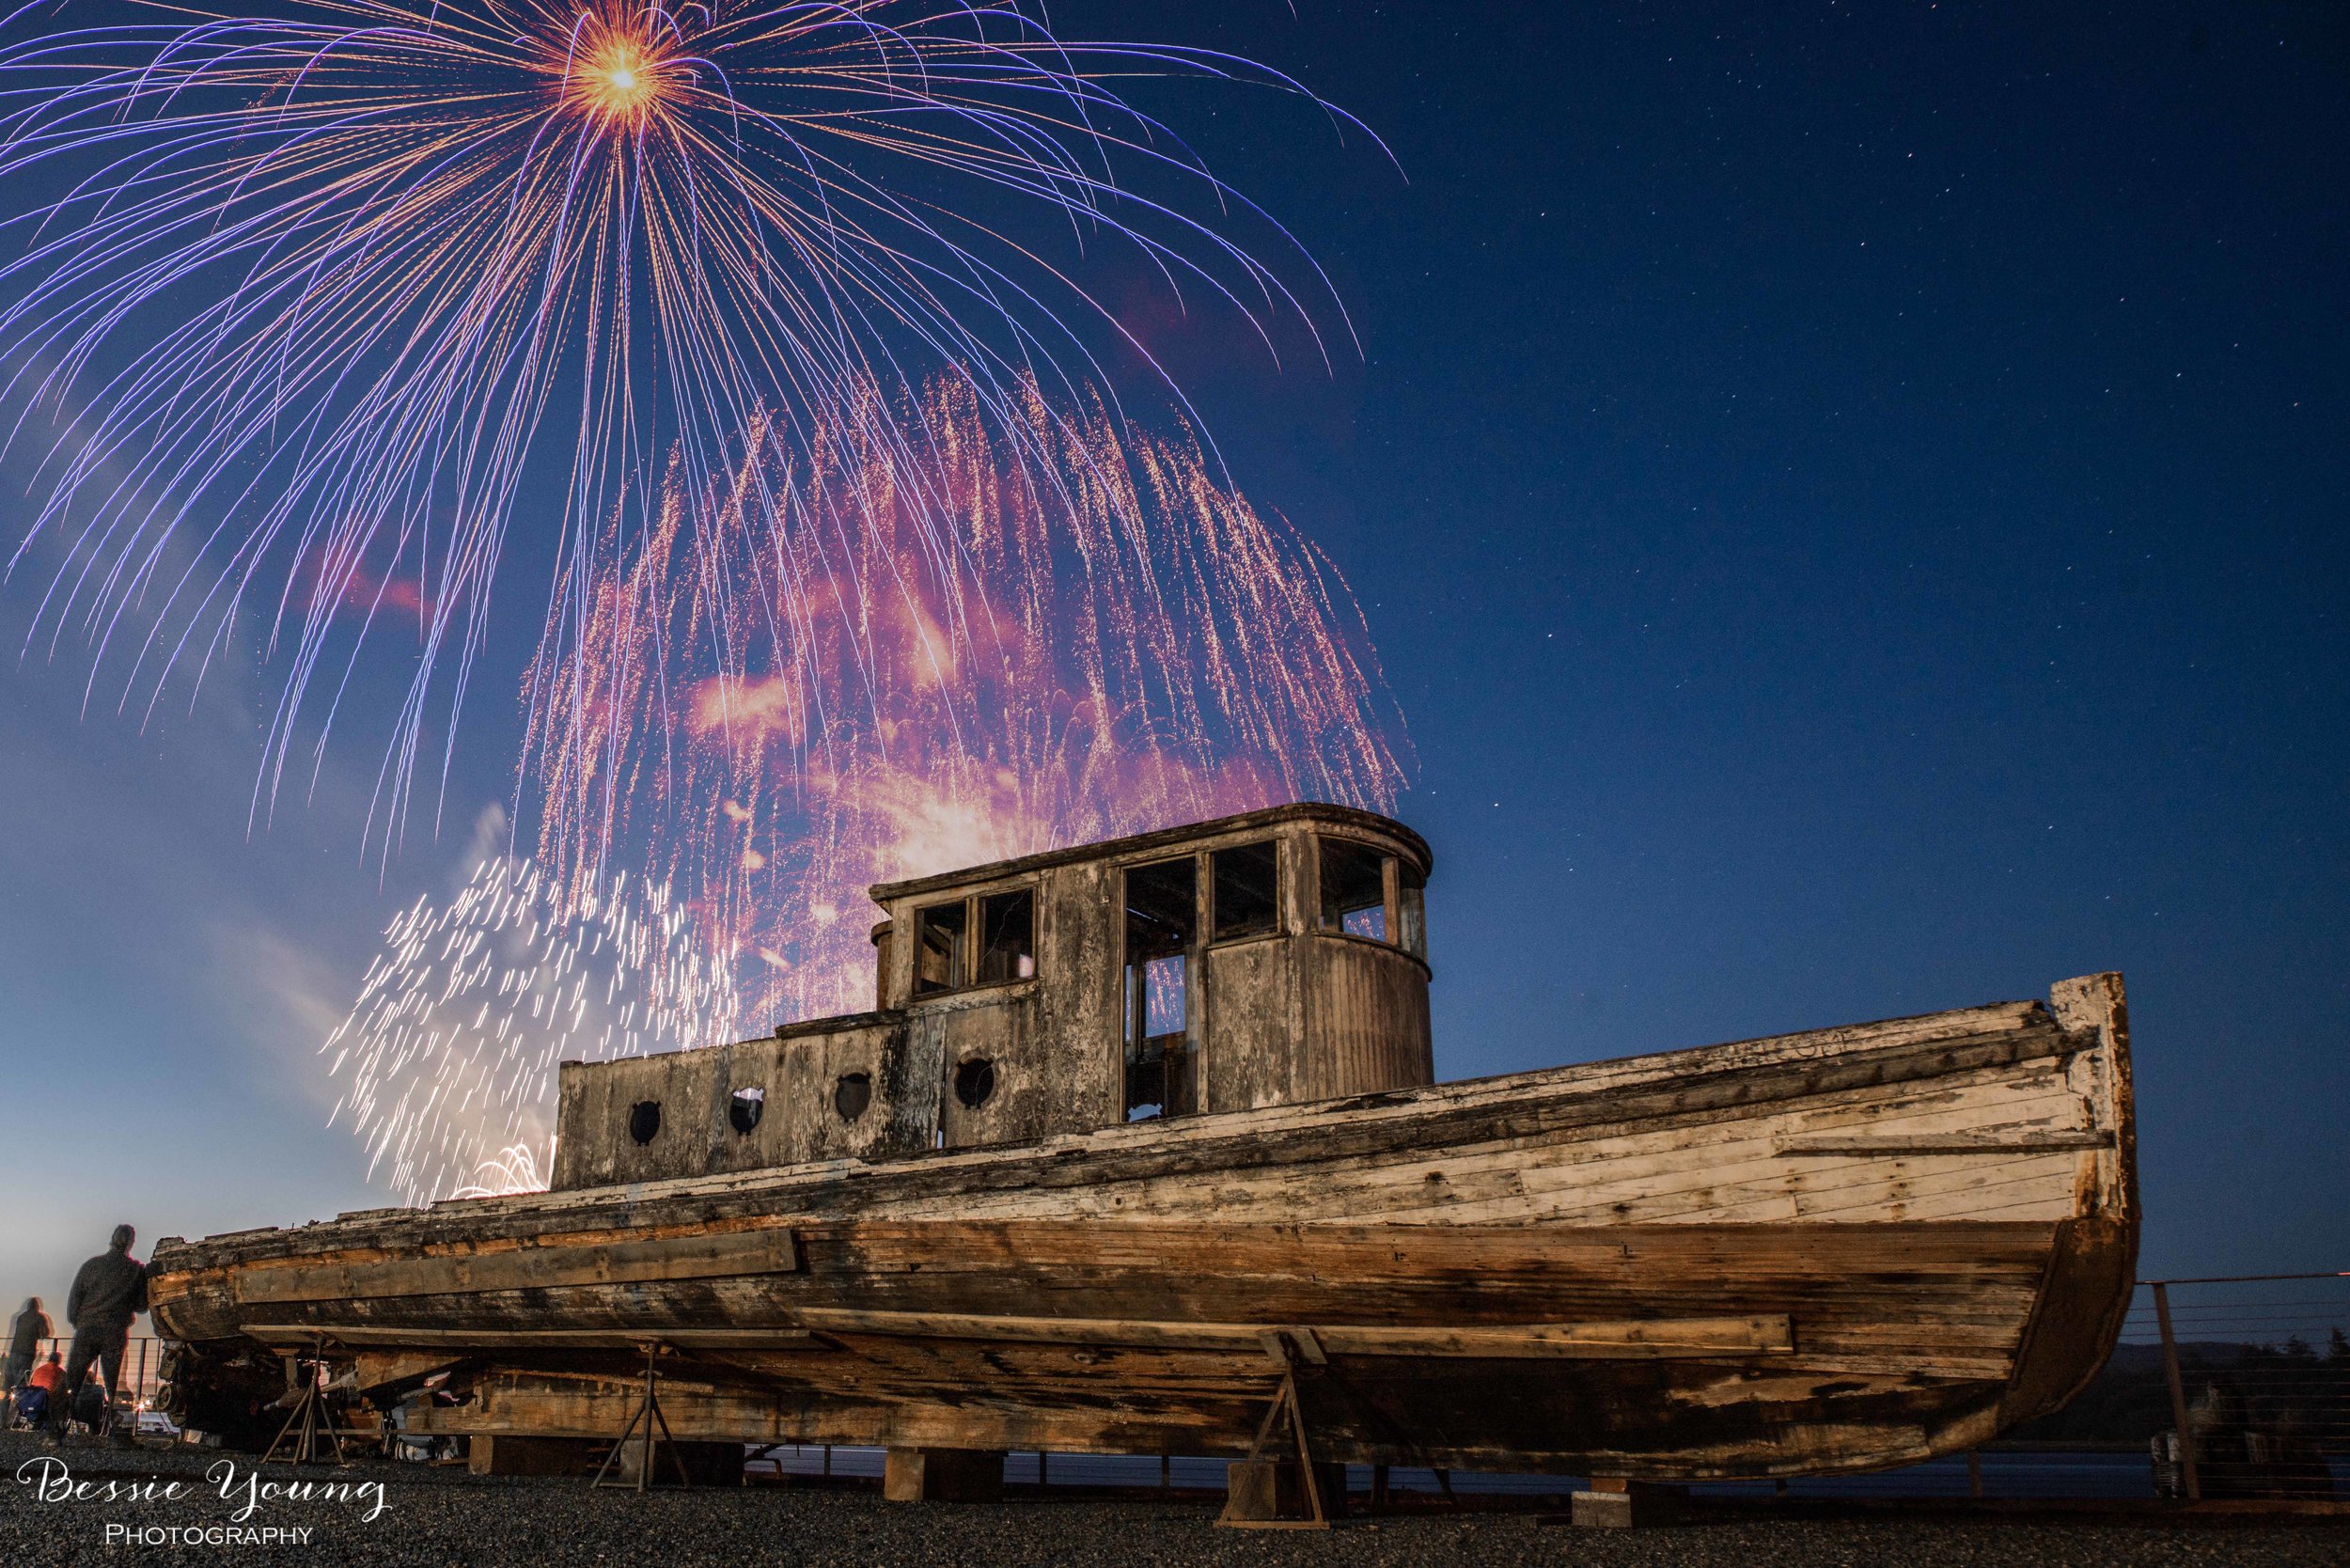
How To Take Night Photos
Photography Tips and Tricks
So, how in the literal heck do you even start to take photos at night in order to create a beautiful jaw dropping image?

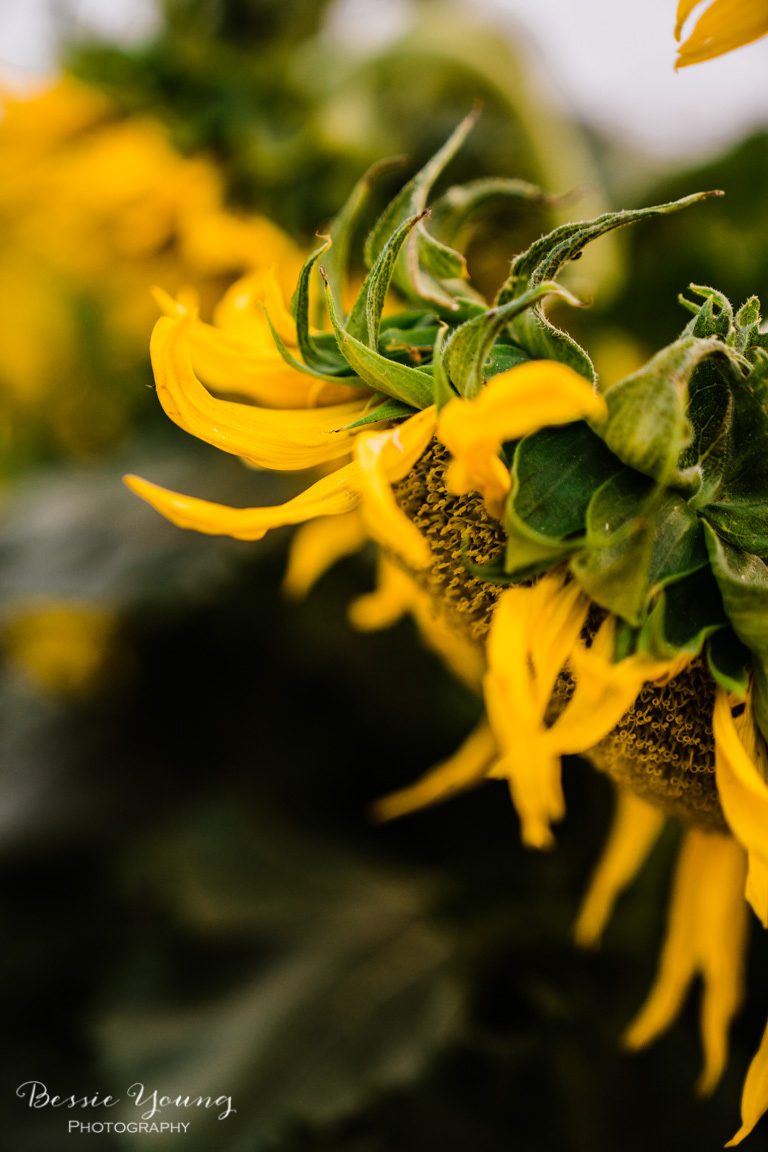
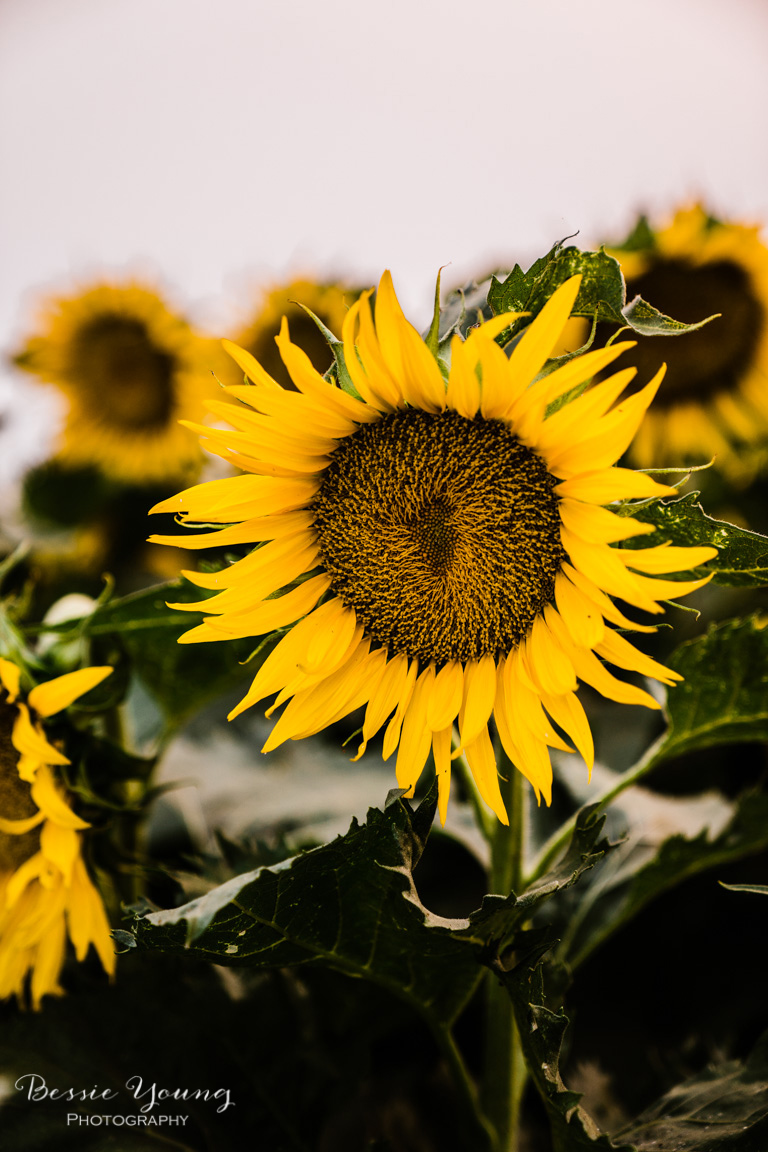
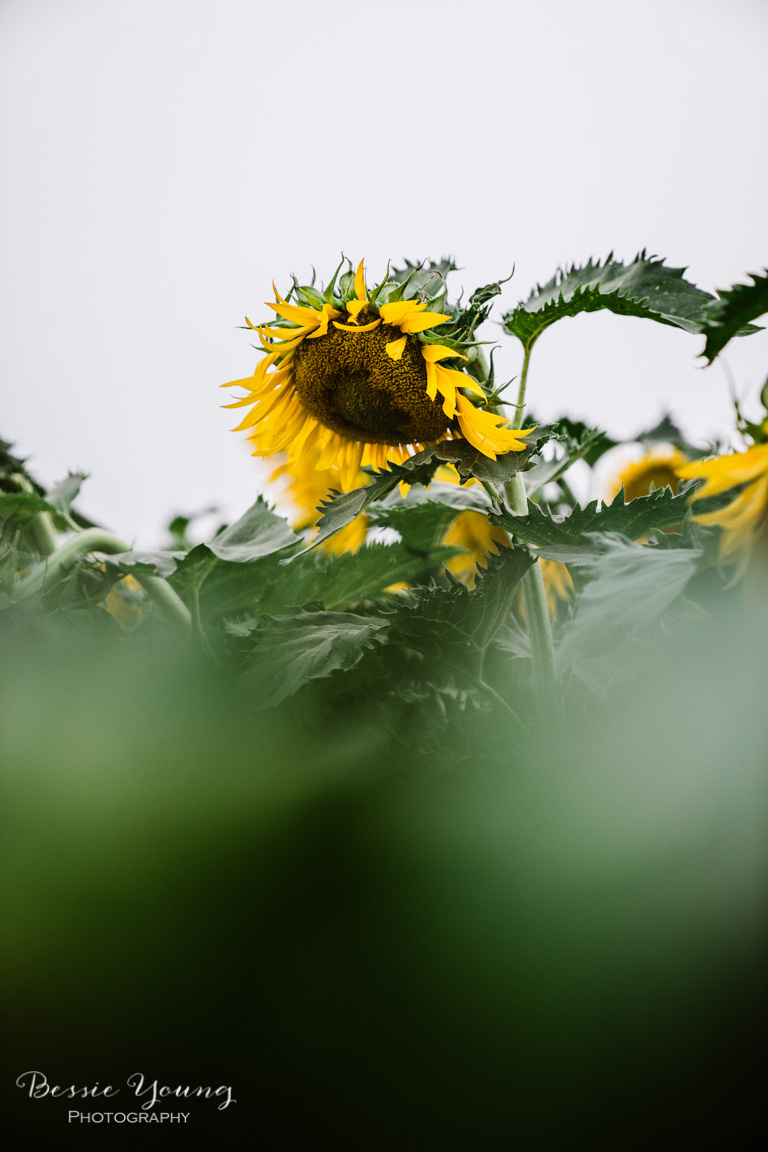
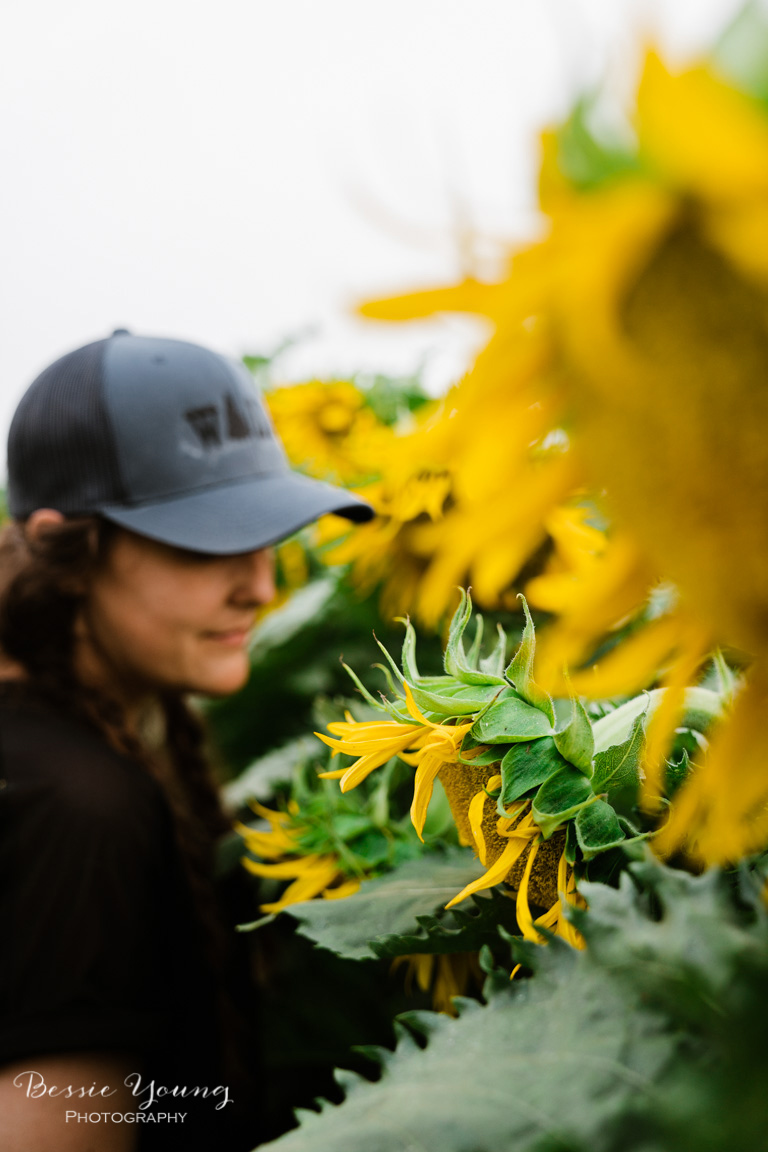
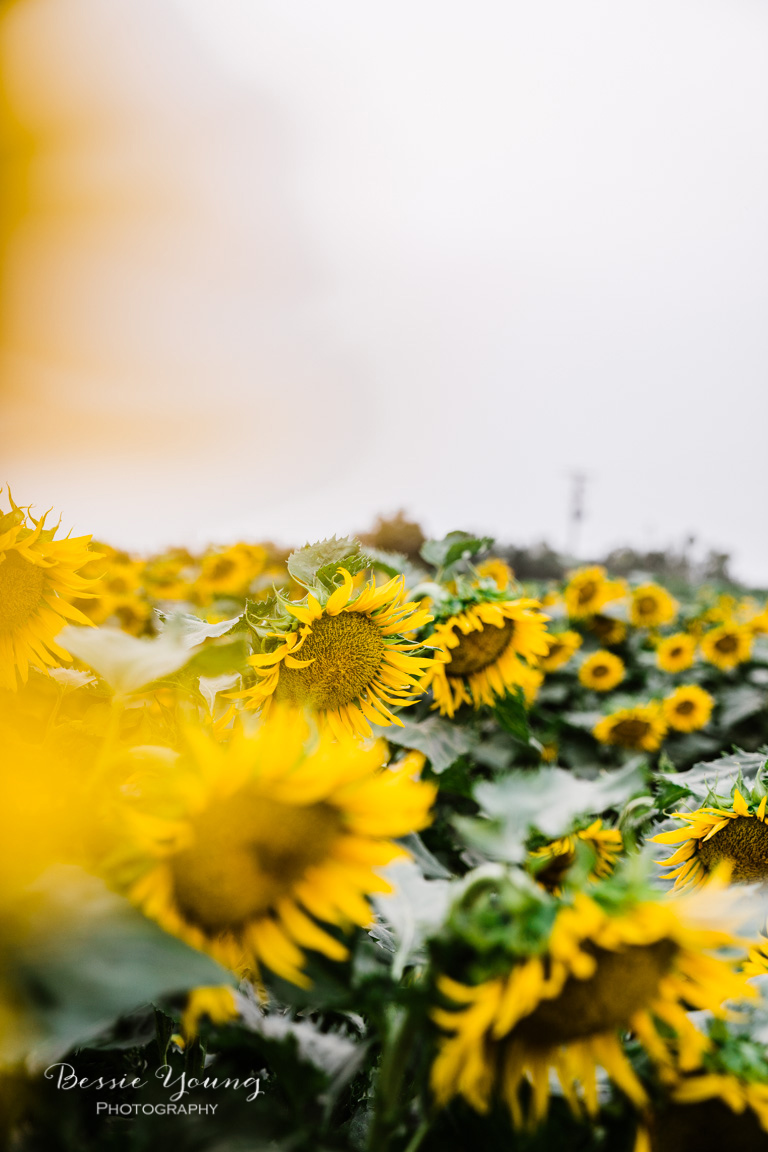
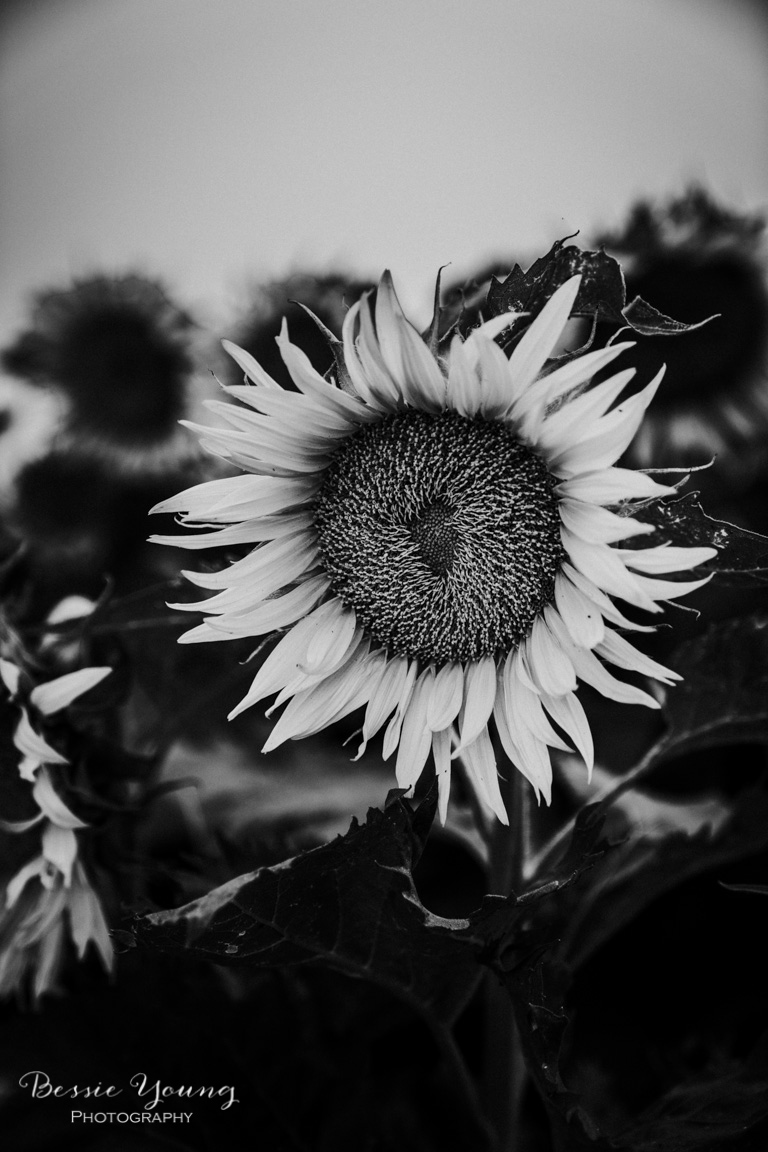
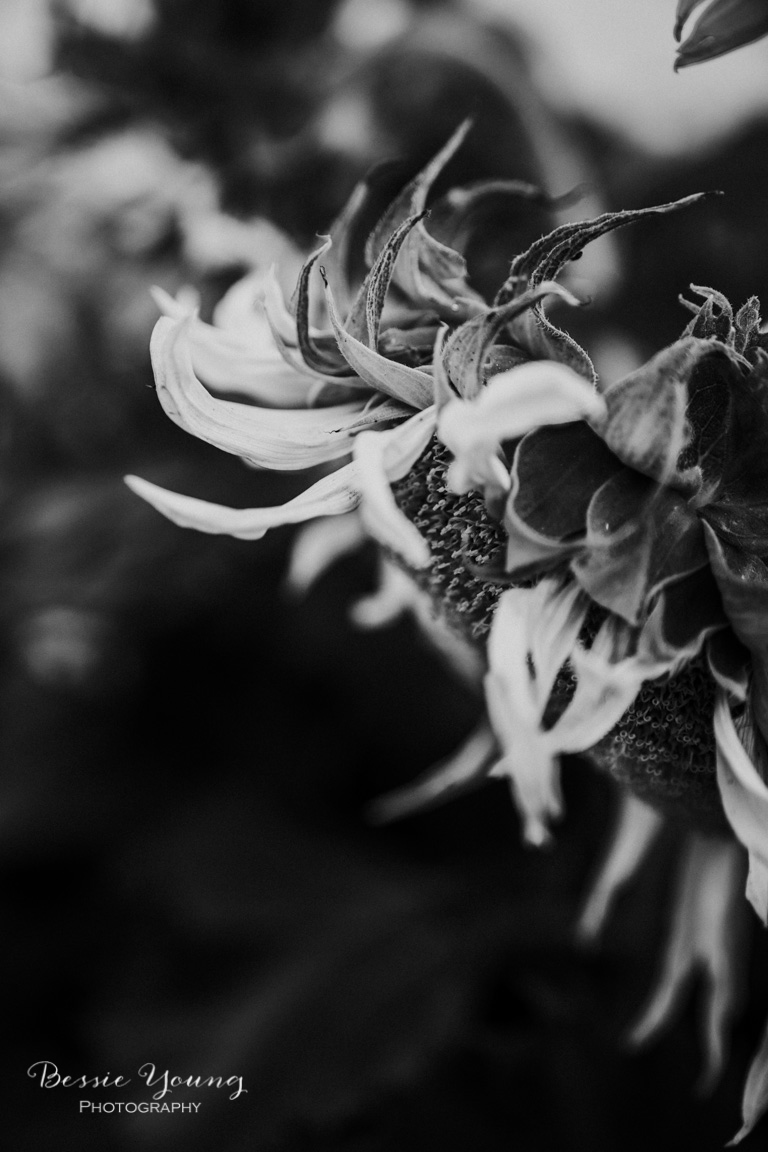
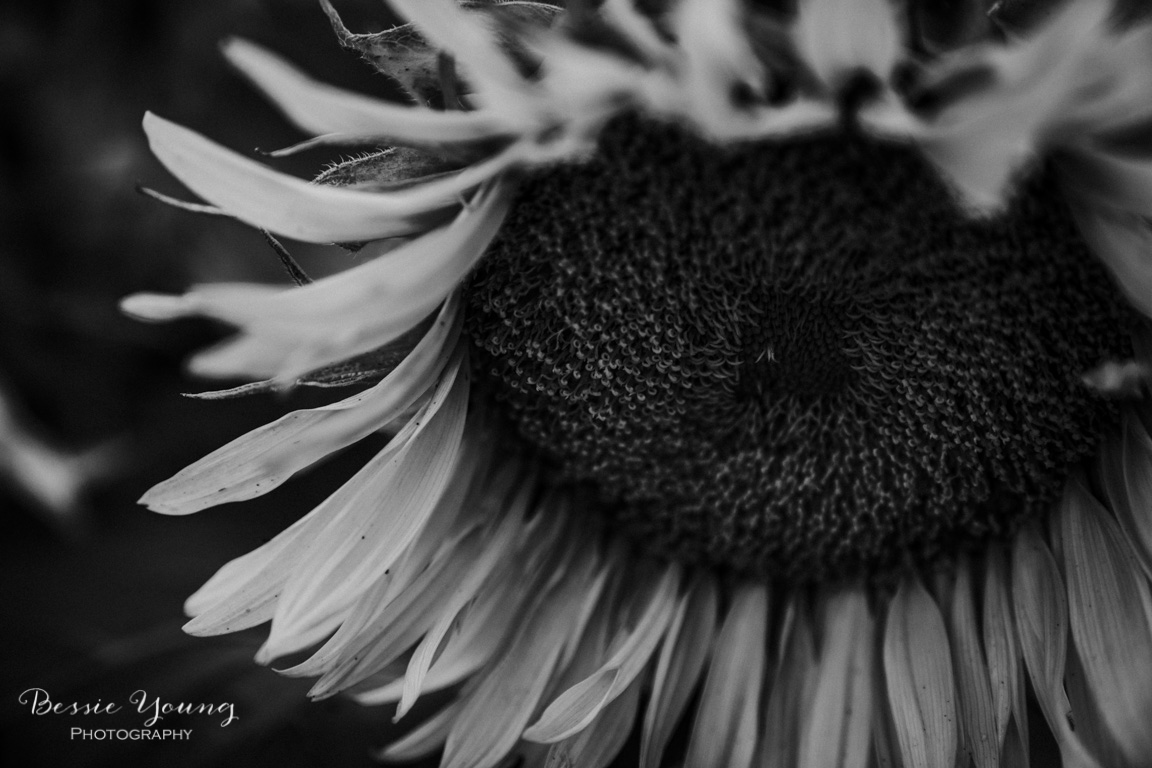
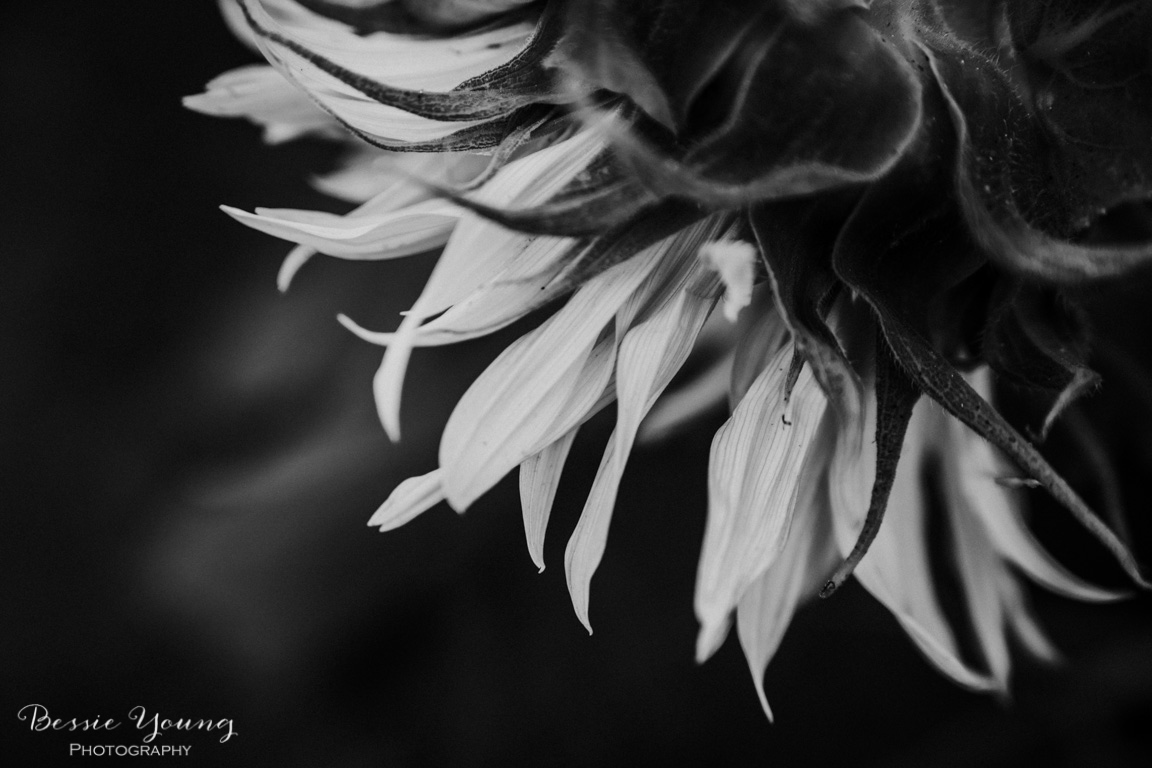
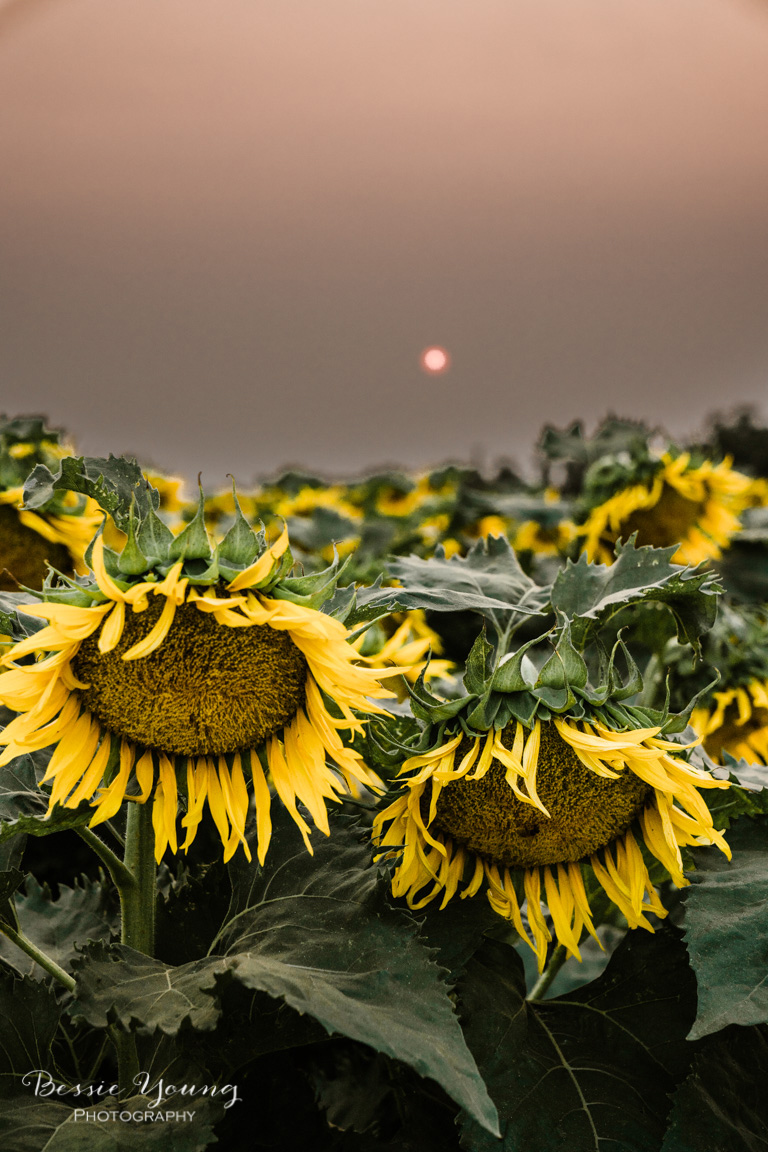
All Images For Sale in the BYP Shop-
Click the image to purchase or click the buy me button below.
Well my friend I am here for you! I am super excited to share this video and blog with you for so many reasons, but the main reason is because for years, and years, and years I struggled with taking night photos.
I spent countless hours researching it. I had so many failed attempts testing out the tips and tricks that I was reading online , or in photography magazines, or watching YouTube videos .
I did all the things and still could not get good night photos. My pictures were dark, muddy, grainy, blurry, and everything bad about a photo.
After years of trial and error I have finally compiled some of the main tricks that I've learned and taught myself when it comes to taking night photos. I am so beyond excited to share this information with you guys to really help you , and help you not have to spend all the time doing all the research.
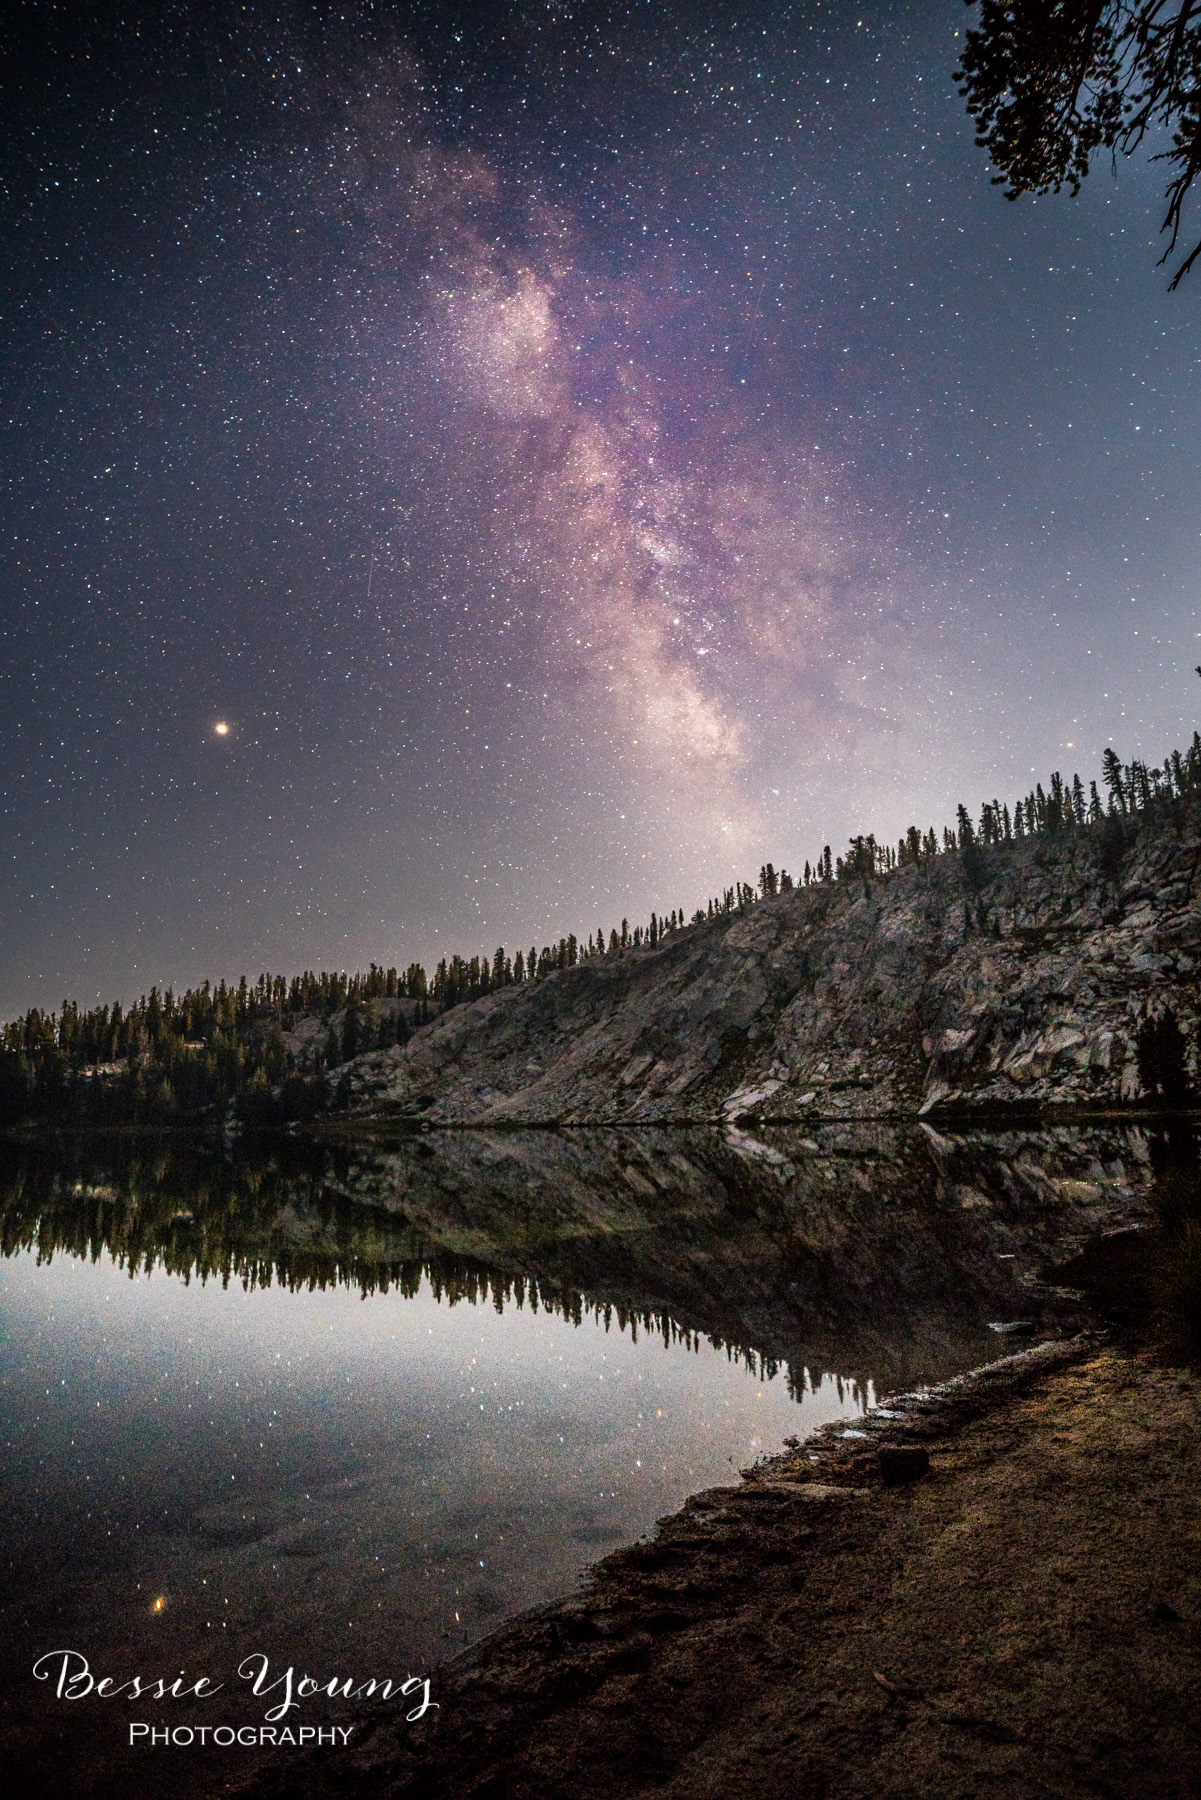
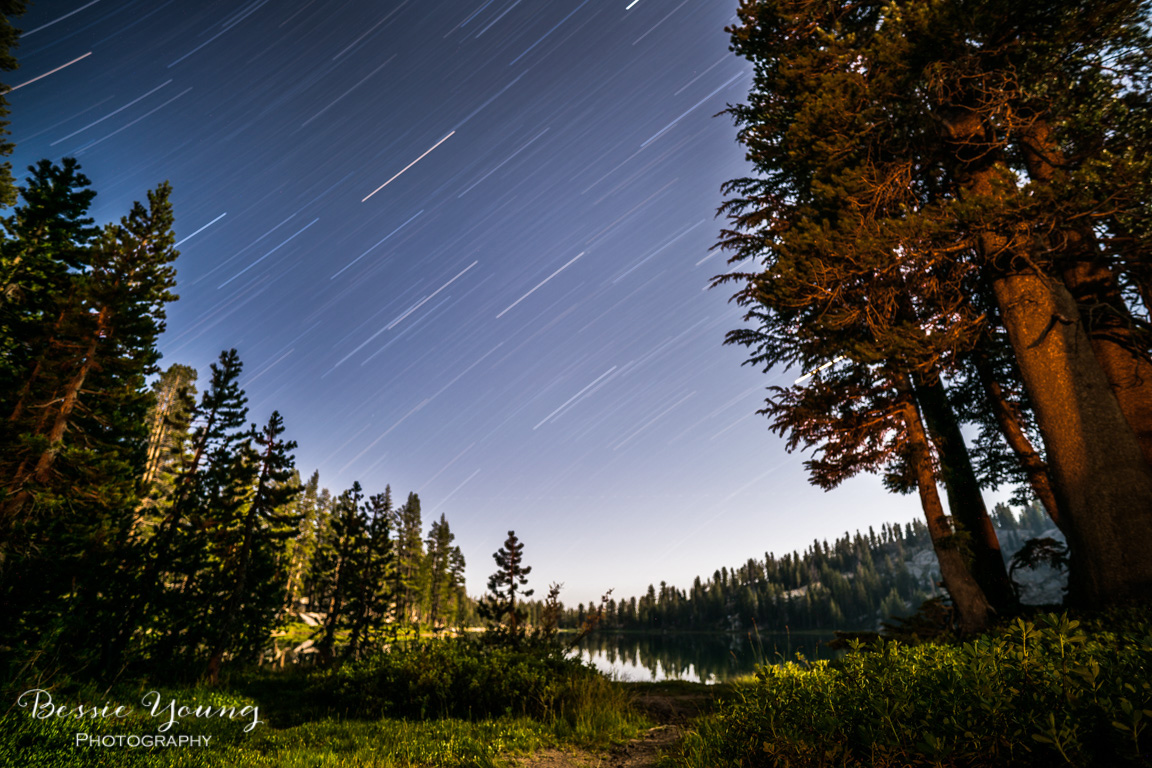
Tips on How To Take Night Photos

Use a full frame camera
Use a fast wide angle lens (aperture 2.8 or below)
Invest in a good tripod
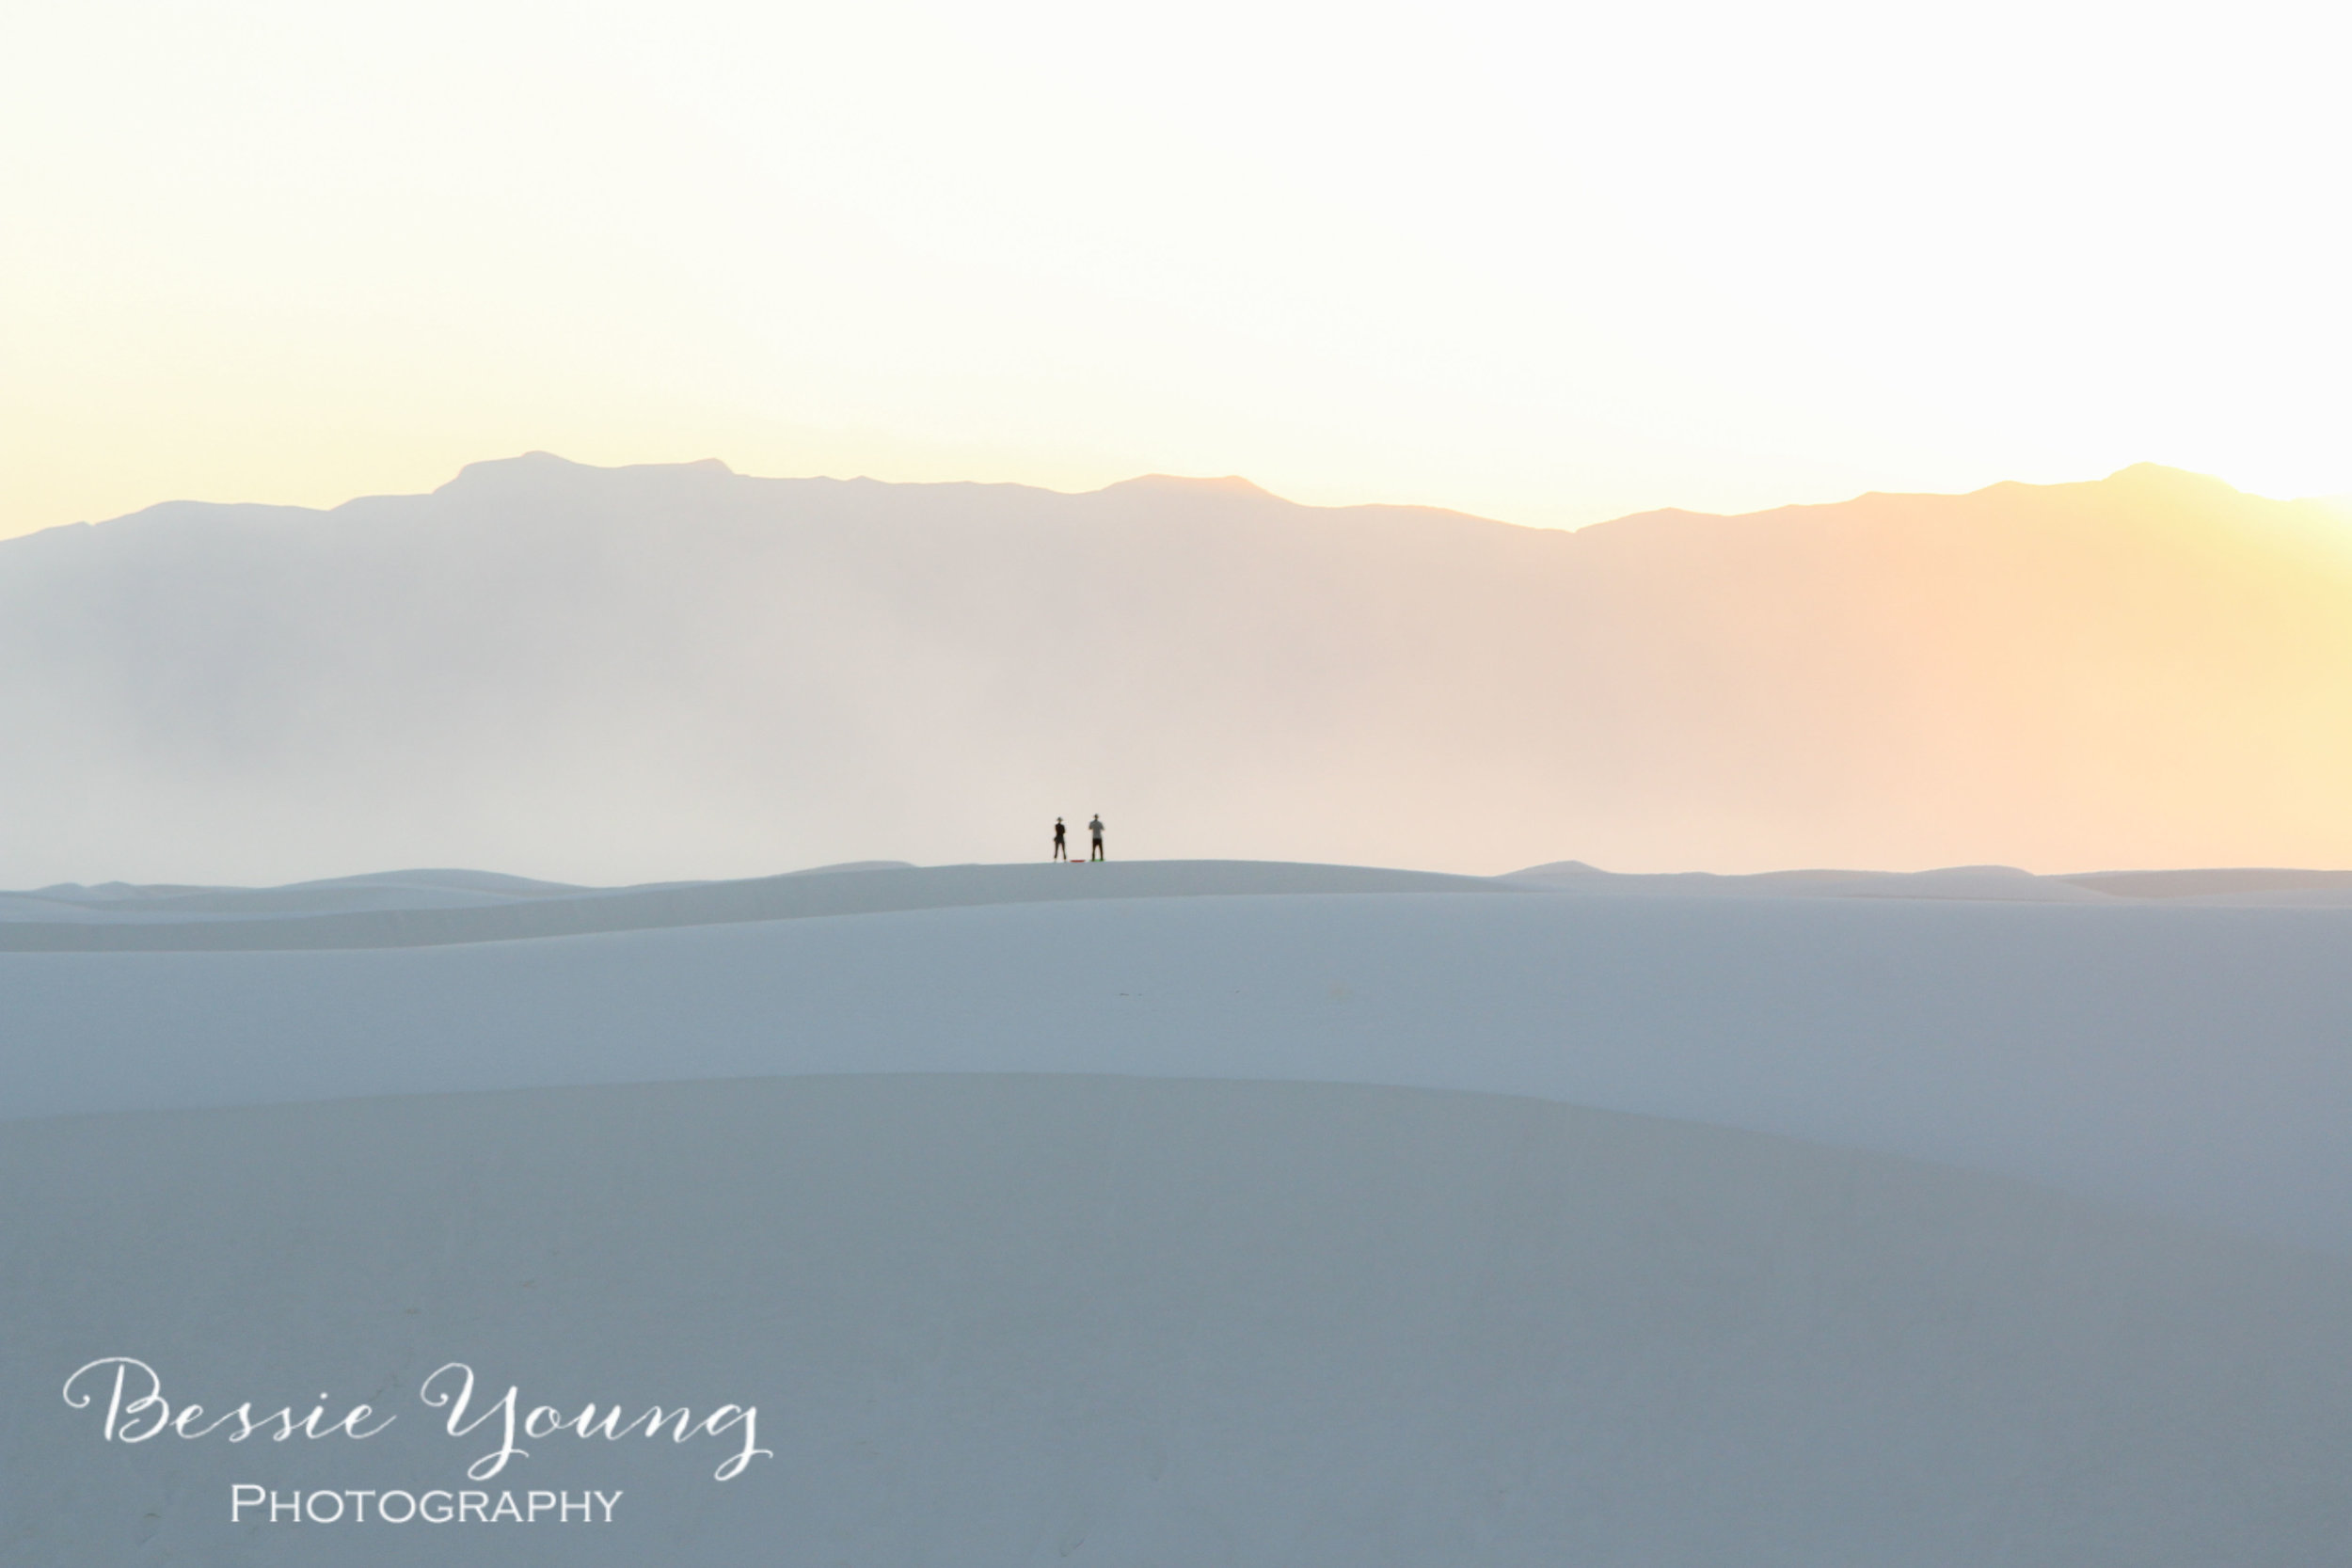
Check the weather - make sure that the sky is going to be pretty much clear skies
Make sure the moon is small or that there is no moon at all. A mood that is over a quarter moon is going to be way too bright.
Scope out your location and find the best composition while it is day time and light outside.
Focus your lens while it is day light! Oh my gosh this is huuugggeeee! I couldn't ever figure out how to get those tack sharp images. I would always "focus to infinity" because that is what everyone said to do, but guess what.... THAT DOESN'T WORK! Infinity has a little bit of wiggle room and that is really going to make or break your image. So after you are done scoping out your location (tip 5). Set up your tripod and focus your camera. This way, when it is dark outside you will not have to try to figure out how to focus. You will know already where to focus your camera at and you will be good to go!
Shoot in Raw
Start off with settings at ISO: 2000 | F2.8 | Shutter 10" and go from there. You are going to have to play around just like any other landscape photo. Make sure that you get a few variations and that way you can pick your favorite in post.
Get a star app (I use PhotoPills)
Now go out there and try these photography tips and tricks on how to take night photos!
Leave a comment below and let me know what your favorite tips are or if you have any additional tips that I didn't mention :) . Don't forget to share this with all your shutter bug friends!
Wishing you nothing but a beautiful day!
Bessie
P.S. Did you love this post? Want to see more photography tips and tricks? Check this out here: