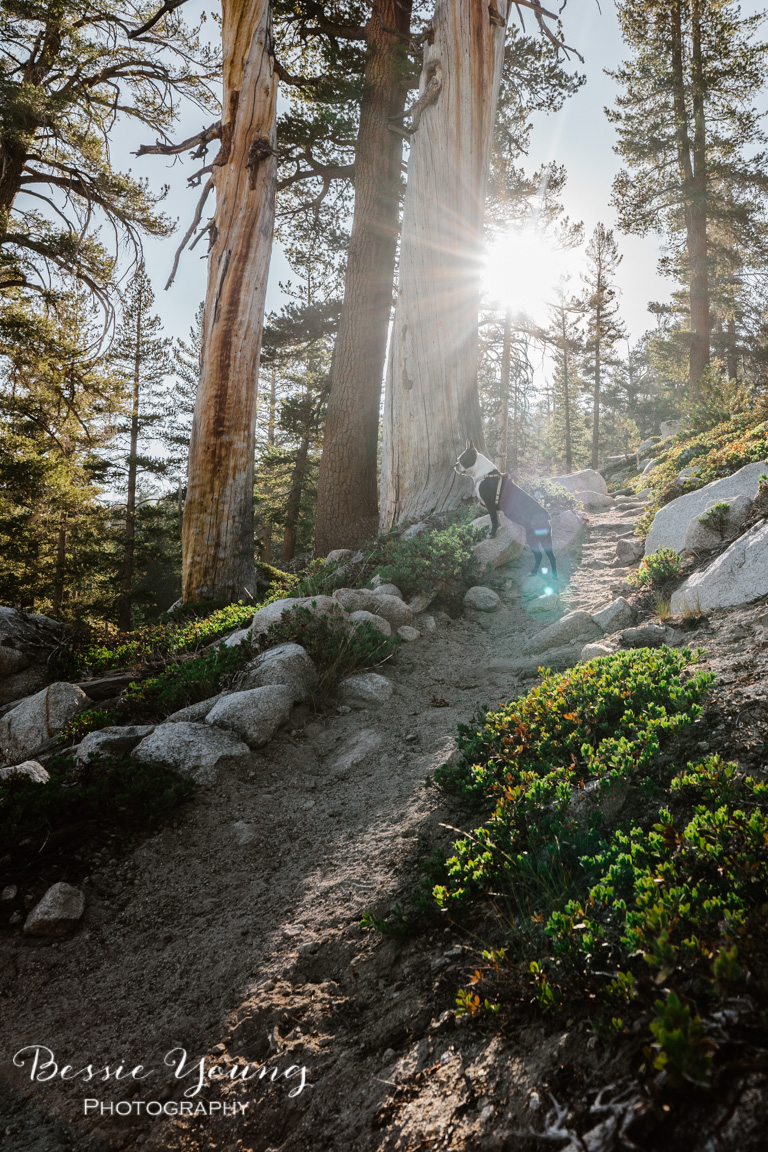
Black and White Lightroom Presets
by Bessie Young Photography
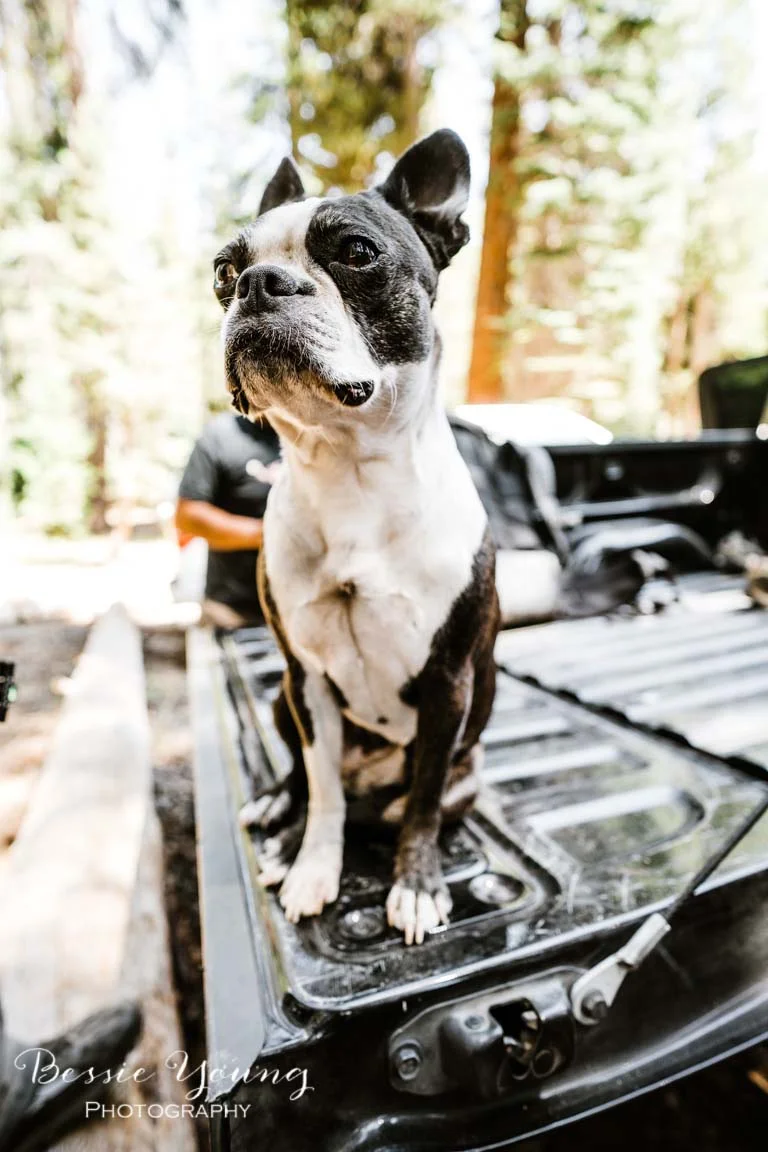
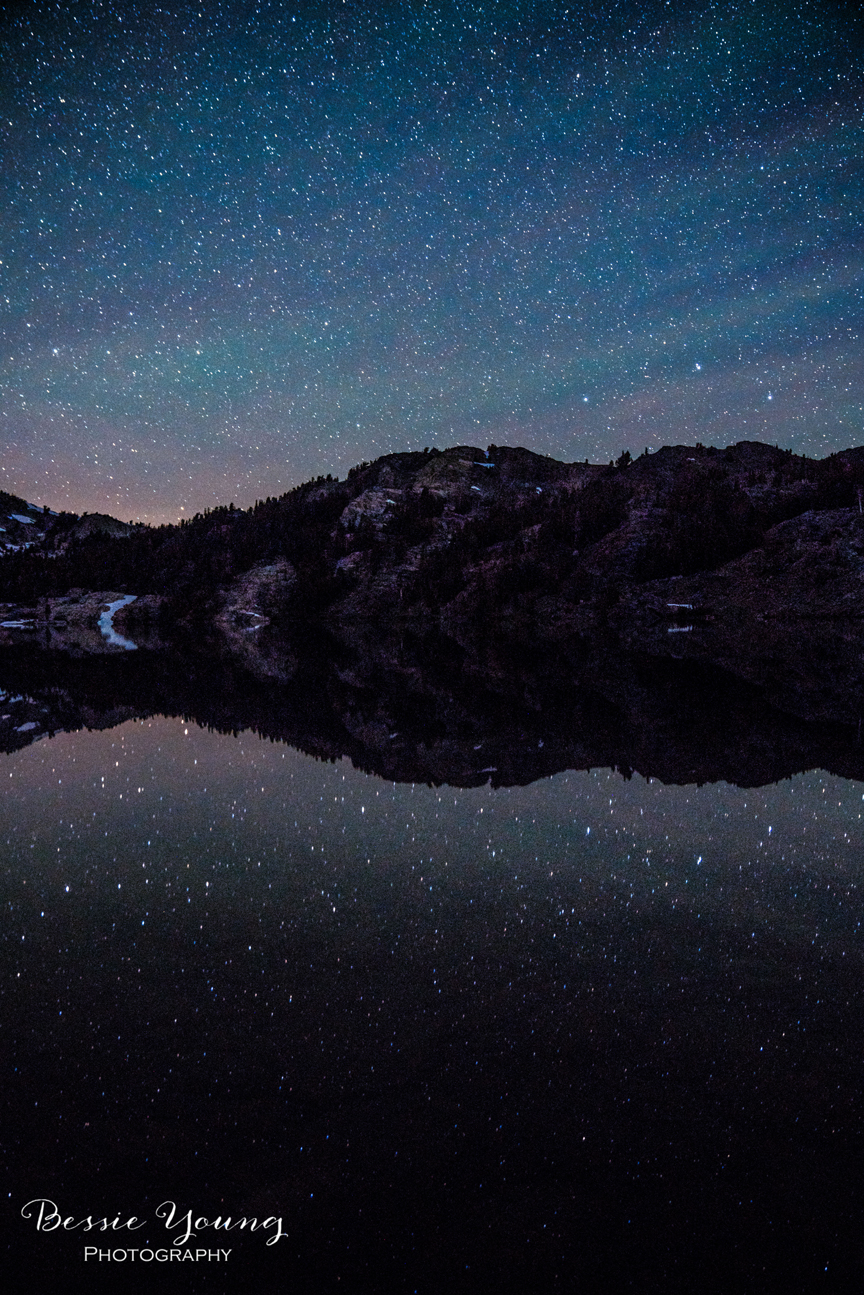
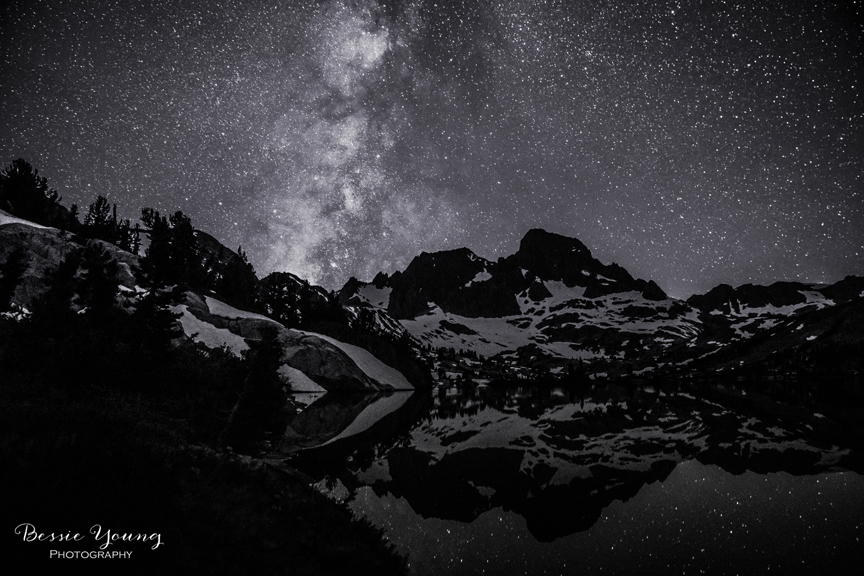
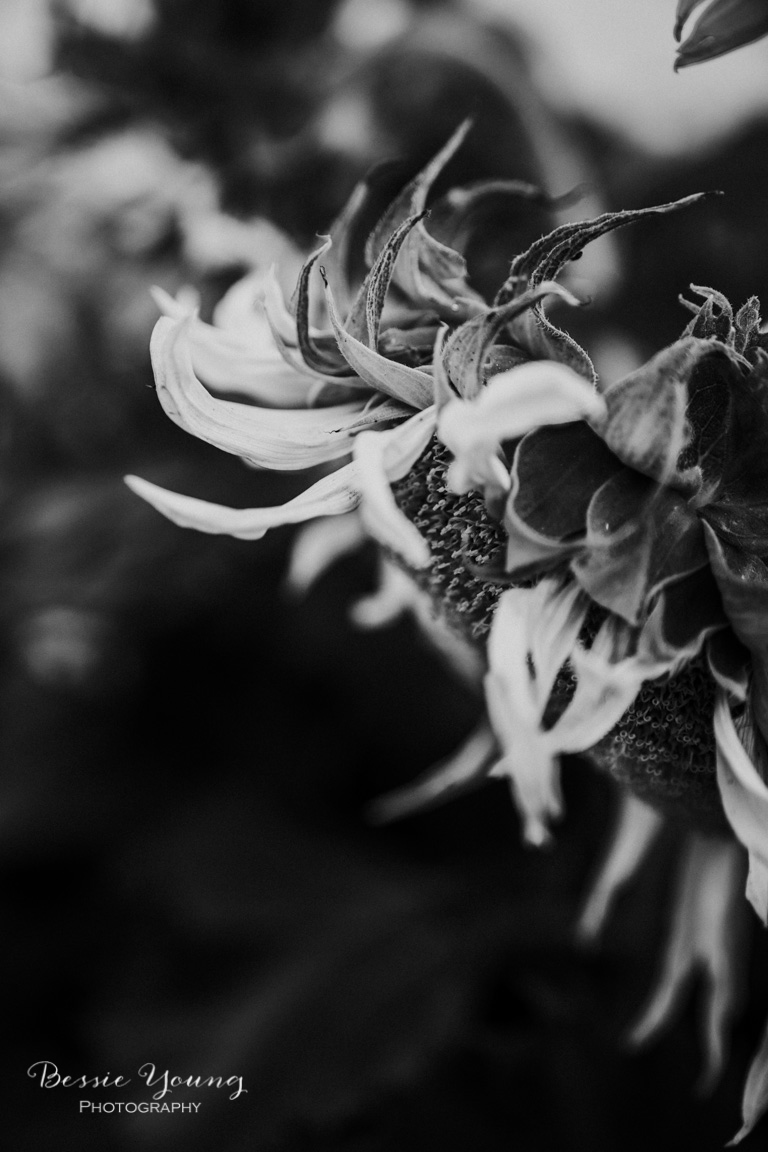
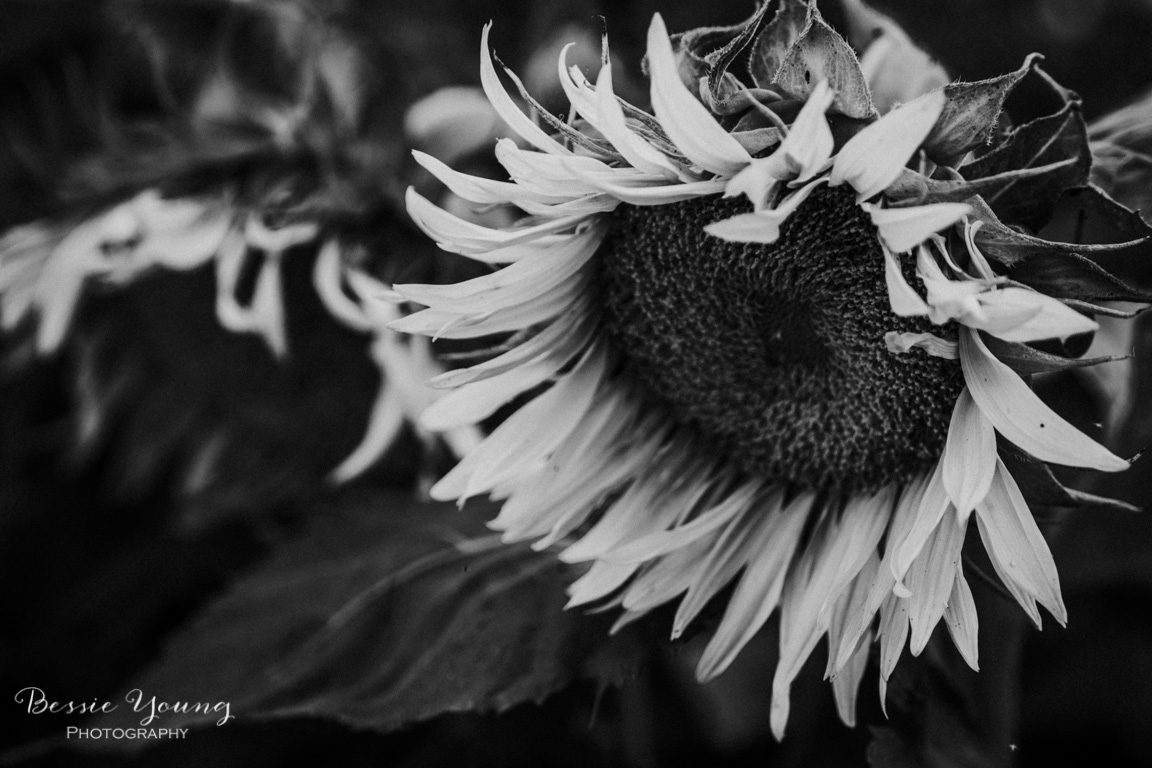
Ok so we all know how much I absolutely love love love black and white images. I mean I may go to the ‘im a bit obsessed’ with black and white images. So…. It is officially official friends!!! I finally freaking made my black and white lightroom presets available! For Realz!
I love lightroom presets for a few different reasons:
they will make your life easier
they will make your editing faster
they are easy to use
they will help you find your style
they will help you learn editing
they will help you learn Lightroom
So for me, these are just a win win win. Now, let me tell you something friend. These are no traditional presets. No. They are not just a bunch of presets where you either like them or don’t. Oh not for this girl. I had to make them amazing. I had to make them worth it. I had to make them phenomenal. So how, or what did I do, to do that?
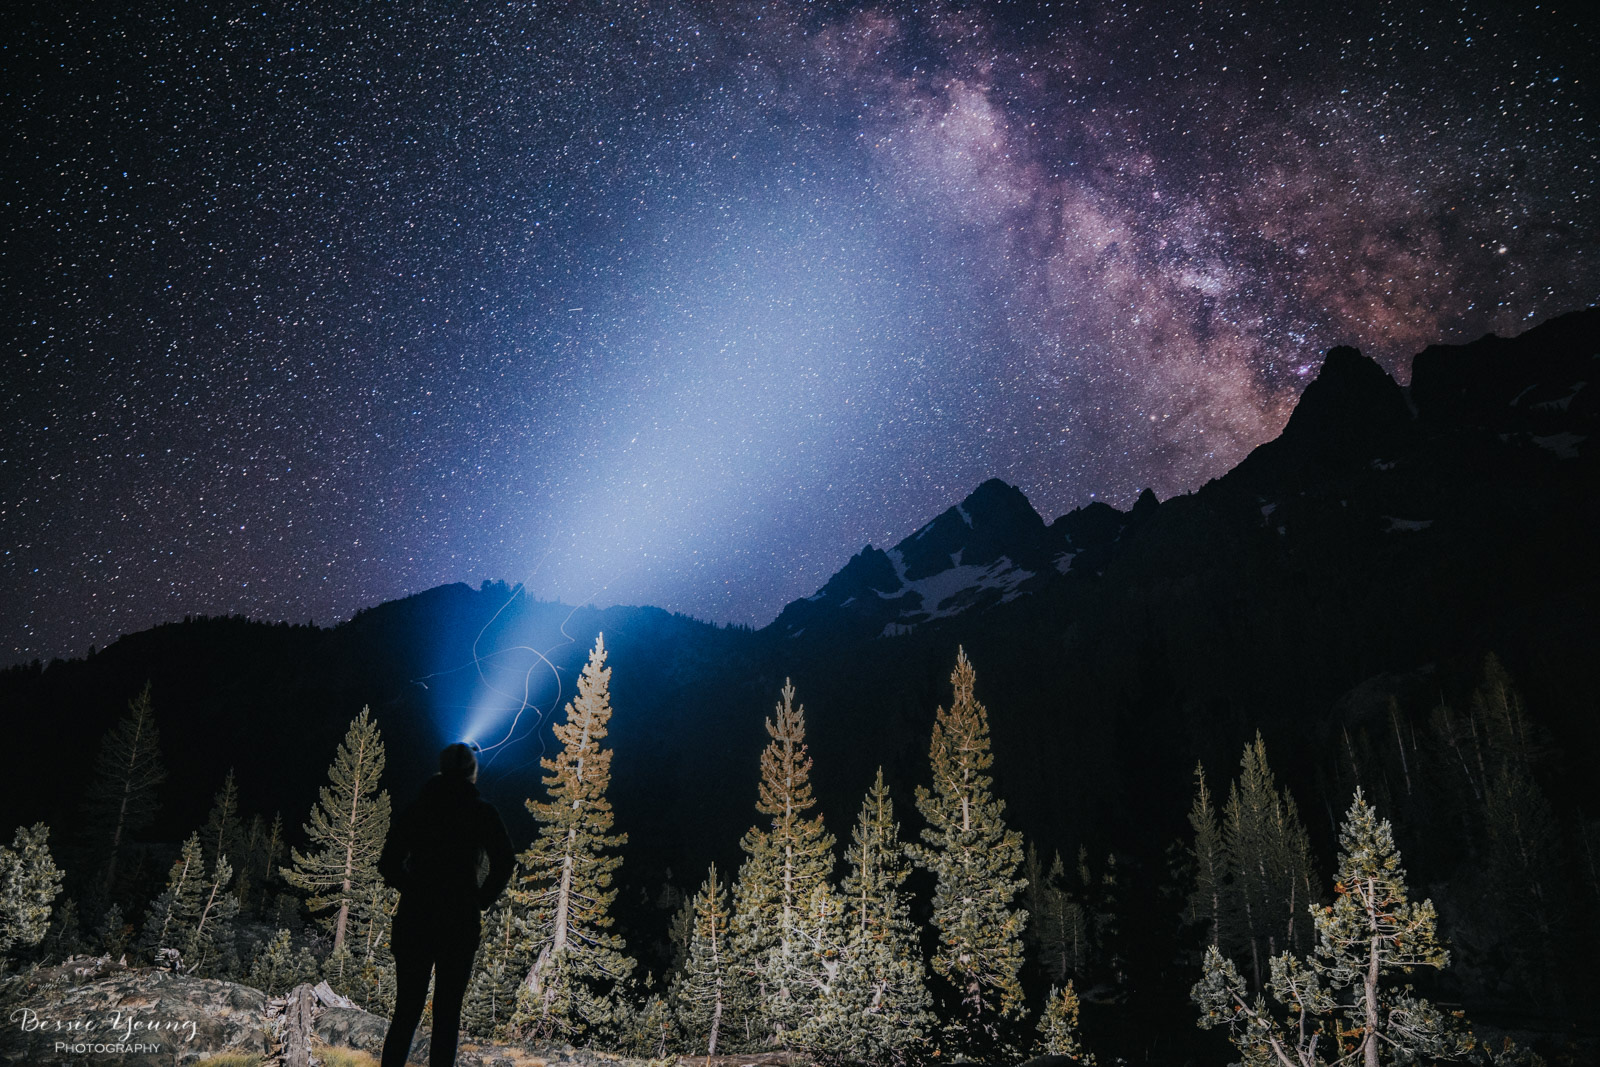
Well, I went above and beyond is what I did!! I decided to create what I needed when I was first starting out as a photographer. No, I didn’t know lightroom or how to edit, but by golly I was going to be a photographer so I needed a little bit of help. So check this out, the best thing about these presets are that you have complete control over all the presets with an easy to use interface which allows you to create the look you want one click at a time! I have included easy and quick contrast edits, vignetting edits, film edits, and more! Plus… these presets include everything from the standard black and white image, to the light and airy black and whites, and even to the very popular moody black and whites.

Alright, so enough already, here are the deets:
Whats included in the BYP B+W Presets:
8 Black and White Original BYP Presets (these are all 1 click edits!)
4 FREE Black and White Presets
Contrast Settings
Vignetting Settings
Film Grain Settings
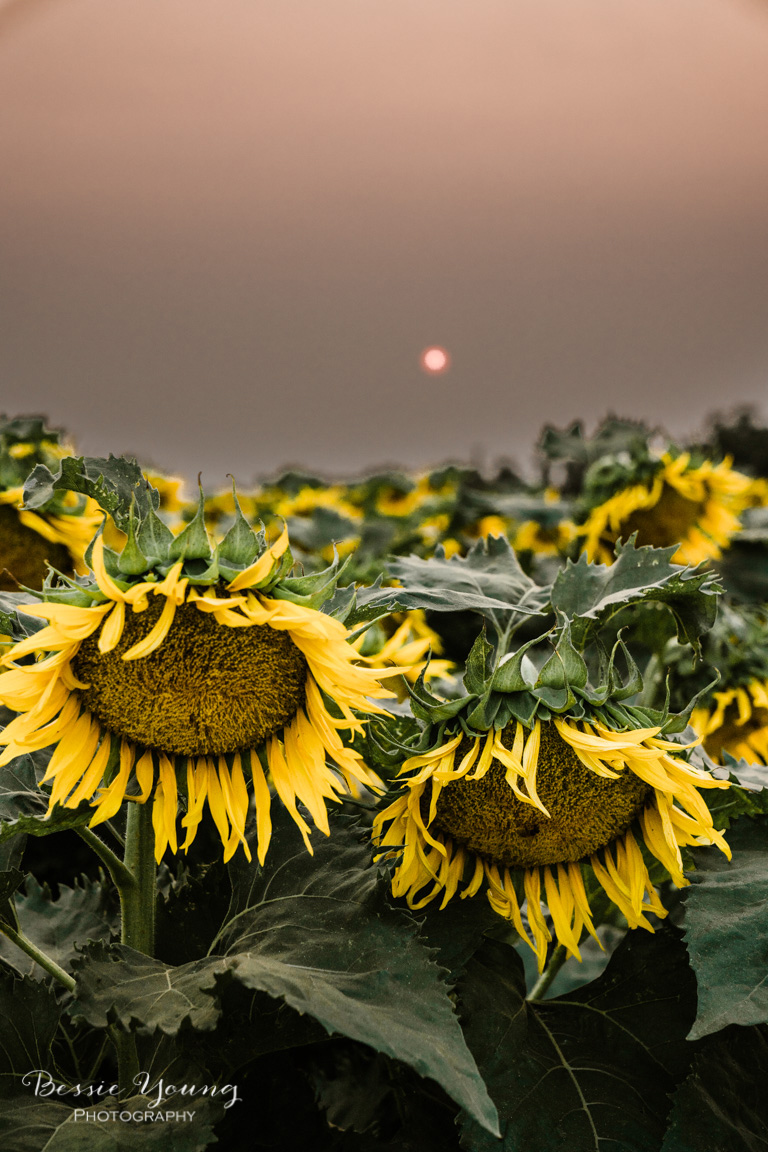
3 color filters
Do you have any questions? Please please please comment below with your questions or send me a message via this contact form.
I am so dang excited about these presets and so dang excited to see your creations that come from them! Make sure to tag #bypshop or #thebypshop in your social media posts so I can see all the goodness!
Wishing you nothing but amazing, beautiful, and oh so awesome black and white photos!
Bessie
Love this post? Want to seem more? Check out these similar posts here: