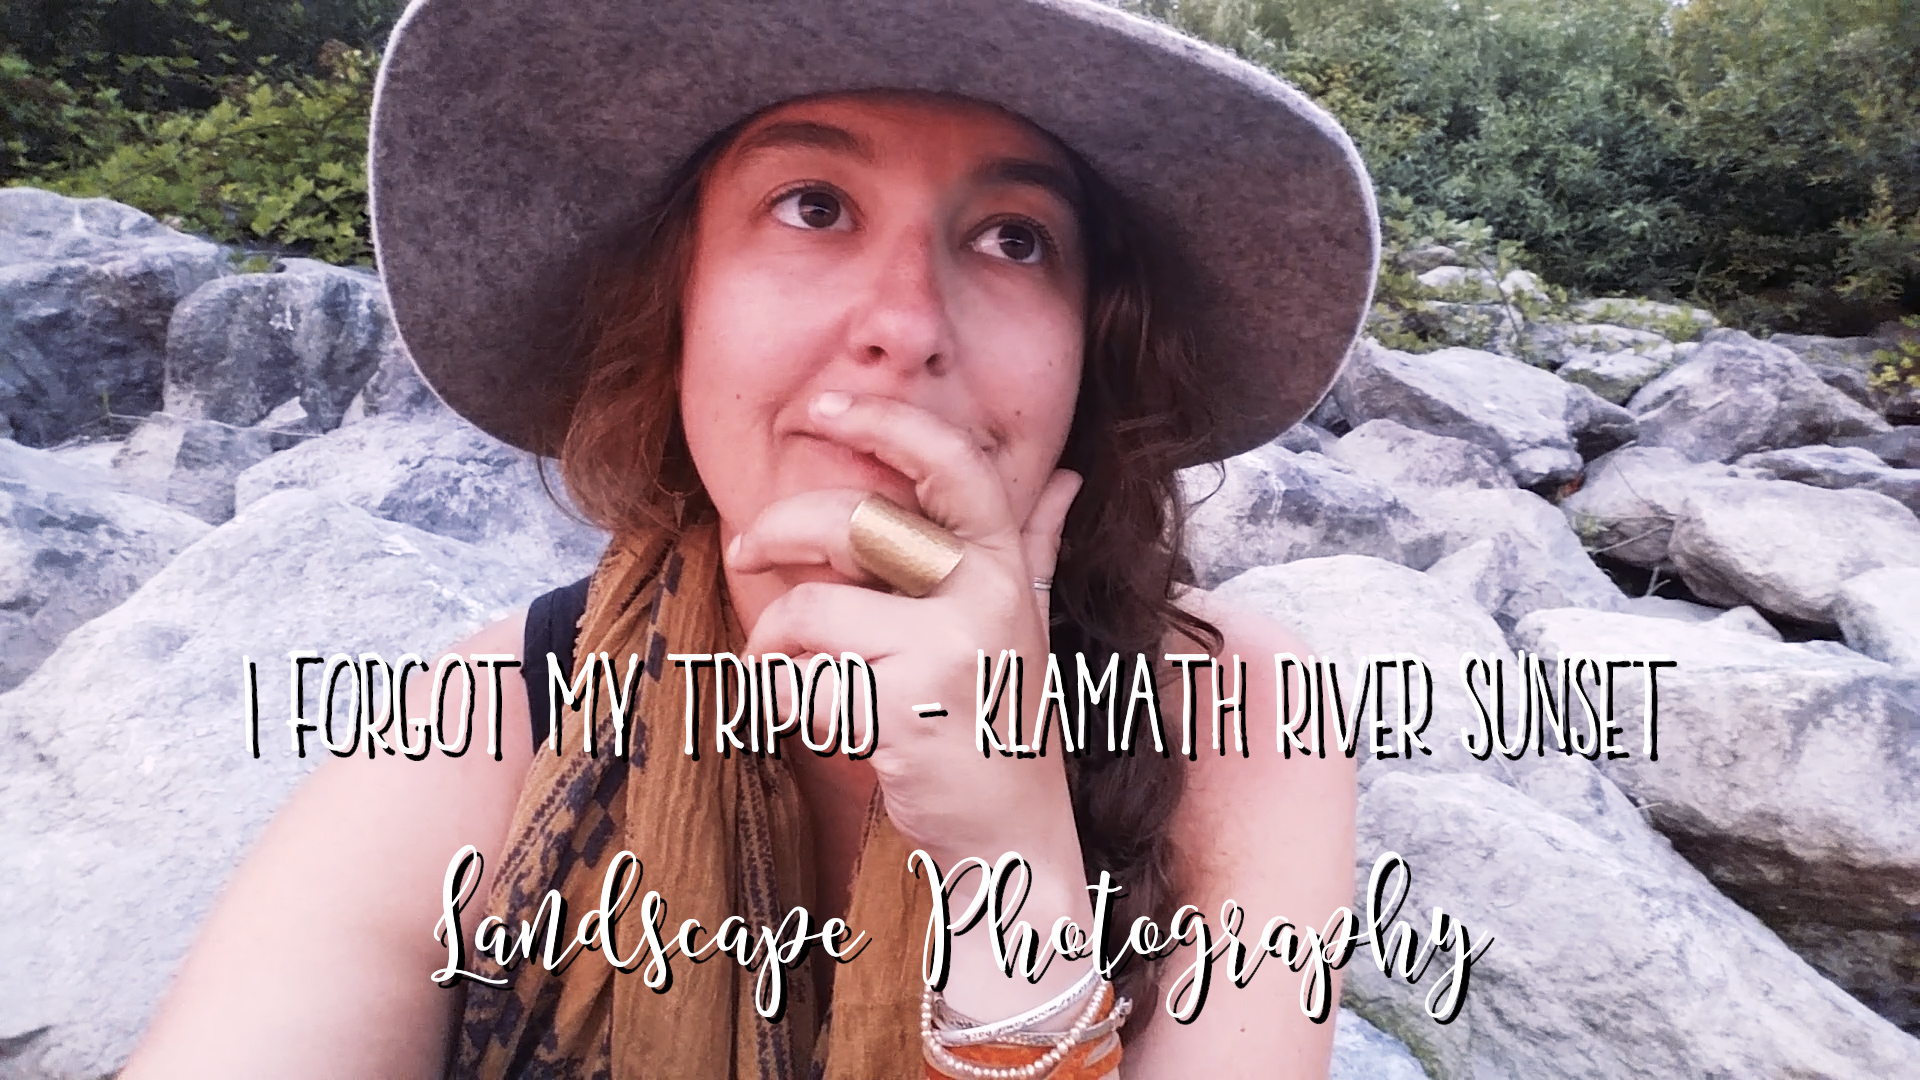
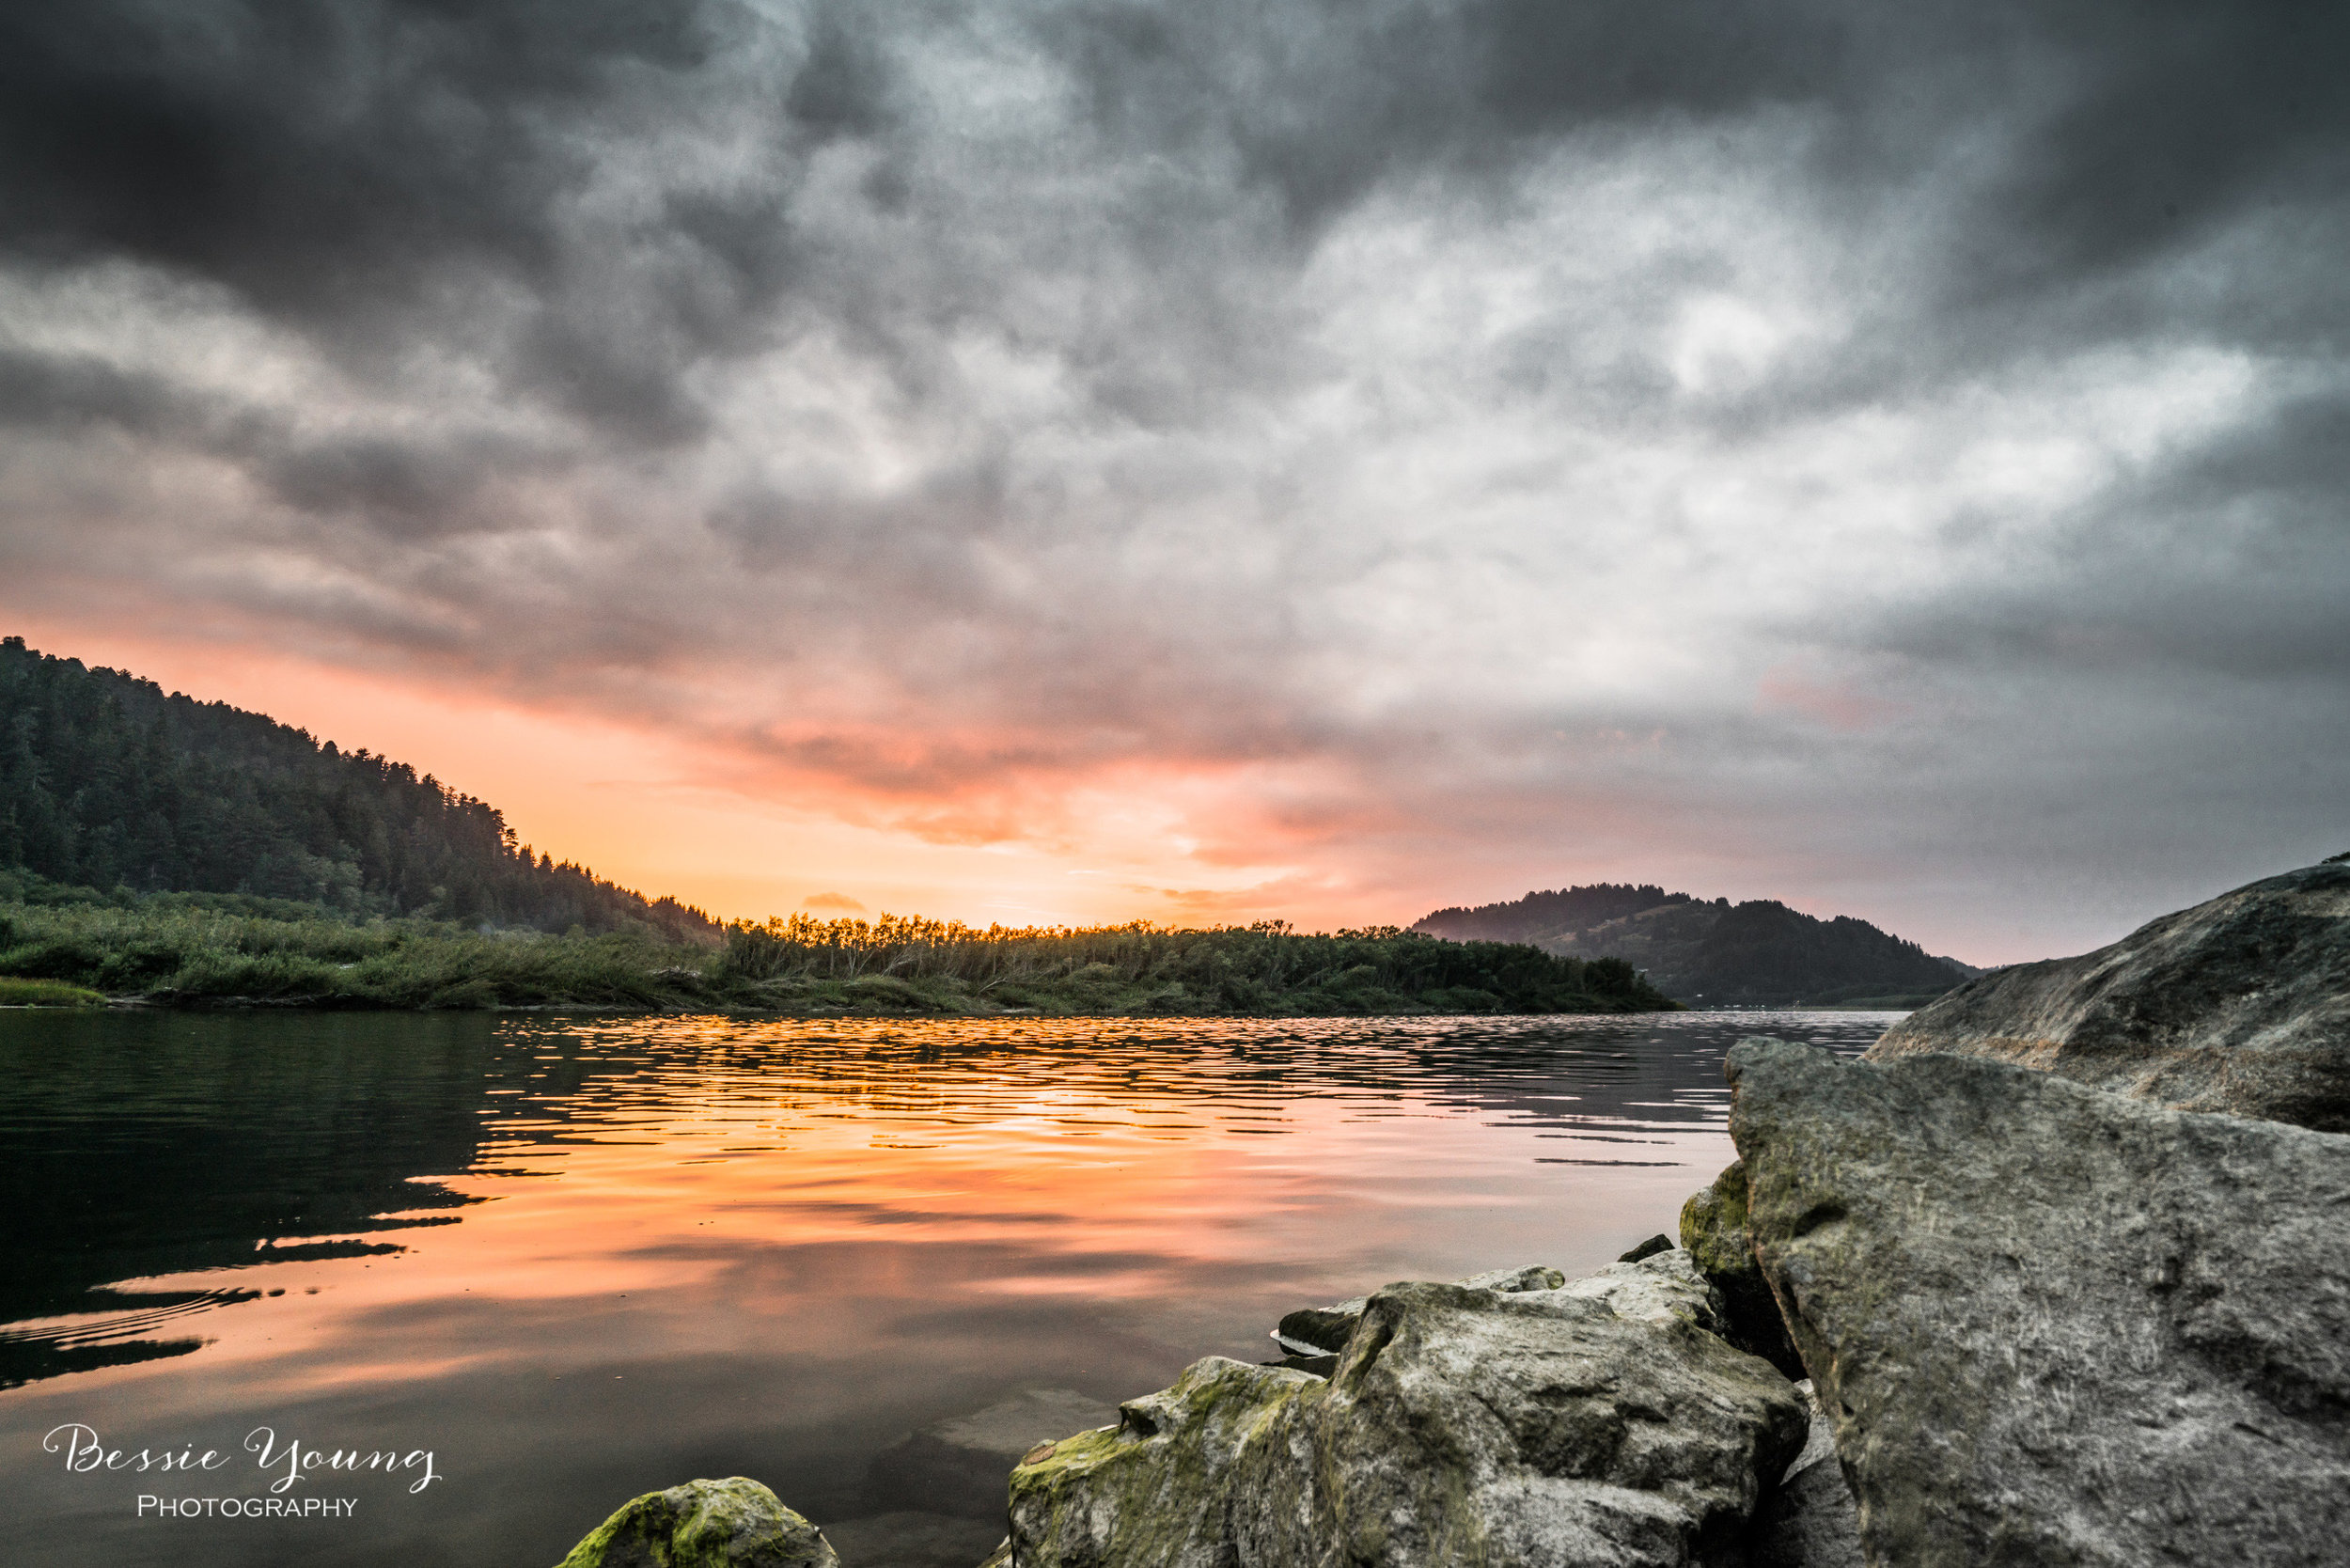
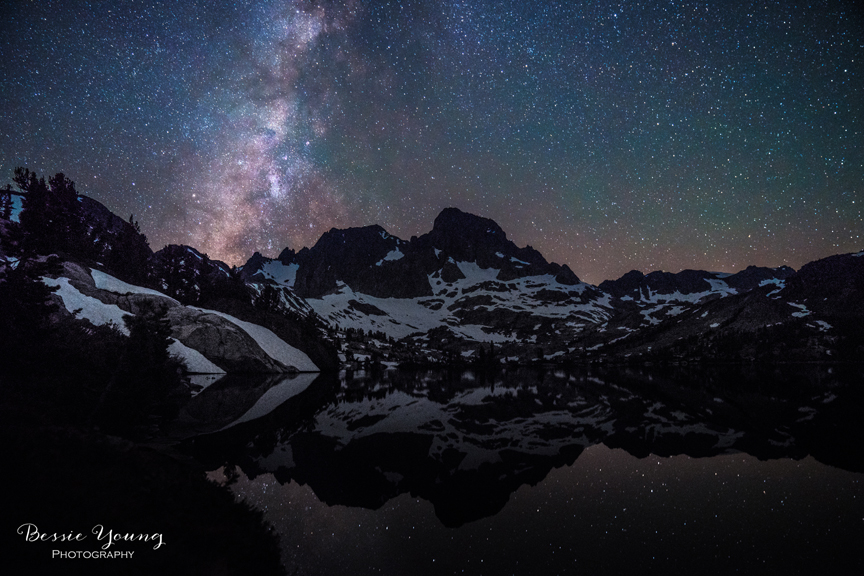
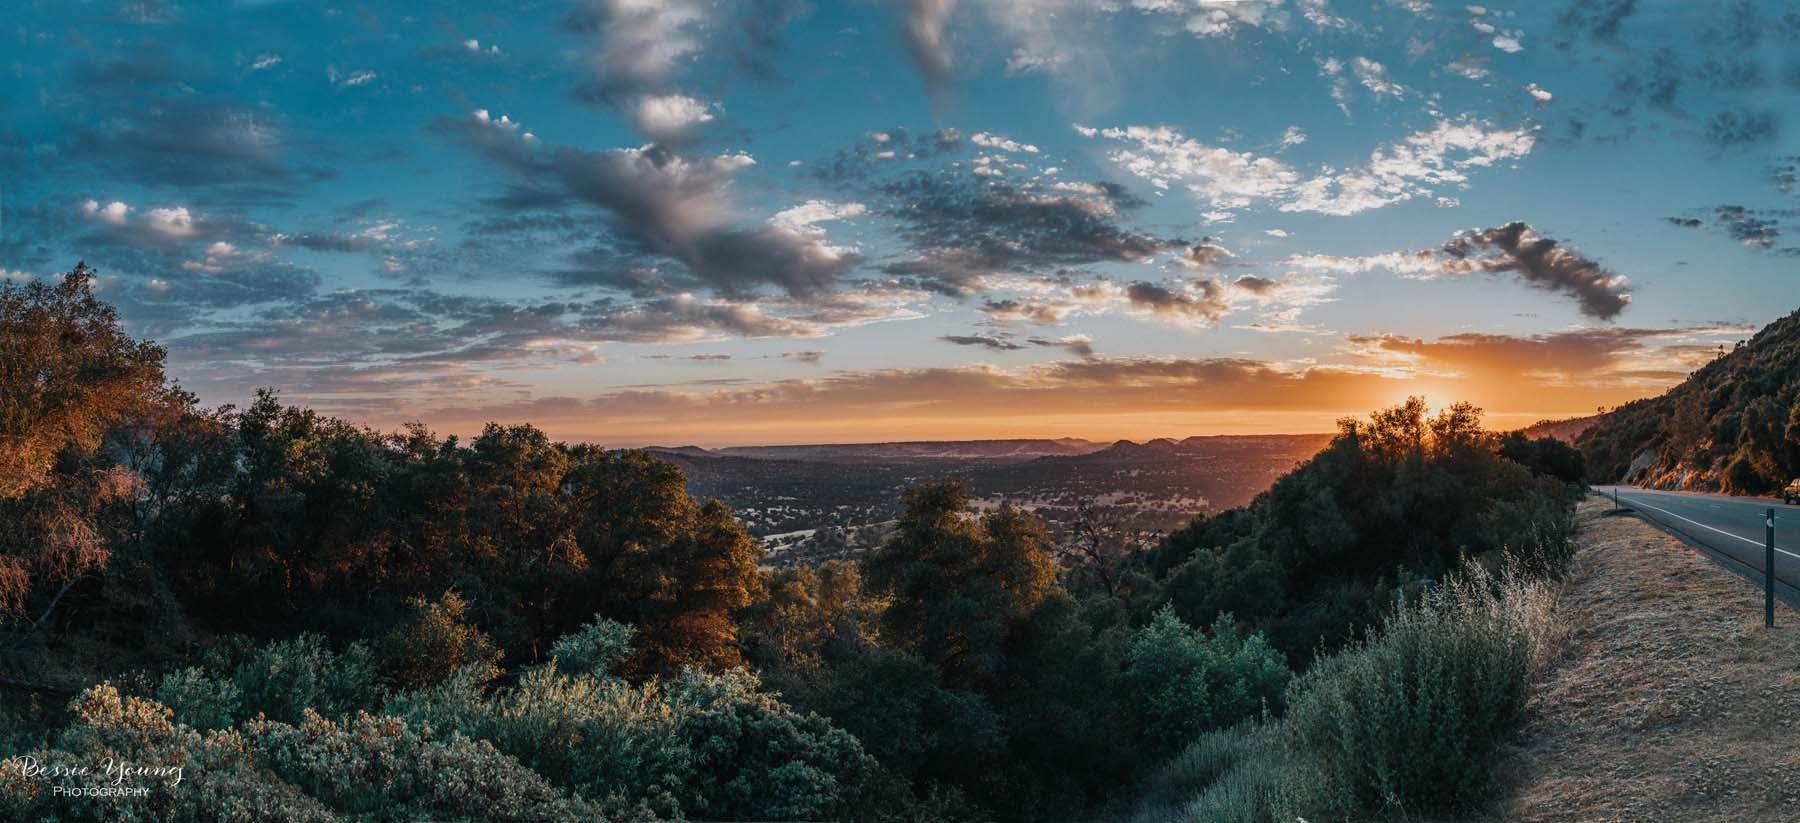
Lake Tahoe Sunset - Incline Village
Landscape Photography
Spontaneous trips are seriously the best trips!
To Go to Lake Tahoe or Not?
I was sitting at home in my living room trying to decide what to do for the day. I have been longing to go to Tahoe, but haven't been able to find the time. Tahoe kept popping up in my head as something I should go do; however, it was about 10am and Tahoe is 5 hours from me.
This particular weekend, was a long weekend which made it more feasible. For some odd reason, I just couldn't make up my mind. Do I stay home and have a lazy weekend, or do I head to Tahoe with an adventure filled weekend? Tough decision right? To be honest with you, I wasn't being able to decide. I was weighing out the pros and cons, but my lazy bone was just getting the better of me. It is a little funny, but I ended up texting my mom and asking her for her opinion. "Tahoe of course!"
So it was decided... a spontaneous Tahoe trip was in my weekend plans :)
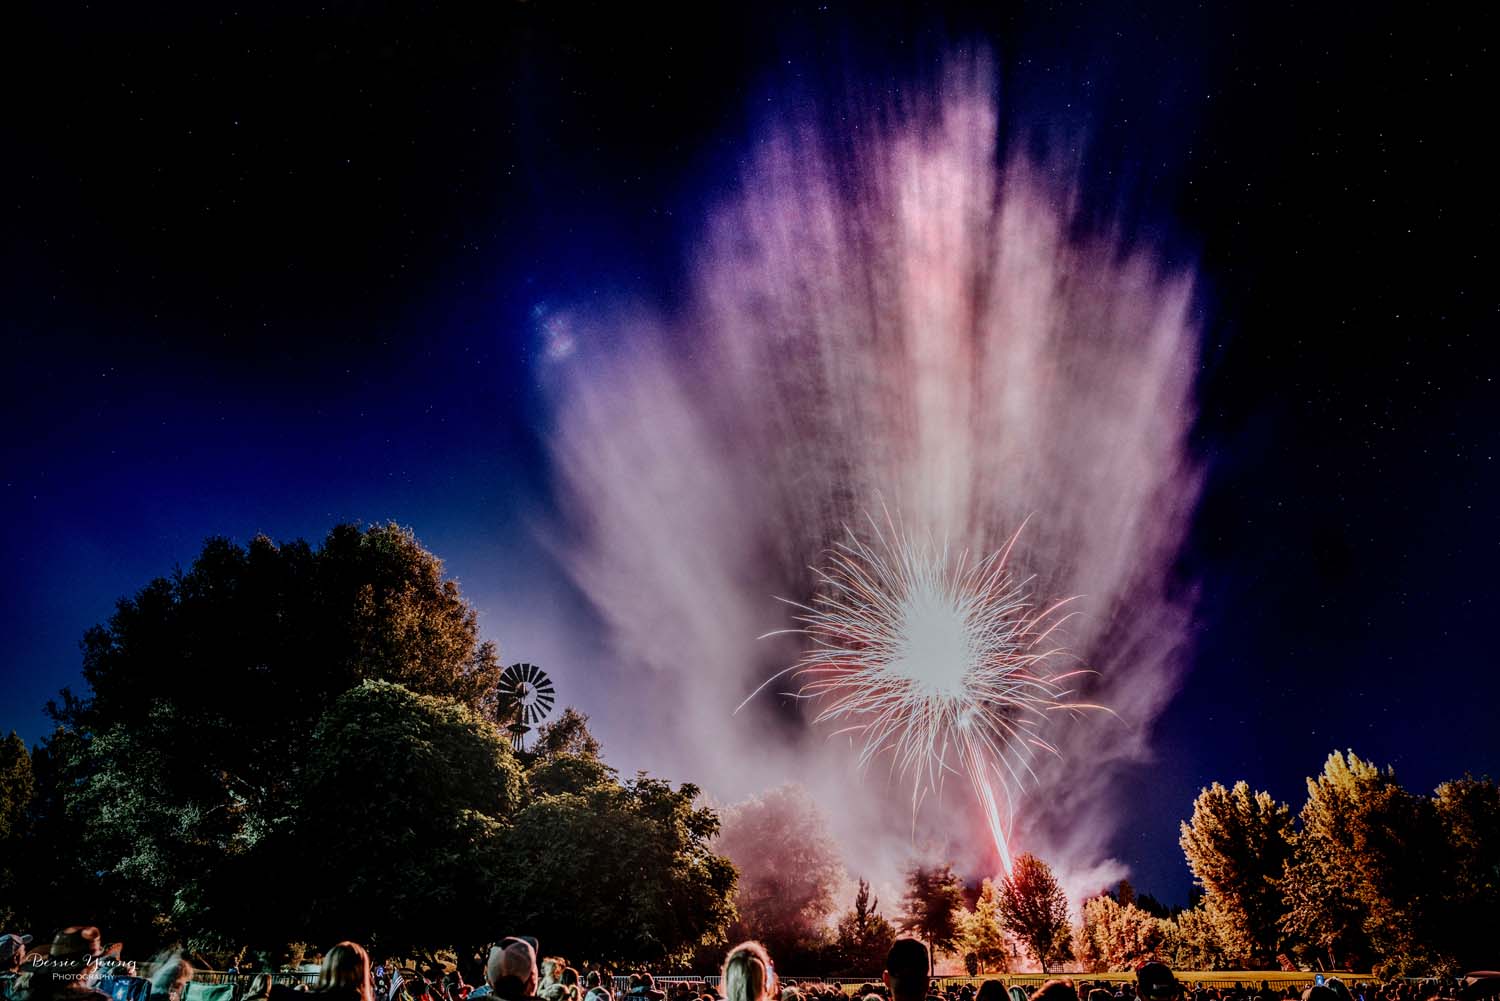
Will there be a Lake Tahoe sunset?
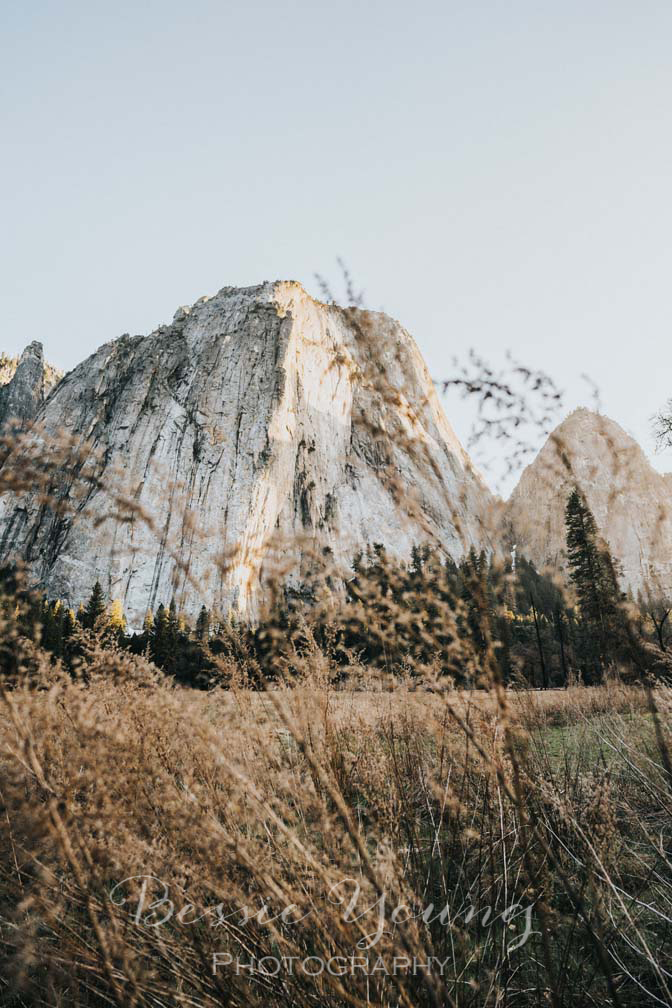
I already knew where I wanted to go for a sunset image. It is a small hike up a paved road to an old fire lookout. So, there was no planning needed there other than making sure I allowed myself enough time to head up the mountain for sunset.
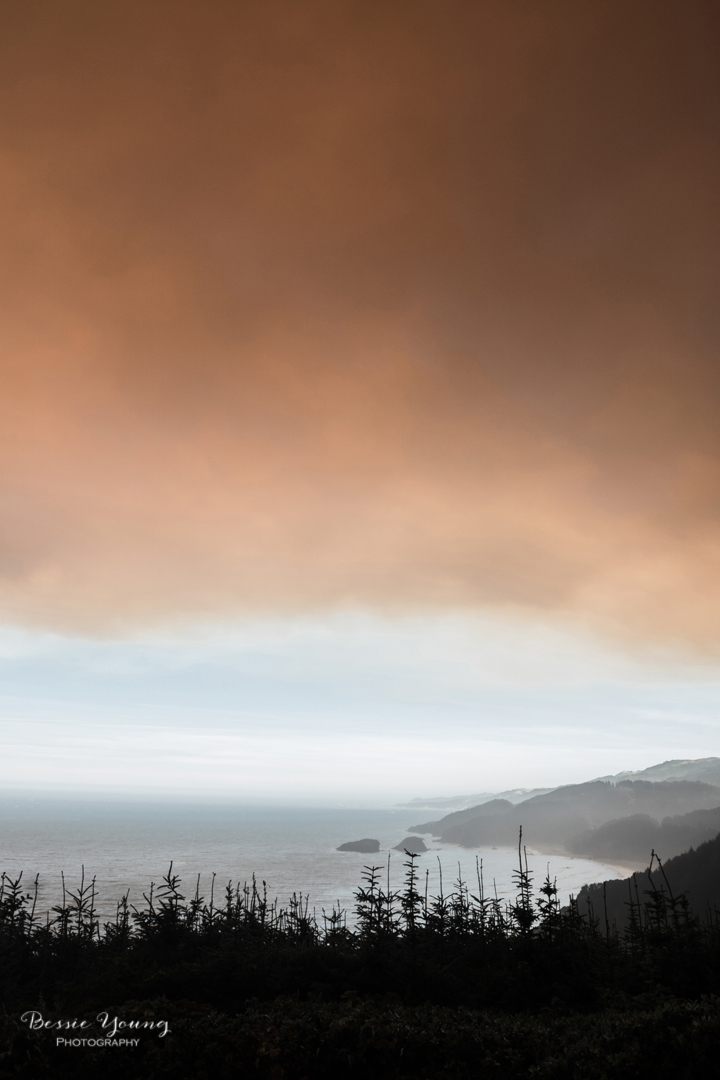
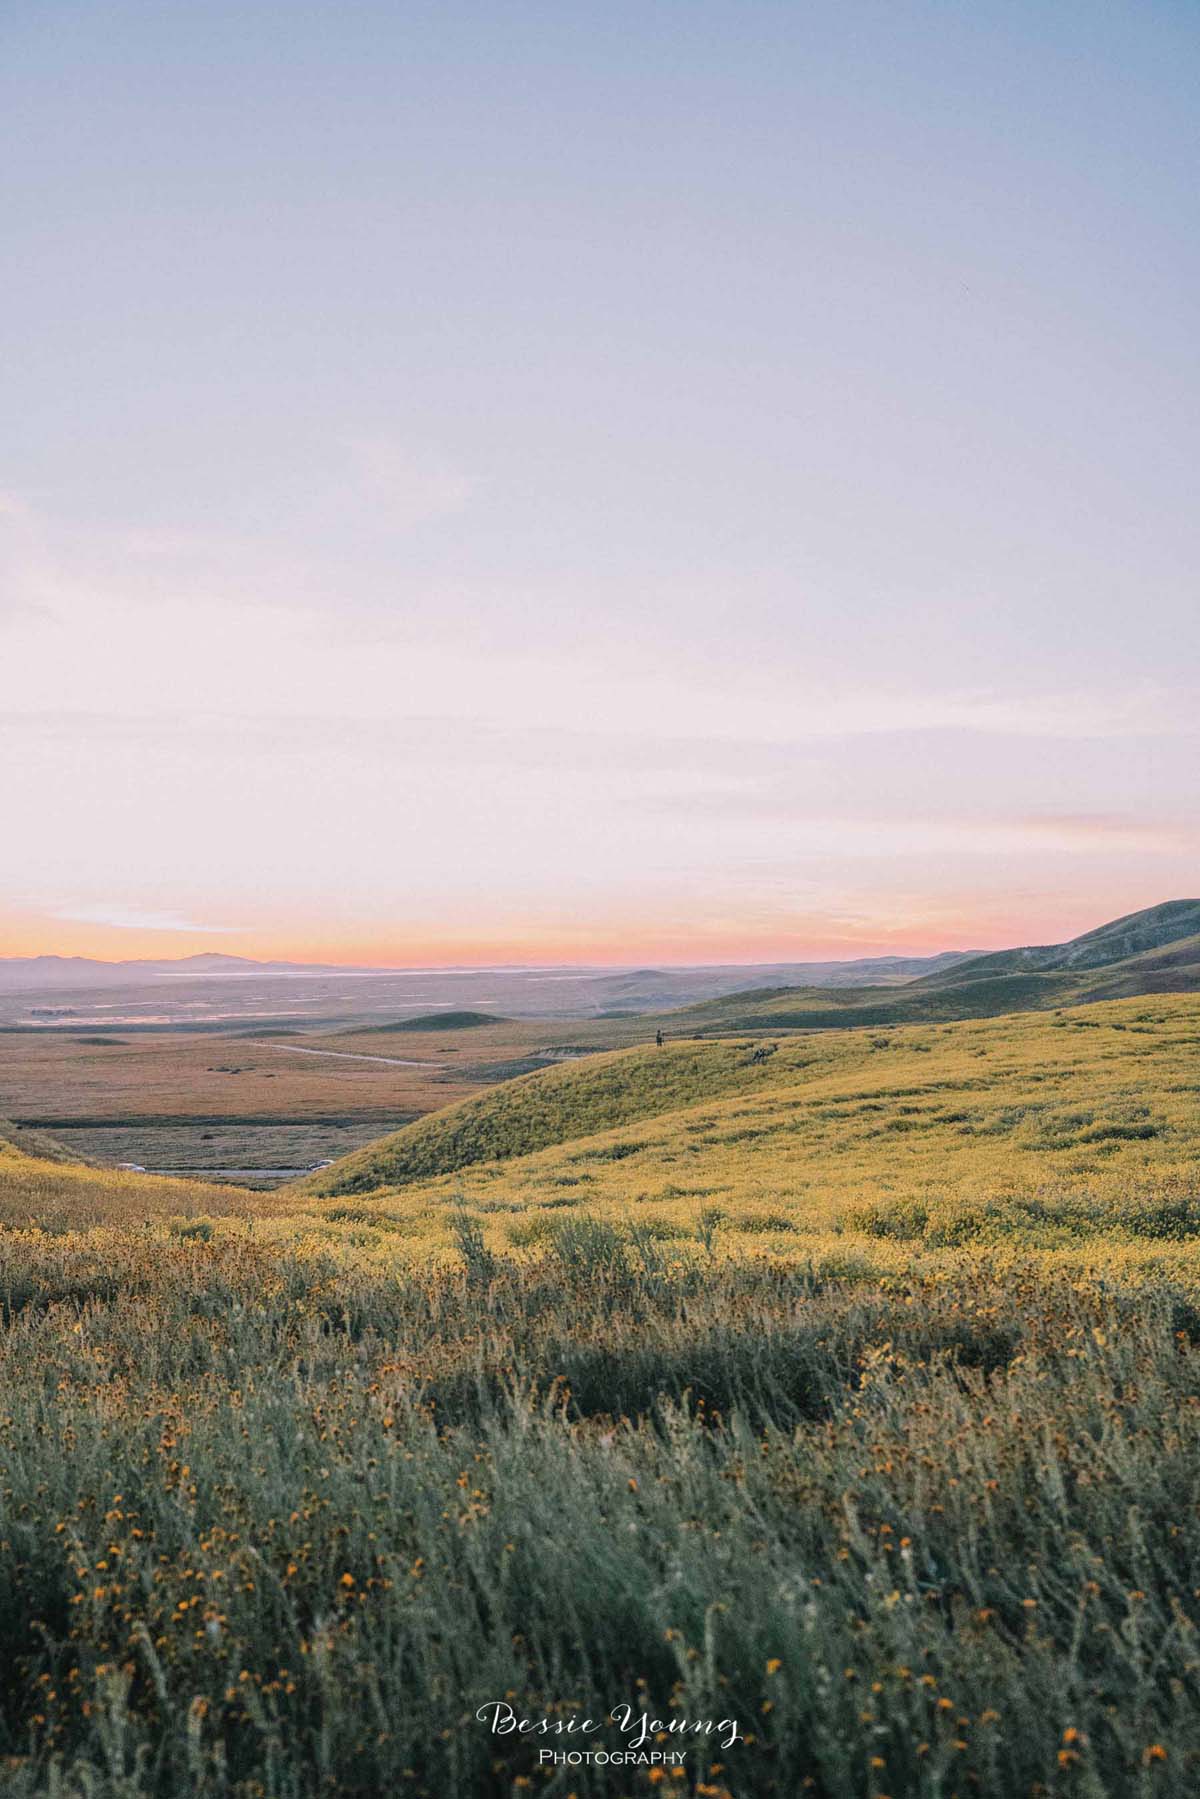
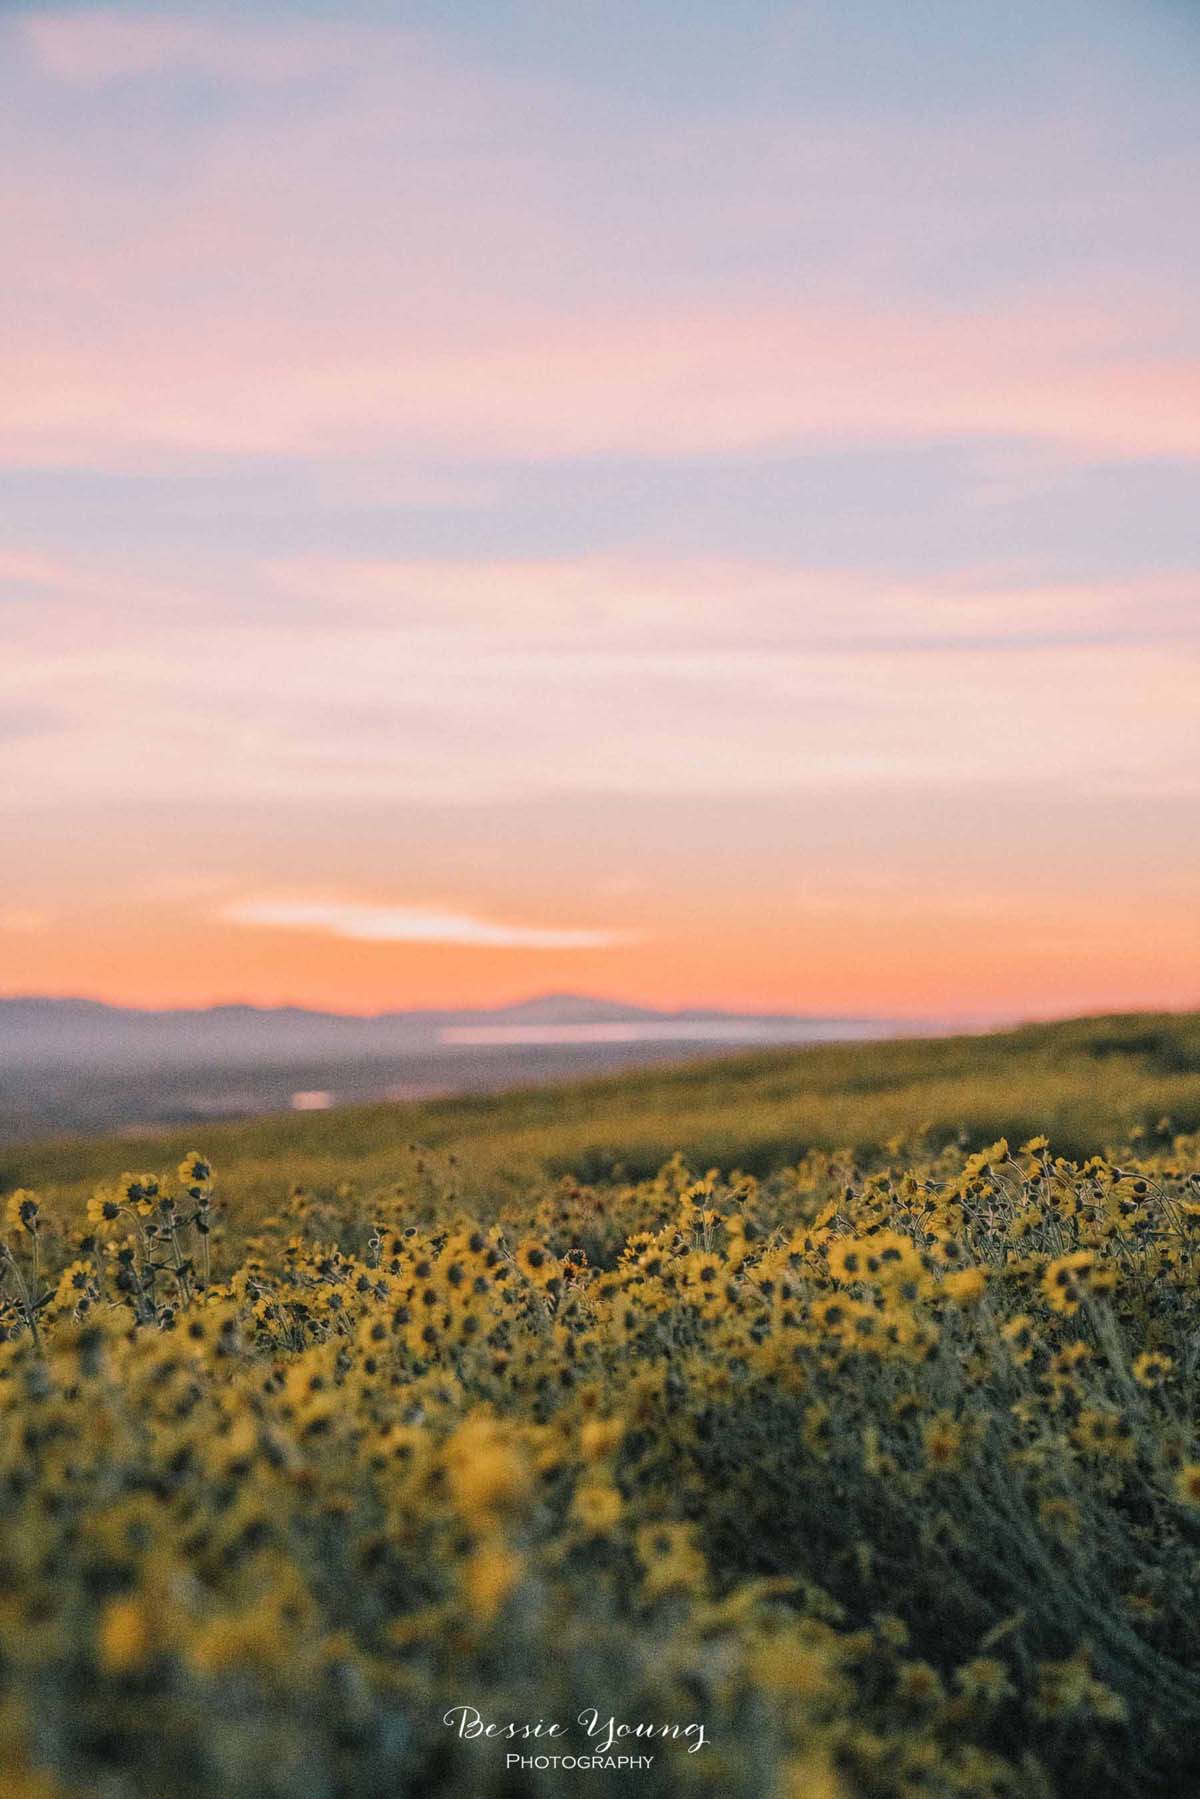
The entire drive there were clouds in the sky which made me super happy. I was thinking that the sunset was going to be on fire; however, the closer I got to Tahoe the more cloudy it became. After driving a ways, I ended up needing gas and finding a hotel room online.
I booked my hotel in Truckee, California and got there with plenty of time to eat dinner and plan out my evening. So naturally I had to try out the local Thai food place (my new obsession) and grab a beer at the local brewery before heading out. As I was eating dinner, I began to wonder... is there going to be a sunset? It sure didn't look like it. The clouds were getting thick and it actually started to look like rain again. Long story short... I debated for awhile on whether I should go for the hike or not. I decided to go for it. I mean after all I drove all the way up there just for a picture. Plus I had been sitting in the car all day so I needed to move a bit.
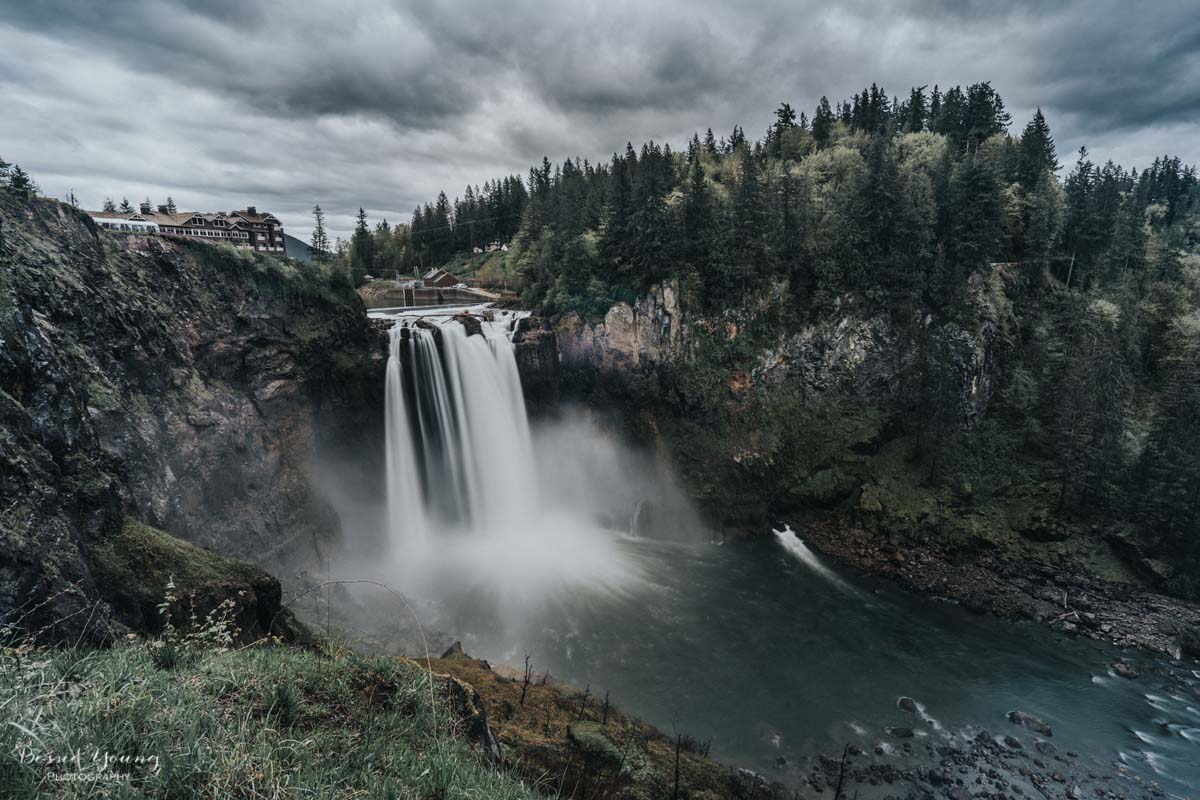
The Lake Tahoe Sunset - Incline Village Fire lookout hike
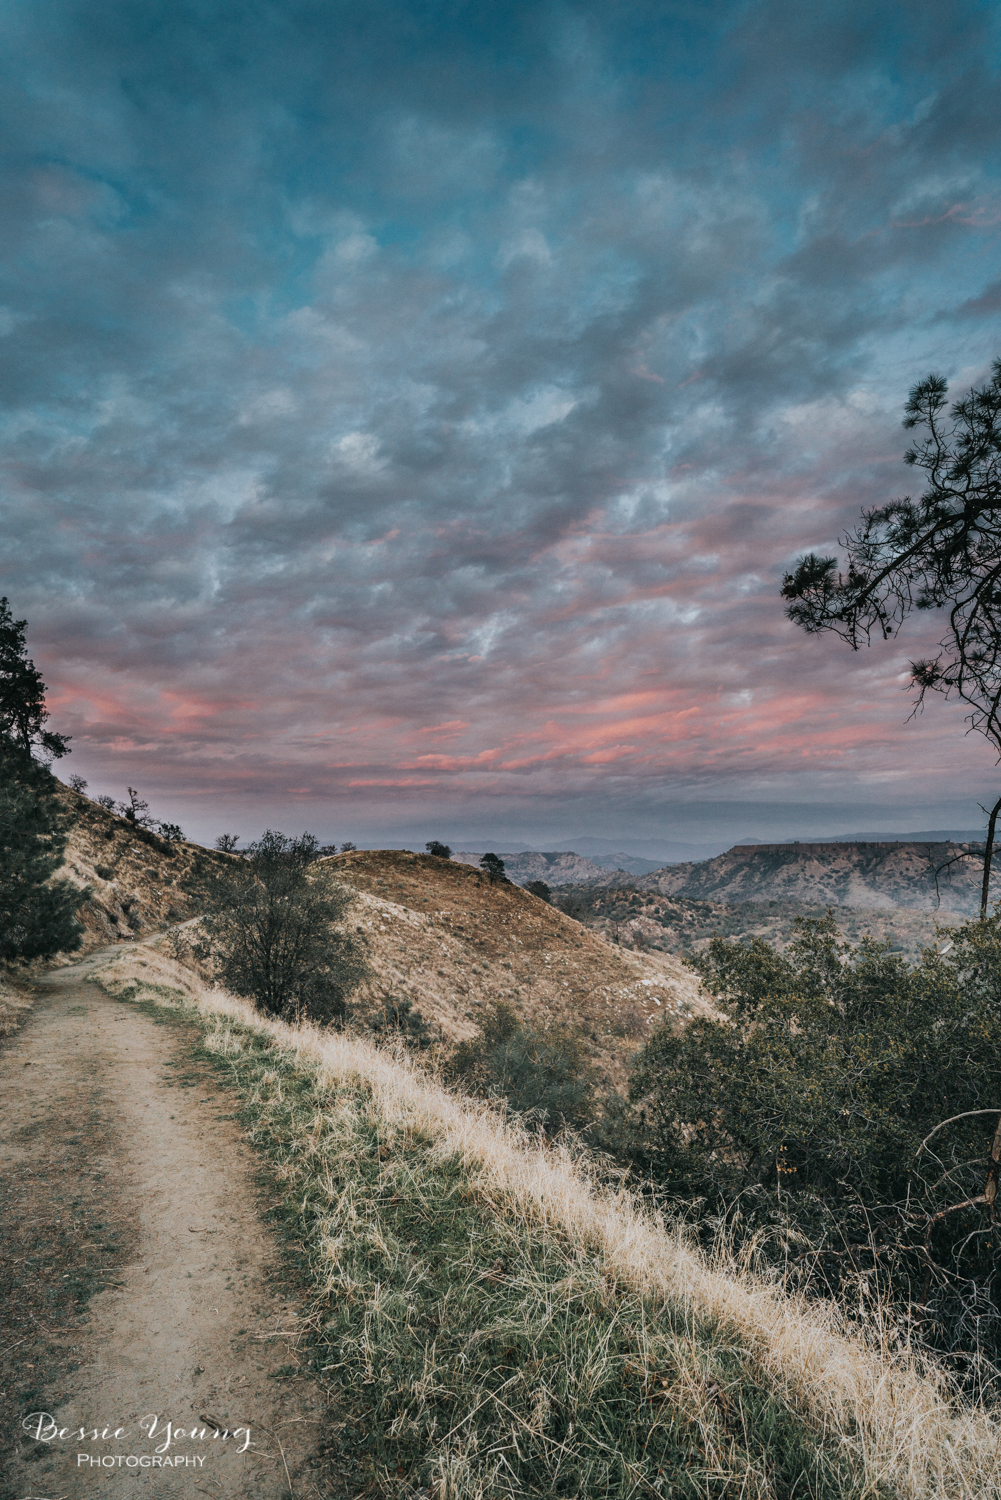
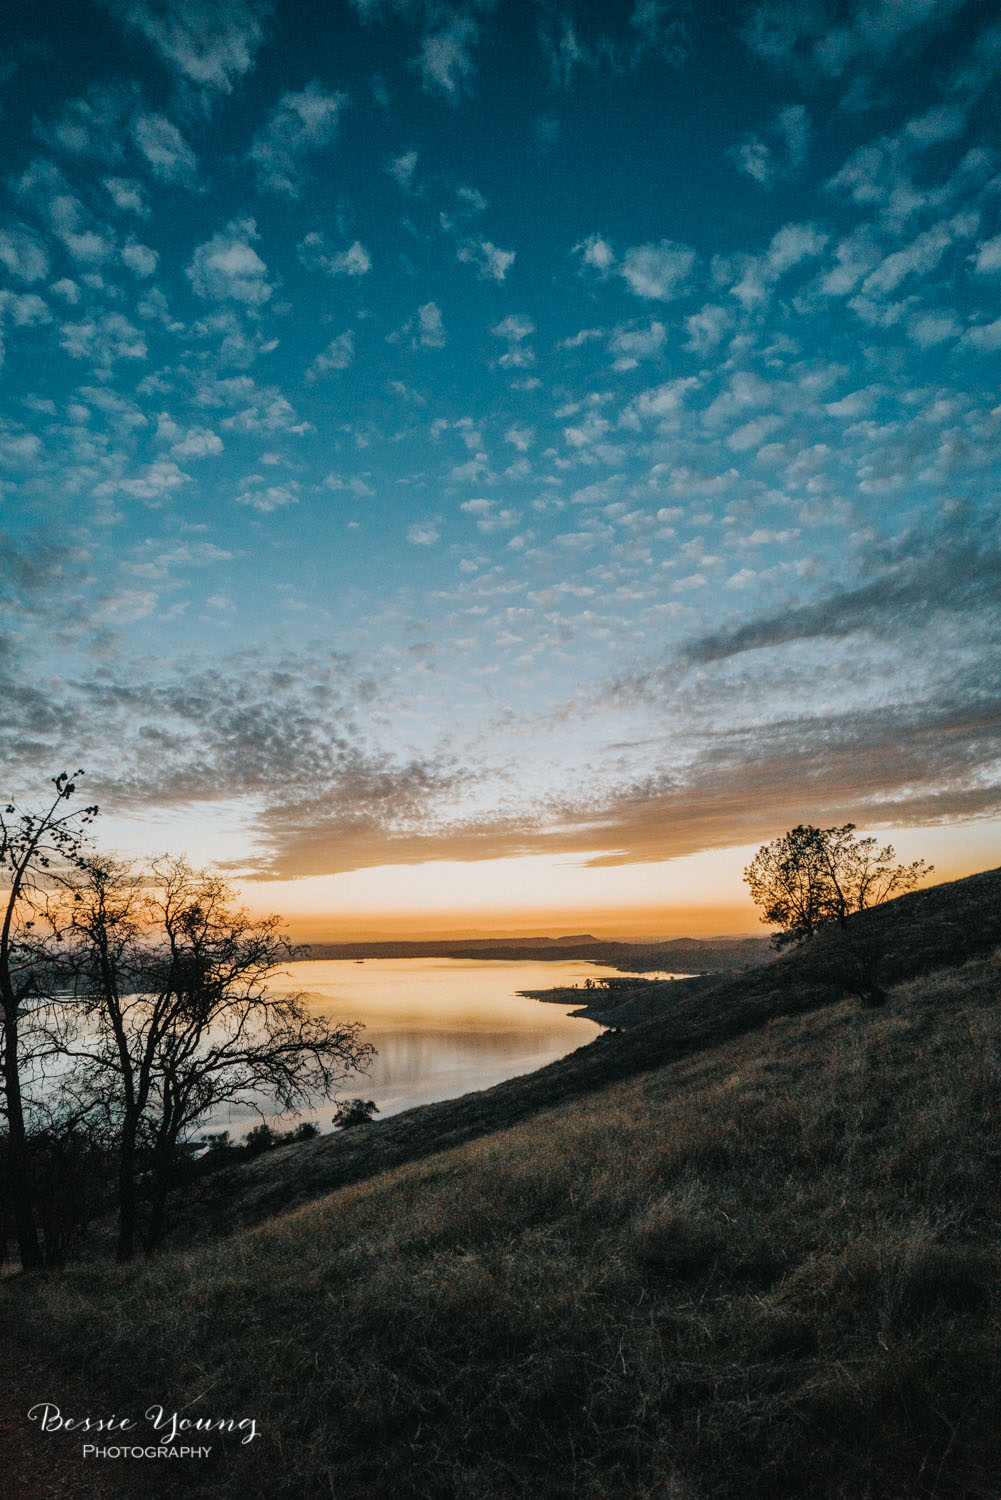
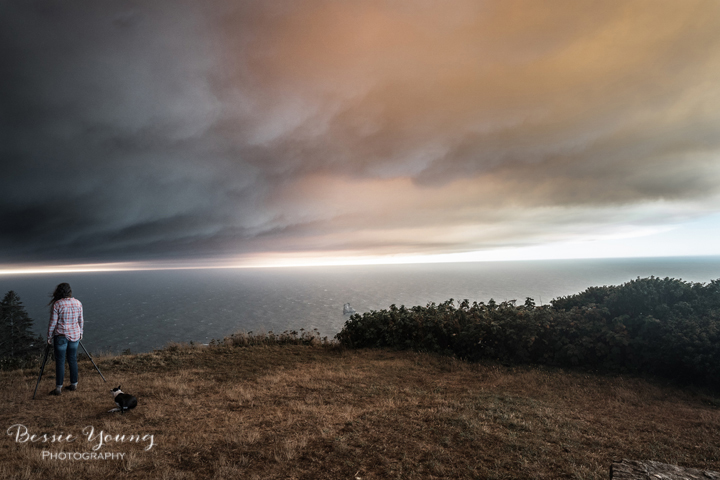
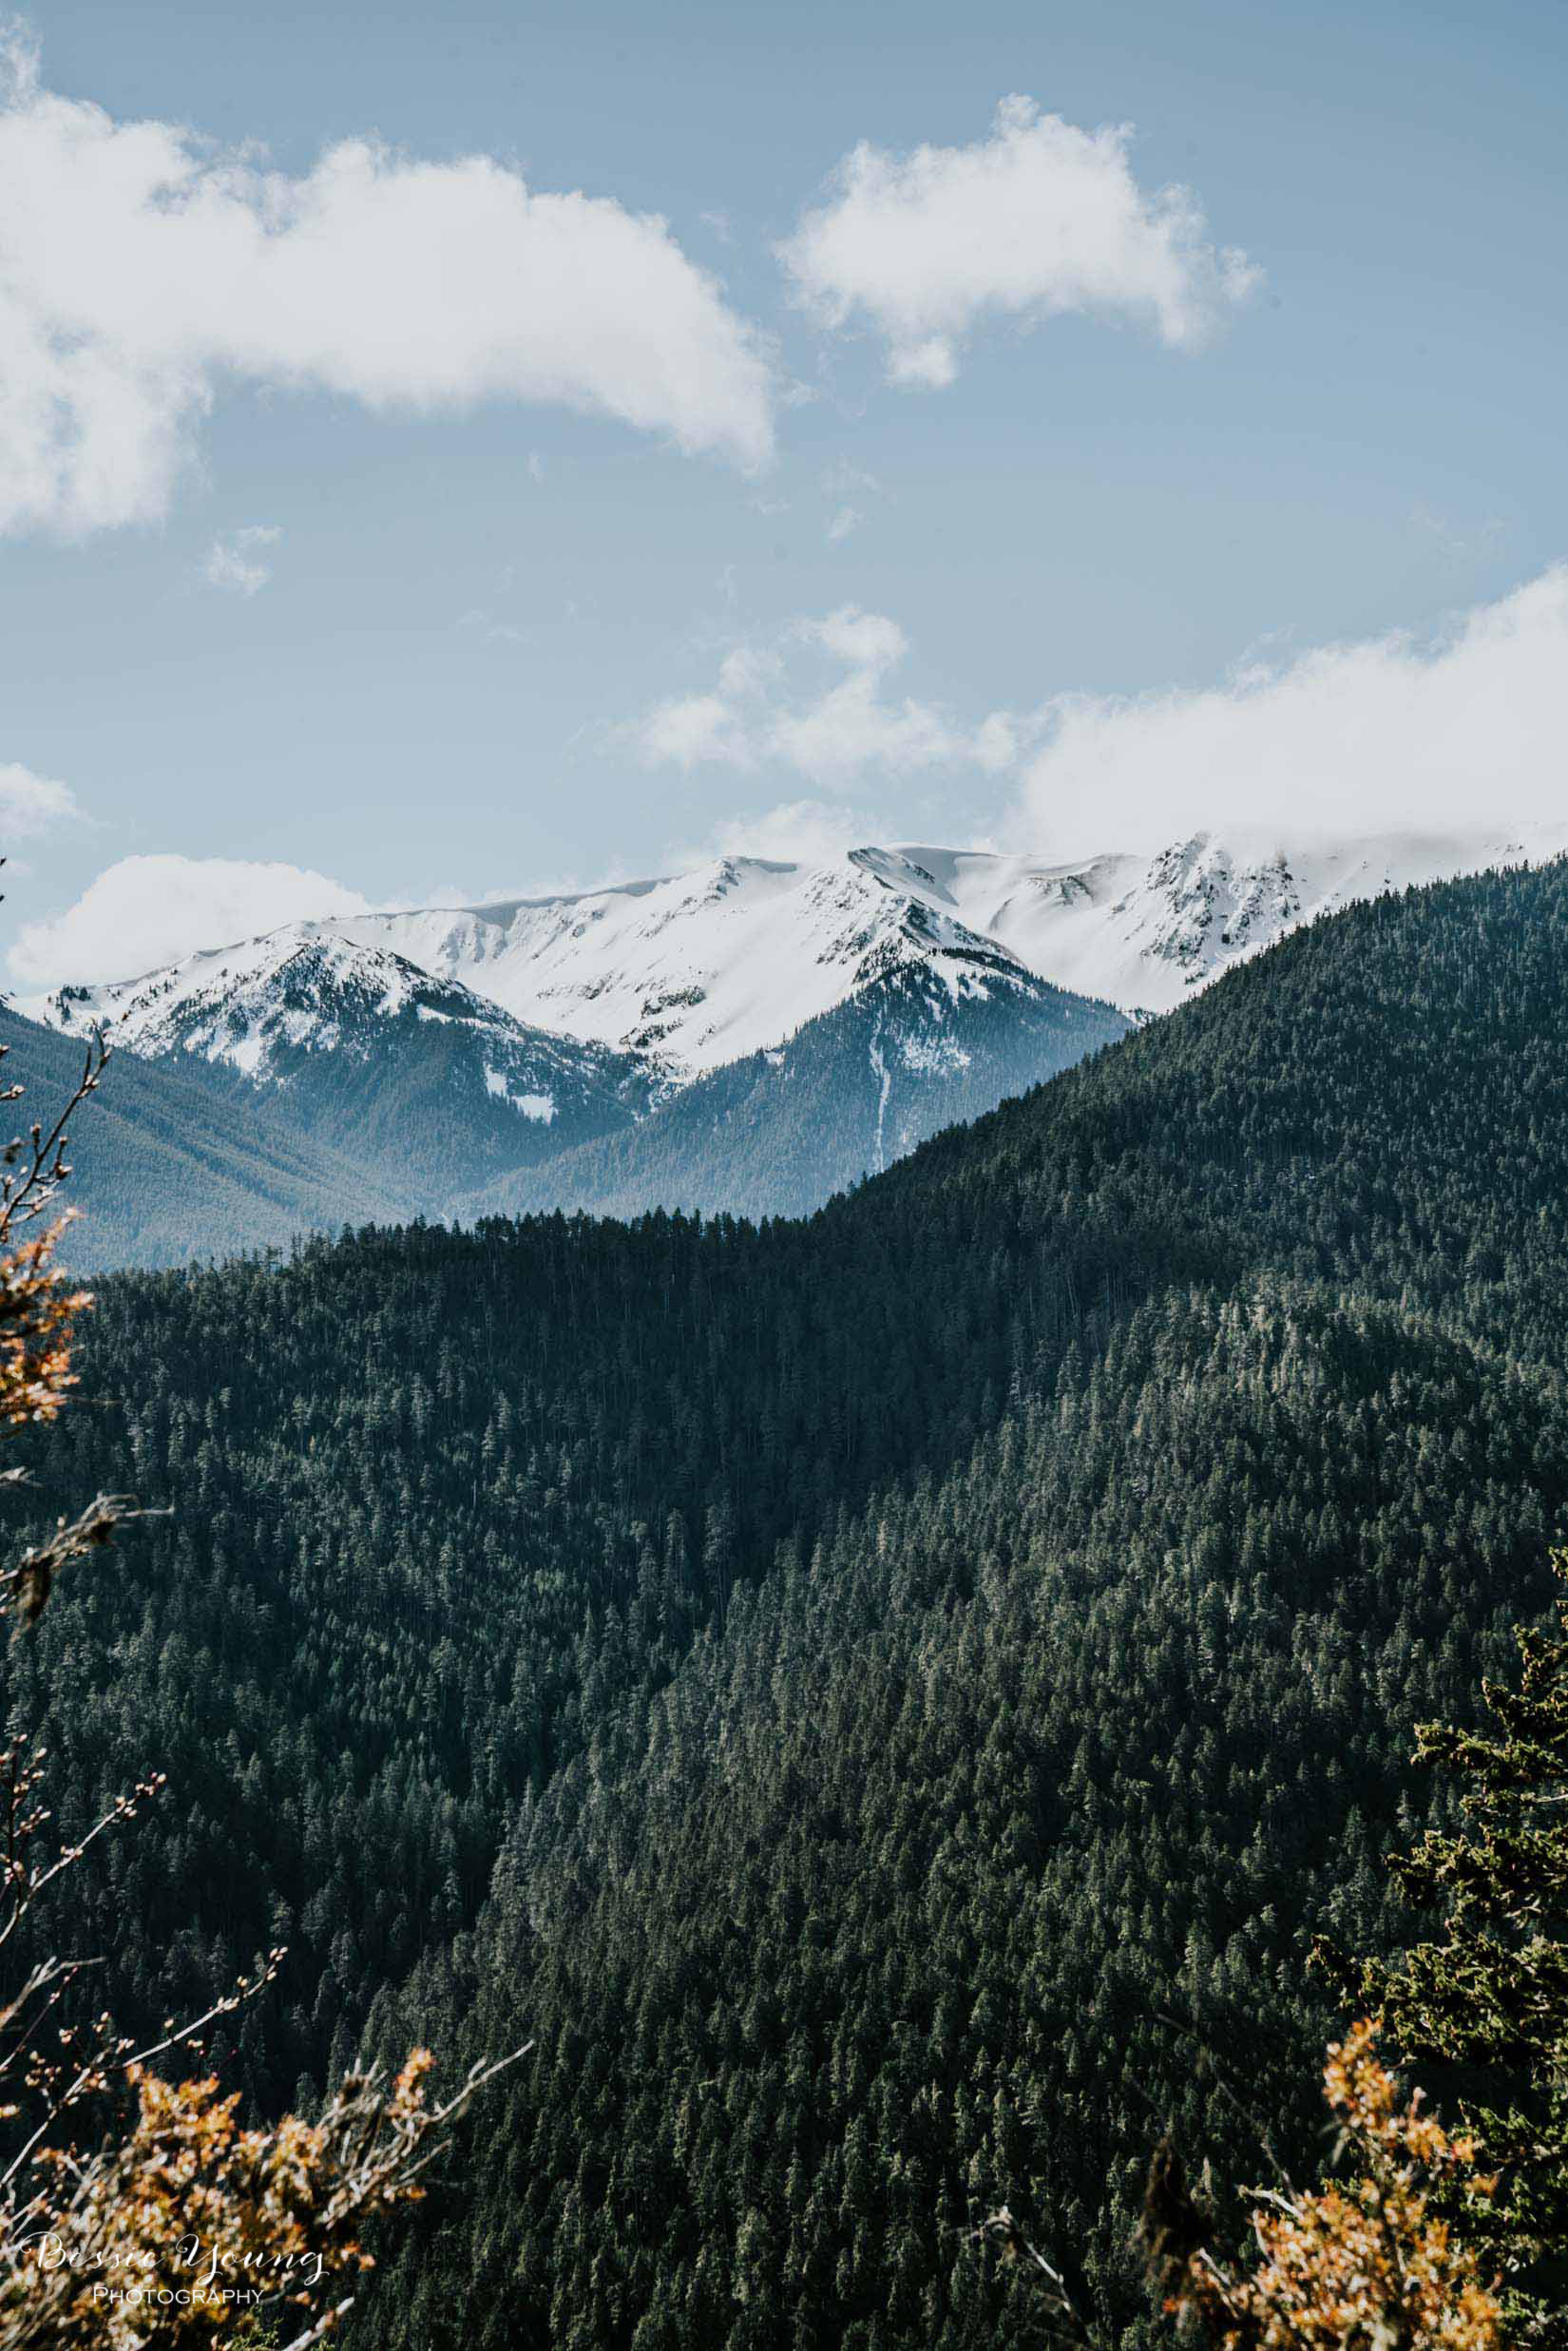
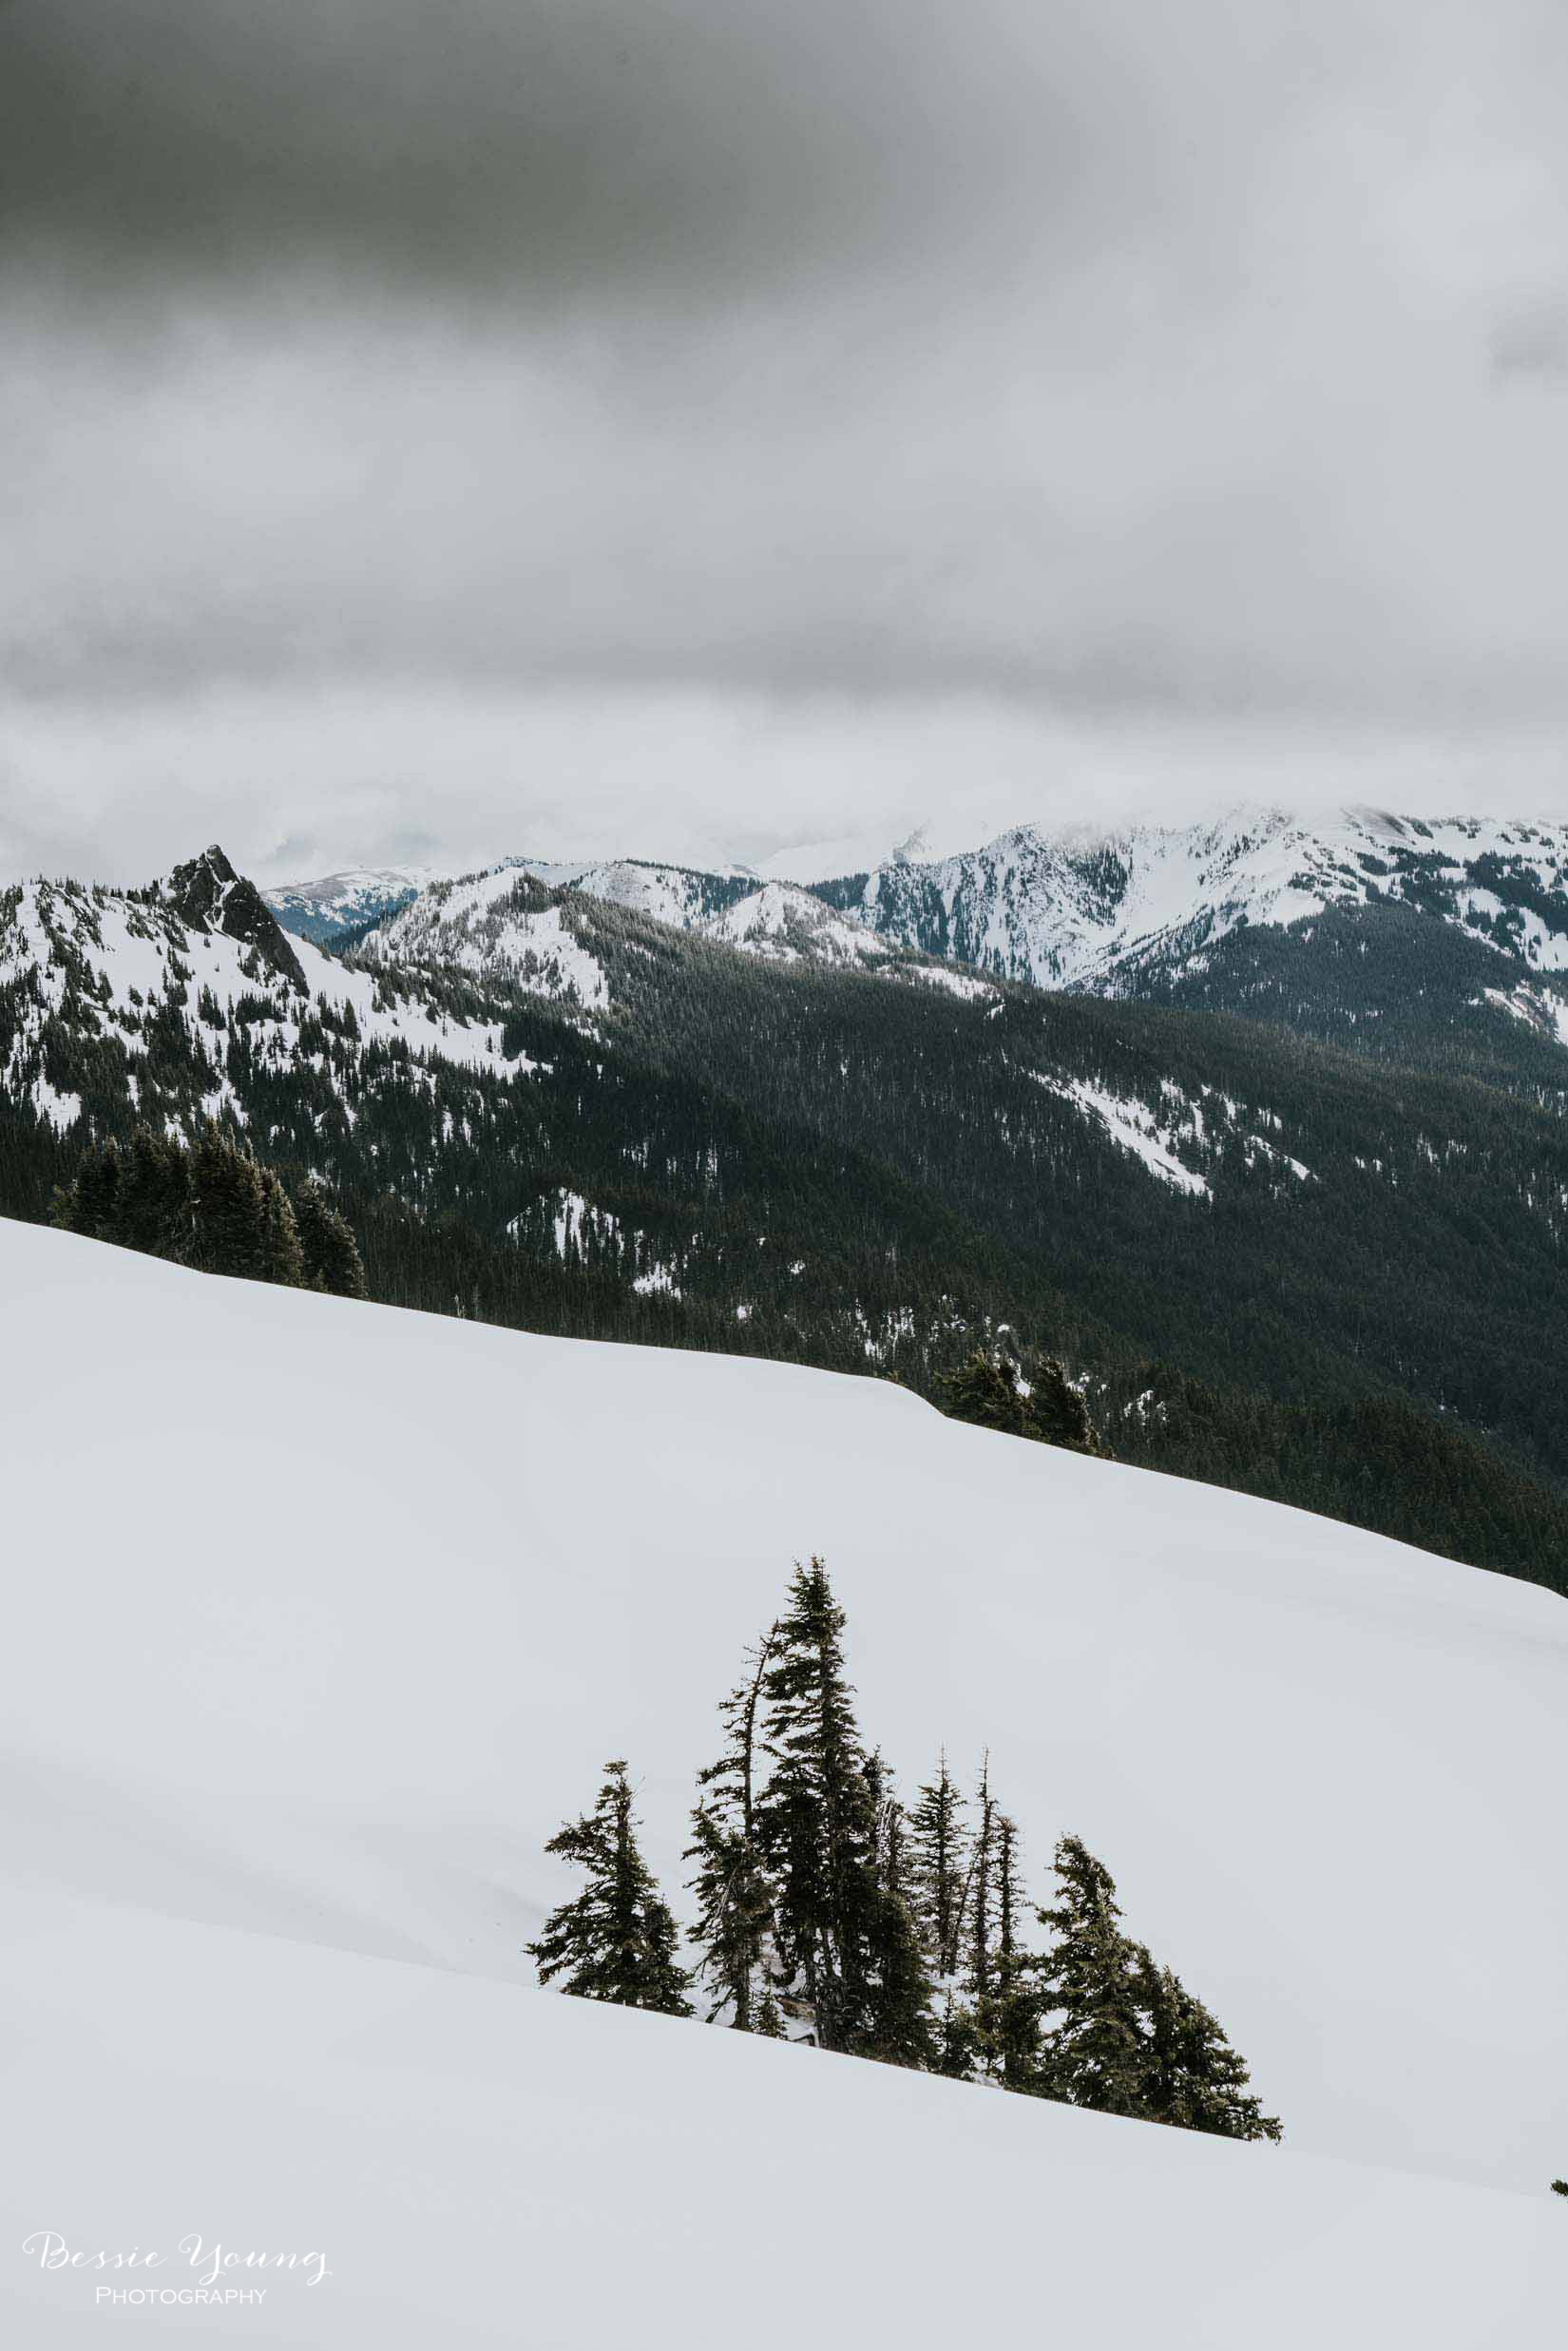
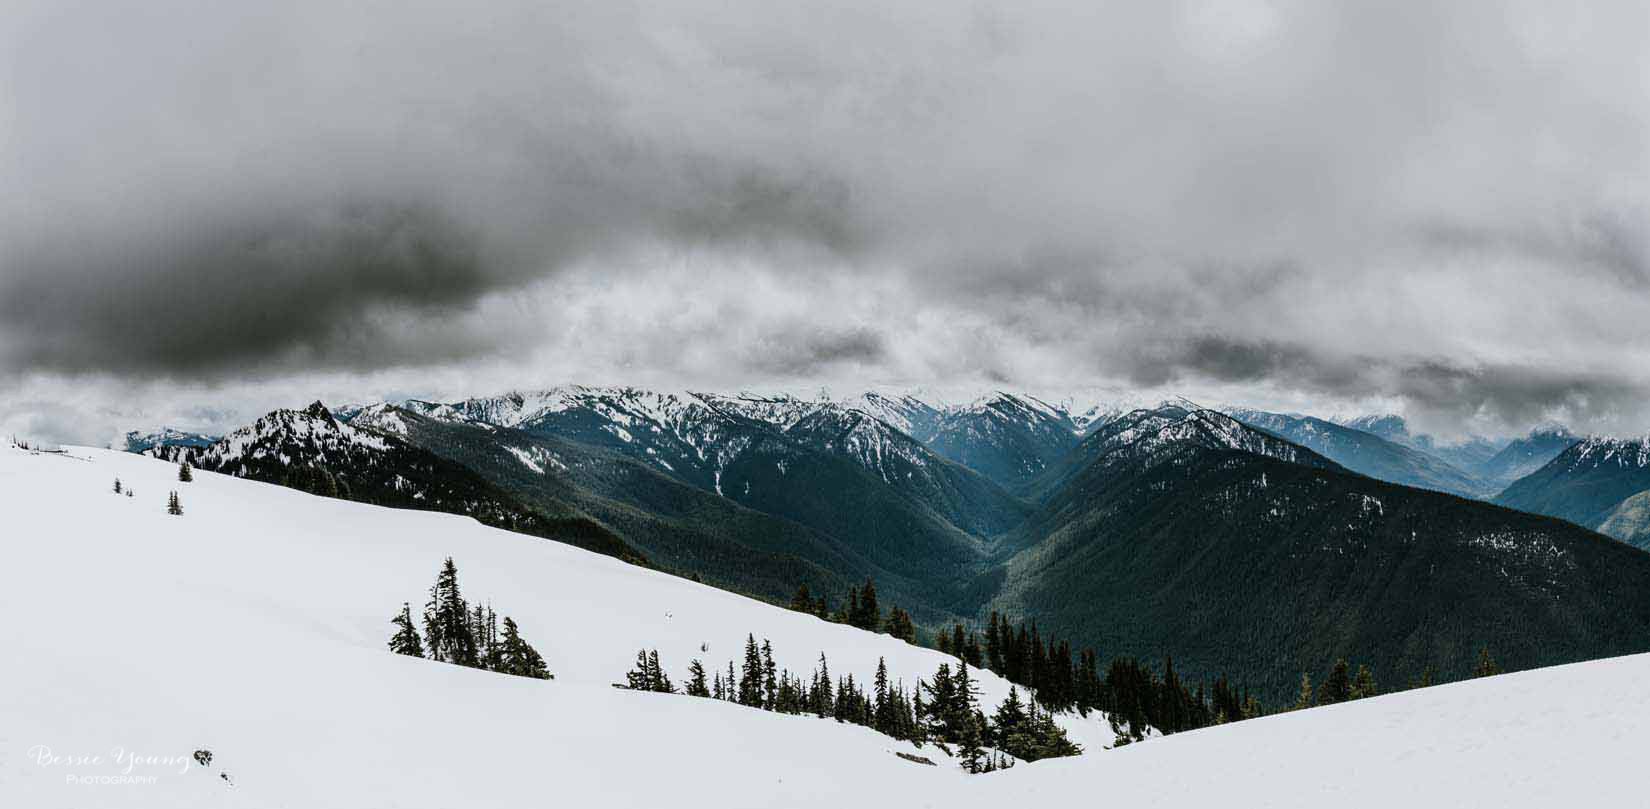
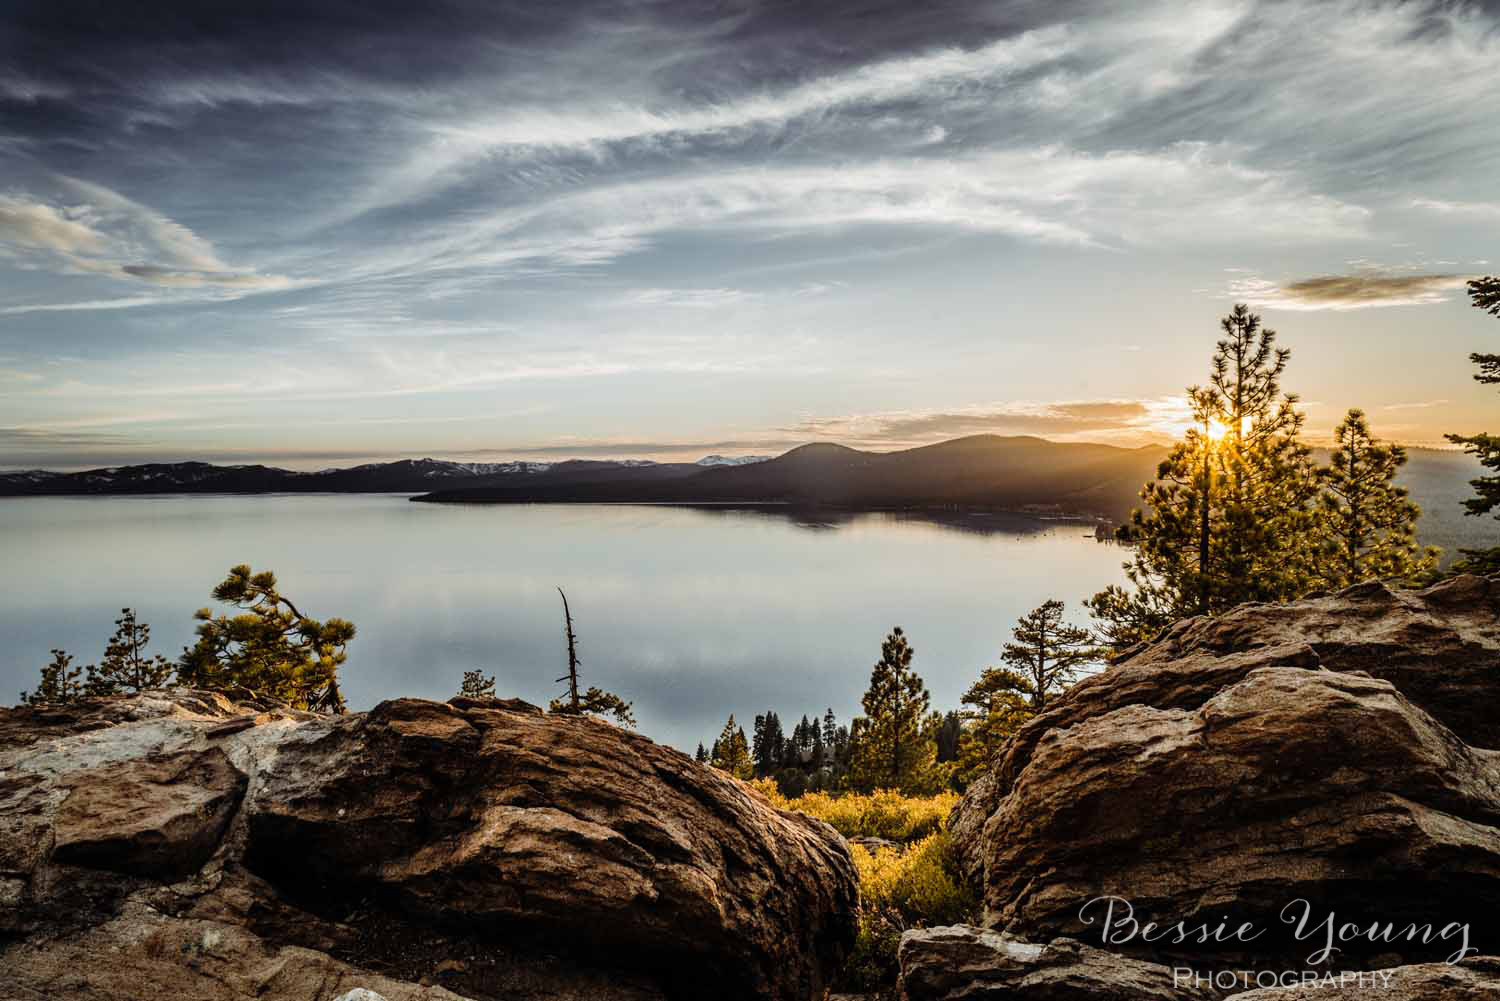
The drive was about a half our from my hotel and the hike was all uphill. It took a little over 10 minutes to get there, so lets just say 15 minutes. As I was almost to the top, the sun started to peak through the clouds. Man, my heart fluttered, and my hopes sky rocketed! Is there going to be a Lake Tahoe Sunset tonight? Oh please oh please oh please!
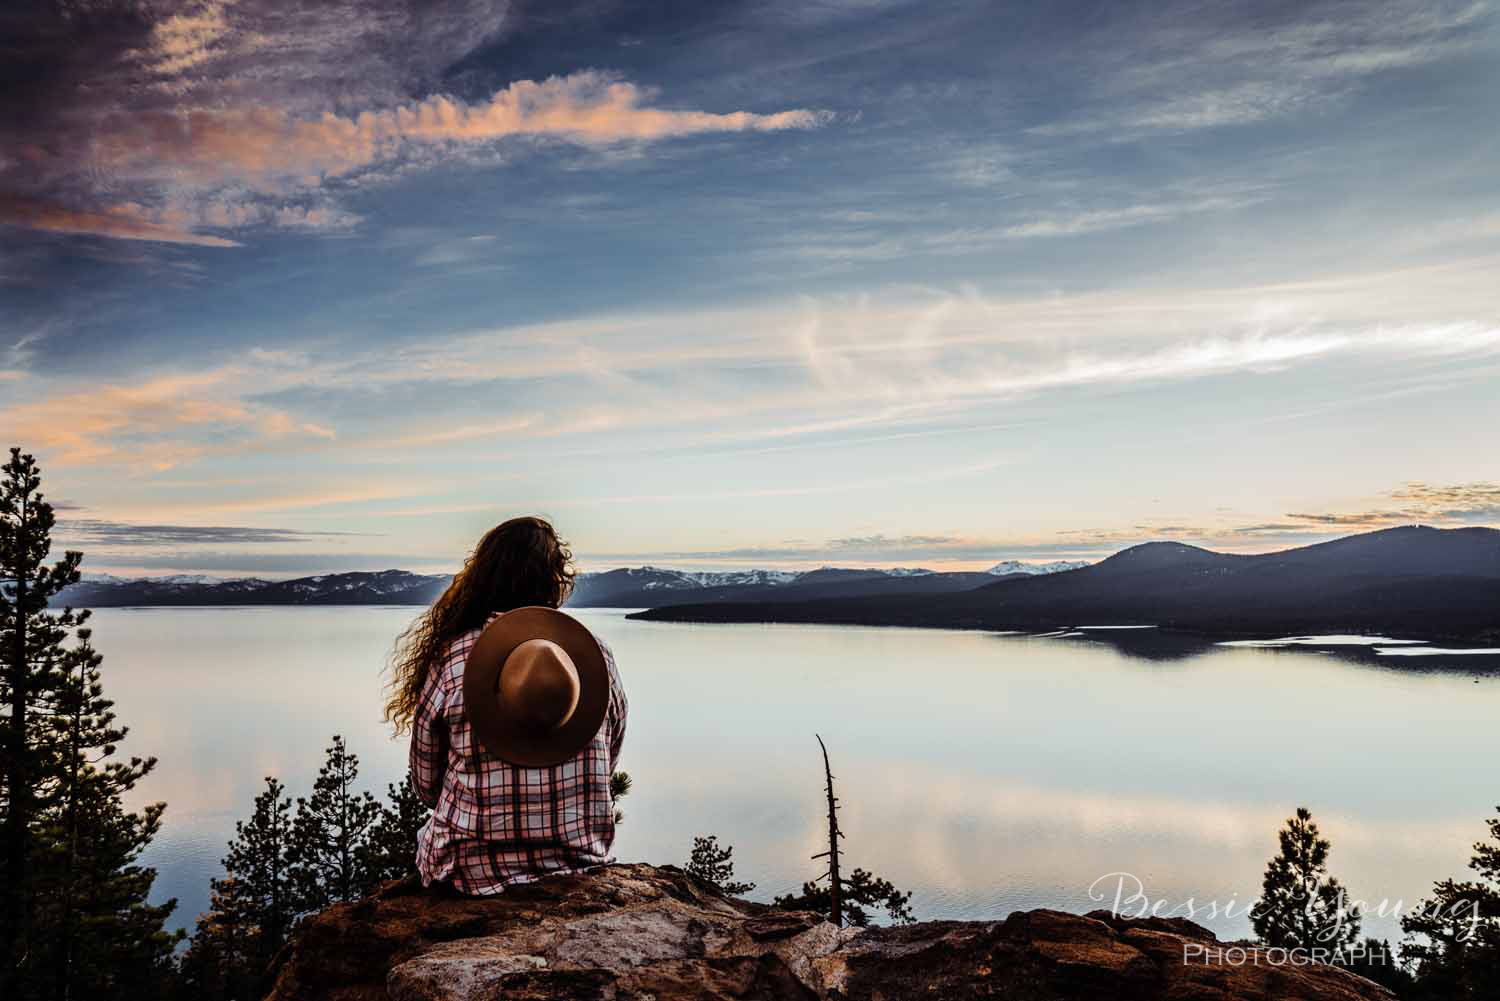


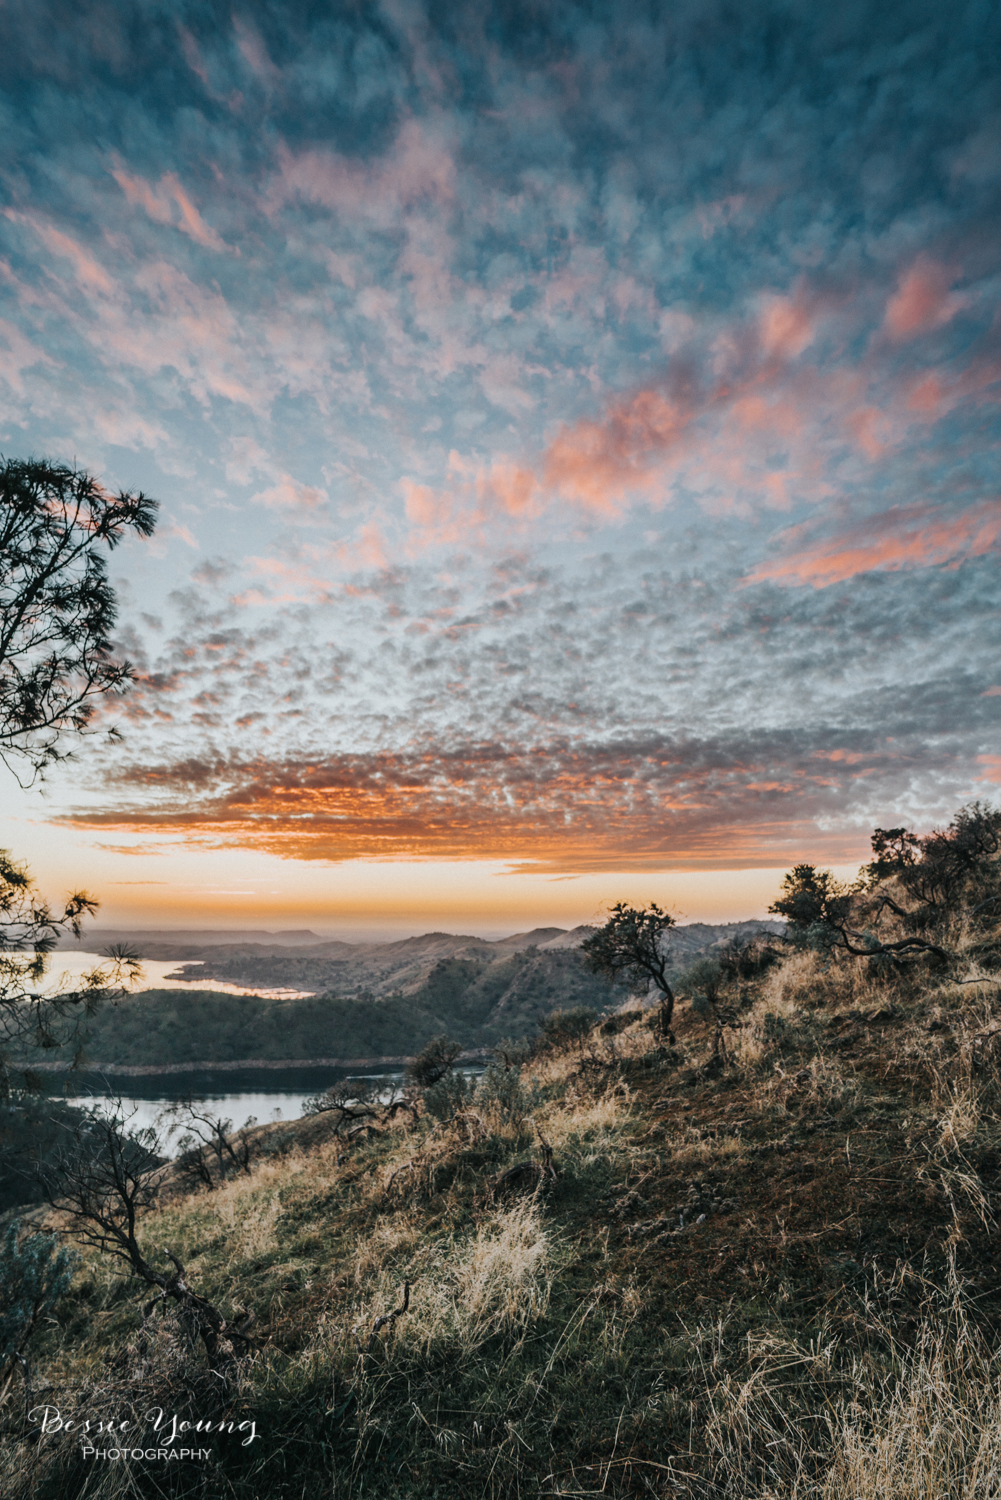
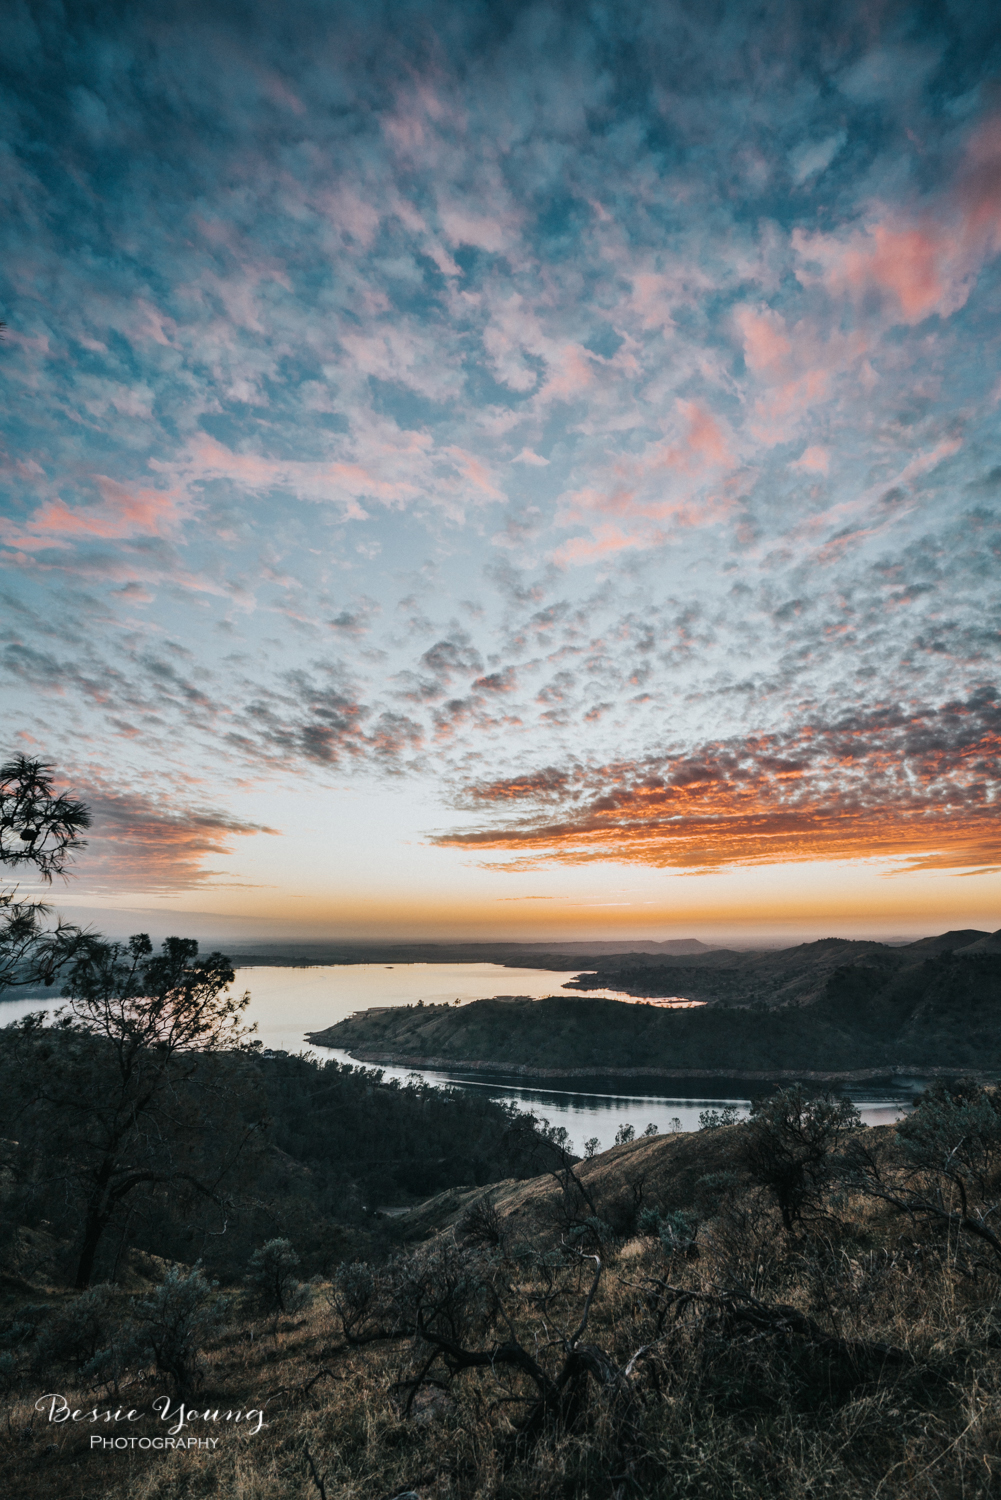
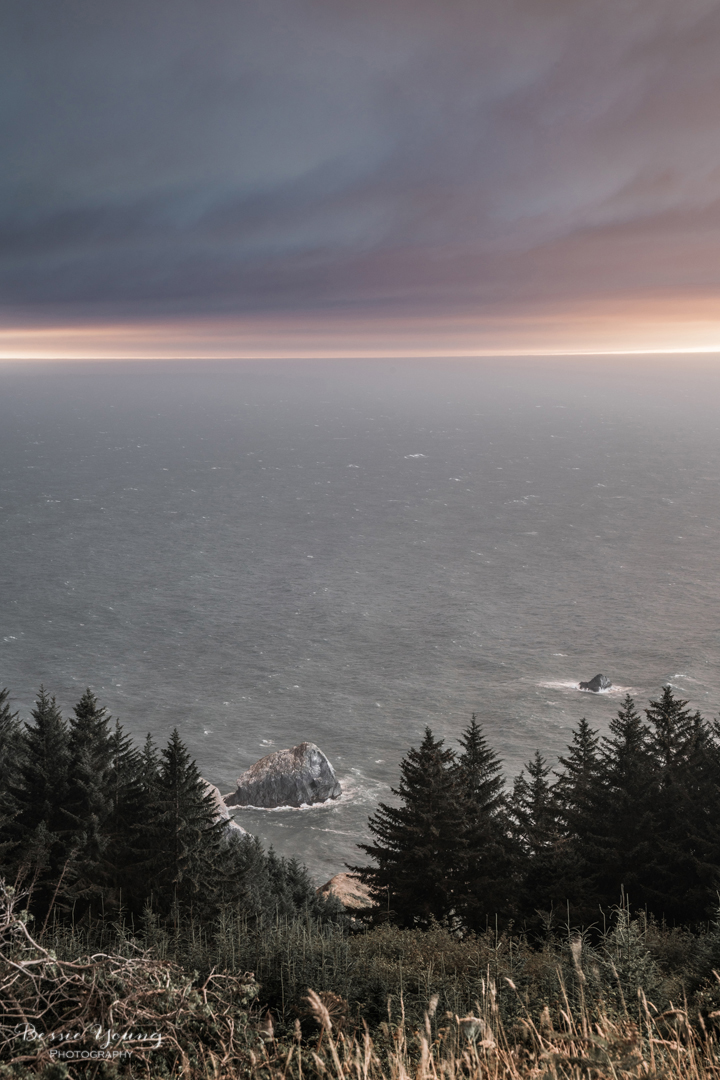
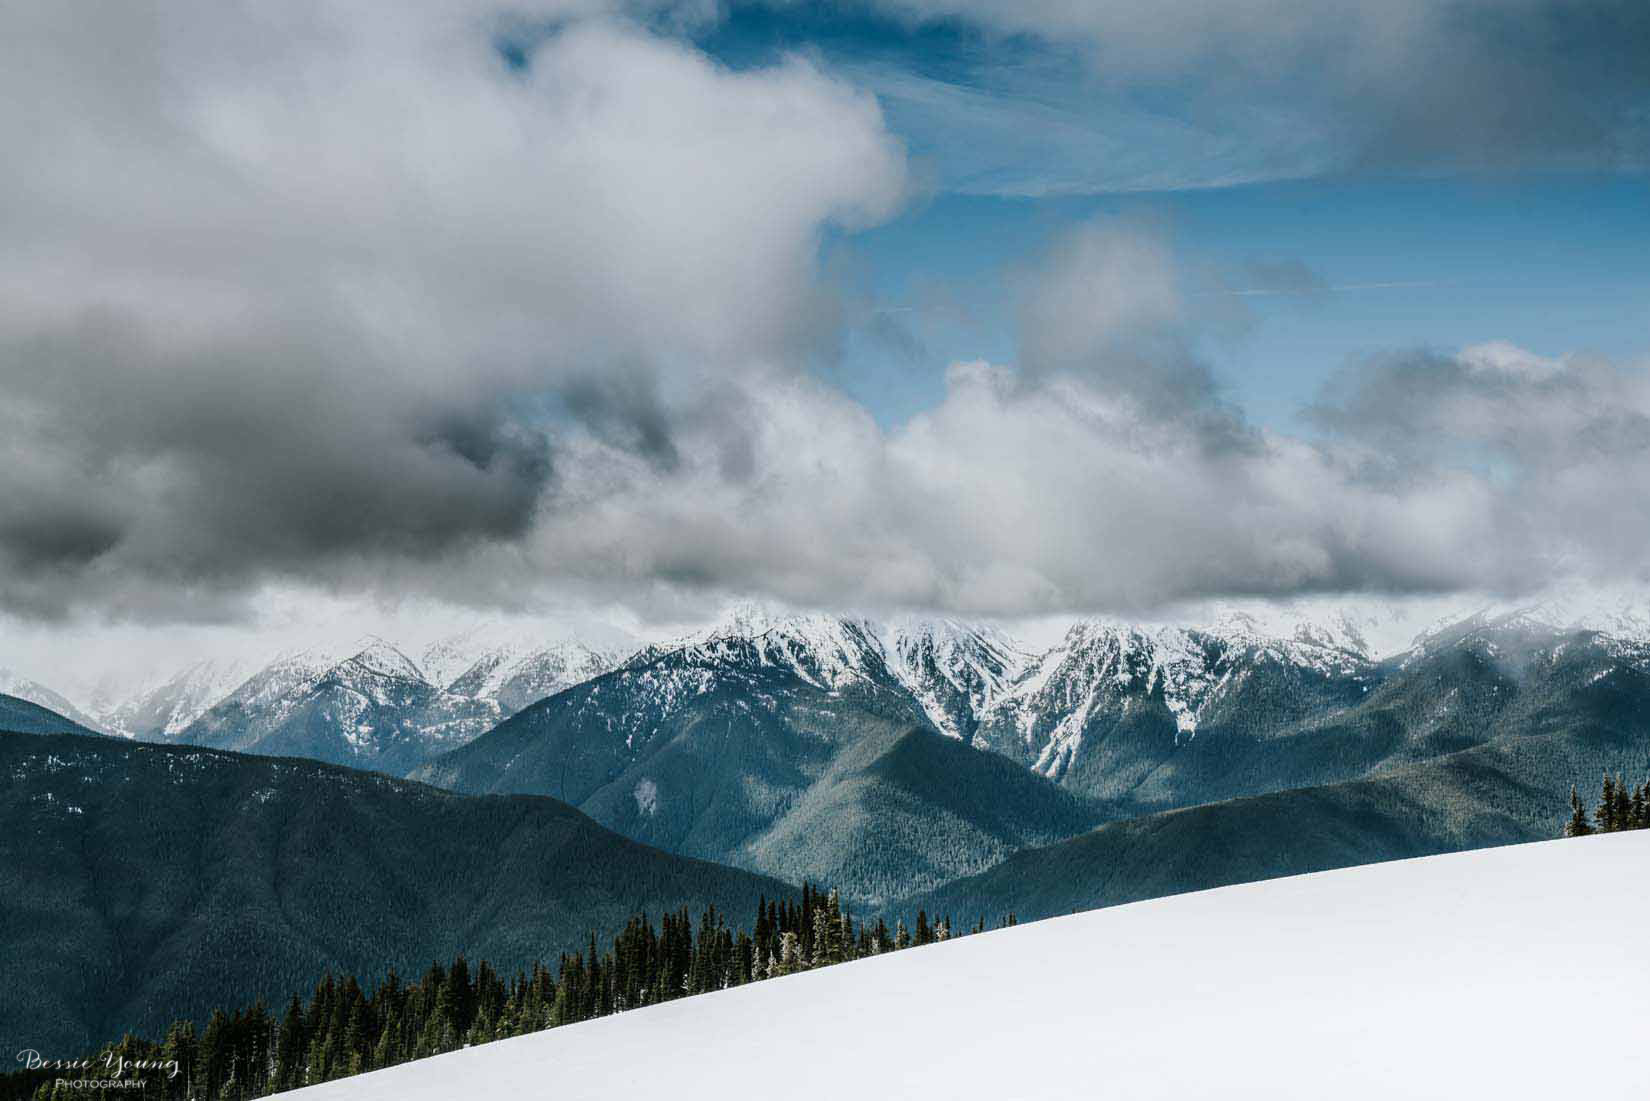
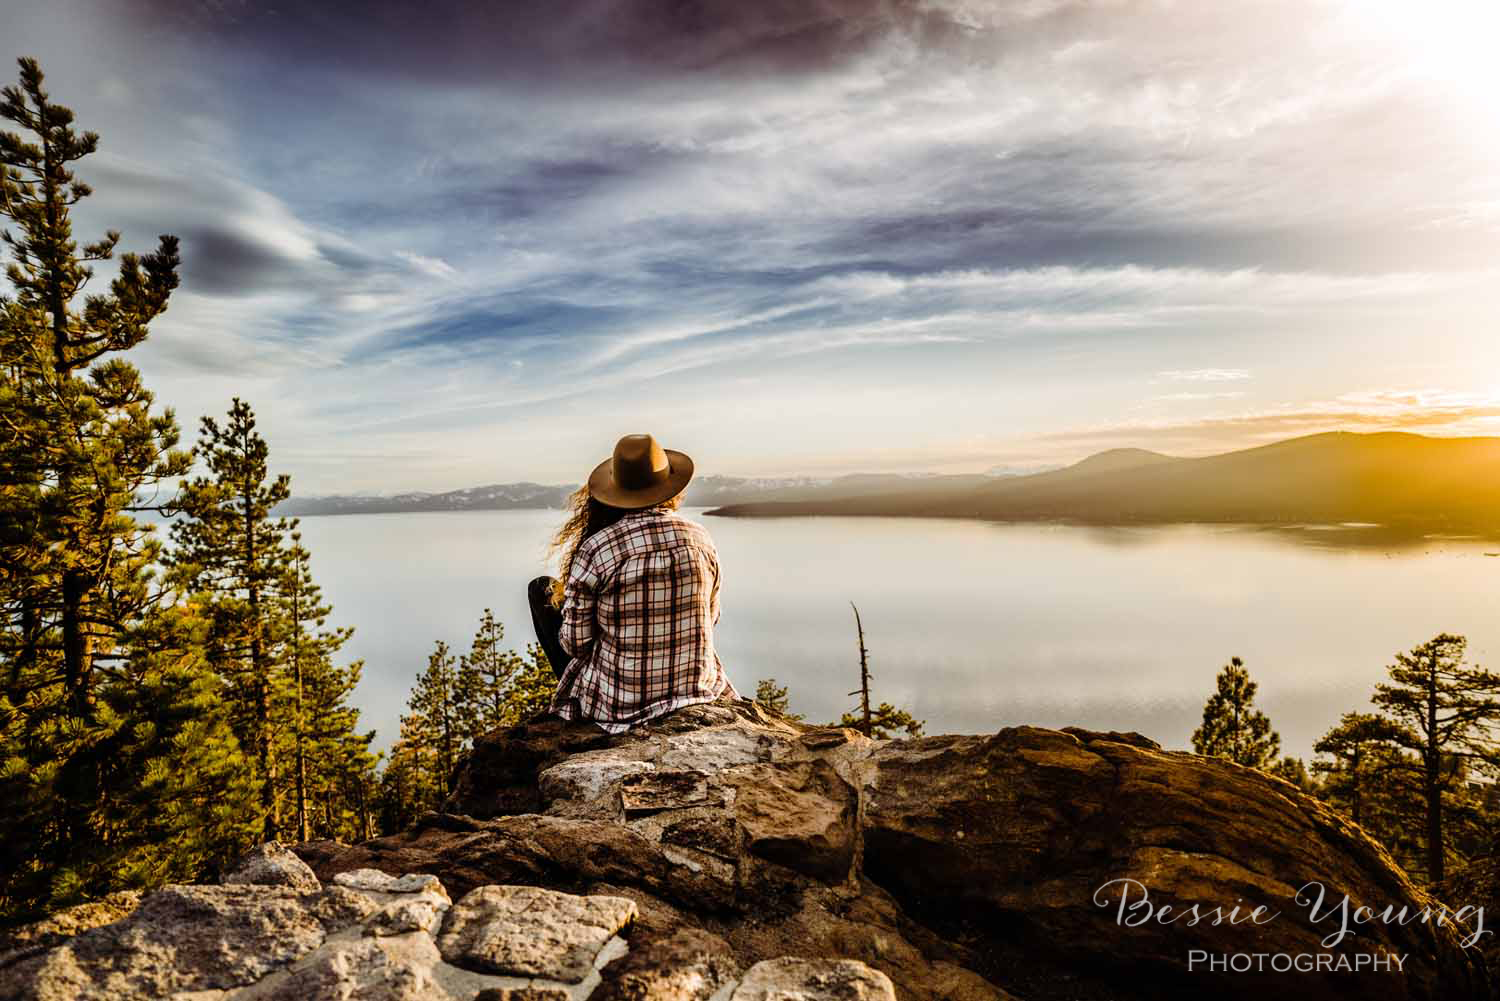
As I finally made it to the top, the clouds were completely broken up! Plus, I made it just in time for sunset! Plenty of time to scope out the area, find a good composition, enjoy the view, and get a good shot.

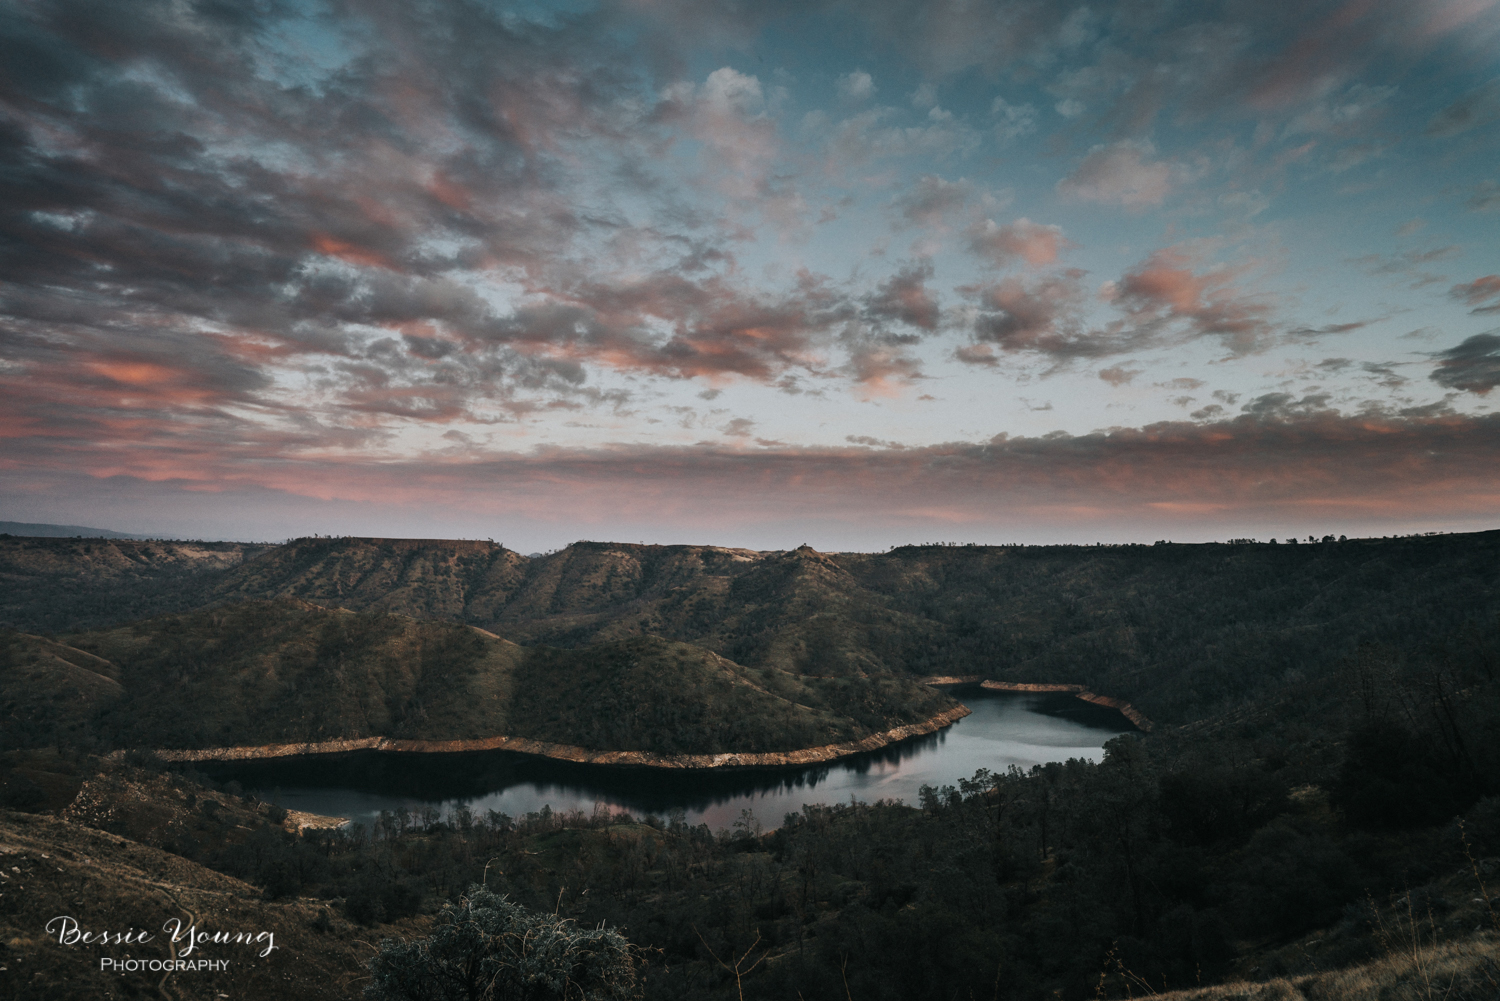
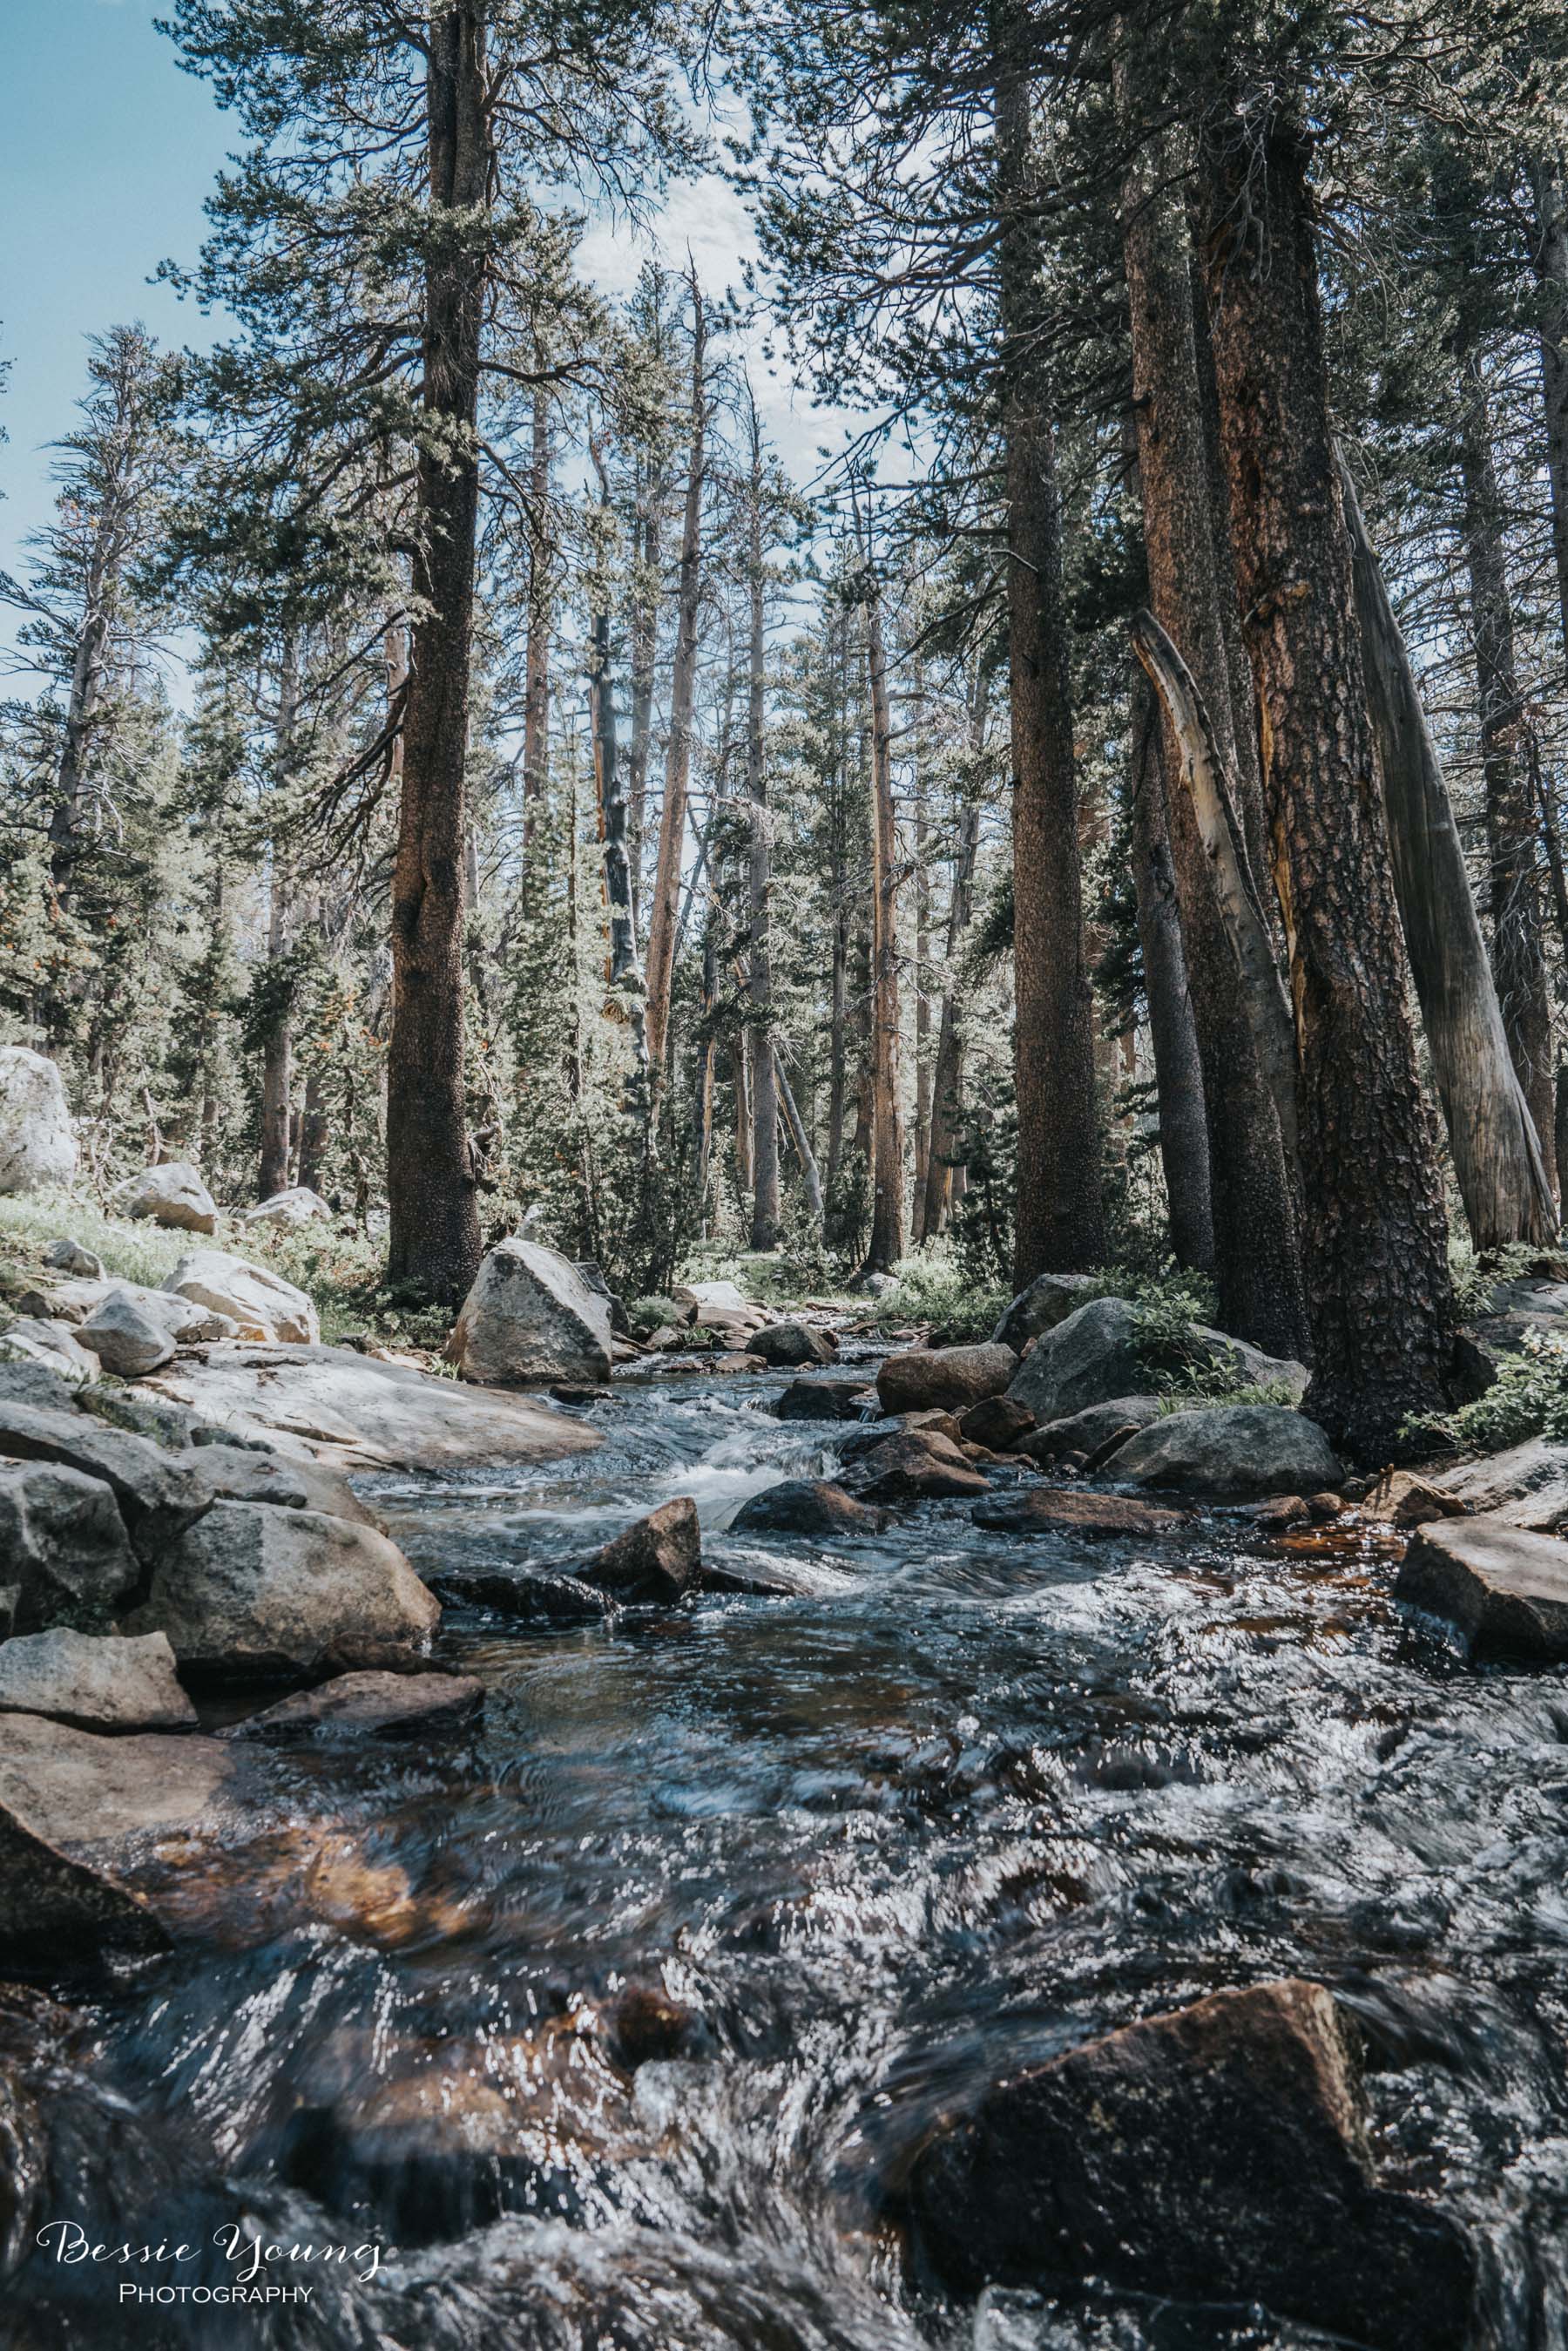
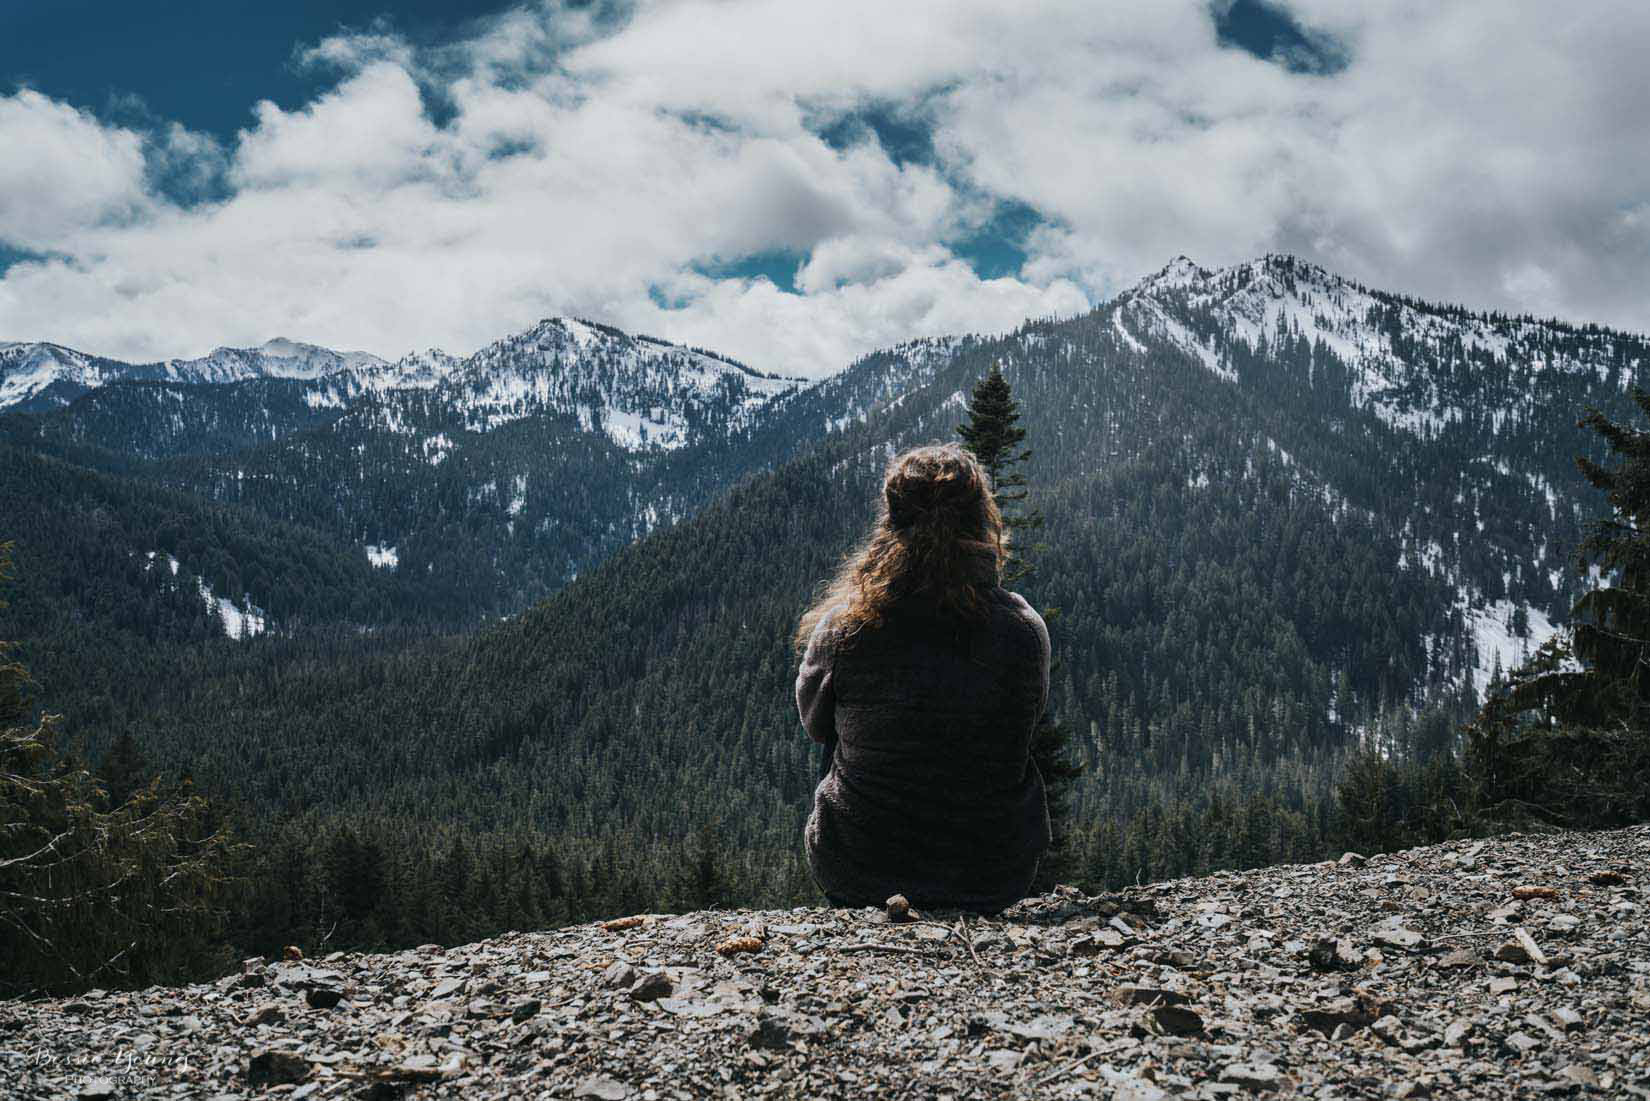
So the moral of the story is to just go! Just do it. You will never regret an adventure. Even if there wasn't a sunset the entire trip was super fun. Yes, it would have been nice to sit on my couch, in my Pj's, and watch something on Amazon Prime, but you know.... the adventure is way more worth it. The memories... the stories... all of it.
Next time you are debating on getting out and trying to get that sunset, go and try. The worst thing is that there may not be a sunset, but believe me, the time isn't wasted time. It is time making memories, enjoying nature, and being outside.

I hope you all enjoyed this blog. Make sure to watch the video at the beginning to see a bit of the behind the scenes and how I got the shot.
Wishing you nothing but fun adventures, beautiful sunsets, and amazing memories.
Bessie
P.S. Did you like this blog? Check these ones out: