
Backpacking Dinkey Lakes Wilderness
Landscape Photography
I am just now finally posting about my backpacking trip back in August! Man where does the time go? Seriously though, just crazy. Anywho, lets get to it!
Hike to Cliff Lake - Base camp Day 1
There are two ways to get to Cliff Lake (two different trailheads). This trip I decided to take the trailhead out of Courtright Lake. The reason being that it is a paved road the entire way and the hike is about 1.5 miles shorter.
The Hike Details from the Trailhead to Cliff:
Distance: Approximately 5 miles. - everytime I hike to this lake my tracks shows a different number. Once it showed 4.75 miles, once it showed 5.5 miles, so I am averaging it out to be about 5 miles.
Max elevation: 9209’
Lowest elevation: 7979’
Trailhead elevation: 8363’
It ultimately took 2.75 hours to get to Cliff Lake from the trailhead.
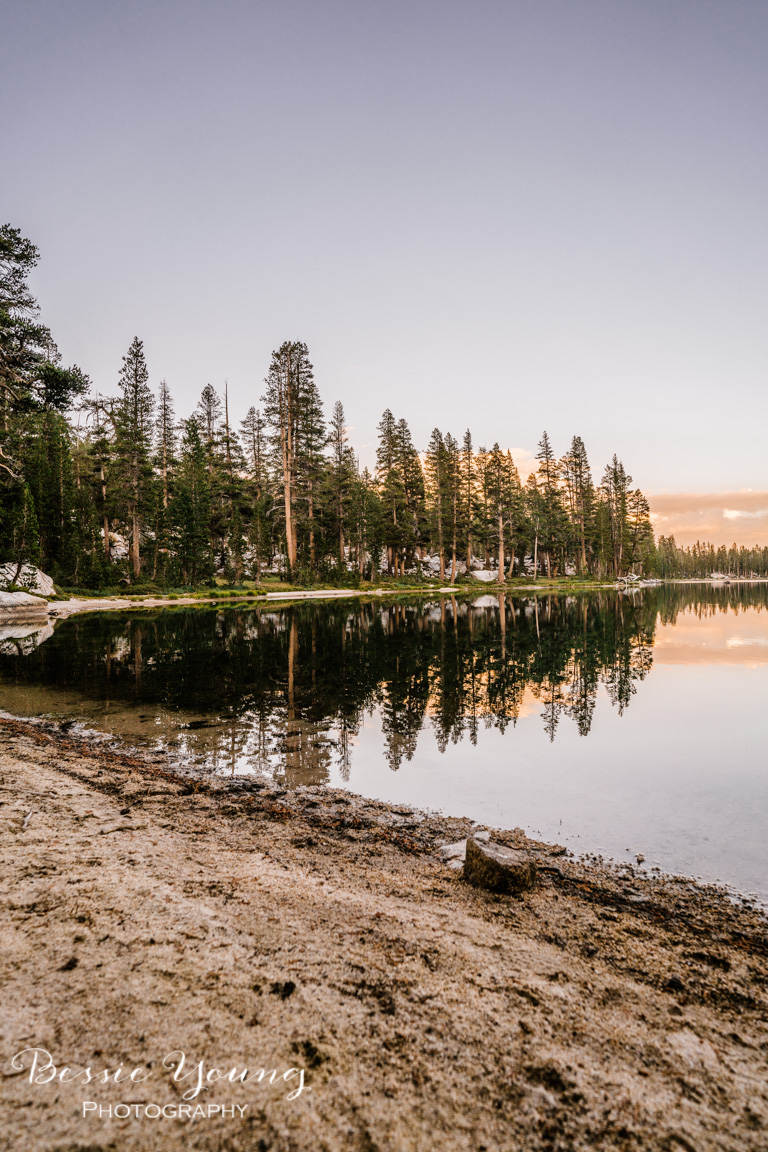
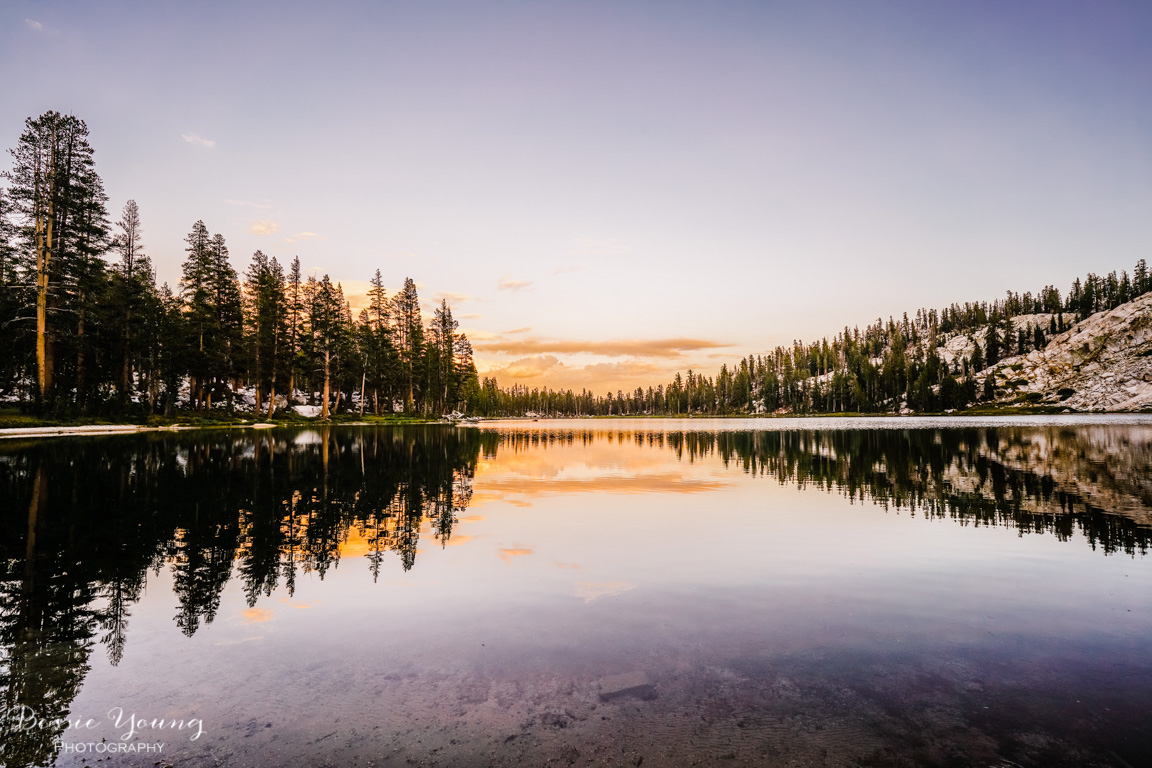
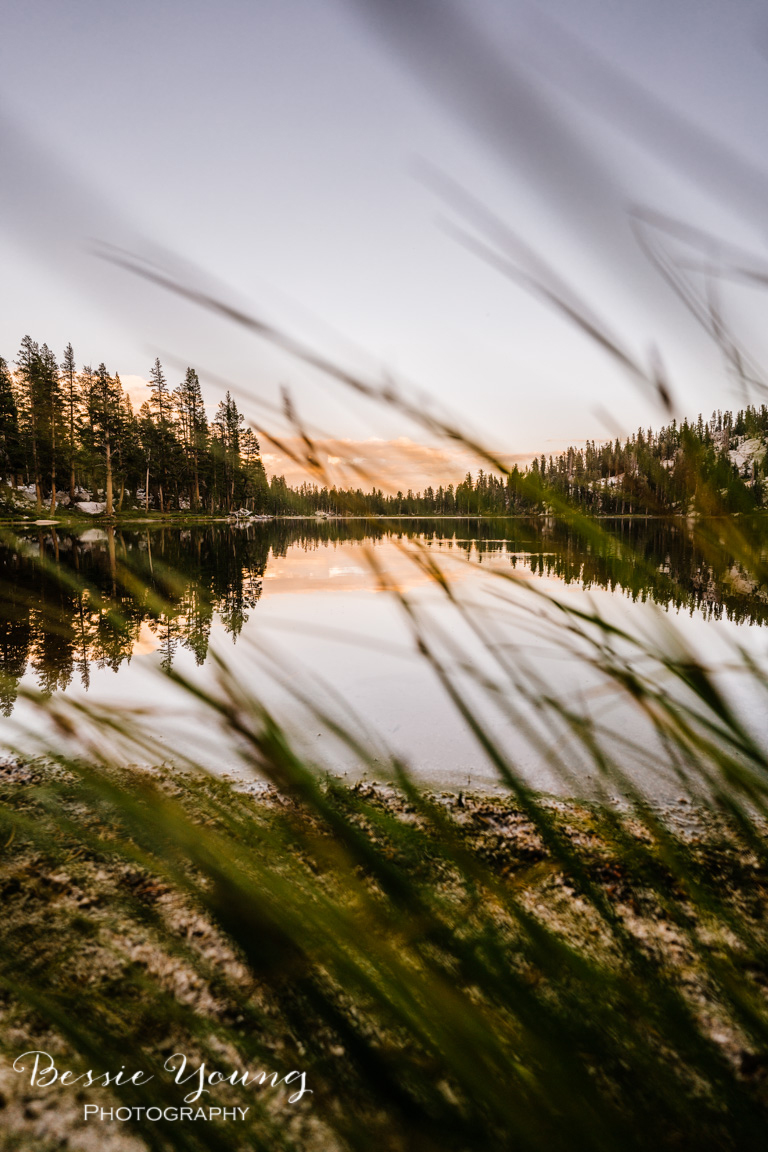
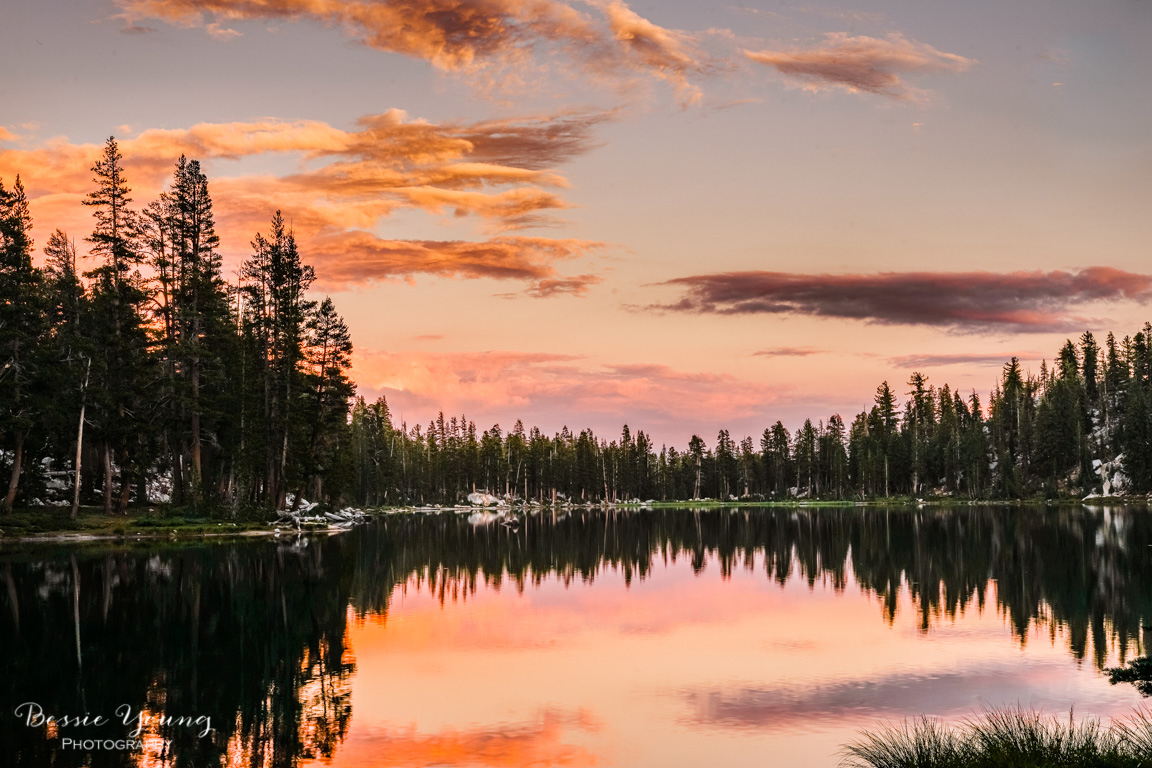
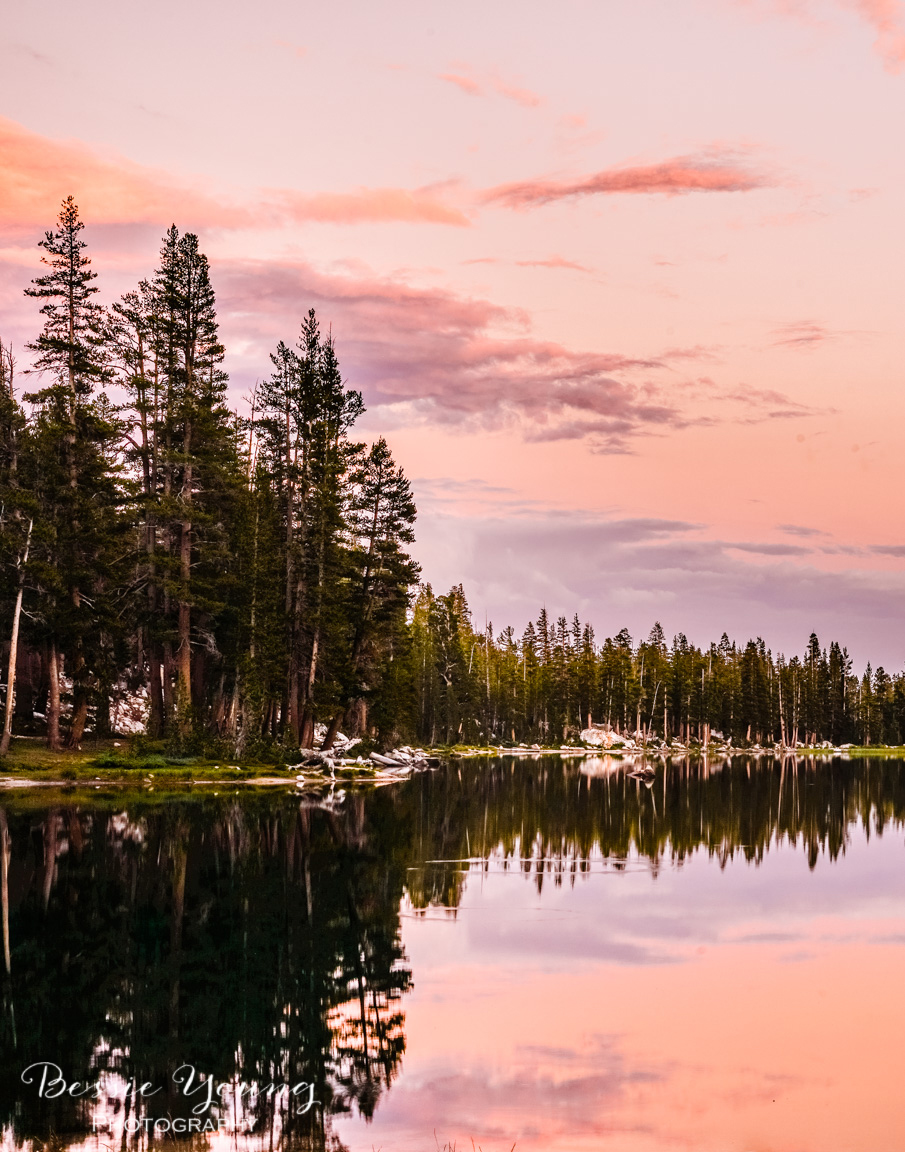
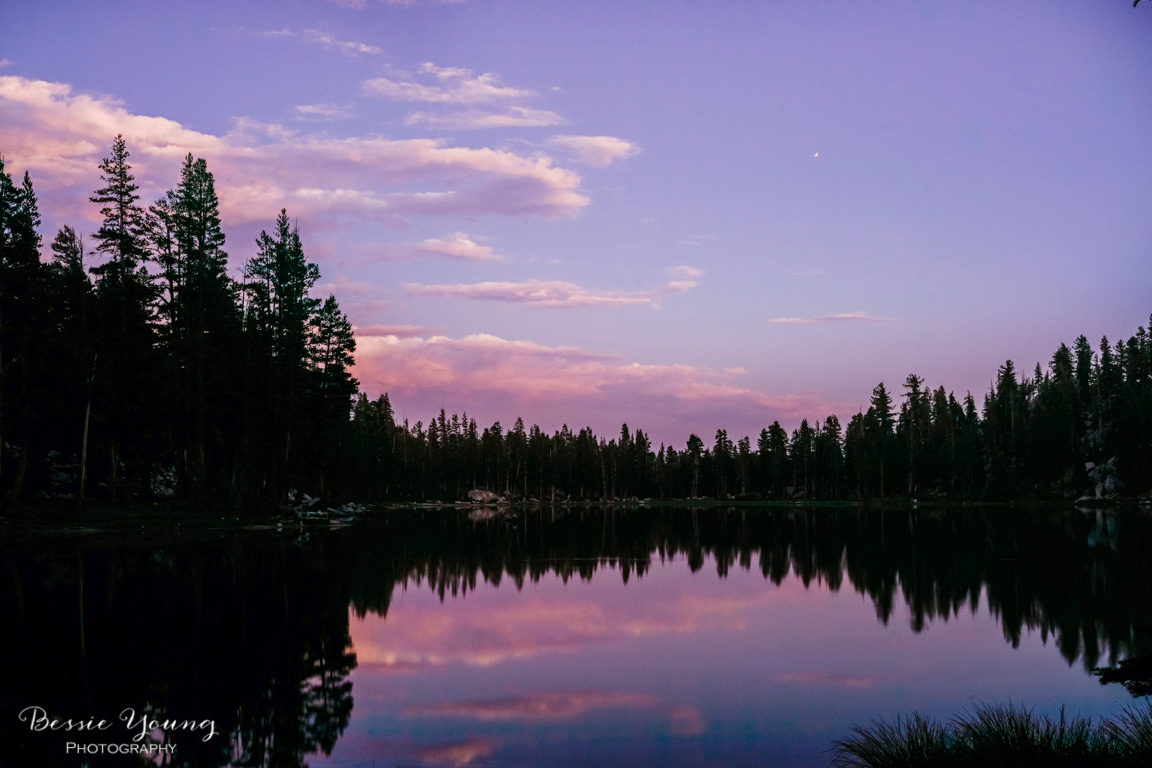
Day 1 Sunset
I always have a few photography goals when I am out backpacking:
Document the trip
Get a few time lapses
Star shots
Sunrises for that nice soft water at the high mountain lake with the beautiful reflection
Sunsets with all the beautiful colors
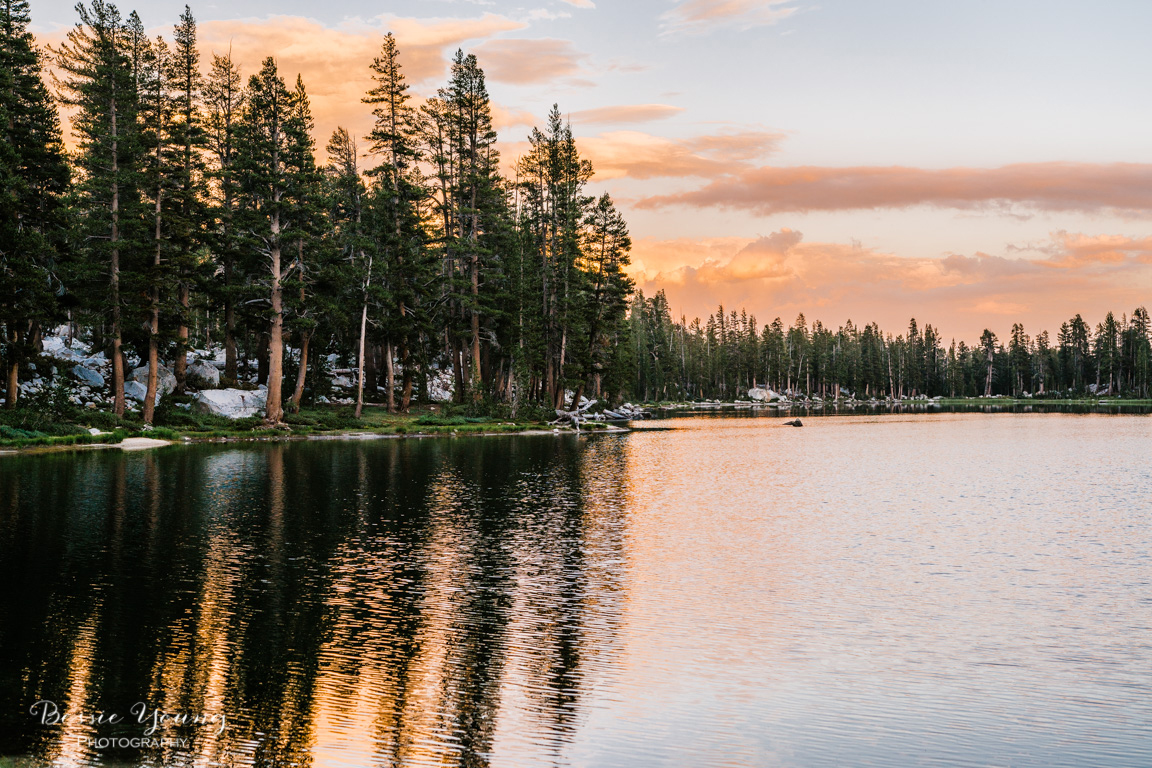
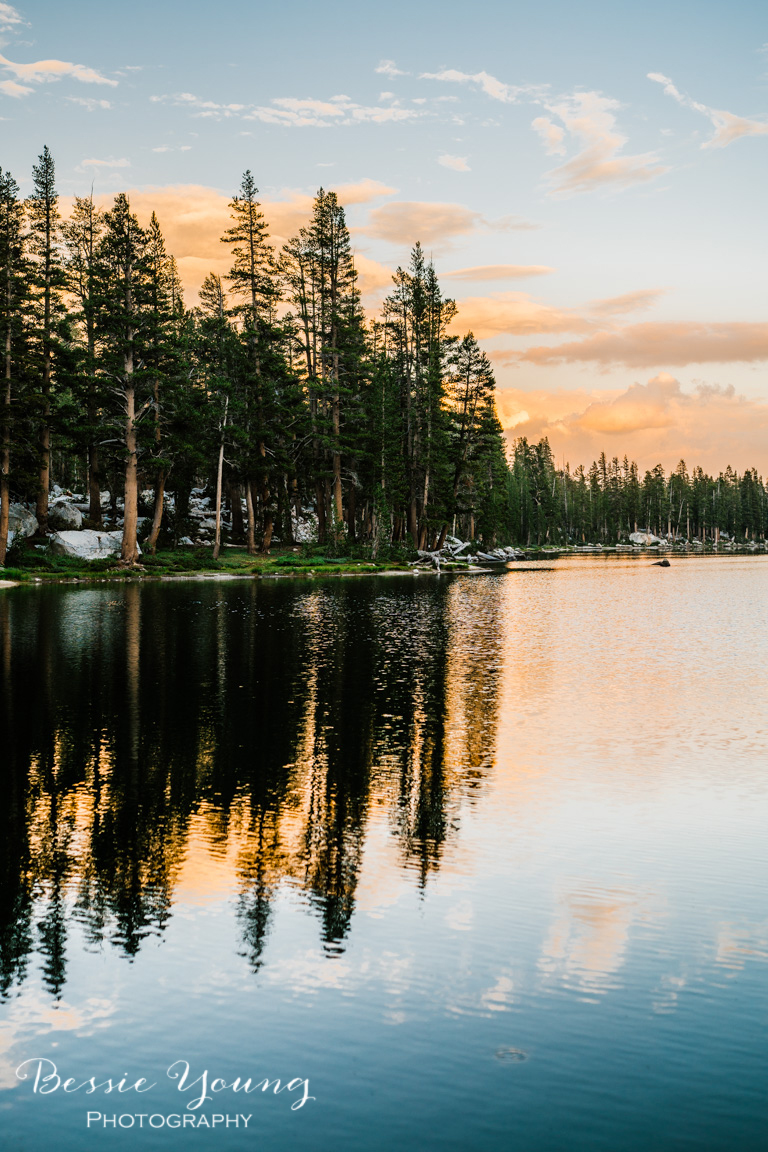

After finding the perfect camping spot setting up base camp the sun just started setting and it was the absolute best sunset of the entire trip. I set up my camera for a fun time lapse and also got some amazazing shots!

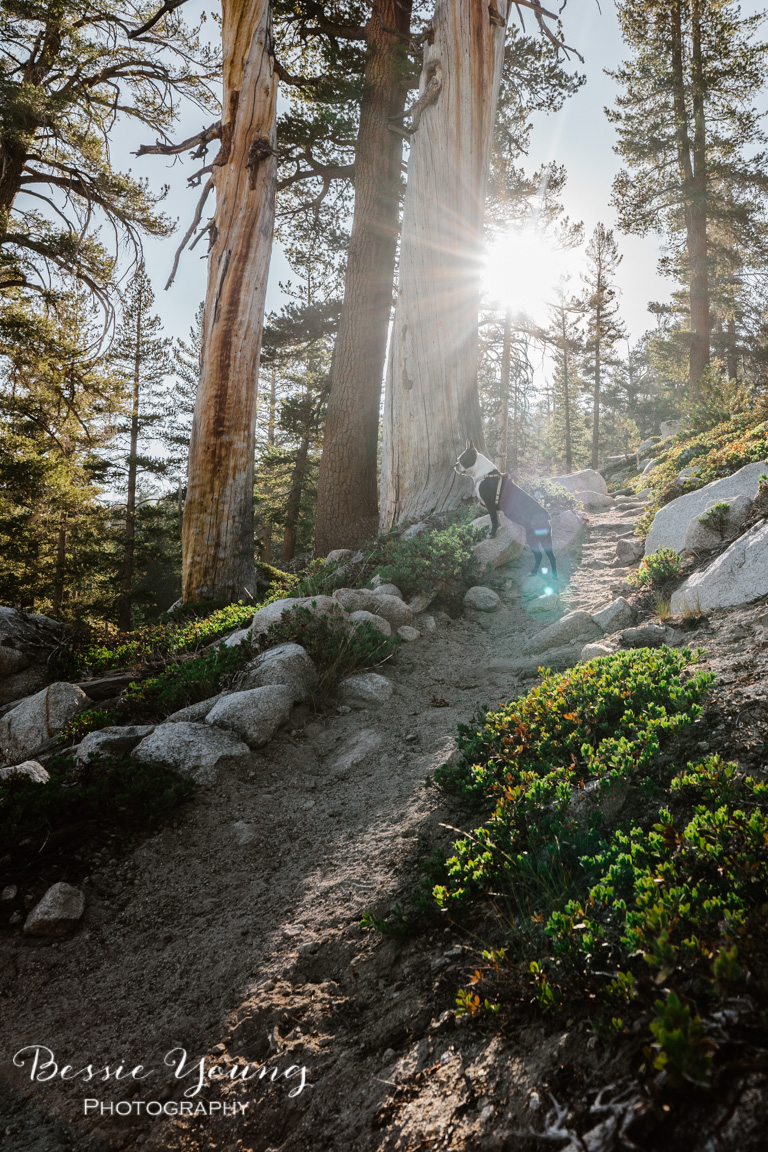
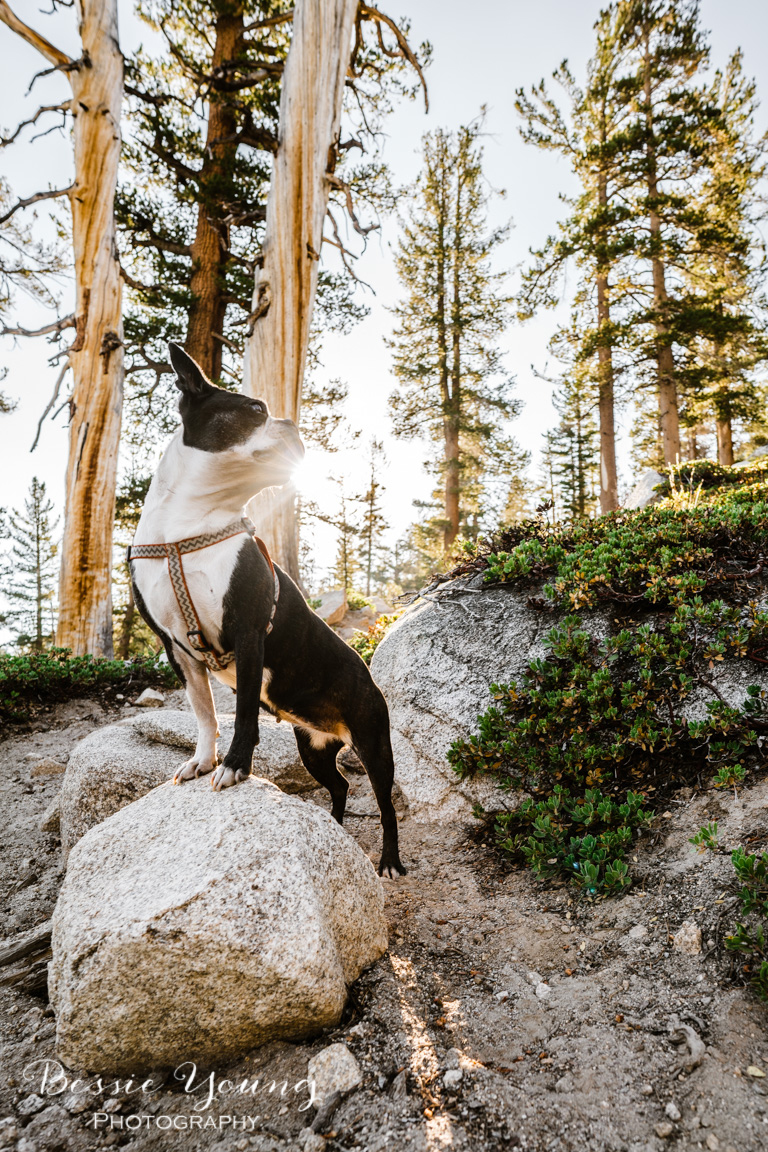
Hike Around Cliff Lake - Day 2

Funny enough I have never hiked all the way around Cliff Lake. I have been here a handful of times but never actually have I hiked around it. So I decided day 2 was going to be a rest day just enjoying the beauty of the wilderness. During this time, I figured it was the perfect time to take a lesurely stroll around the lake.
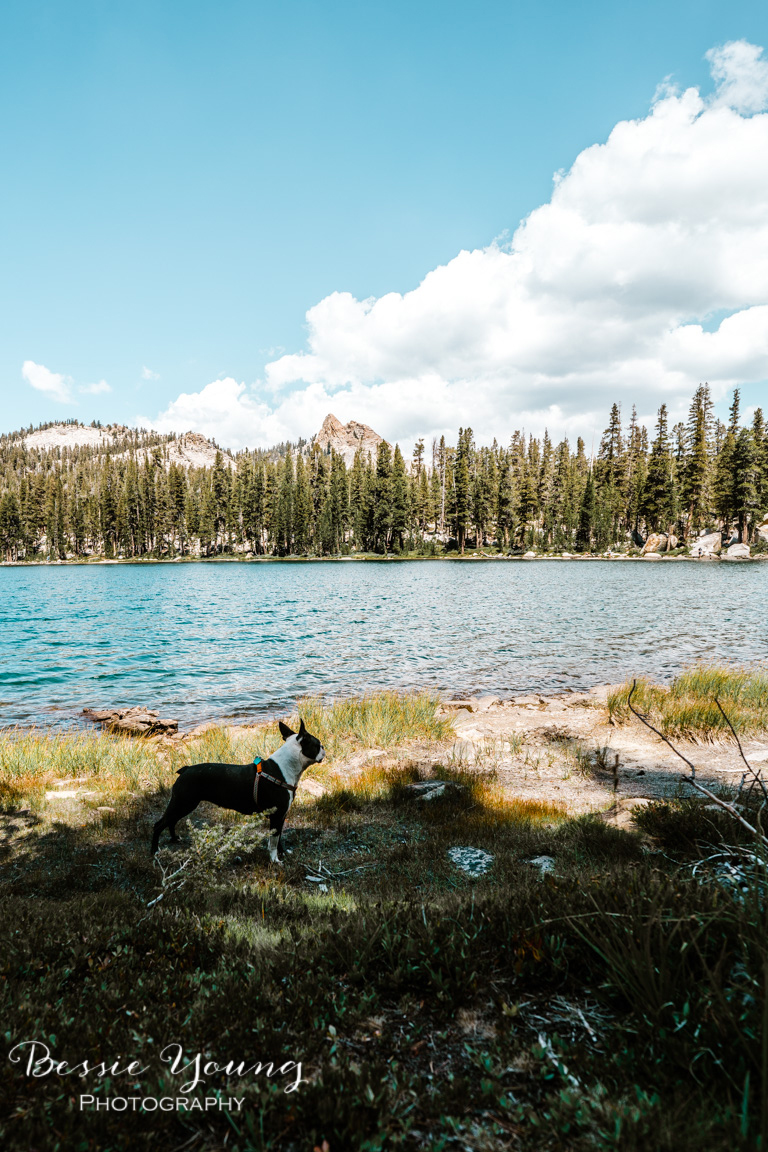
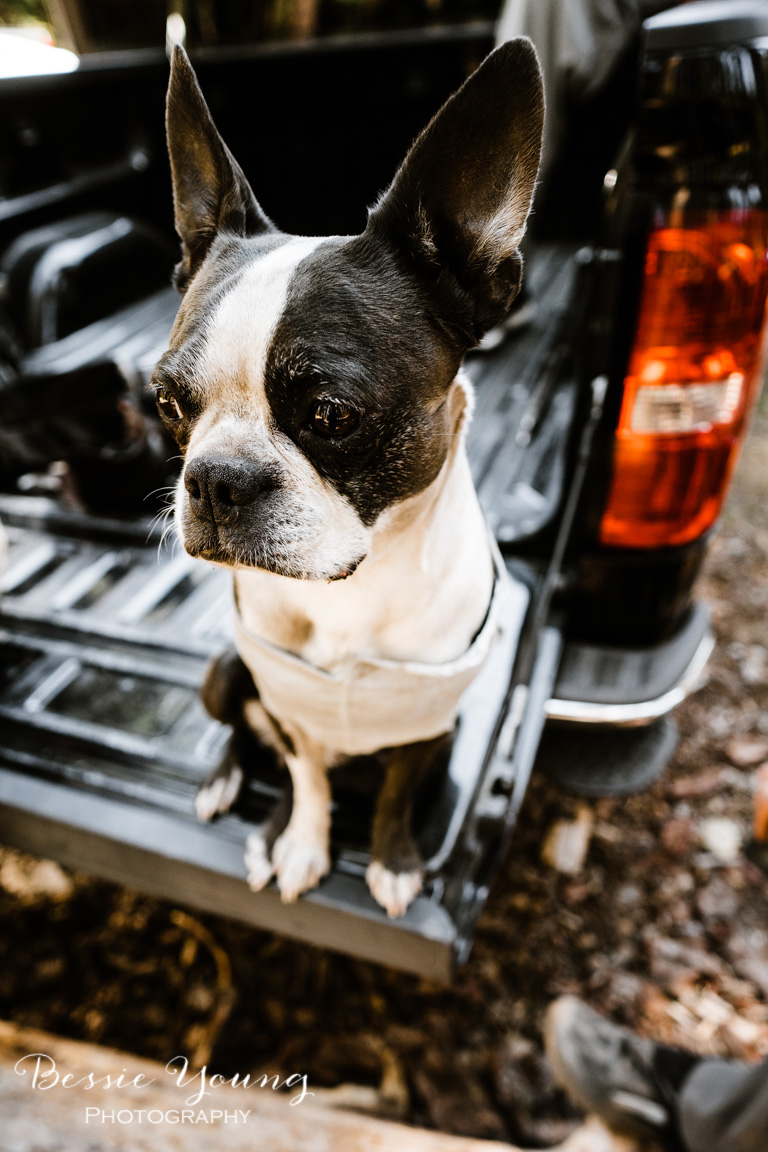
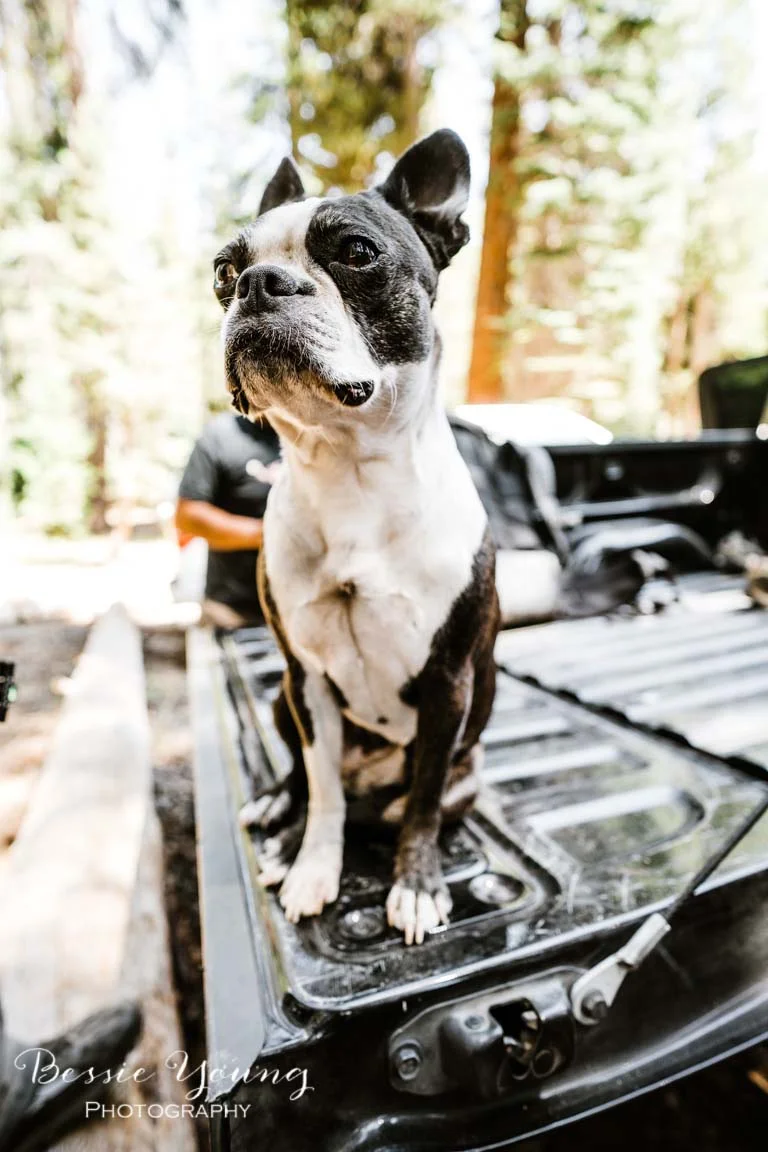
For the most part the lake is easy to get around during the summertime. There is a nice trail that meandures around the lake and it is mostly flat. Then there is the cliff side of Cliff lake. Yes, where the cliff runs into the water. Now this is no joke, and definitely not easy to get around especially when you have a little dog. It doesn’t look too bad from the other side of the lake, but believe me it isn’t very easy. Now, it is definitely doable, especially if you didn’t have to worry about your Boston Terrier, but with Yota, it made it a little hard. I do have to say I ended up scooting on my booty with my dog in my lap a couple of times to make it to the other side :)
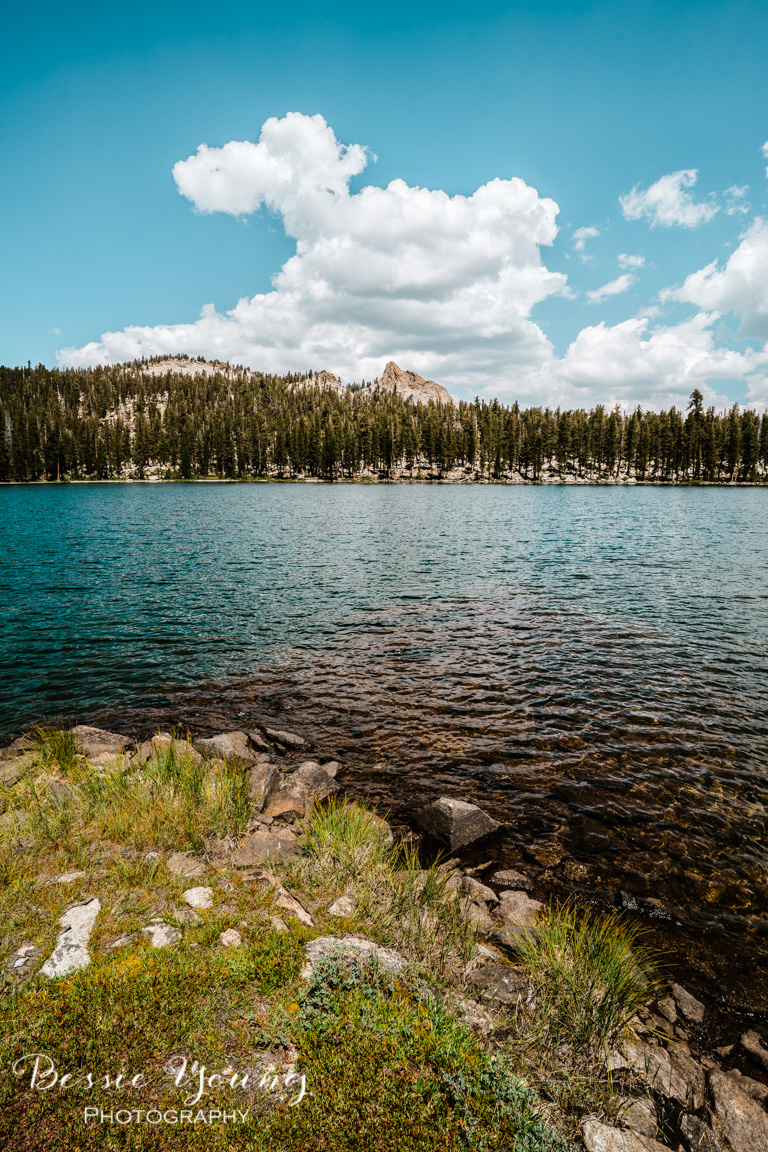

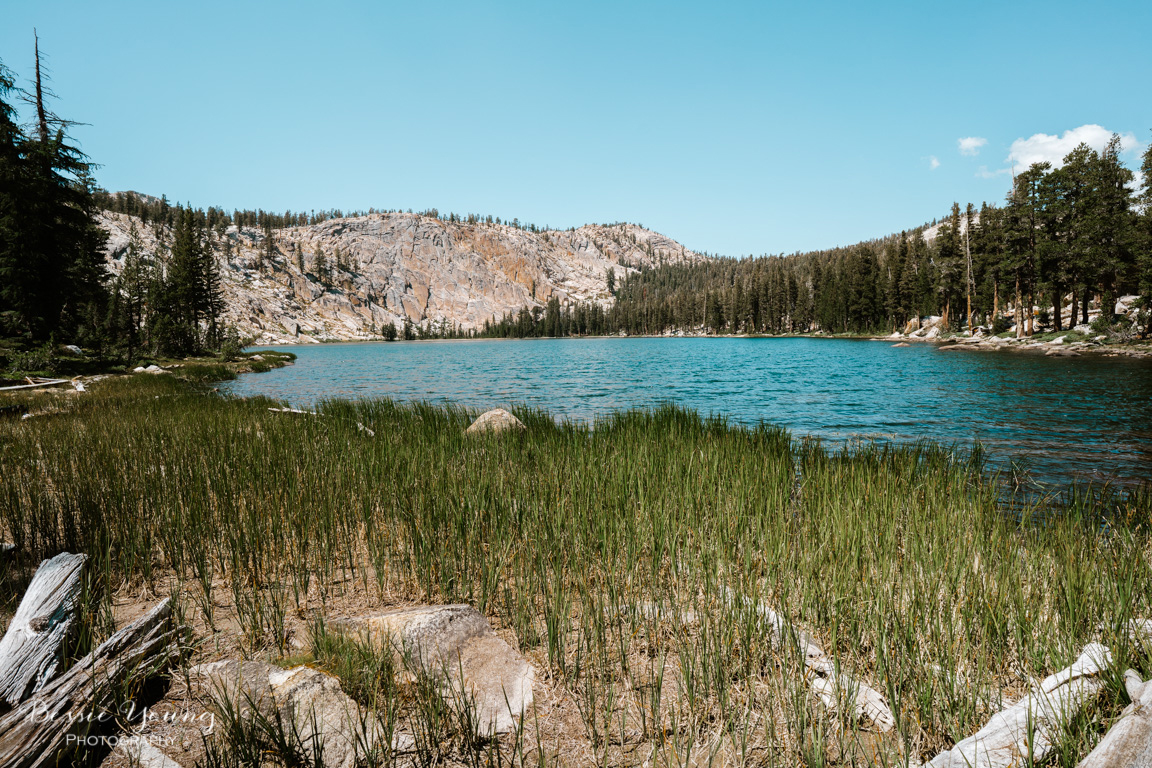
The walk around the lake took about an hour, but then again it took me much longer than it should have because of Yota and those steep rocks. It is definitely a must because the southerly side of the lake is the only spot that you can see Dog Tooth Peak from.
Day Hike to Little Lake - Day 3

On Day 3 I thought it would be perfect to hike to a lake called Little Lake. This lake is deep within the Dinkey Lakes Loop and rarely traveled to. It is about 2.3 miles from Cliff Lake to Little Lake. It is probably one of my favorite lakes for multiple reasons.
There are always cute tree frogs
It is the only place that I have seen Grouse
It has pretty much the best view of Dog Tooth Peak
There is never anyone here
It has the best fishing of all the lakes
Hike Details:
The hike from Cliff to Little and back is not the easiest. Basically you go up a mountain and down the other side to reach Rock Lake. Then you continue downward to reach Little Lake. Now when you think about it, that means it is mainly uphill back to Cliff Lake.
Distance: 2.3 miles
Highest Elevation: 9961’
Lowest Elevation: 9081’
Elevation at Little Lake: 9493’
Round trip from Cliff to Little to Cliff: 4.6 miles
The Stars Came Out - Day 3
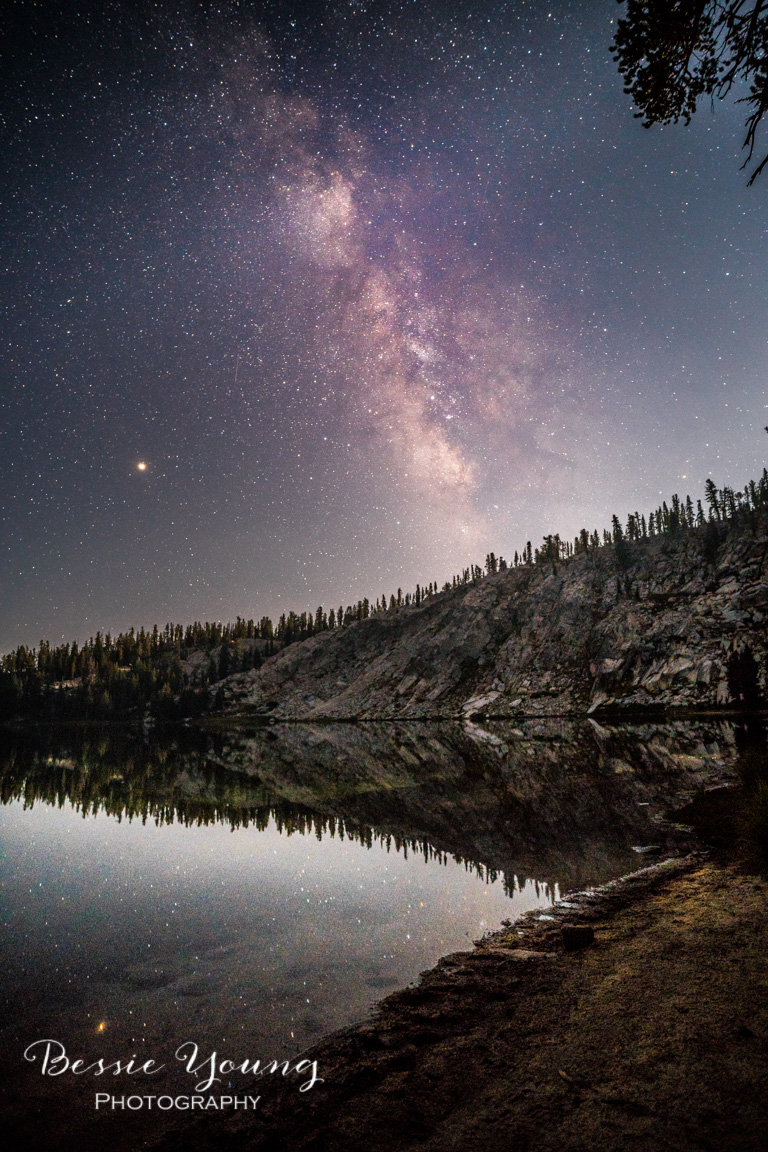
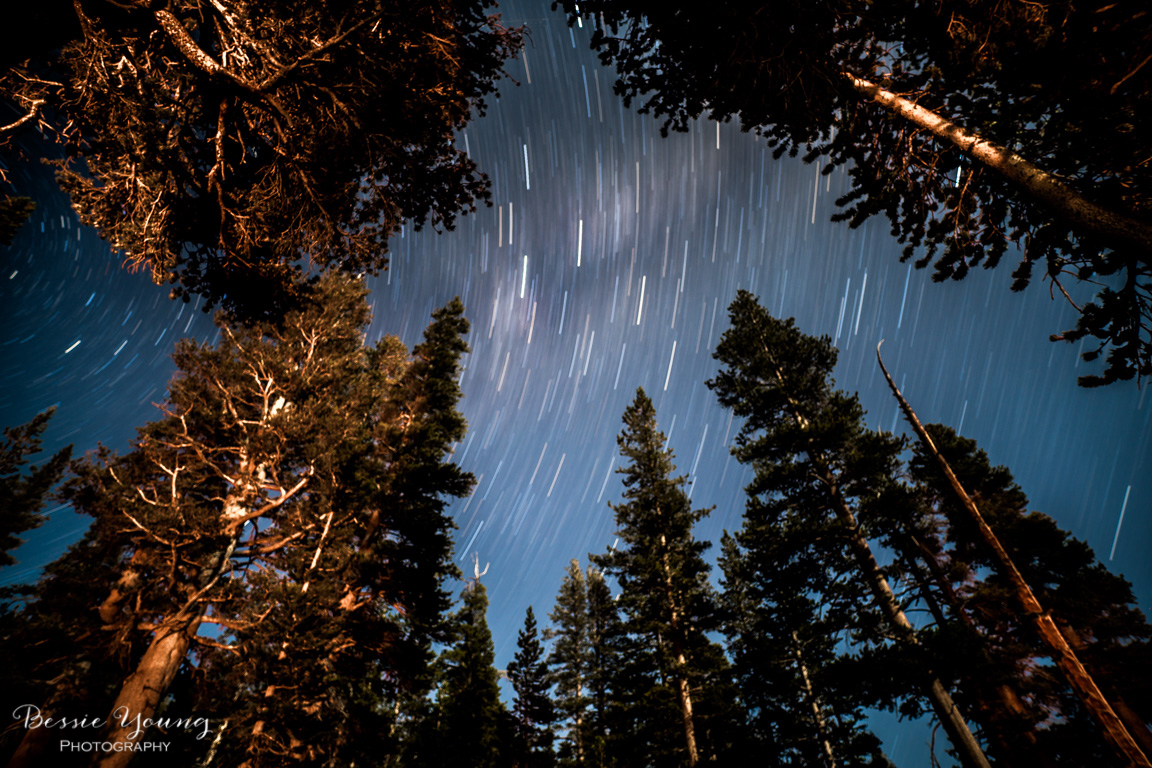
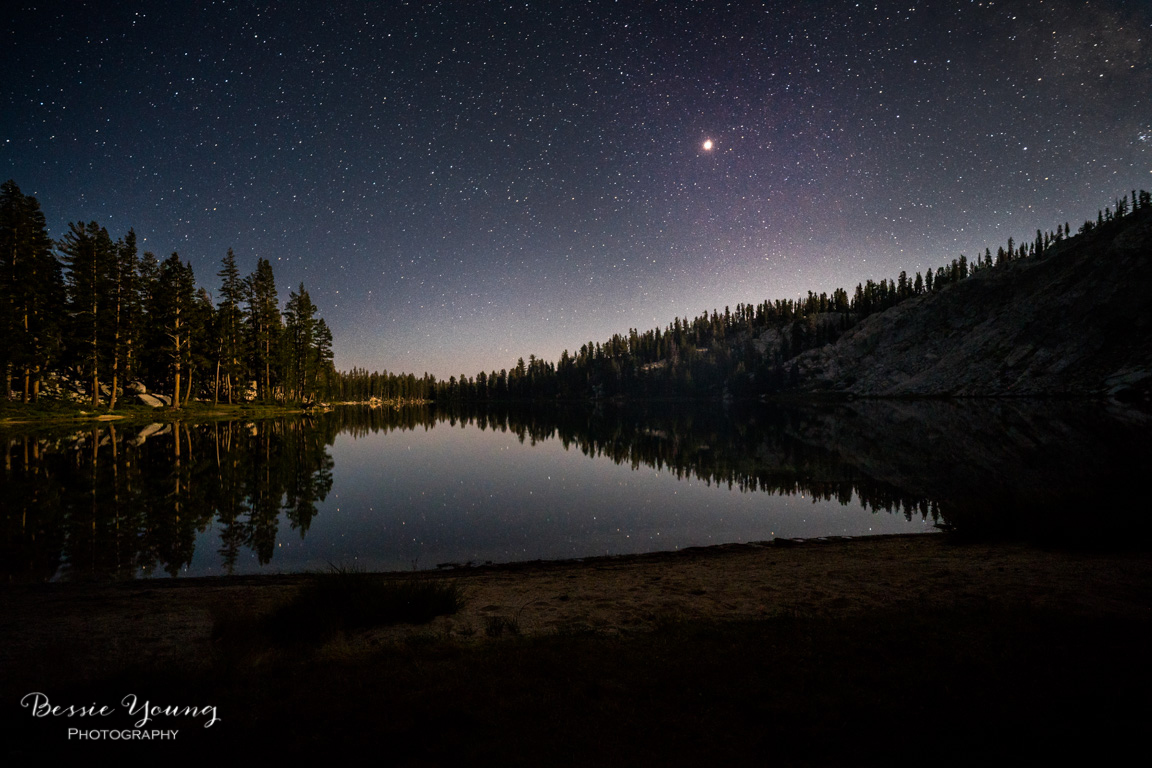
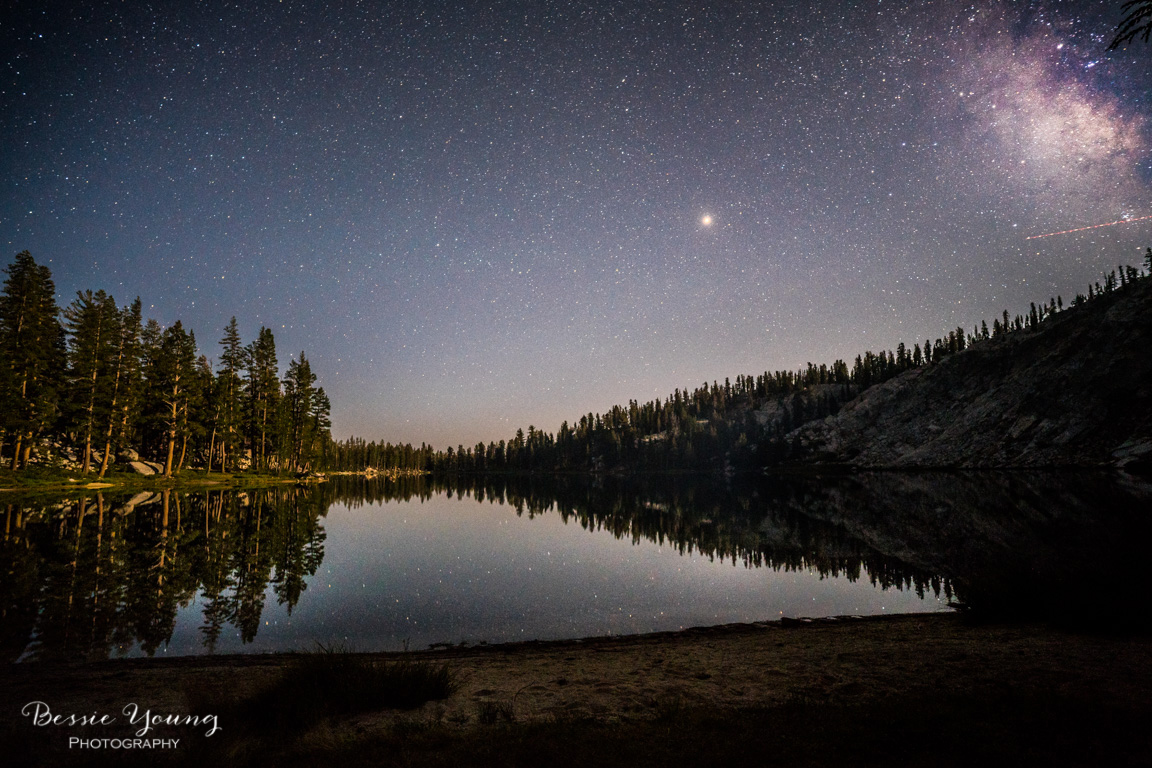
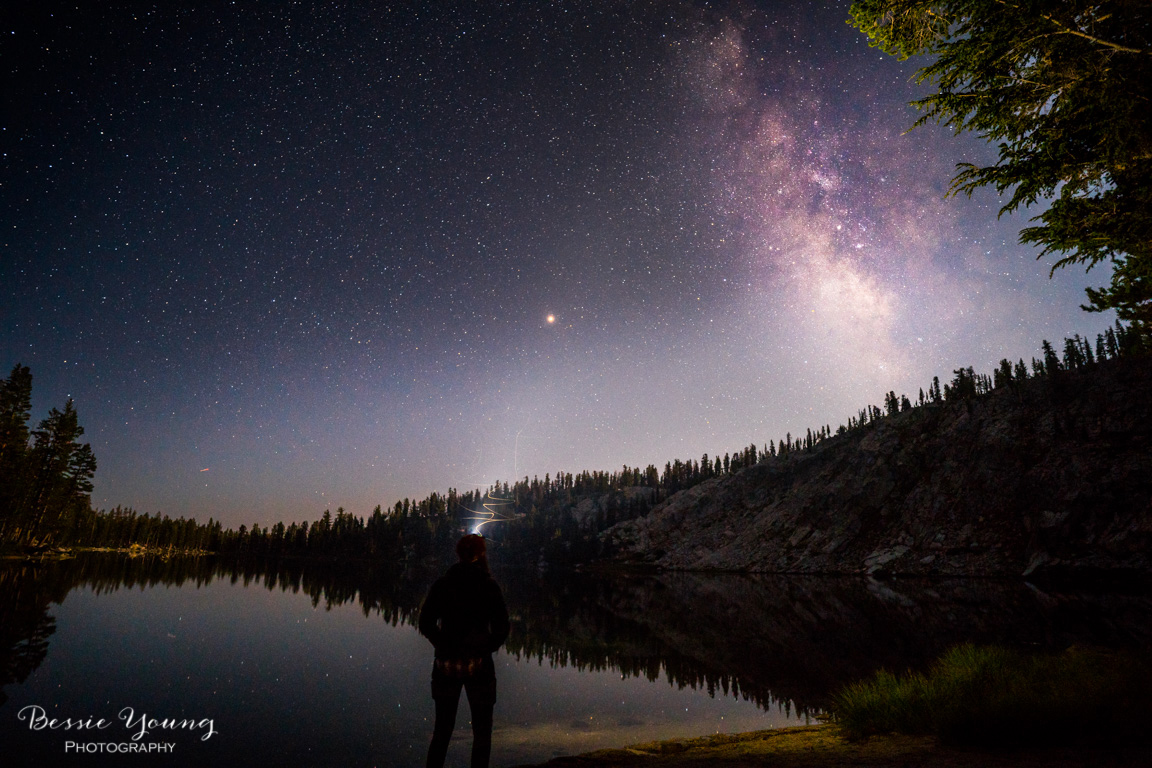
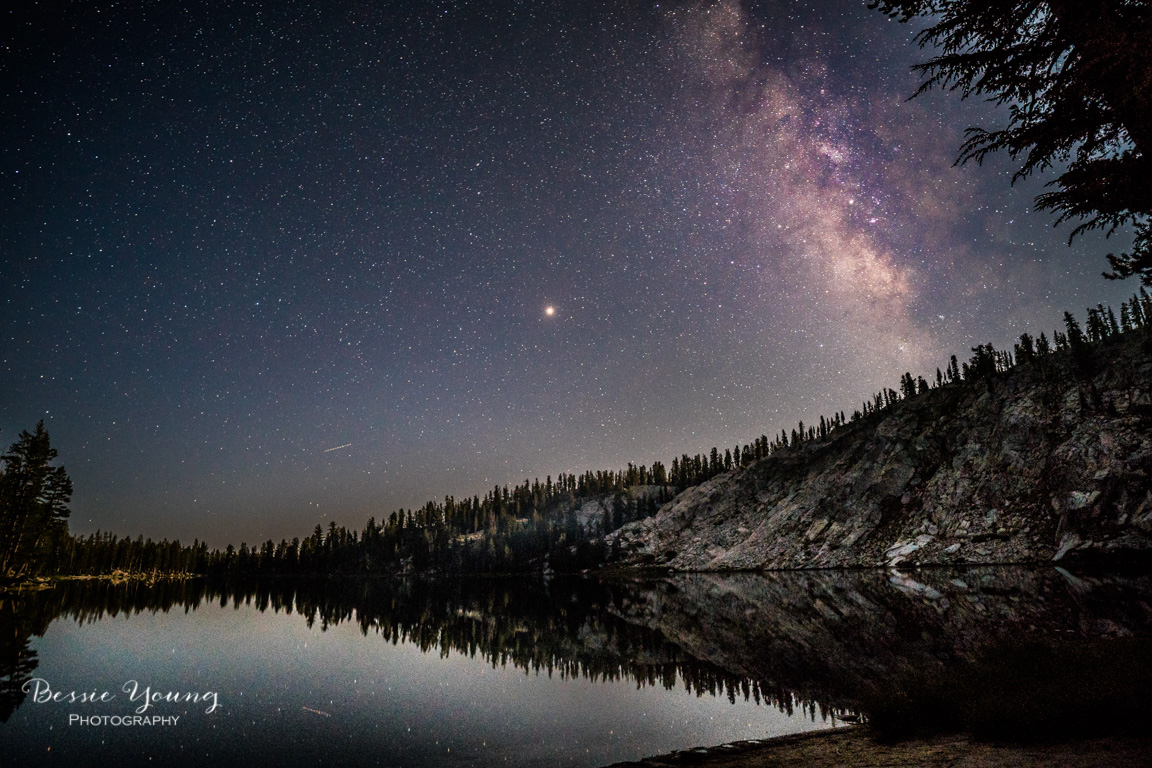
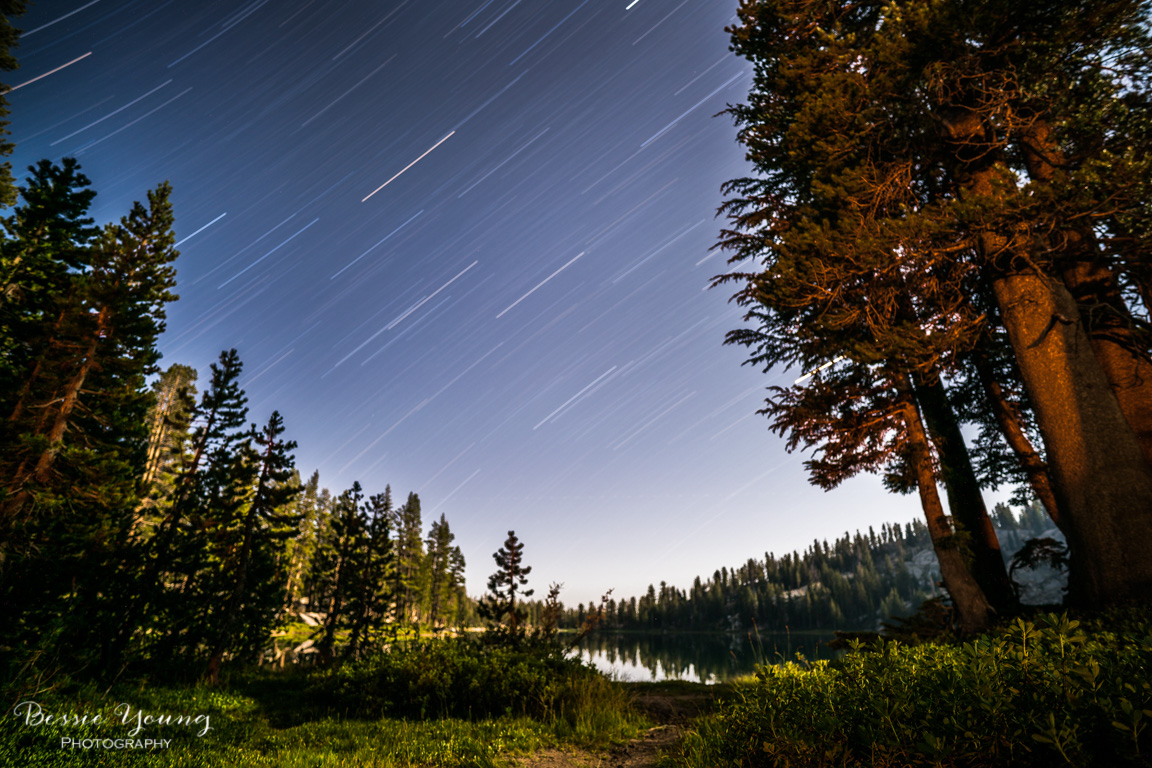
As I said previously one of my main photography goals is to get some awesome star photos. I loooooovvvvvveeeeee getting start photos of these beautiful high mountain lakes. It changes the perspective and makes it look like a completely different world. It is seriously awesome!
If you are interested I did make an entire blog post on How to Take Night Photos. Make sure to head that way for all my tips and tricks on how to get amazing shots like these ones!
The Last Day - Day 4 the hike out
The hike out is always the saddest time. It means that the trip is coming to an end. It means that reality is just around the corner. To remedy these post backpacking blues, I always make sure to pack a beer in my car for when I get back. This way when I am loading everything up I can enjoy it with a nice cold brewskie. I also make sure to pick a really yummy place to eat, because after multiple days eating dehidrated food, you really want ice cream or a big ole burger. This time I decided that my food of choice was going to be something from the Hungry Hut in Shaver Lake. (Yes I got a burger and a big ole berry shake. Amazing)!
I hope you all enjoyed this blog. Make sure to watch the video at the beginning to see a bit of the behind the scenes and how I got the shot.
Wishing you nothing but fun adventures, beautiful sunsets, and amazing memories.
Bessie
P.S. Did you like this blog? Check these ones out: