Ansel Adams Wilderness Day 4 Backpacking
by Bessie Young
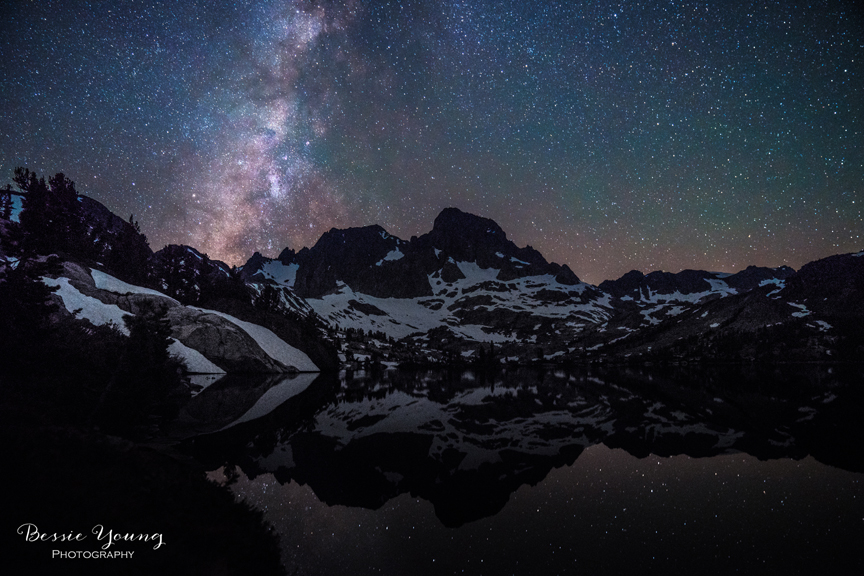
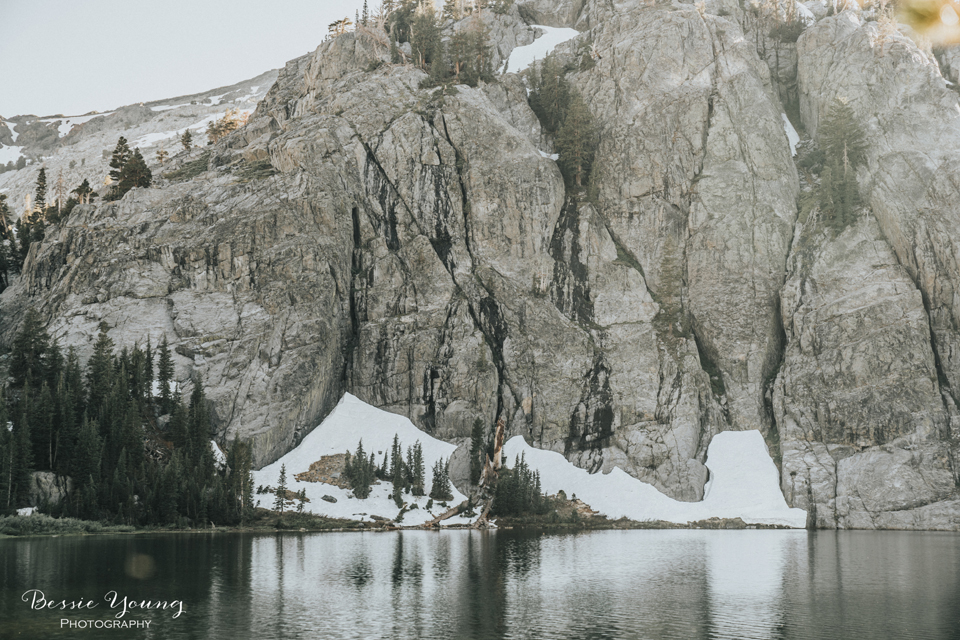
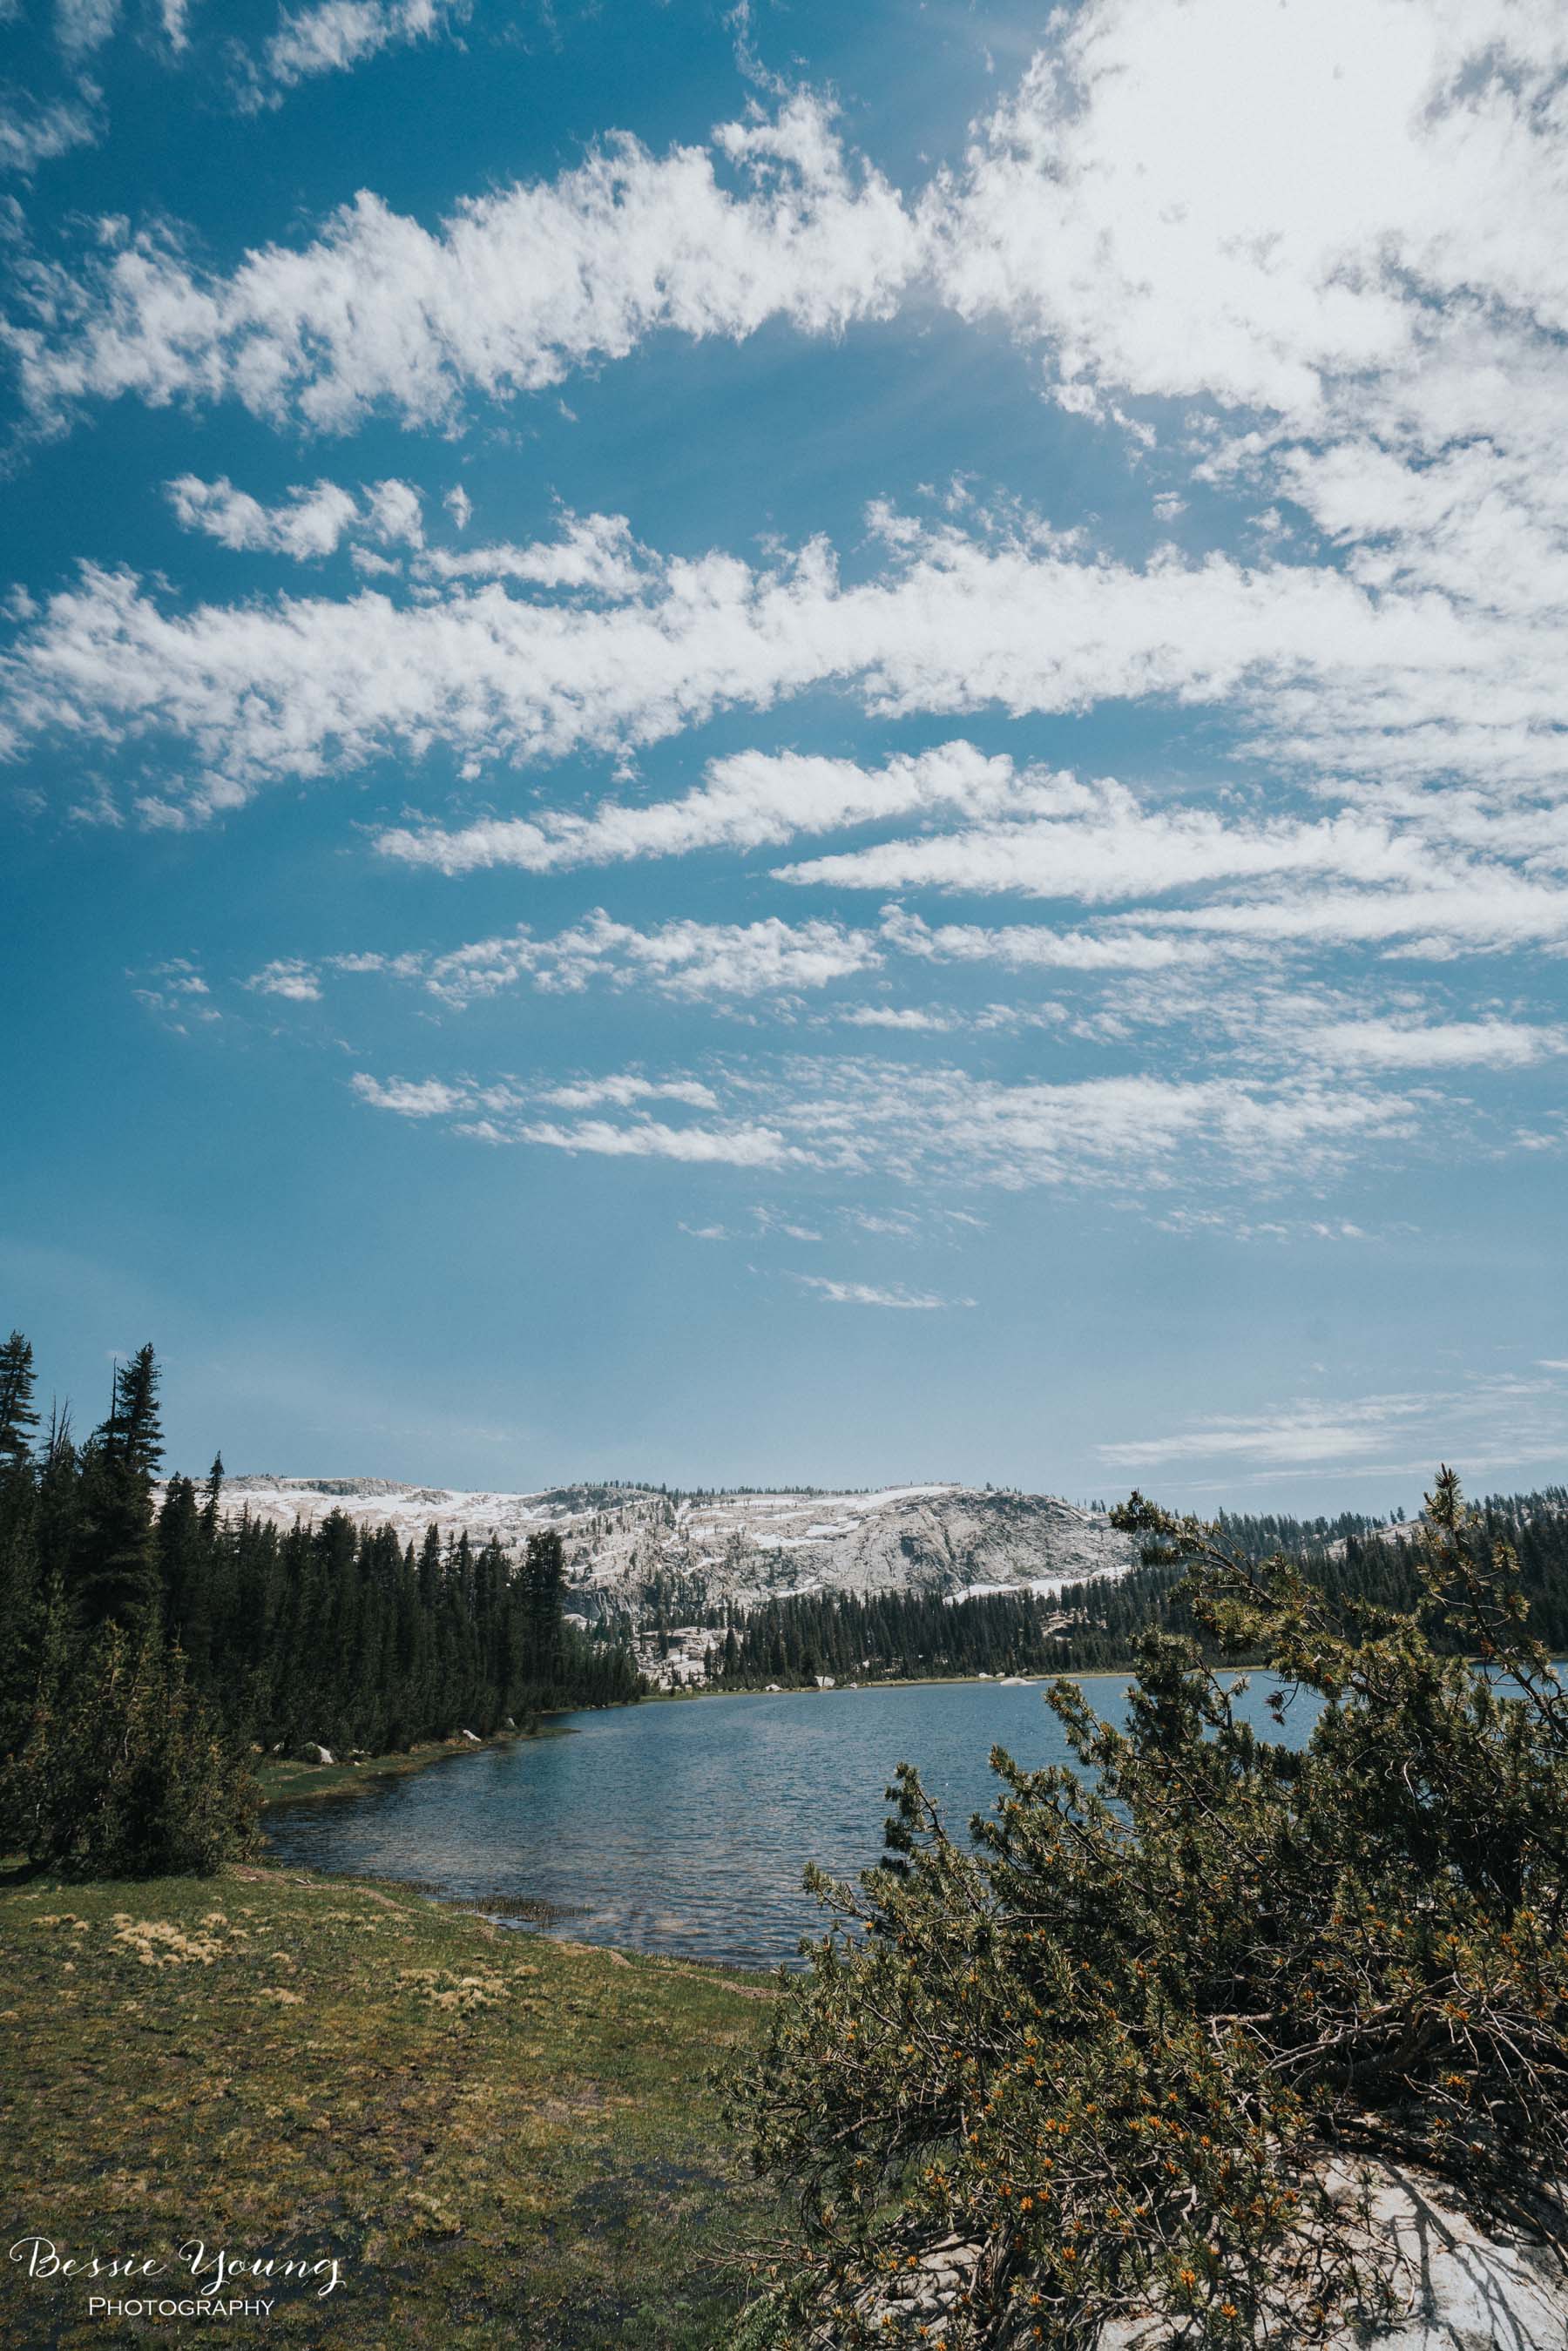
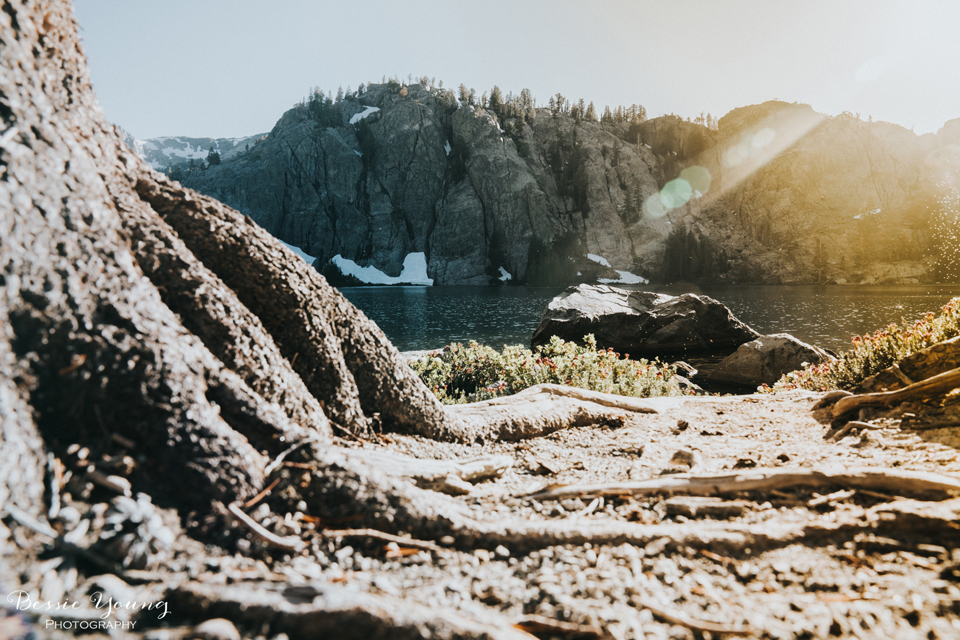
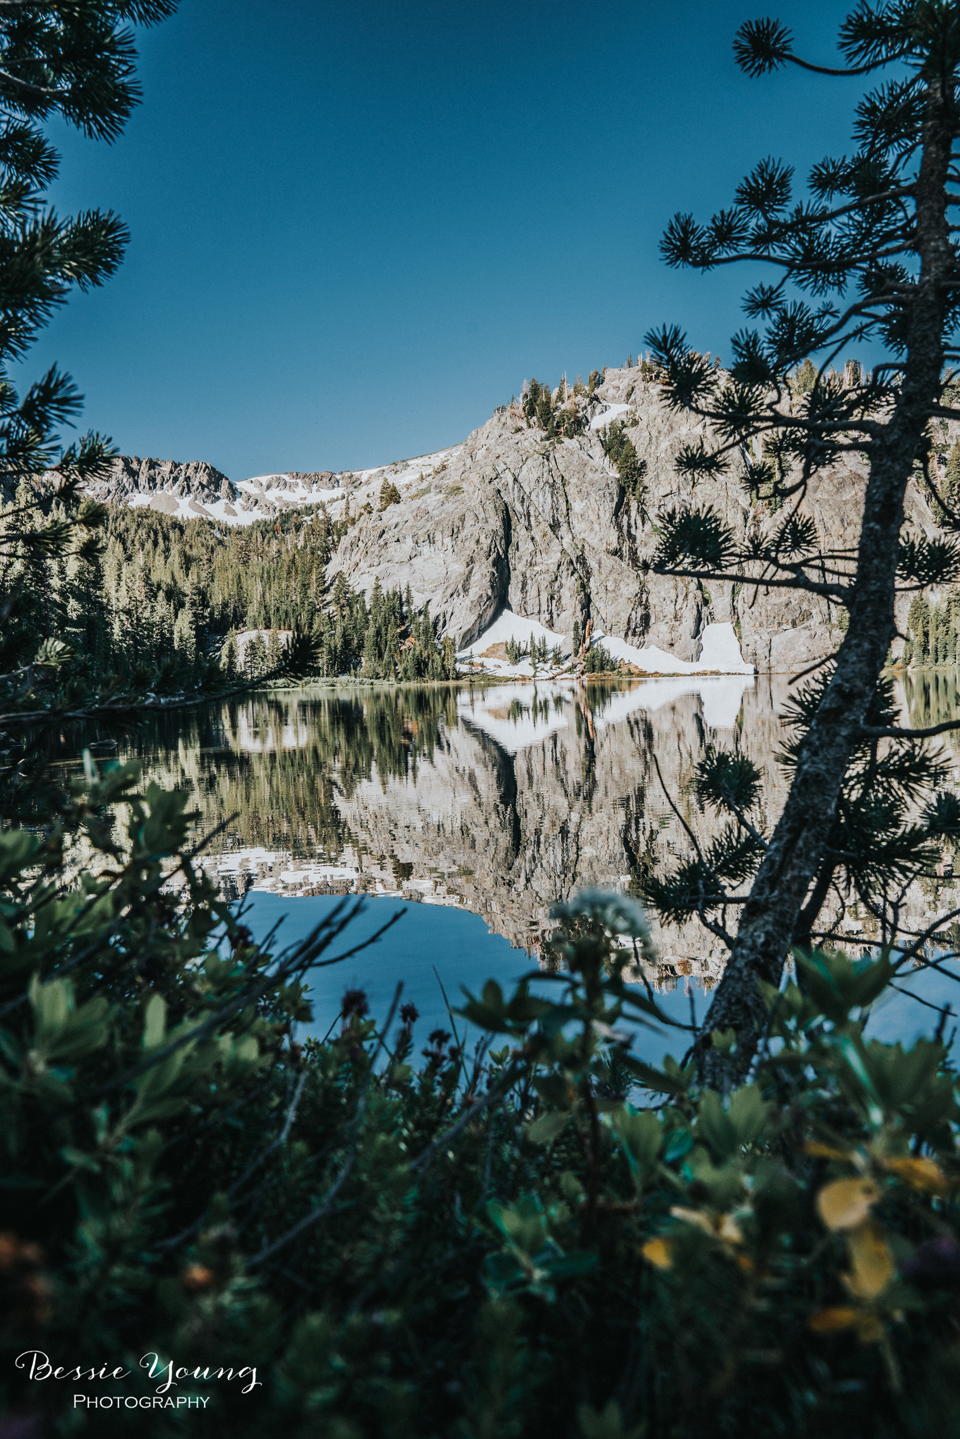
The Start of Day 4
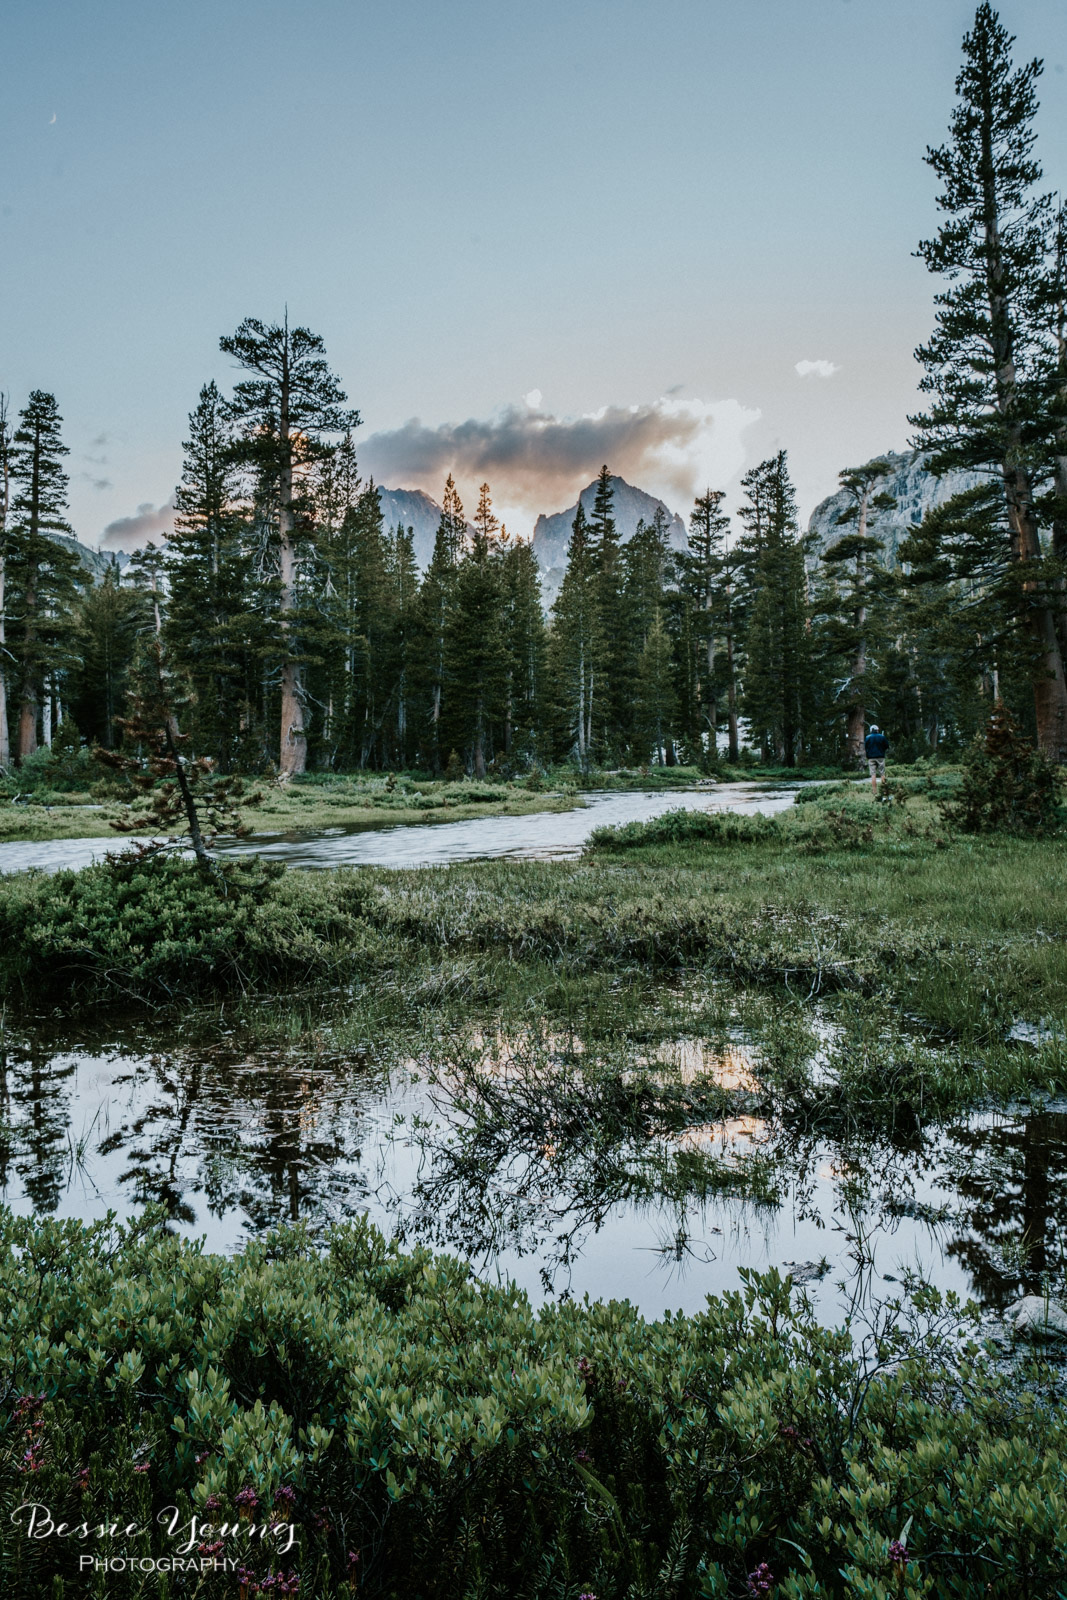
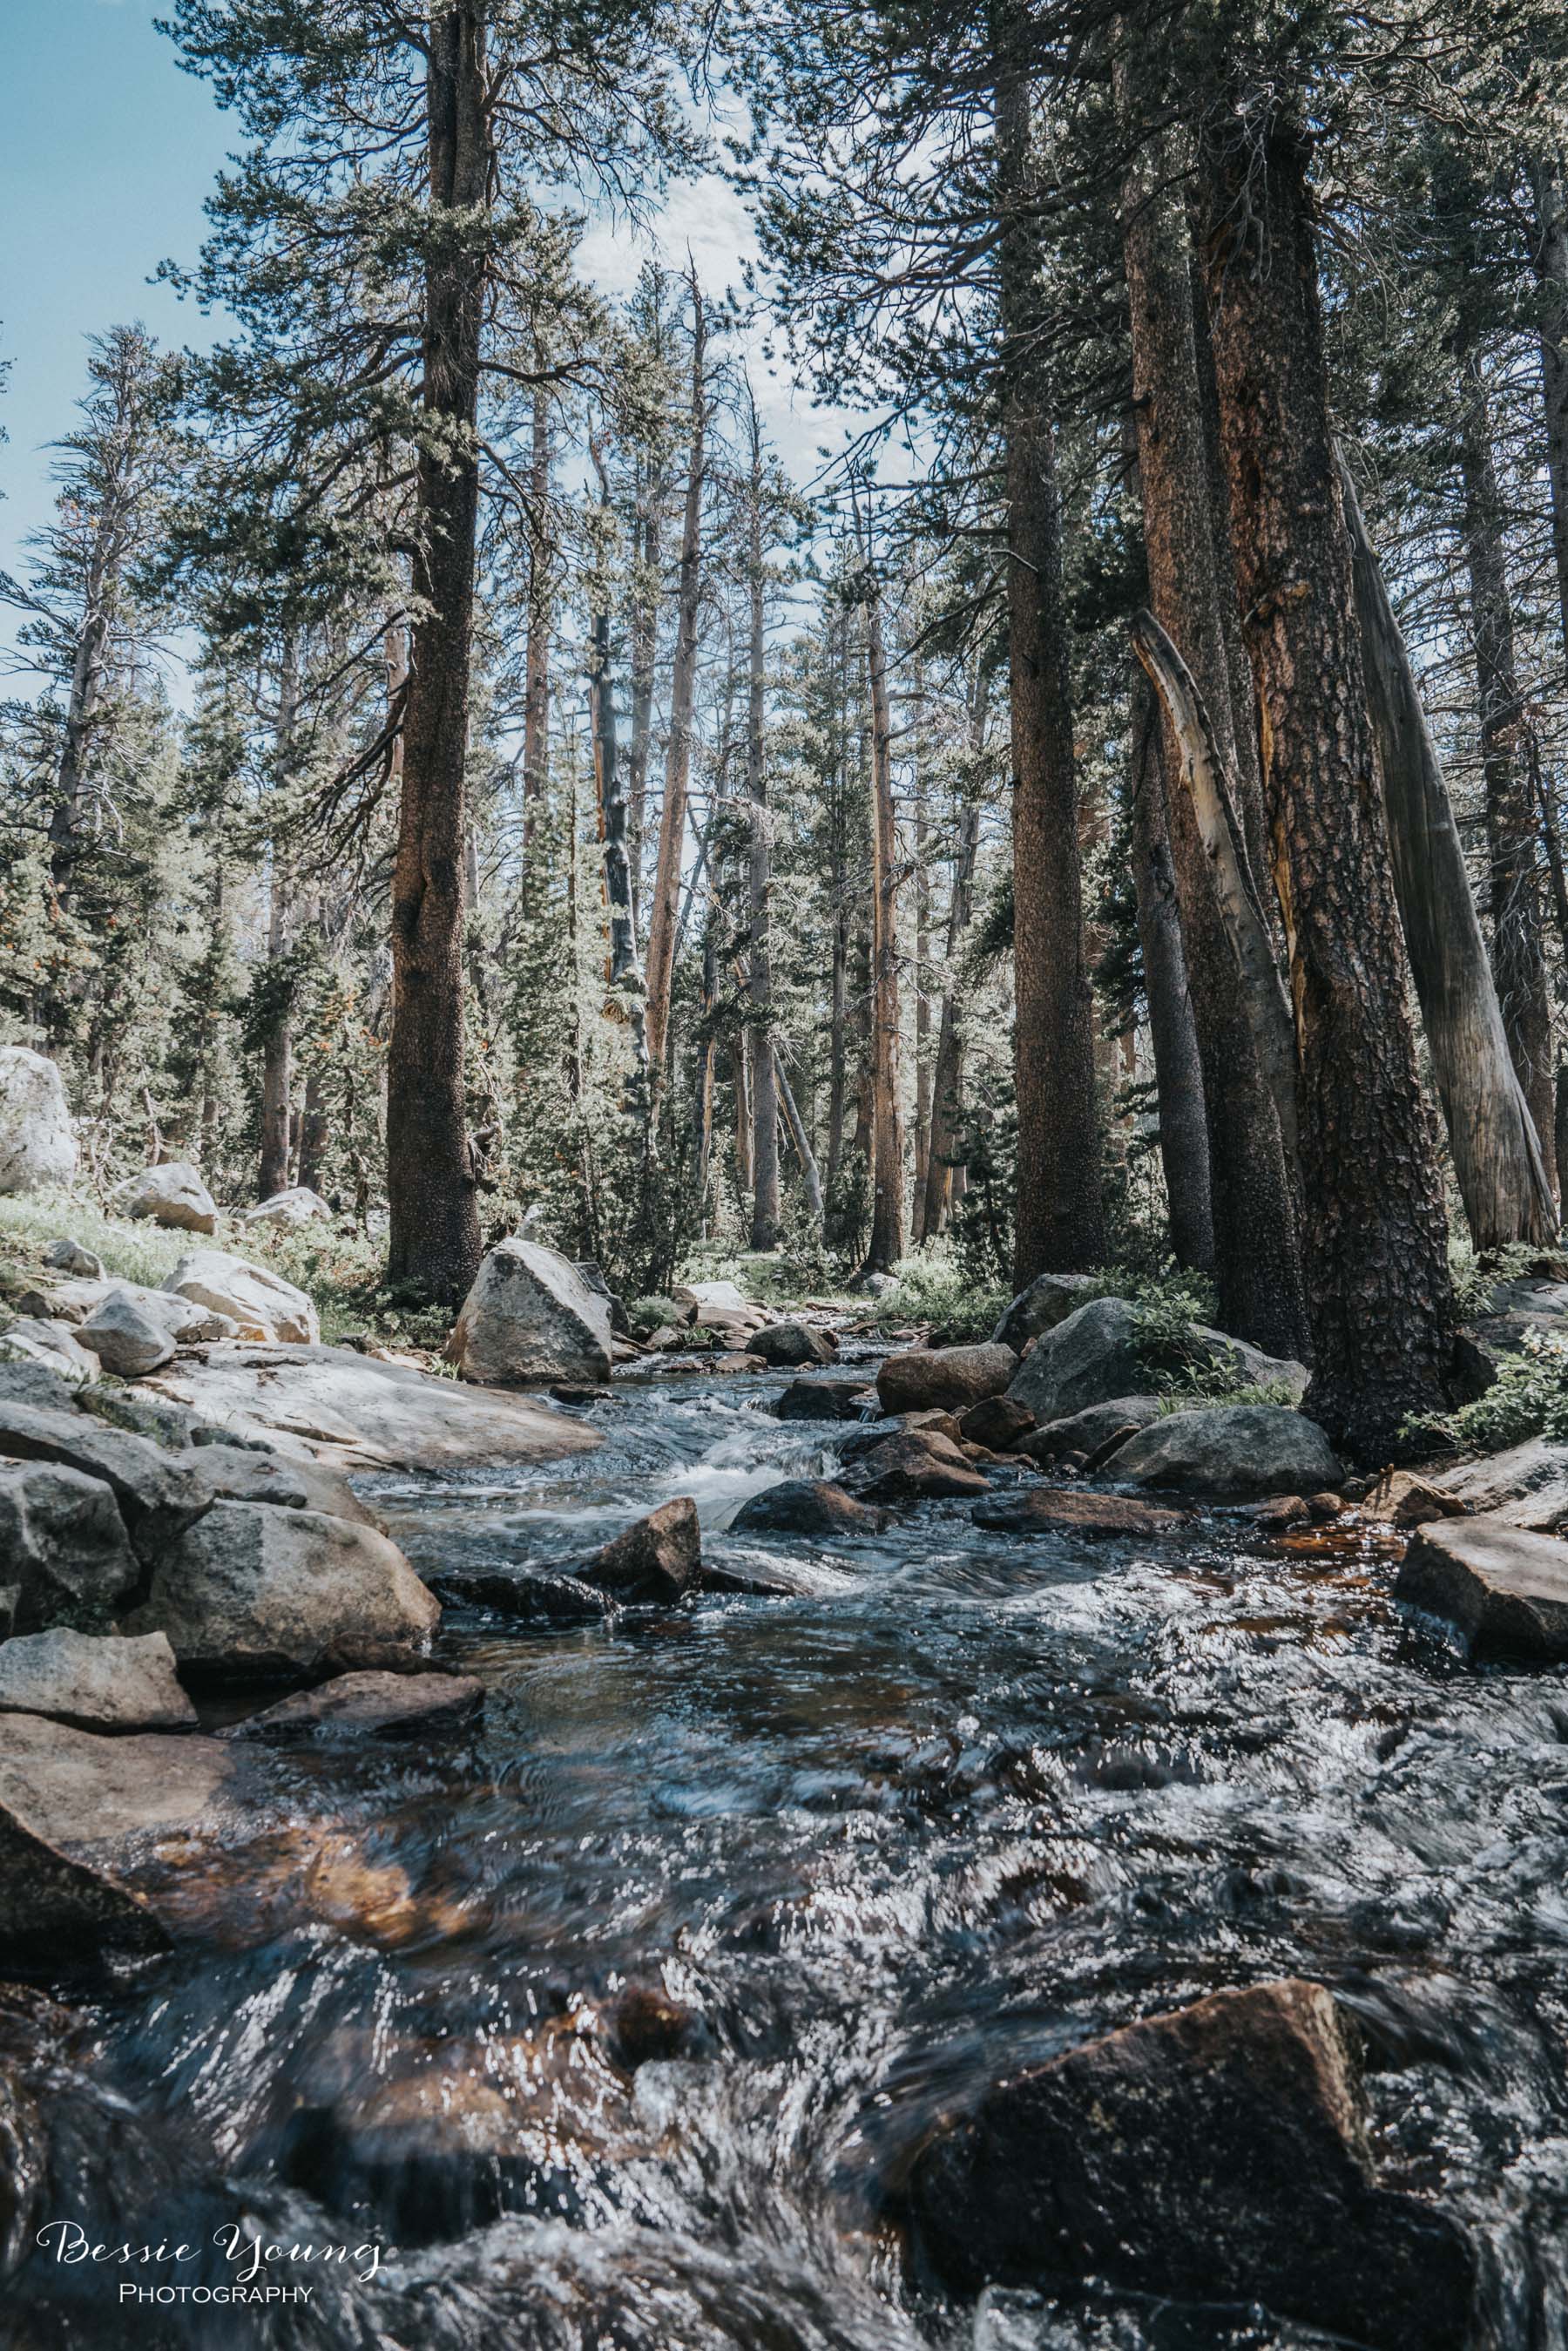
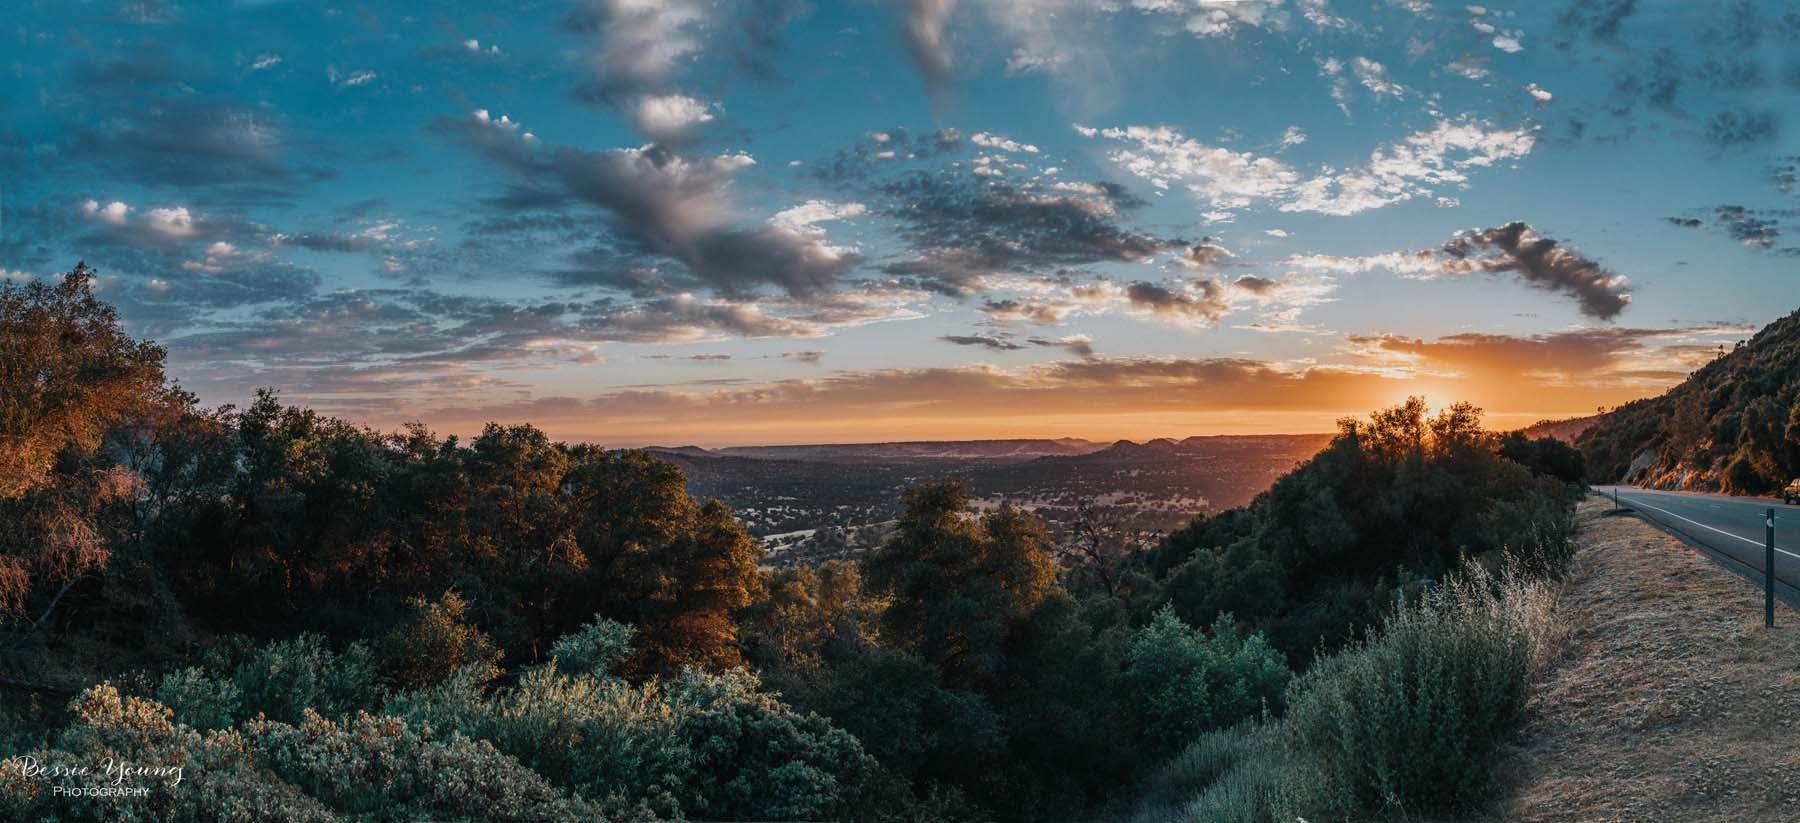
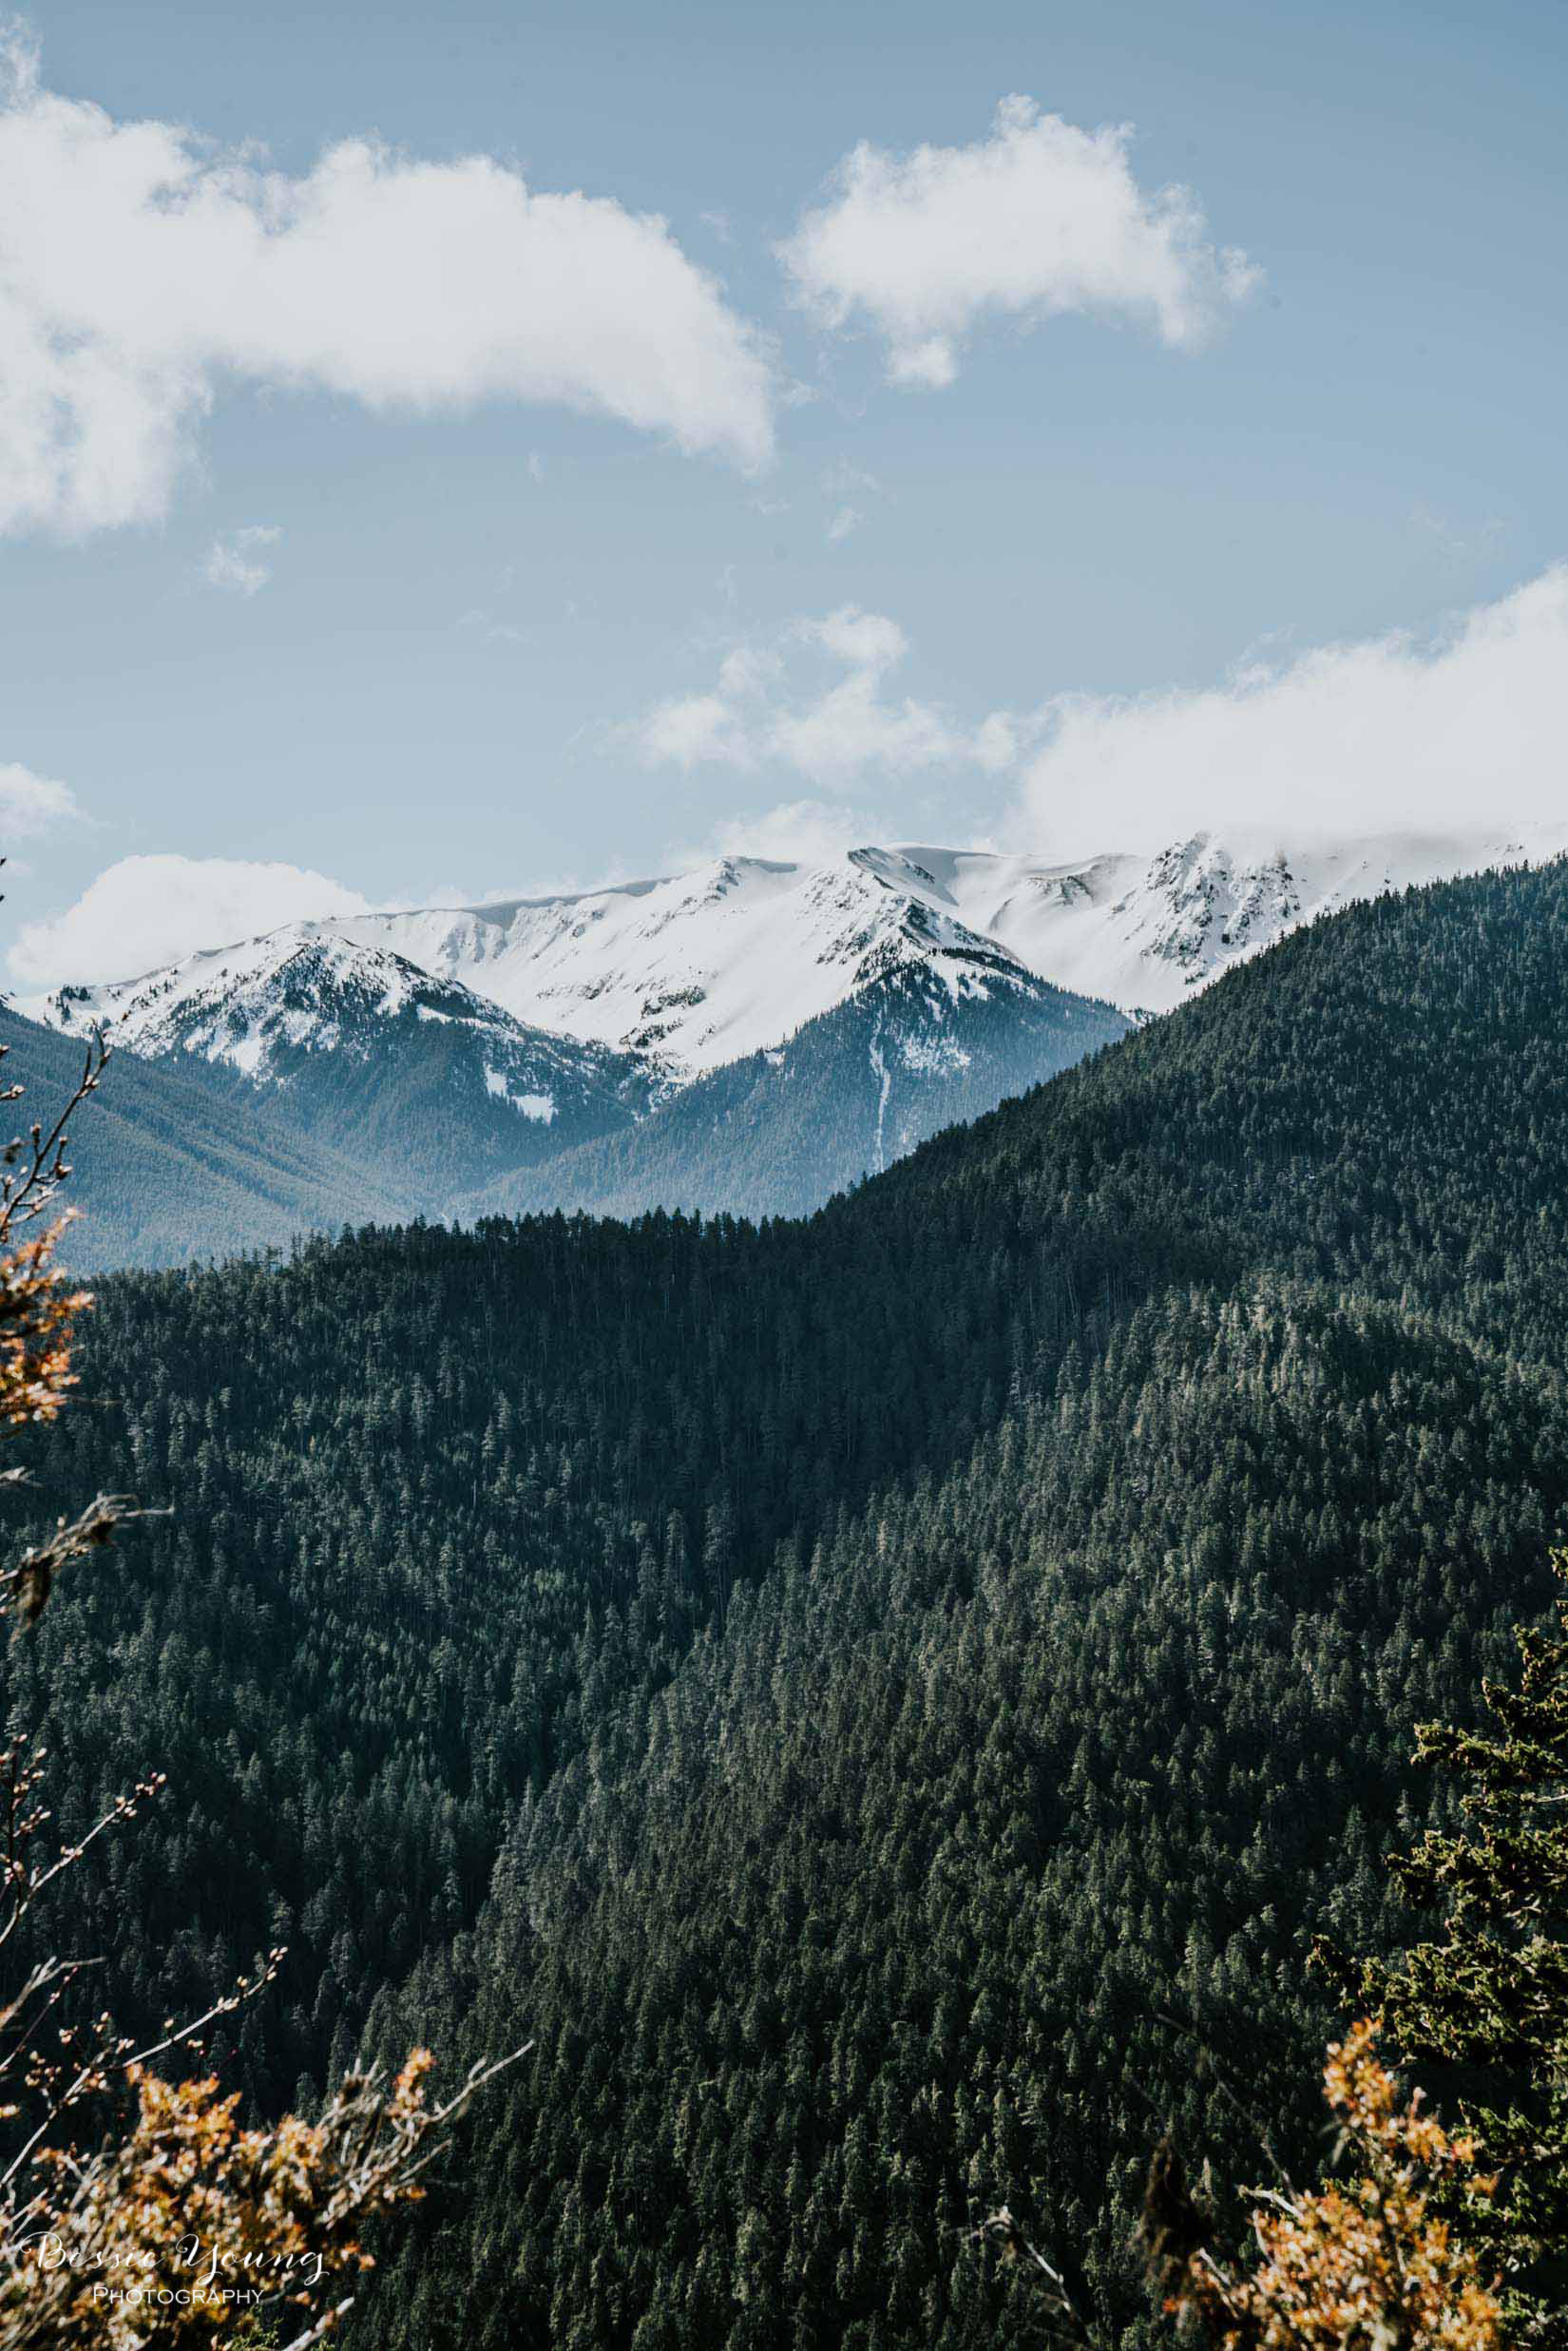
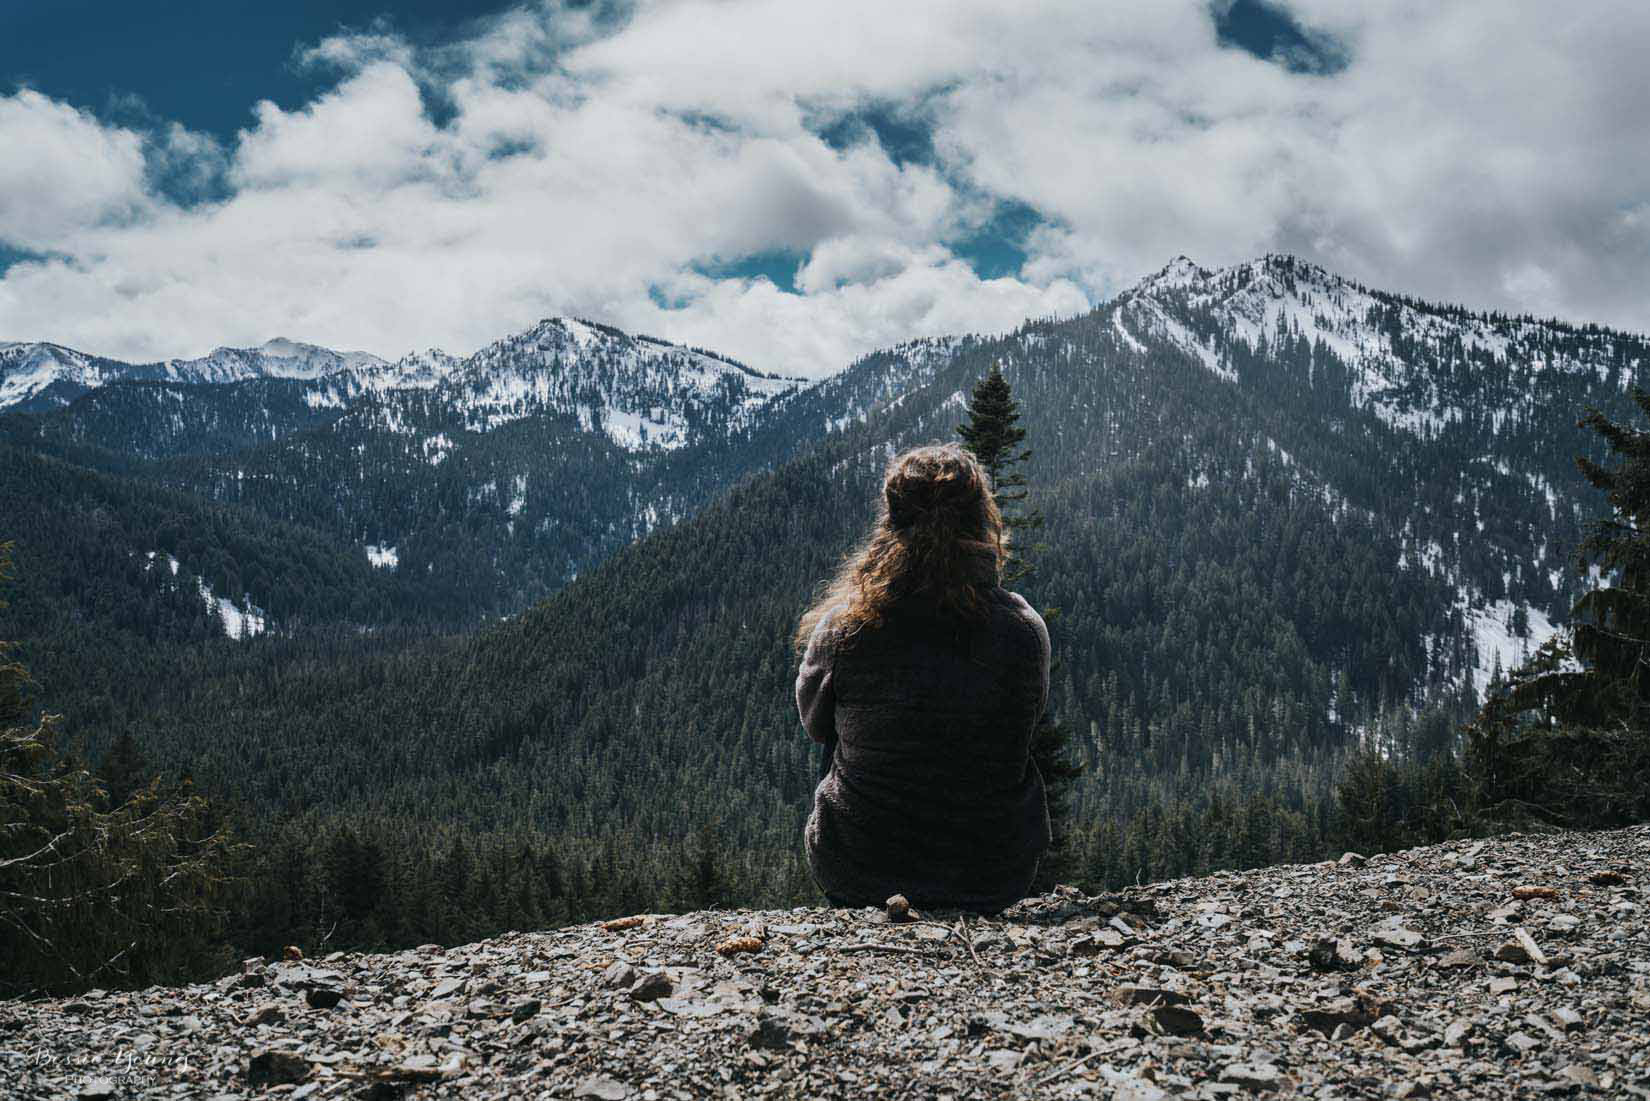
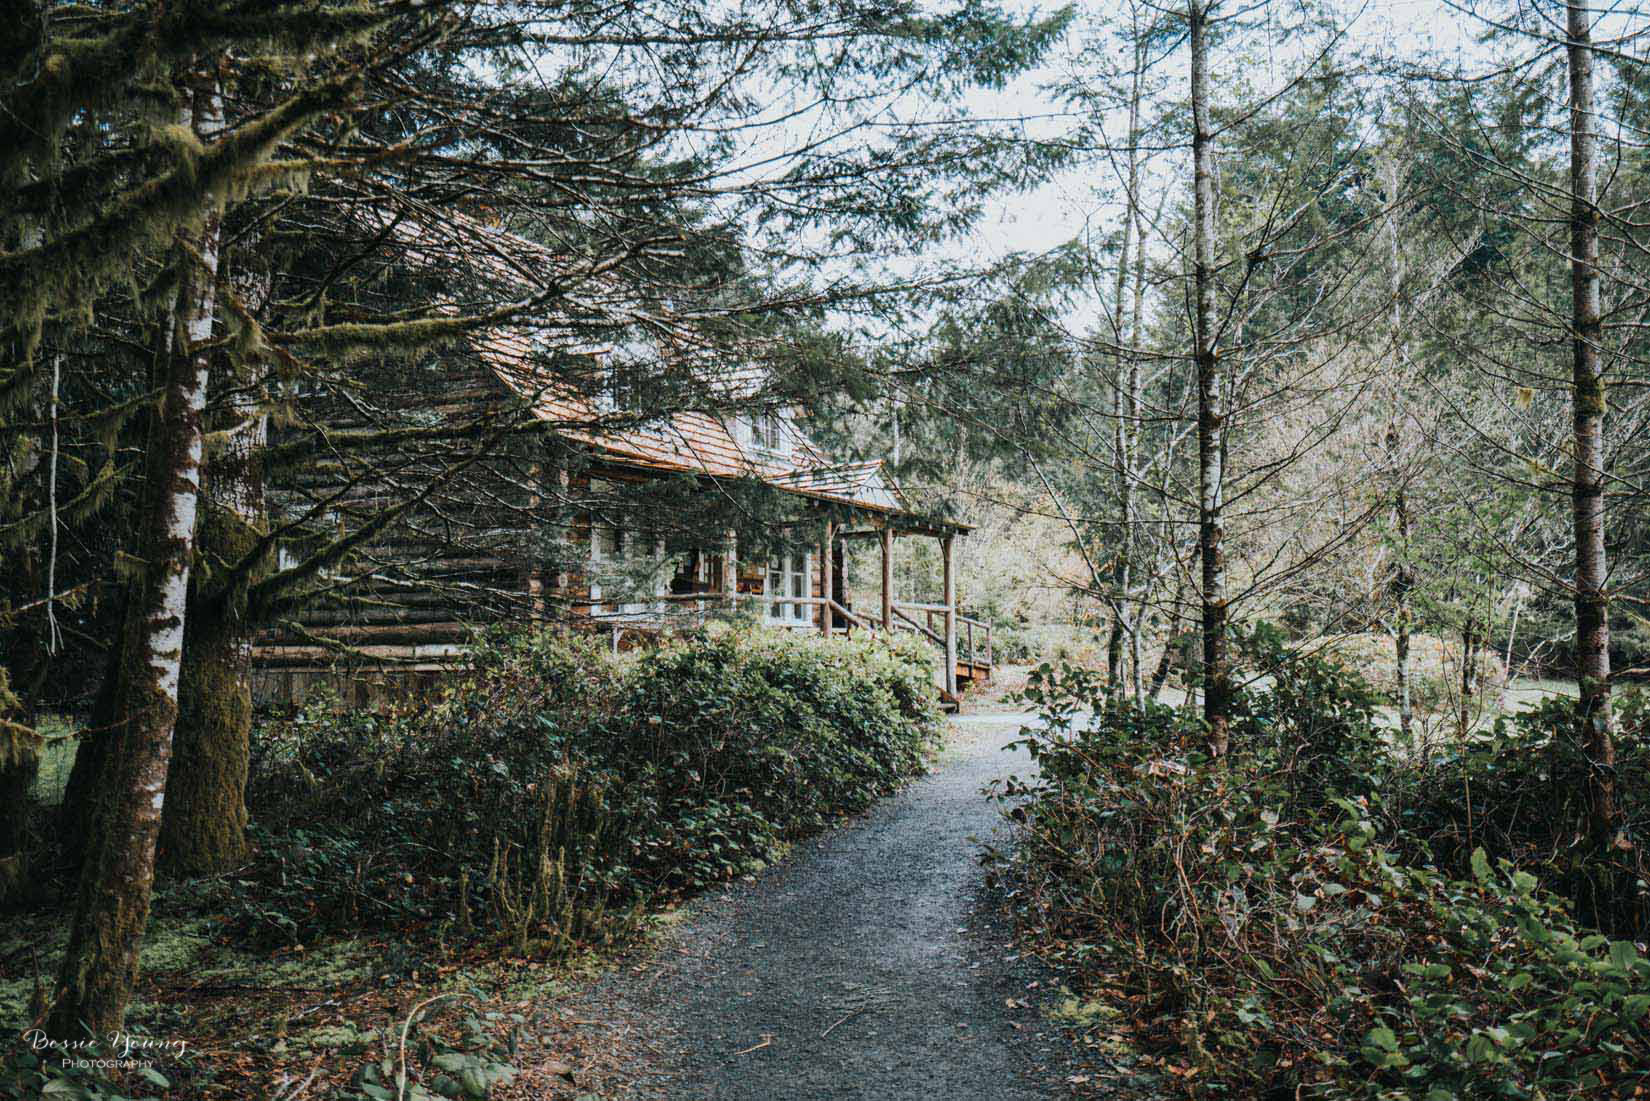
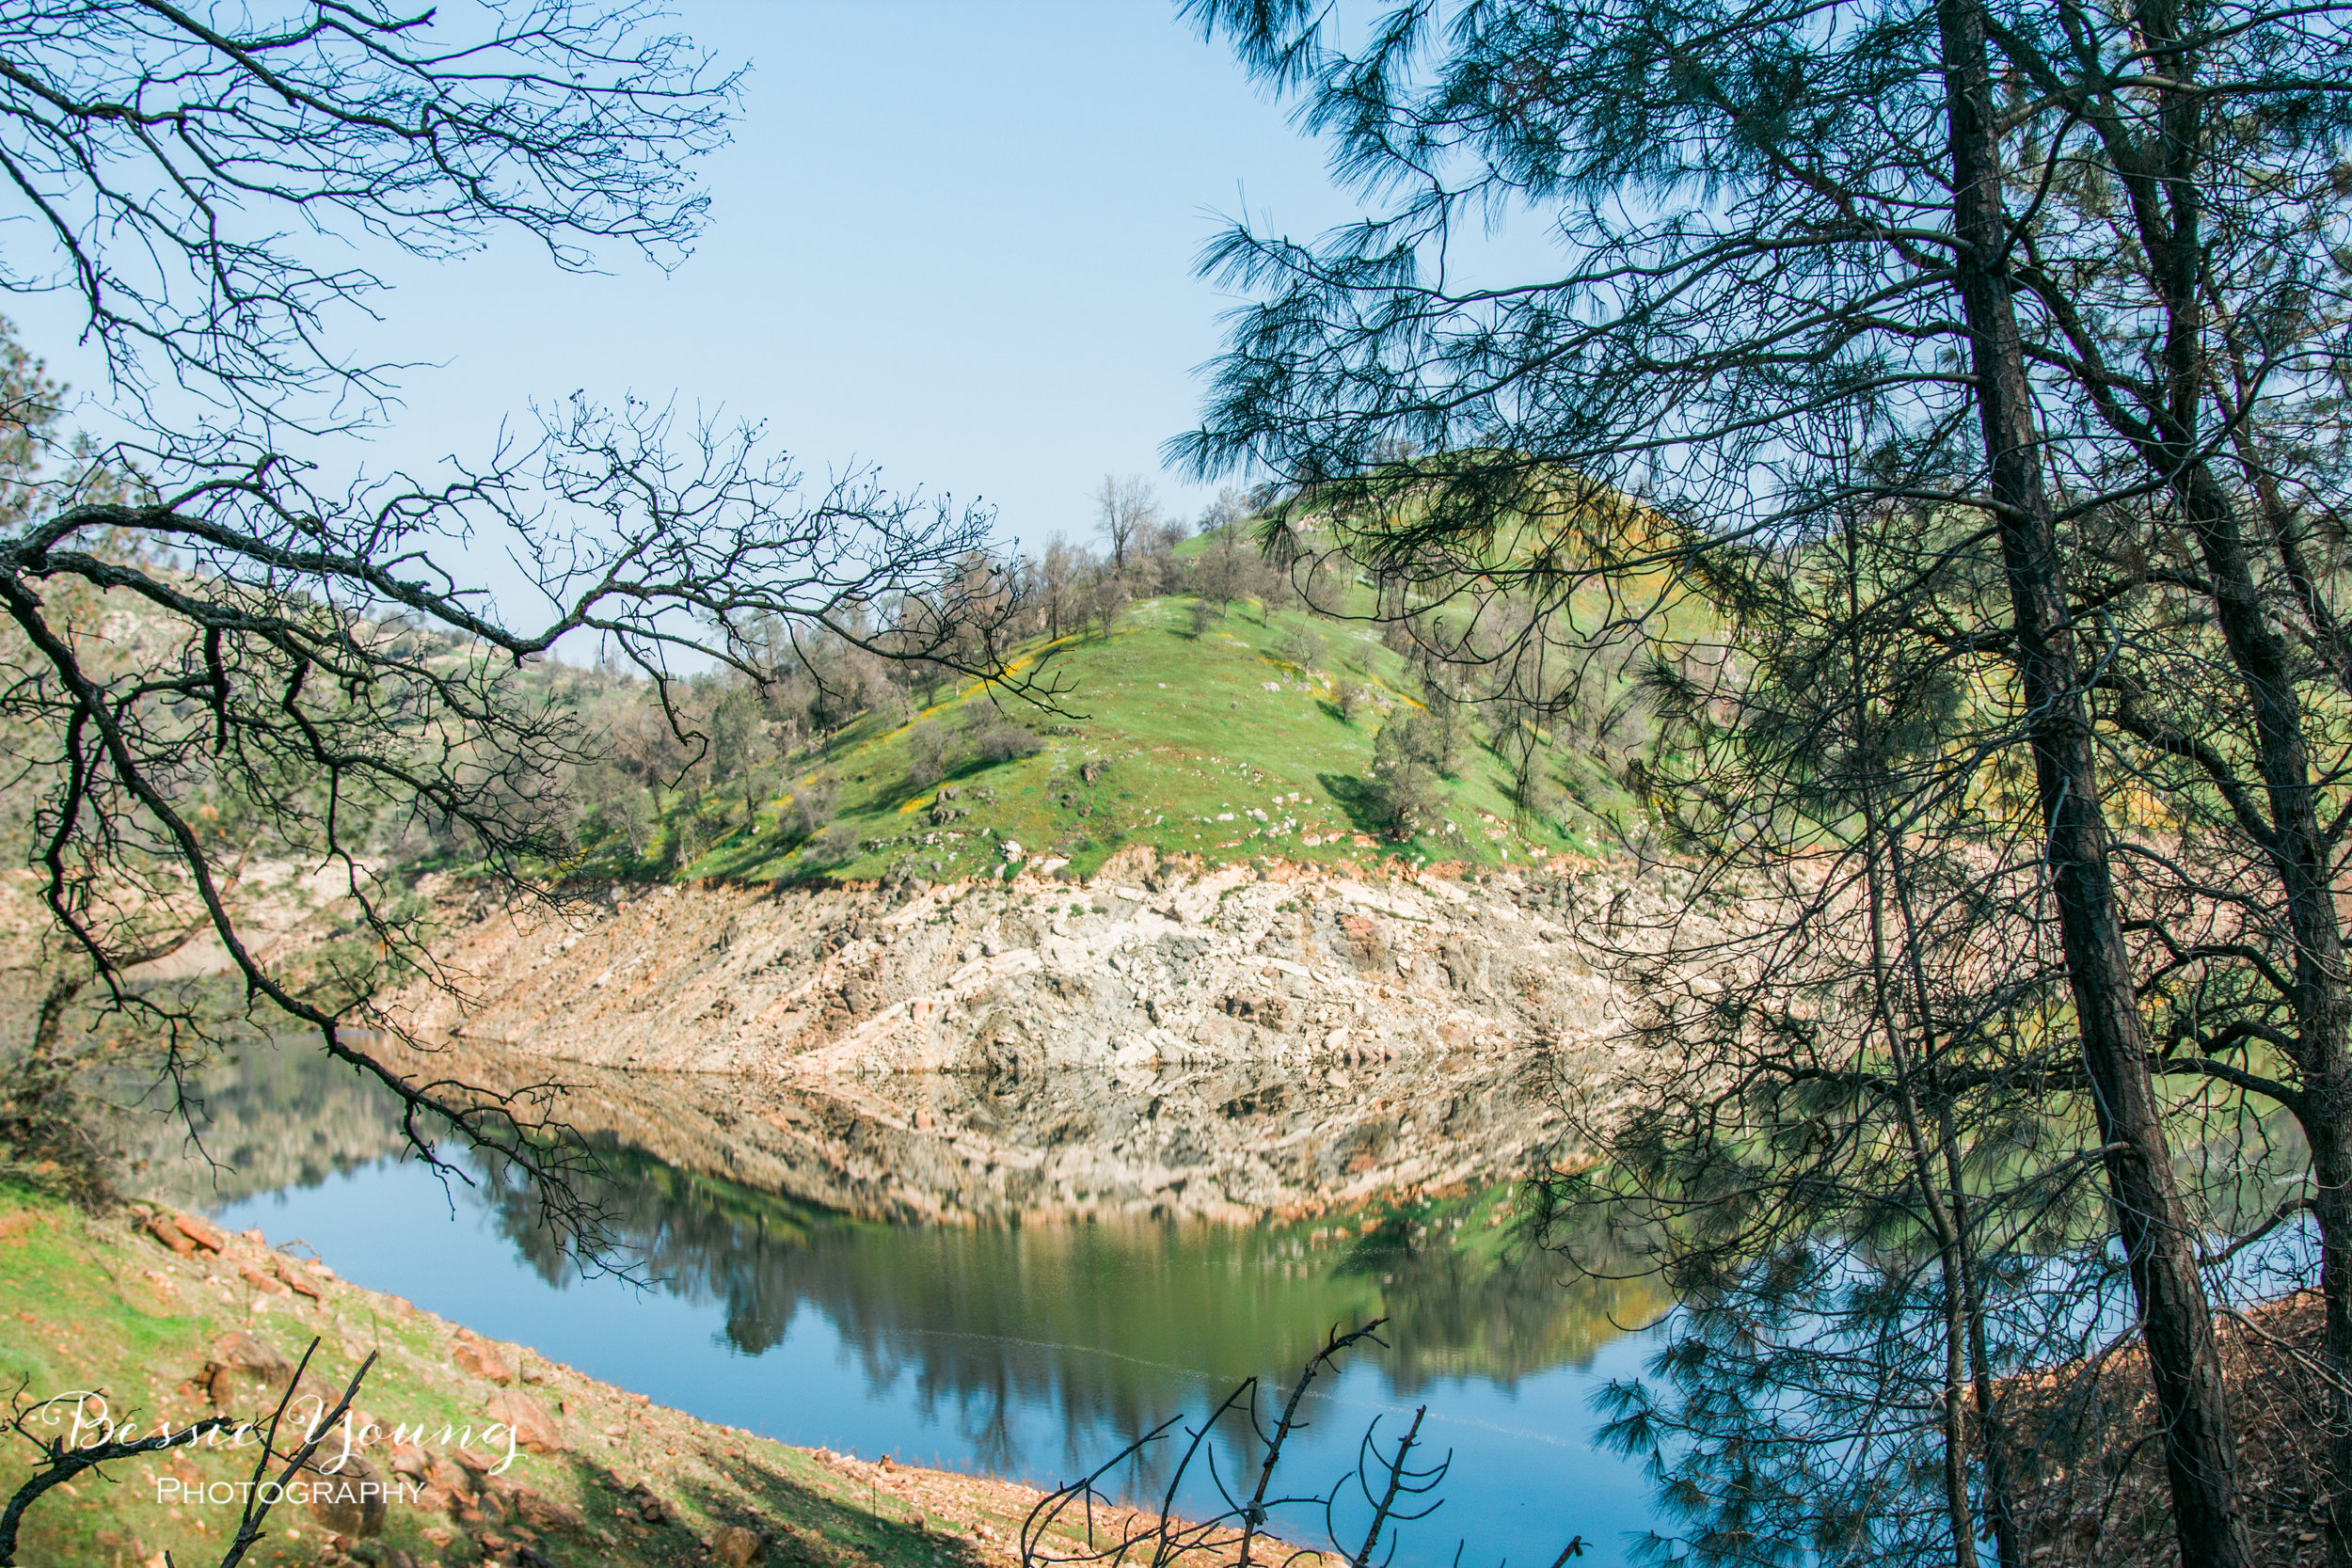
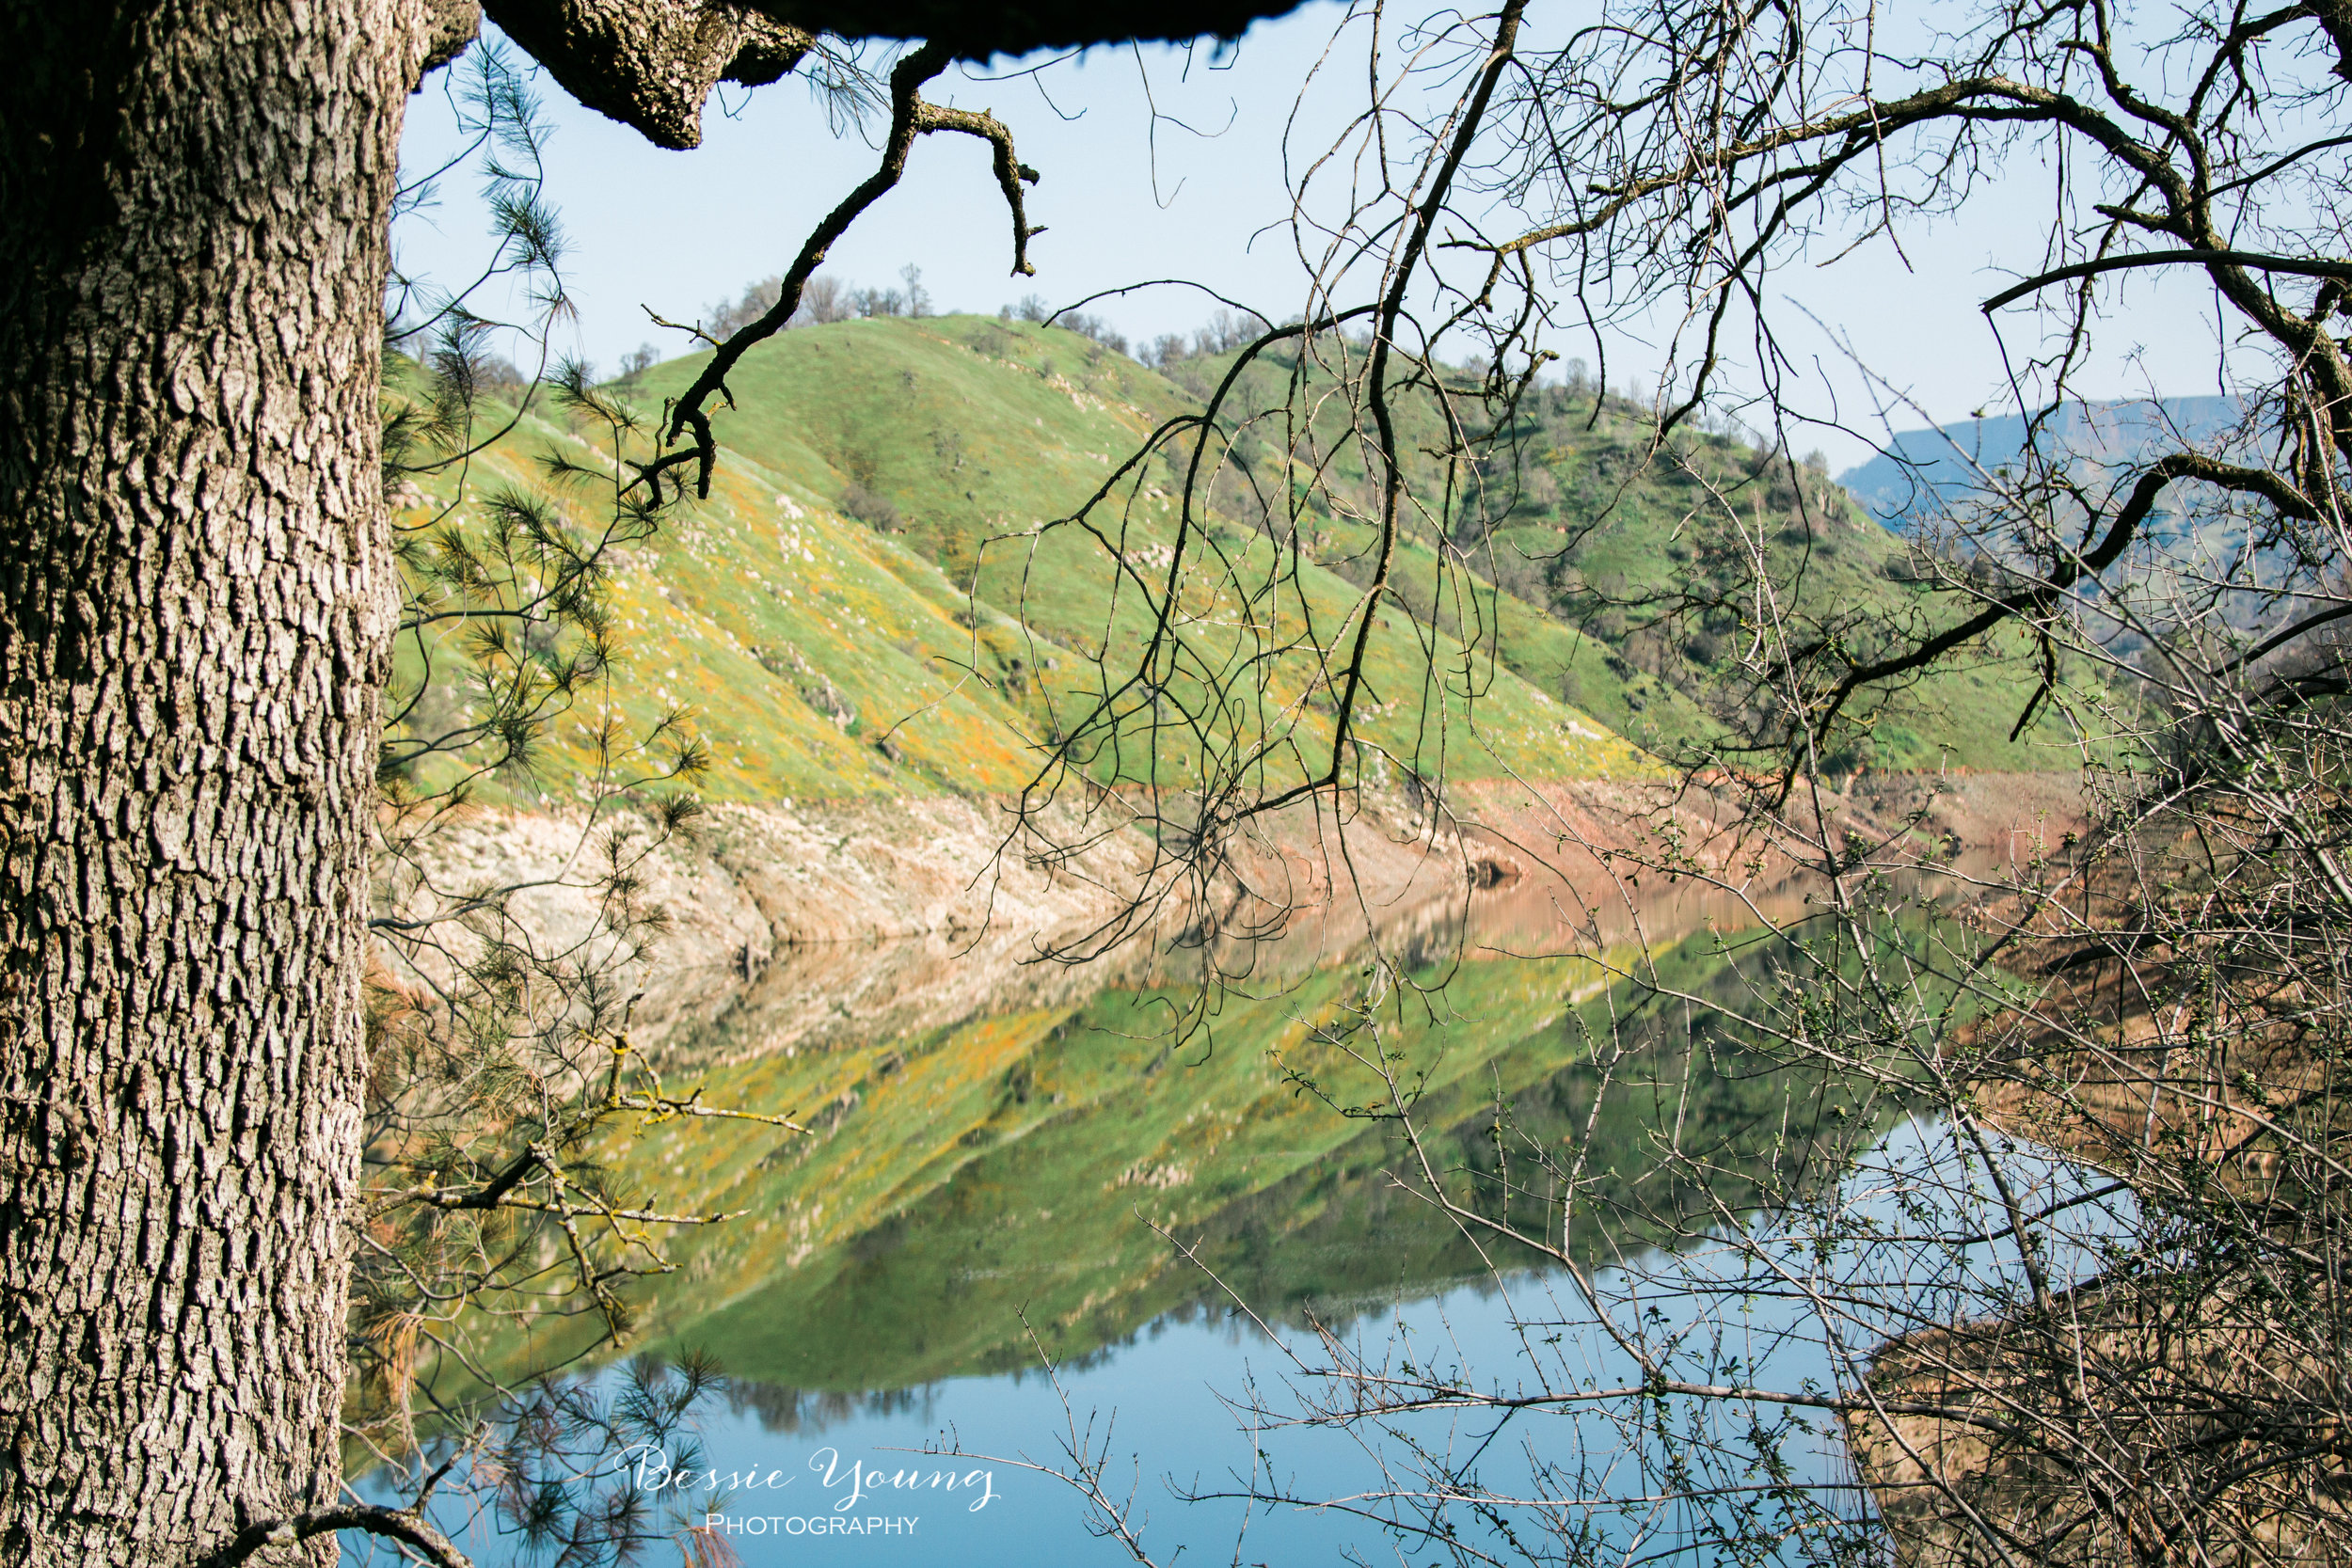
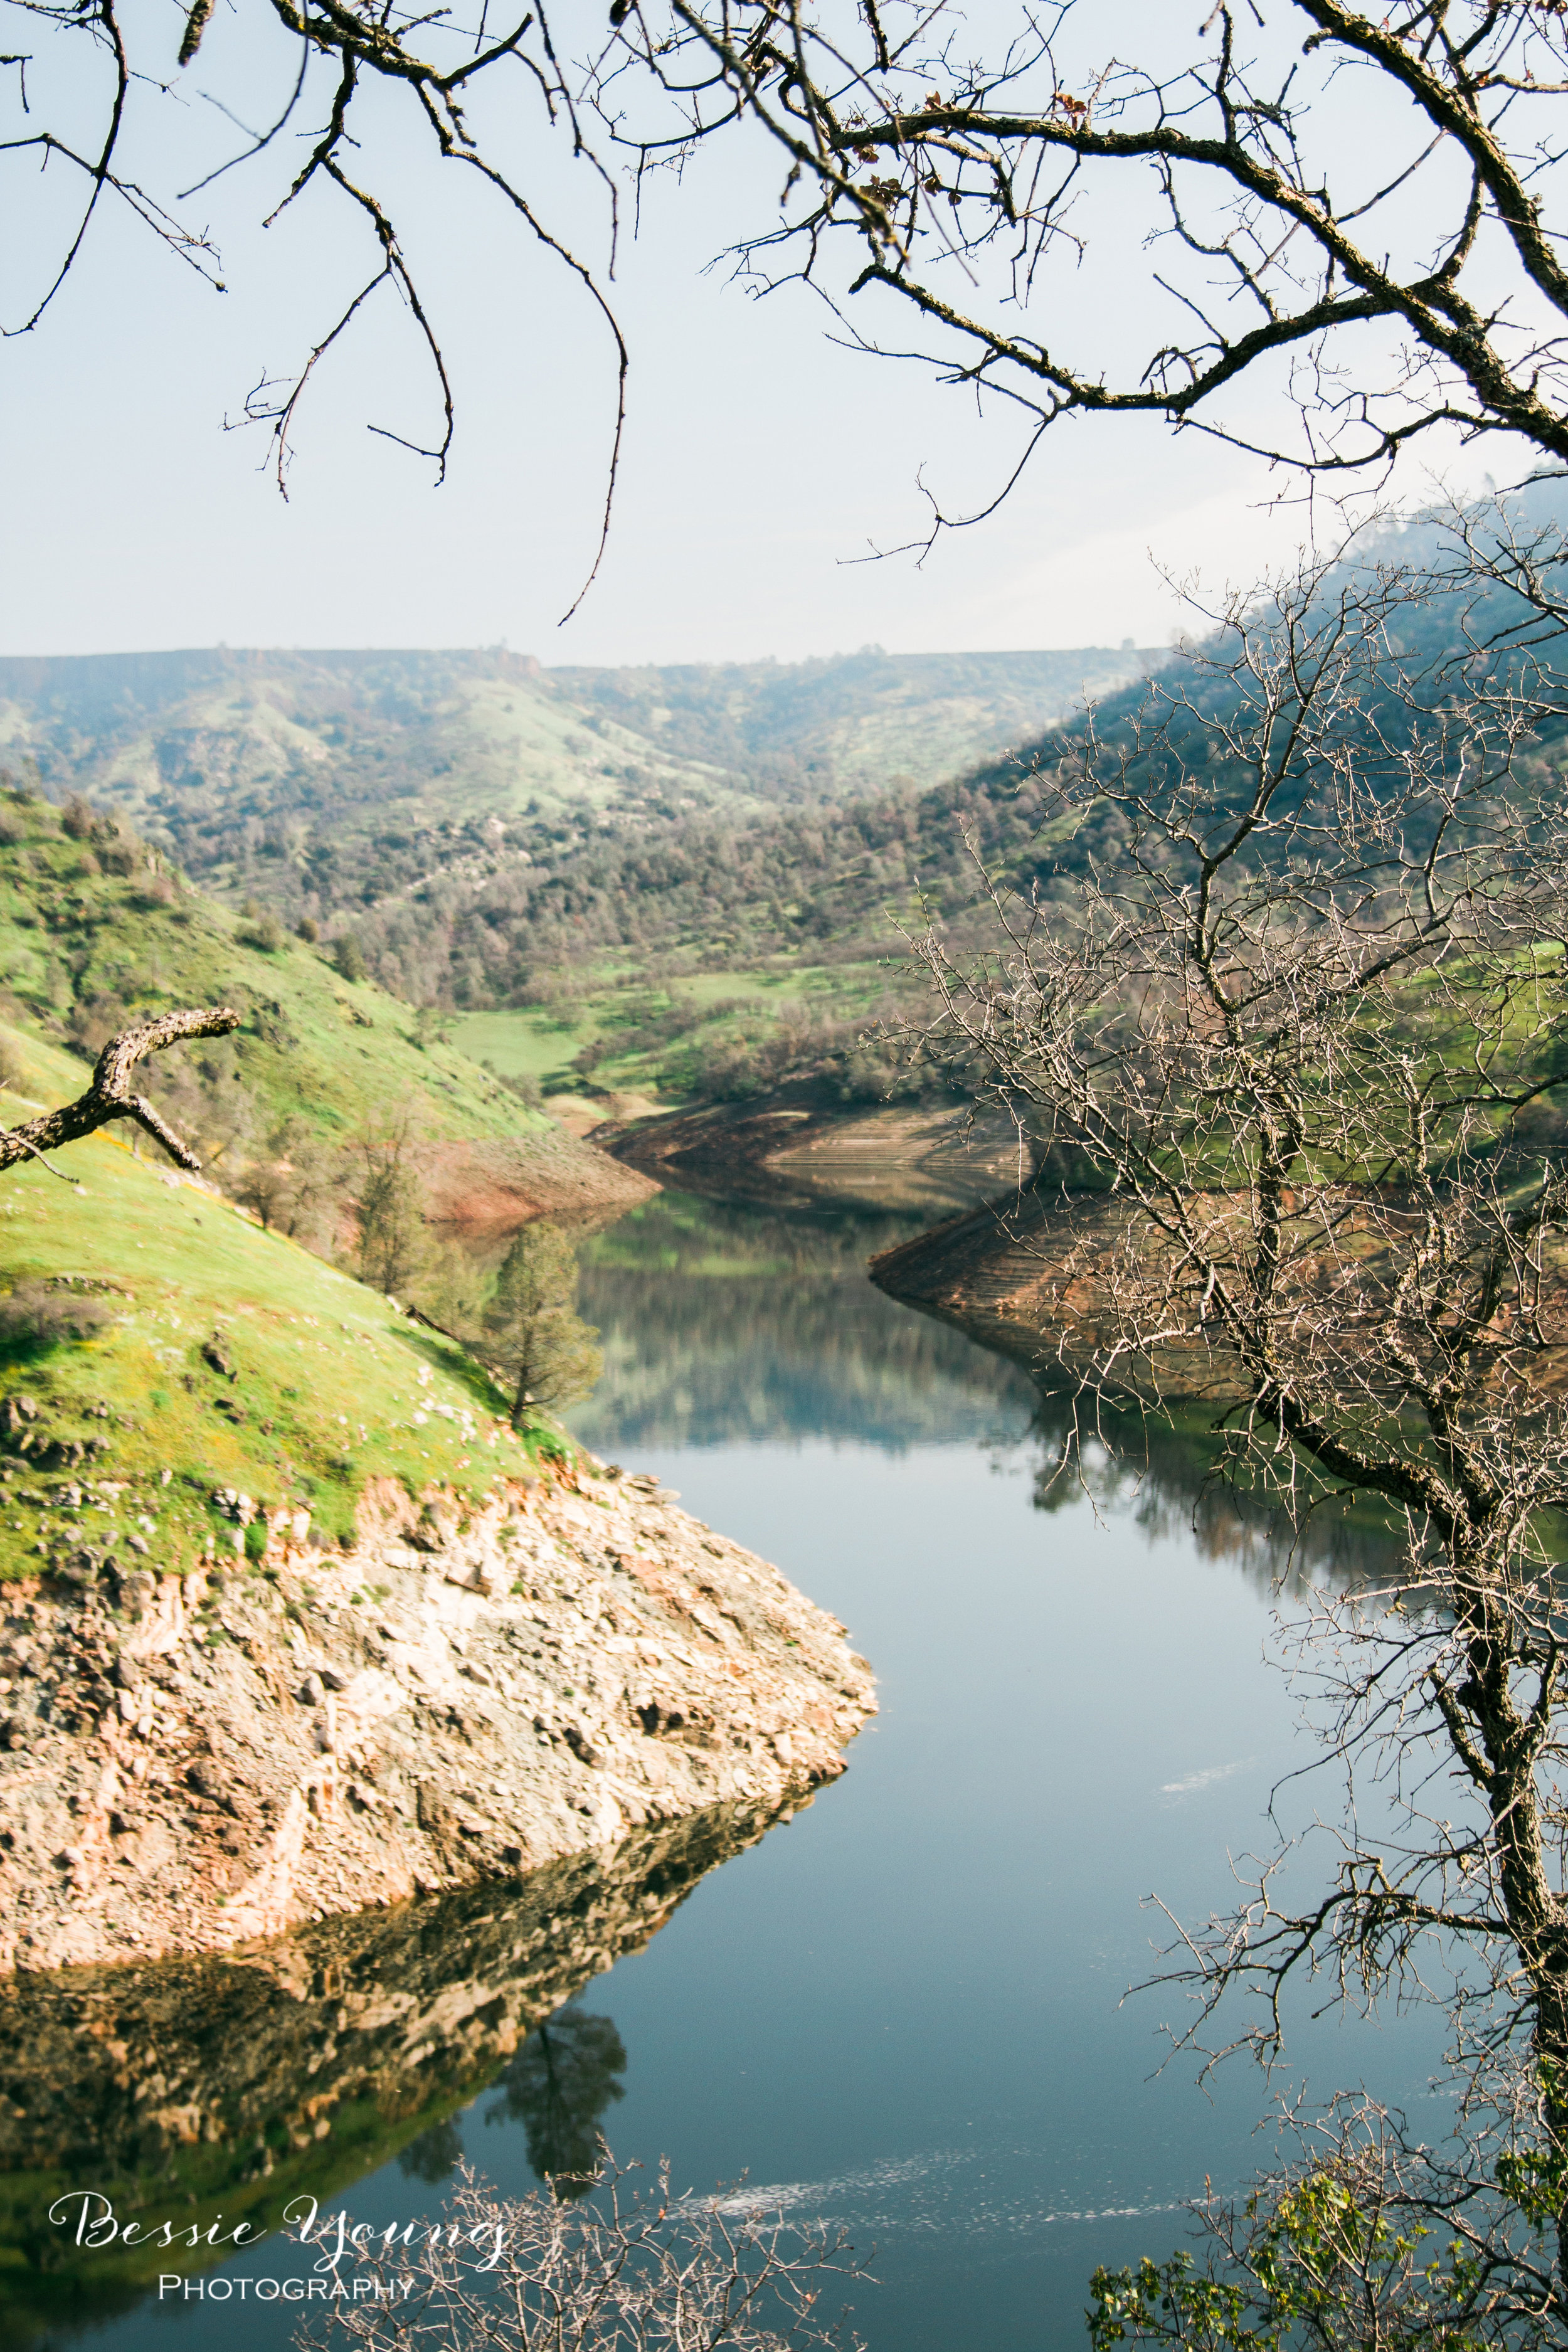
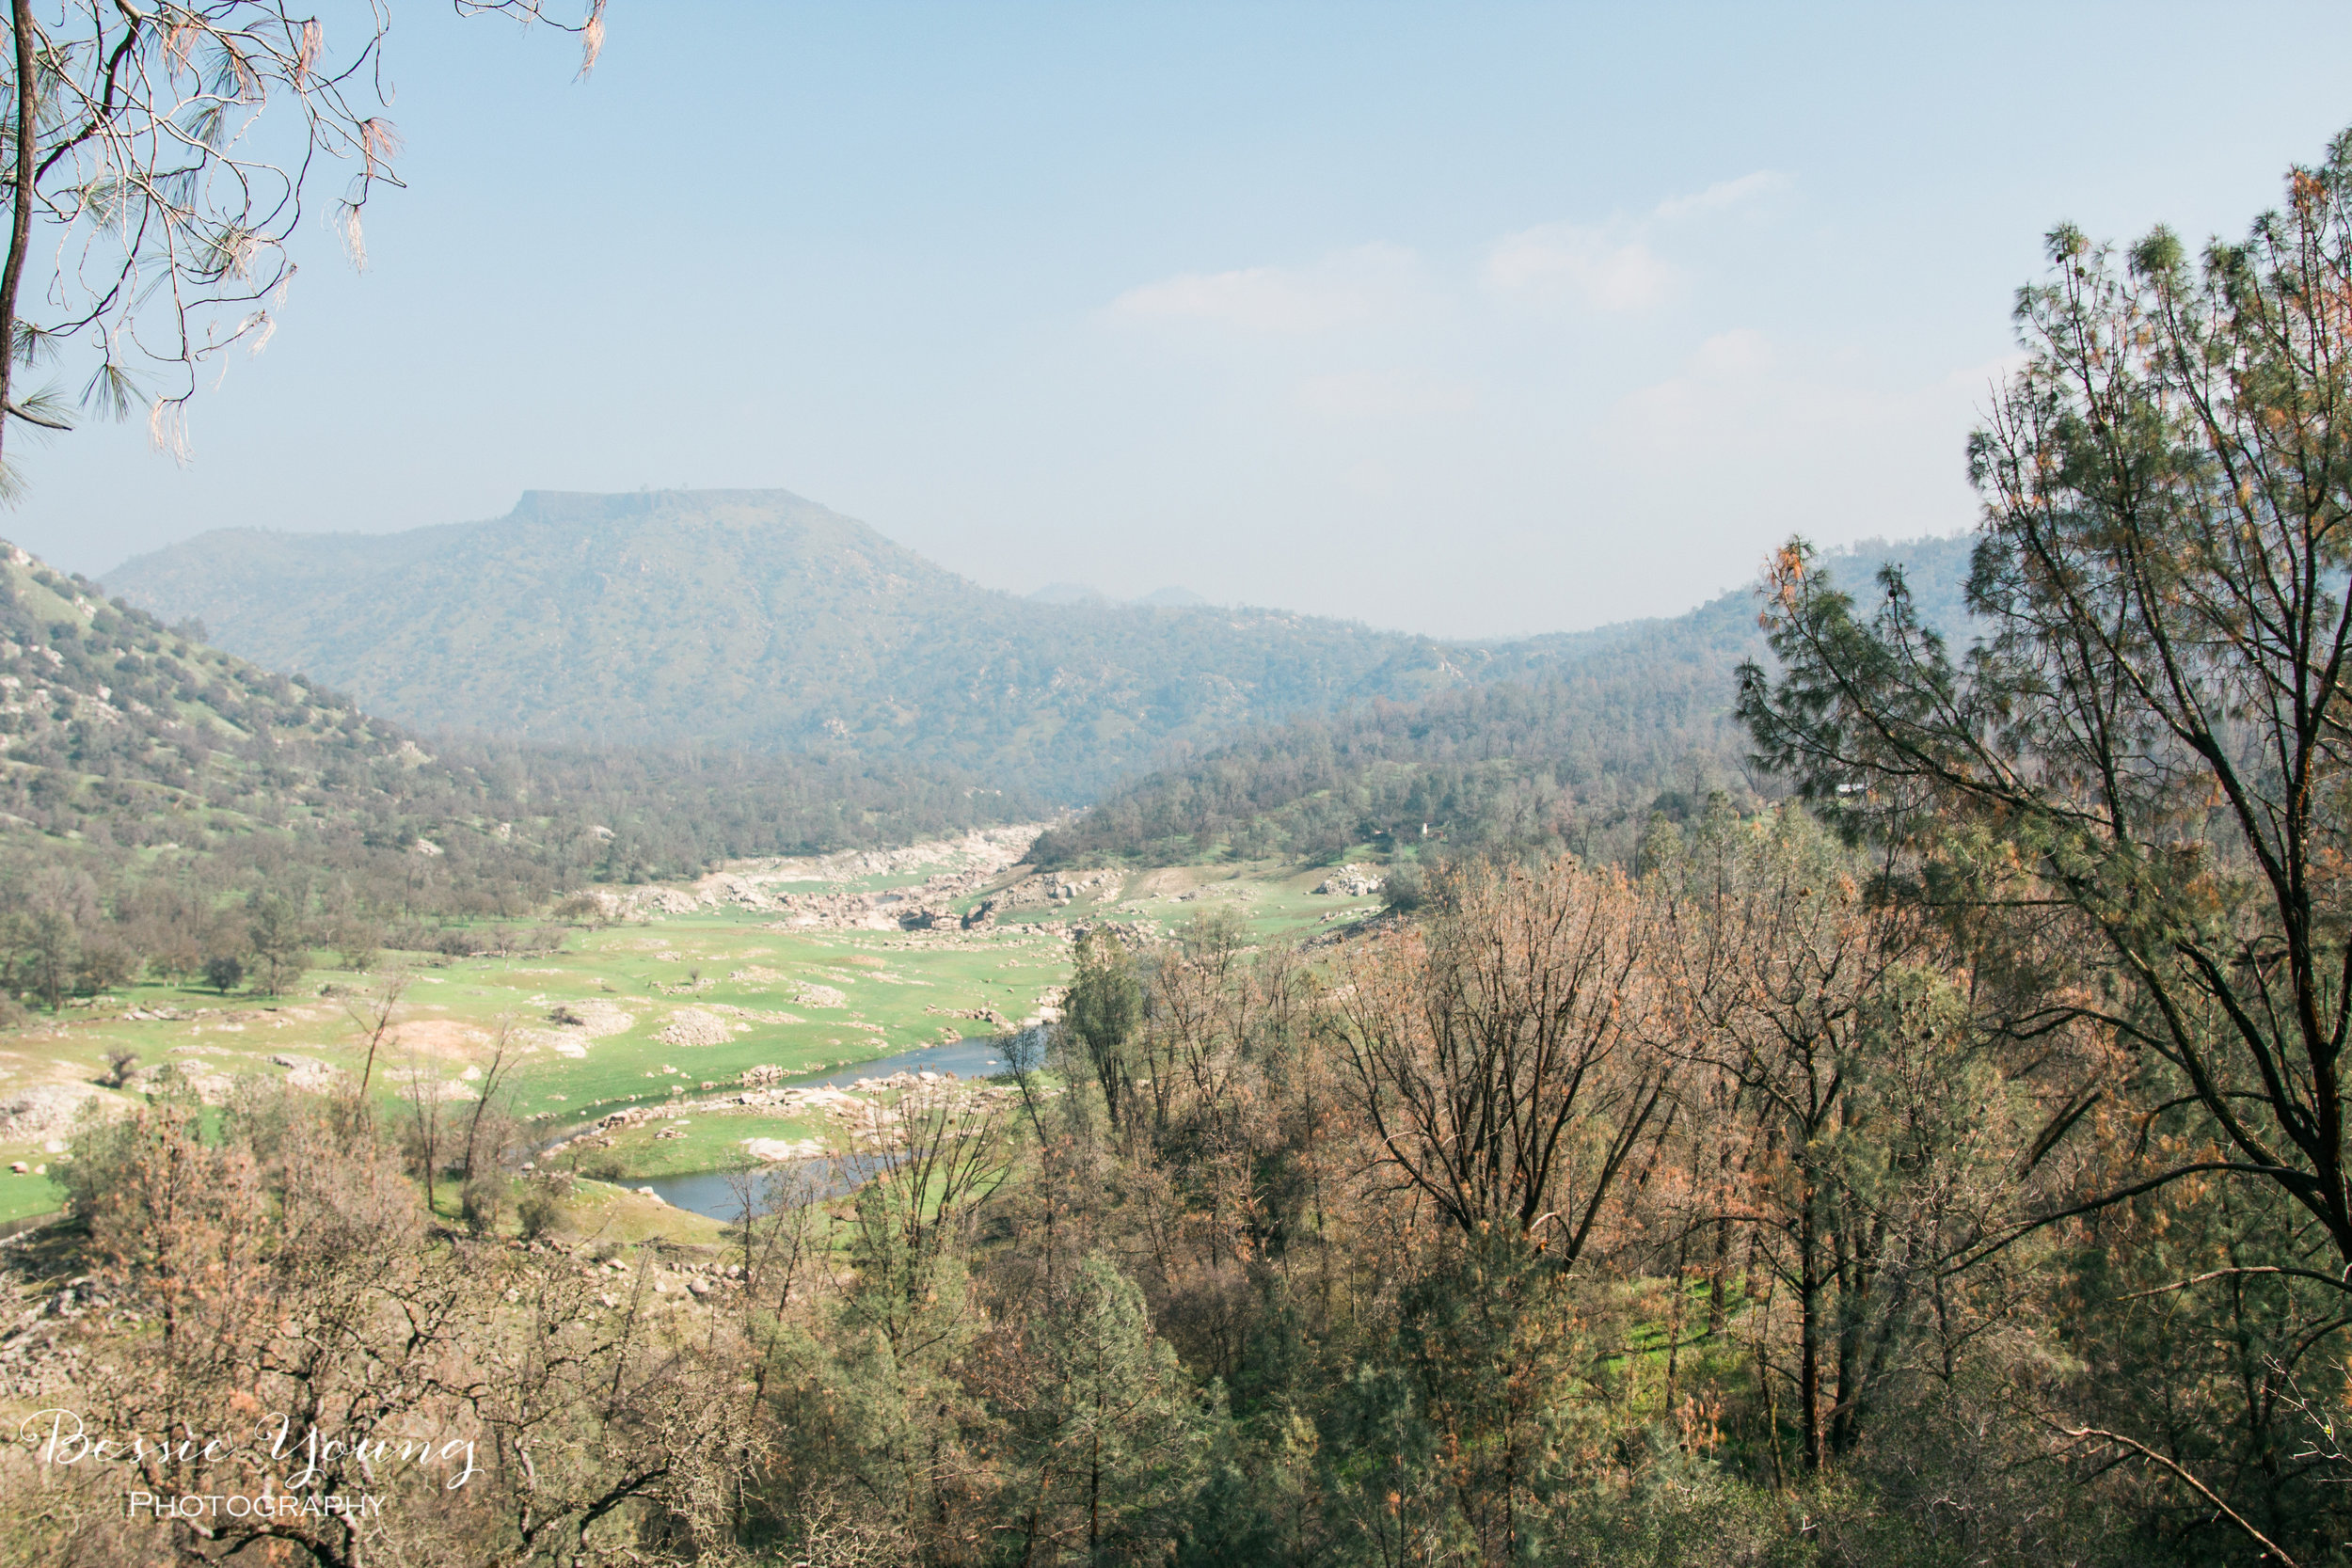
Well the last day of the trip consisted of waking up fairly early to get a beautiful smooth Rosalie Lake picture, eating my breakfast, drinking my coffee, and then packing up for the hike out. It is a bitter sweet moment when you are packing up your things for the last time and going on the journey out, back to reality. As you walk down the trail you think about all the fun experiences you had, all the beautiful moments, and of course the gorgeous scenery.


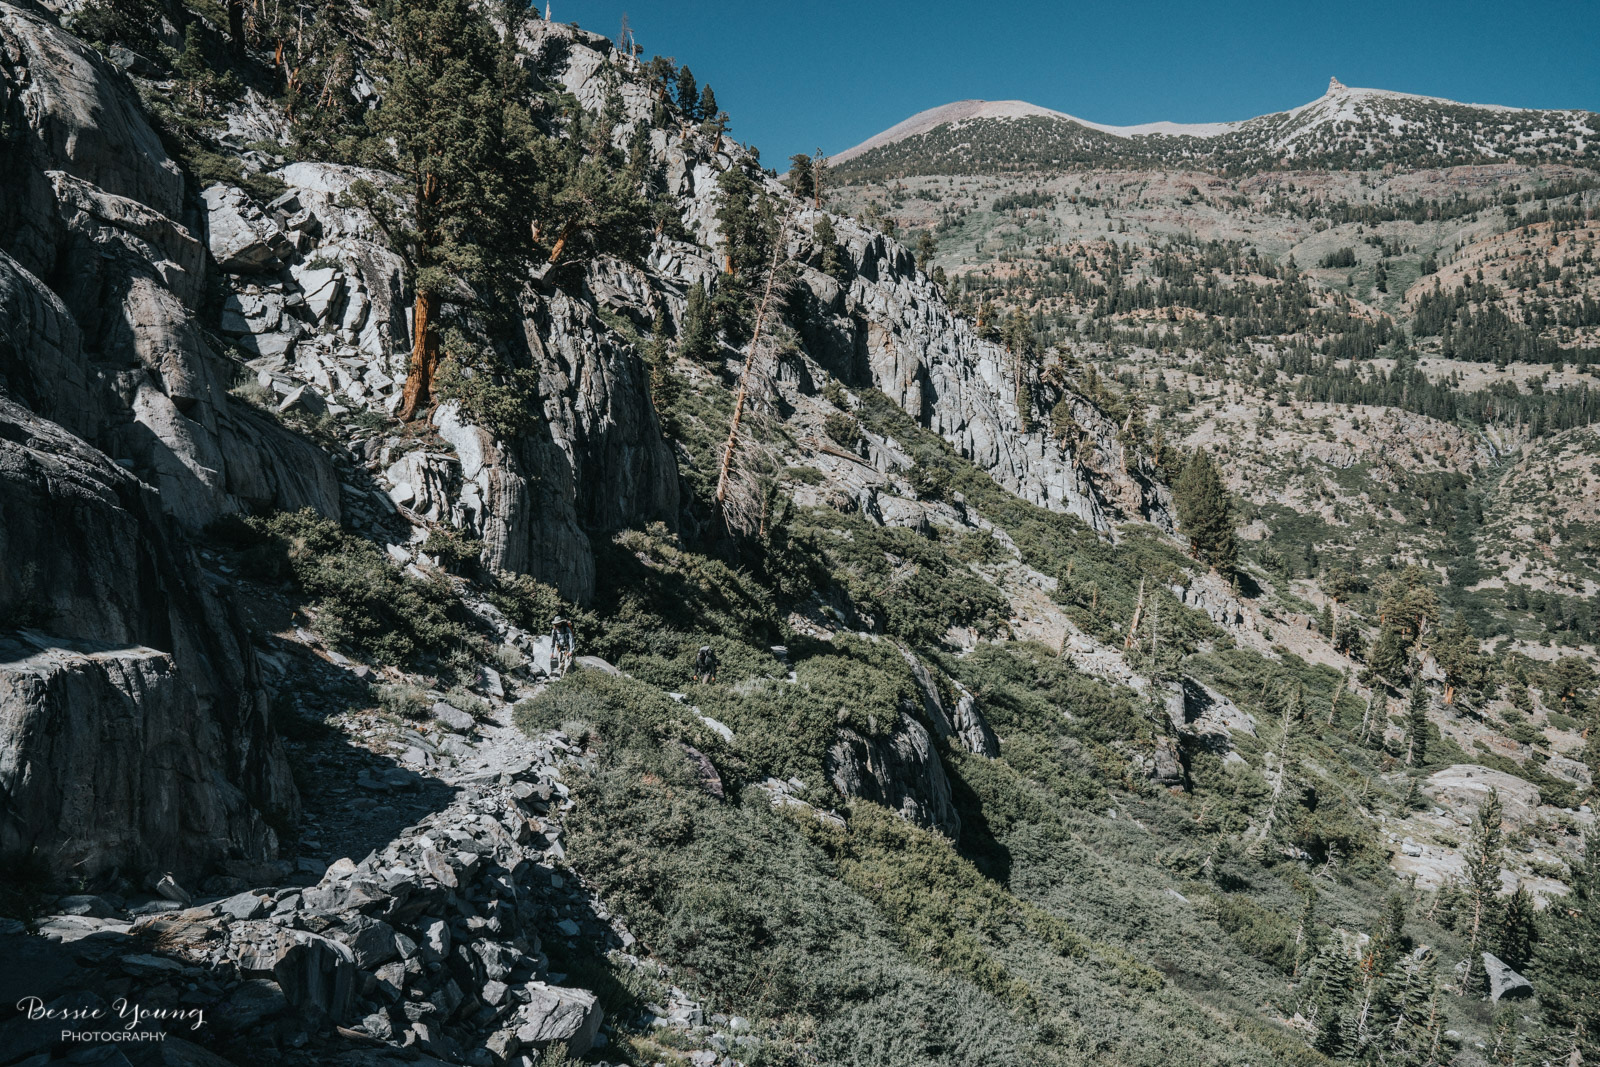
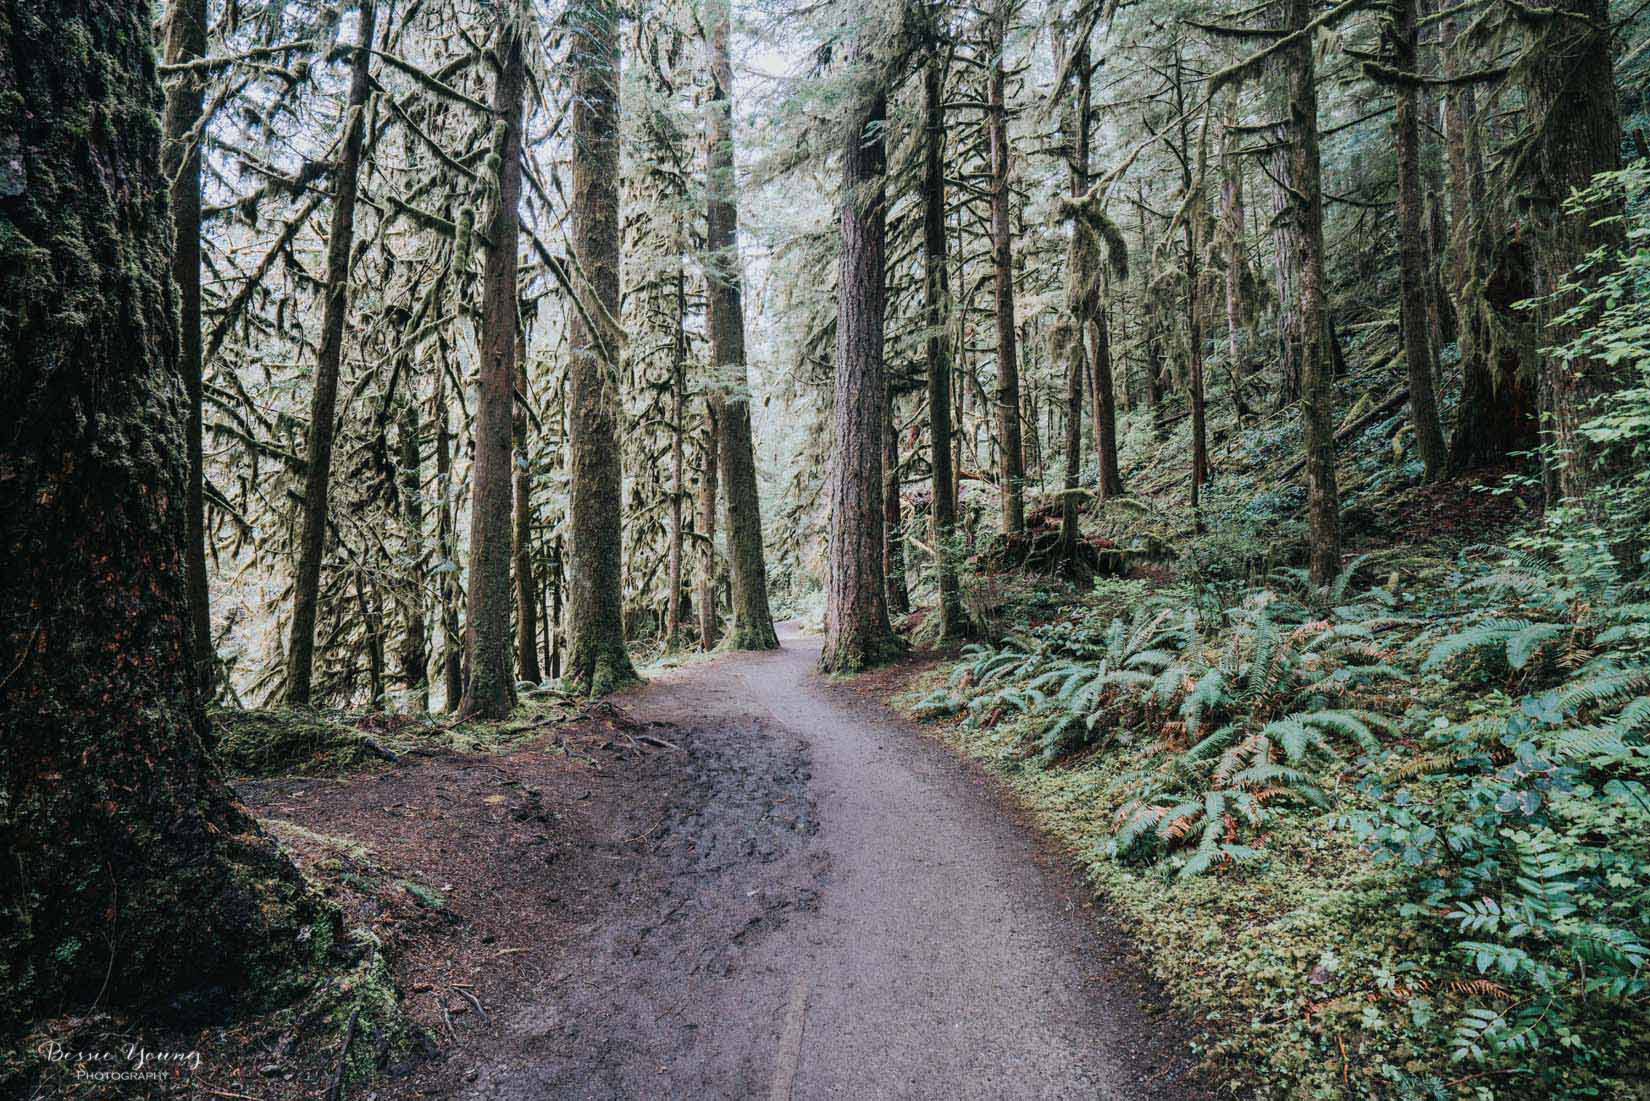
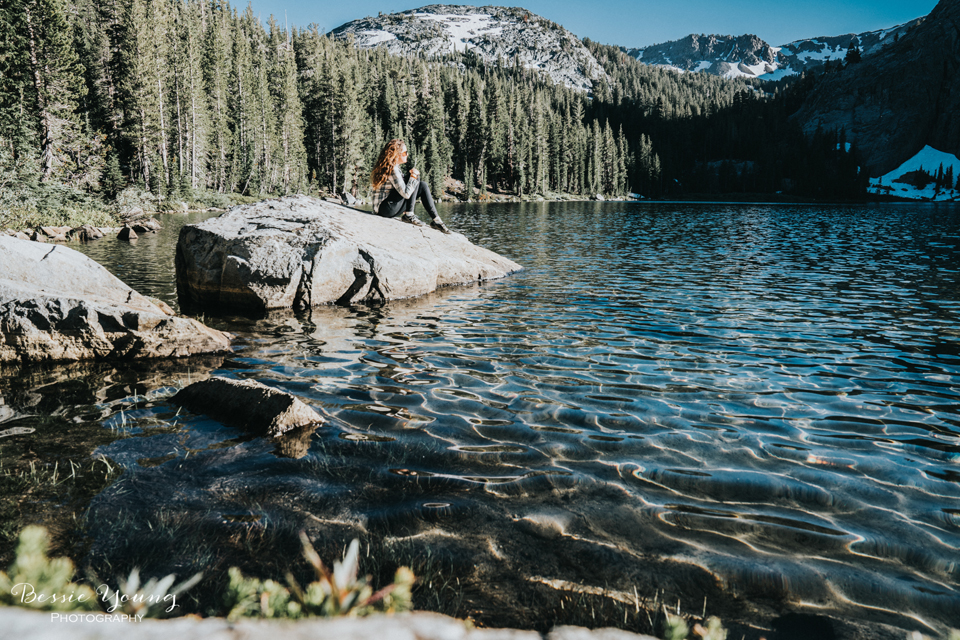
The Hike Out
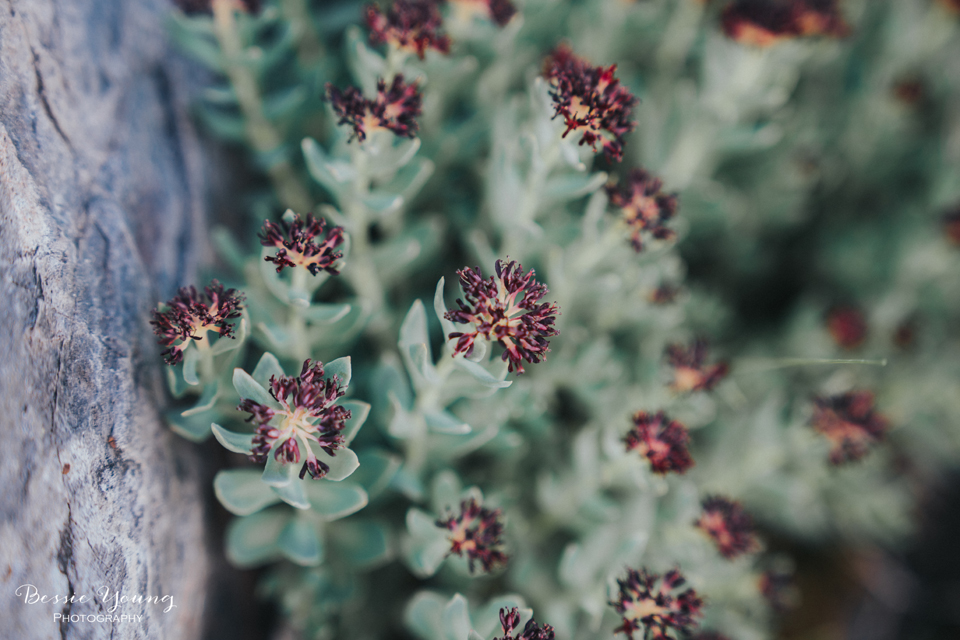
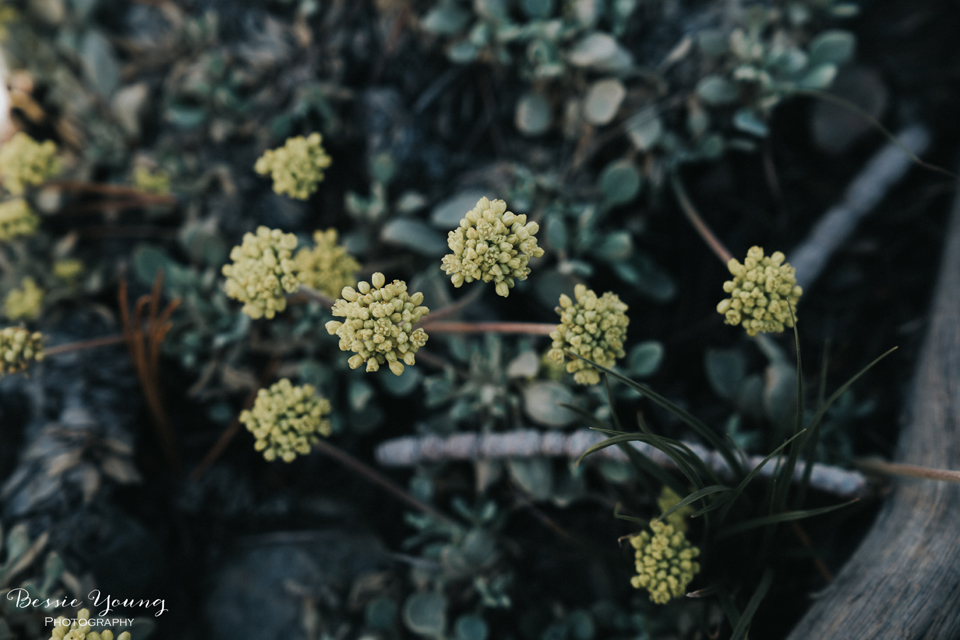
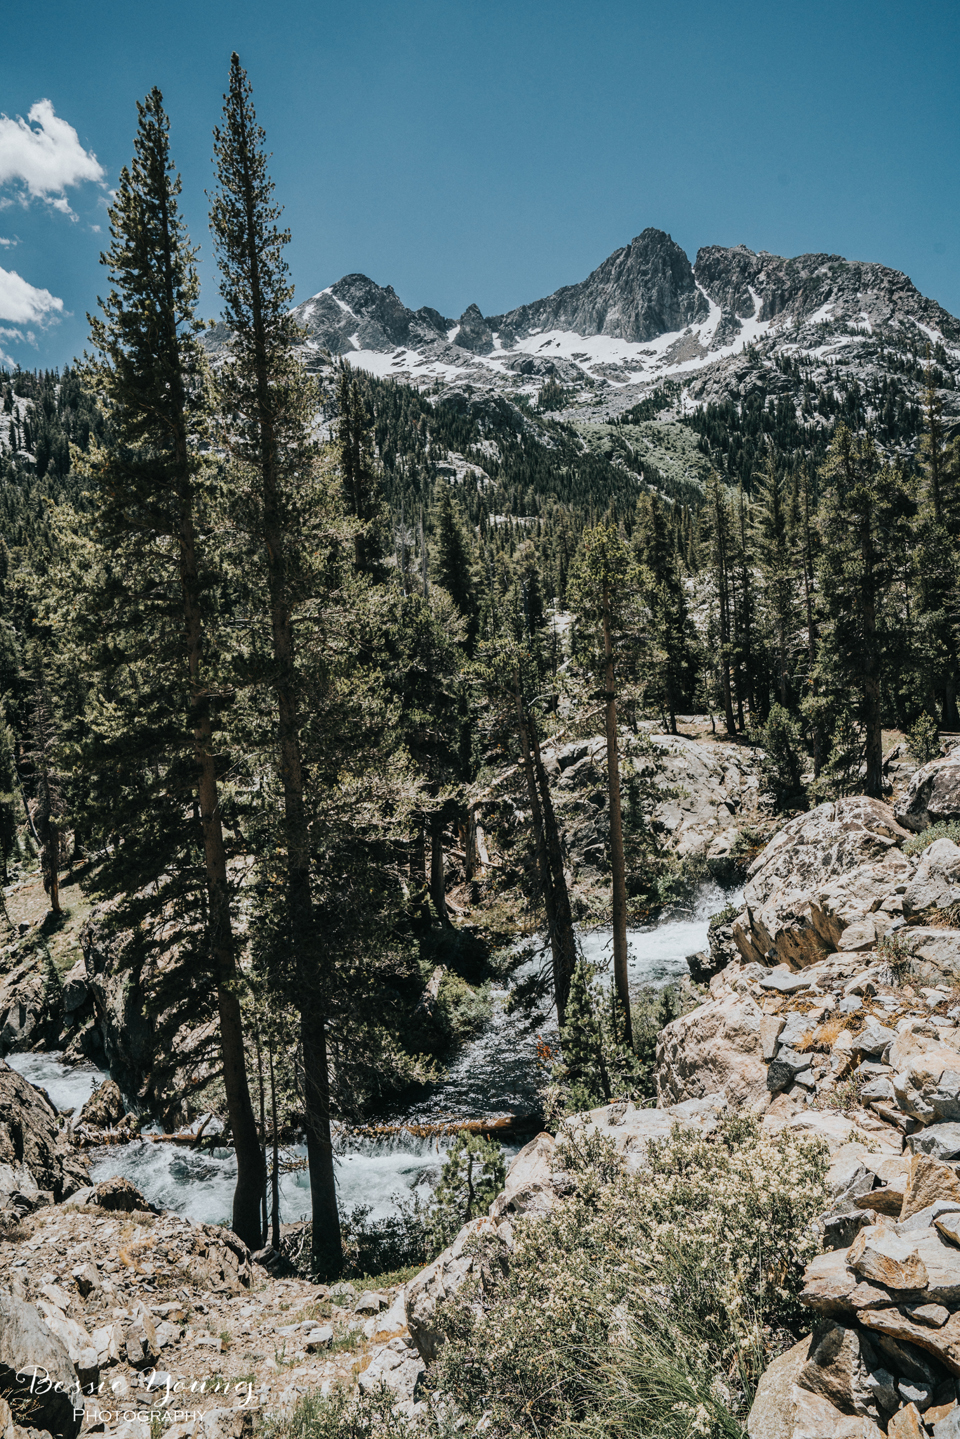
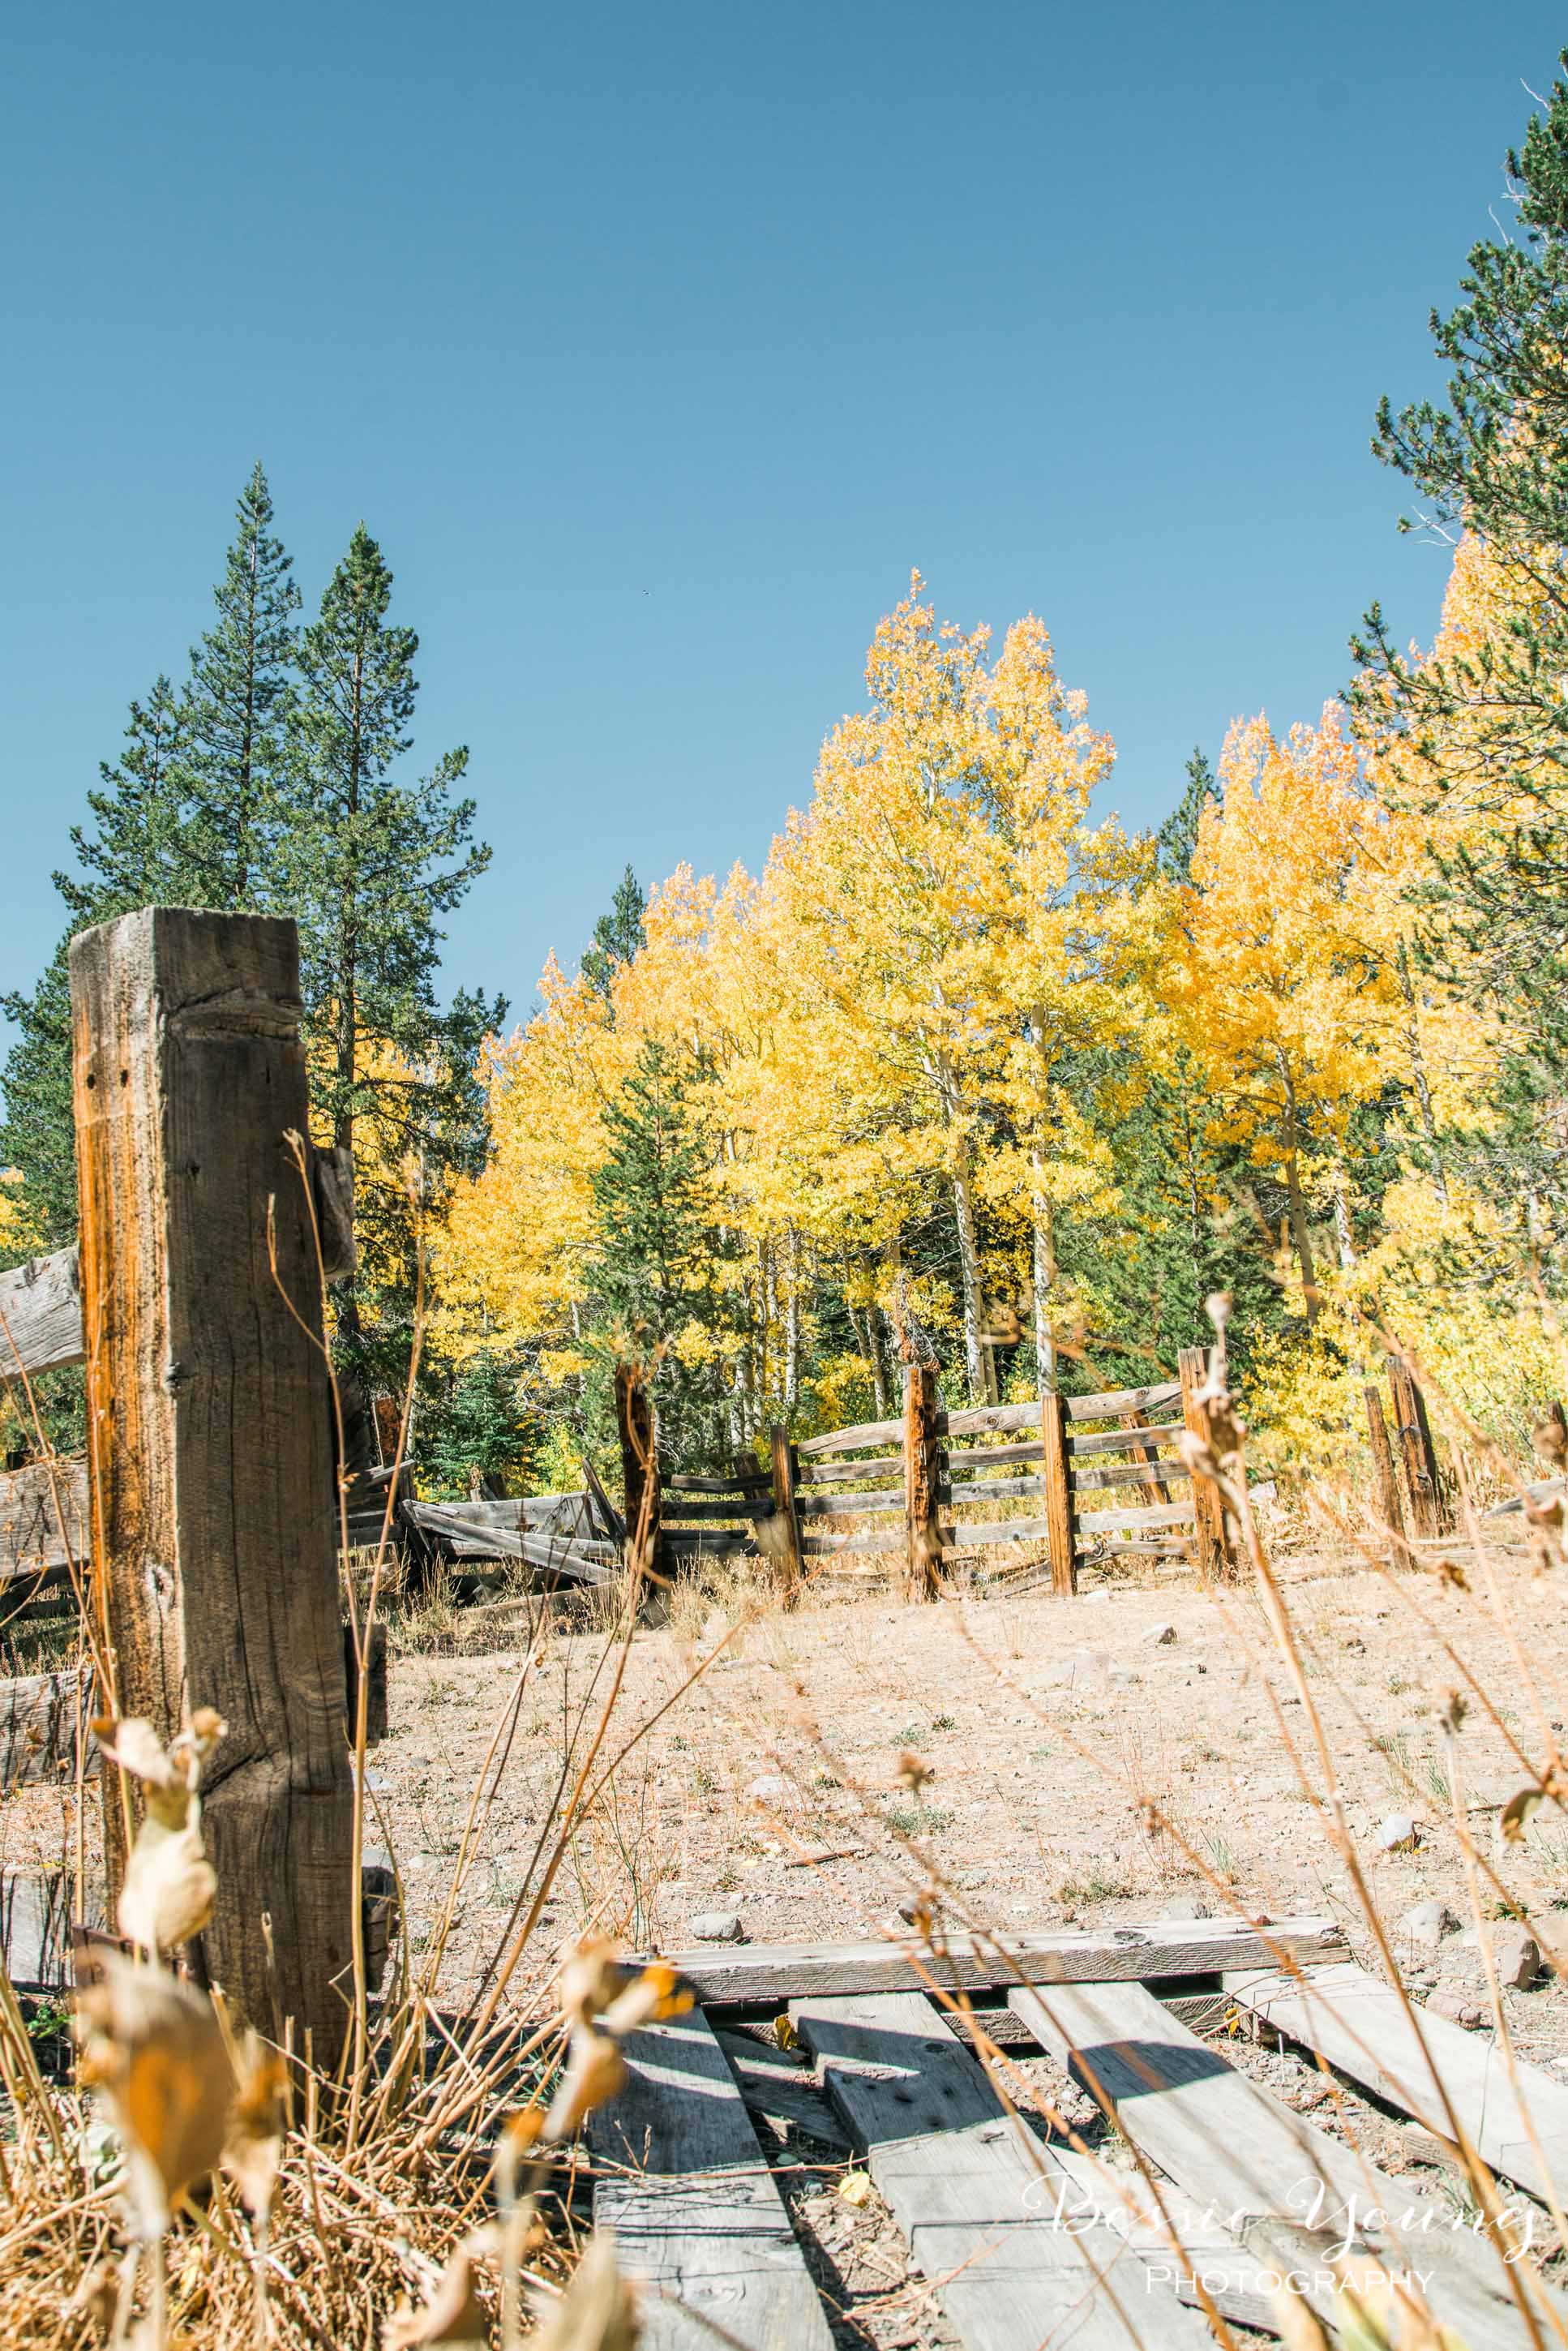
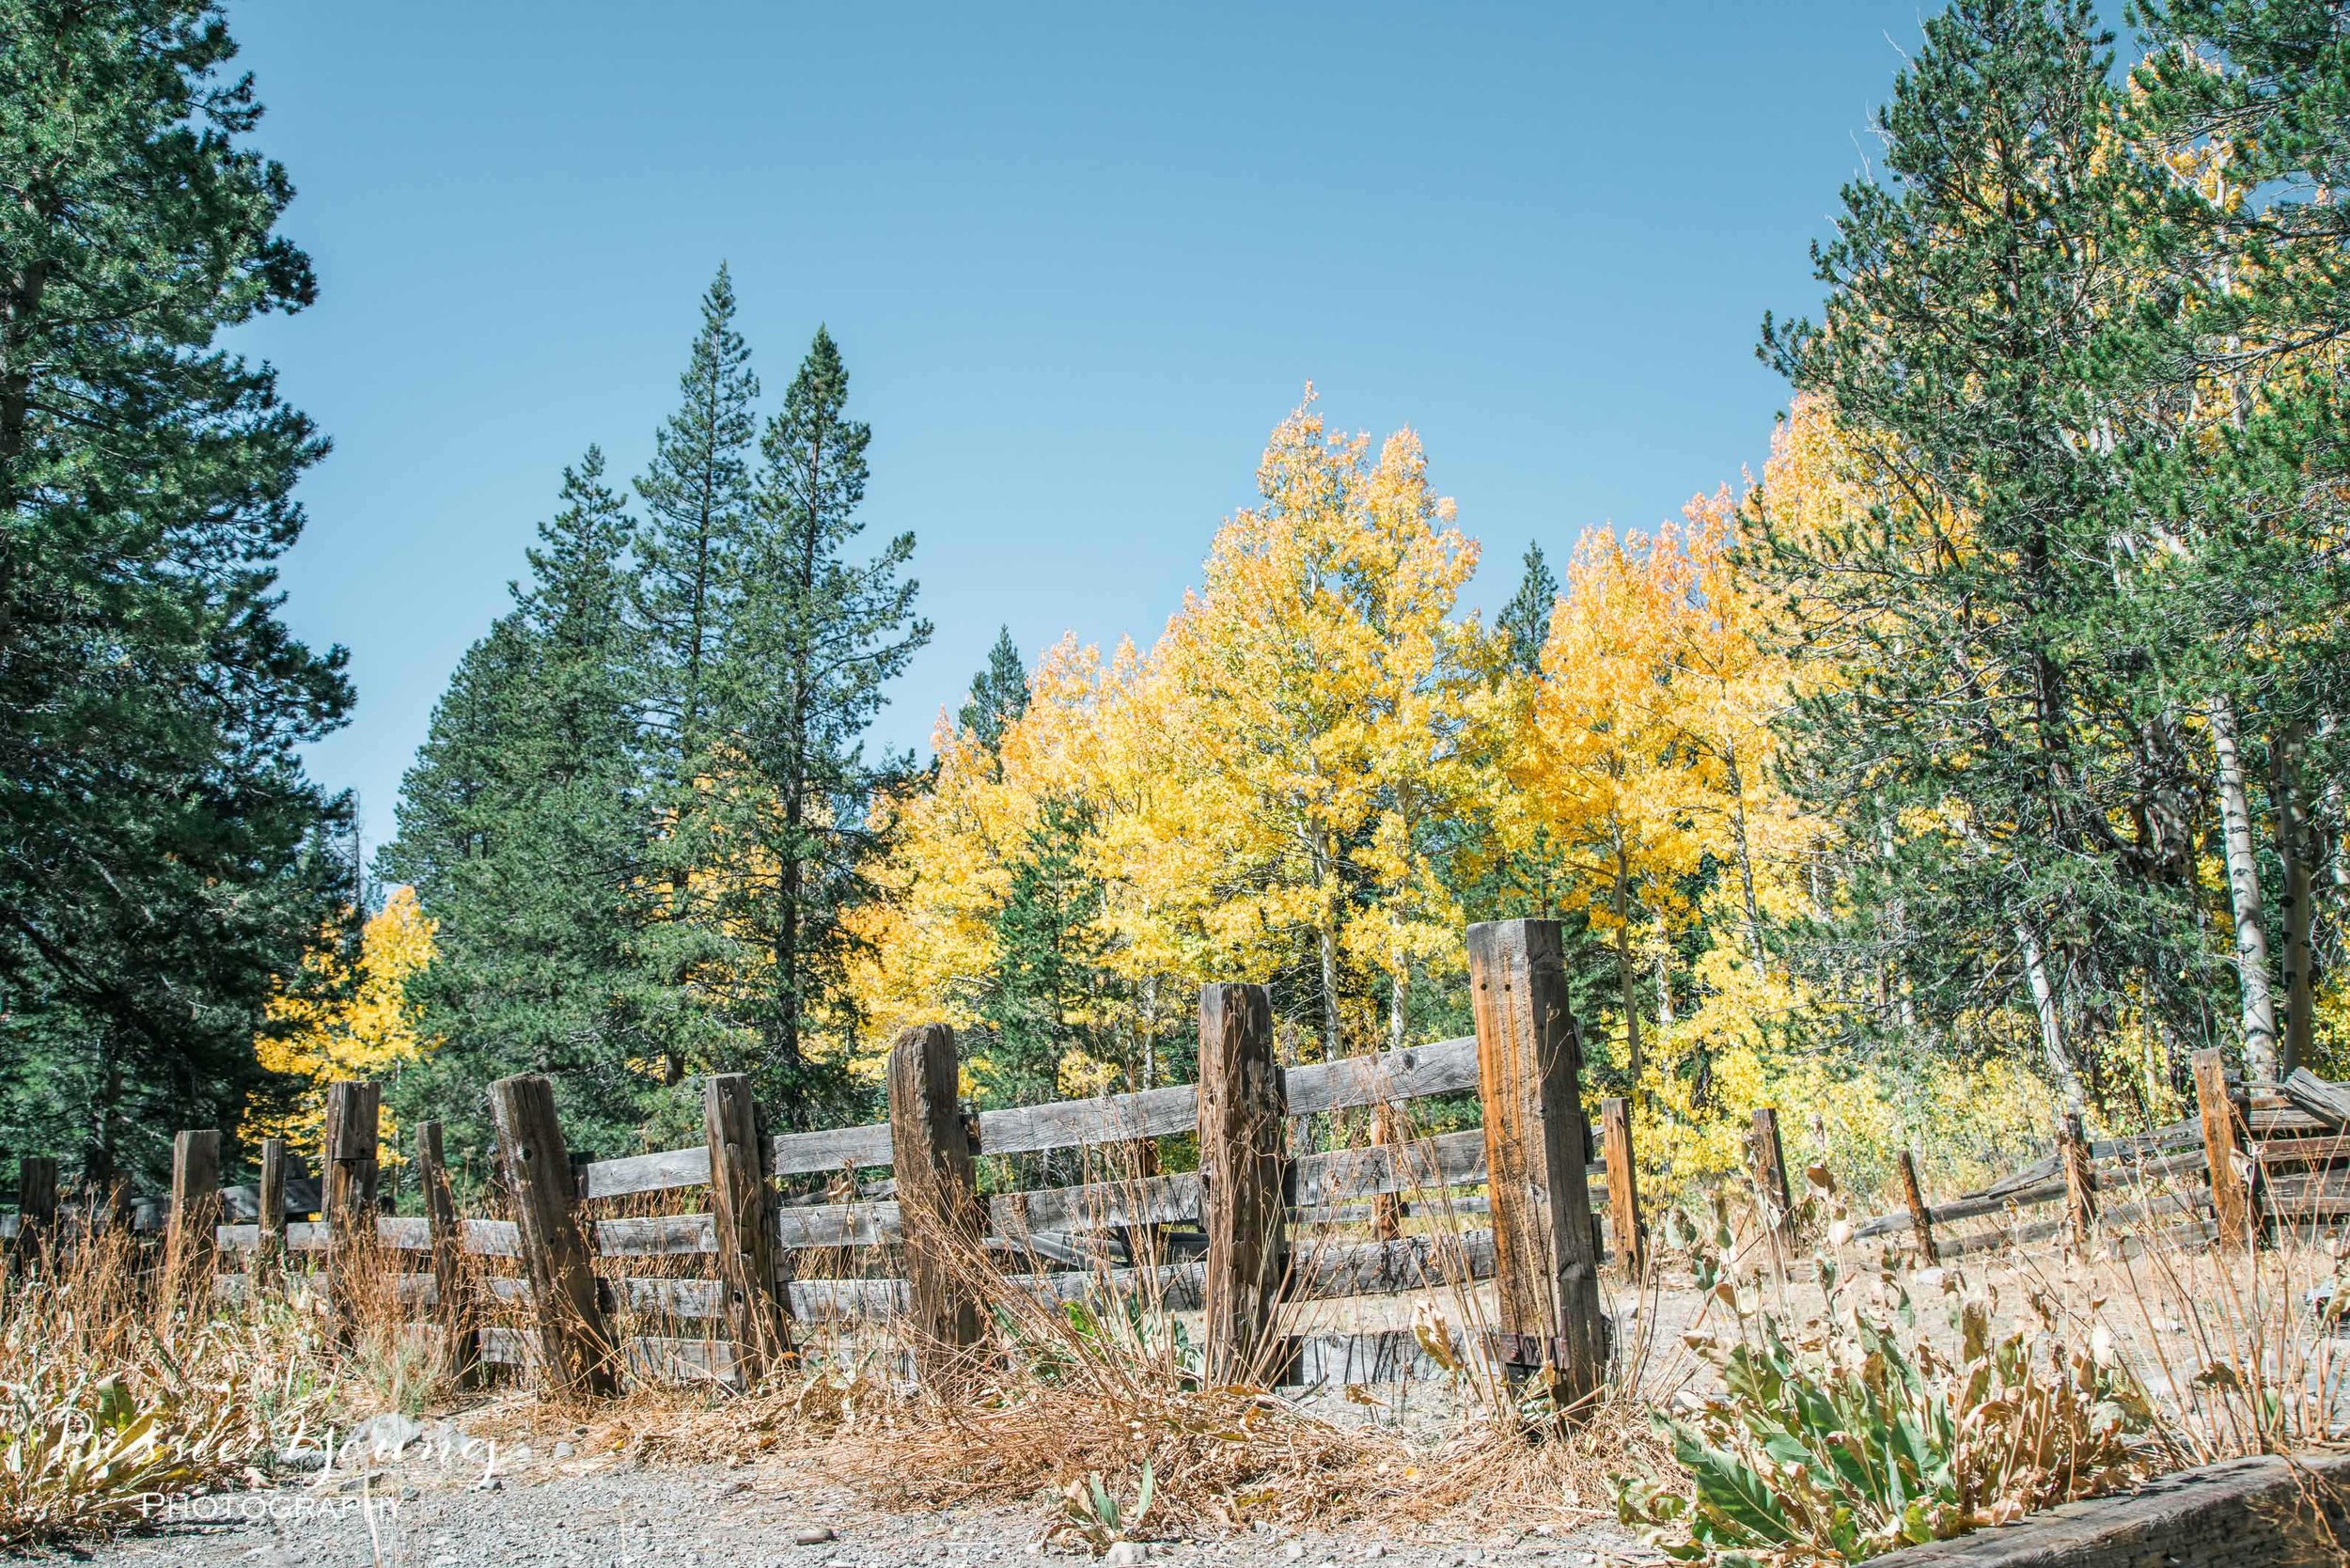
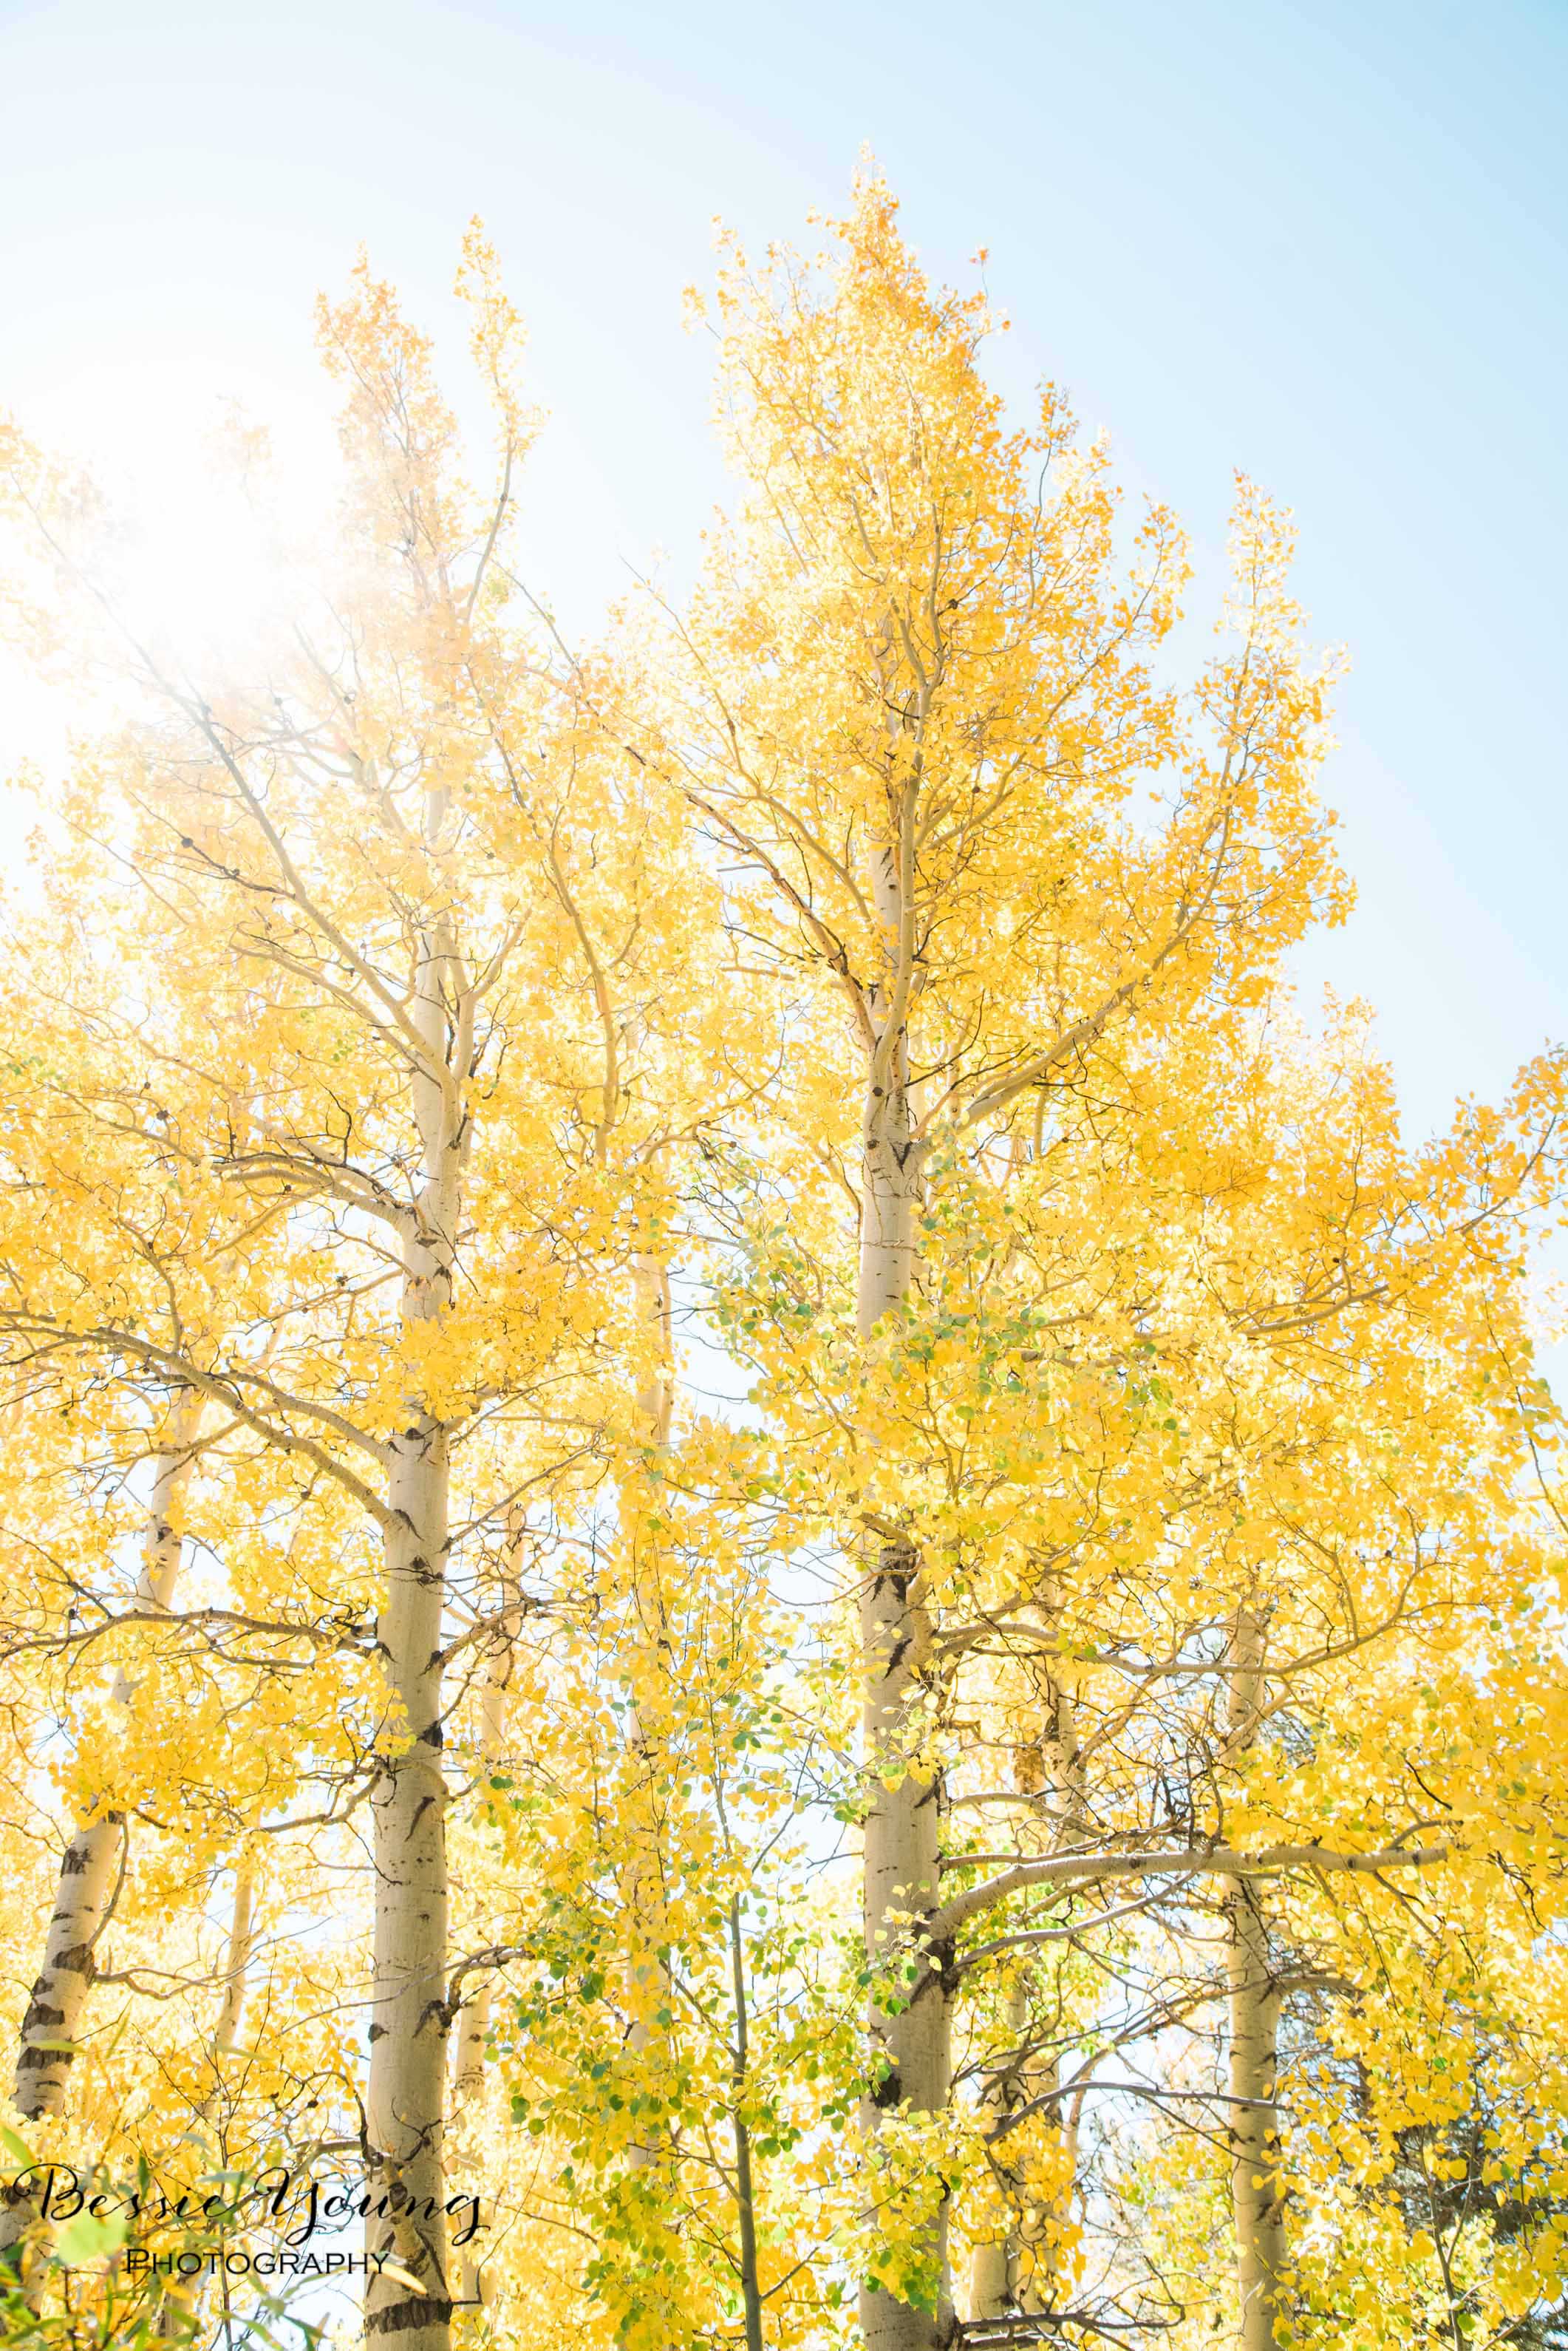
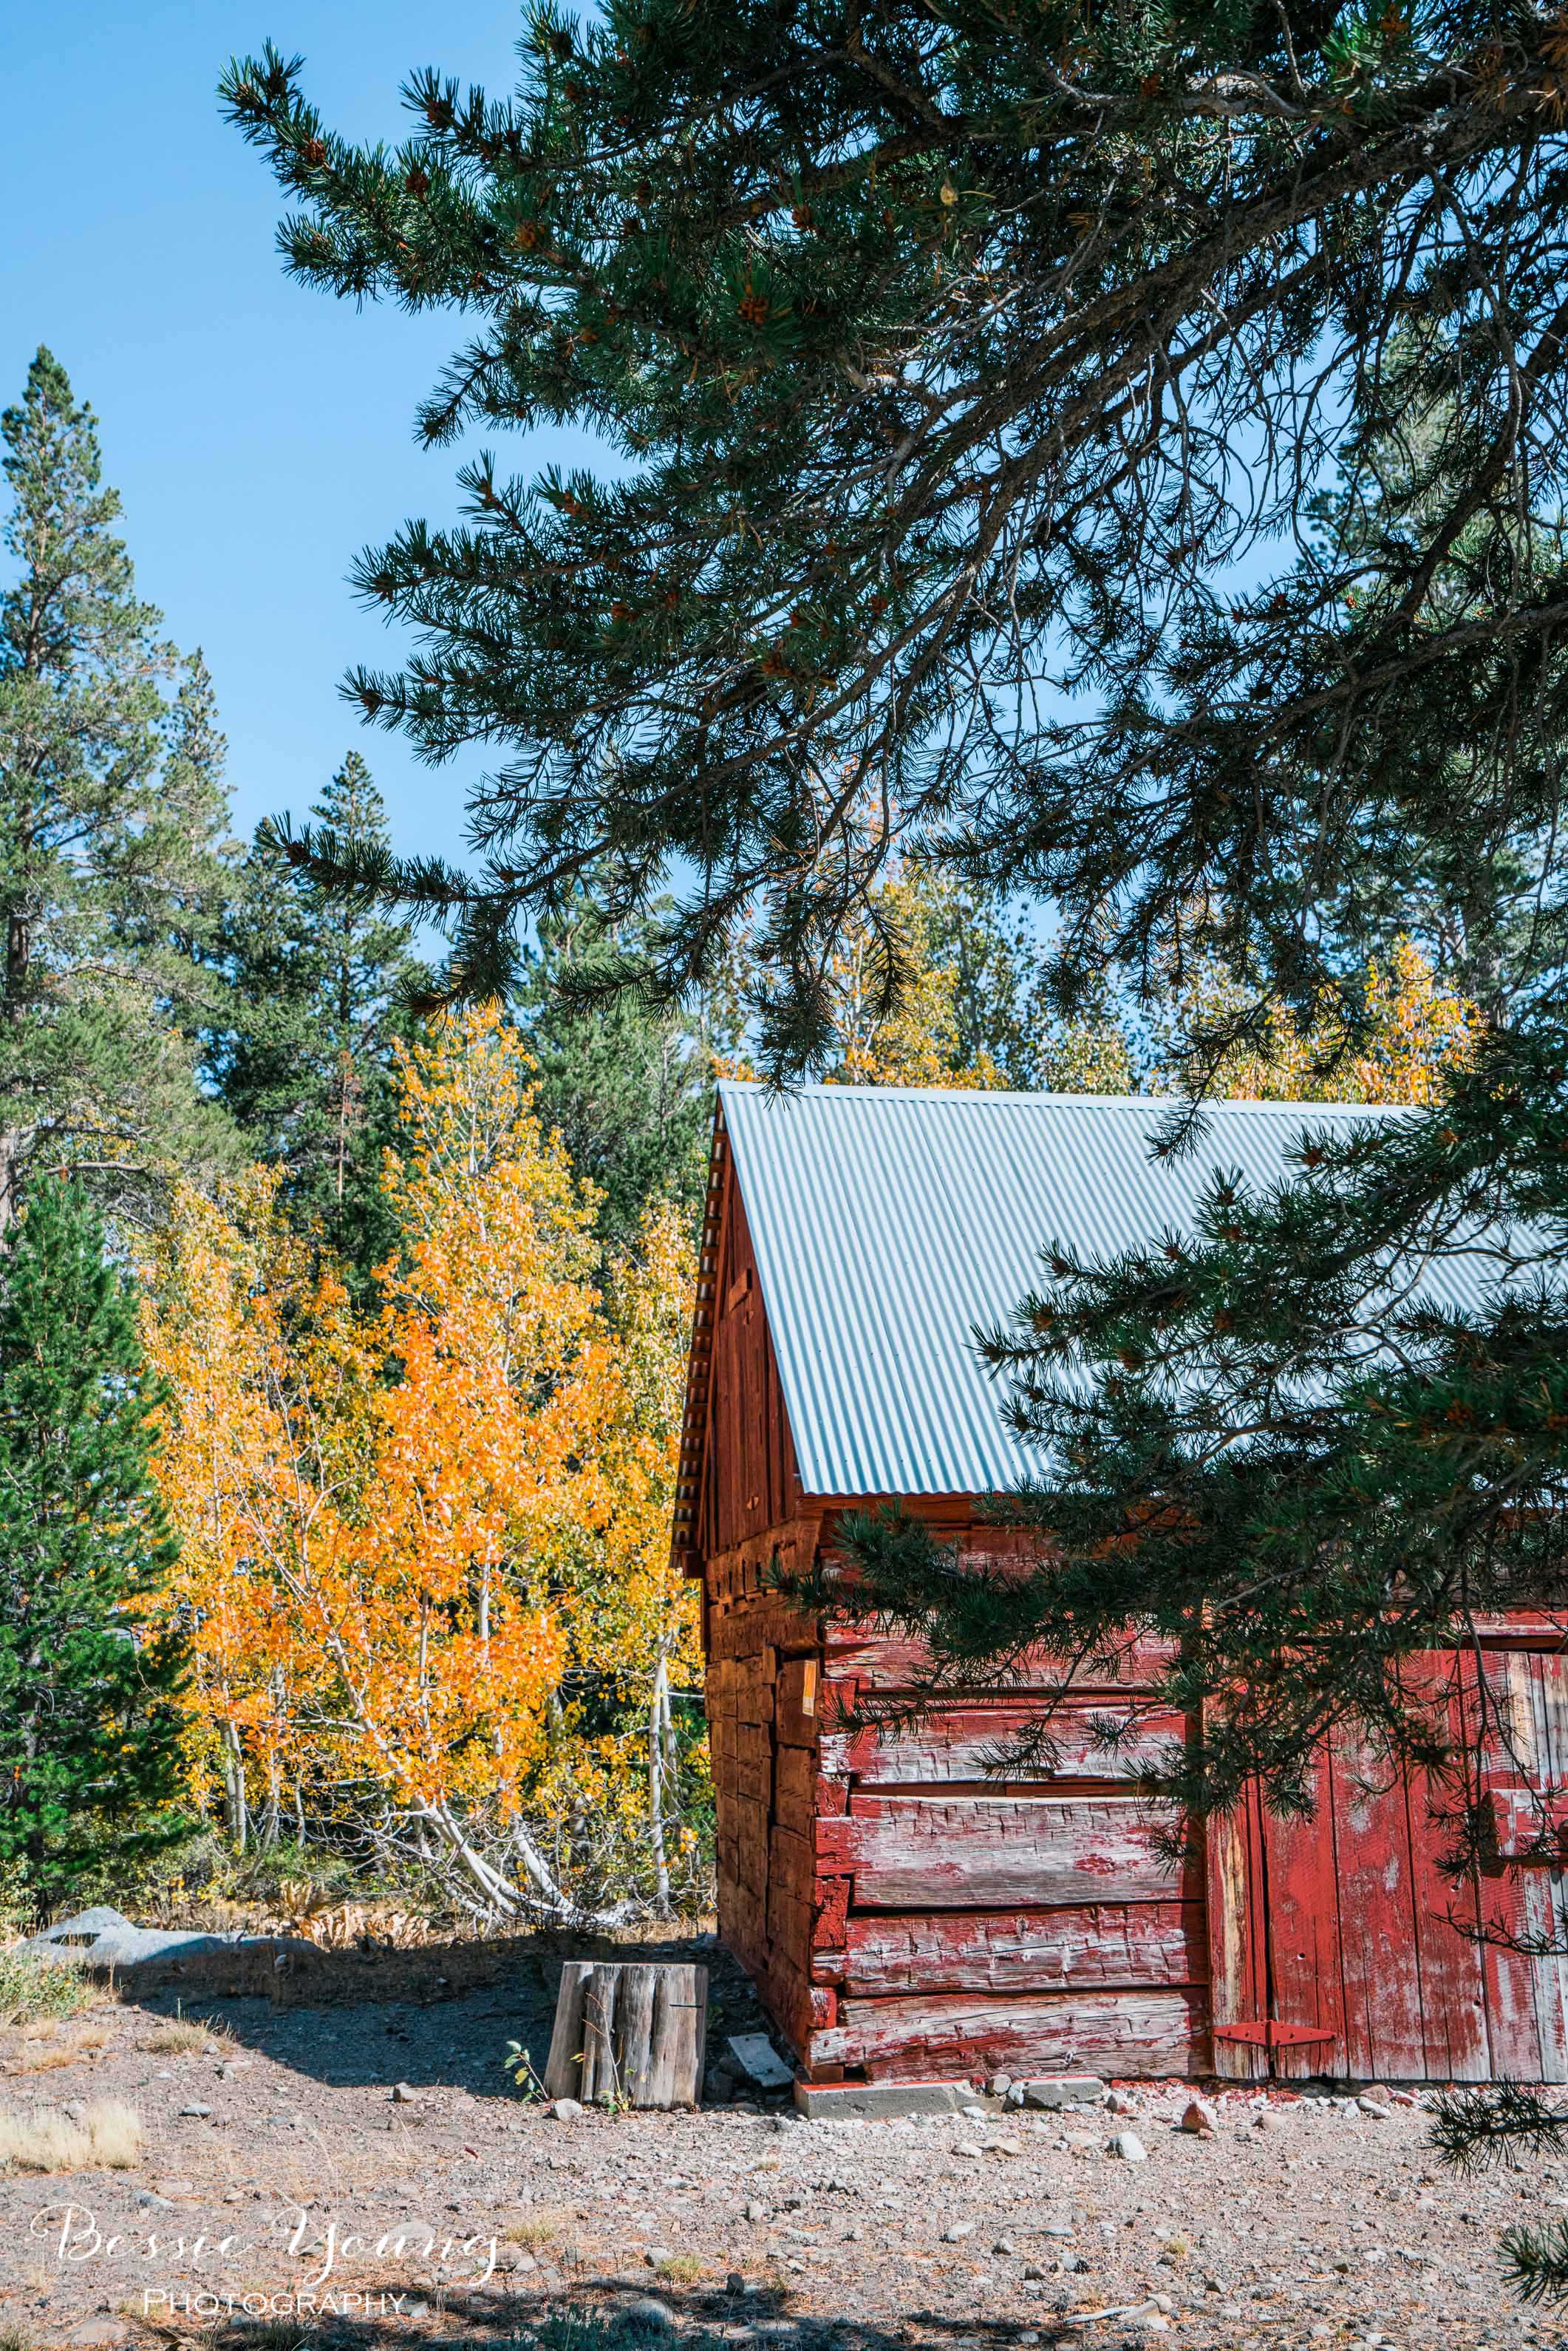
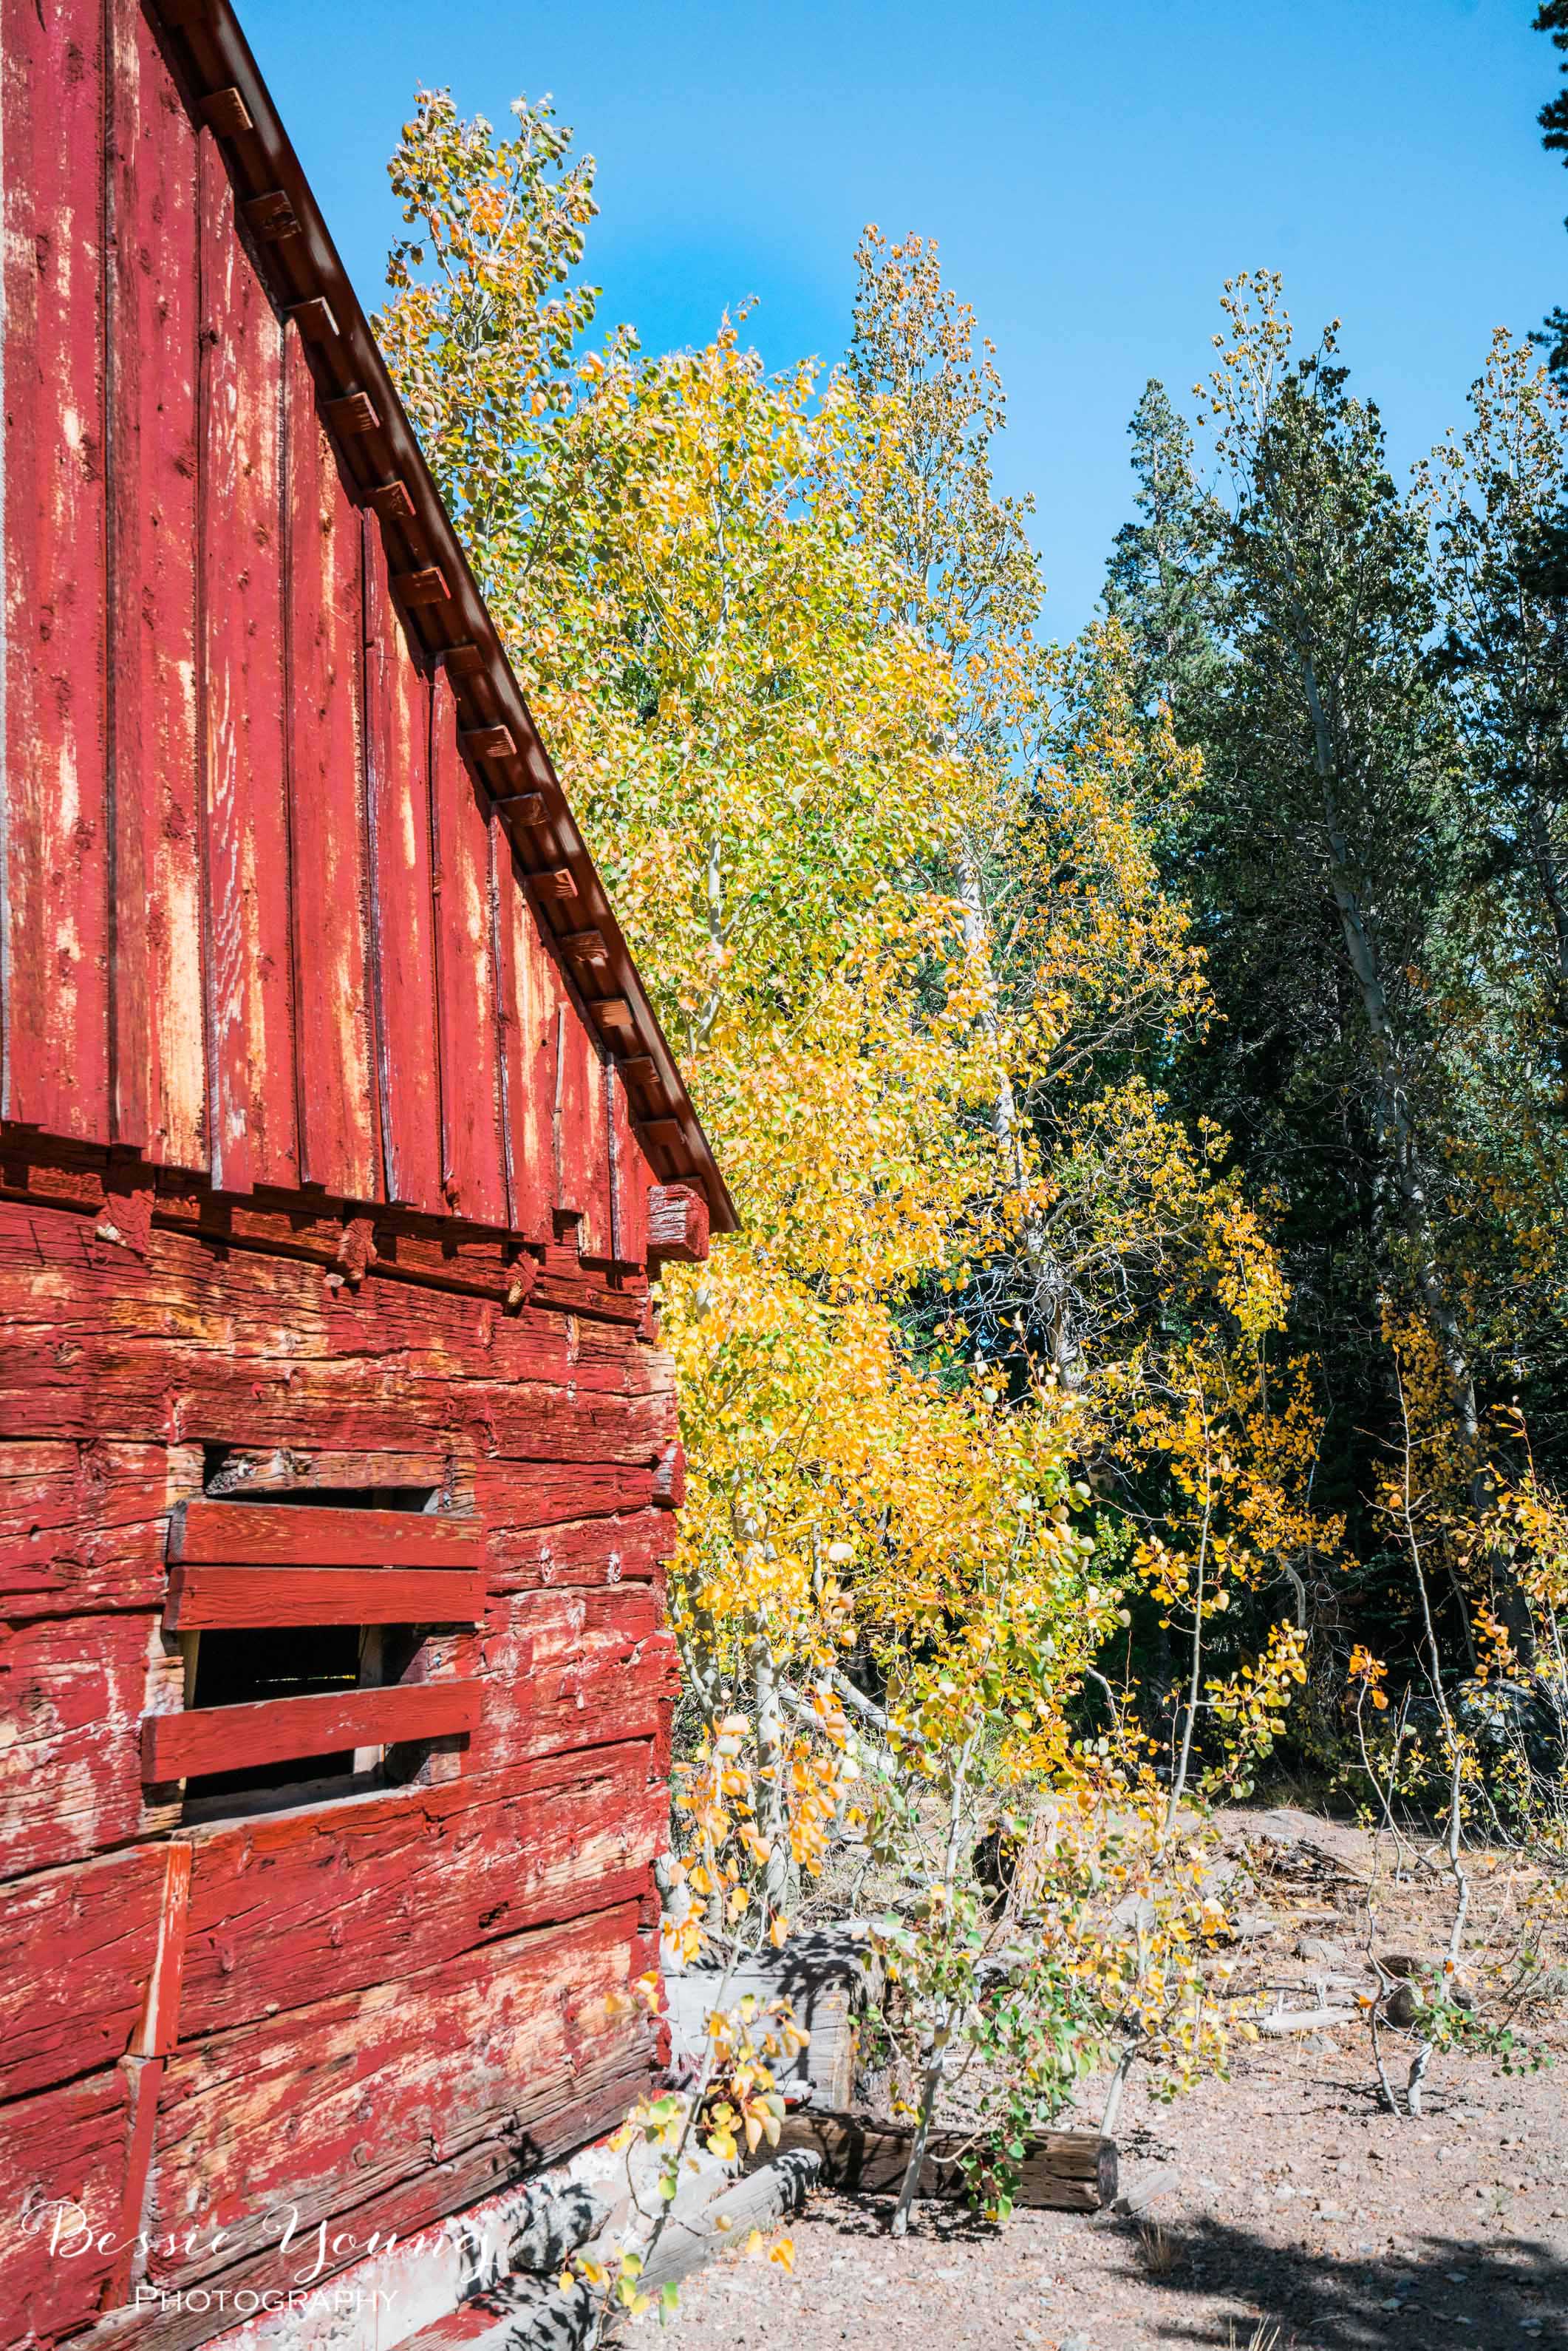
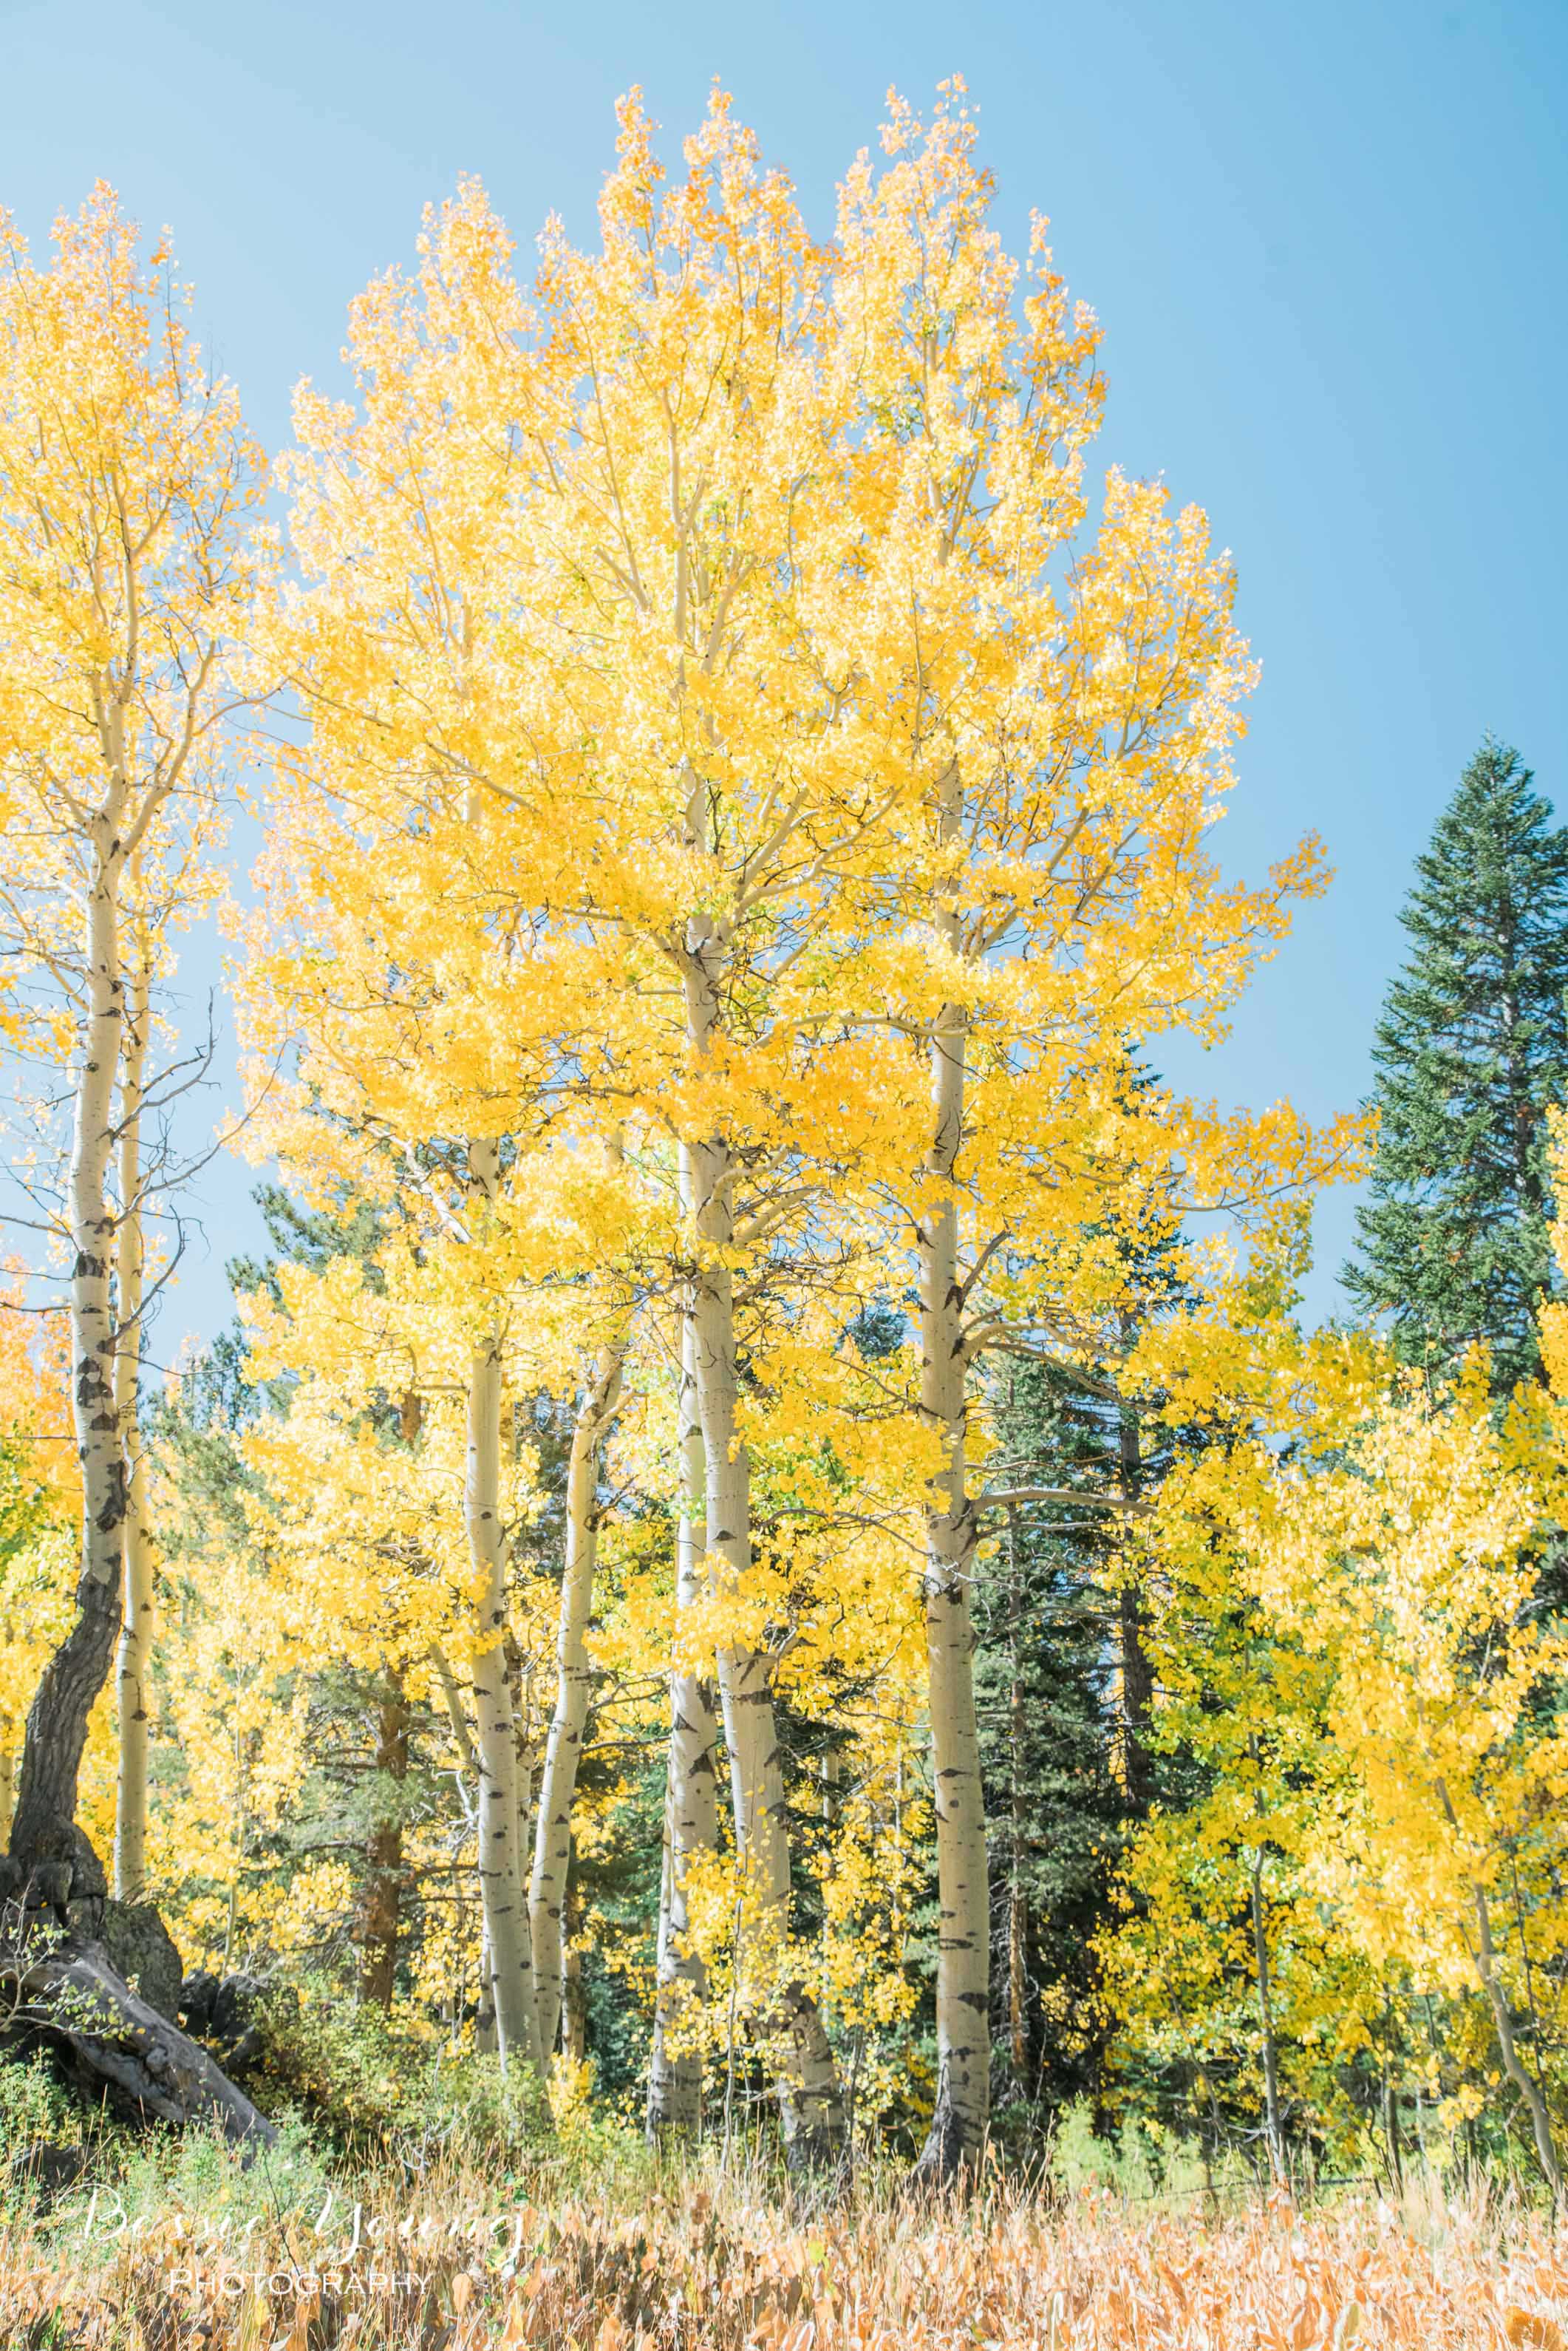
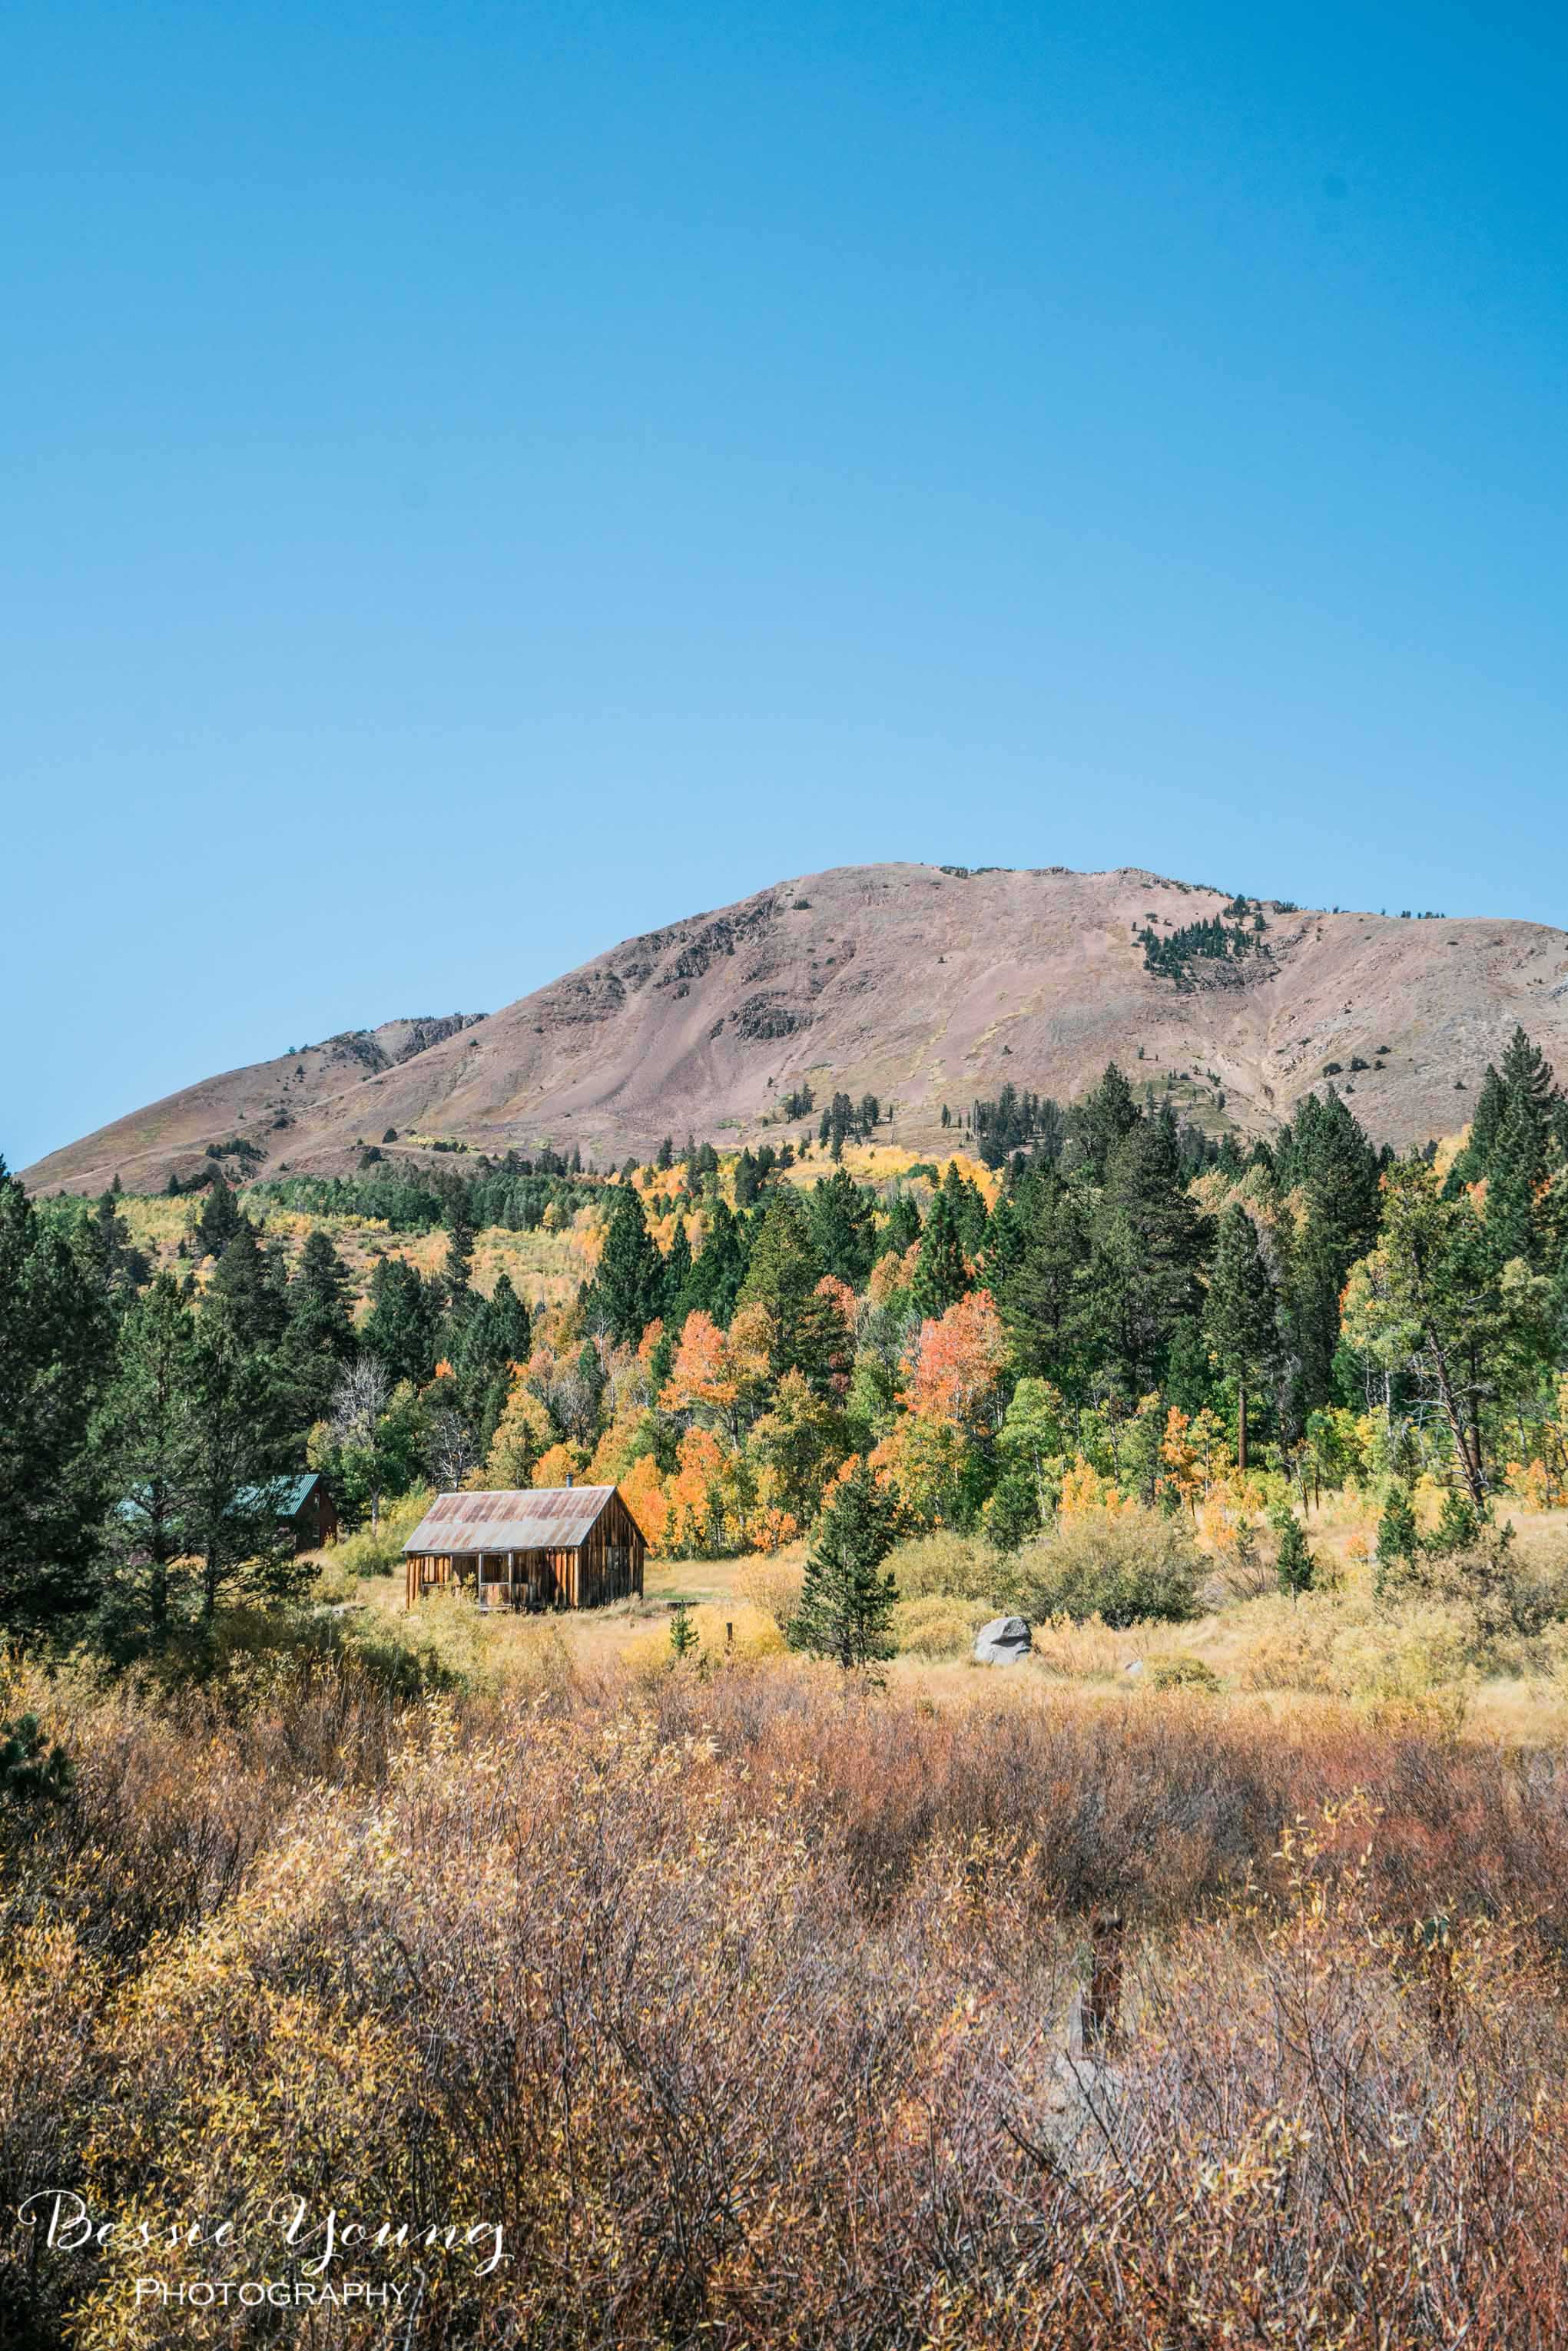
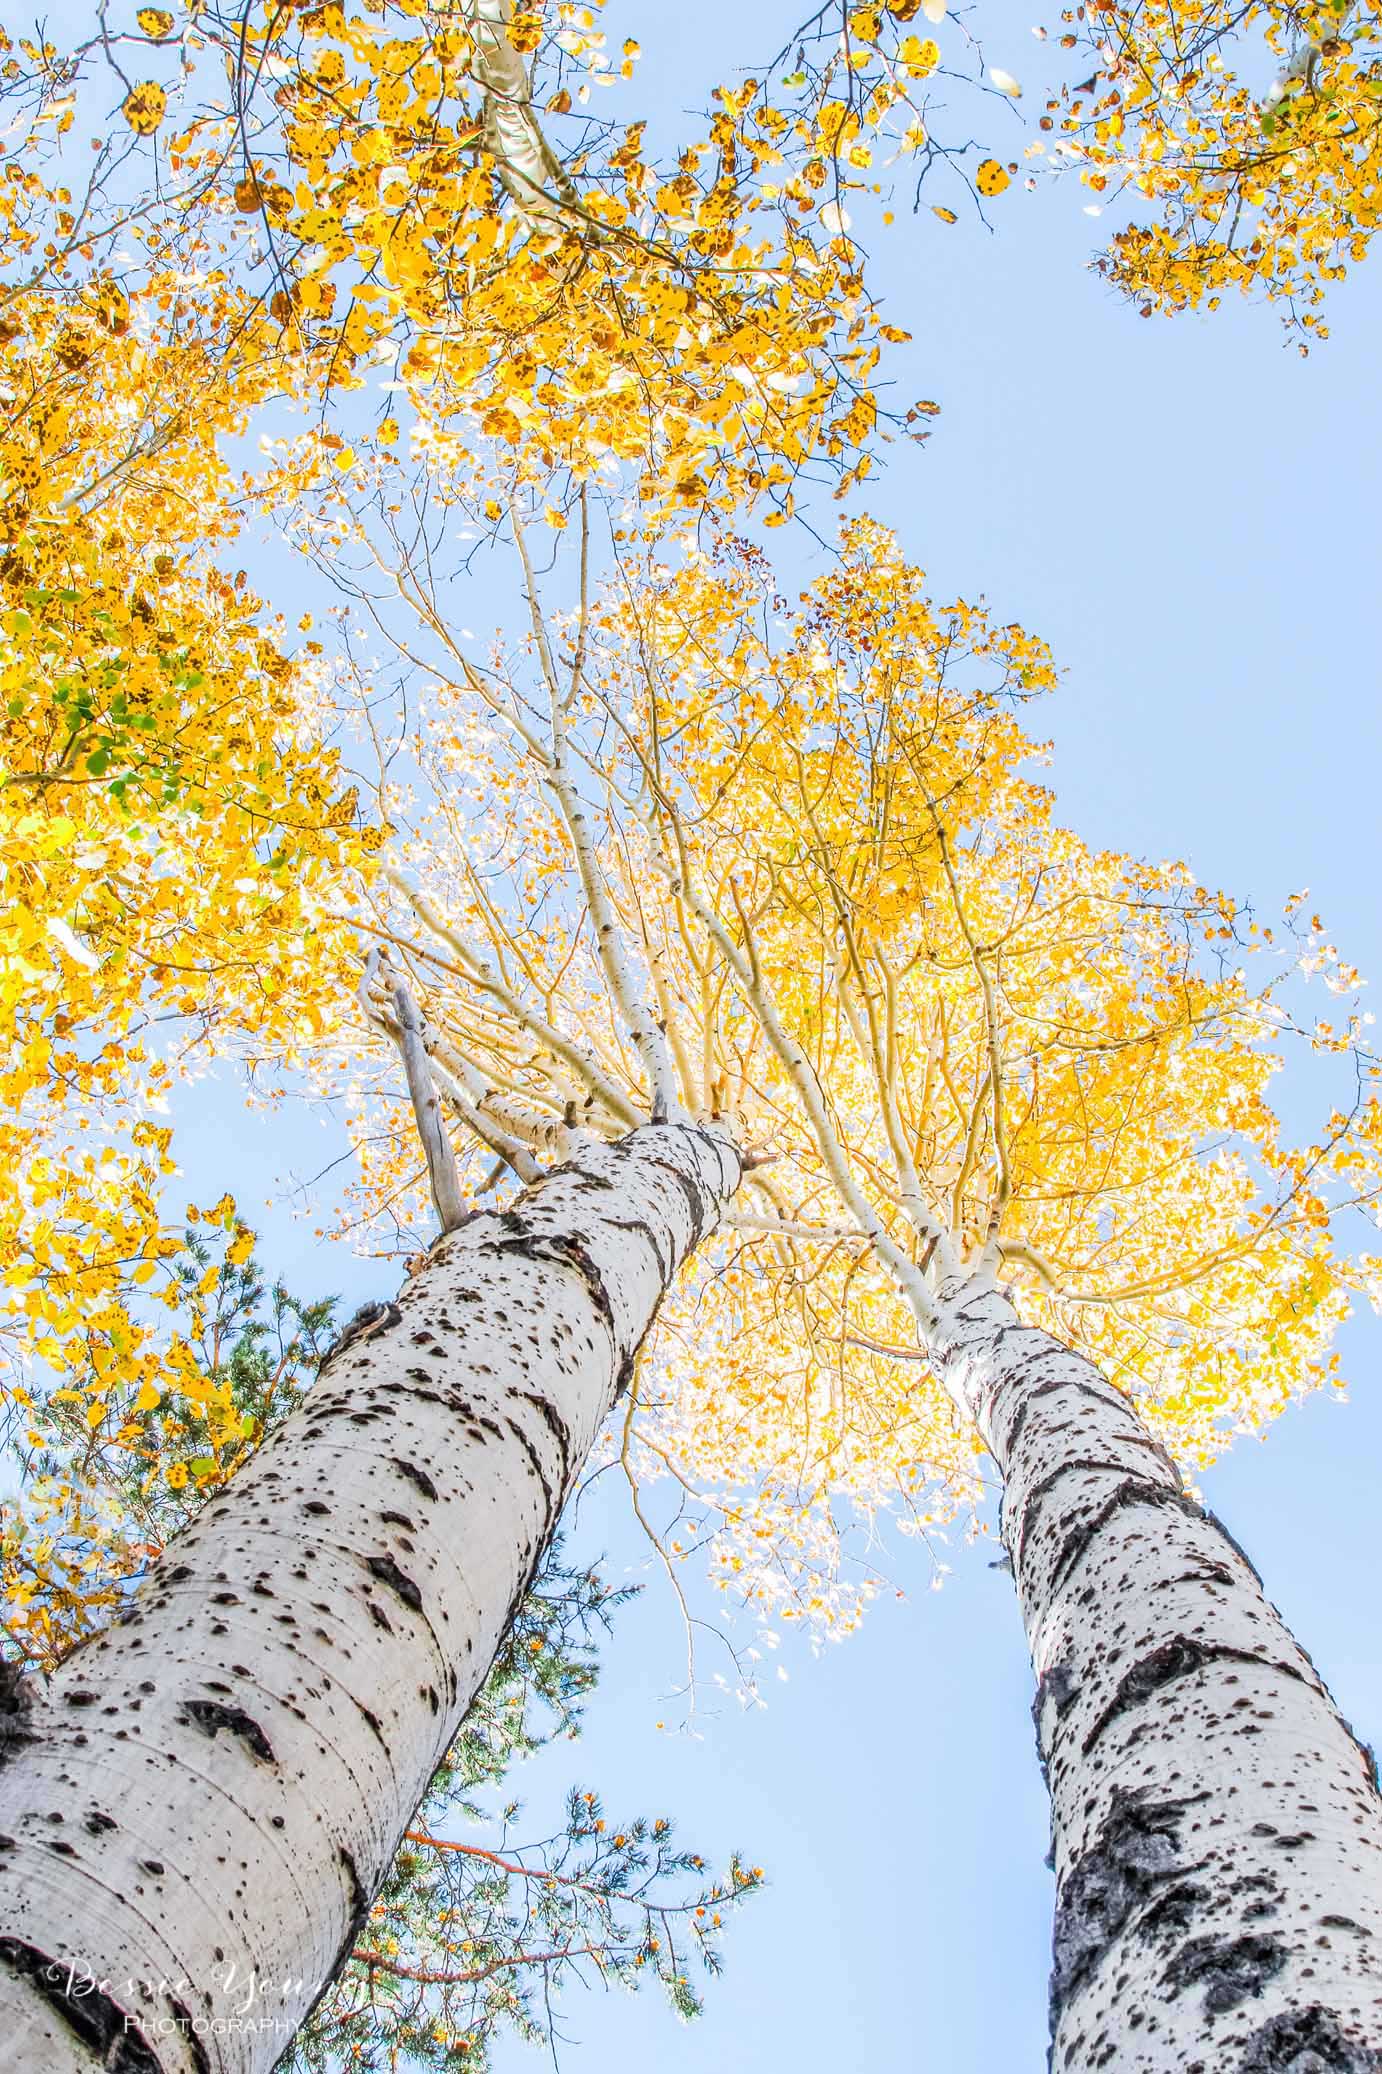
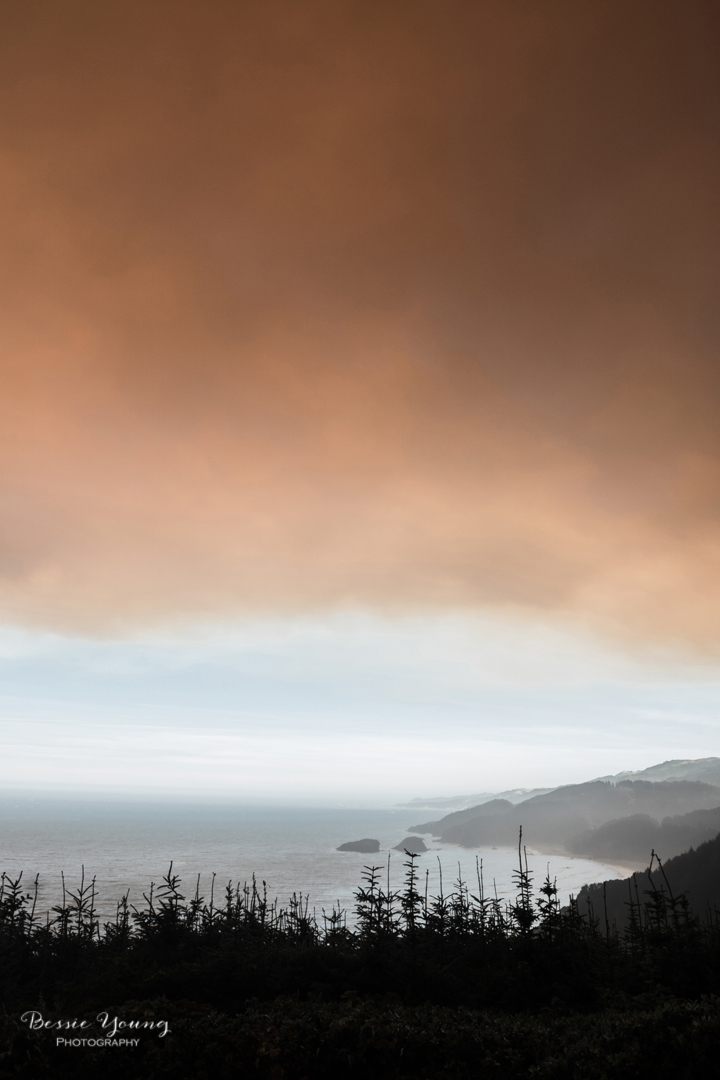
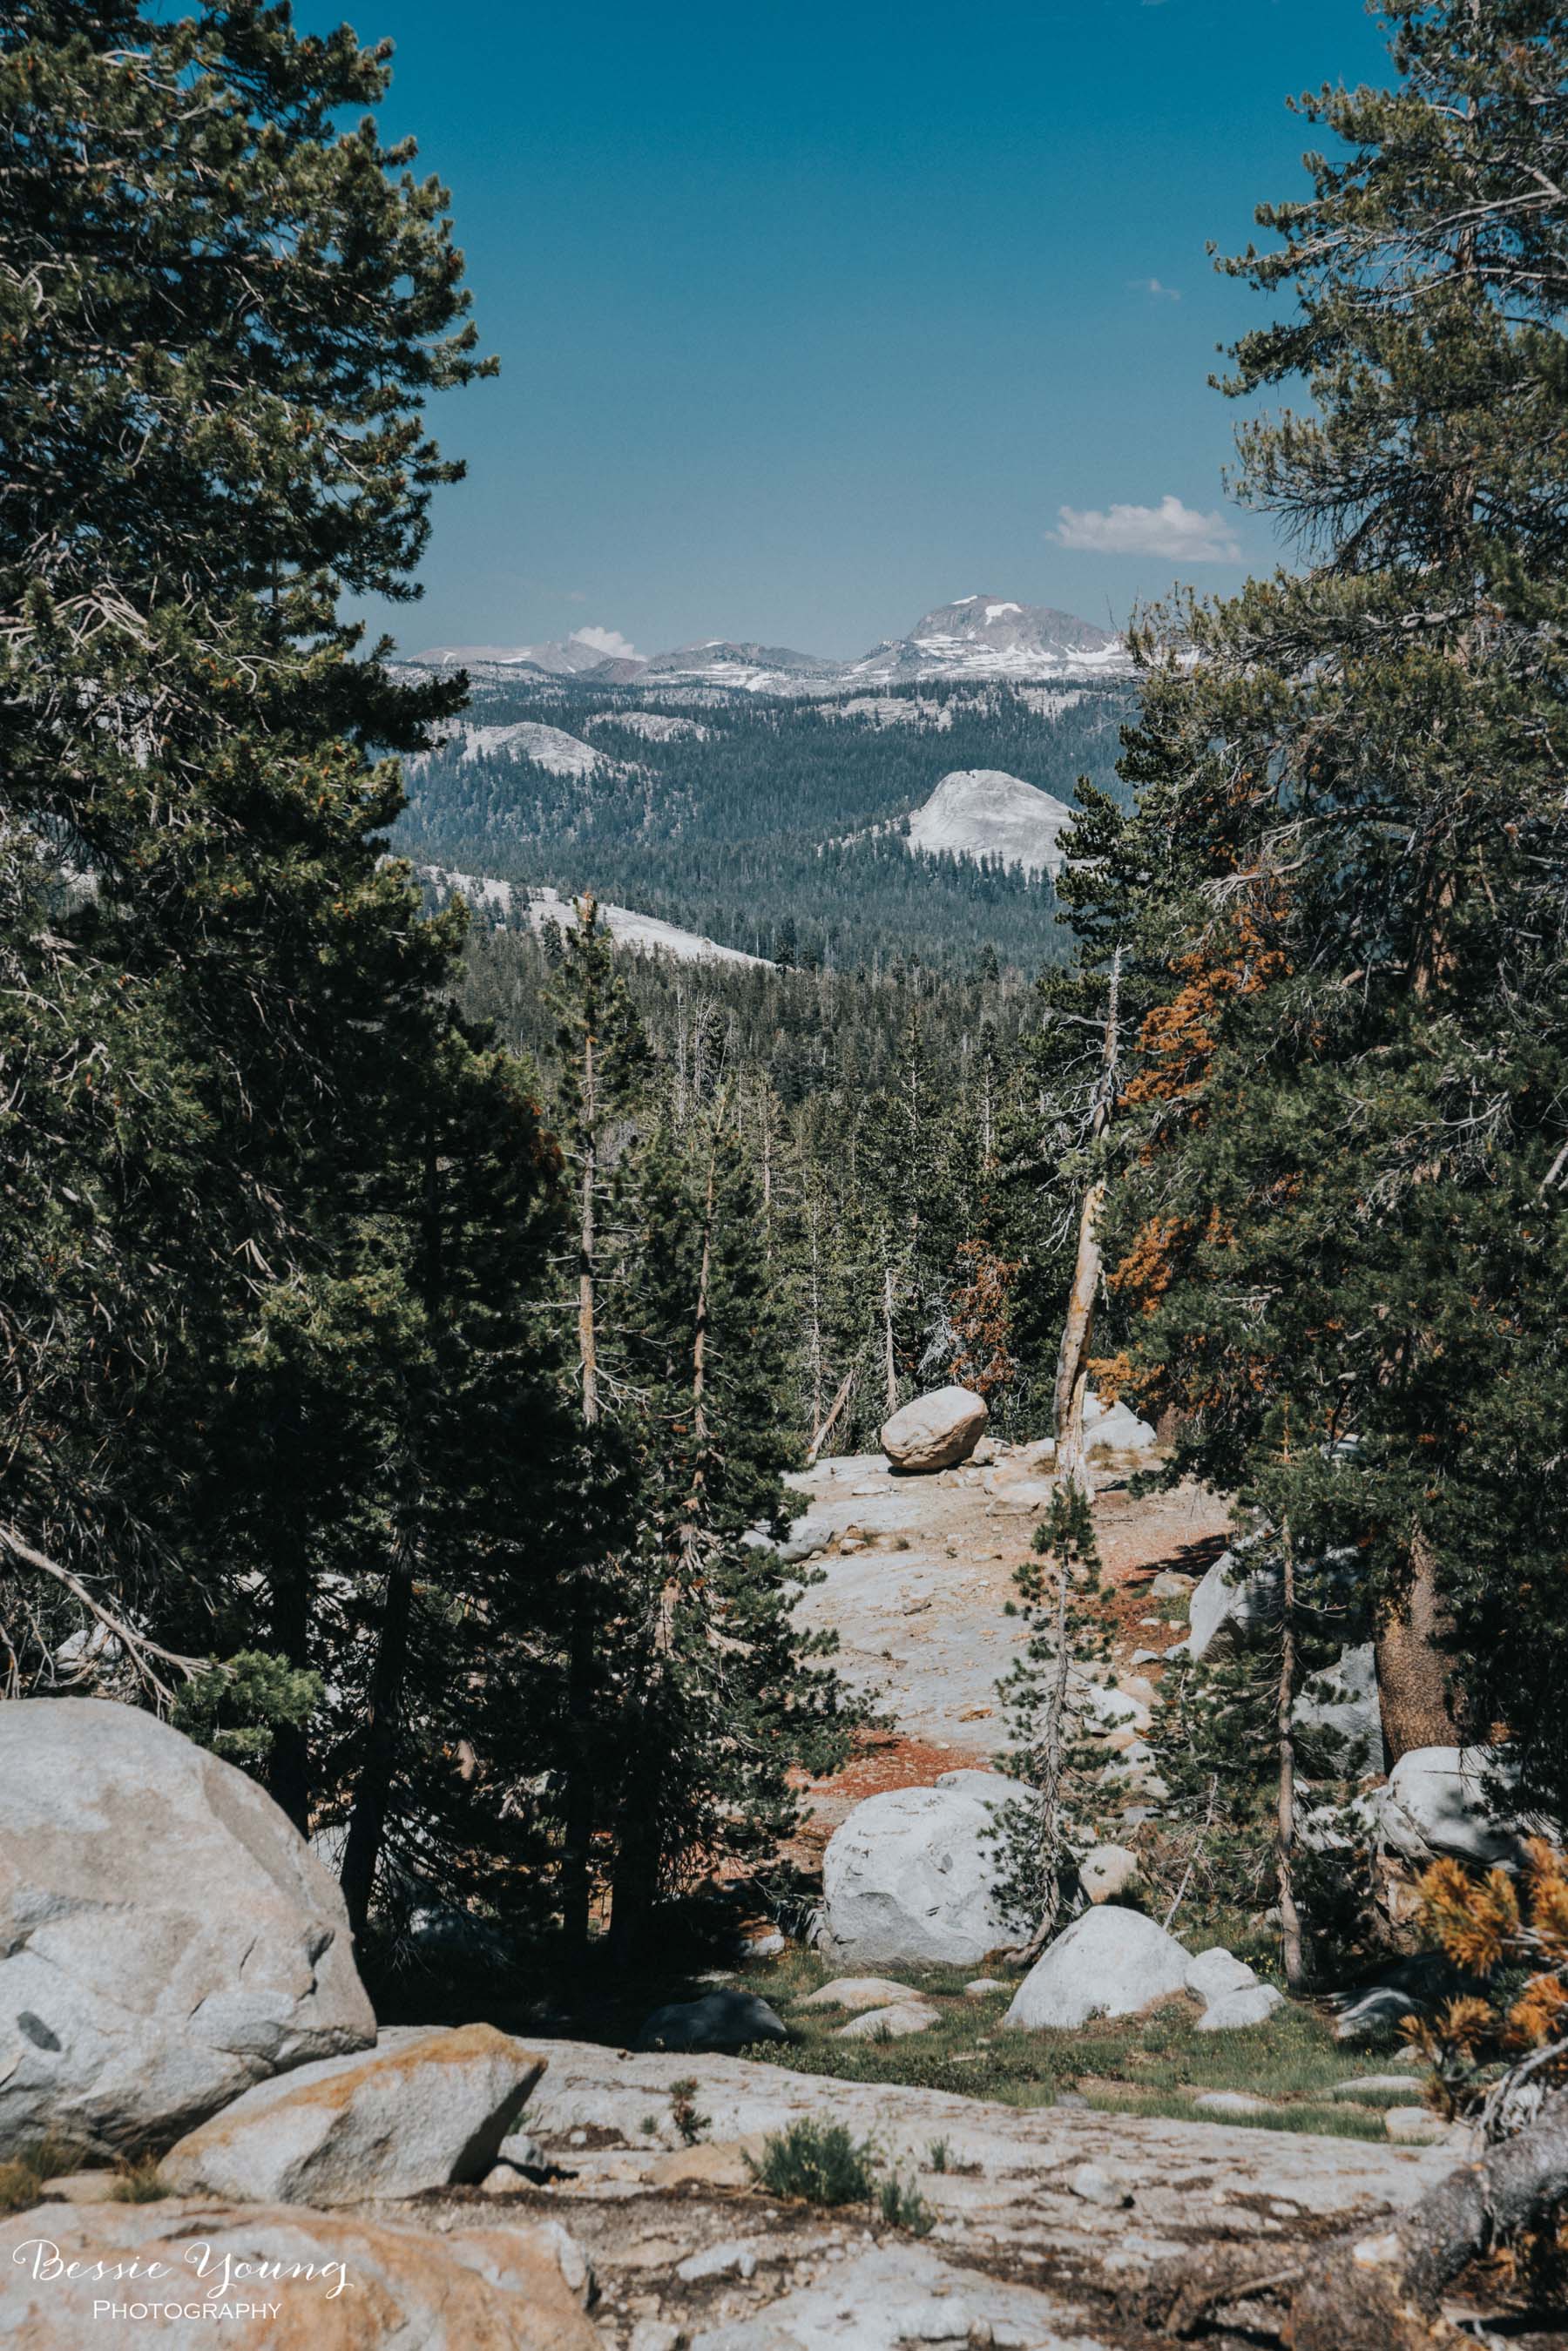
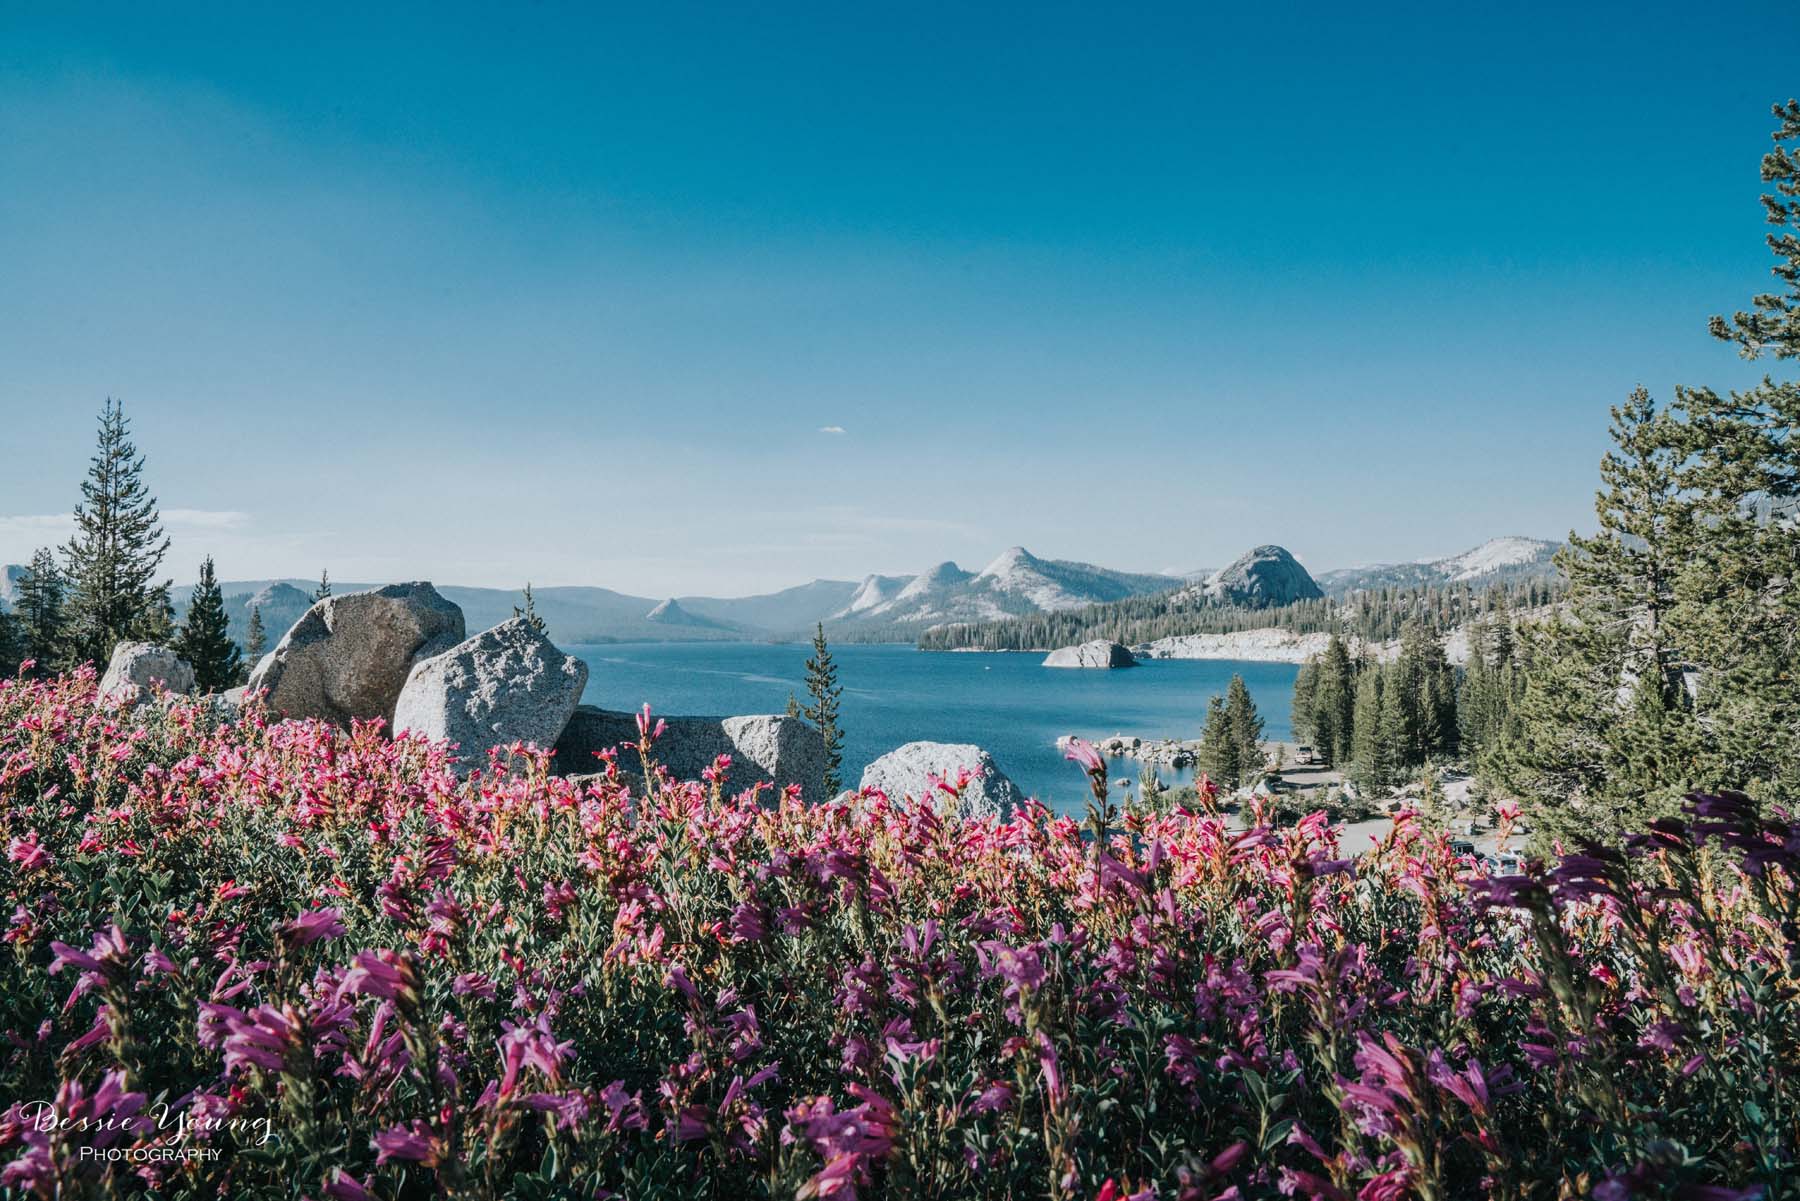
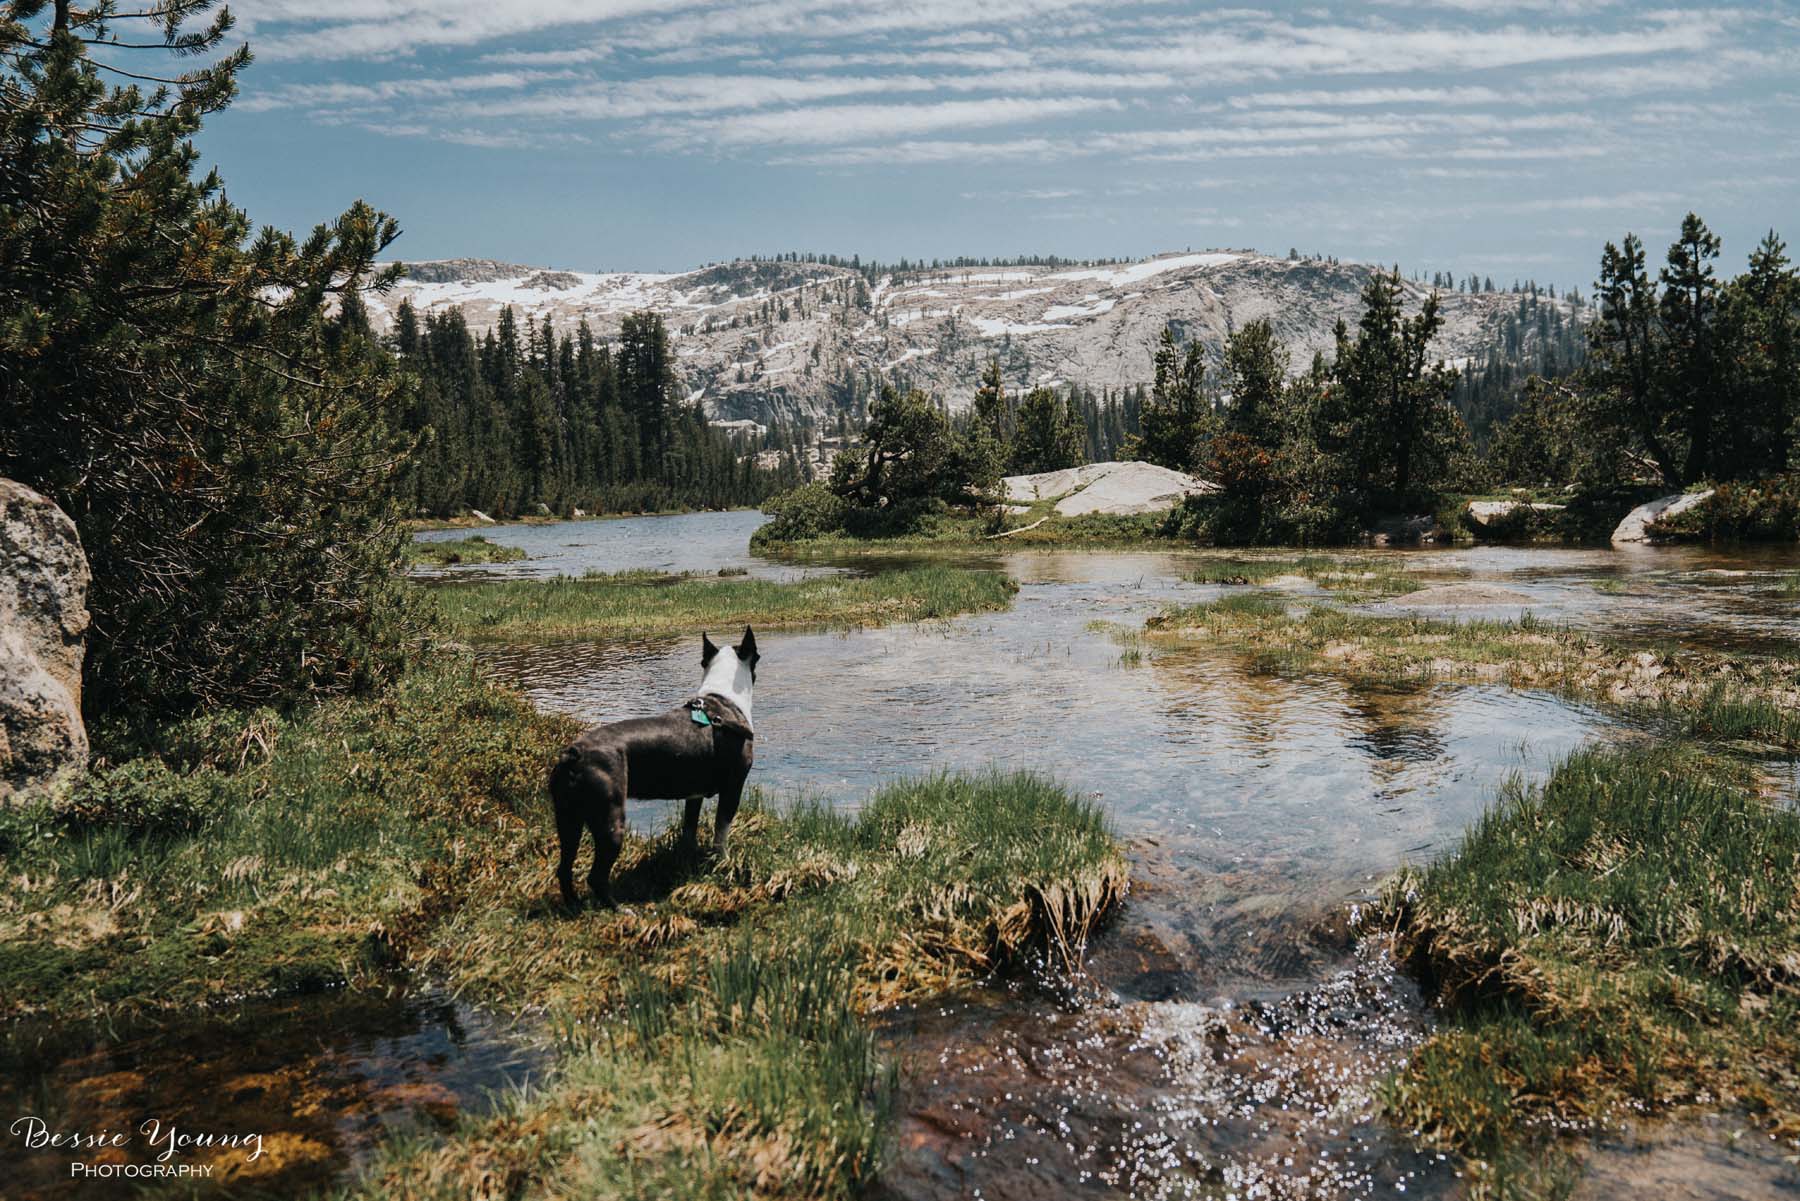
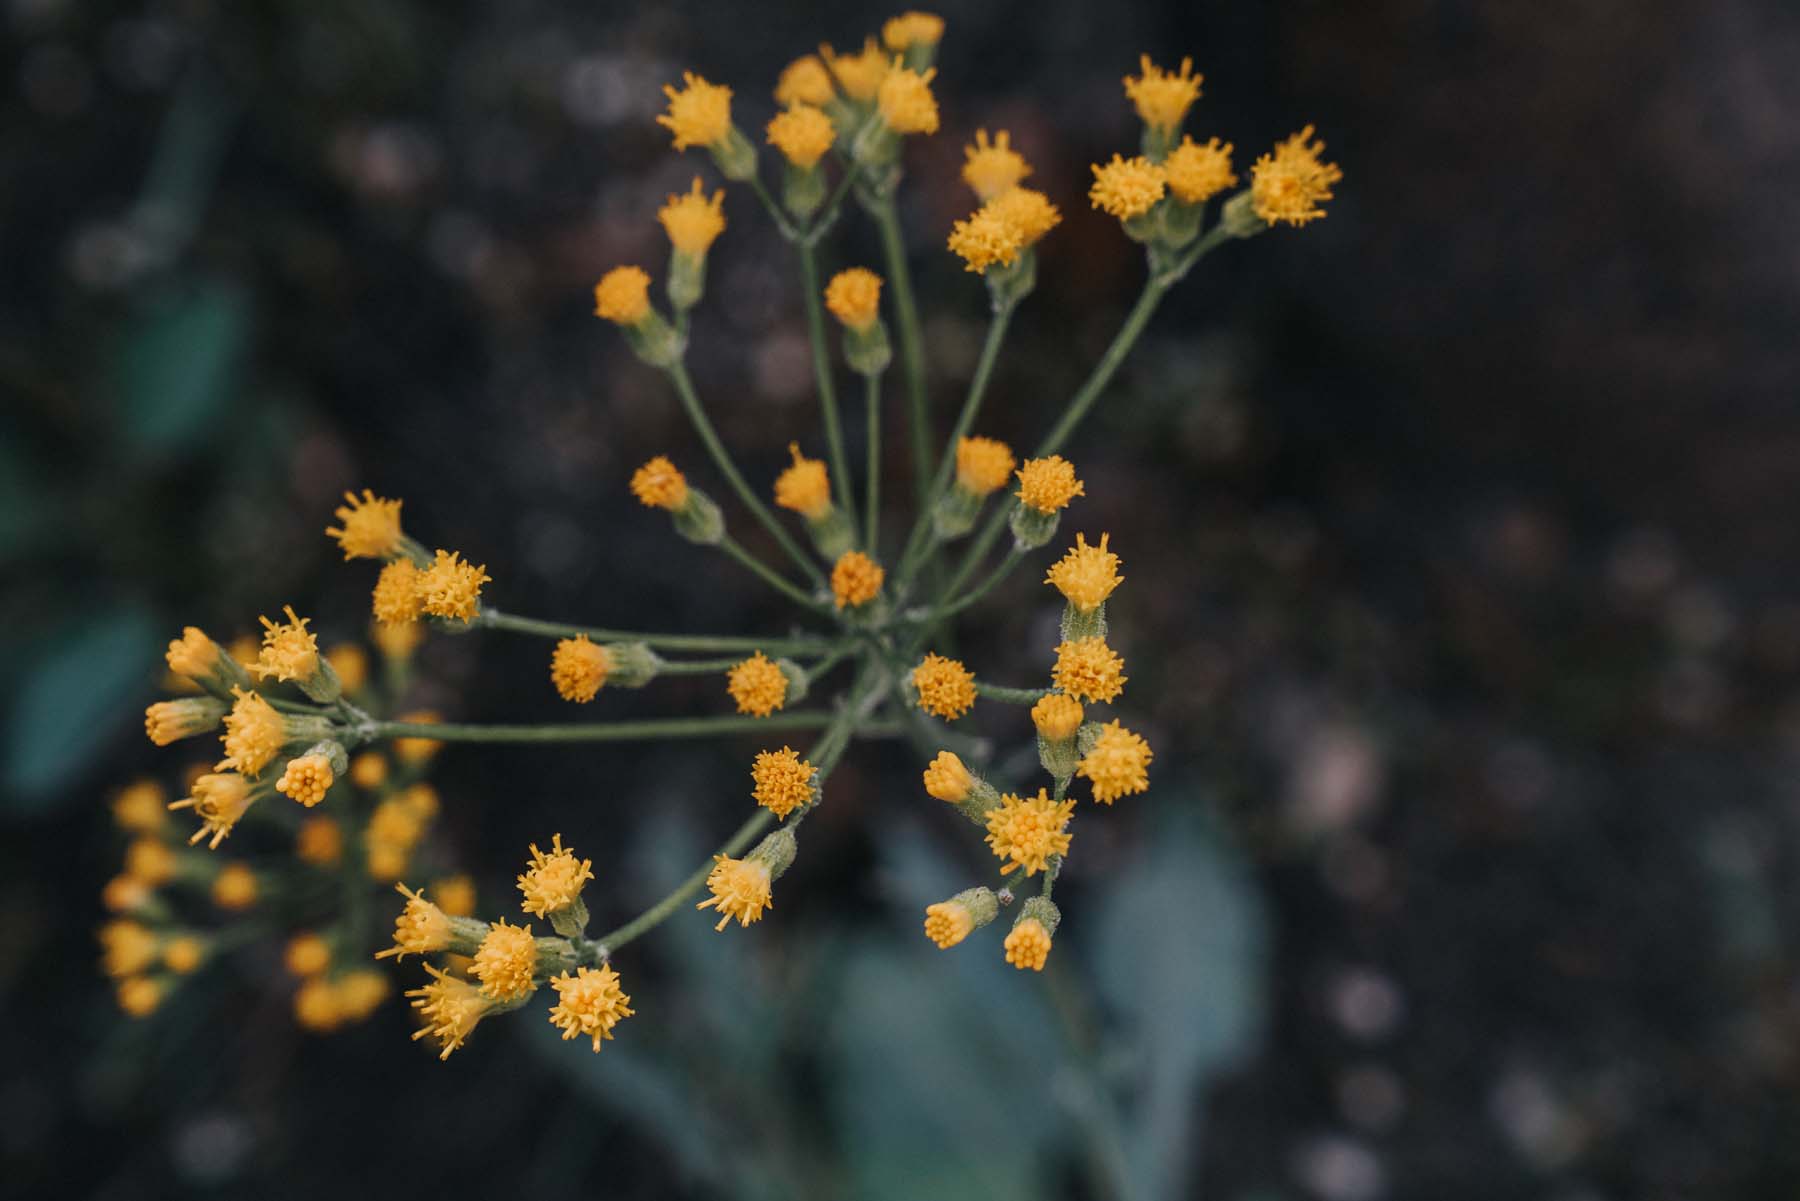
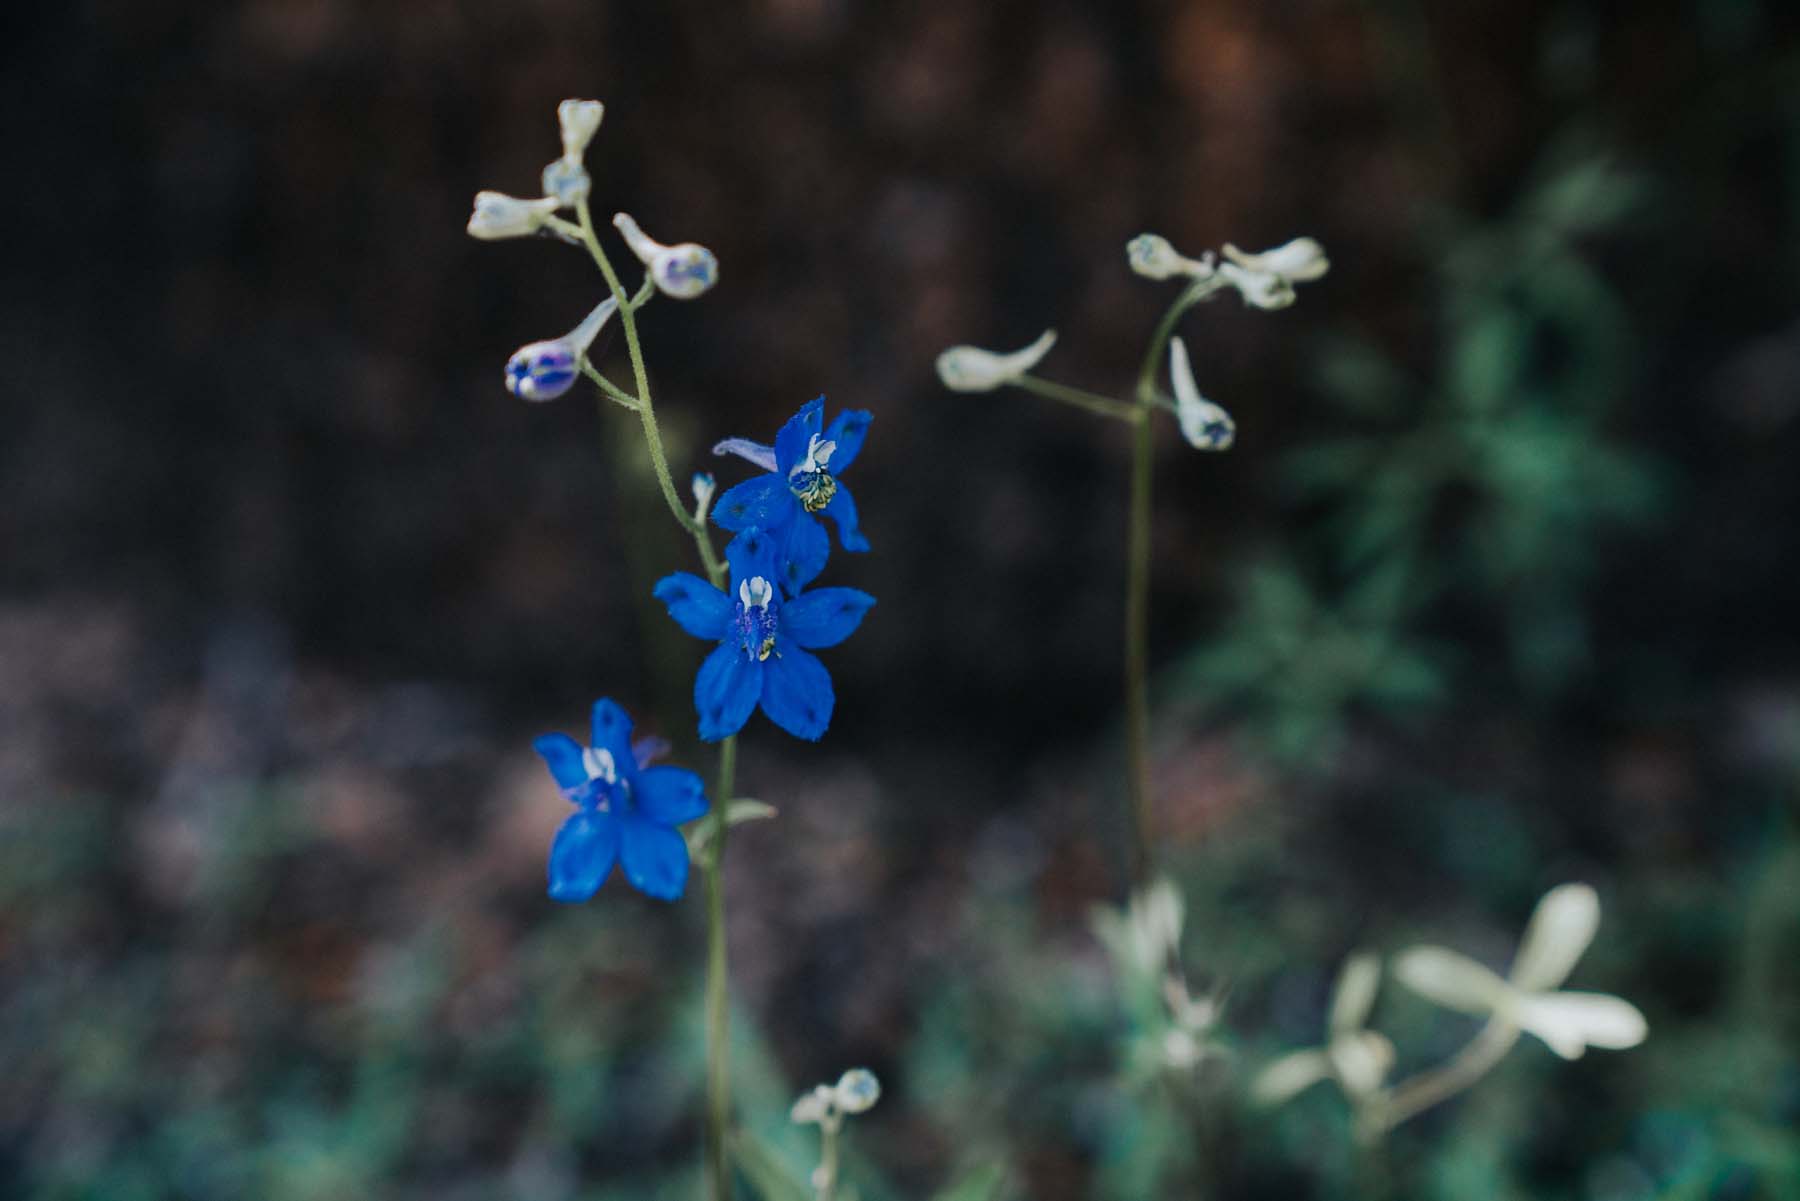
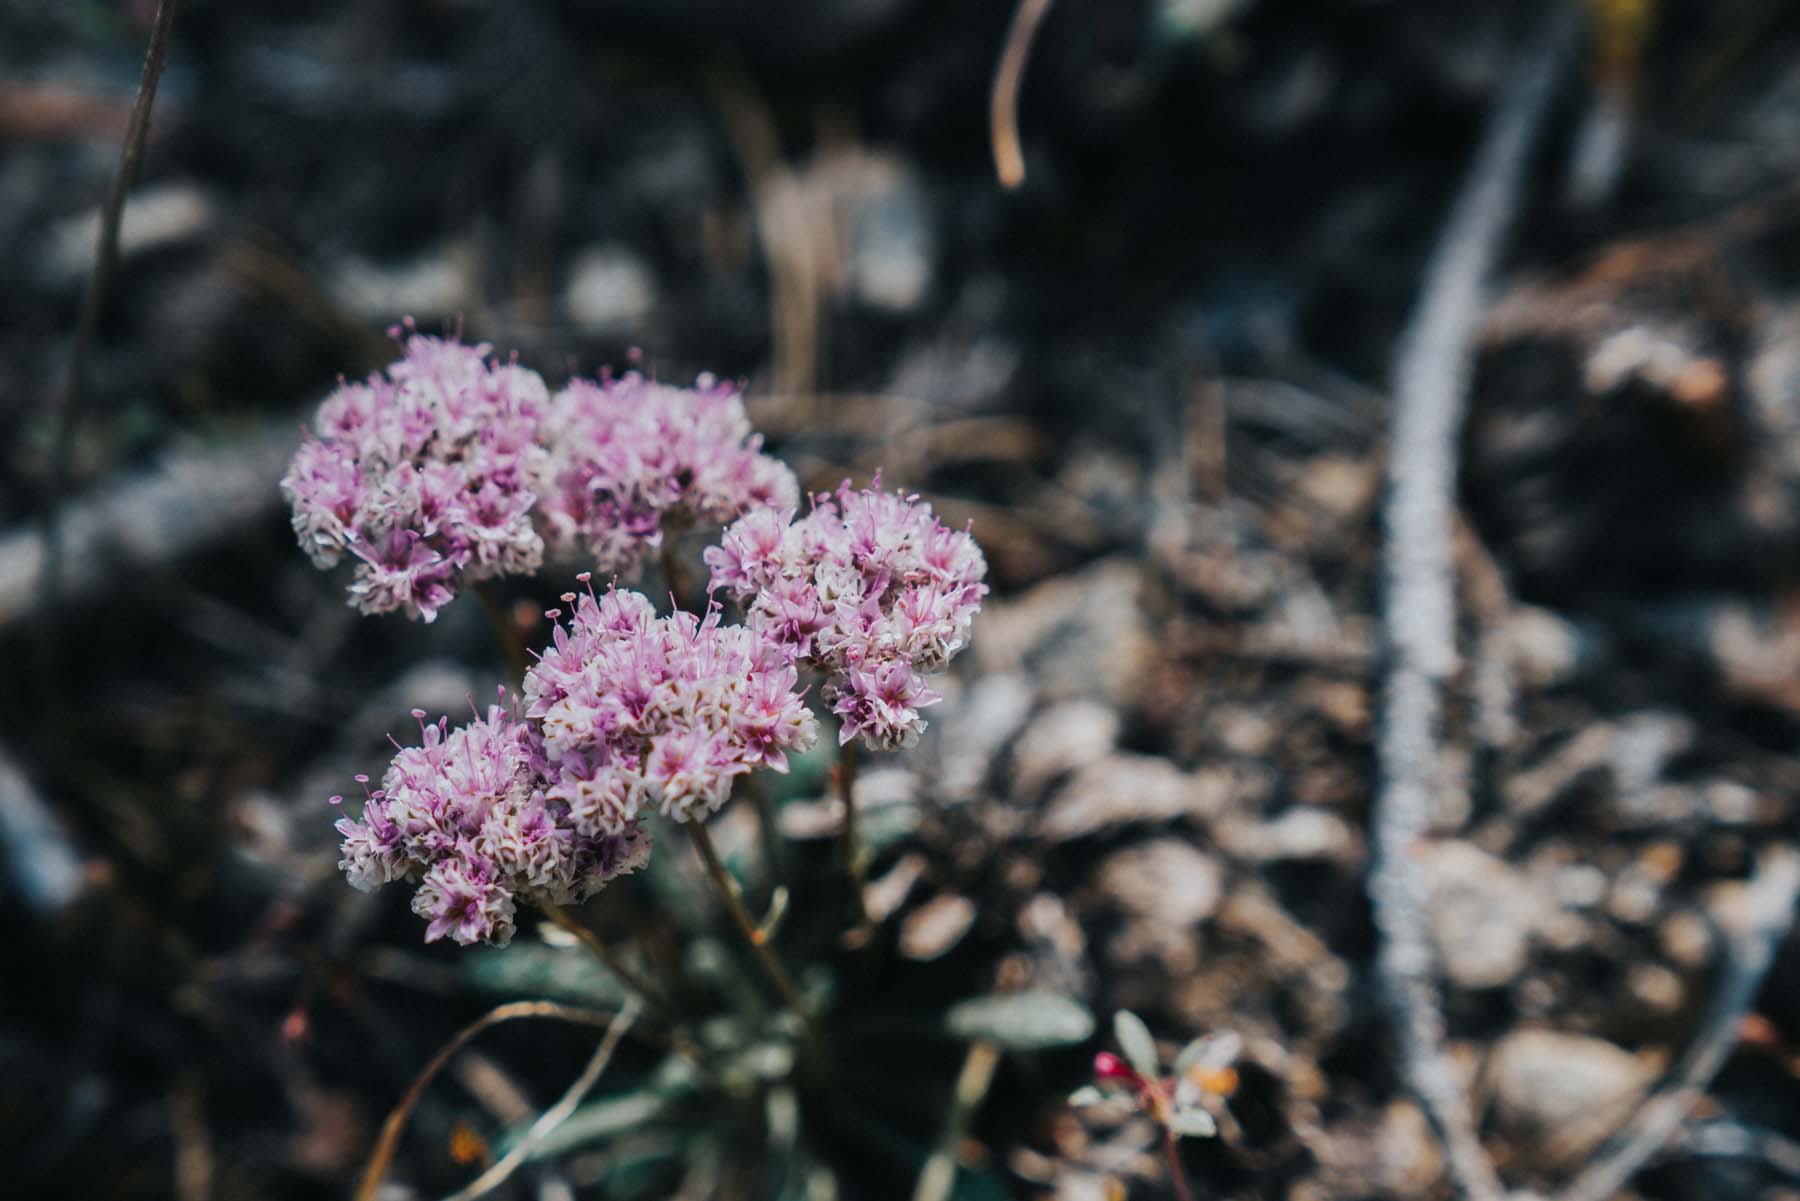
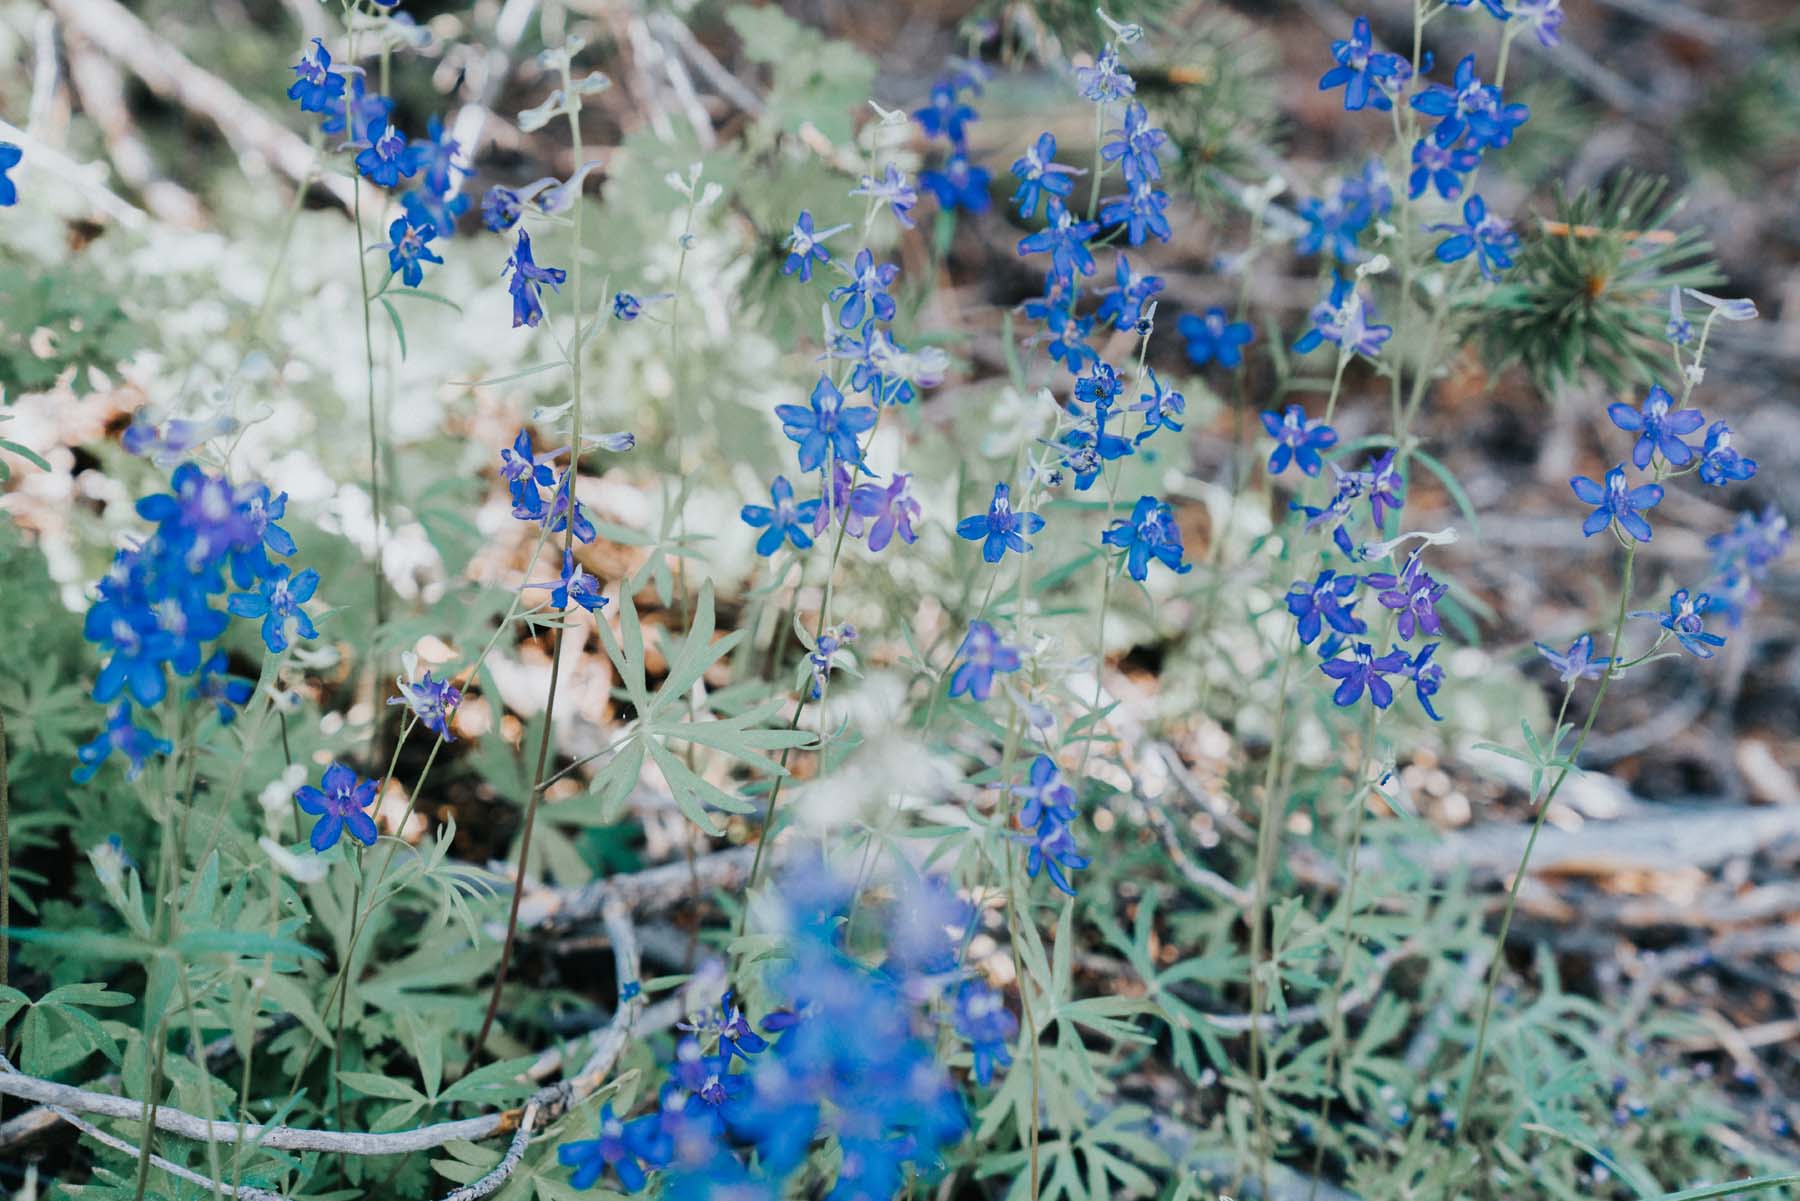
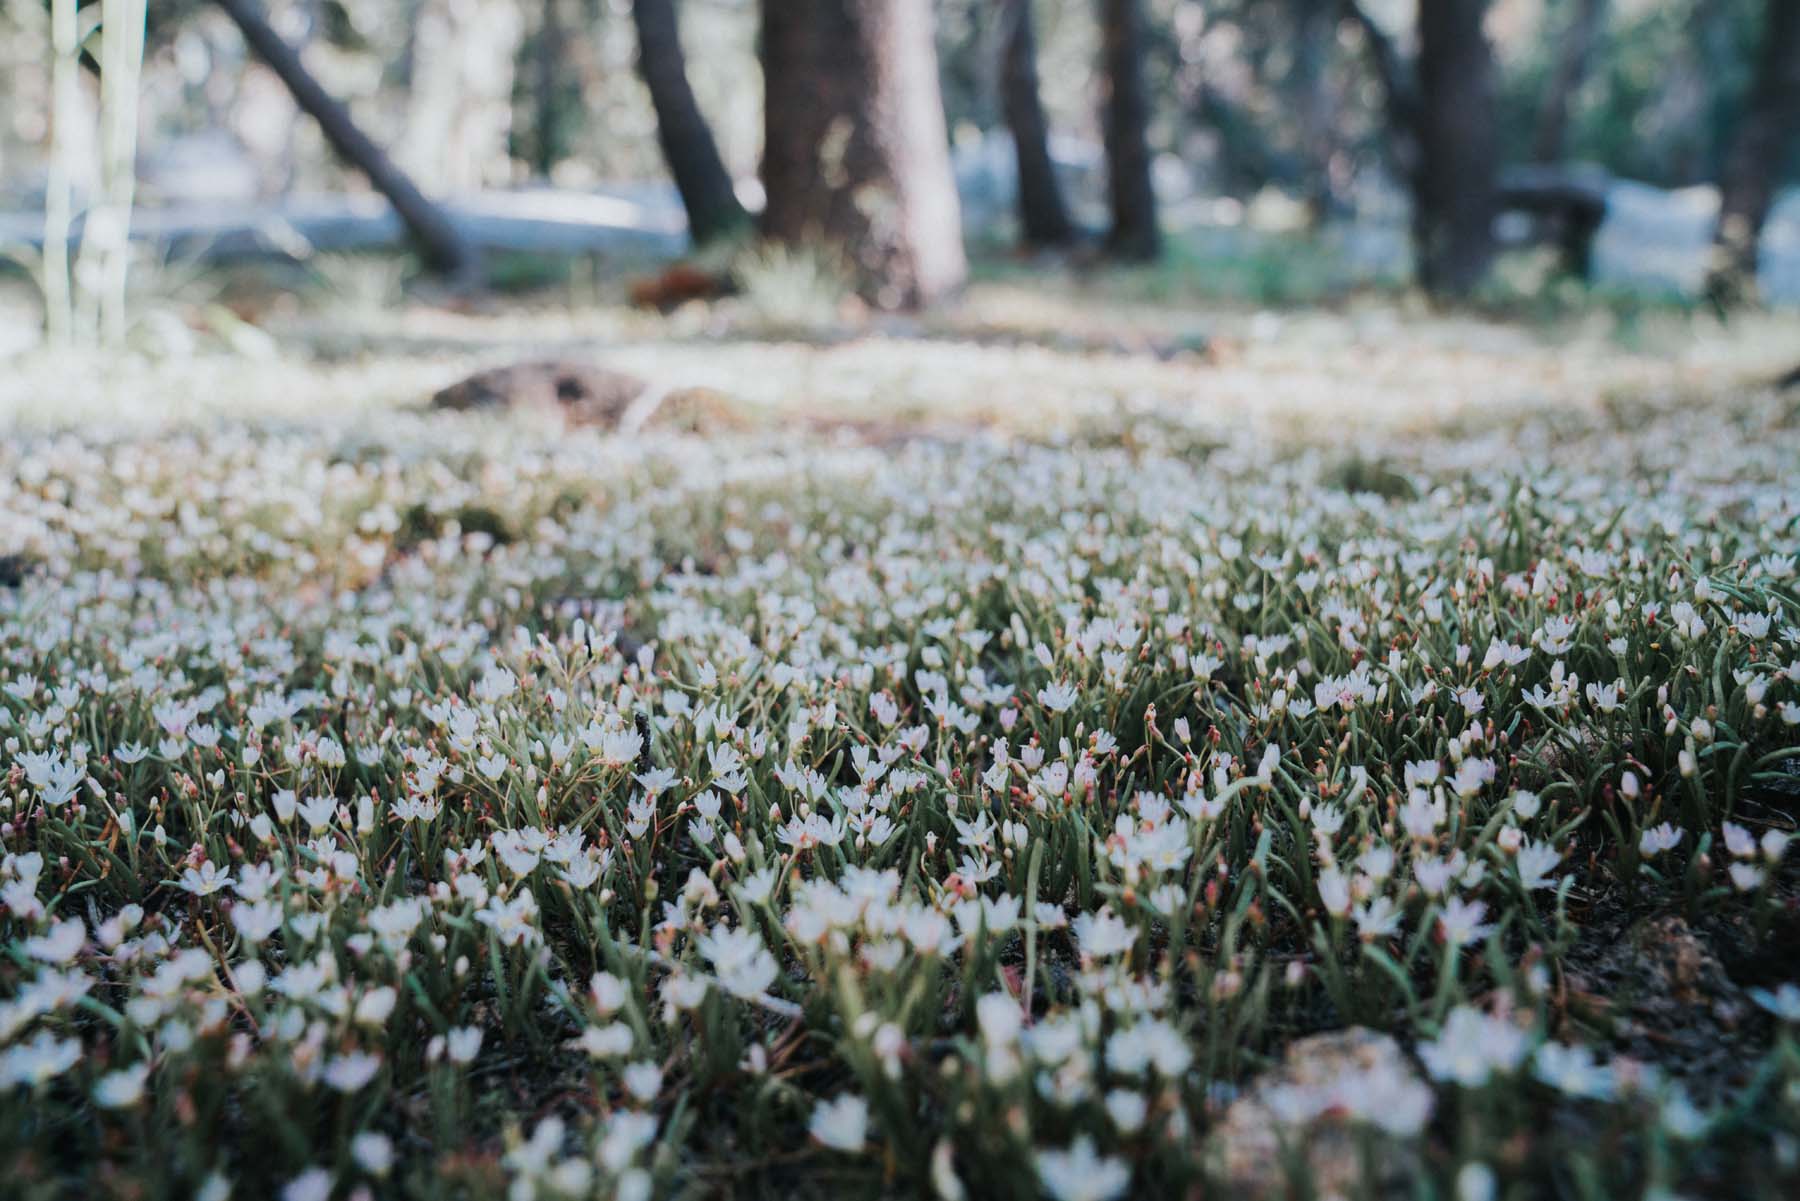
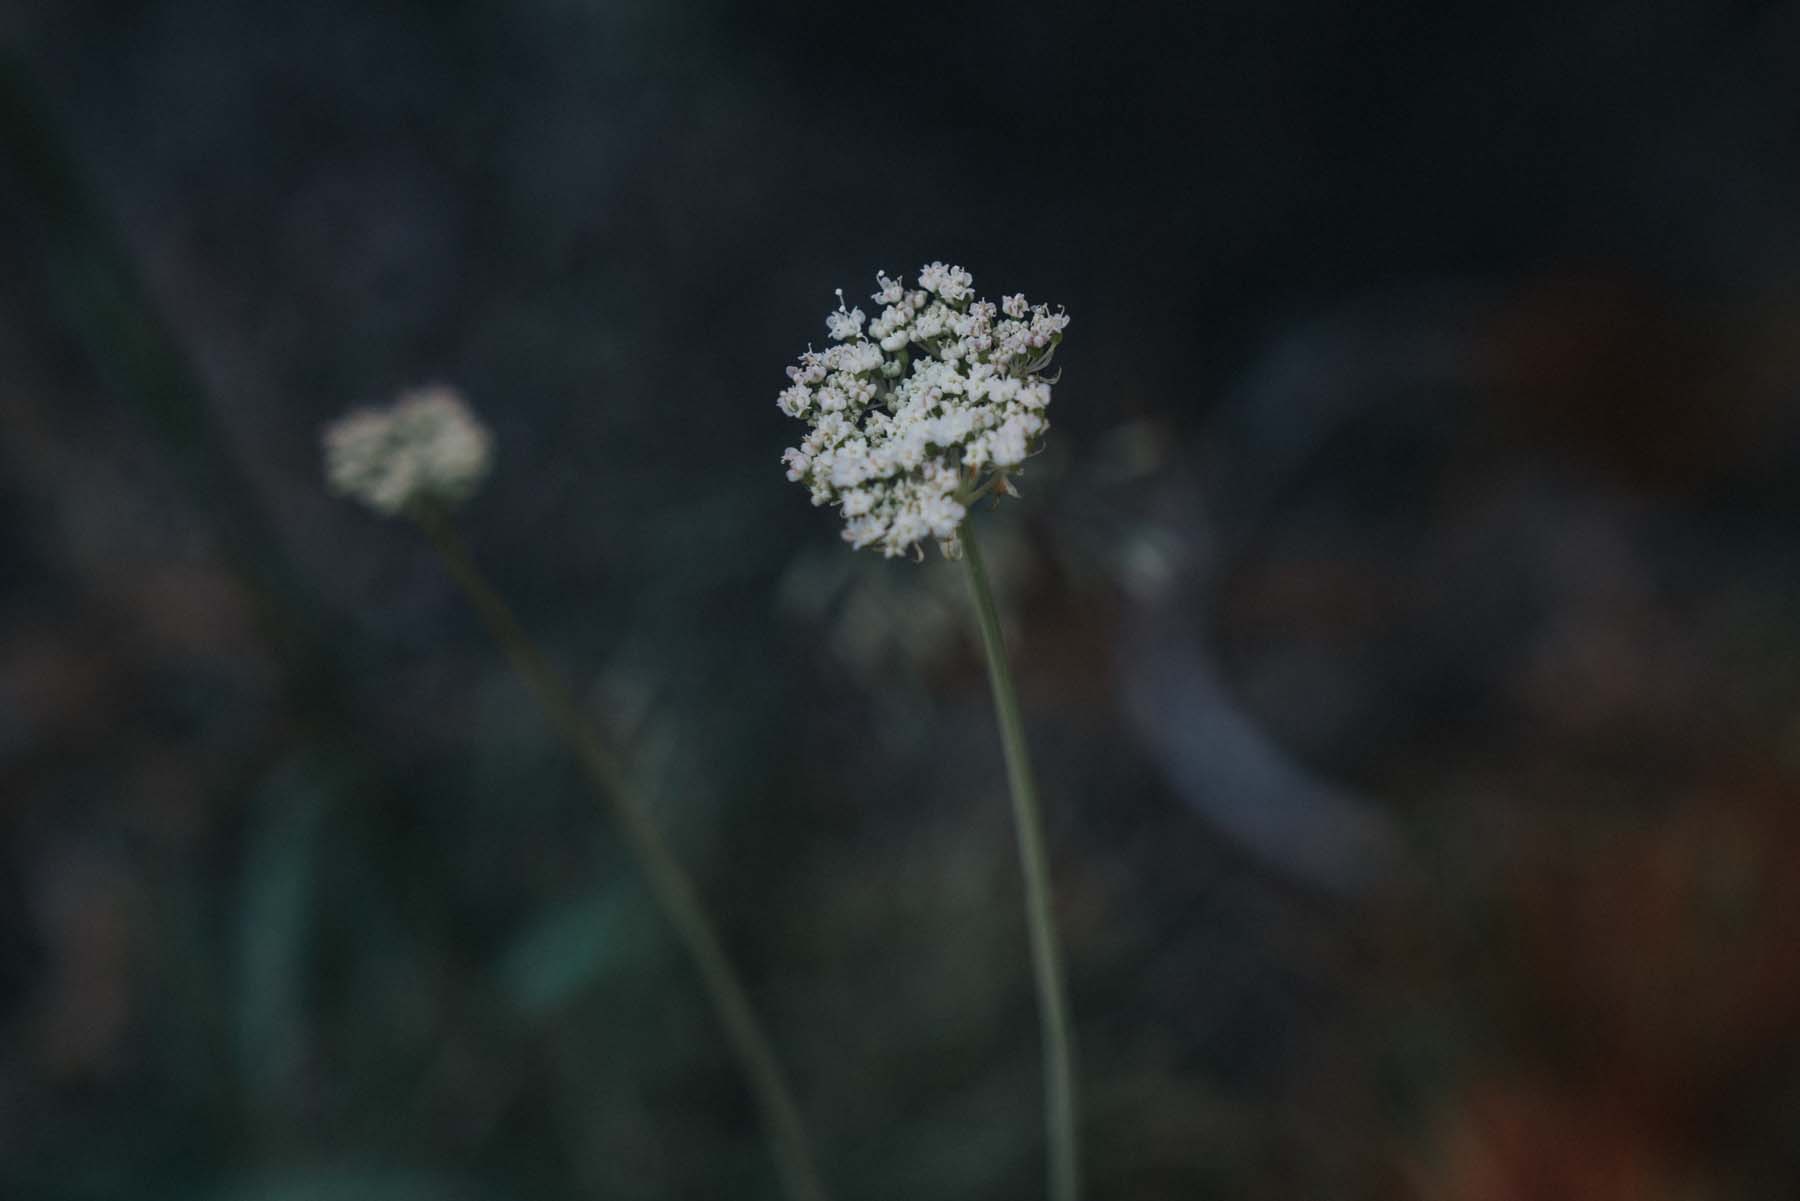
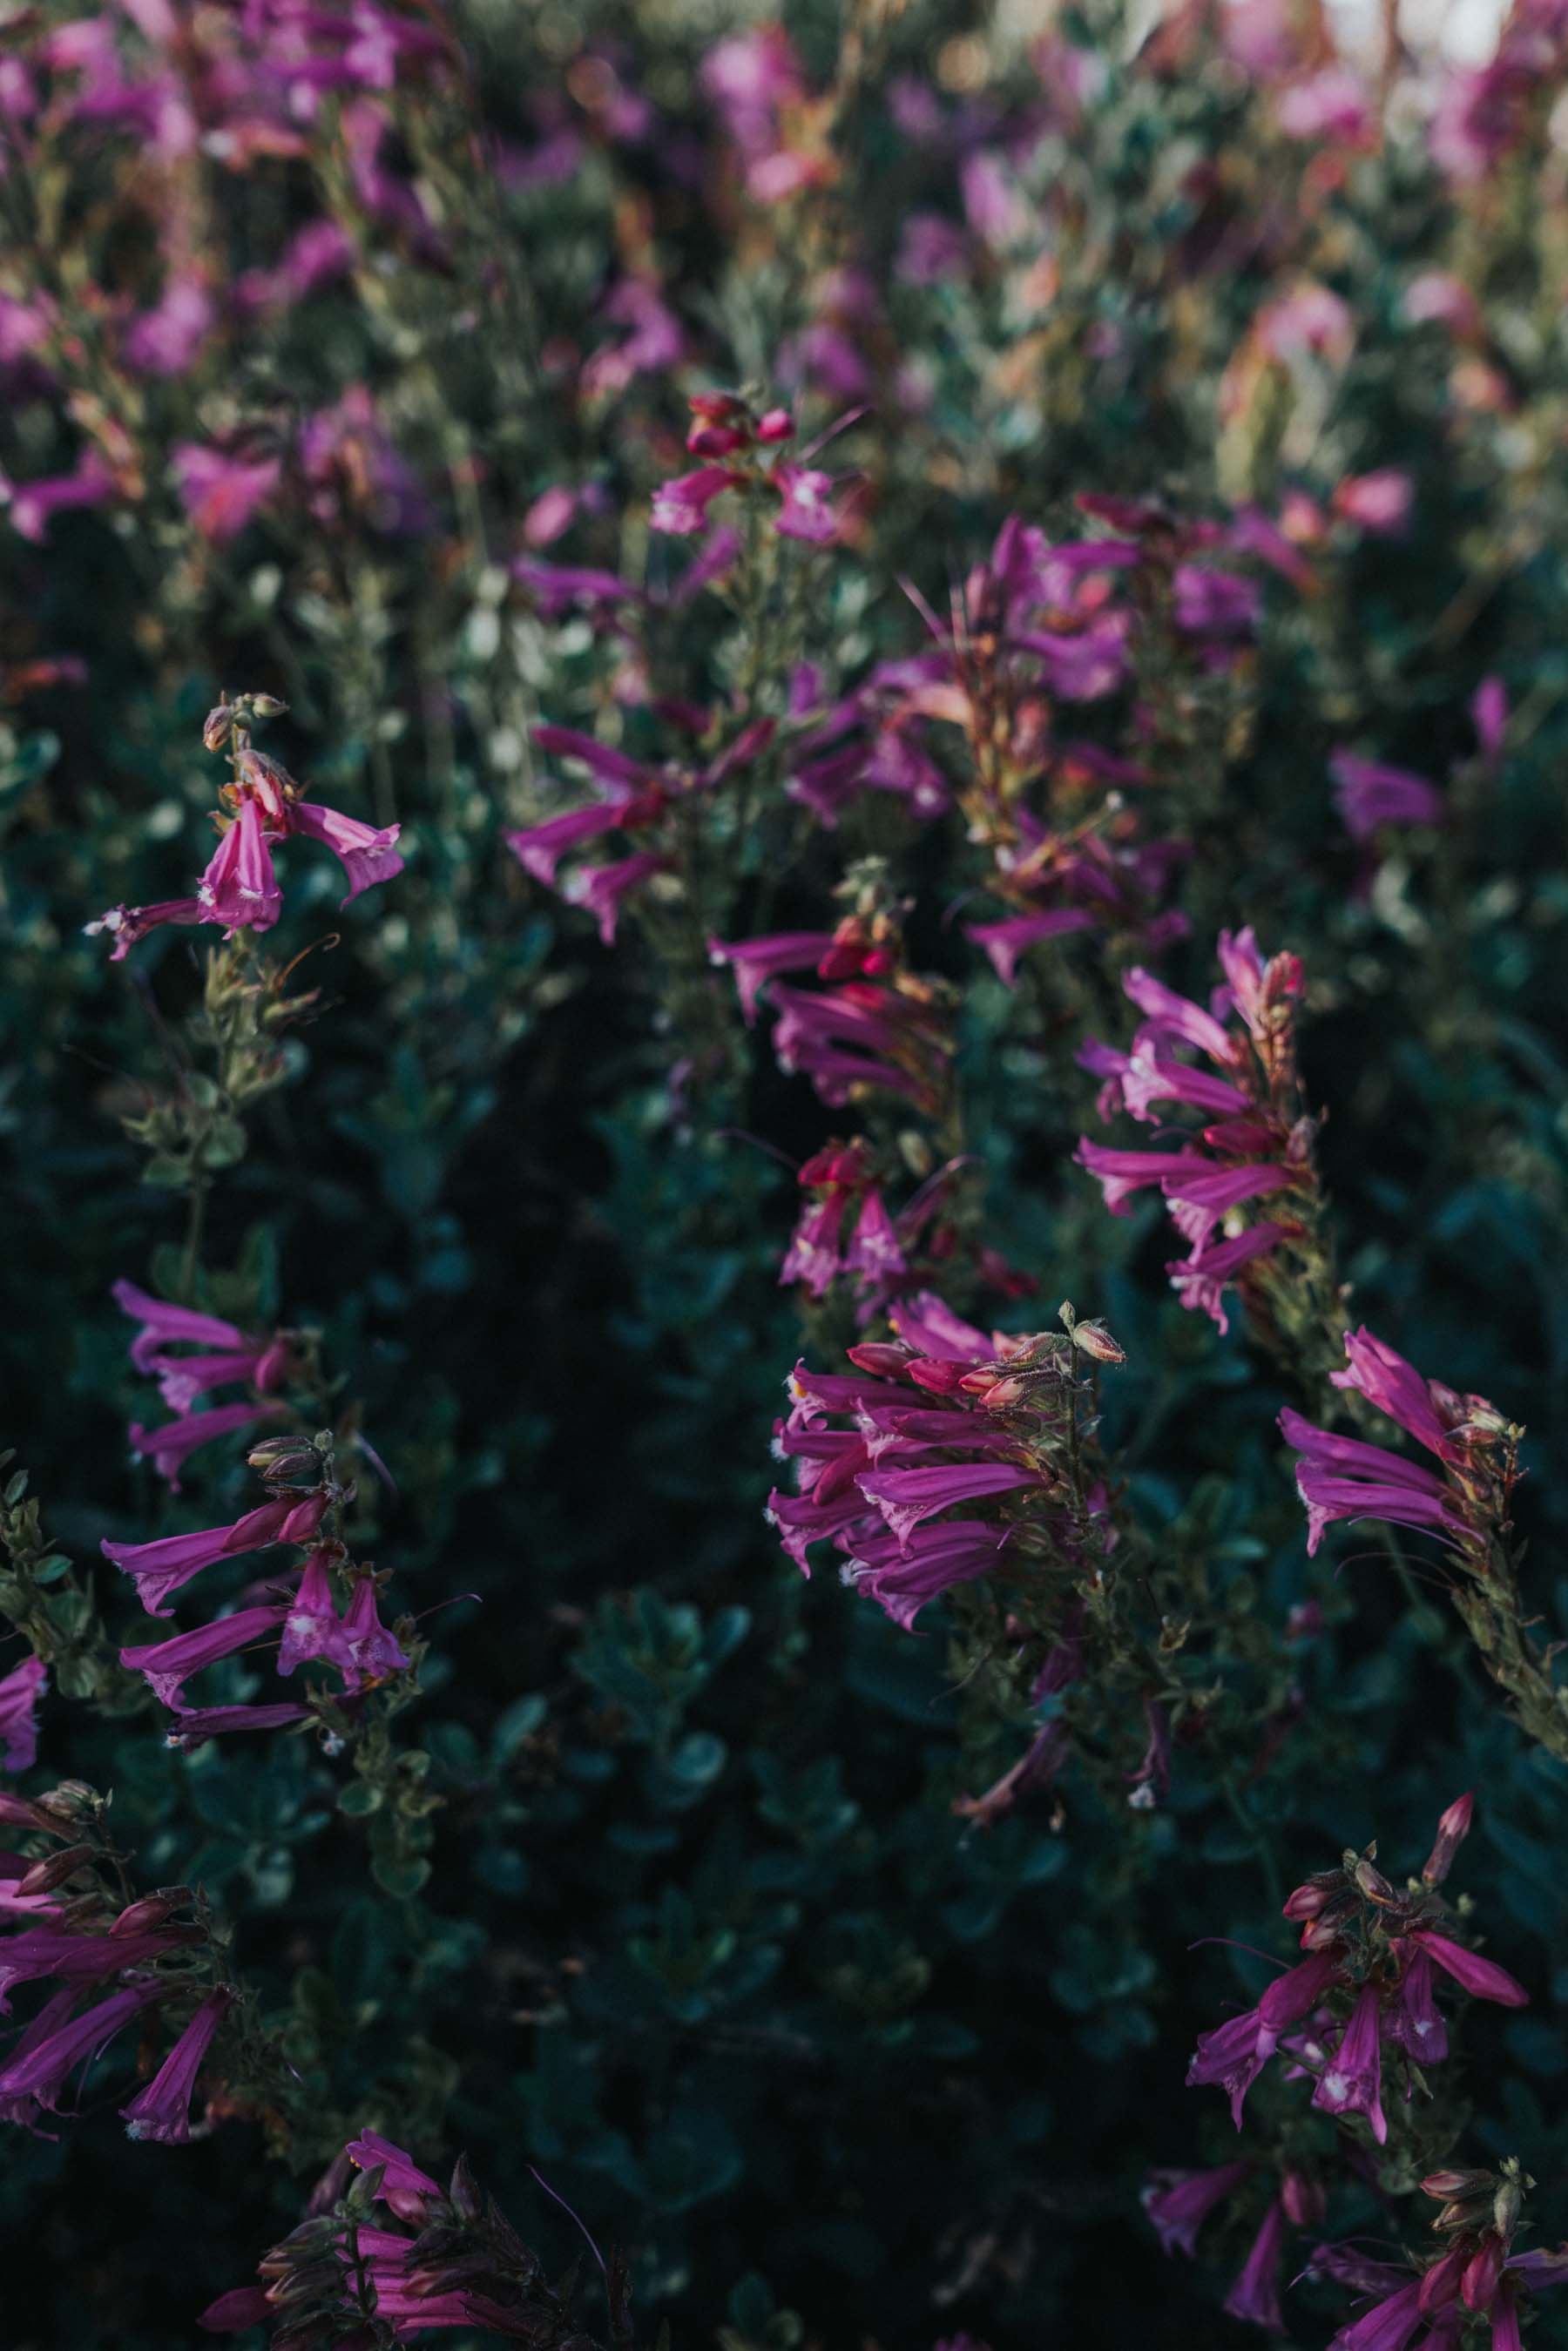
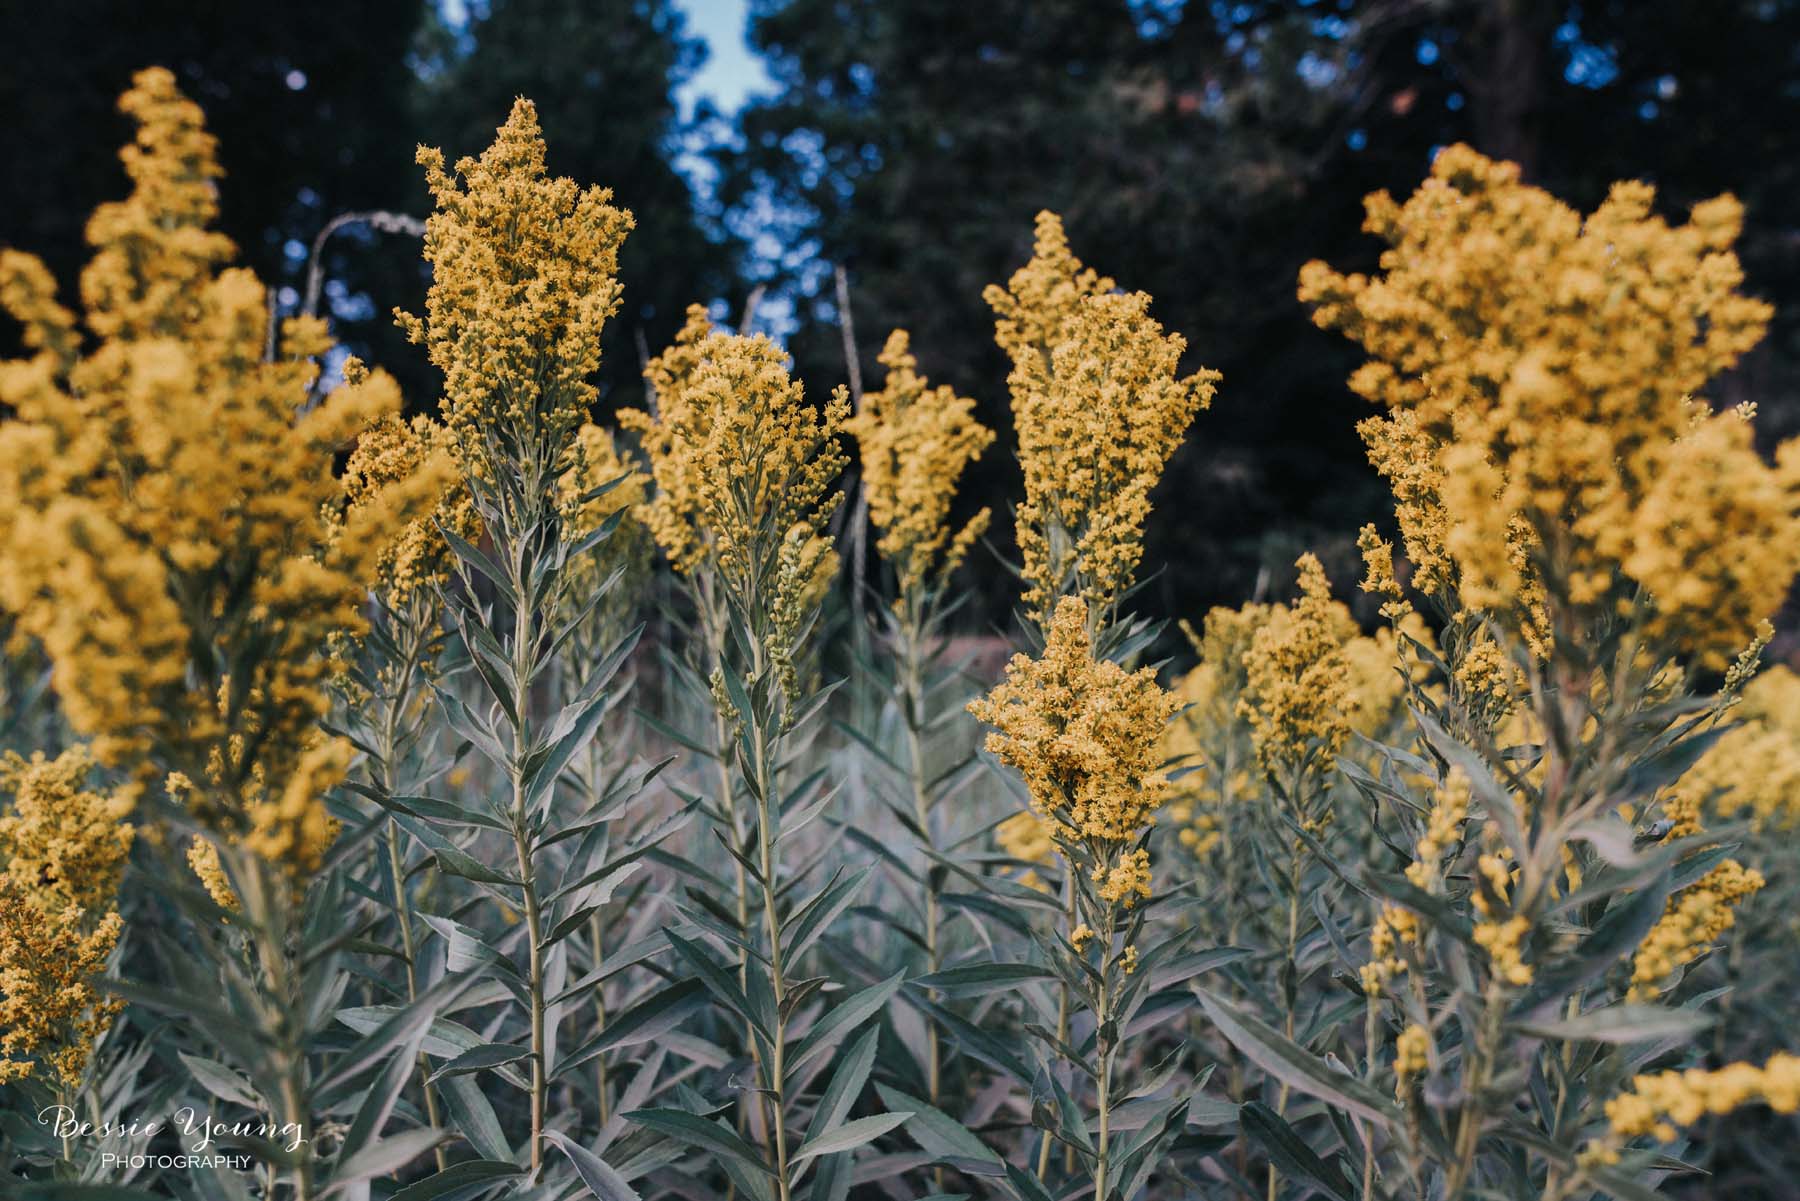
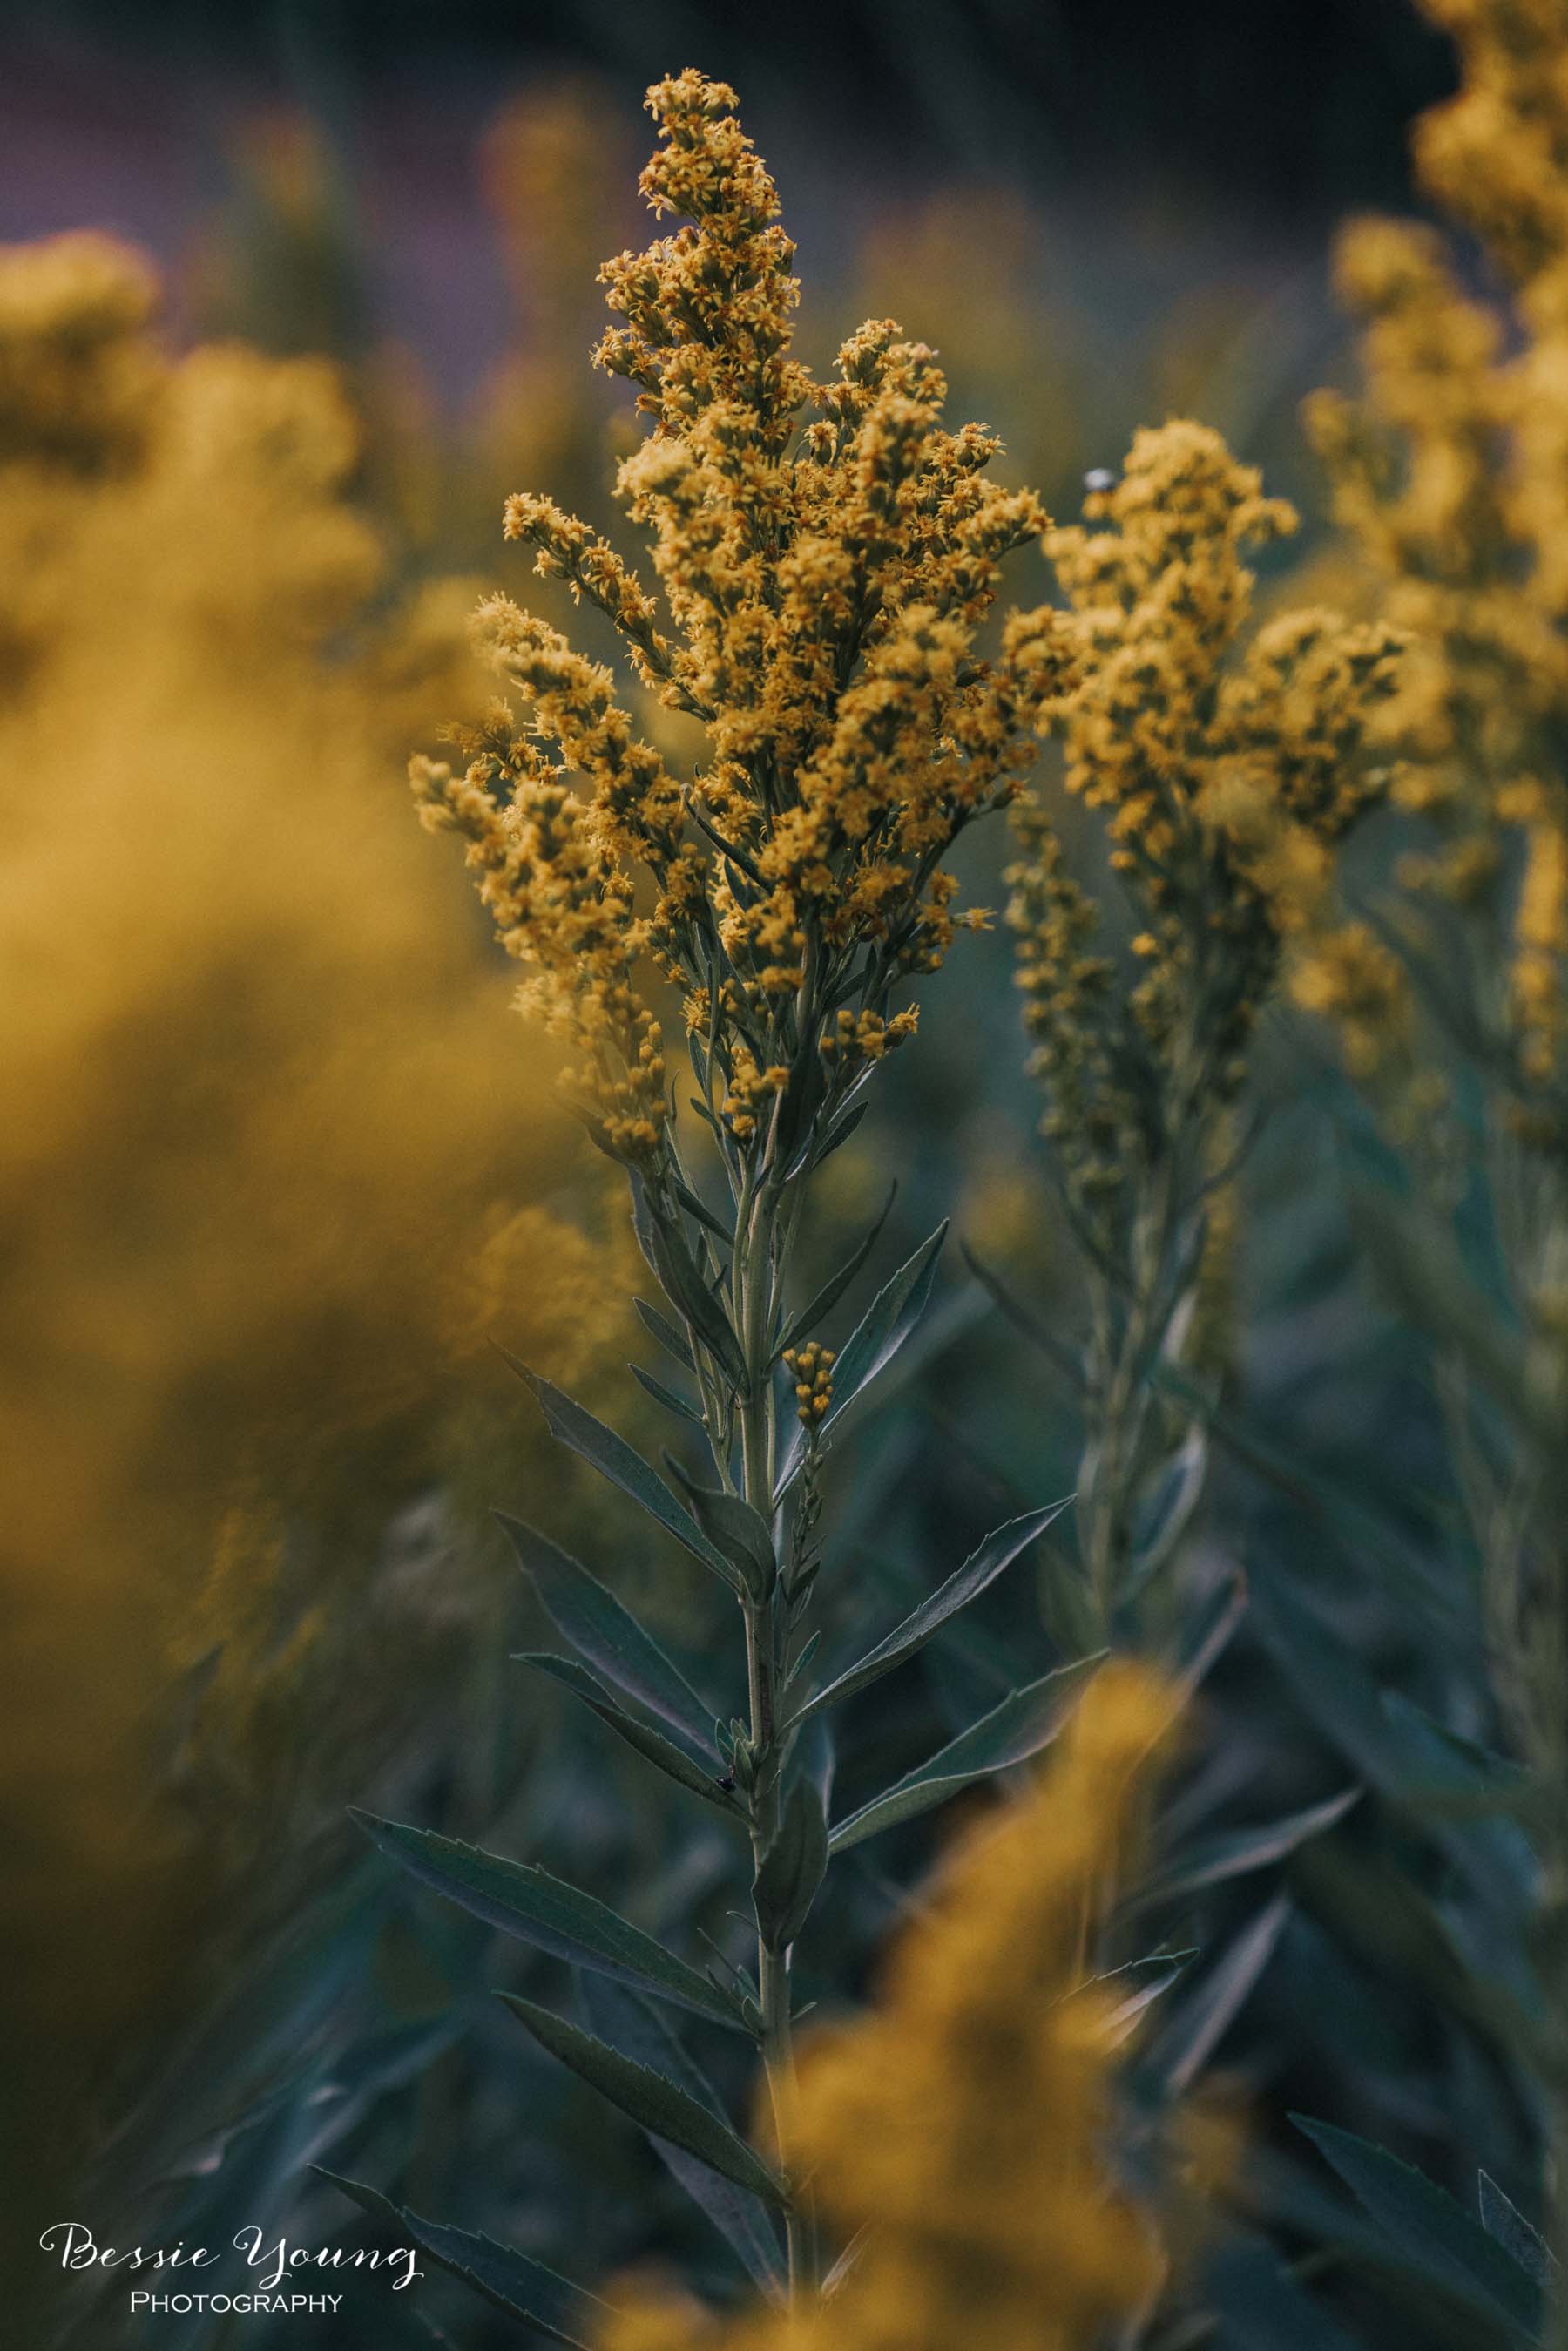
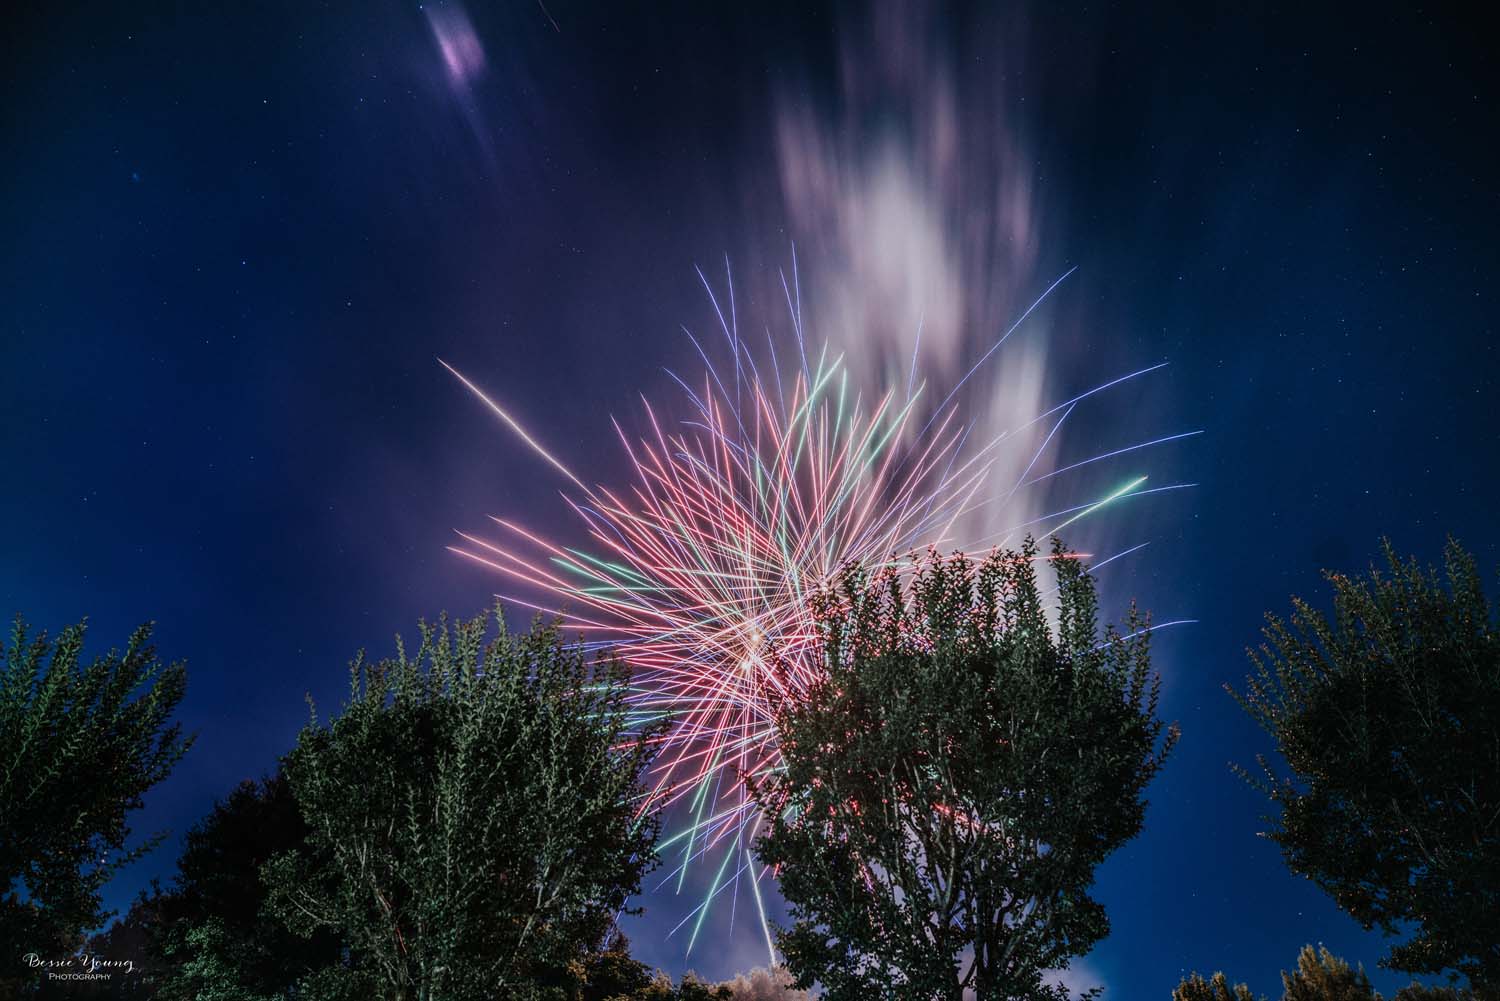
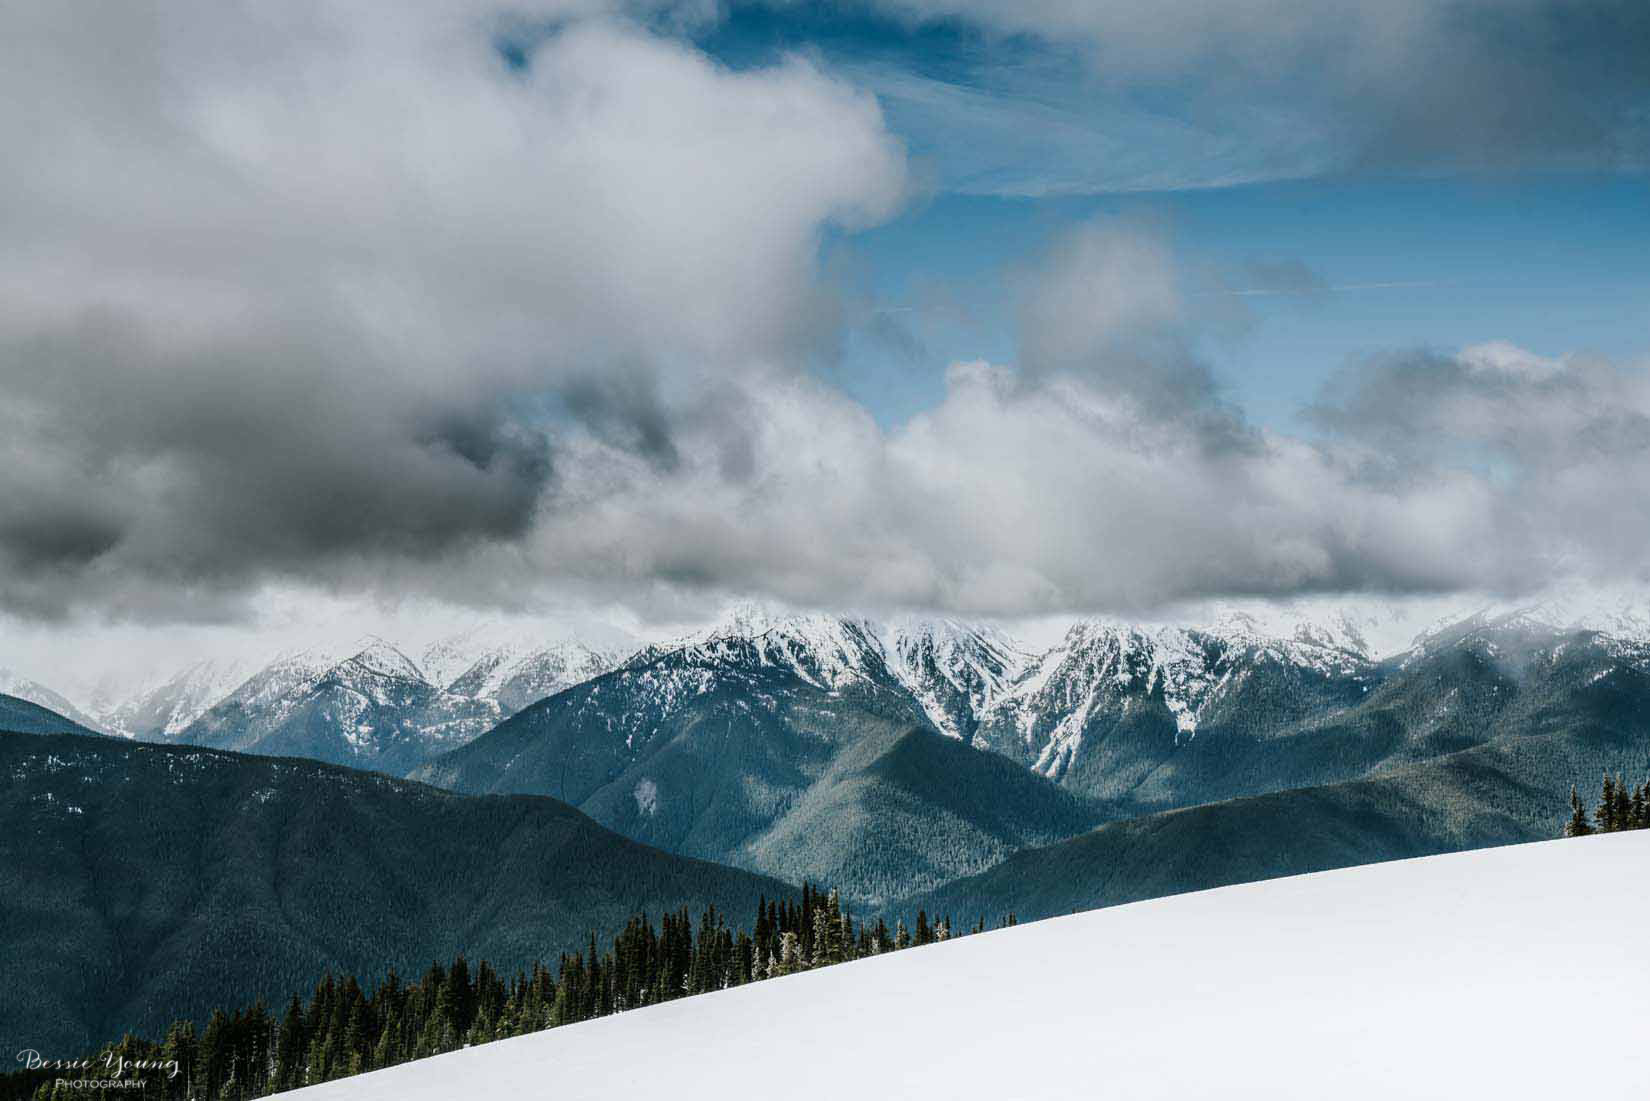
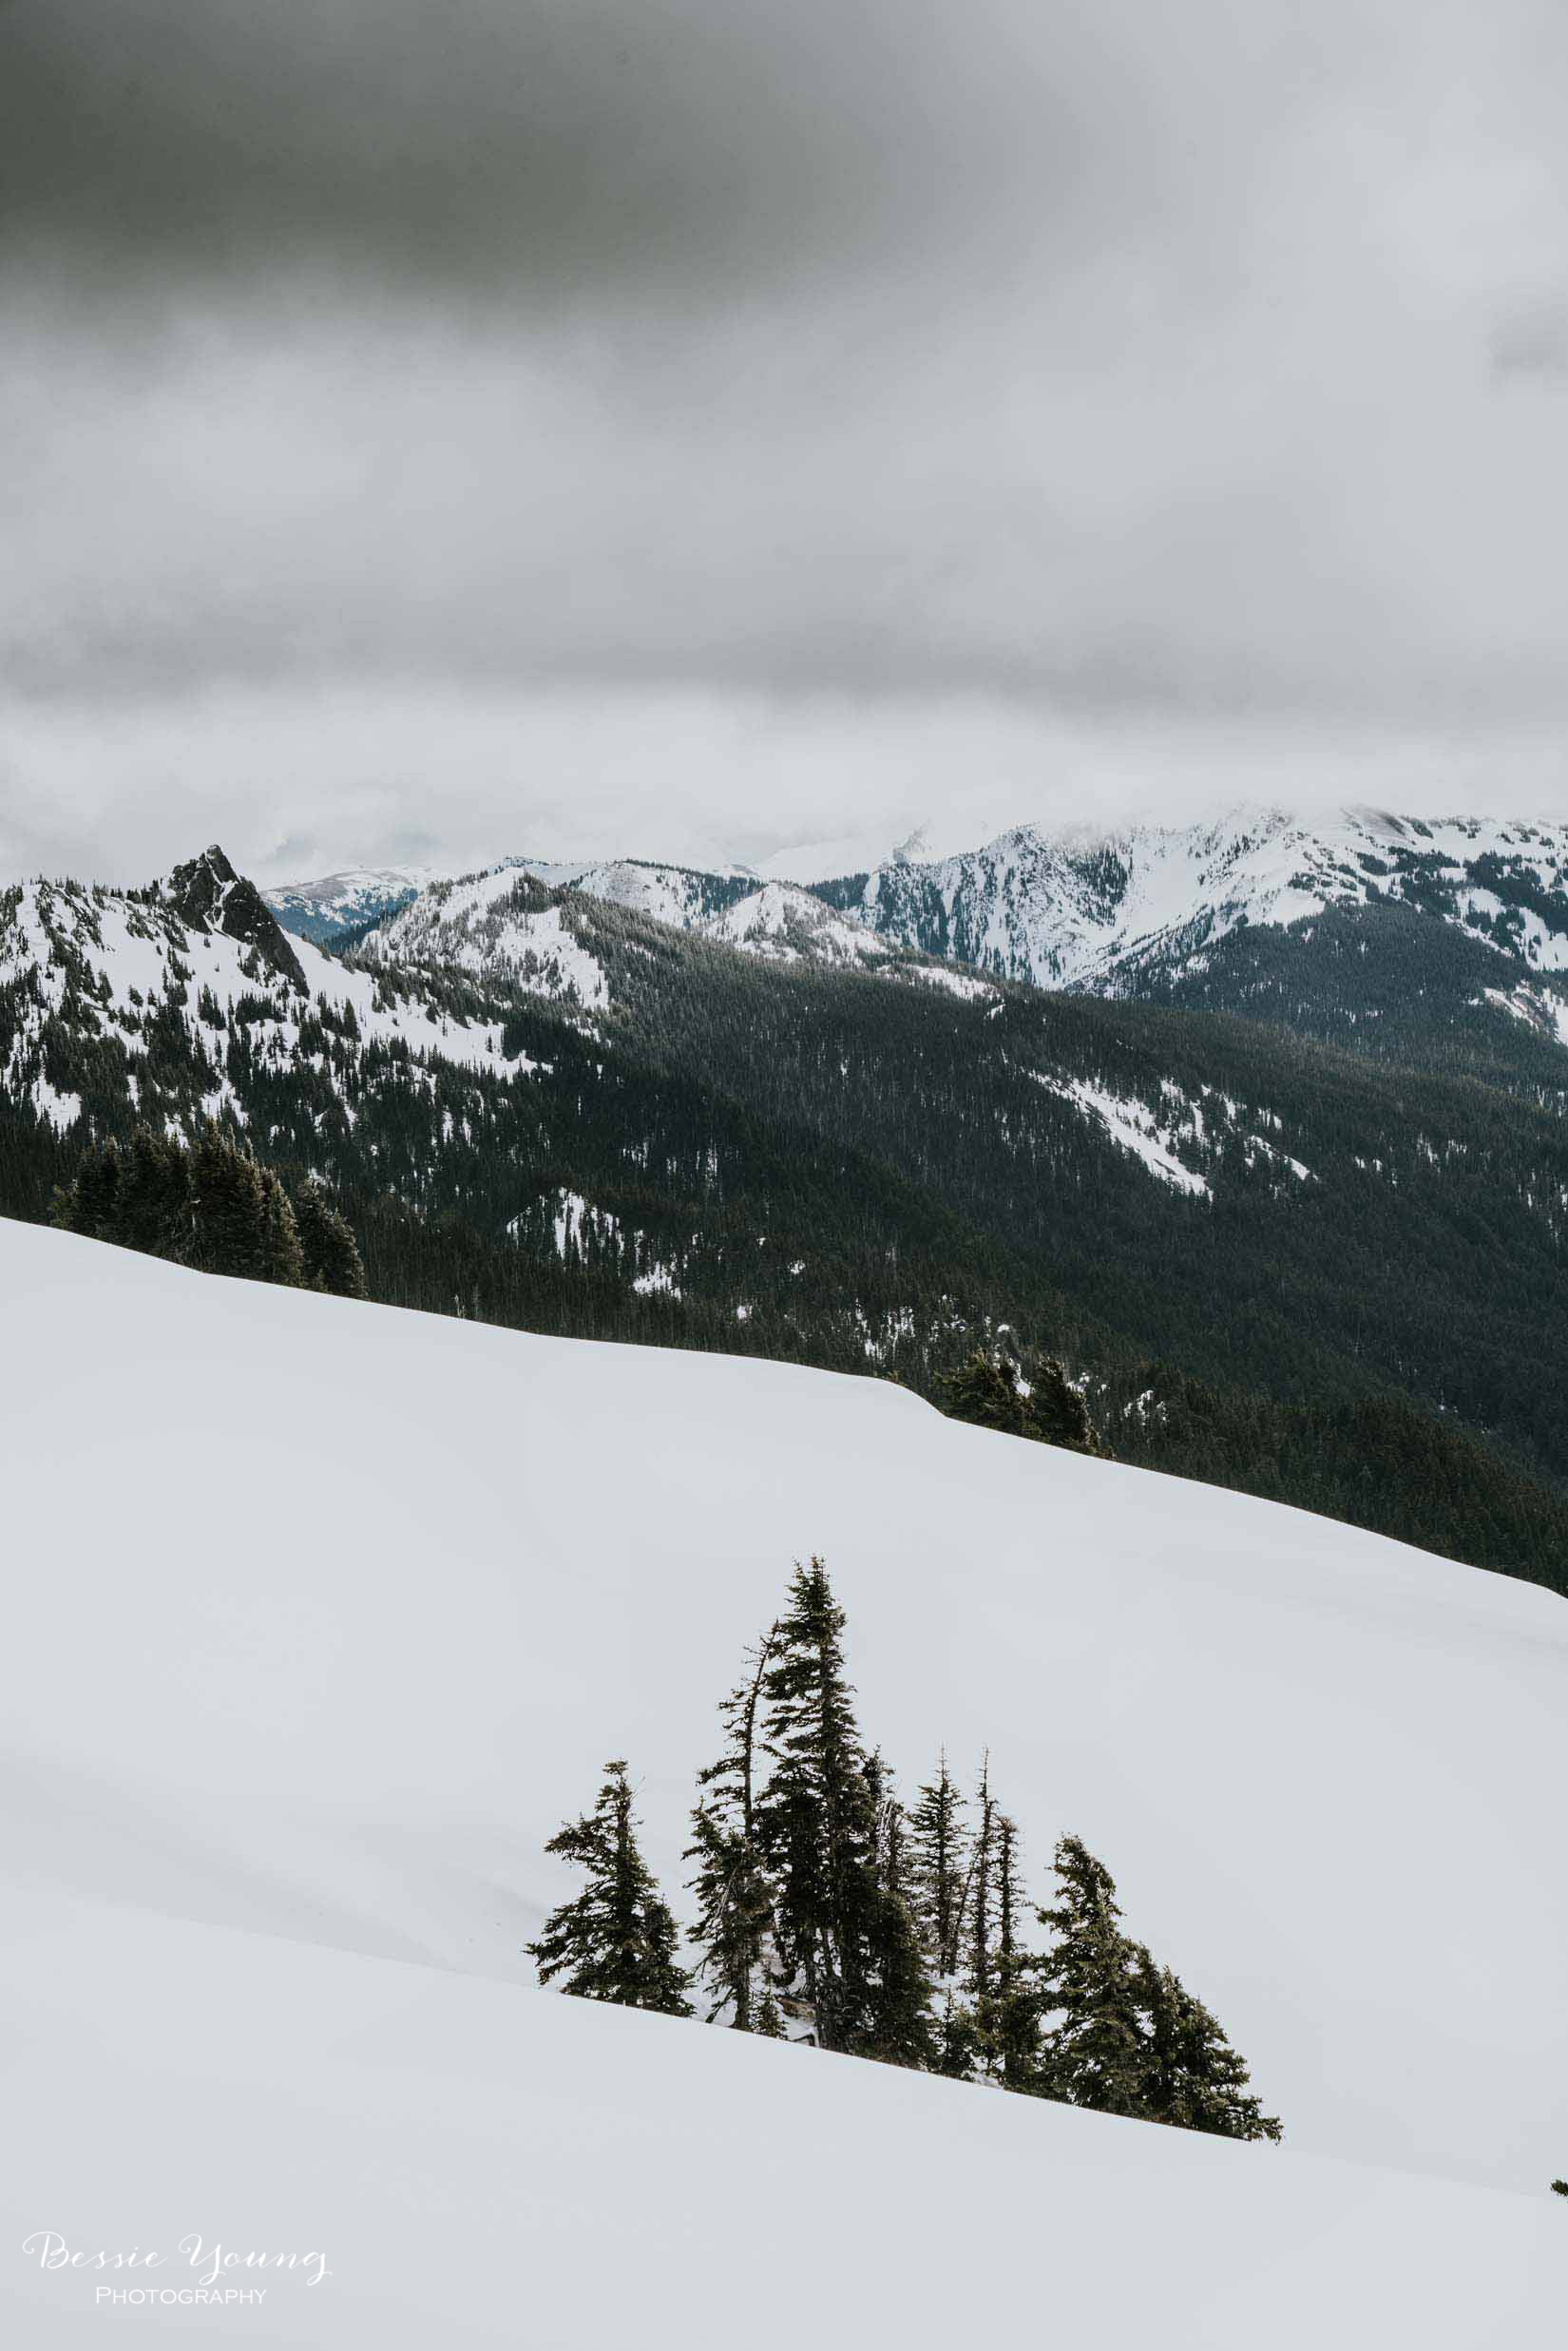
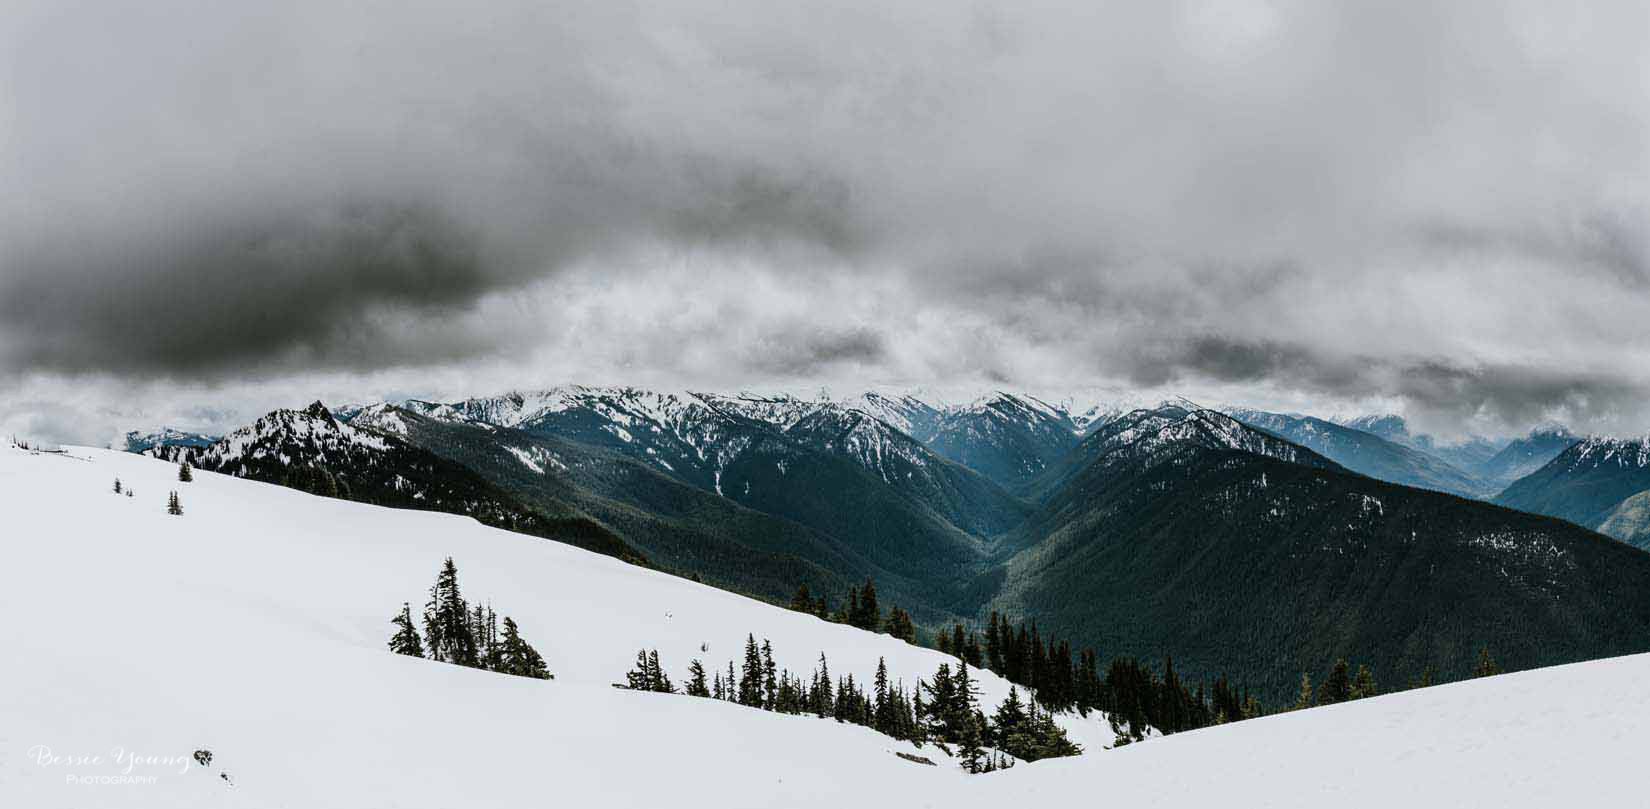
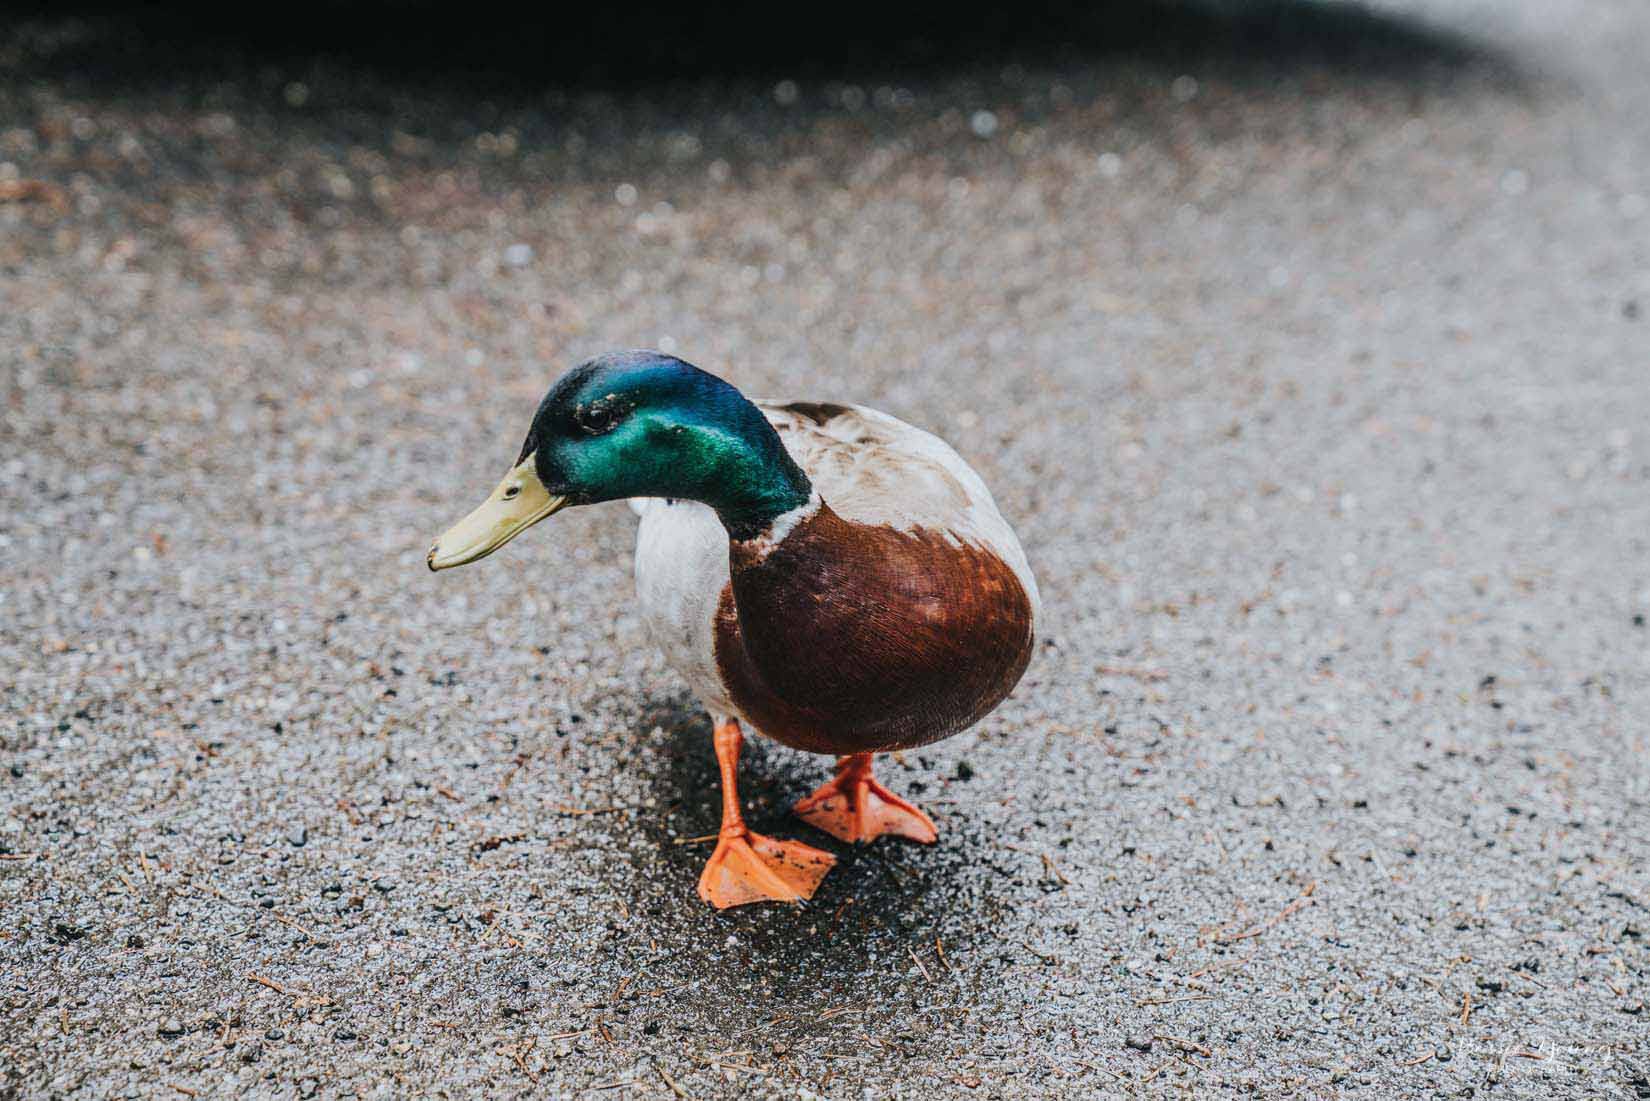
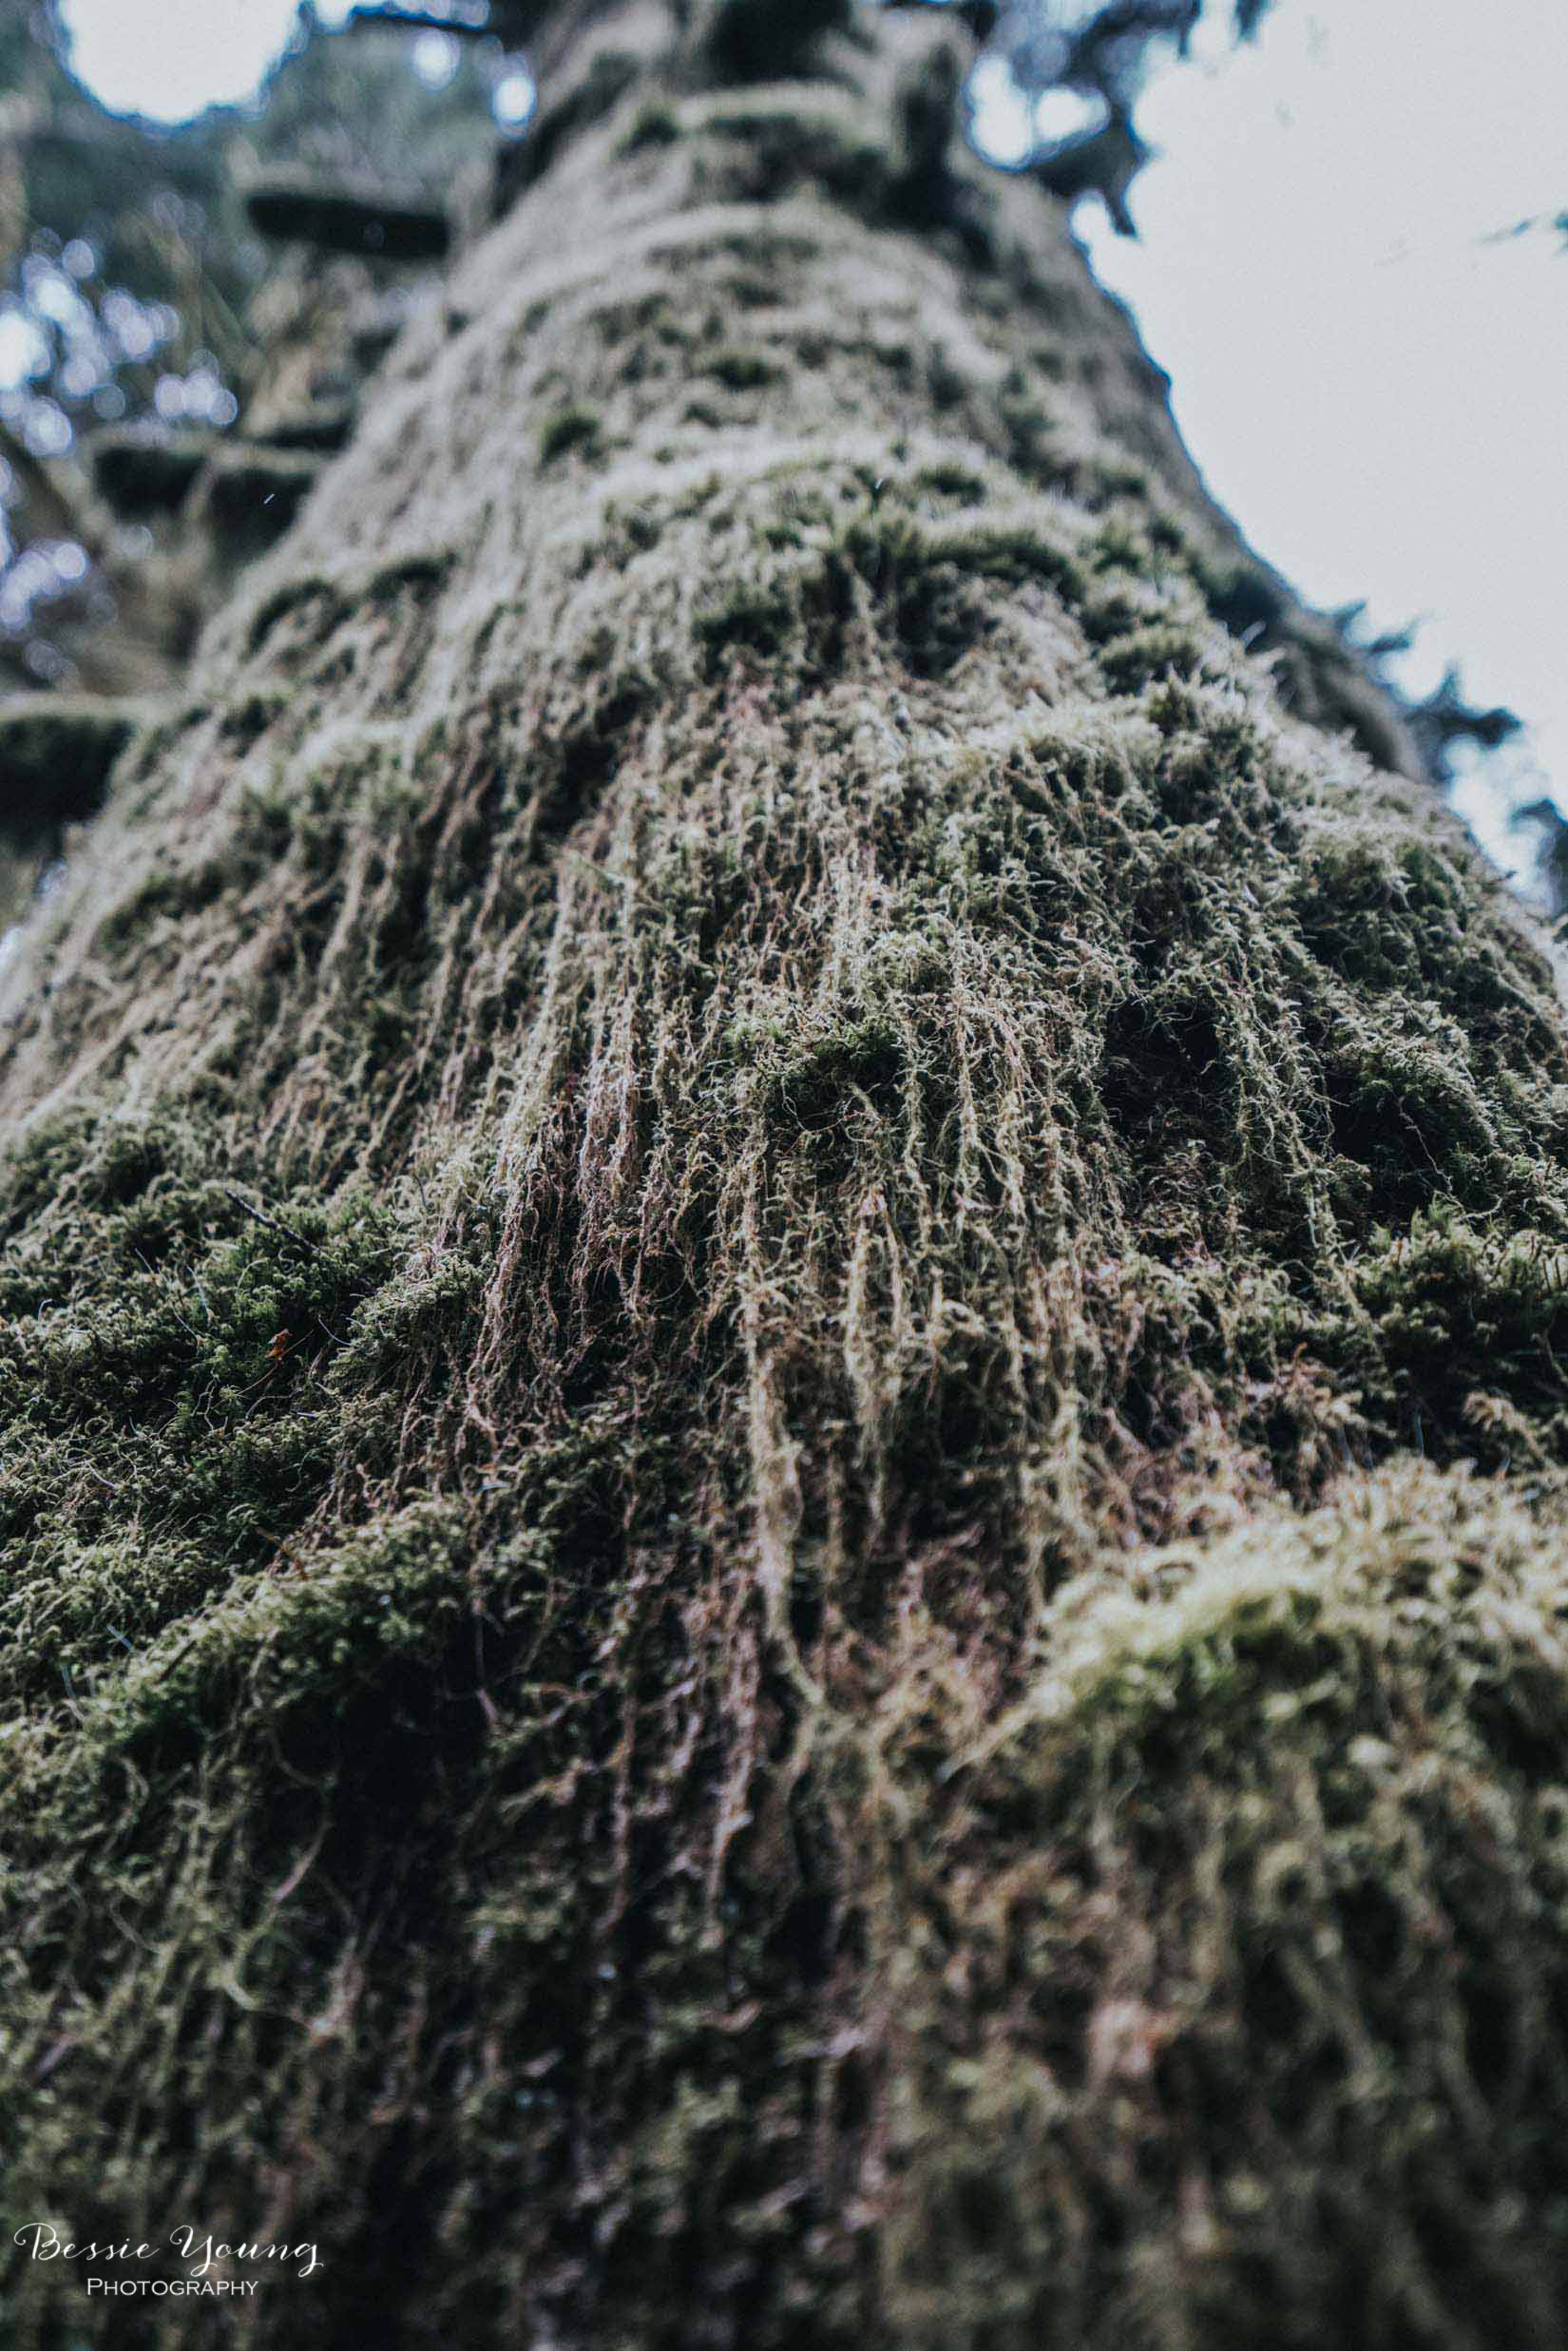
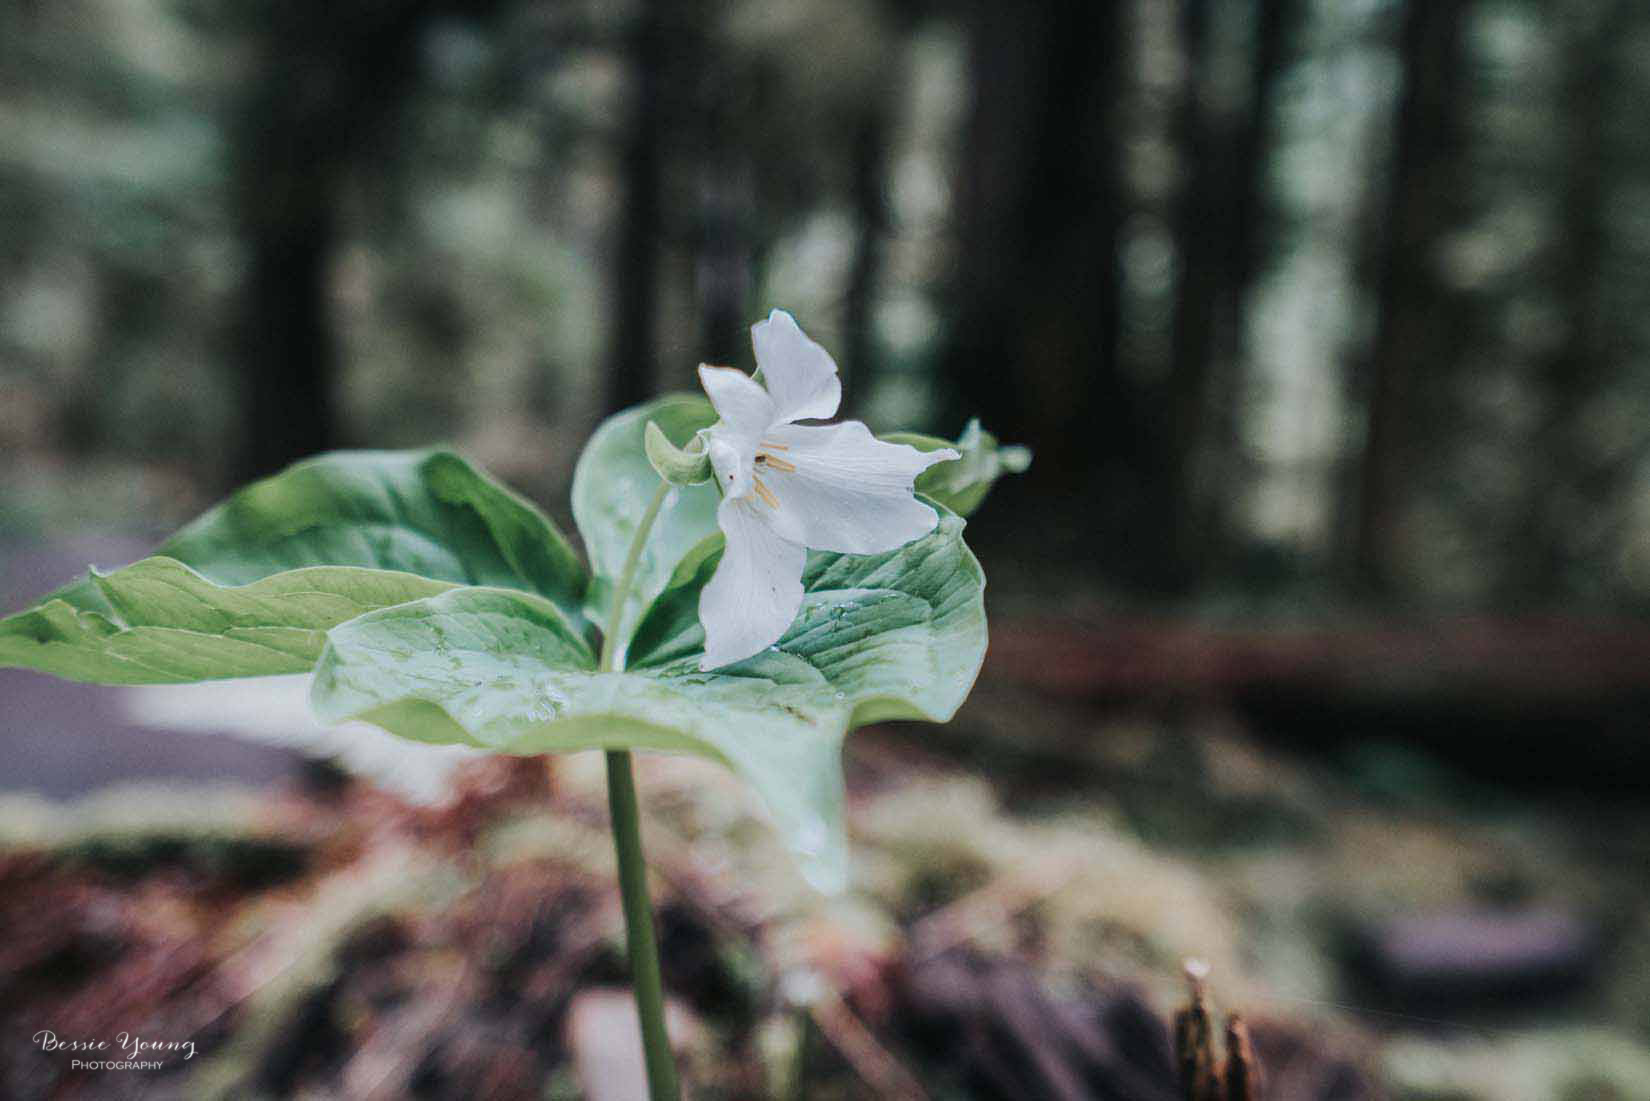
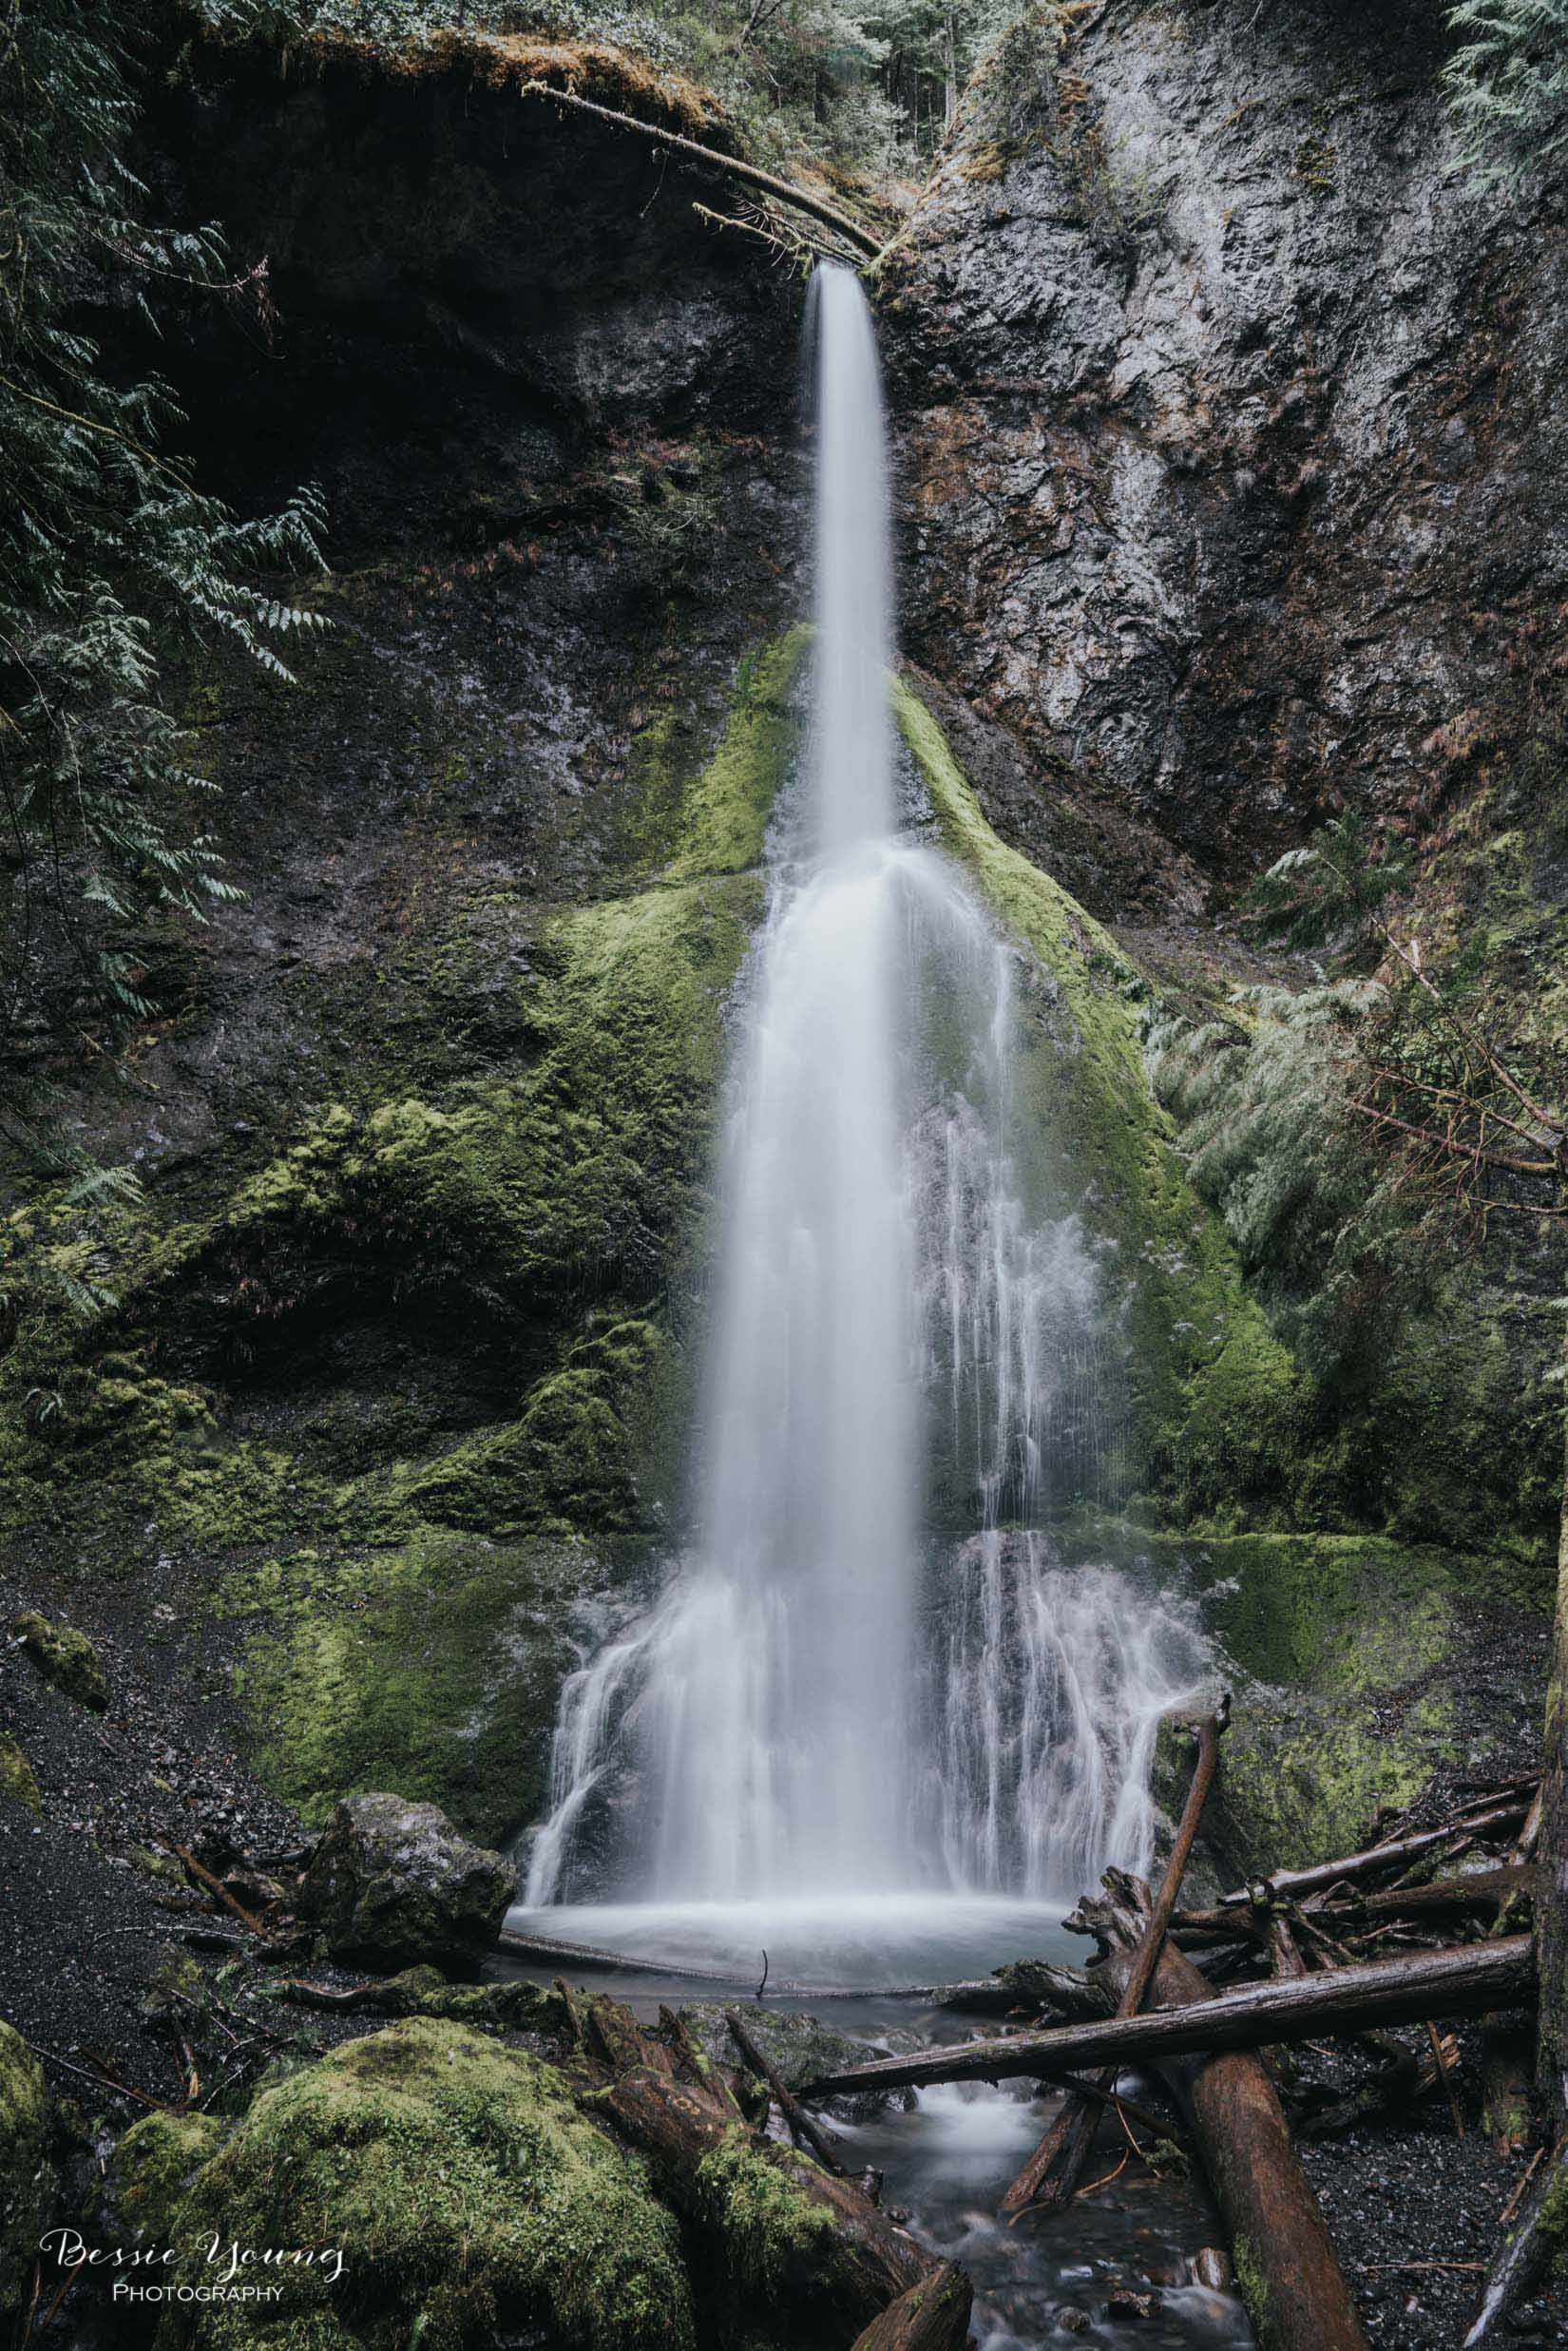
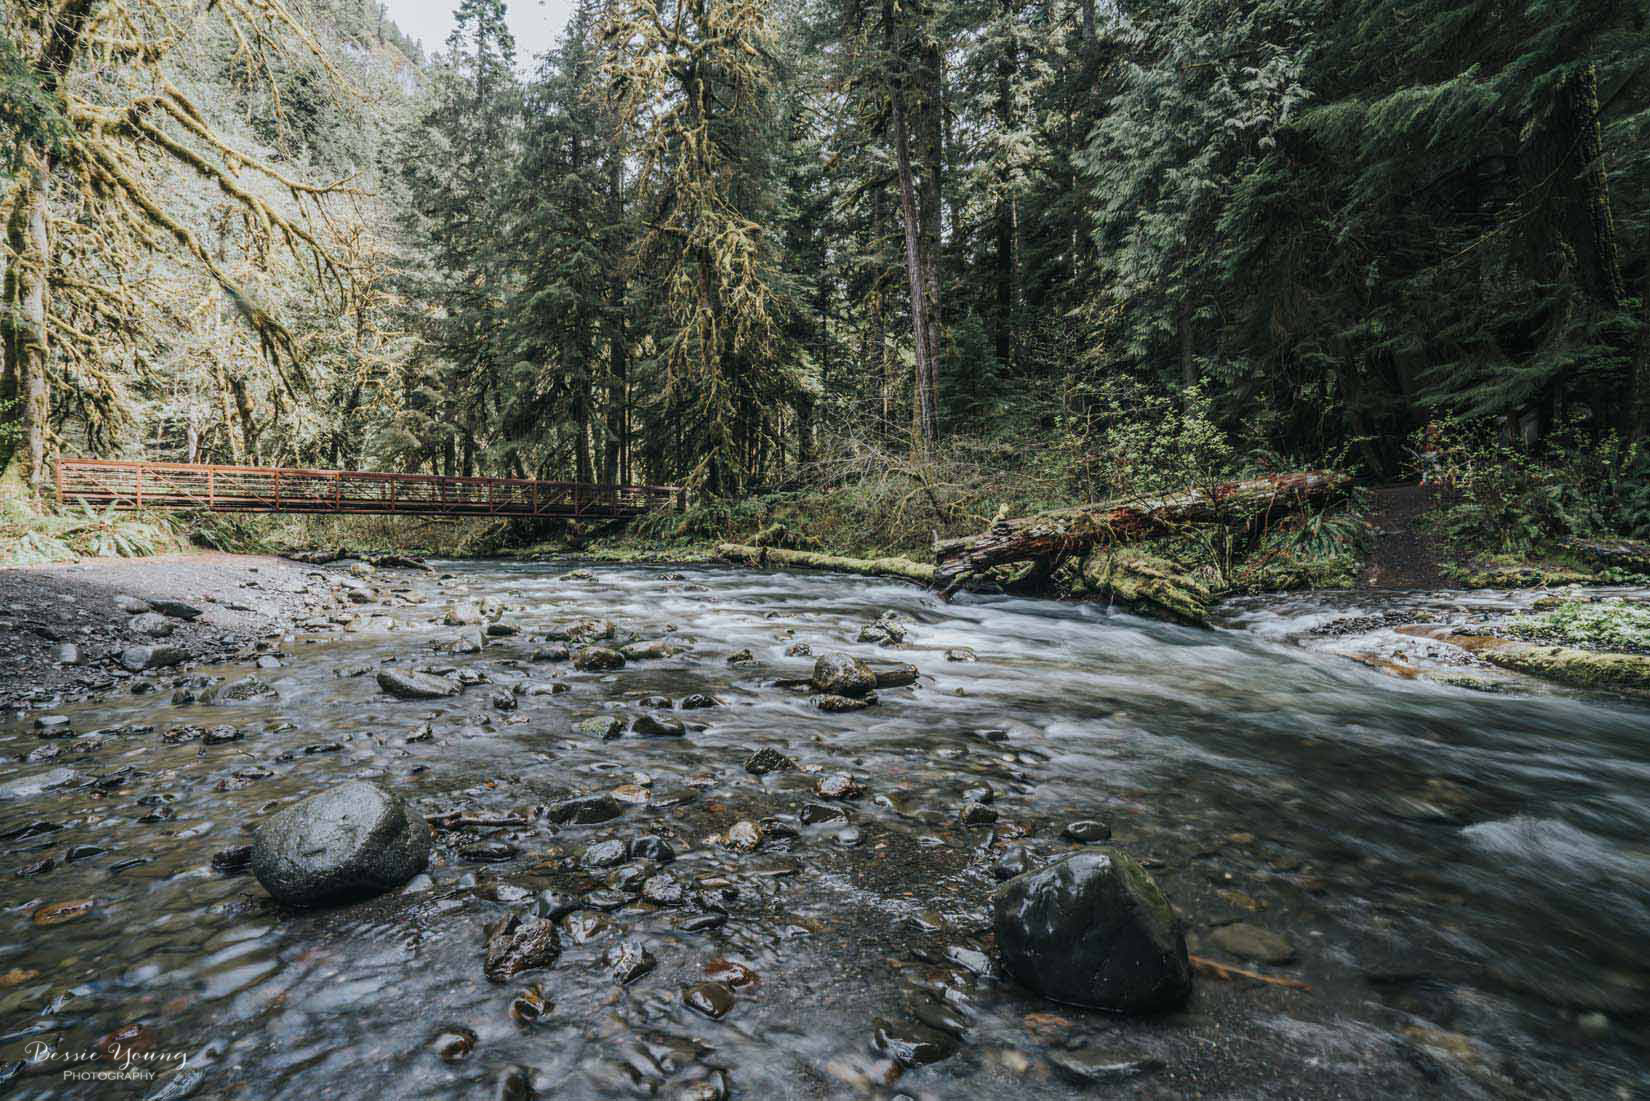
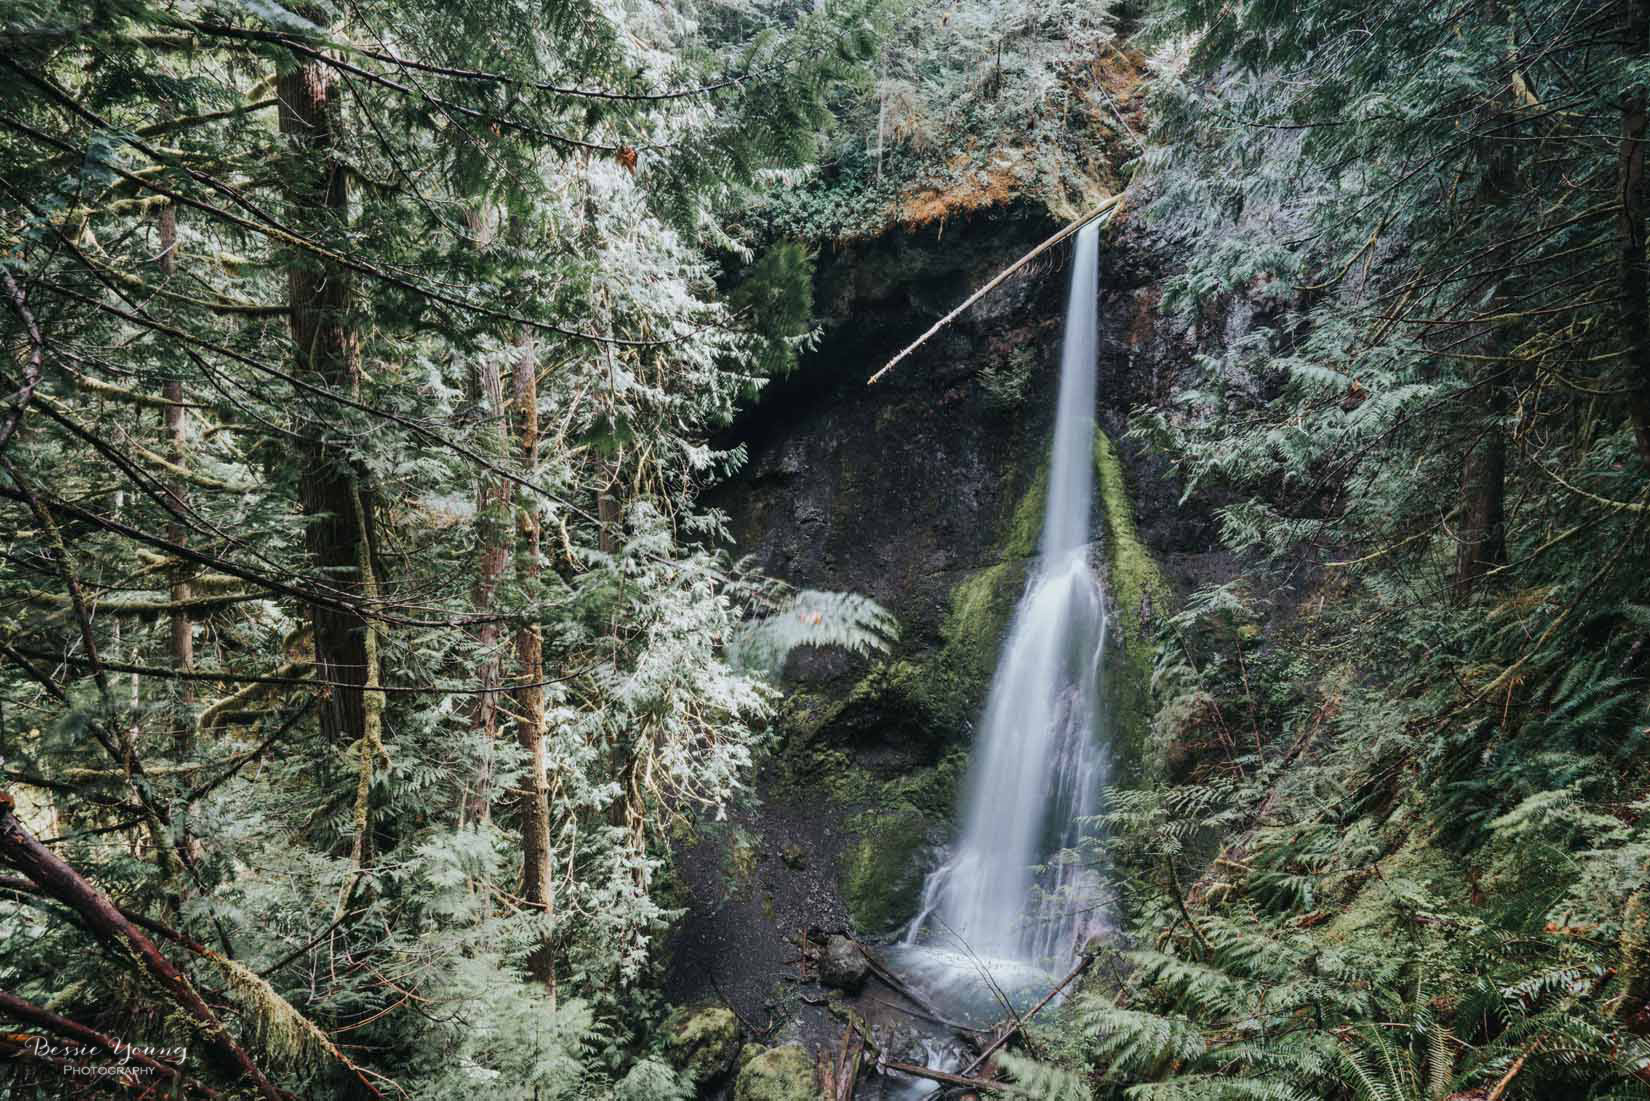
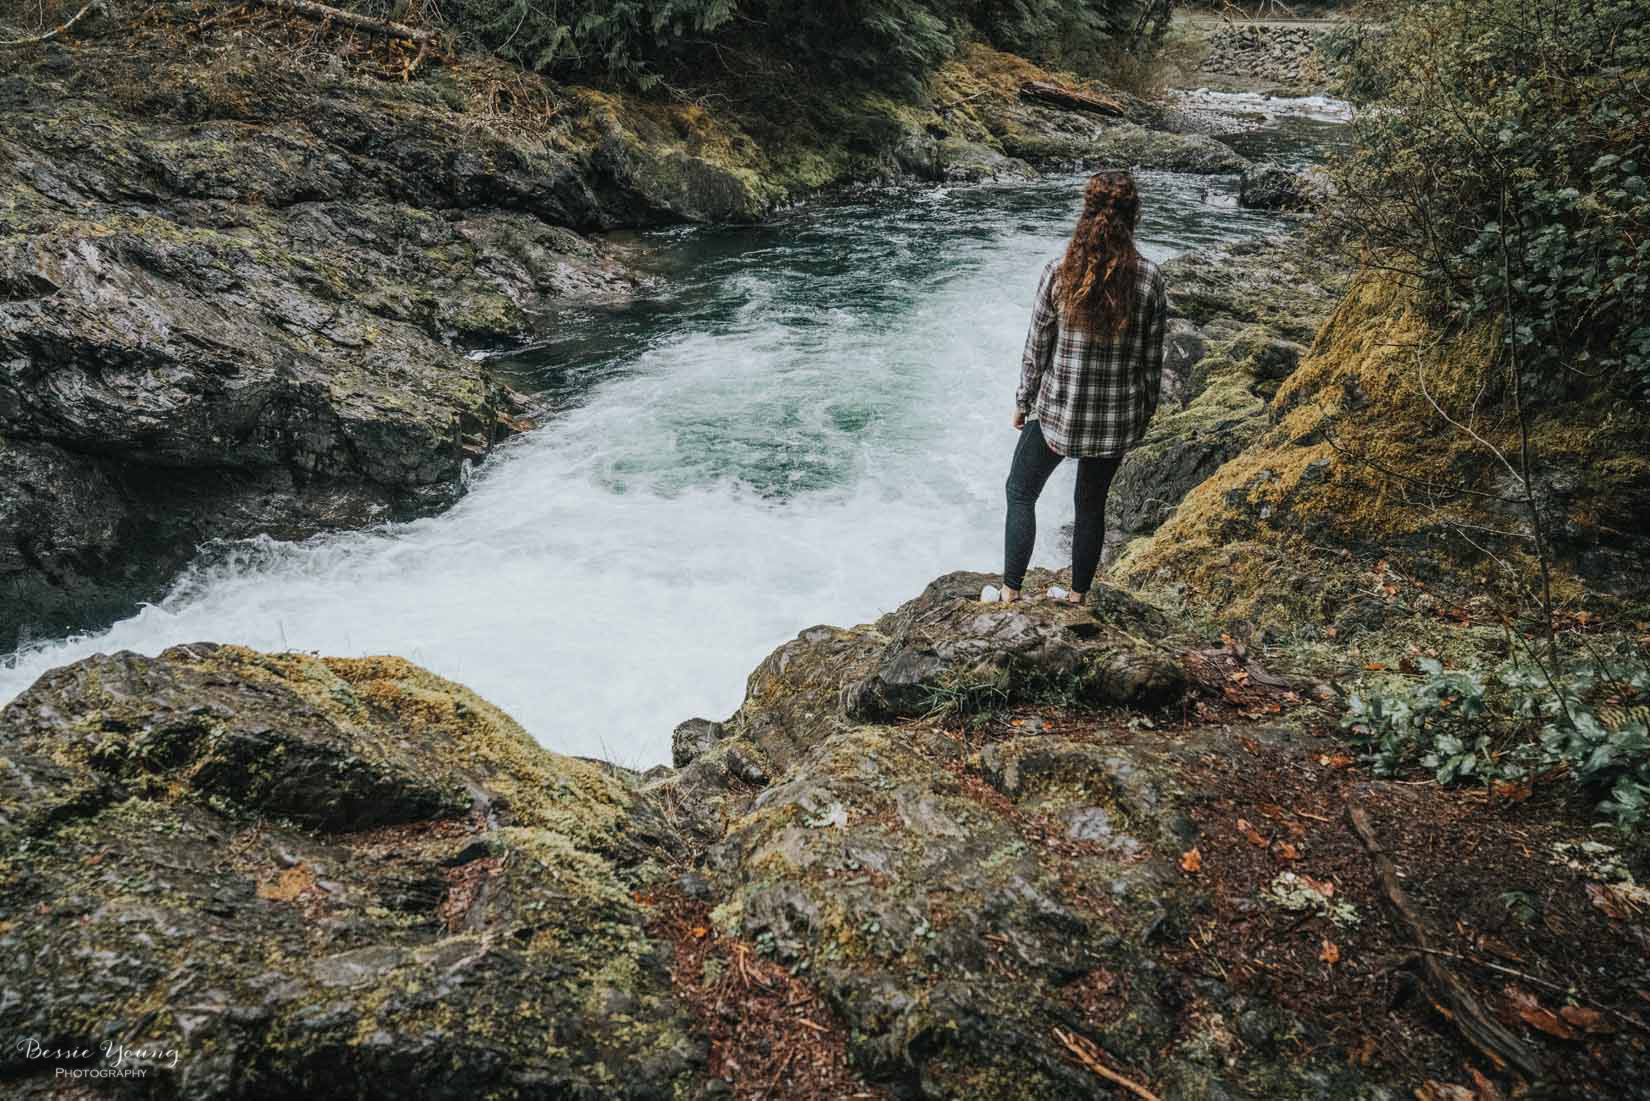
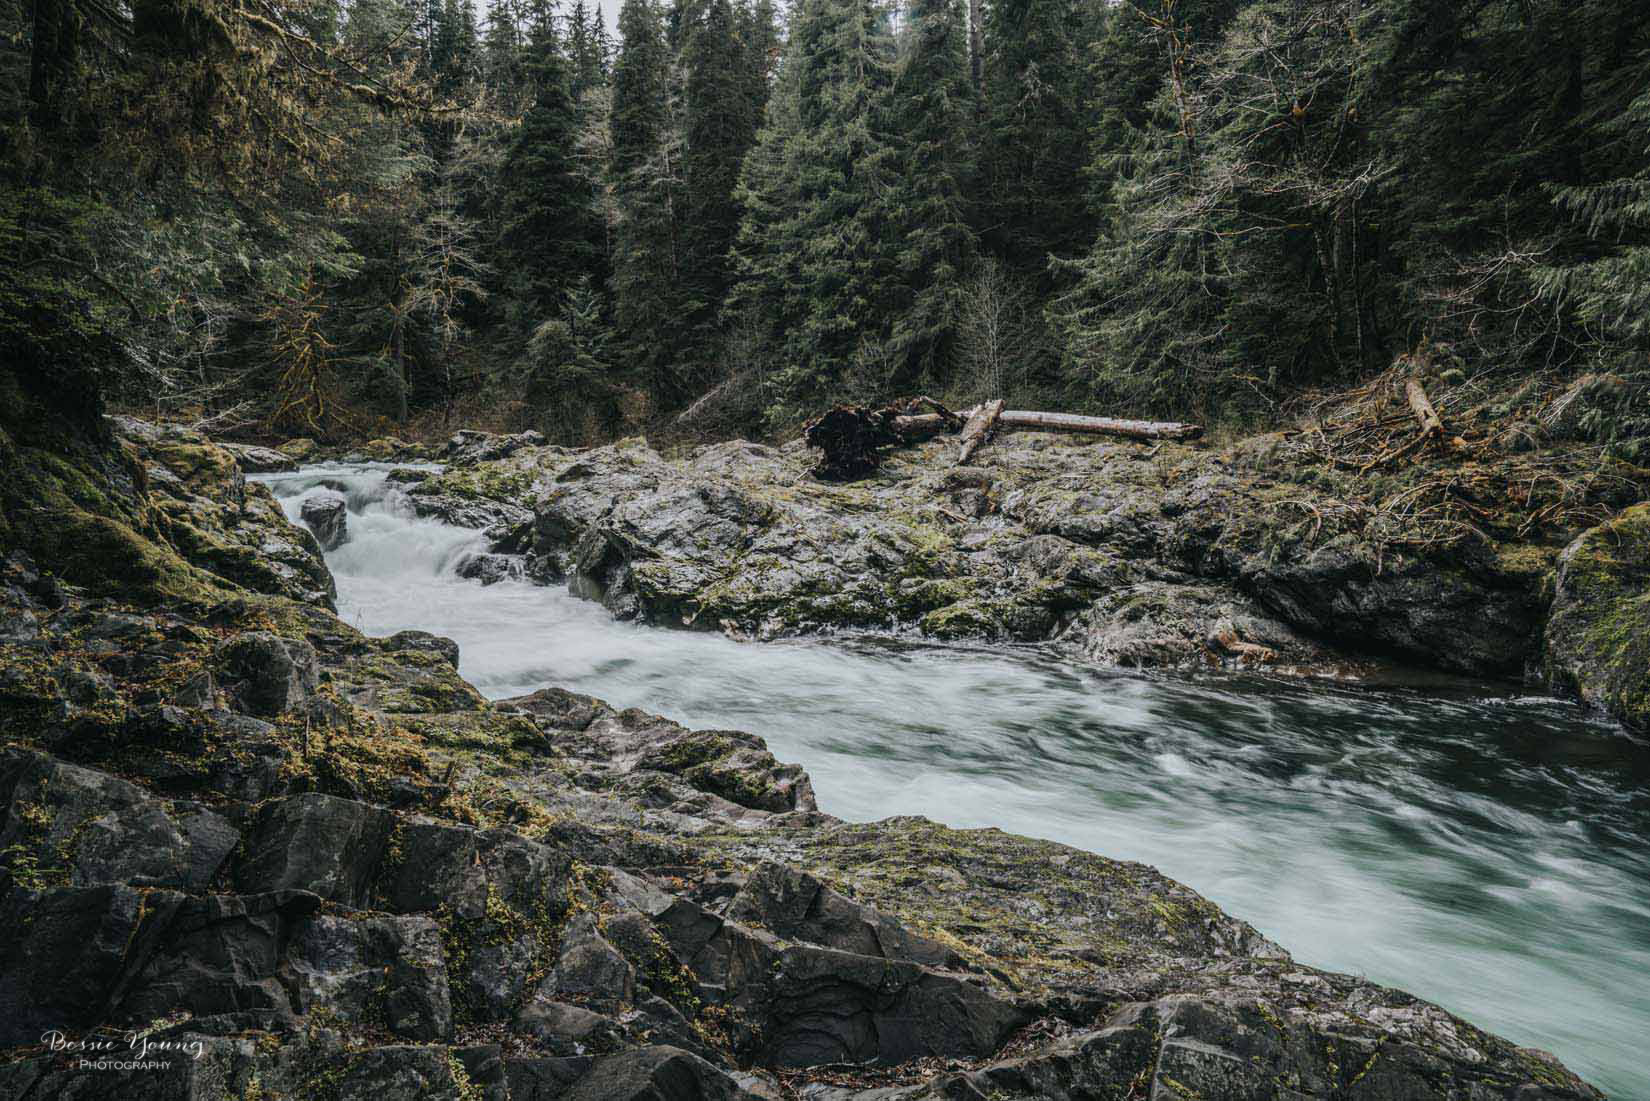
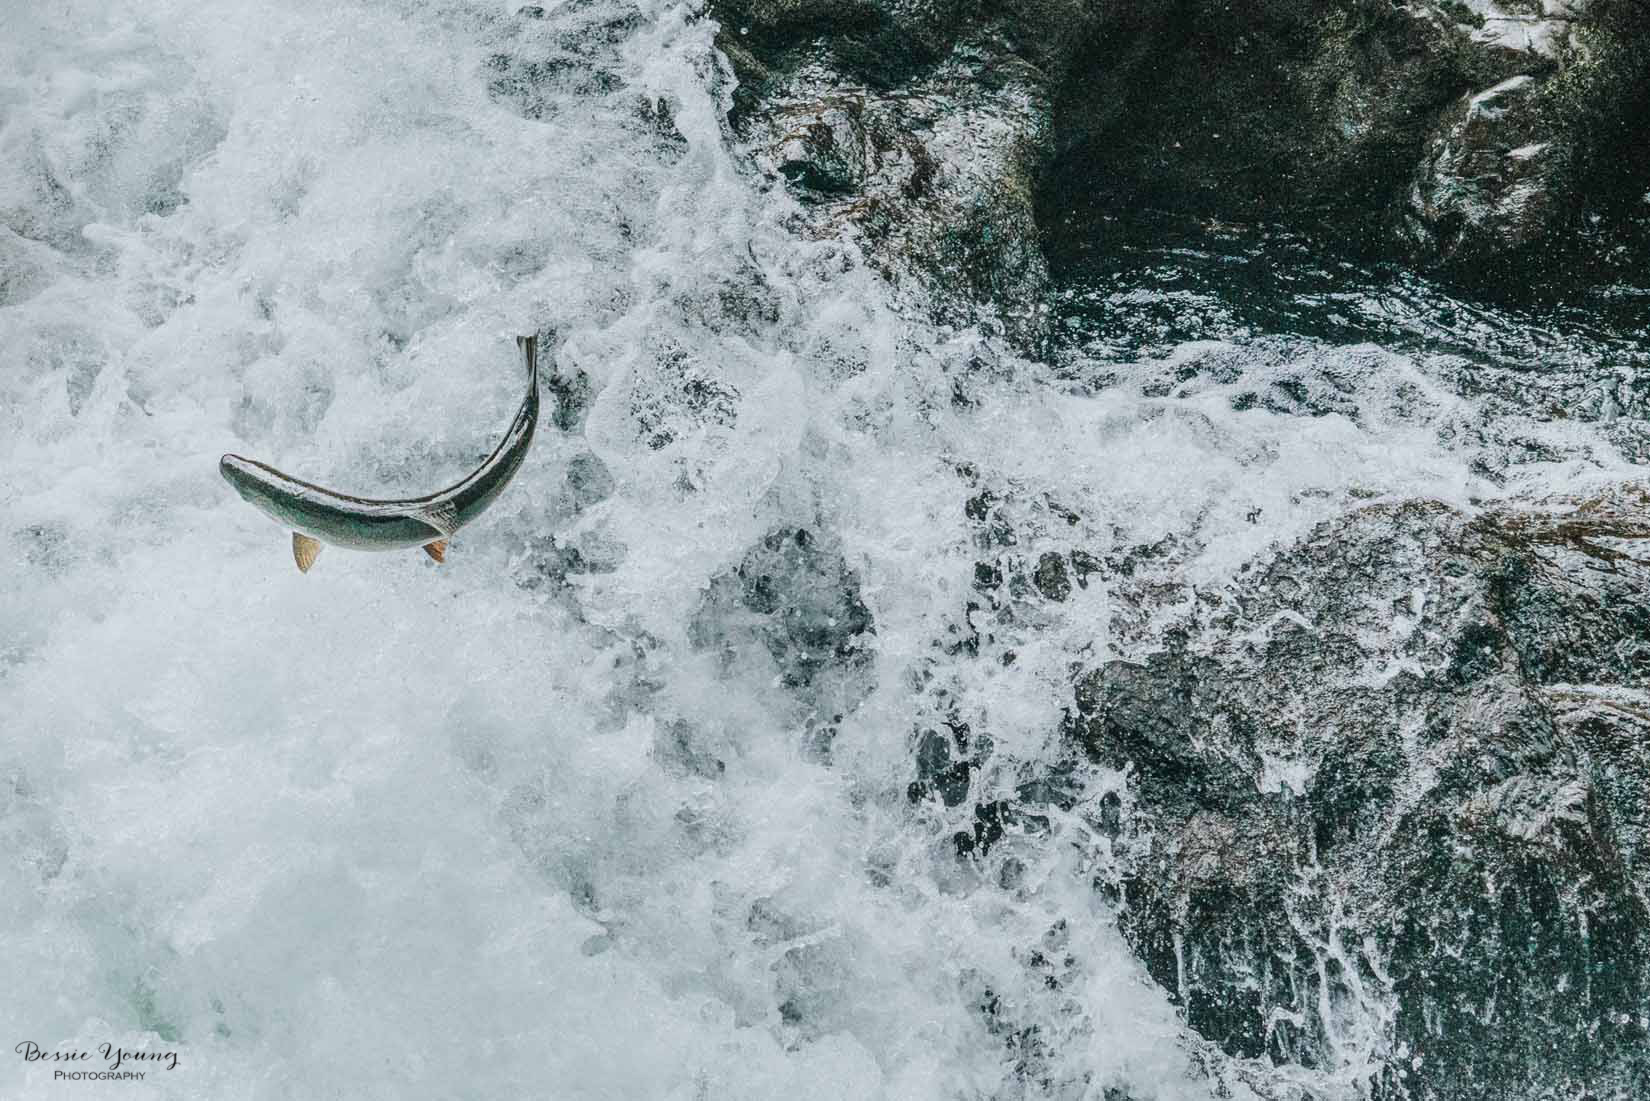
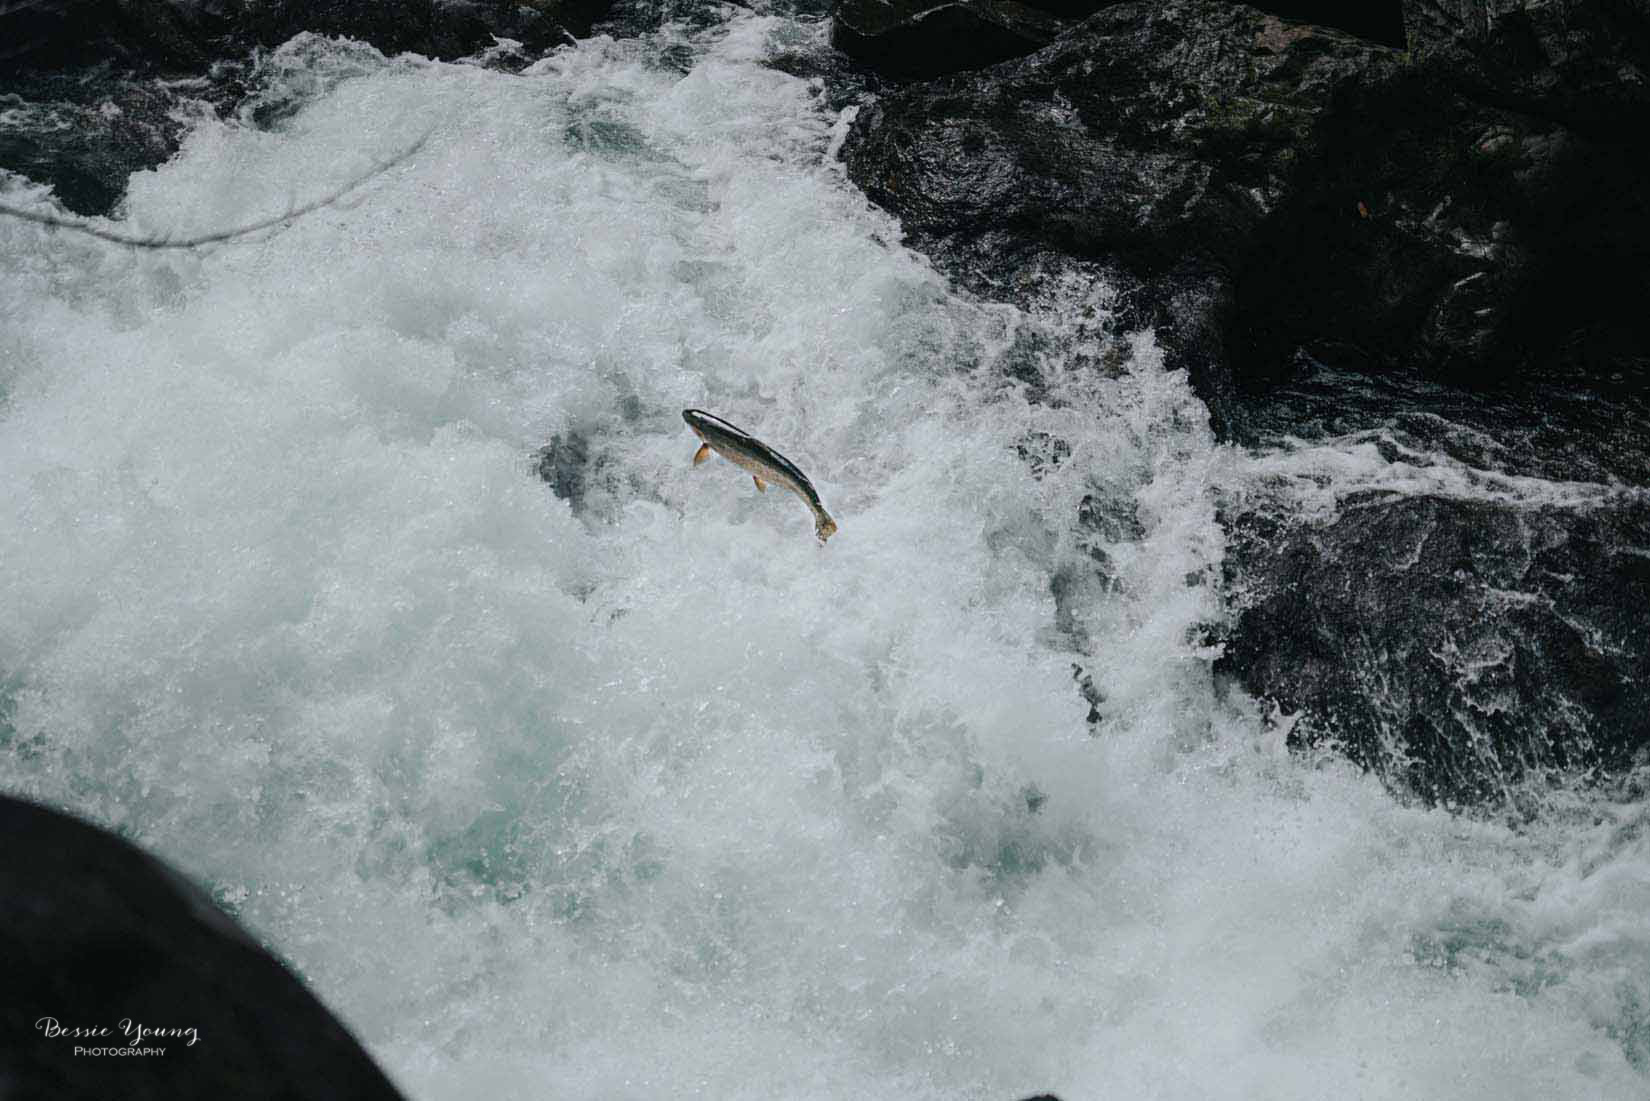
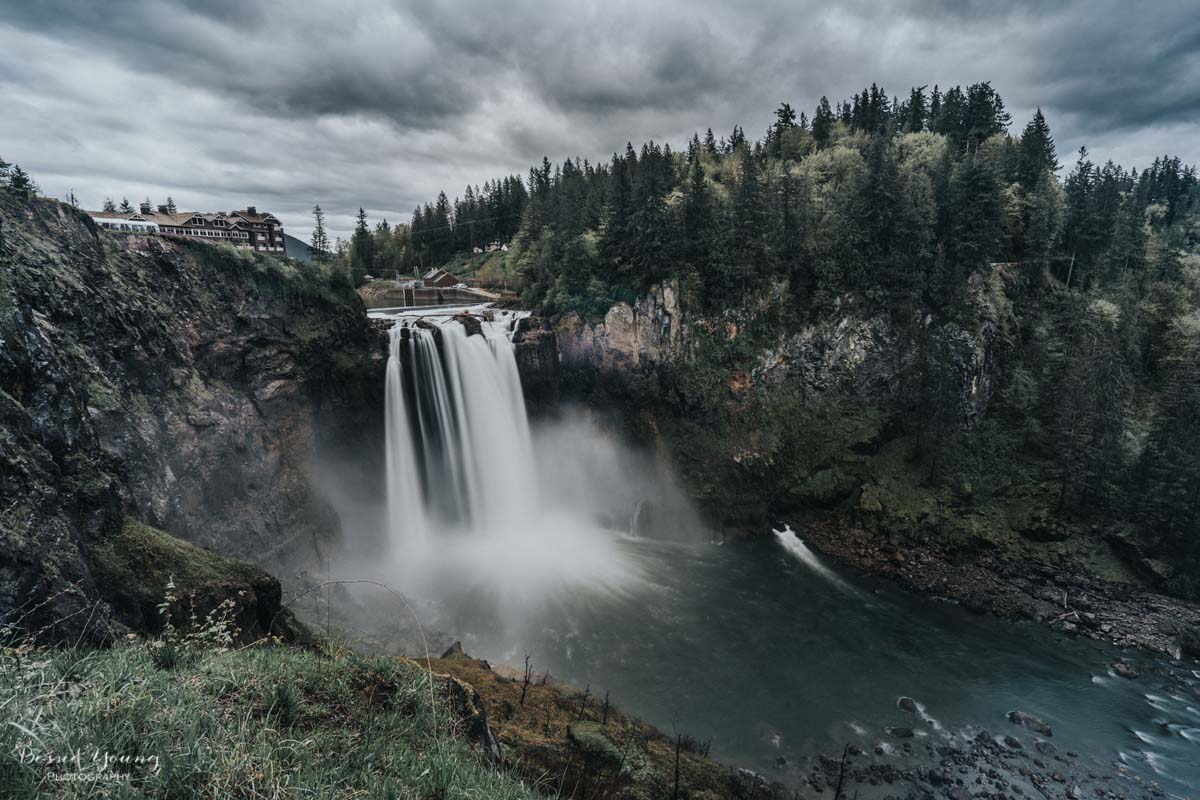
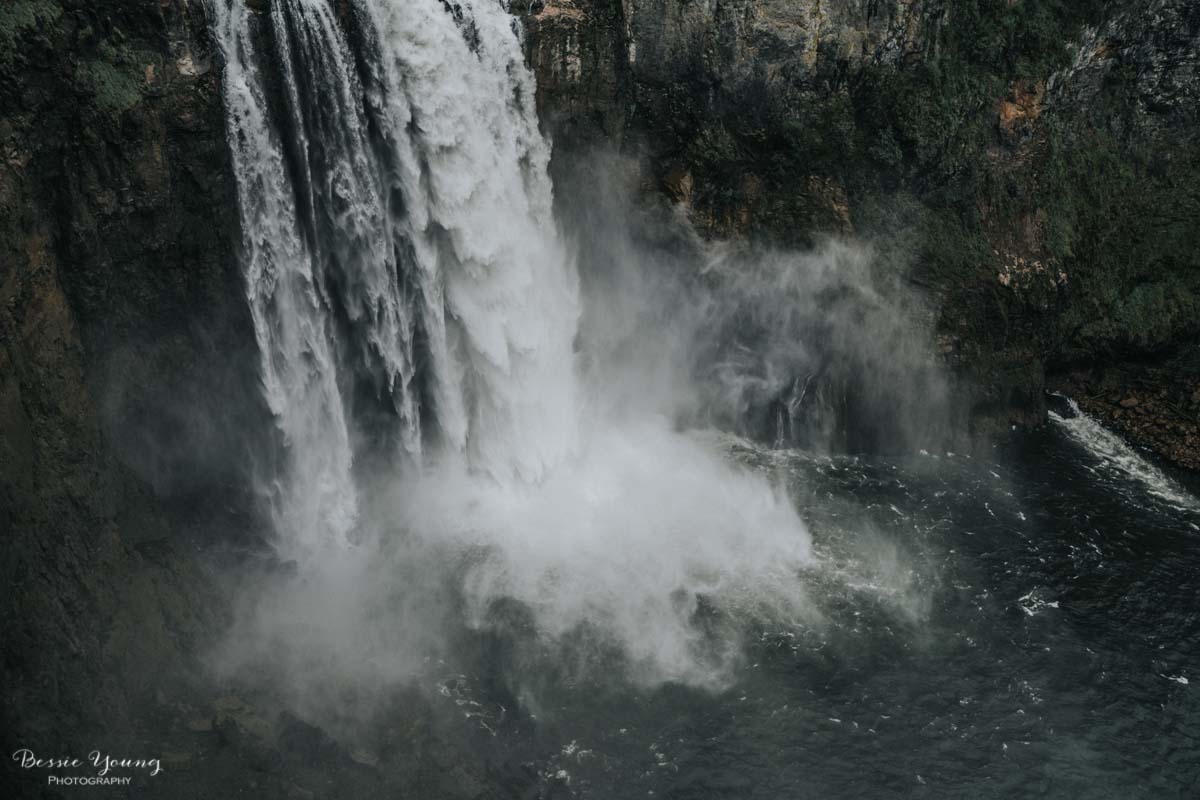
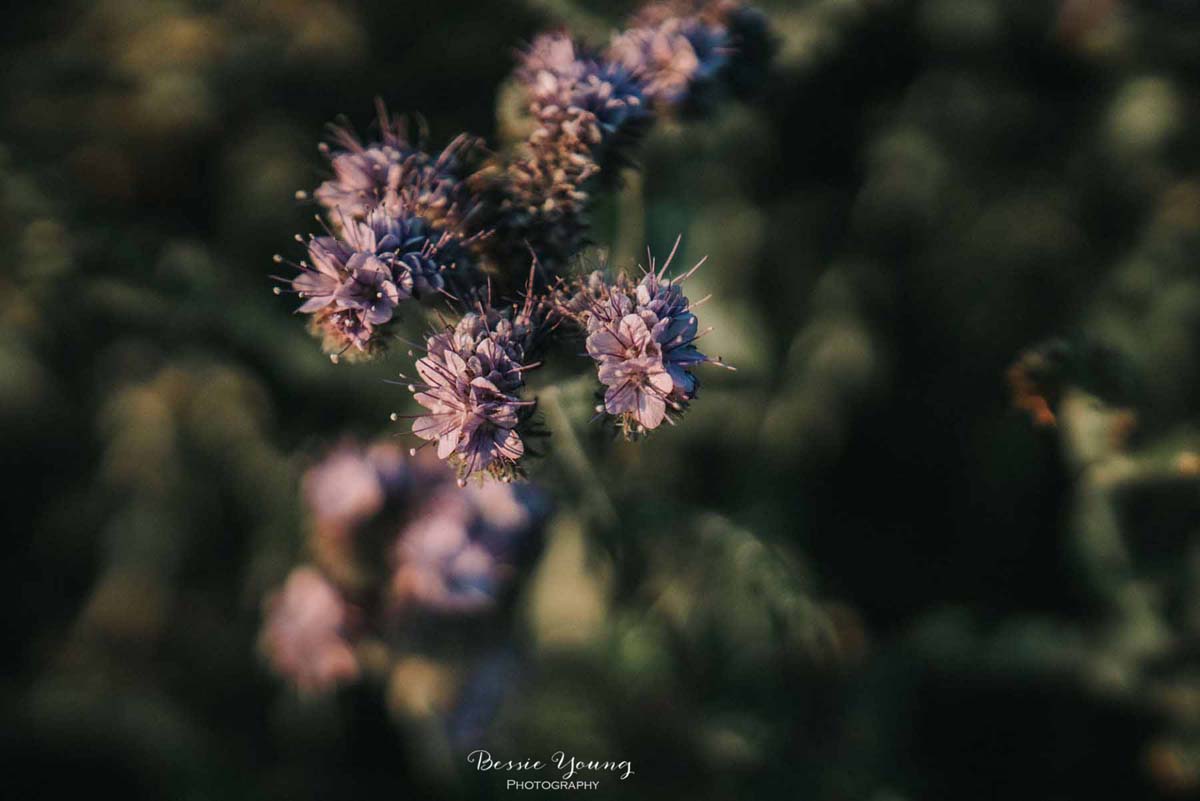
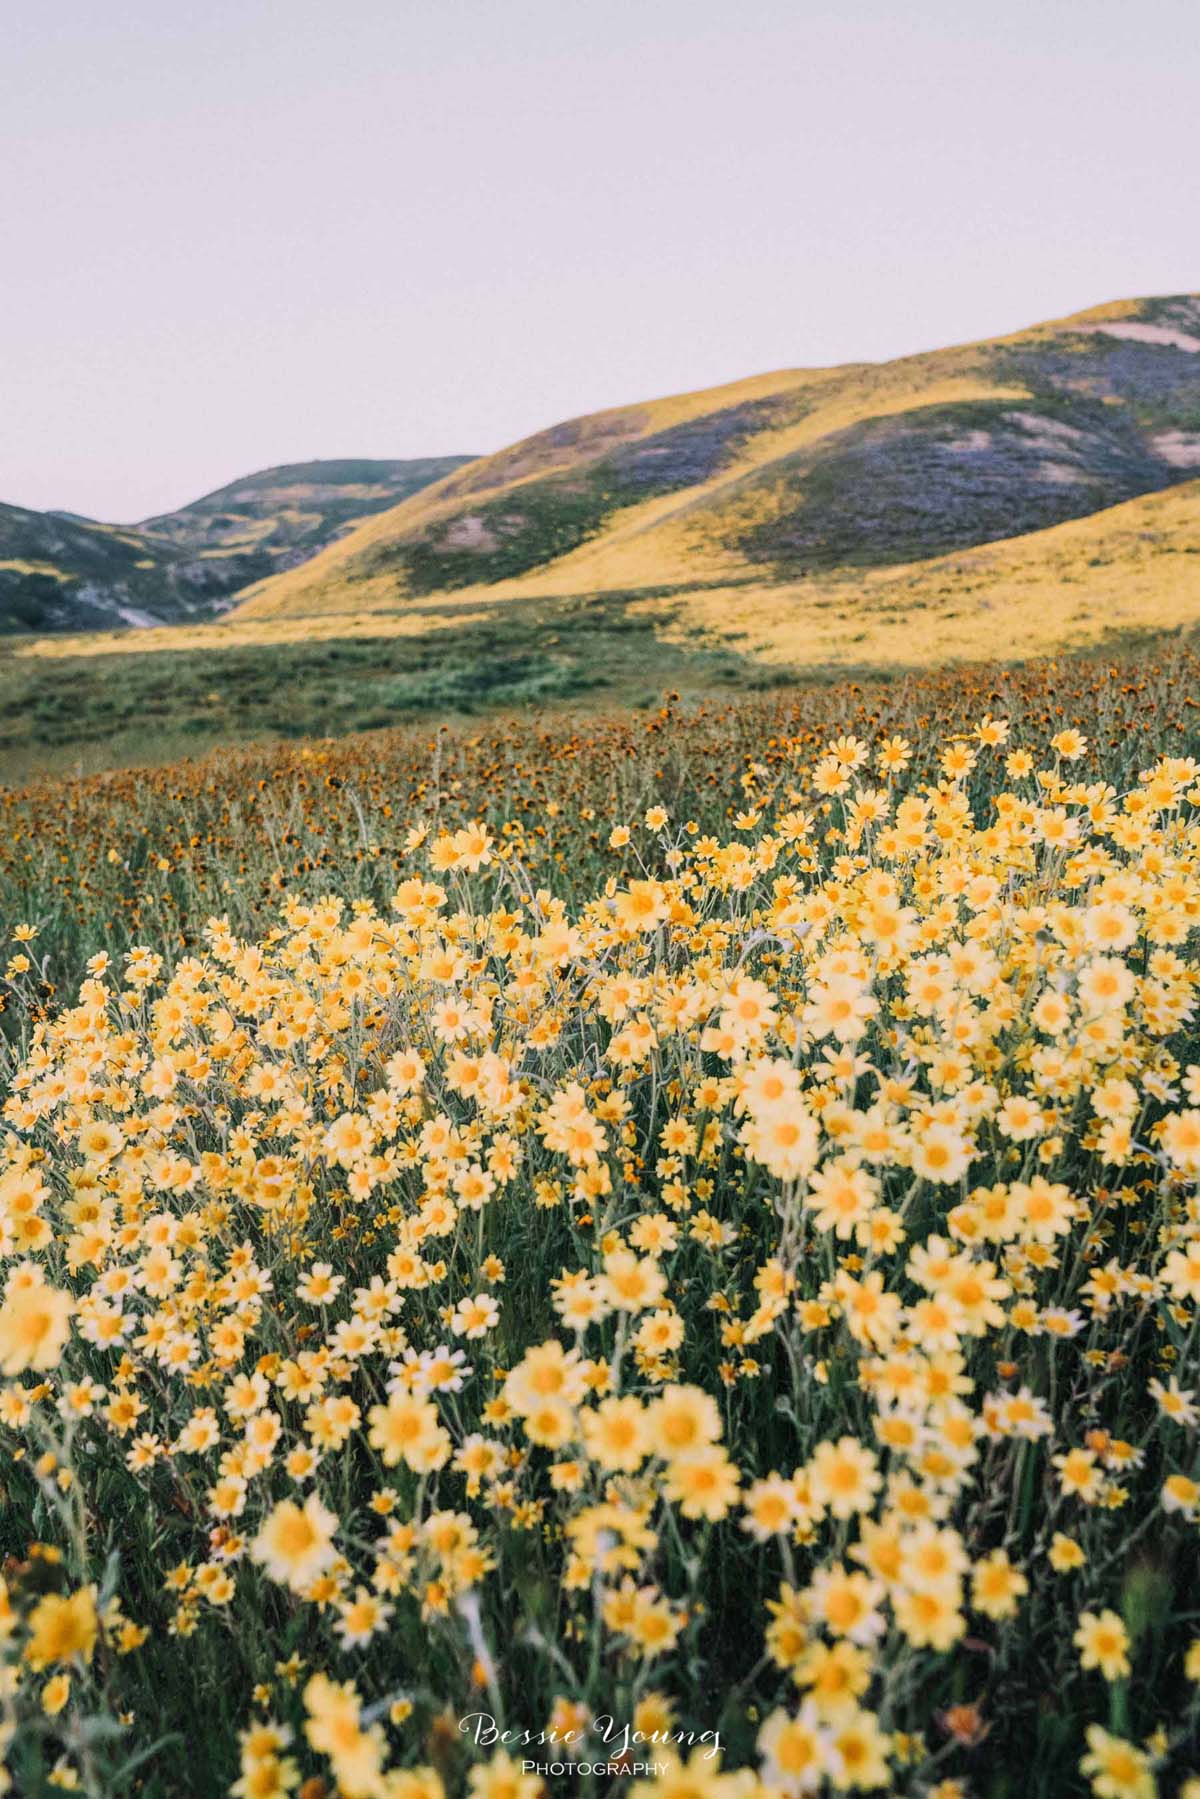
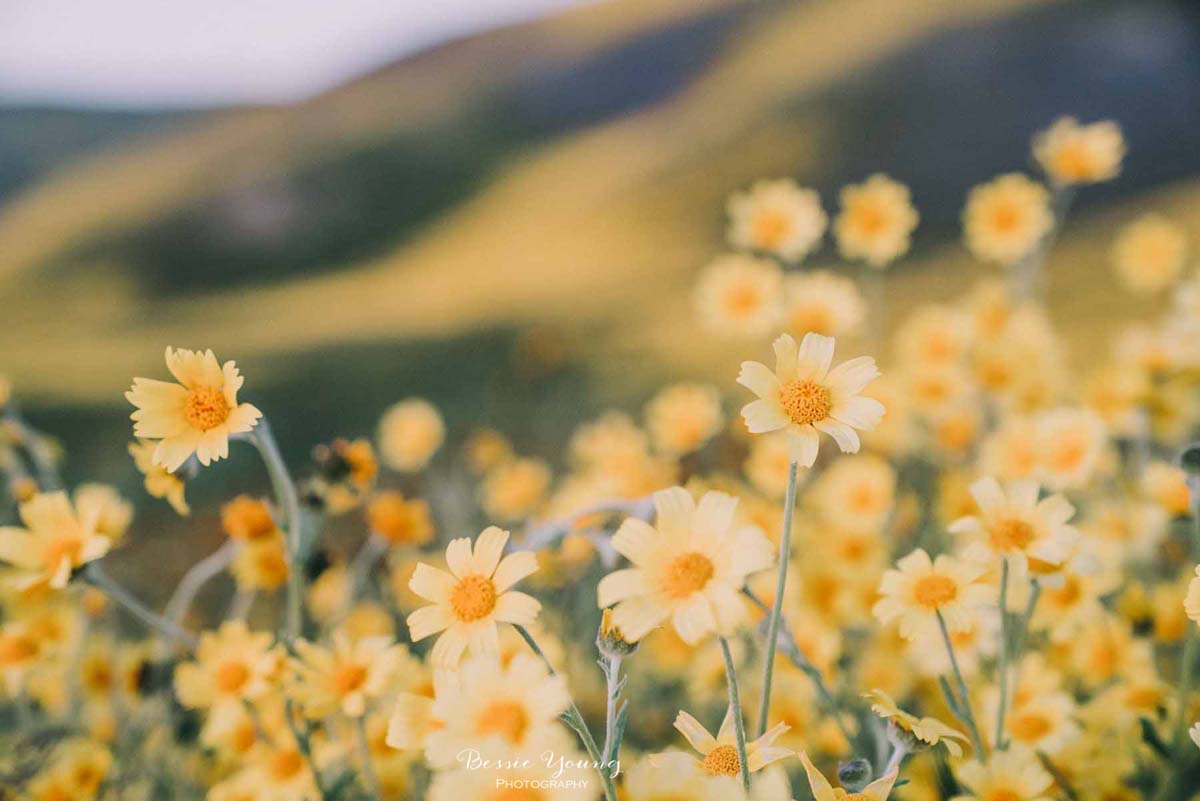
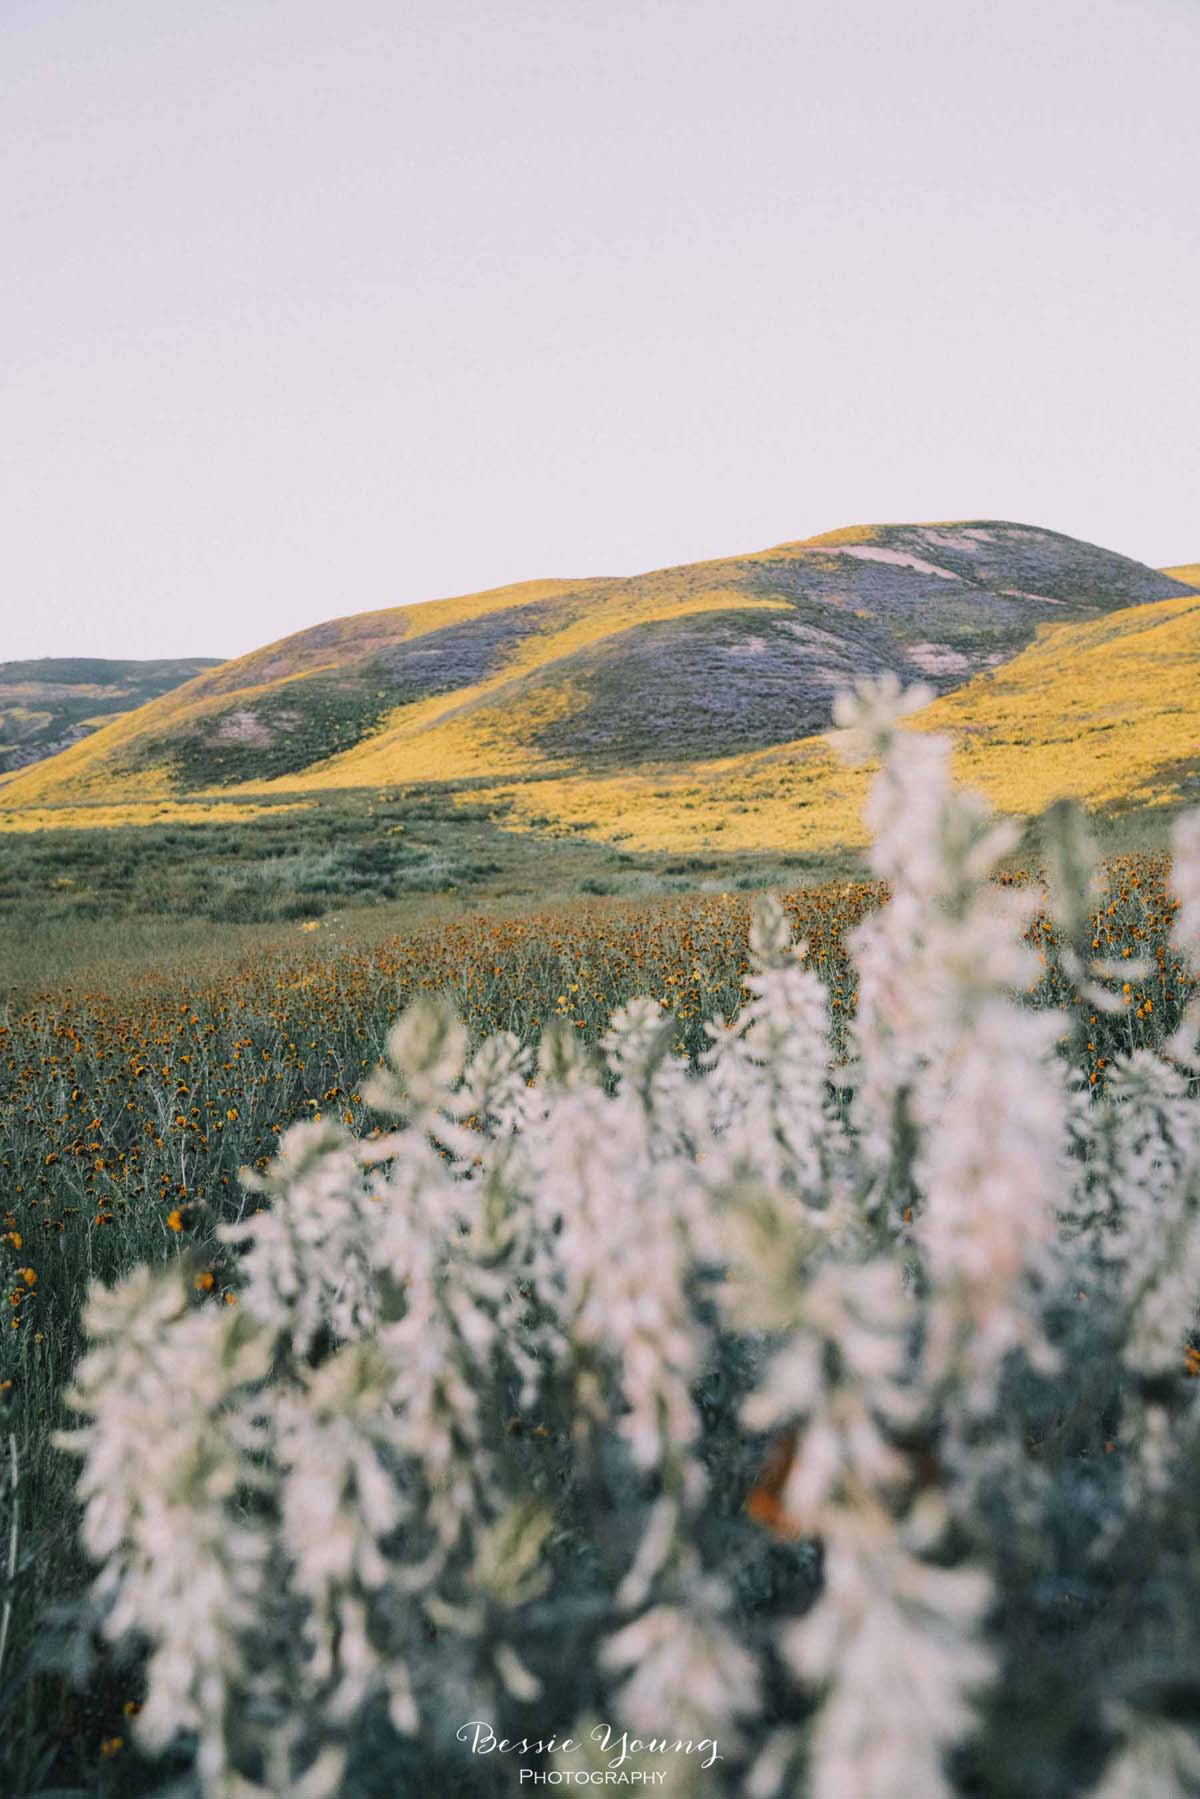
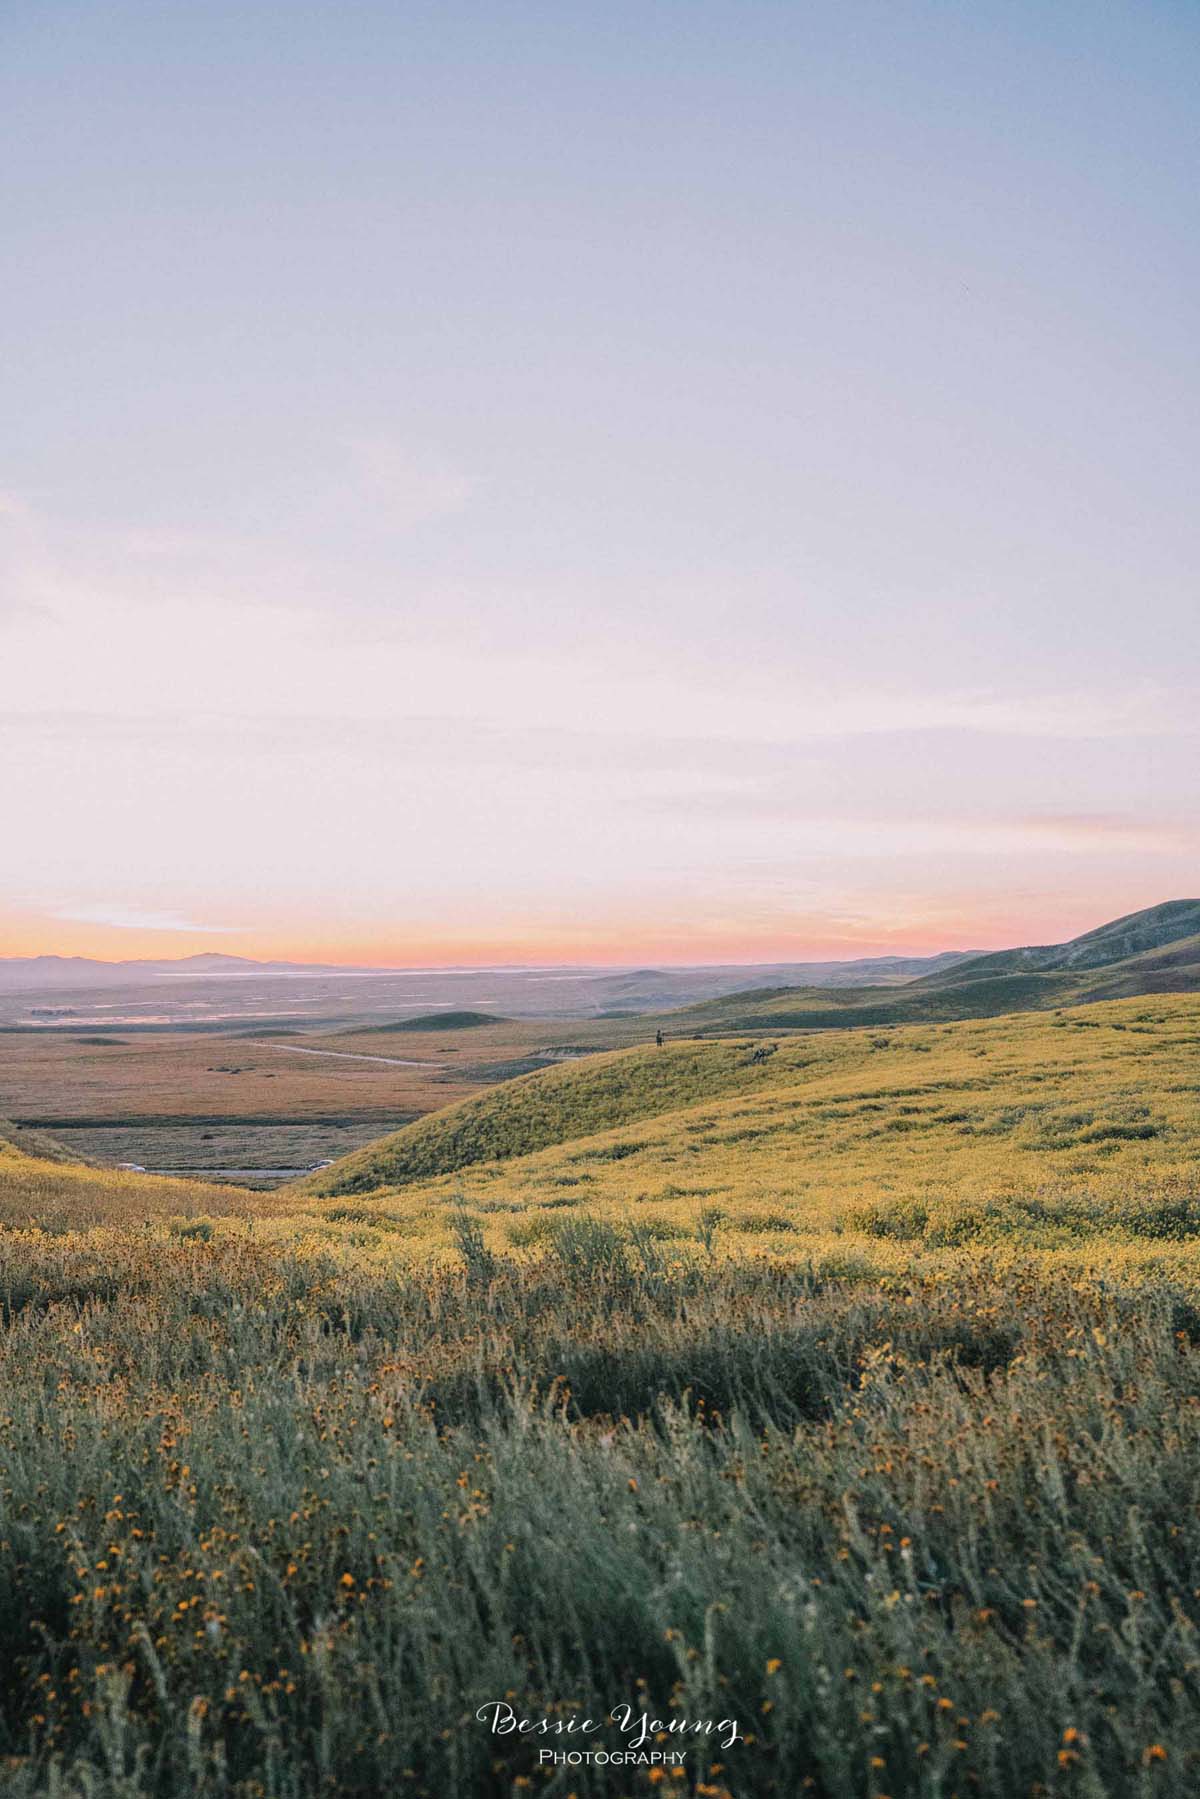
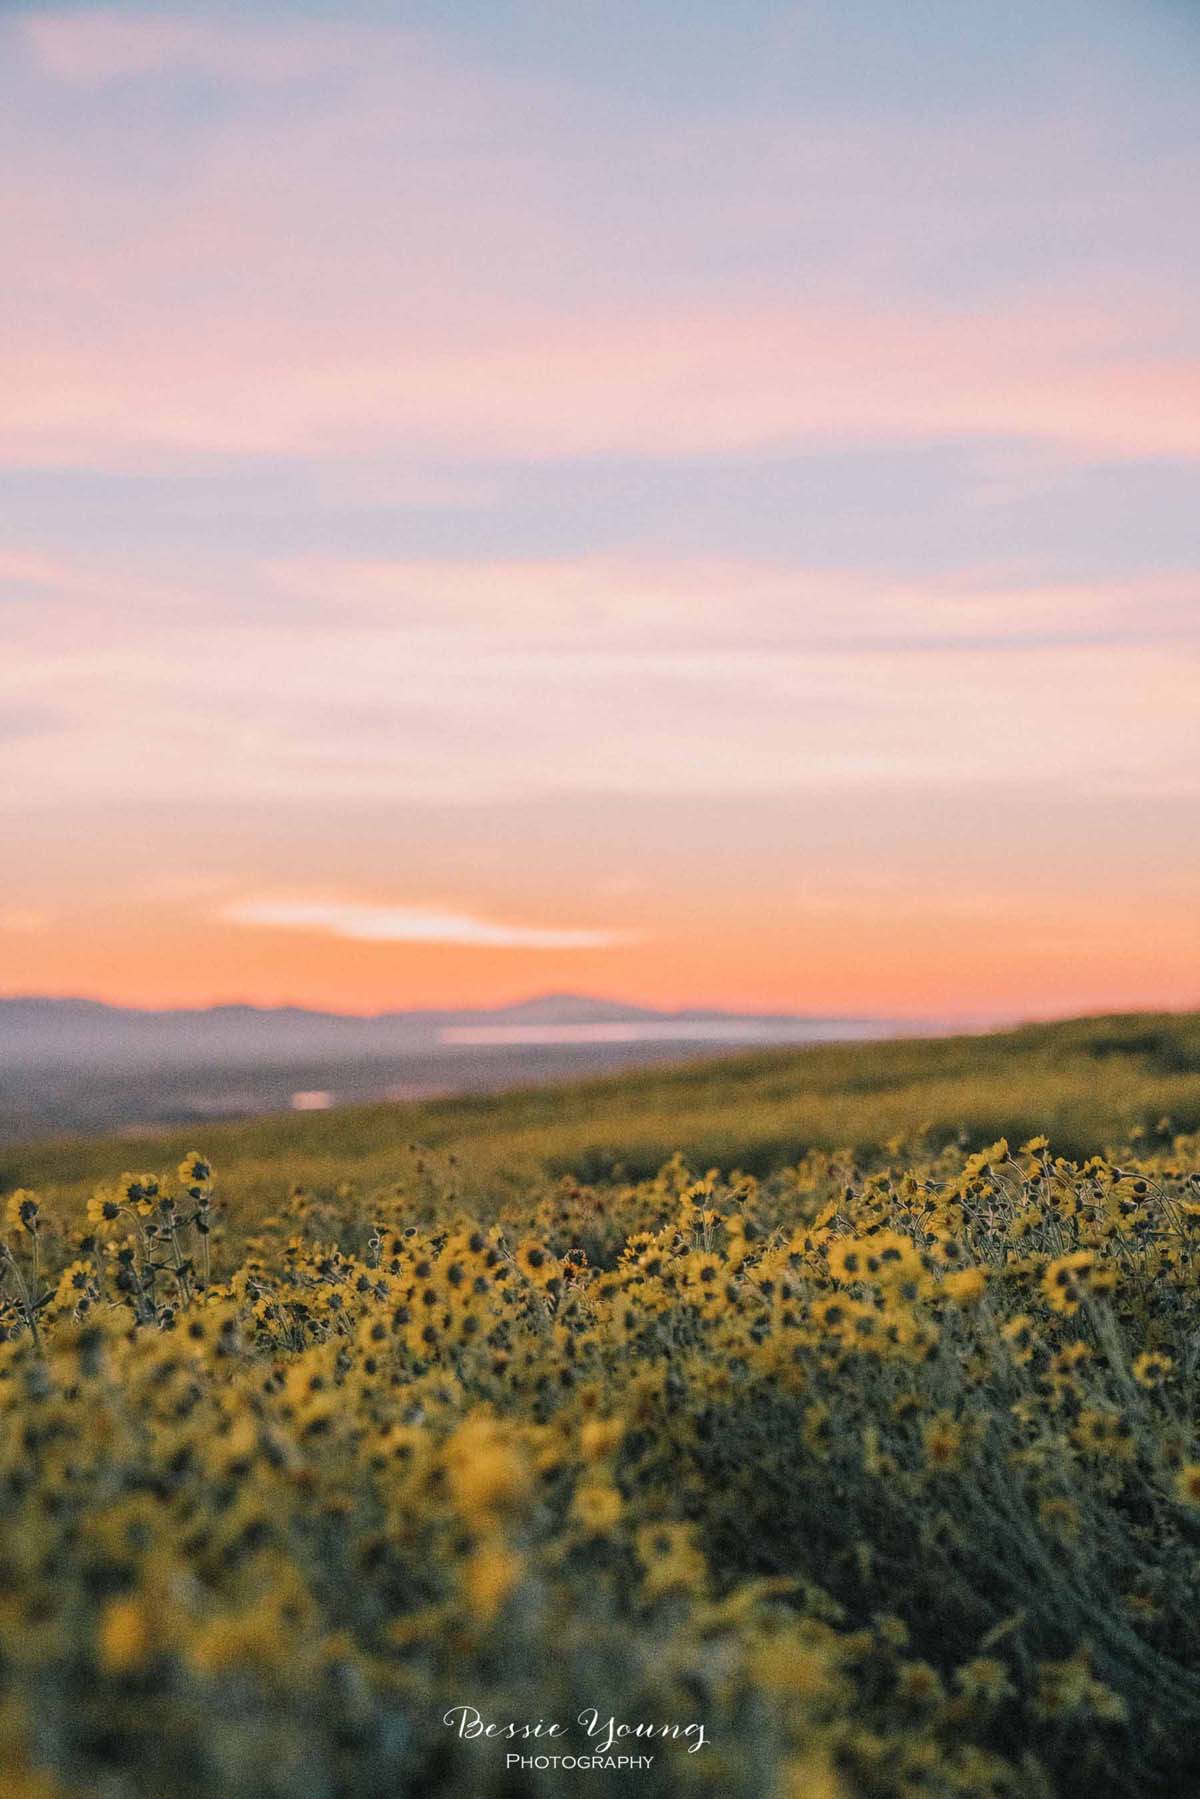
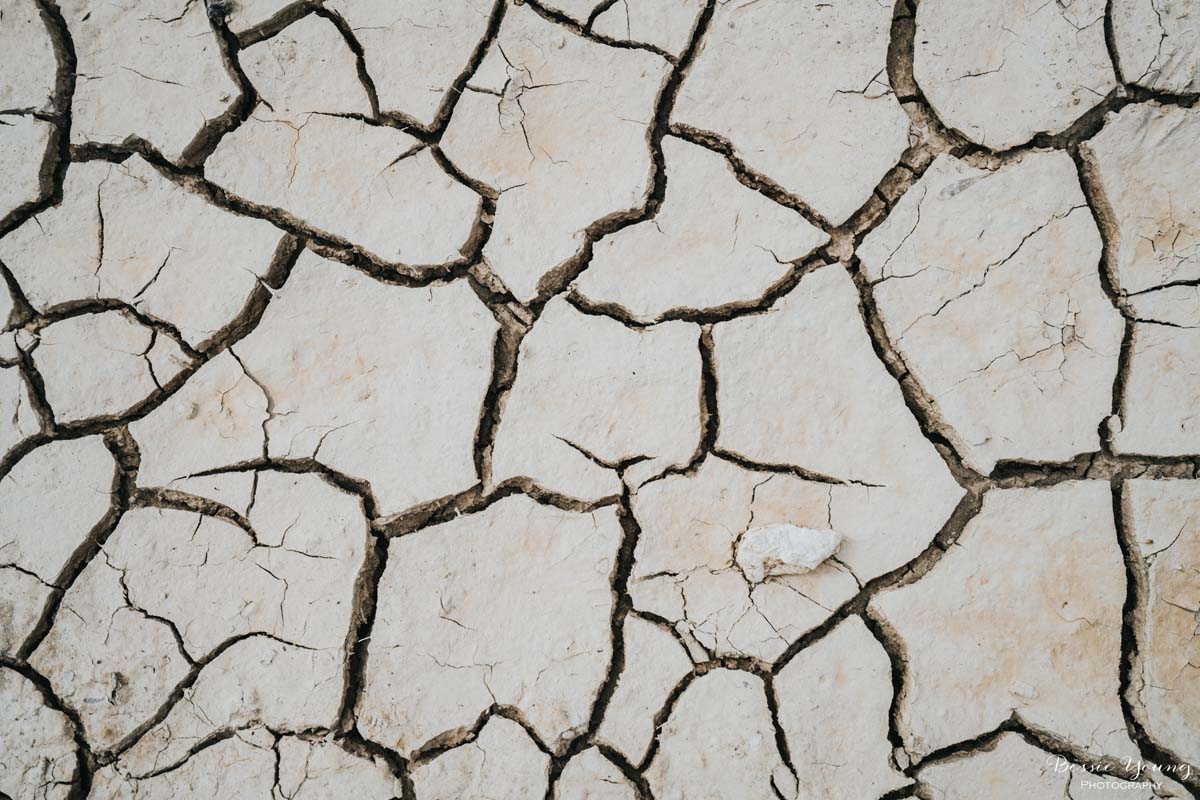
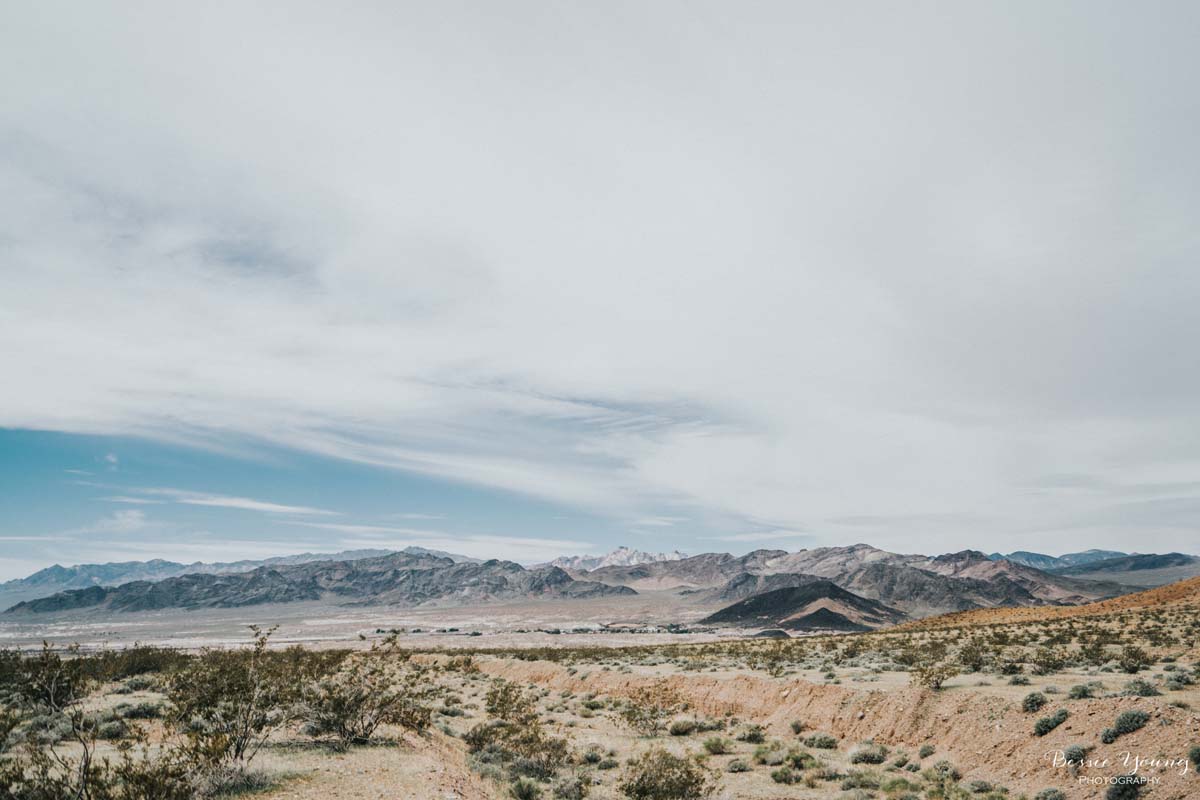
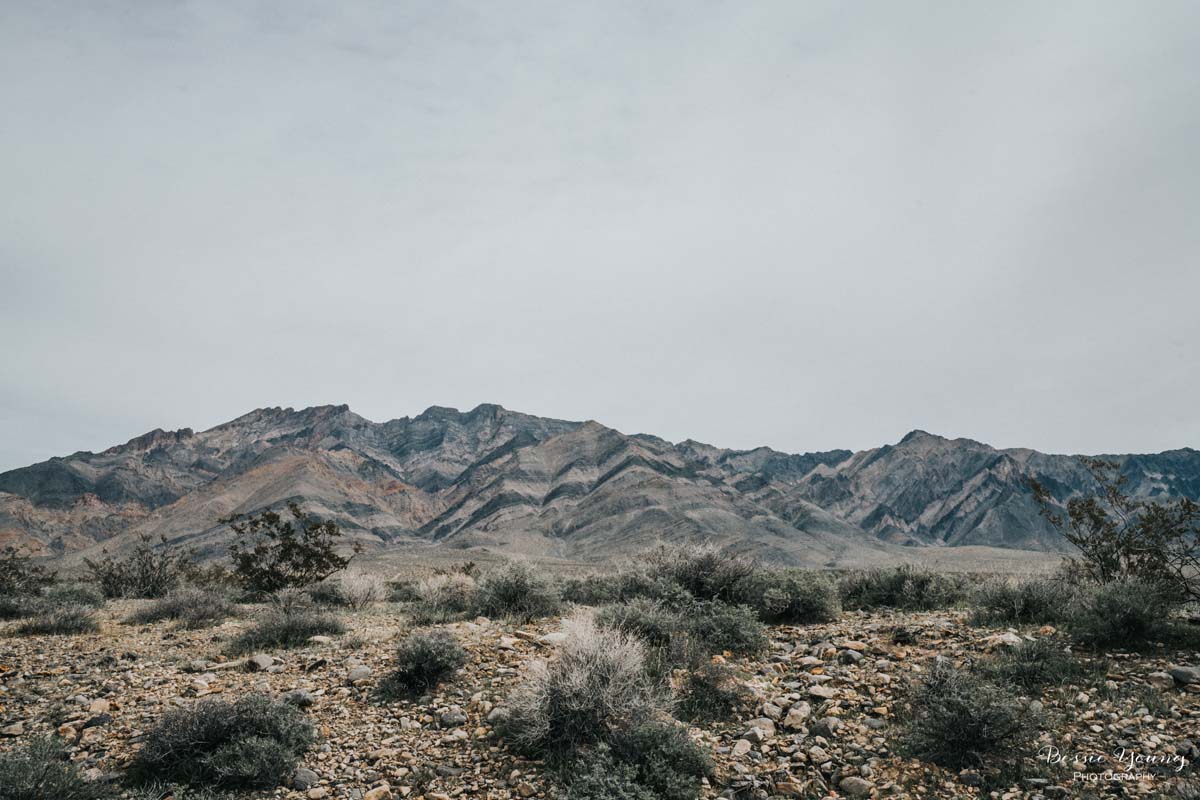
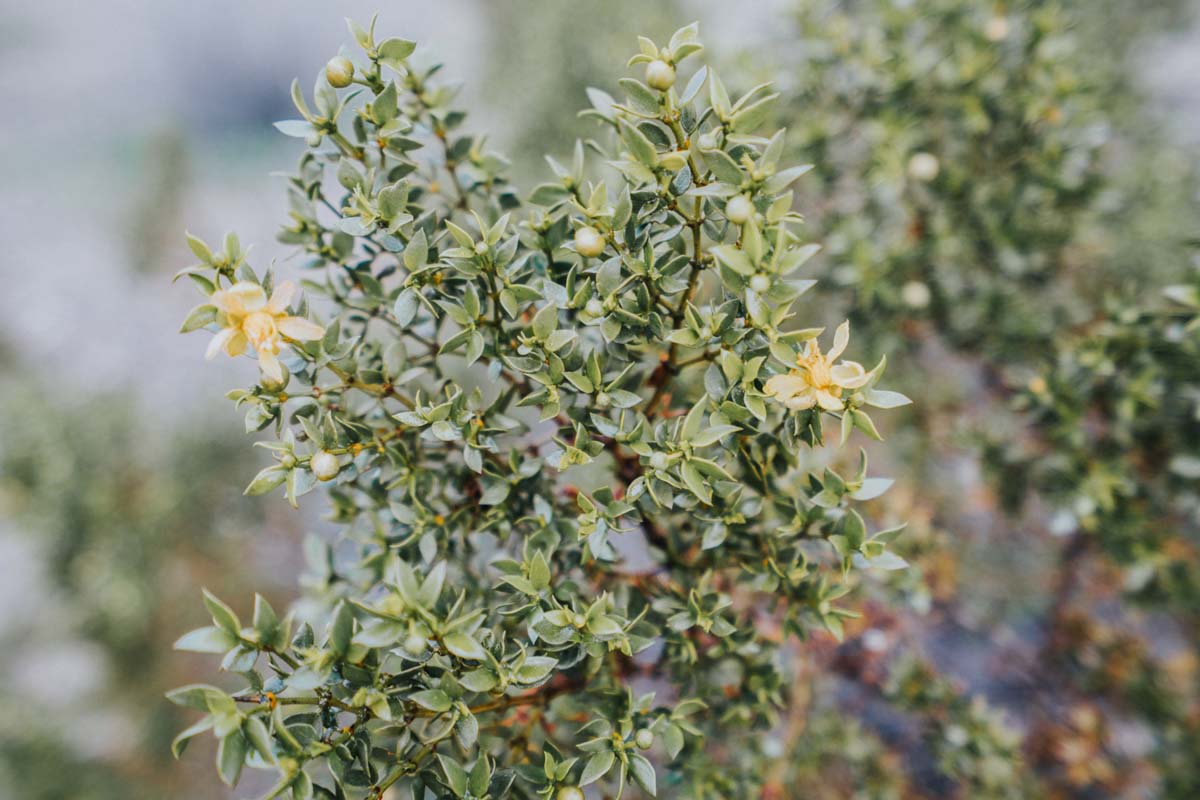
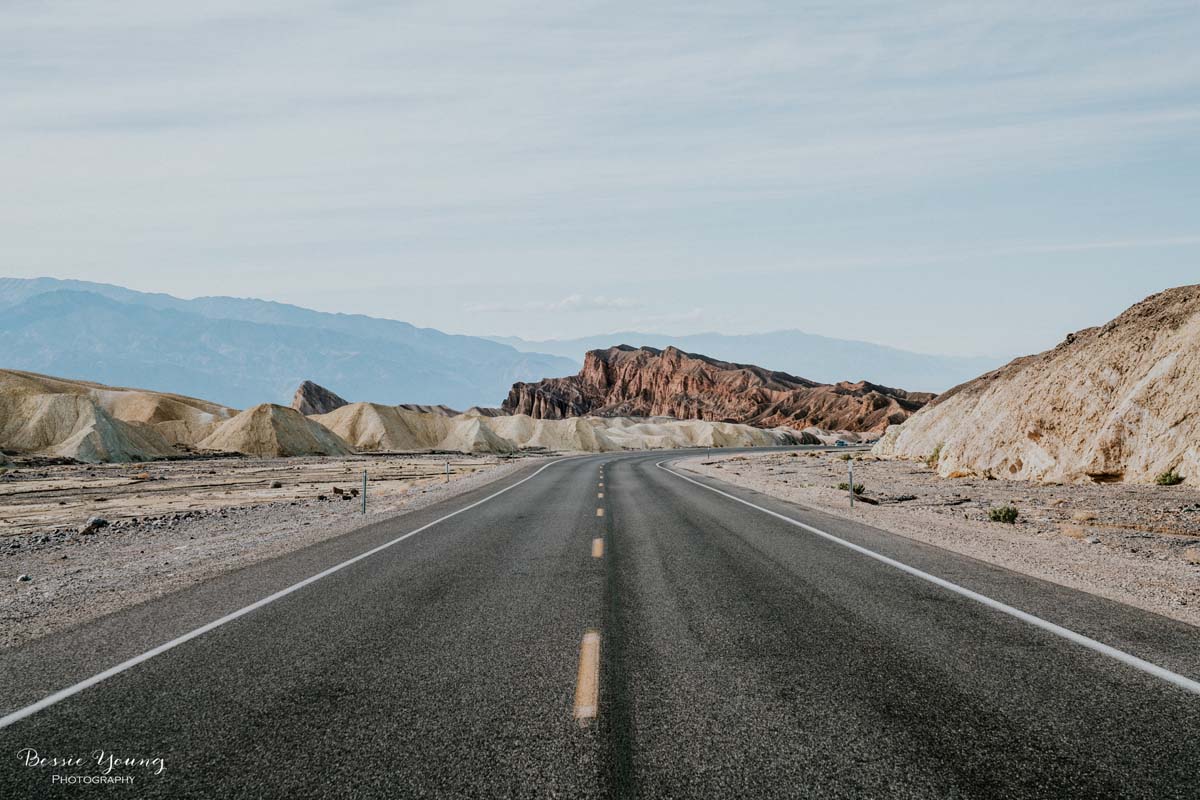
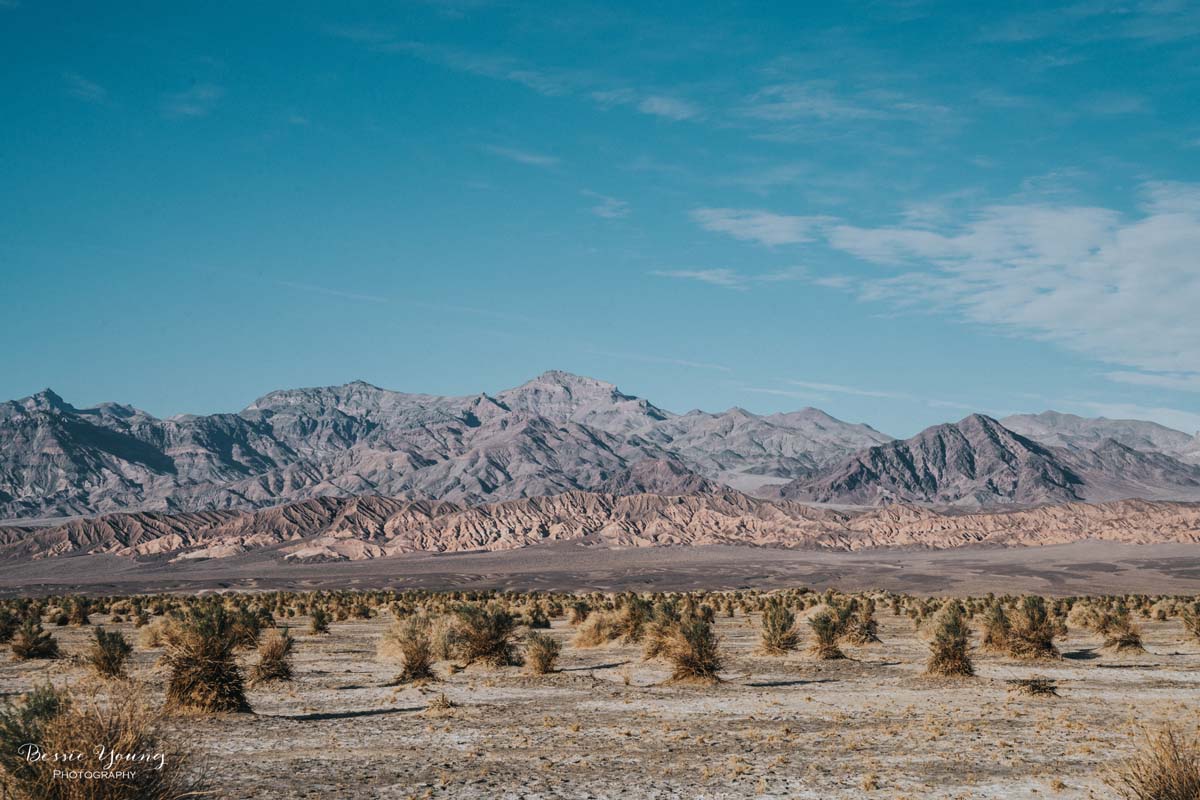
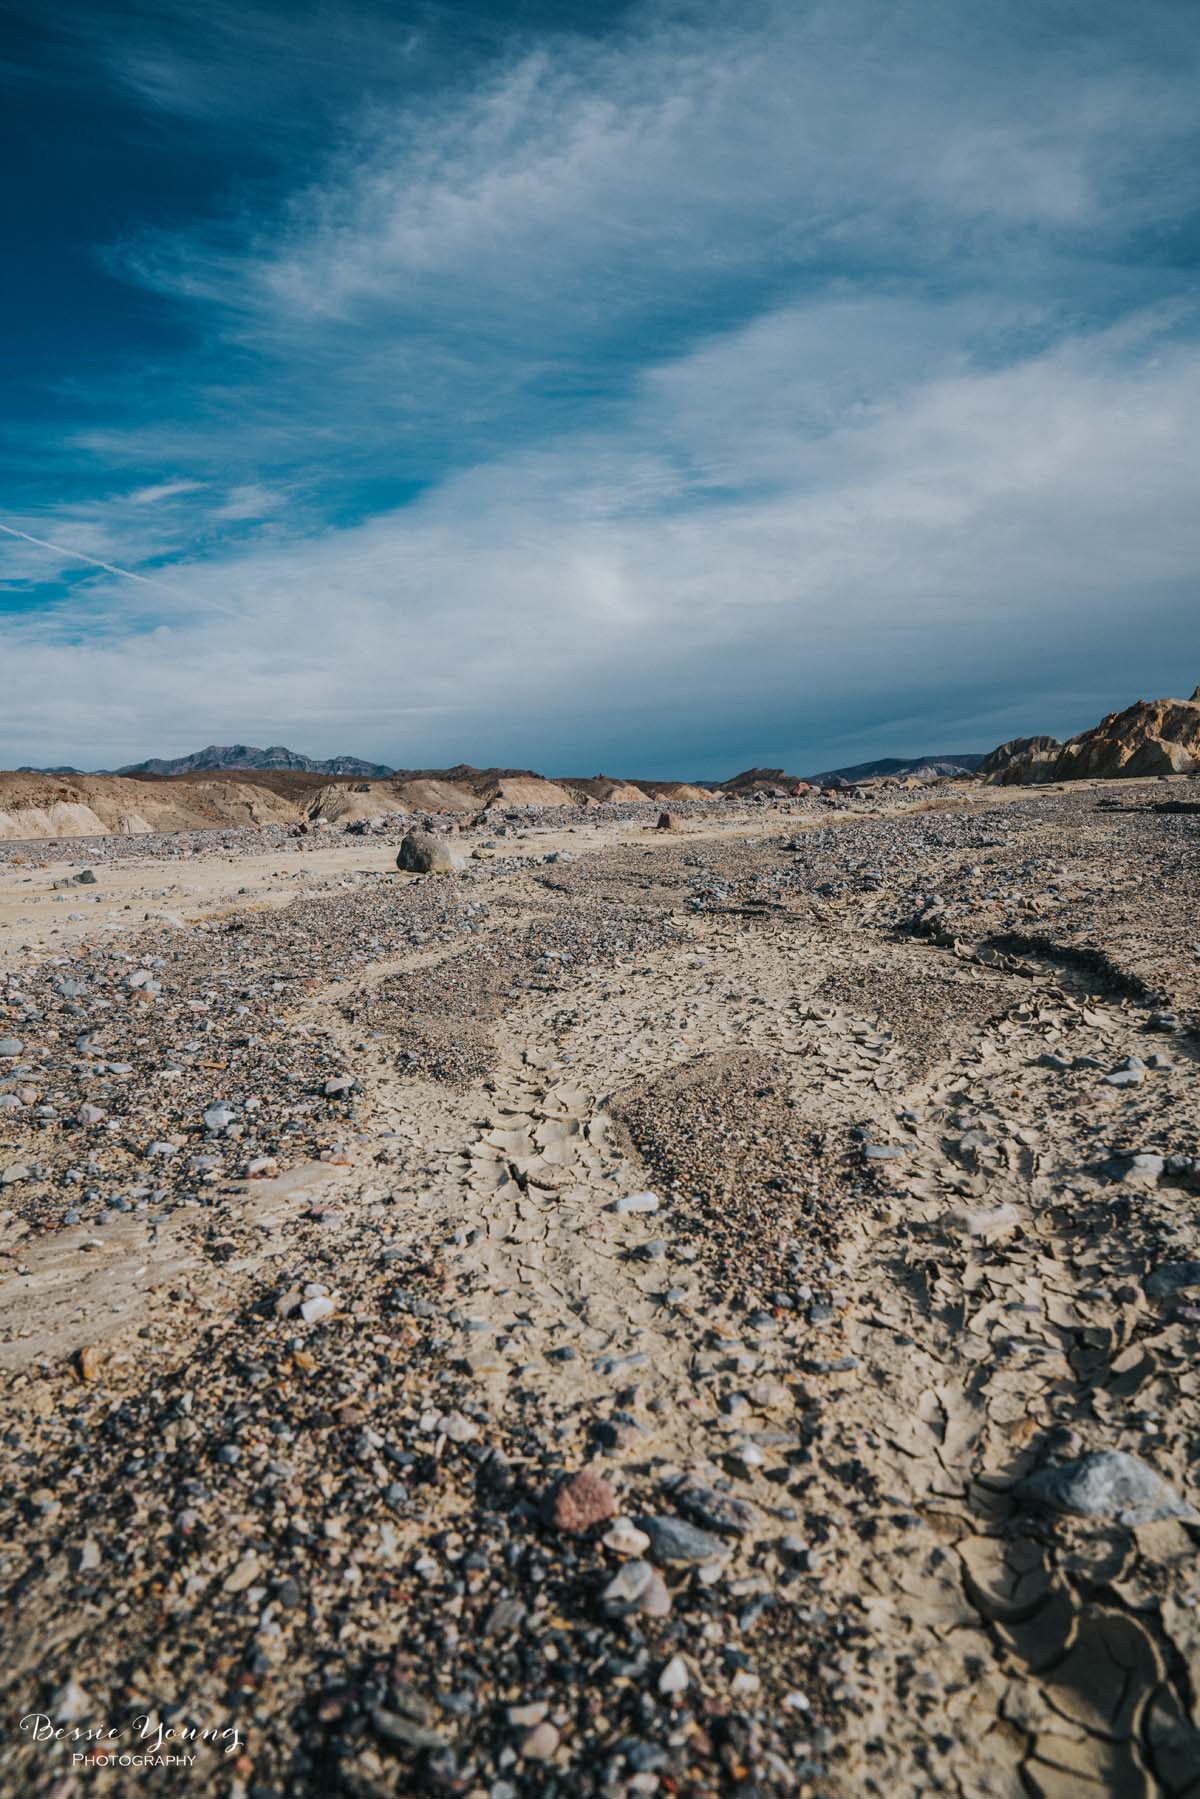
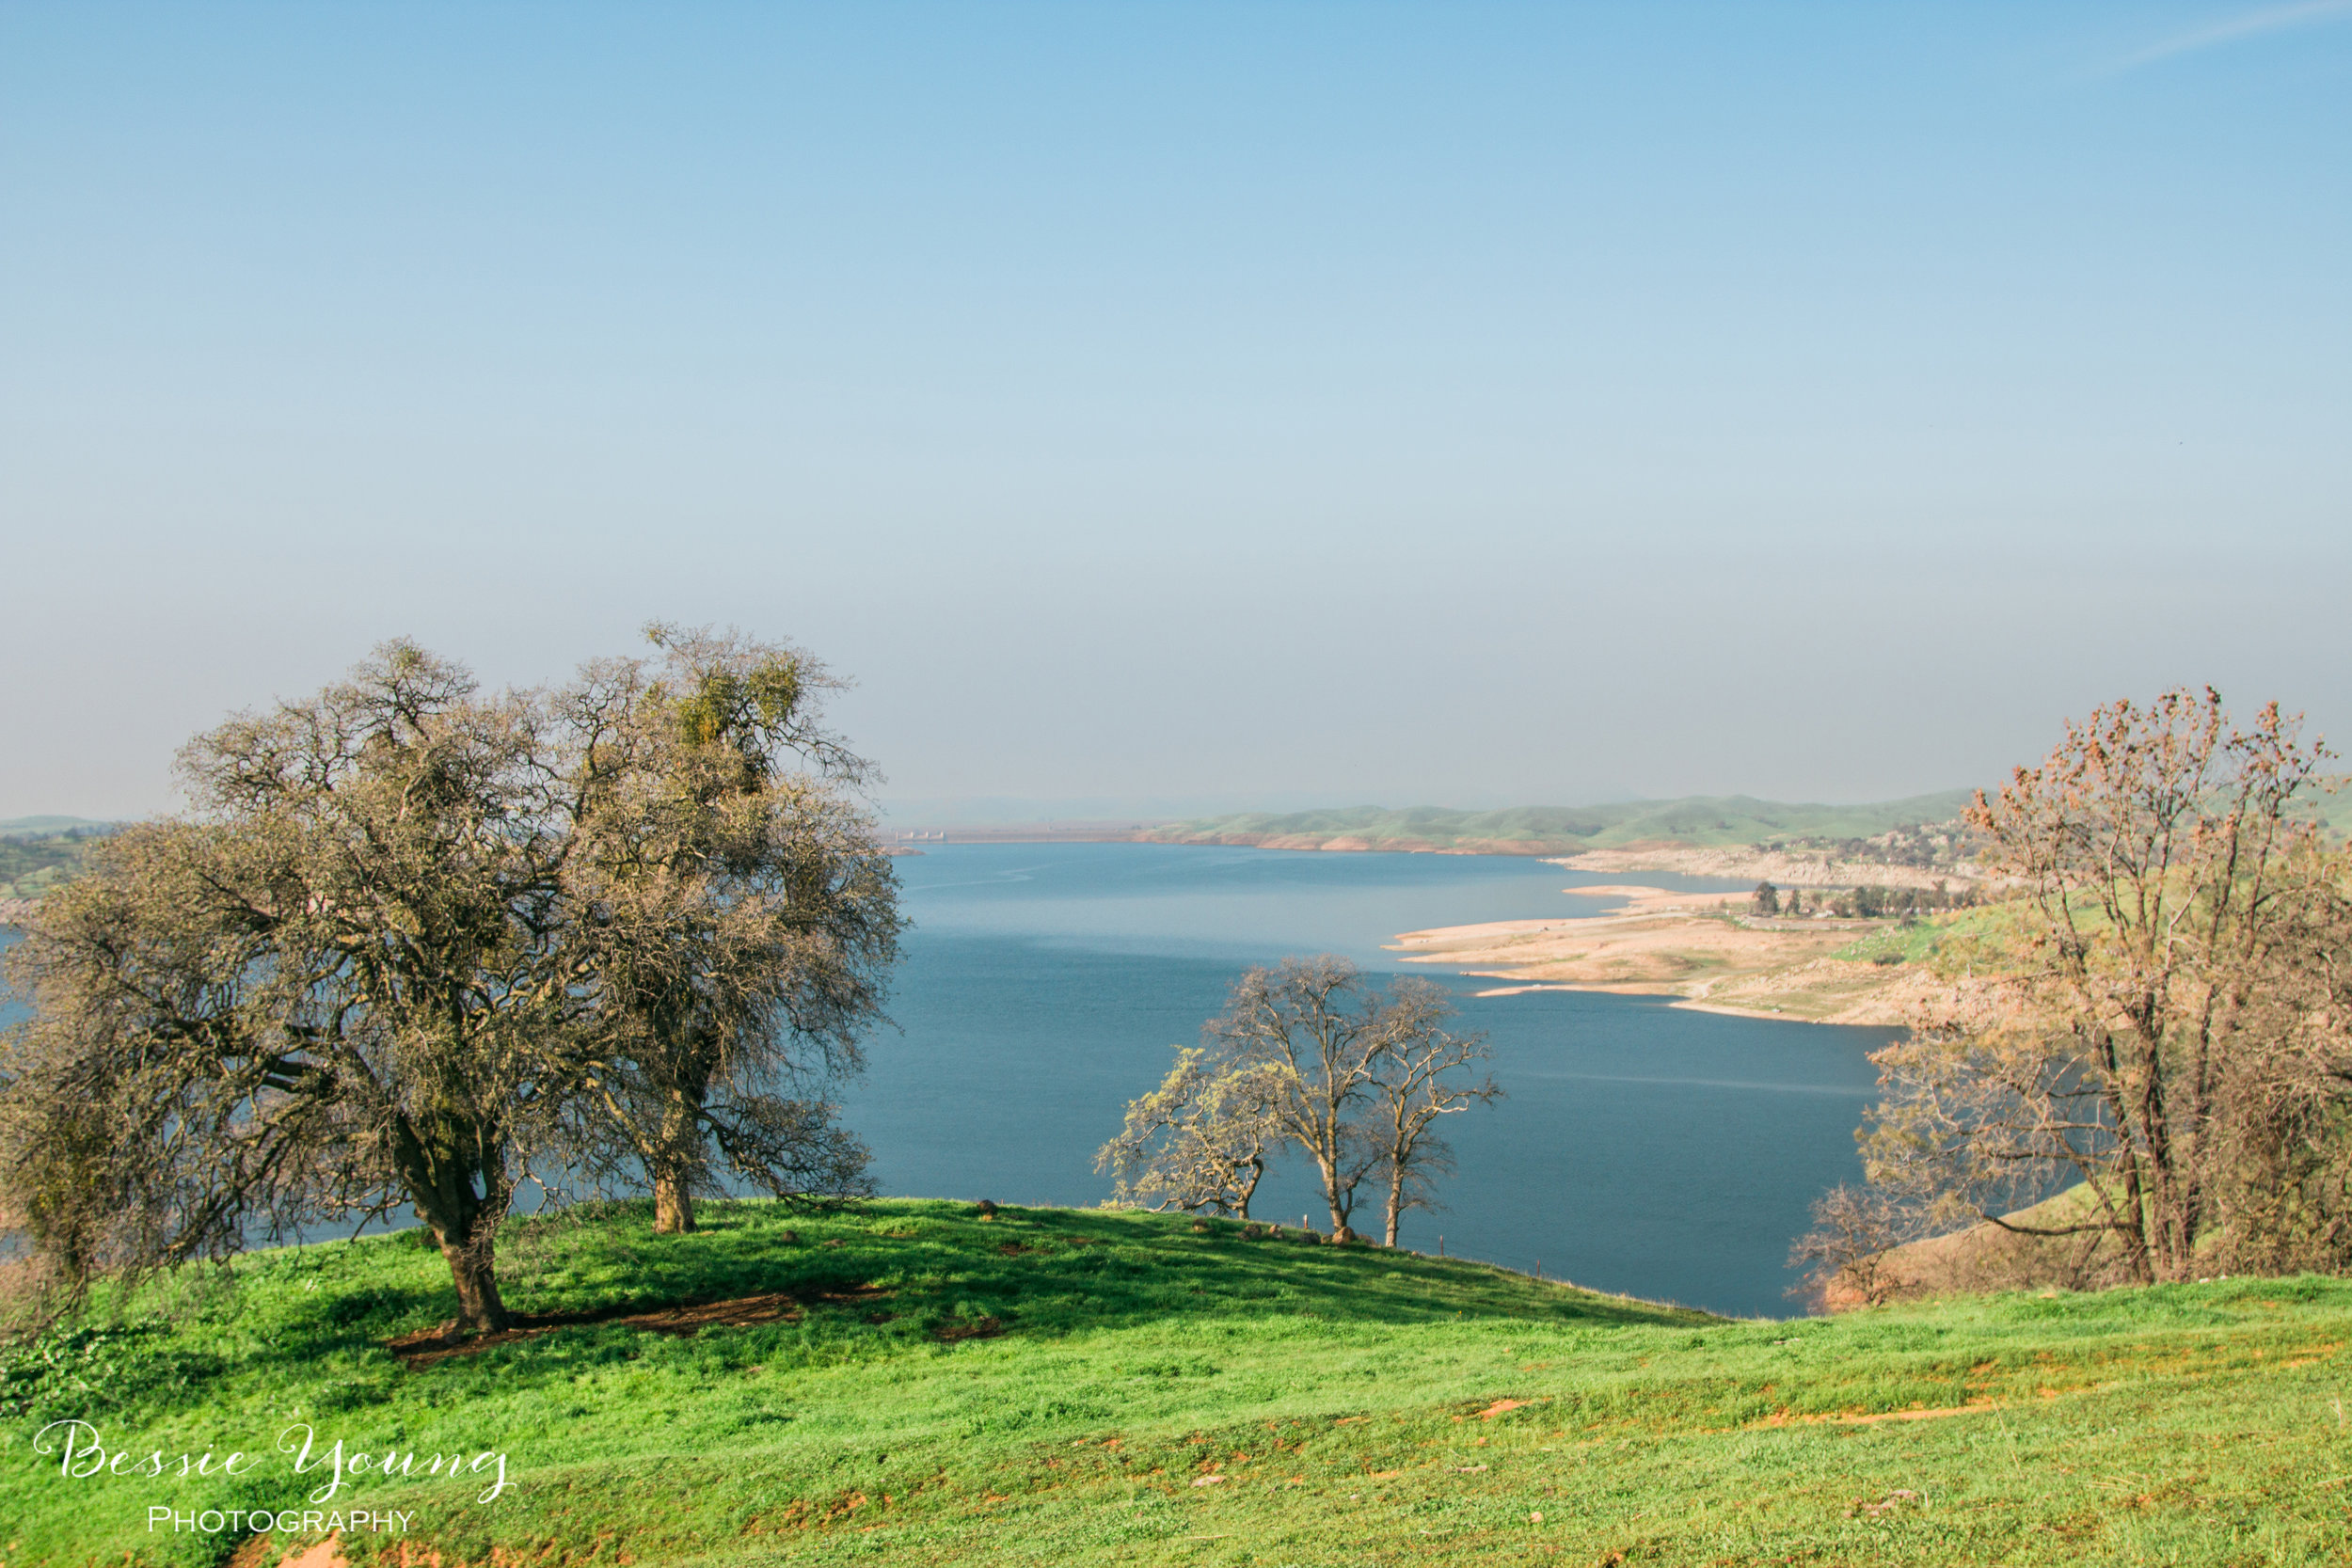
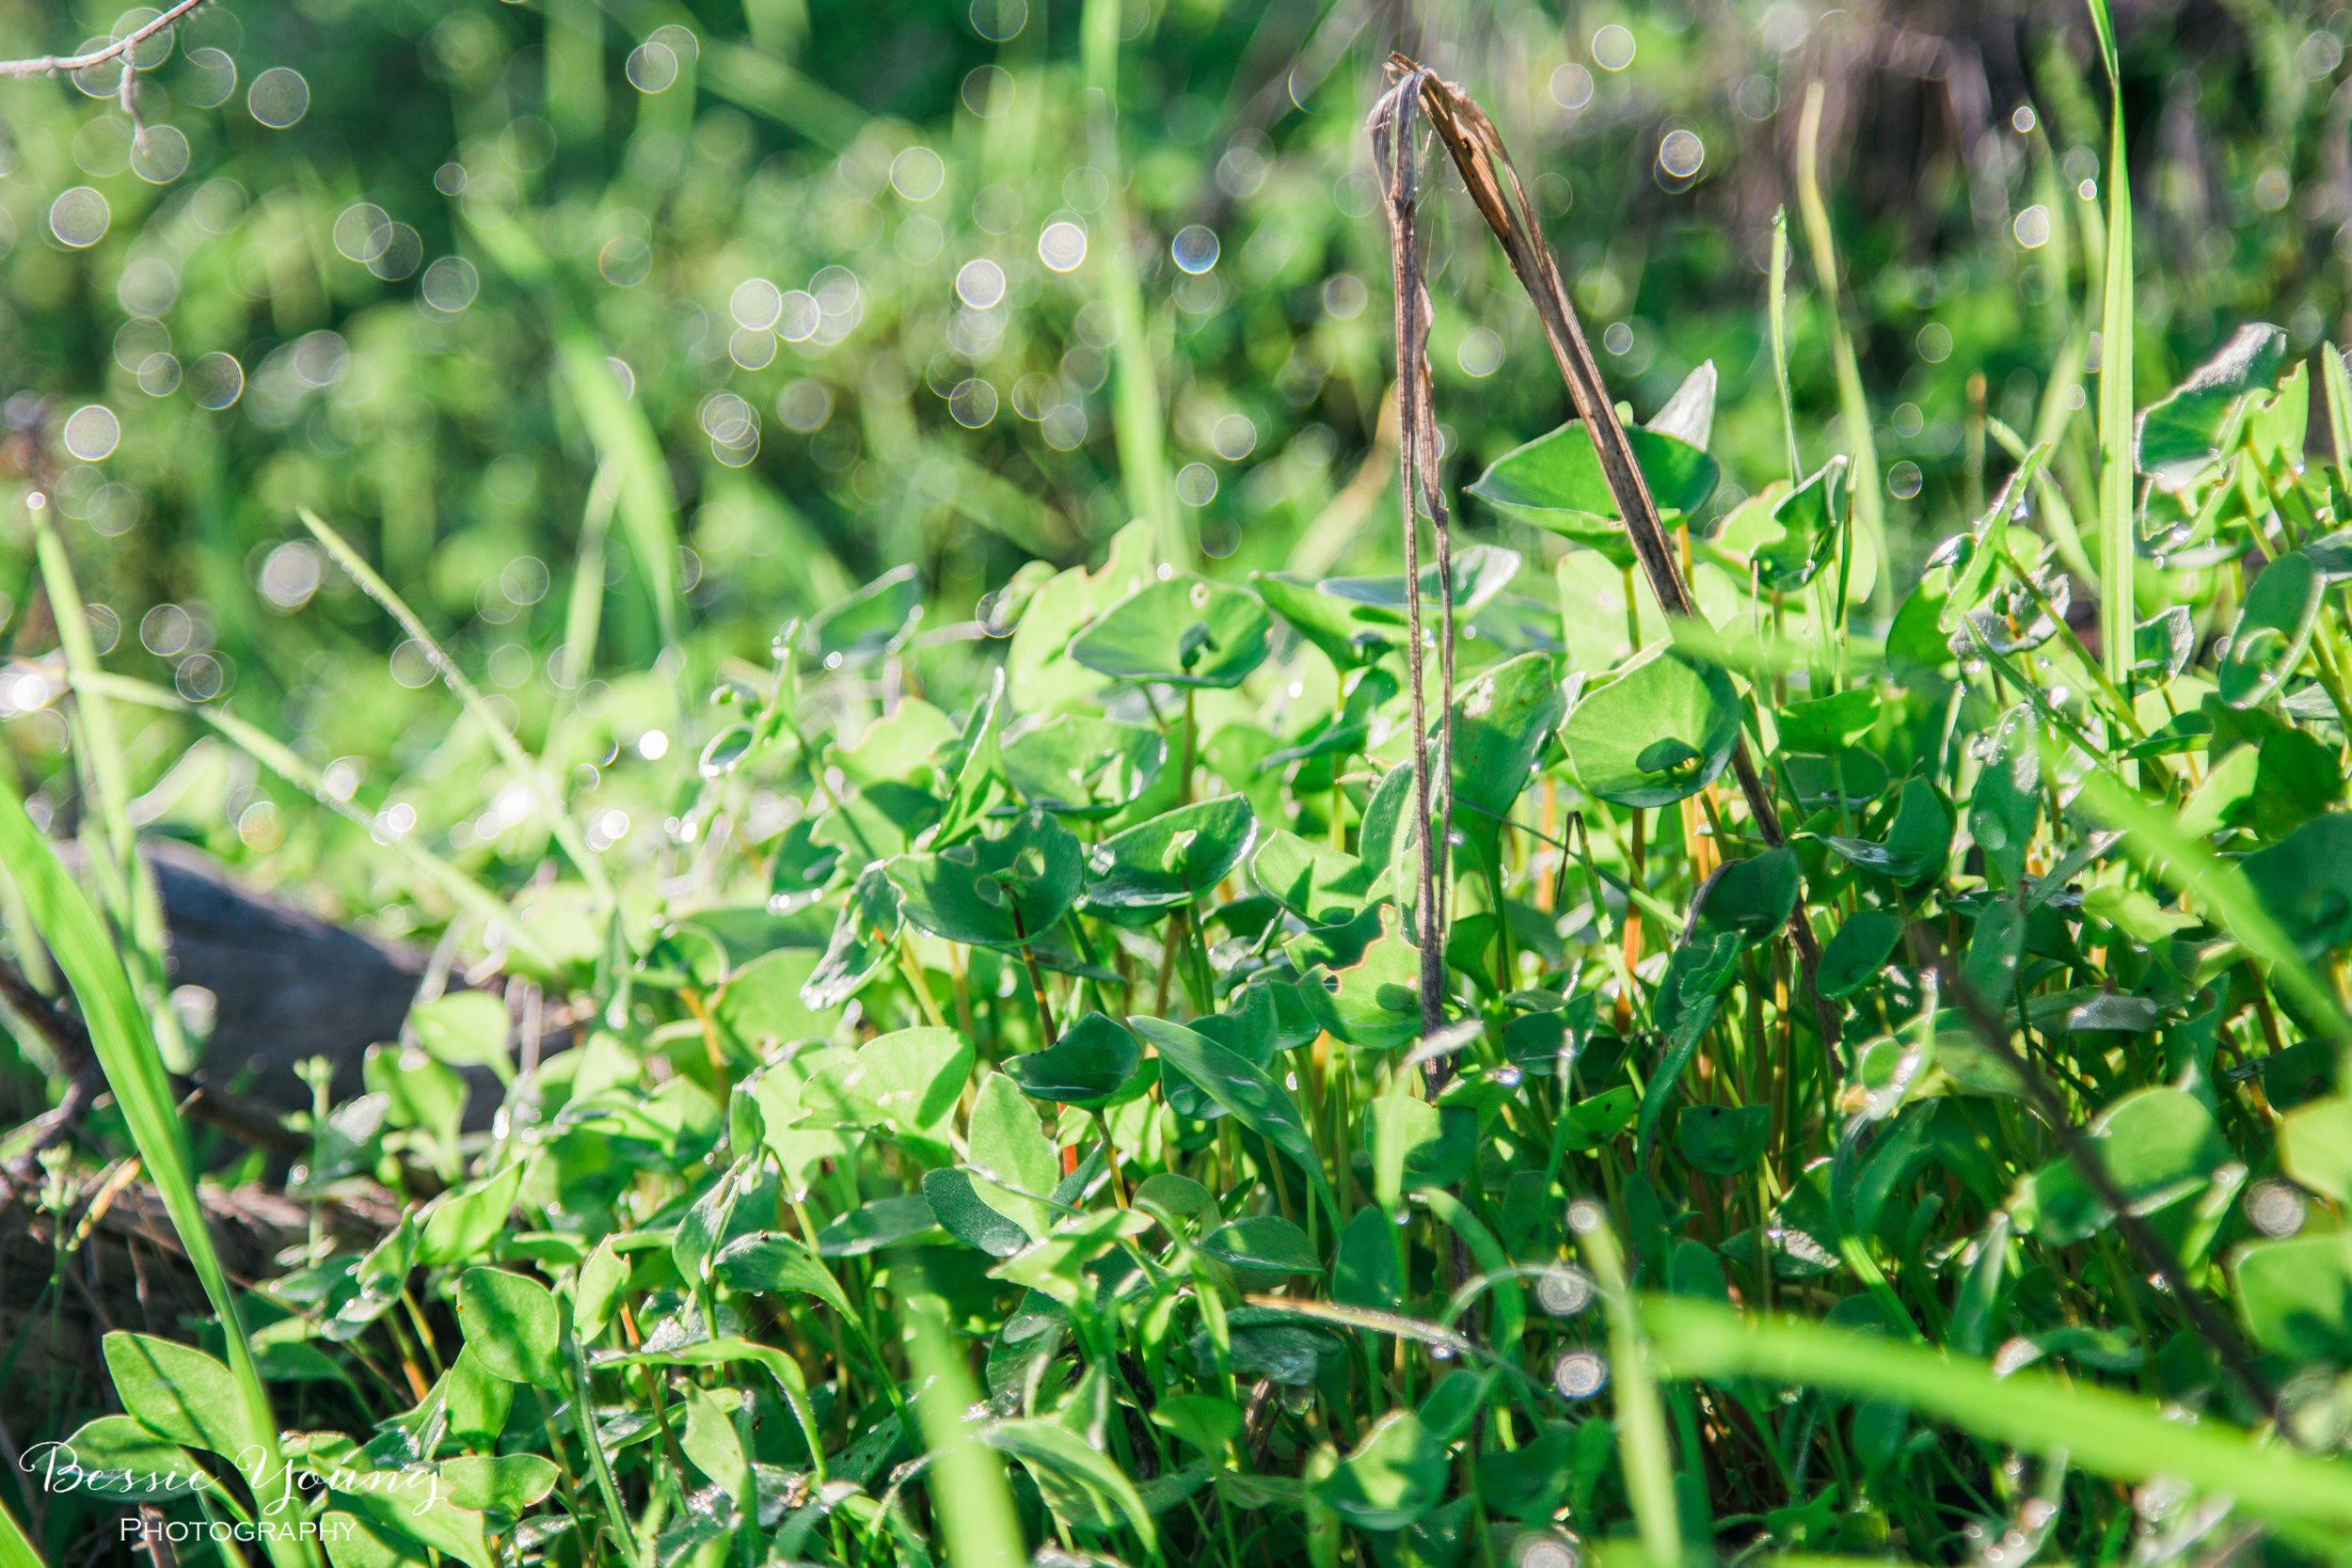
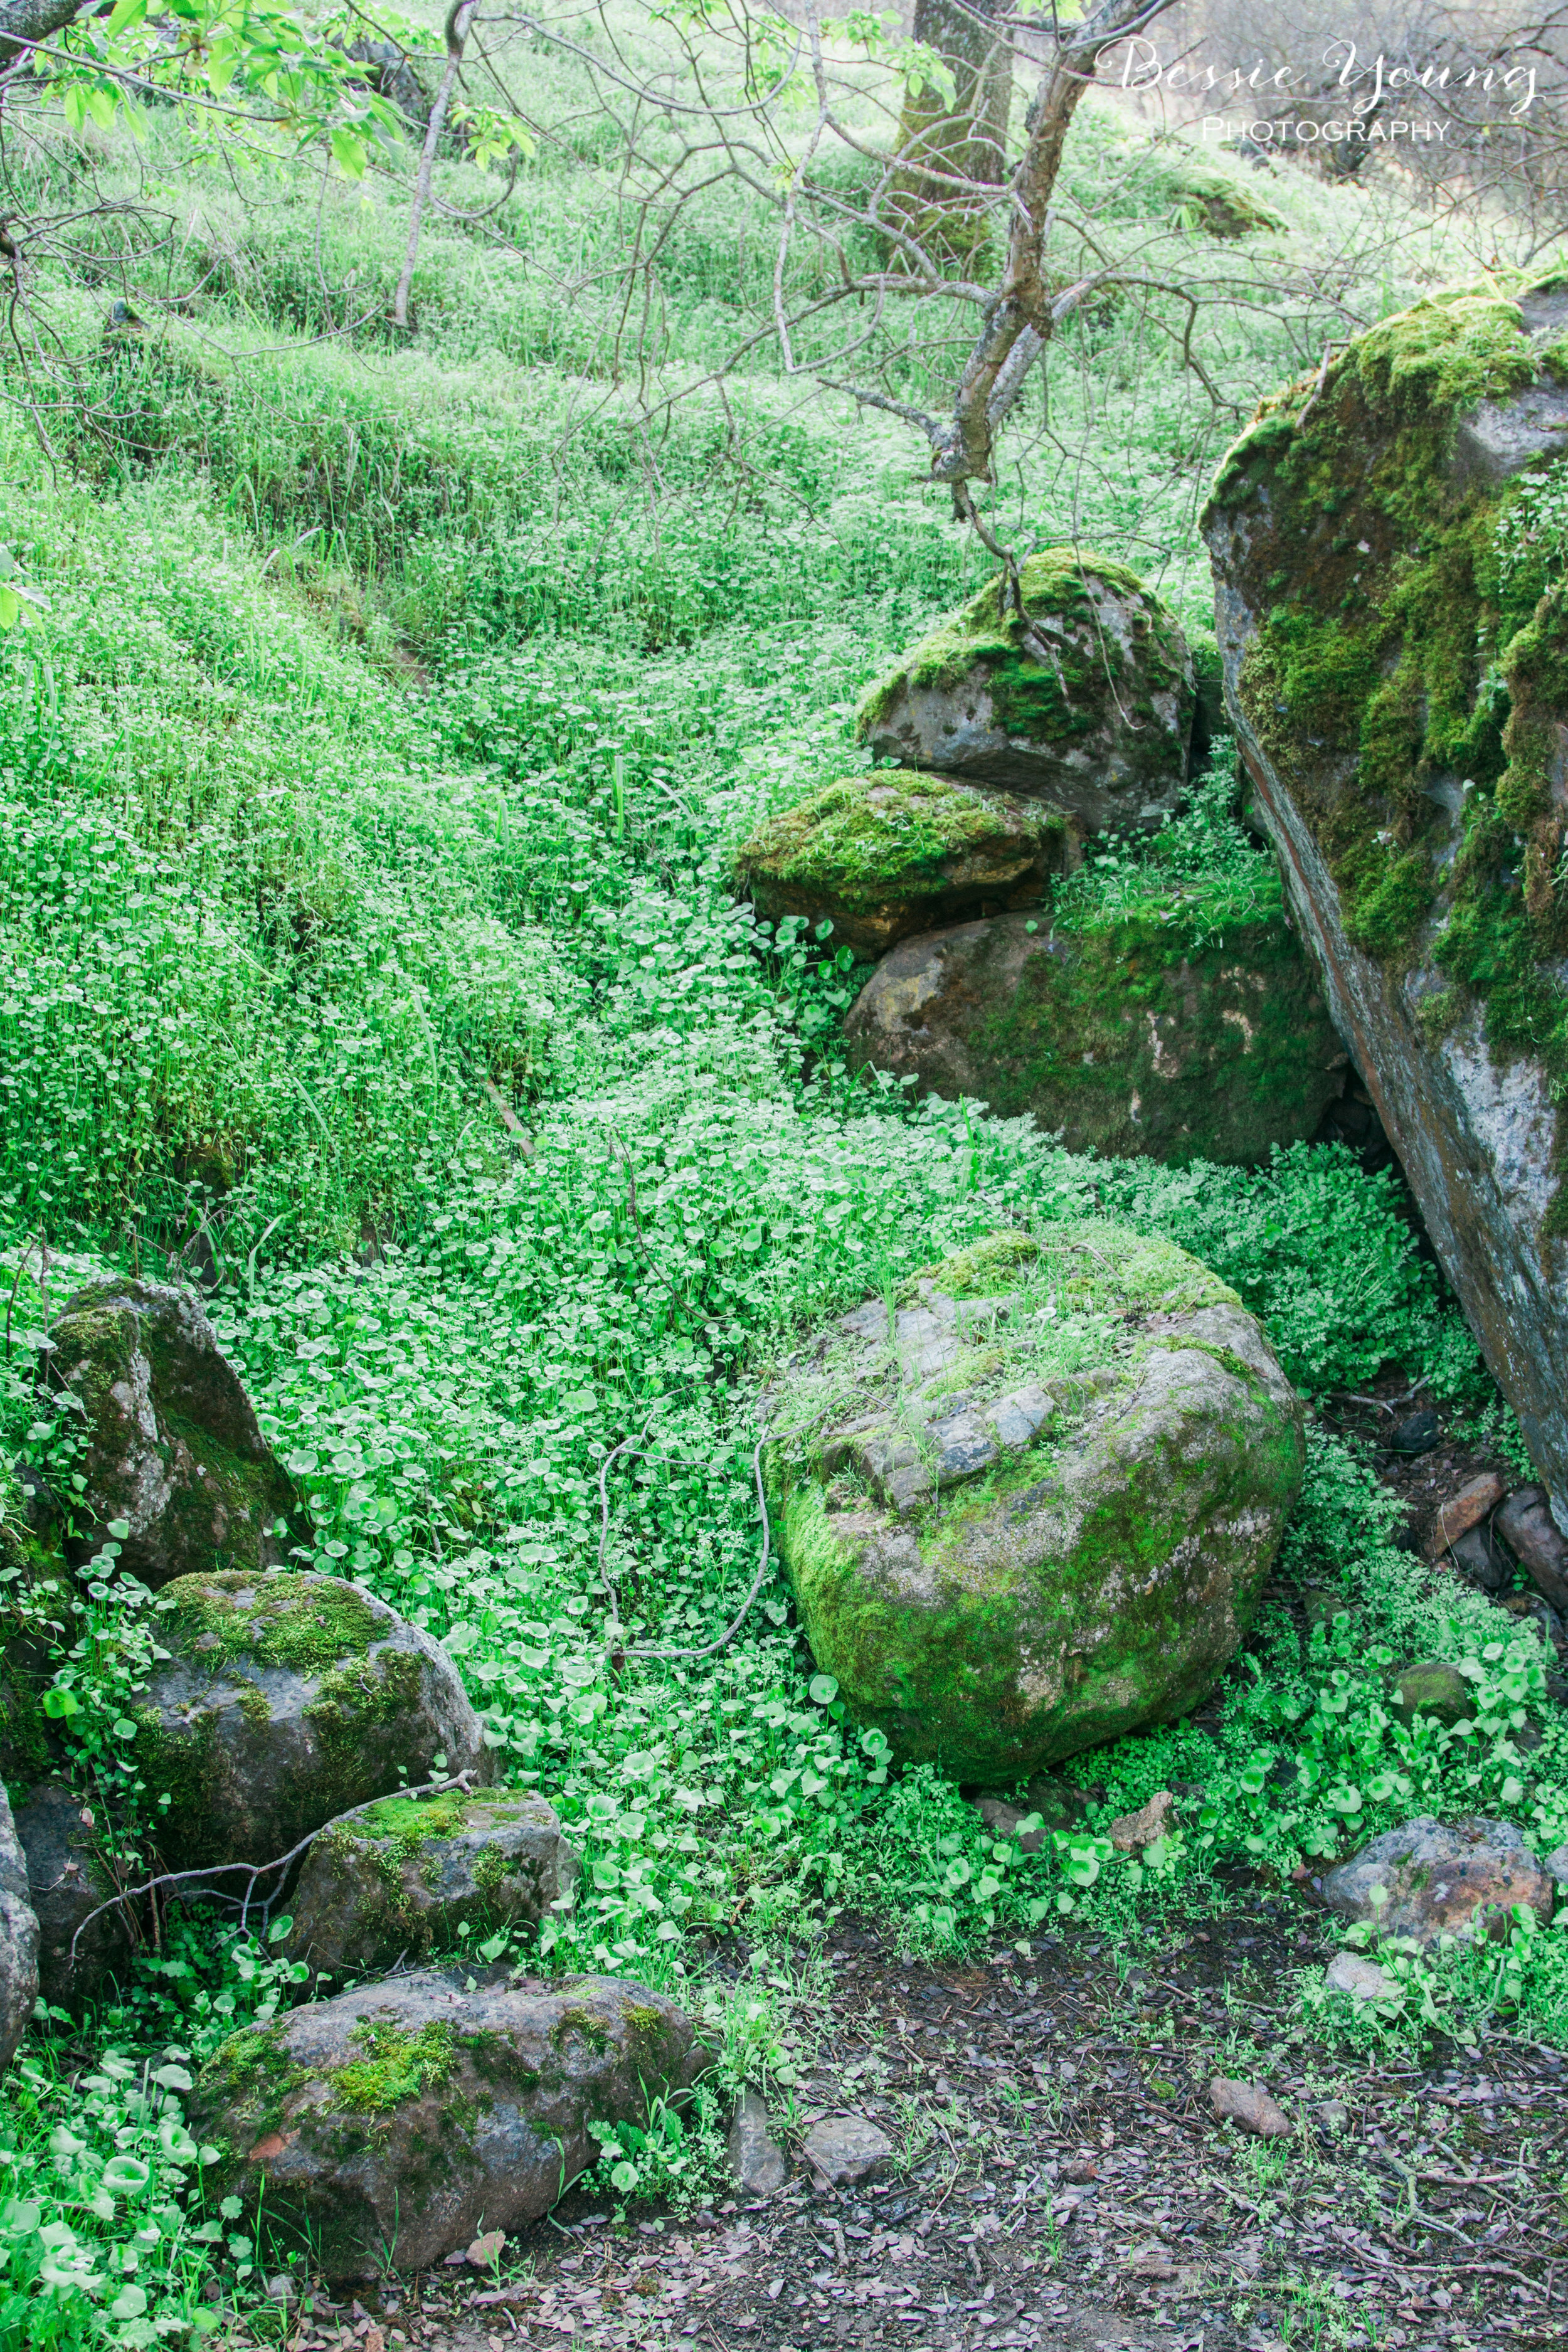
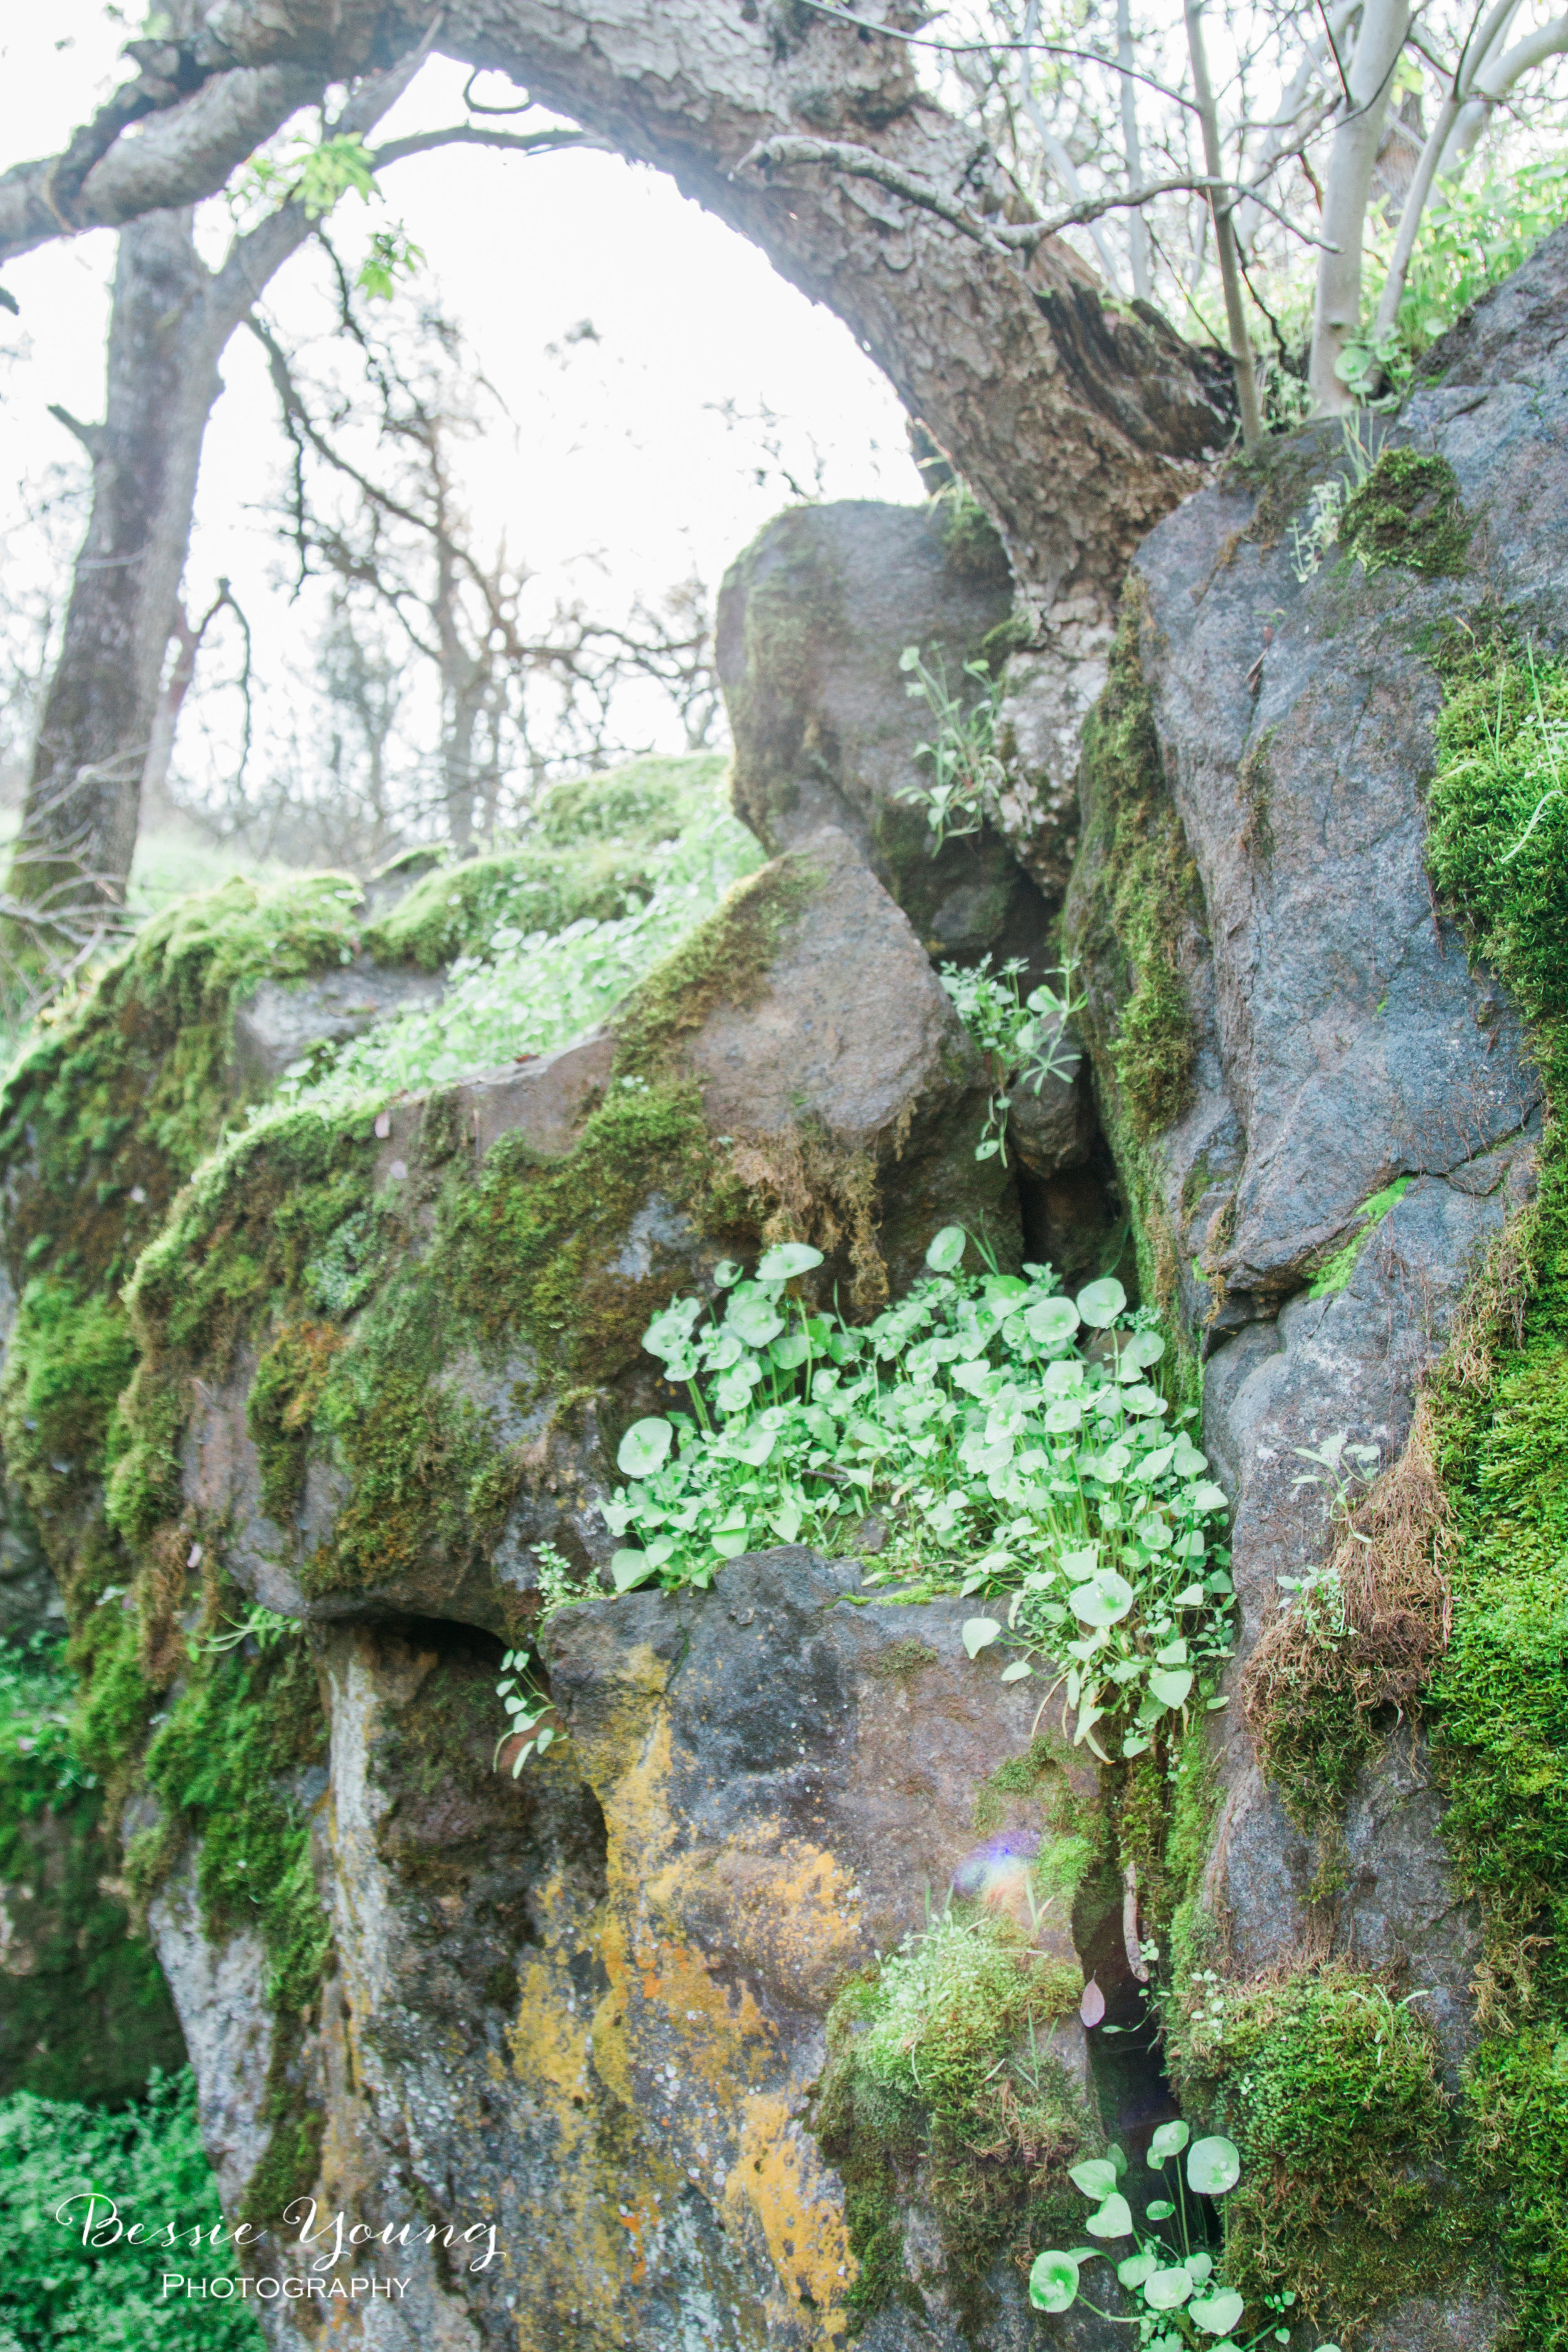
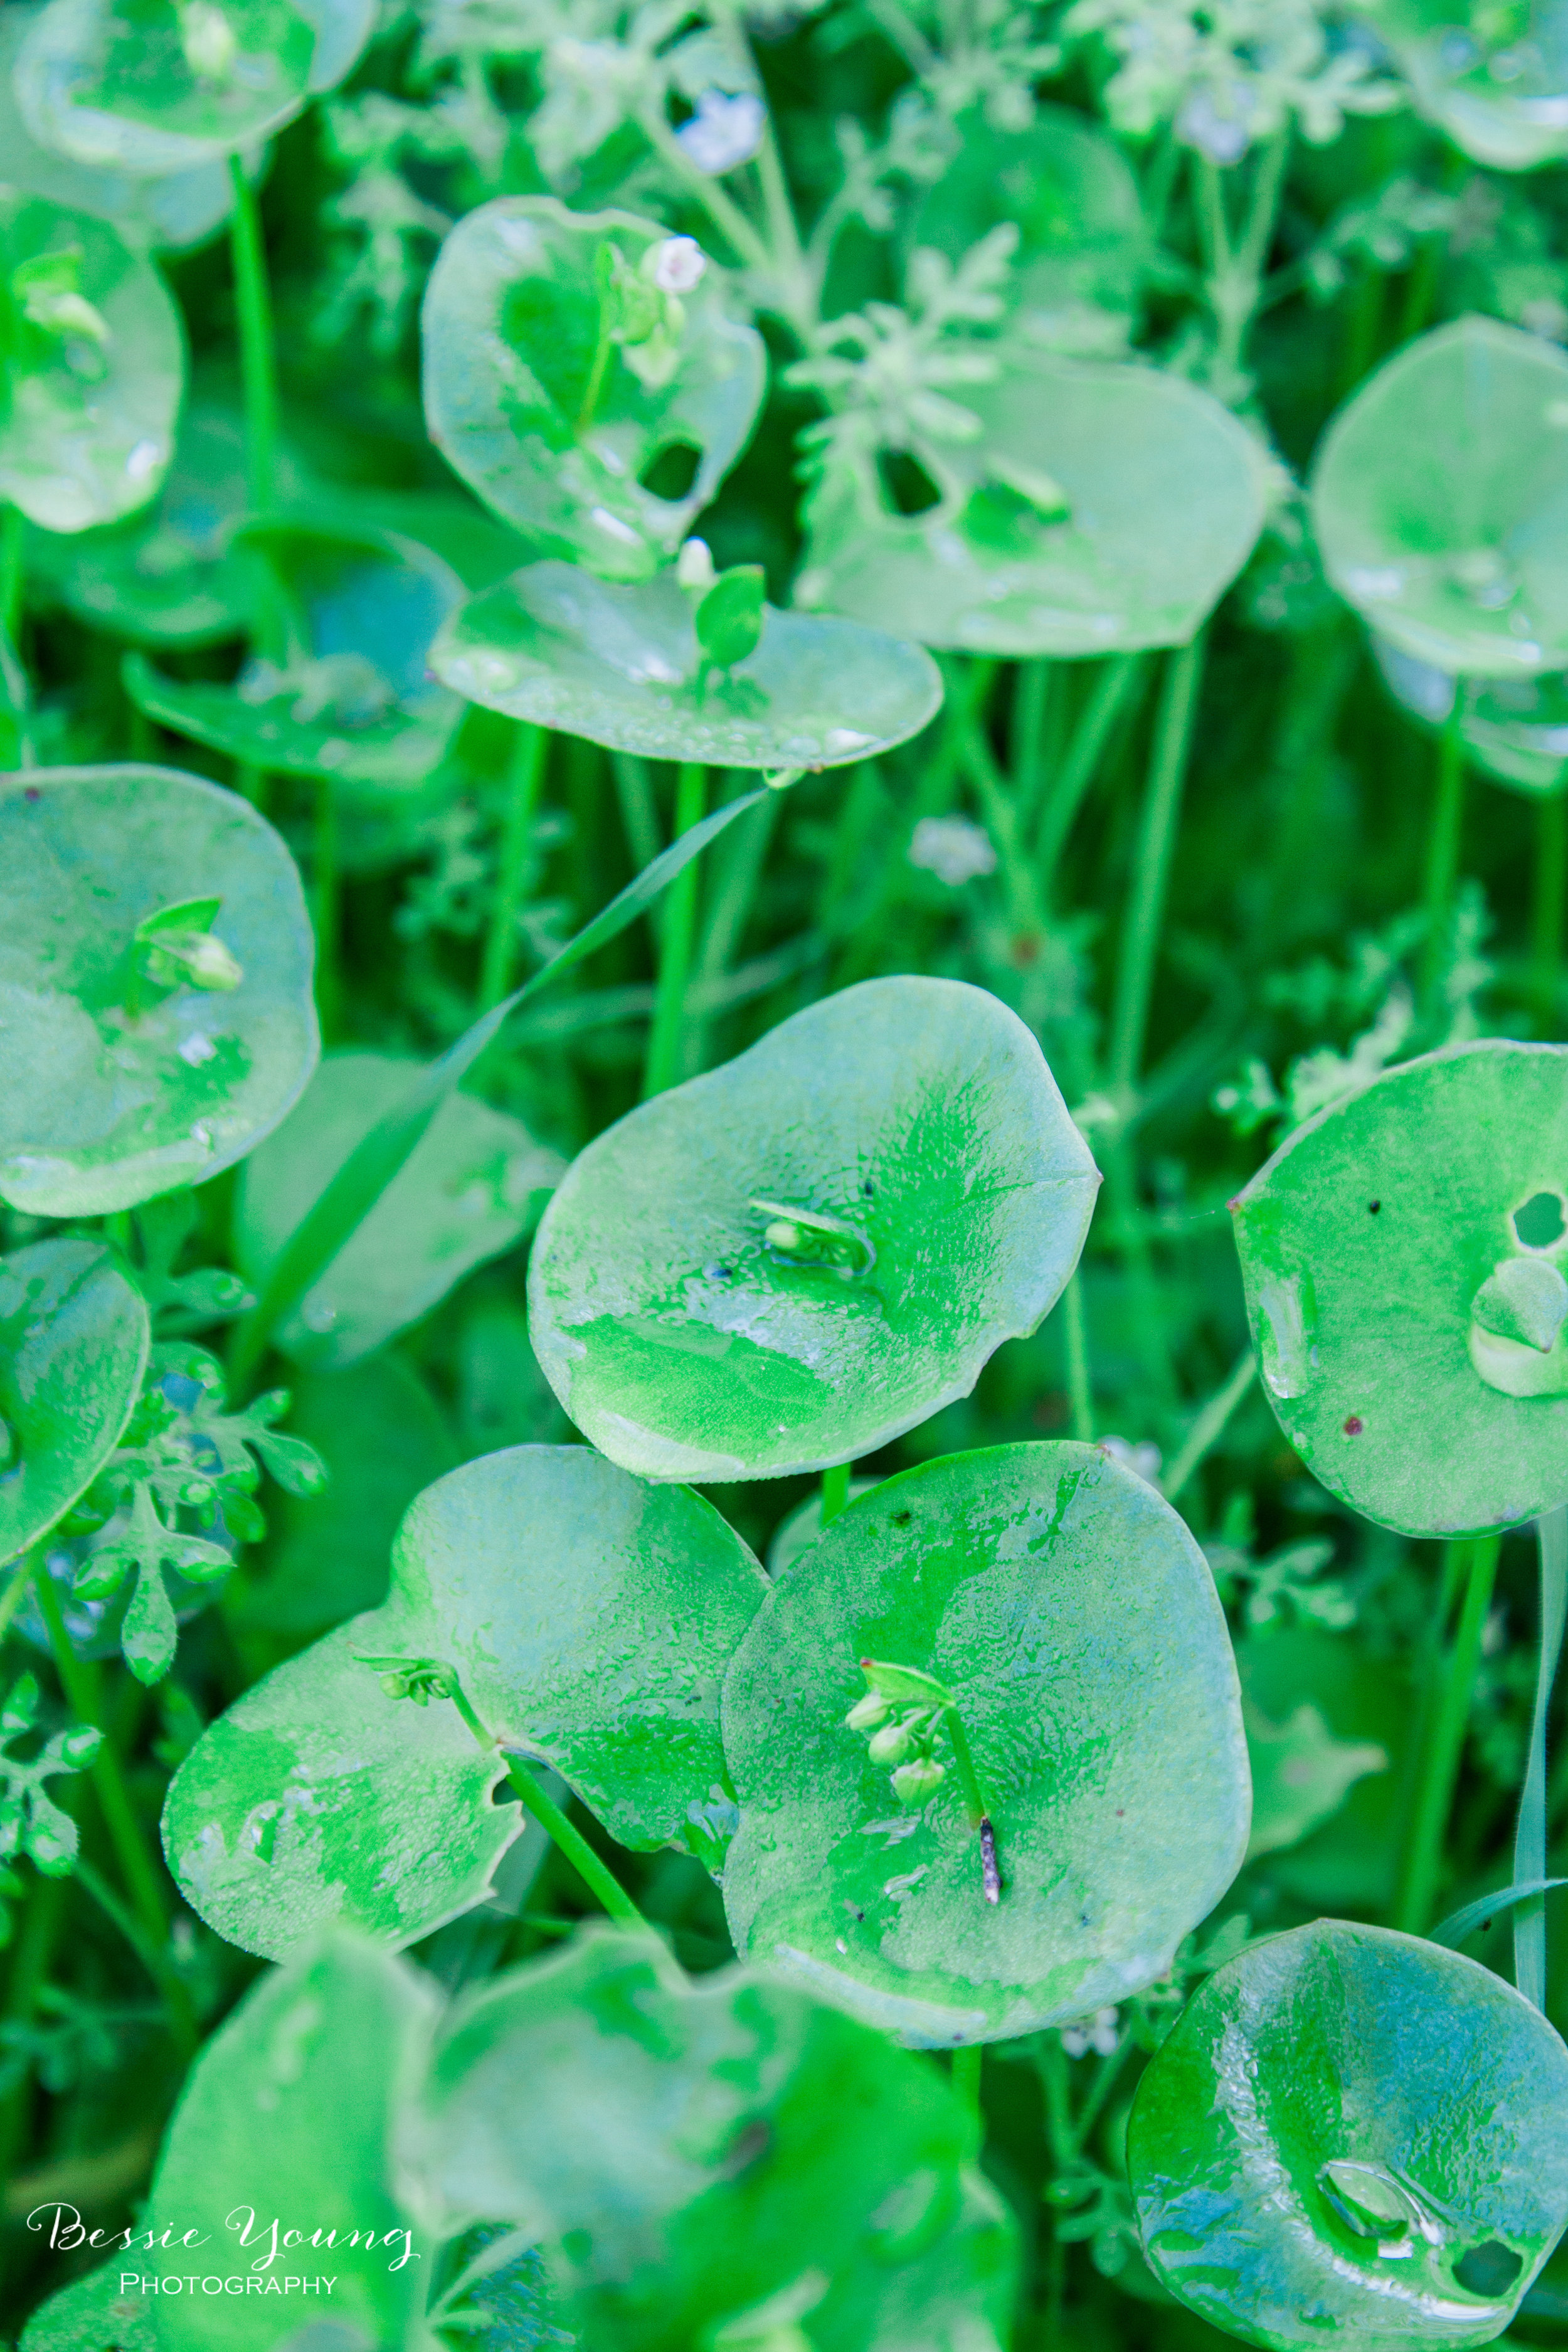
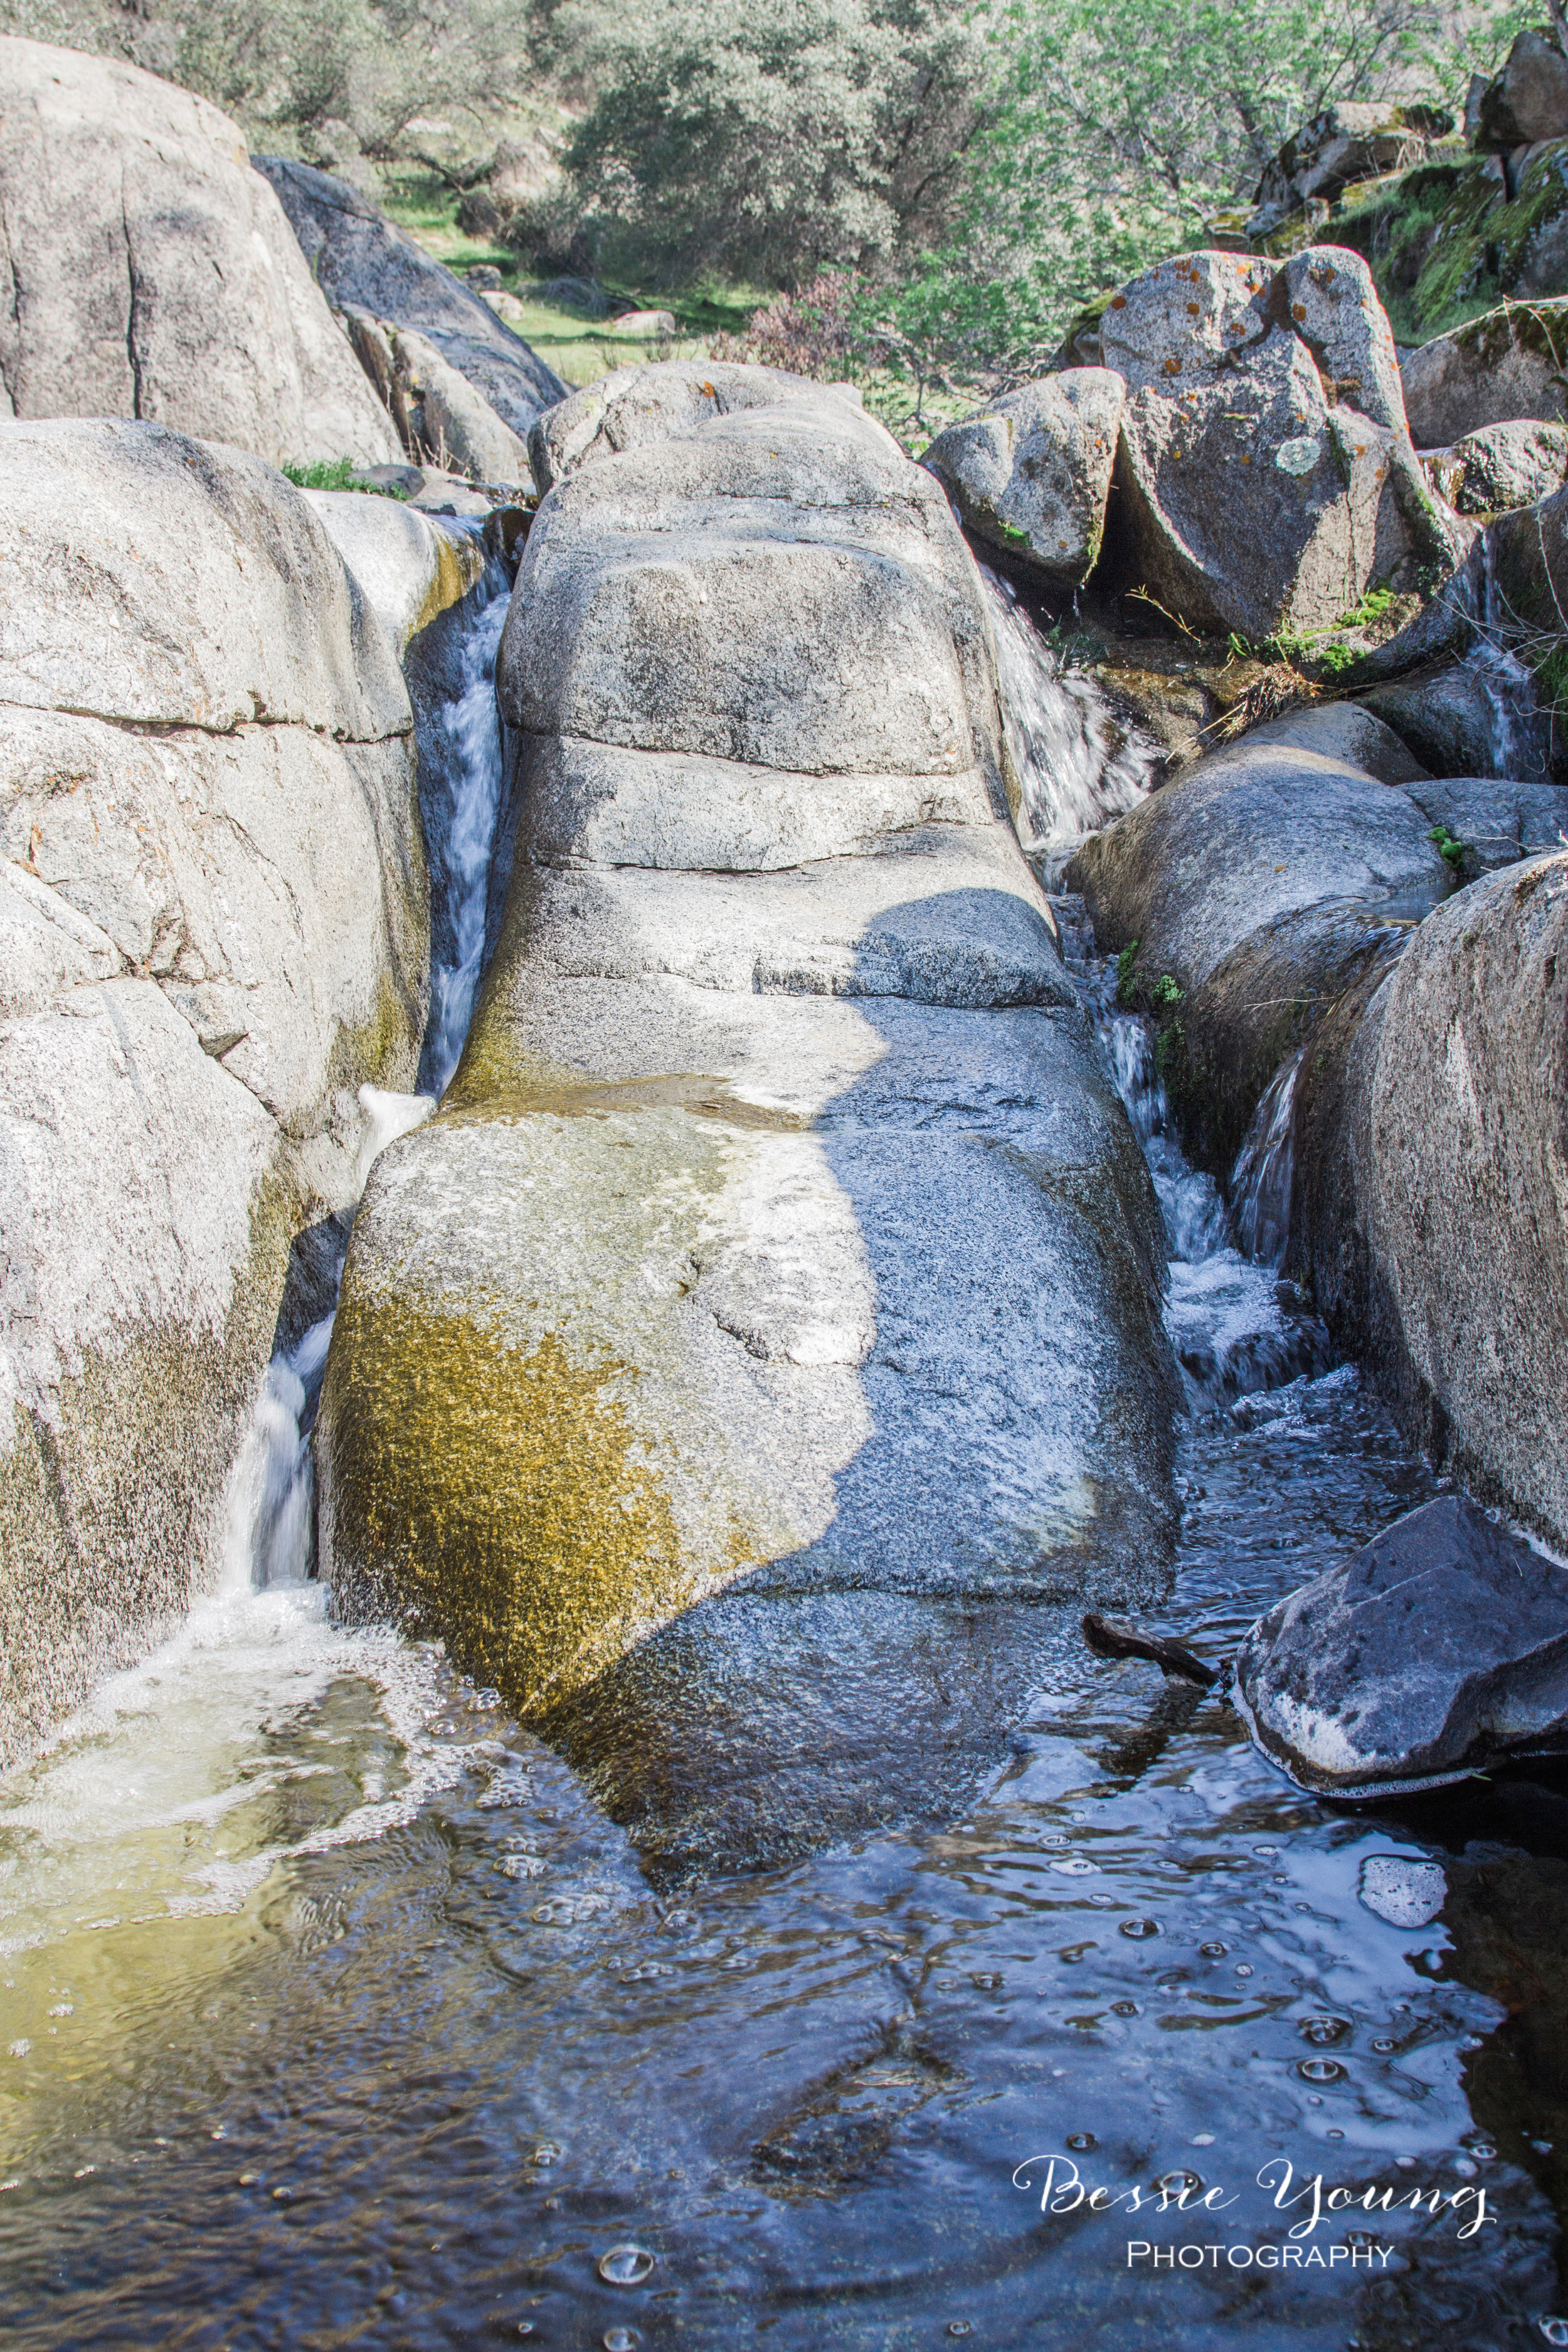
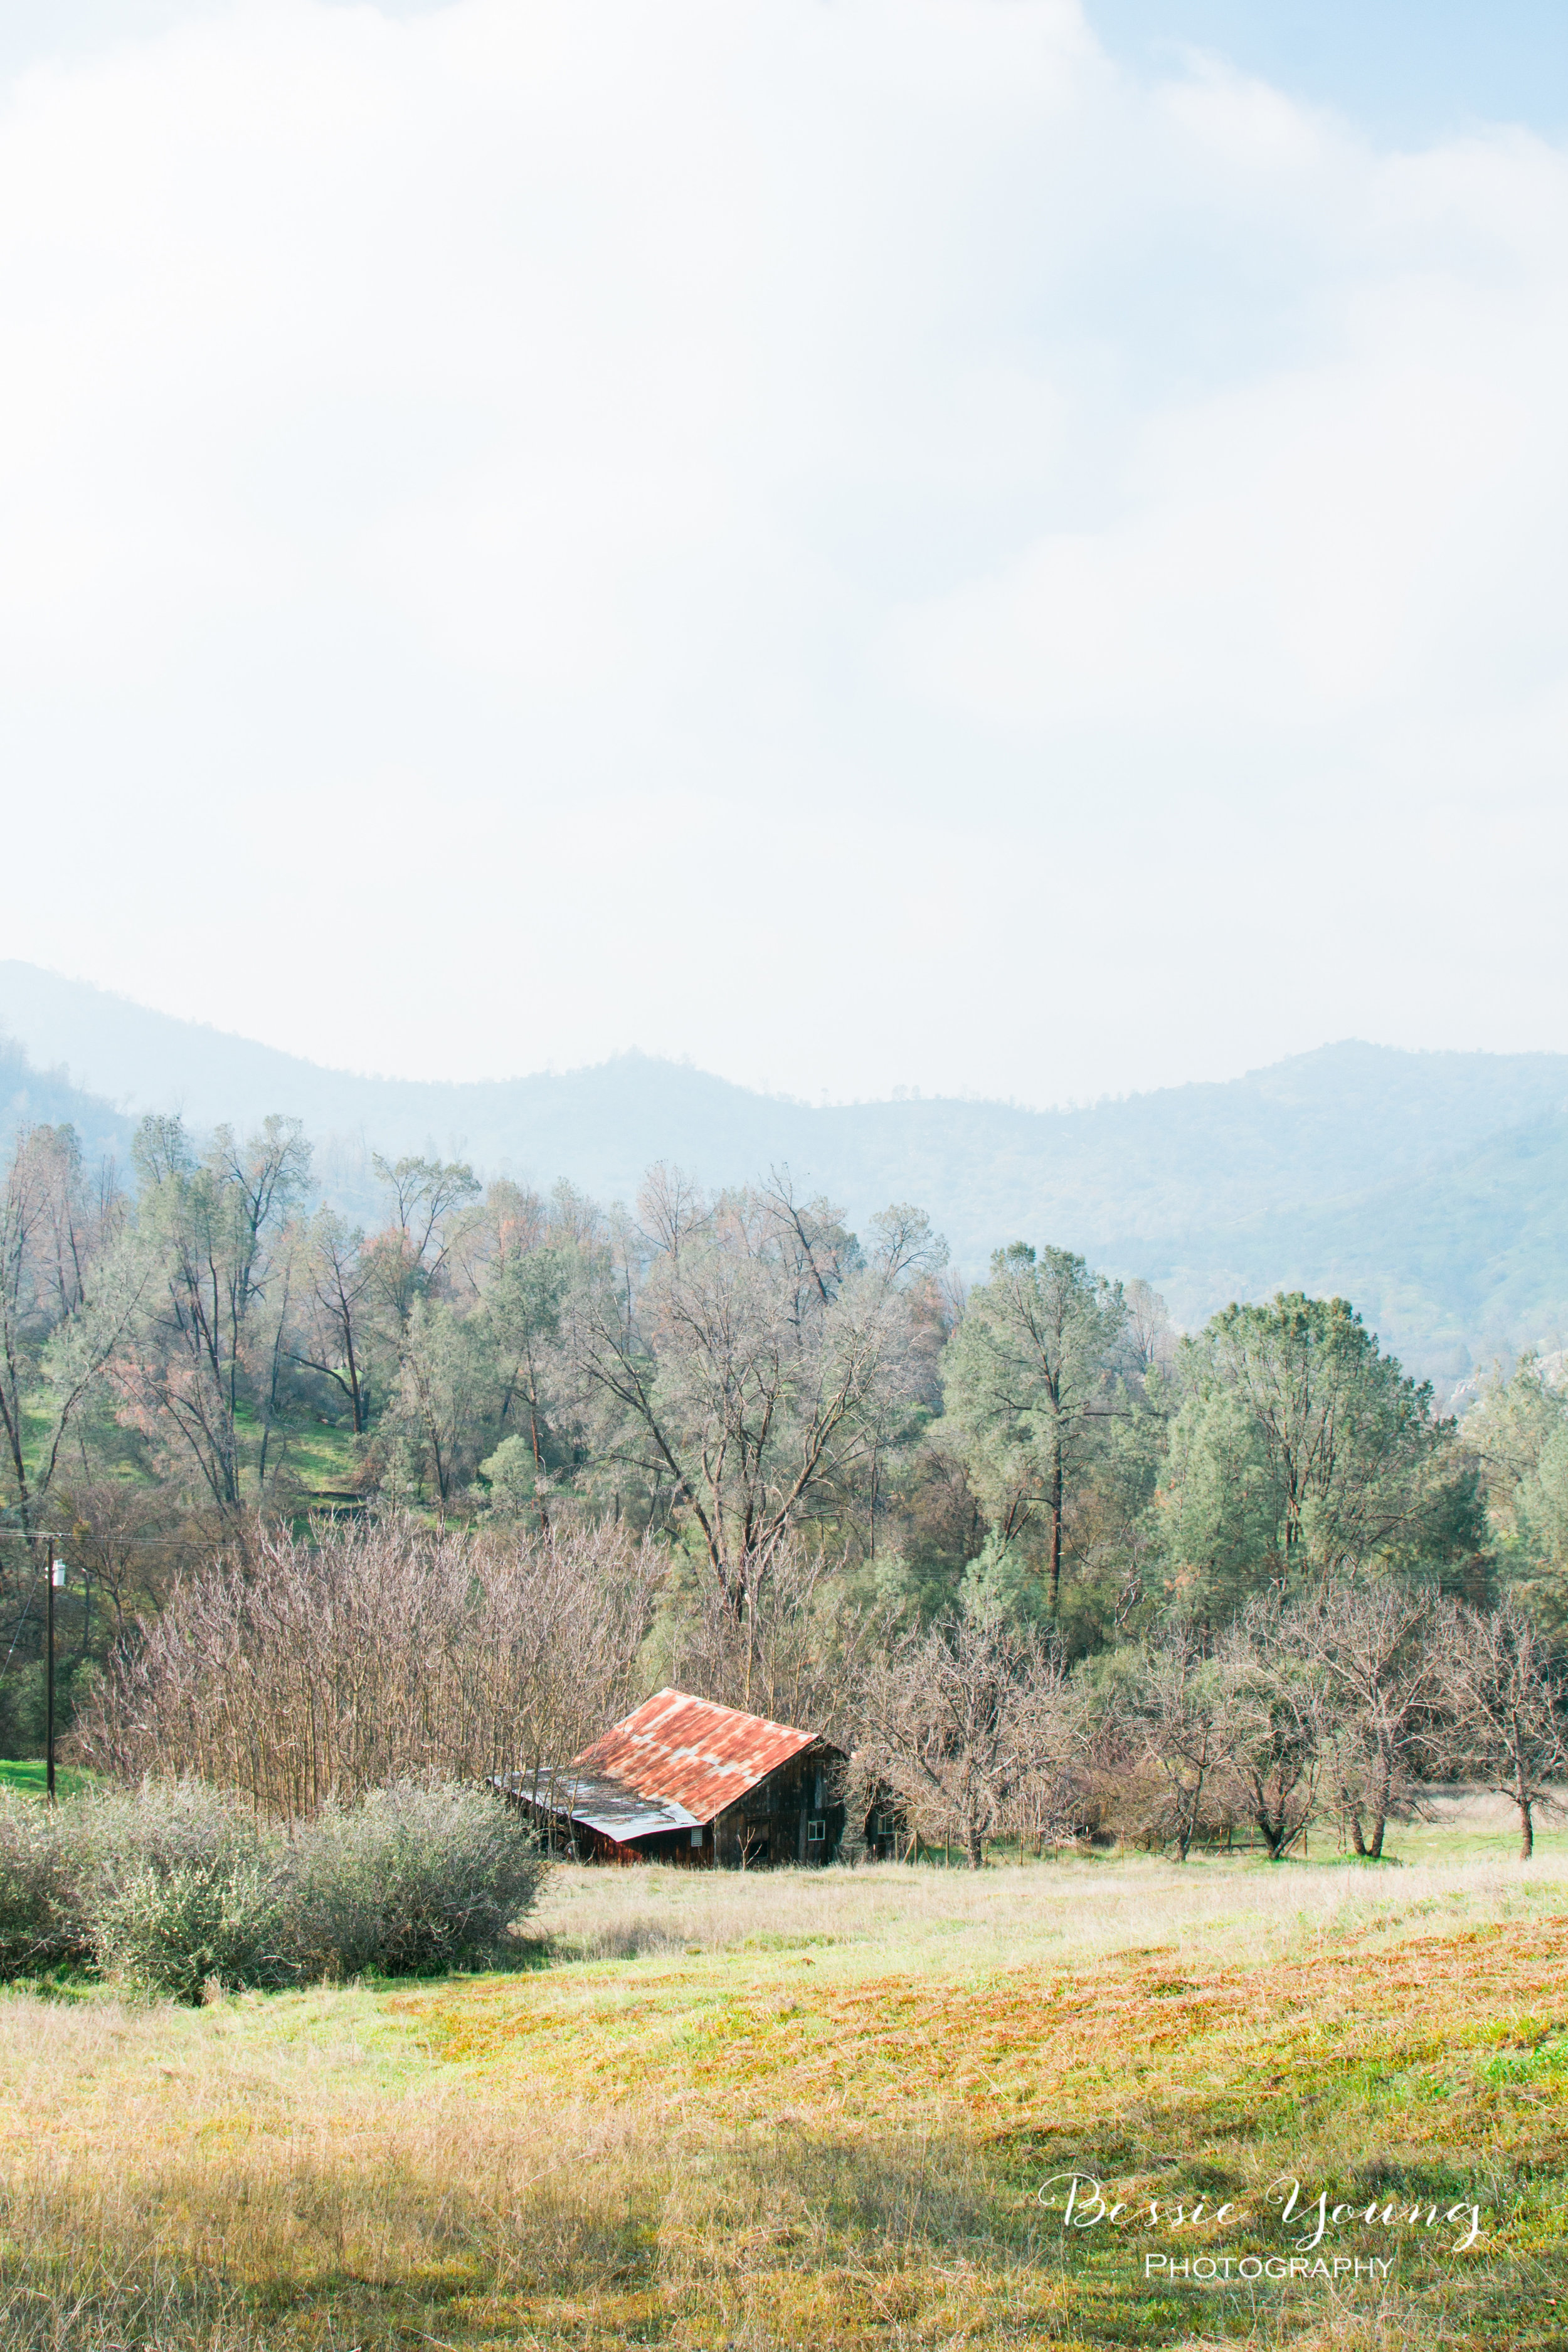
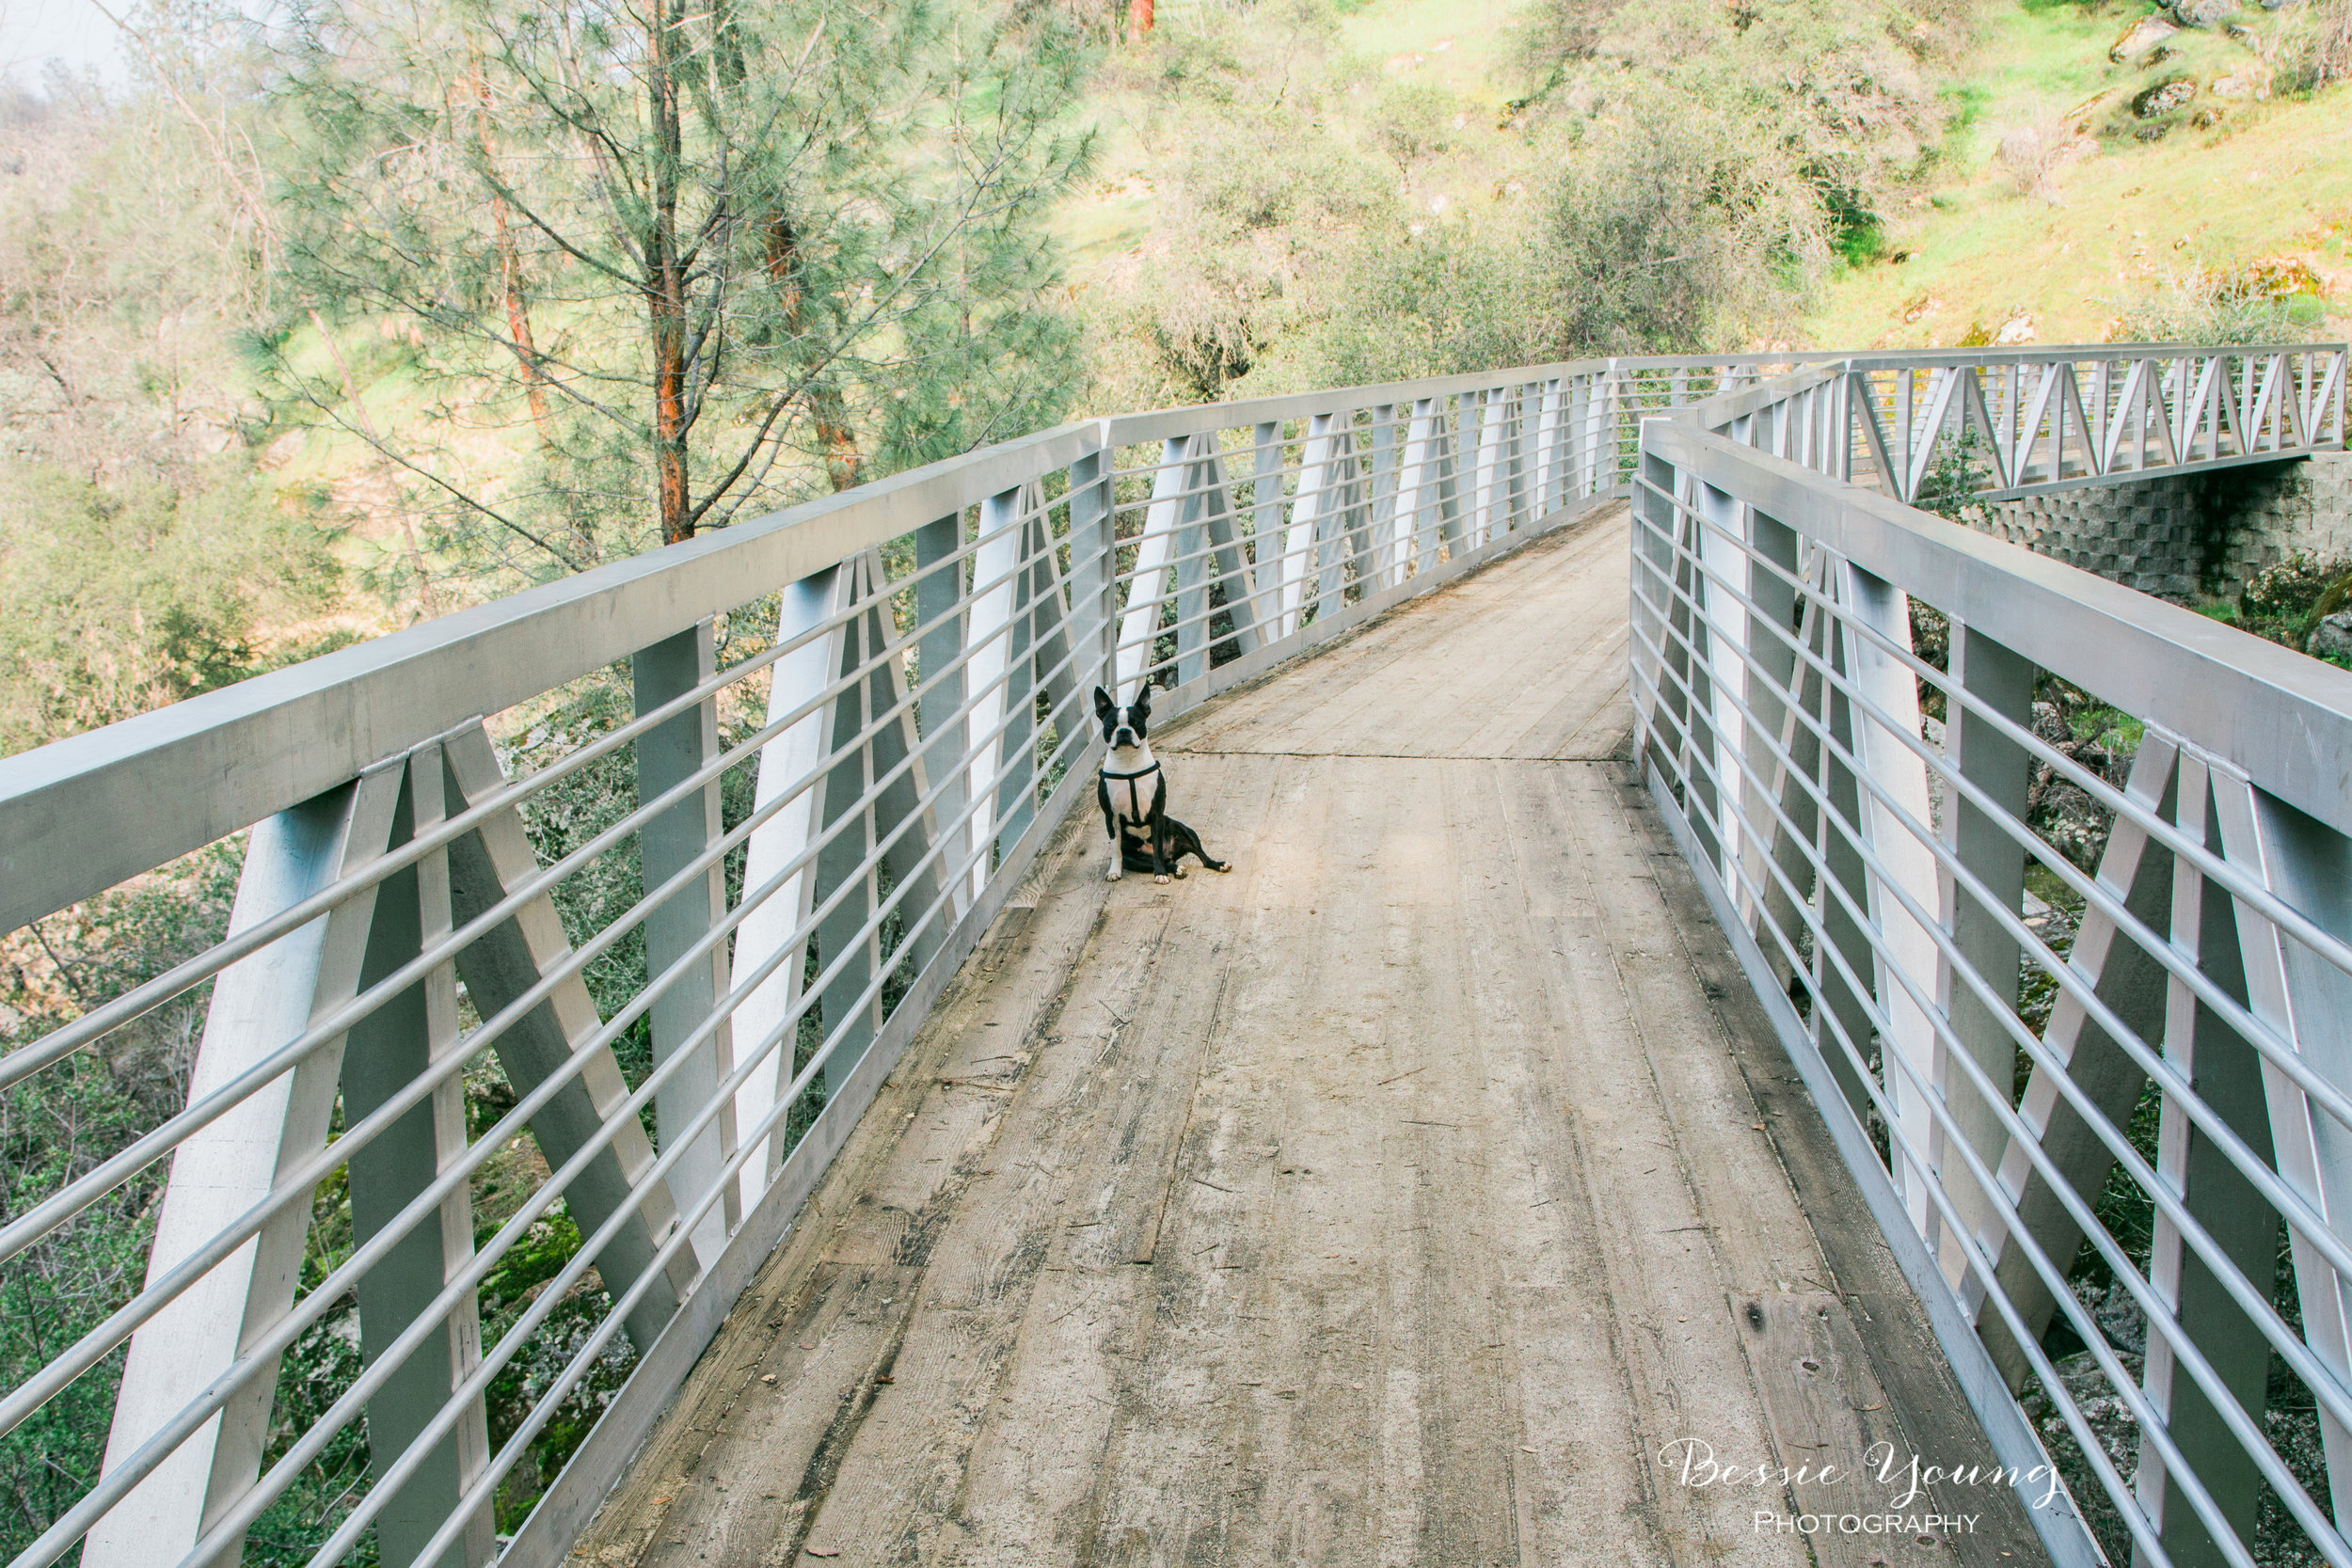
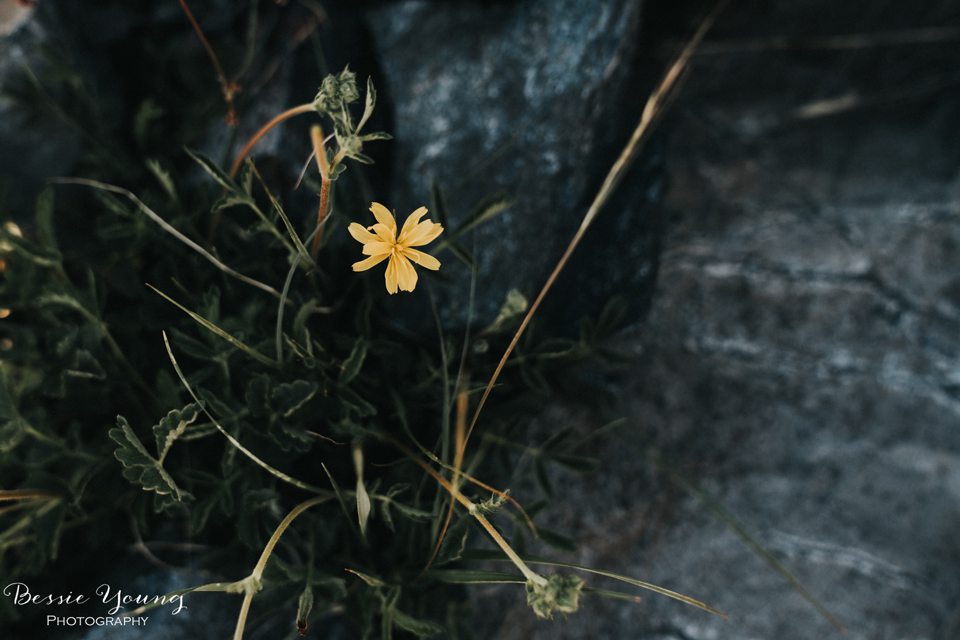
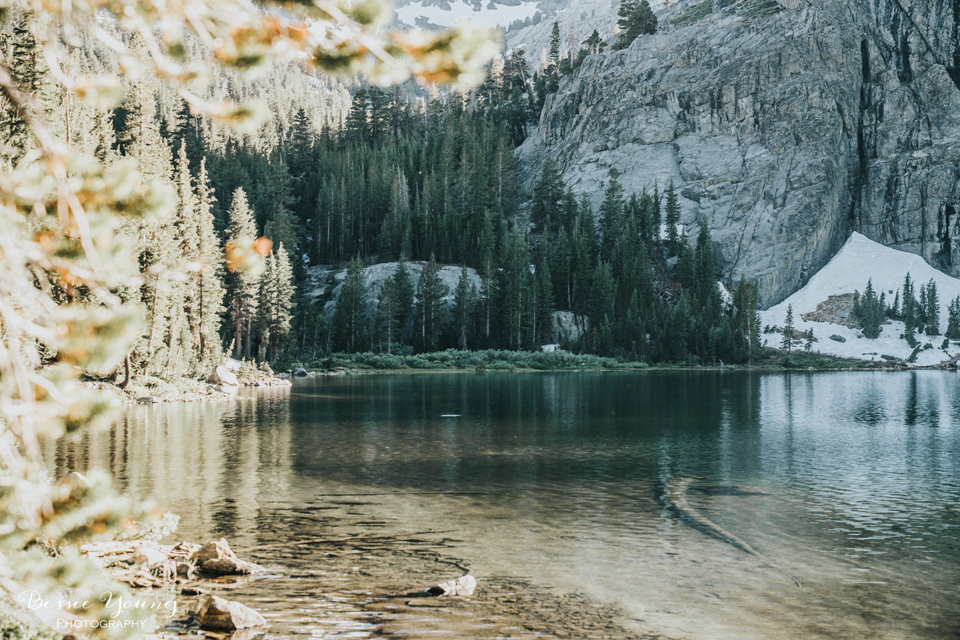
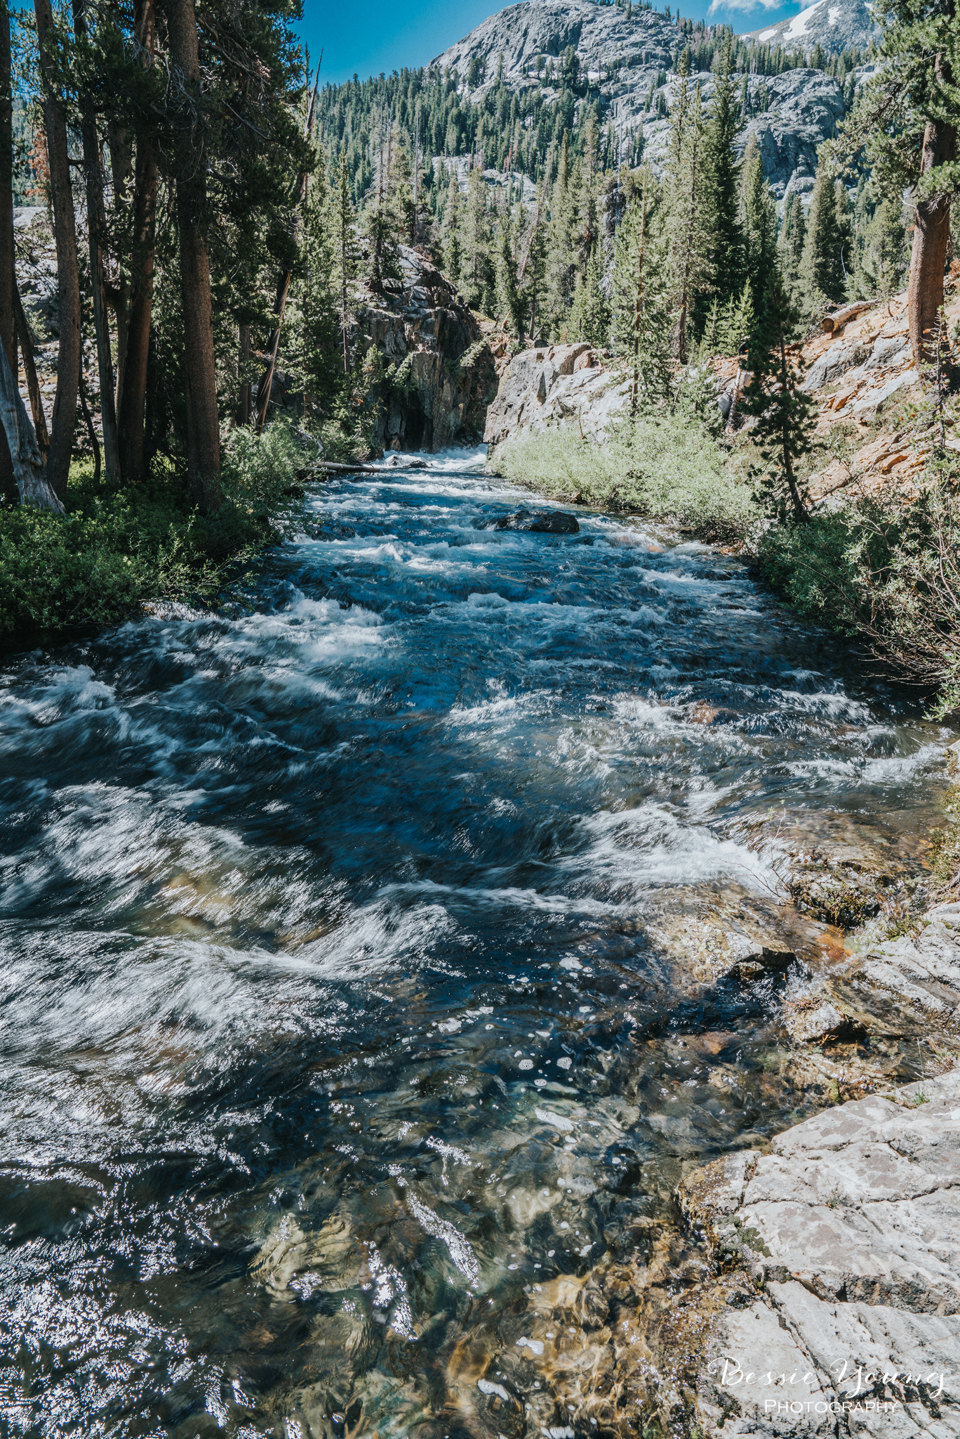
My photography goal for the hike out was really just to capture the beautiful scenery along the way. I didn’t have a set point to be or a picture that I just had to take. I just wanted to be able to take pictures. The gorgeous wildflowers were out which made me oh so happy and made the trail so beautiful.
The end destination was Agnew Meadows trail head to get picked up by the shuttle which would take me into Reds Meadow for a delicious lunch. After stuffing my face with a big ole juicy burger, I hopped on the shuttle which took me into Mammoth Lakes.
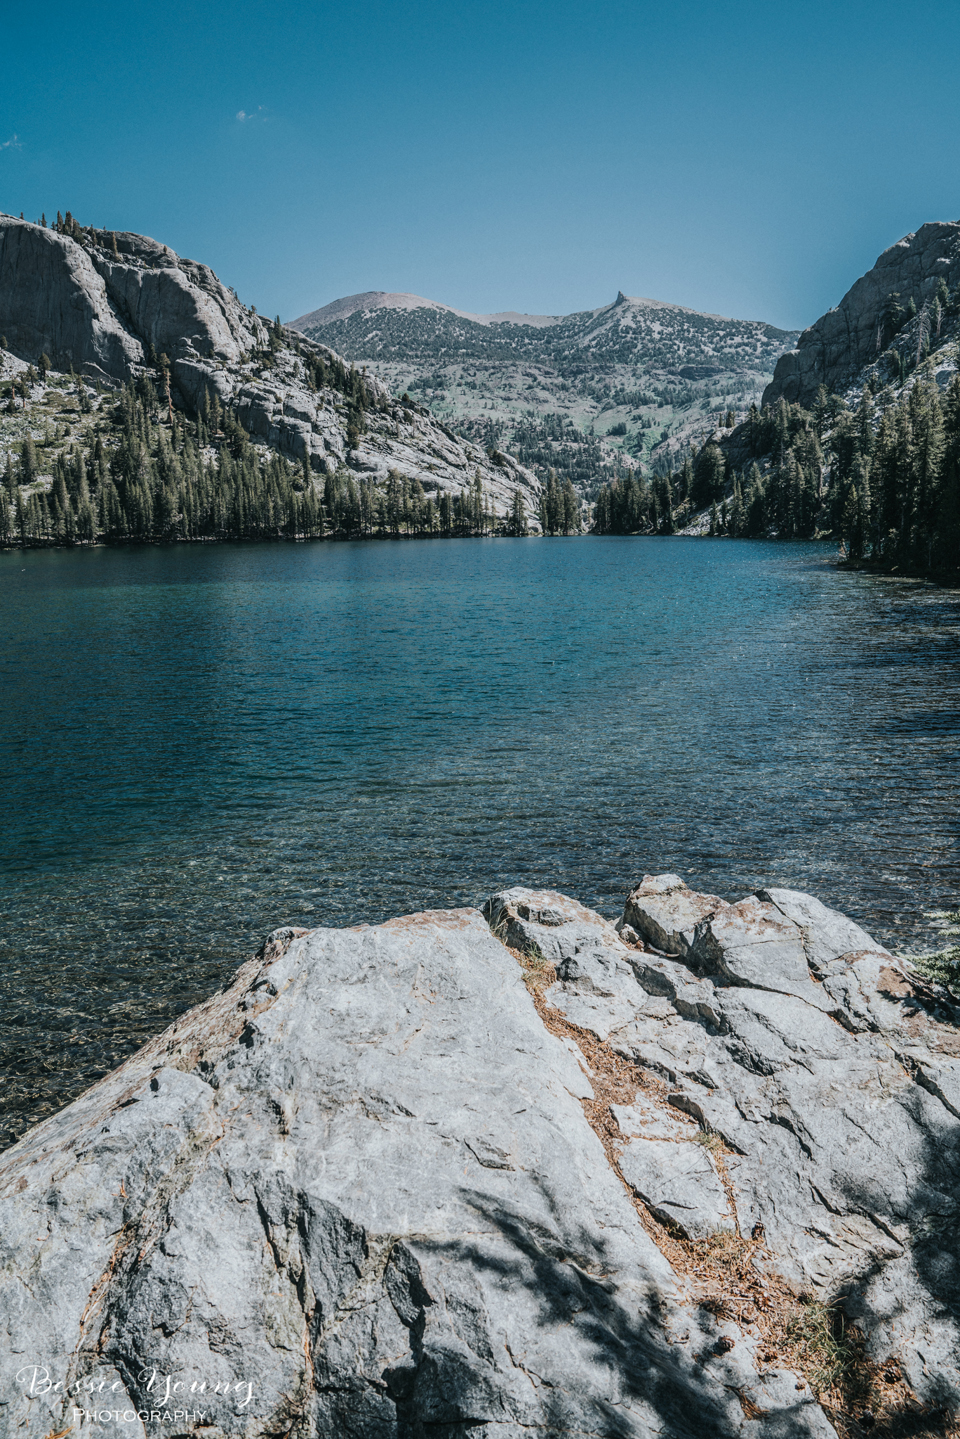
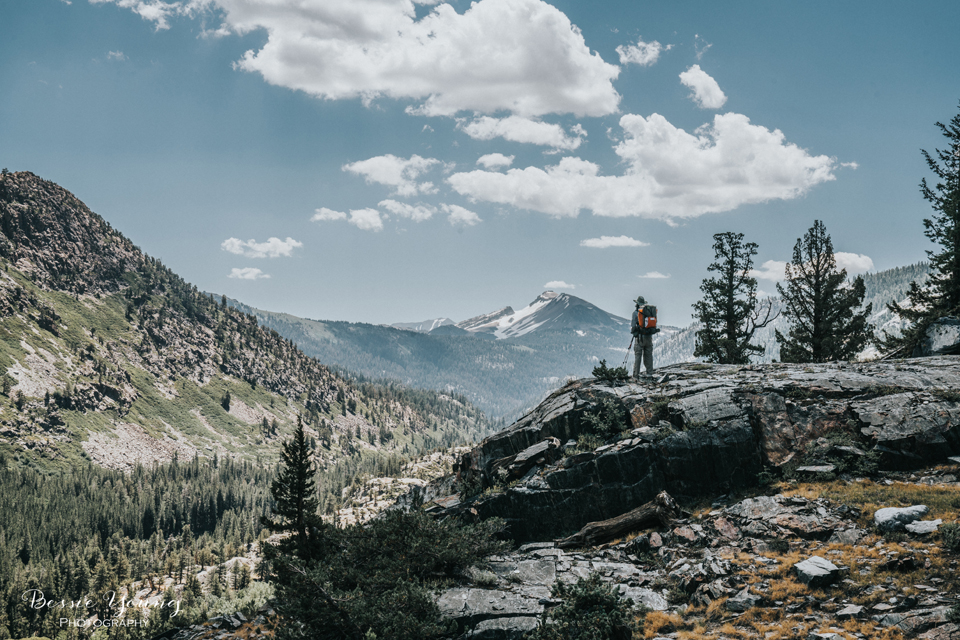
The hike out can be a bit emotional for me. It is a happy moment and a sad moment. Excited to get back to the world yet sad to get back to the world at the same time; however, every time I hike out I always say, man I should have scheduled one more day. Leaving the wilderness always leaves me wanting more.

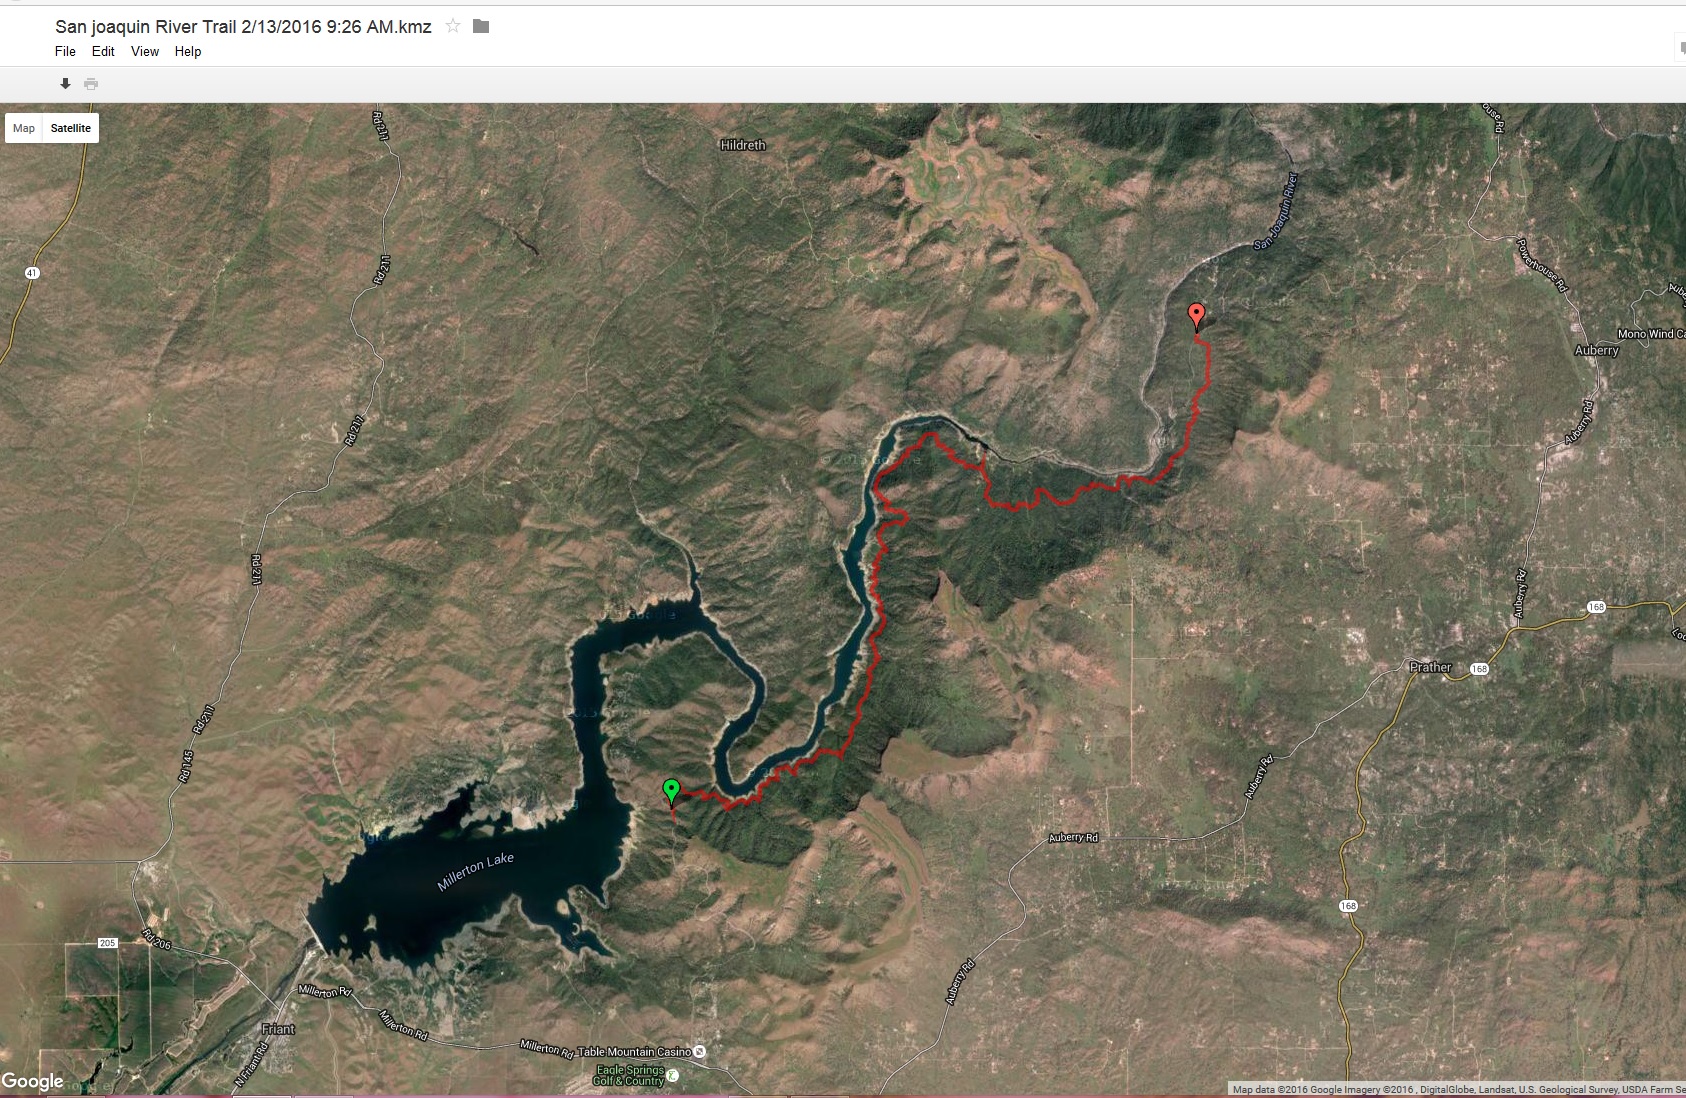
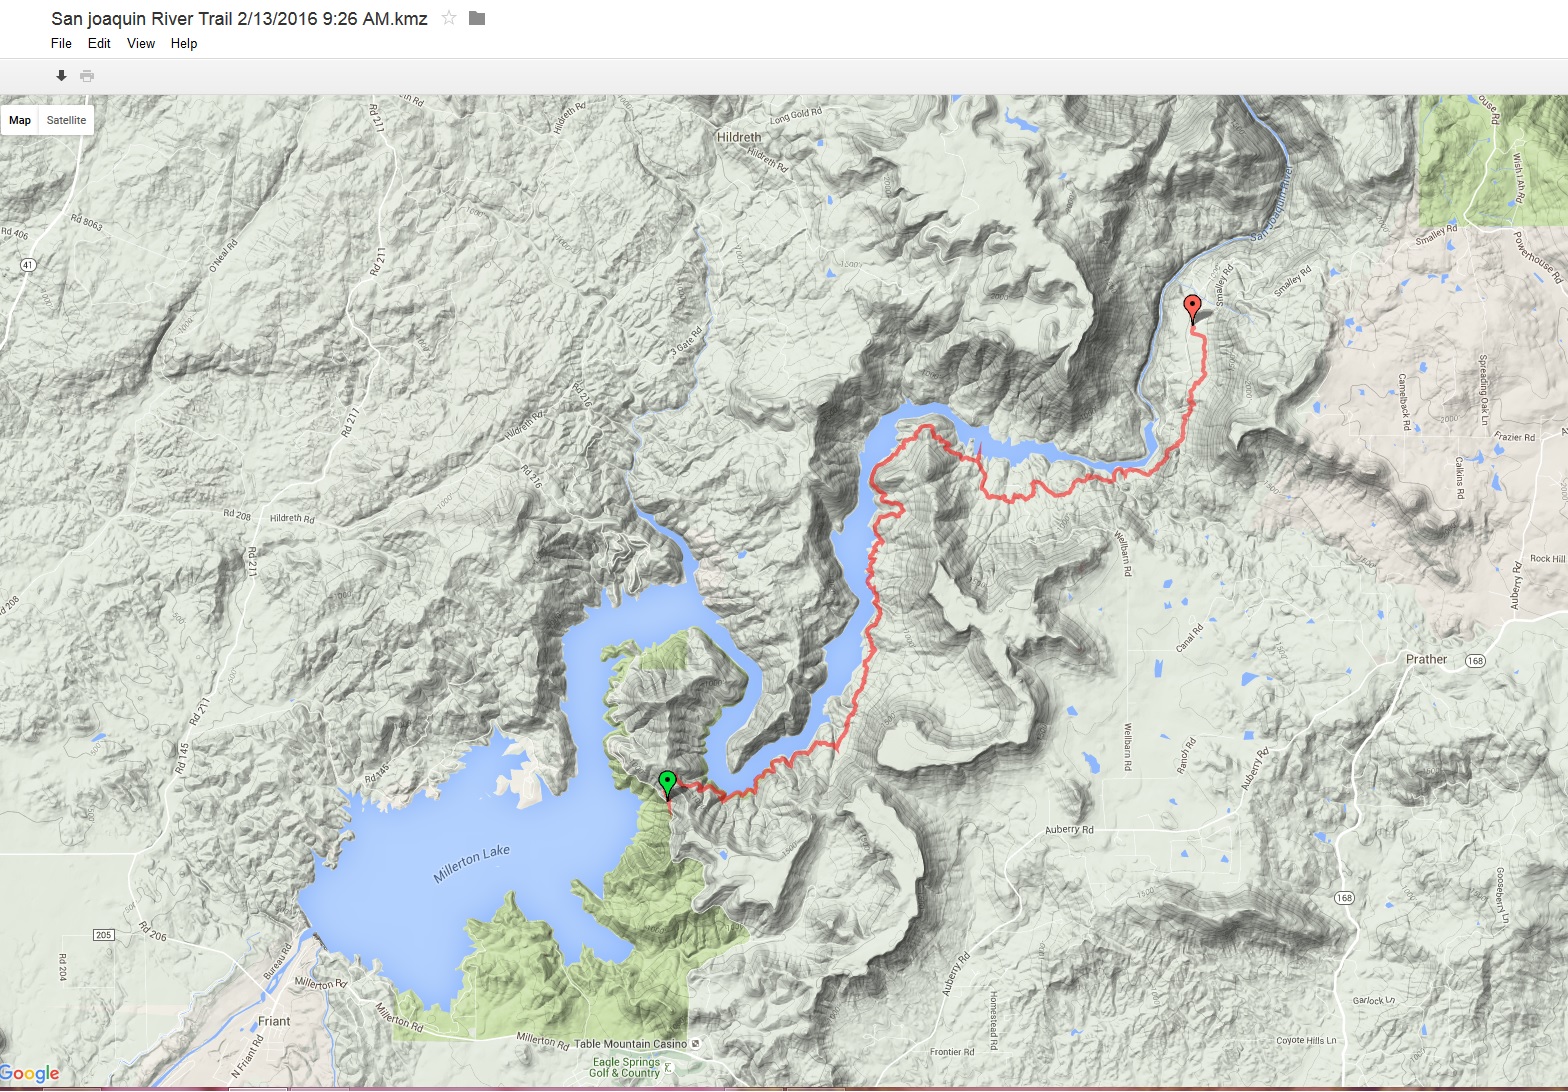
Day 4
Trail Details:
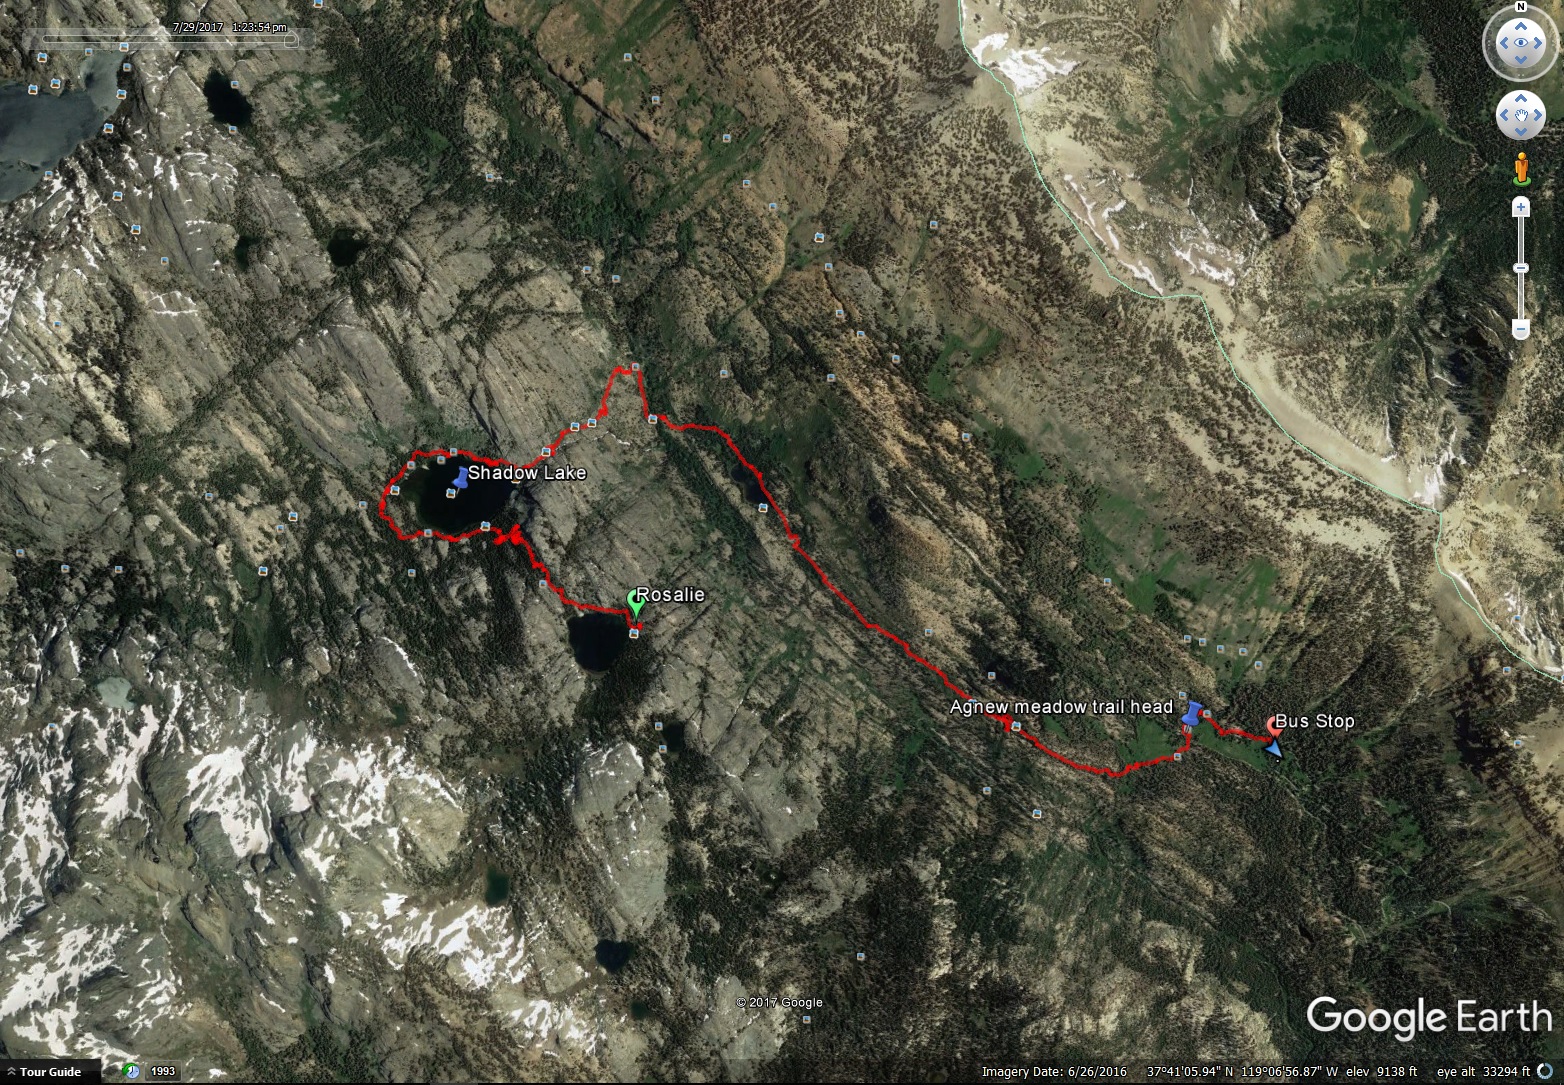
Rosalie Lake to Agnew Meadows Trail Head
- Distance: 7.43 miles
- Elevation gain / loss: 1,876', -2,896'
- Max Slope: 50.2%
- Agnew Meadows Trail Head Elevation: 8319'
- Rosalie Lake Elevation: 9,363'
- Max Elevation: 9,473'

The Day isn't Over
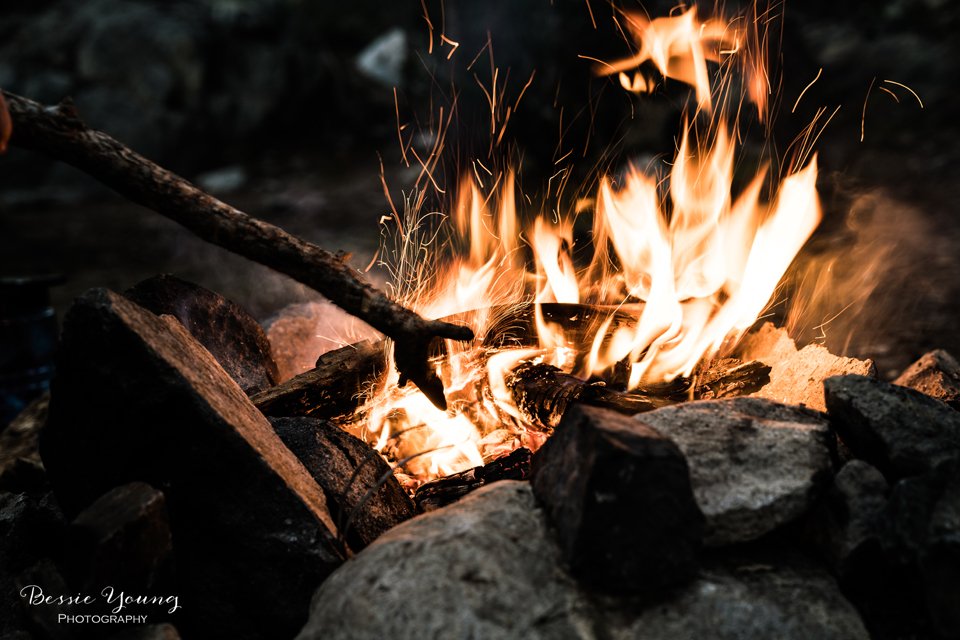
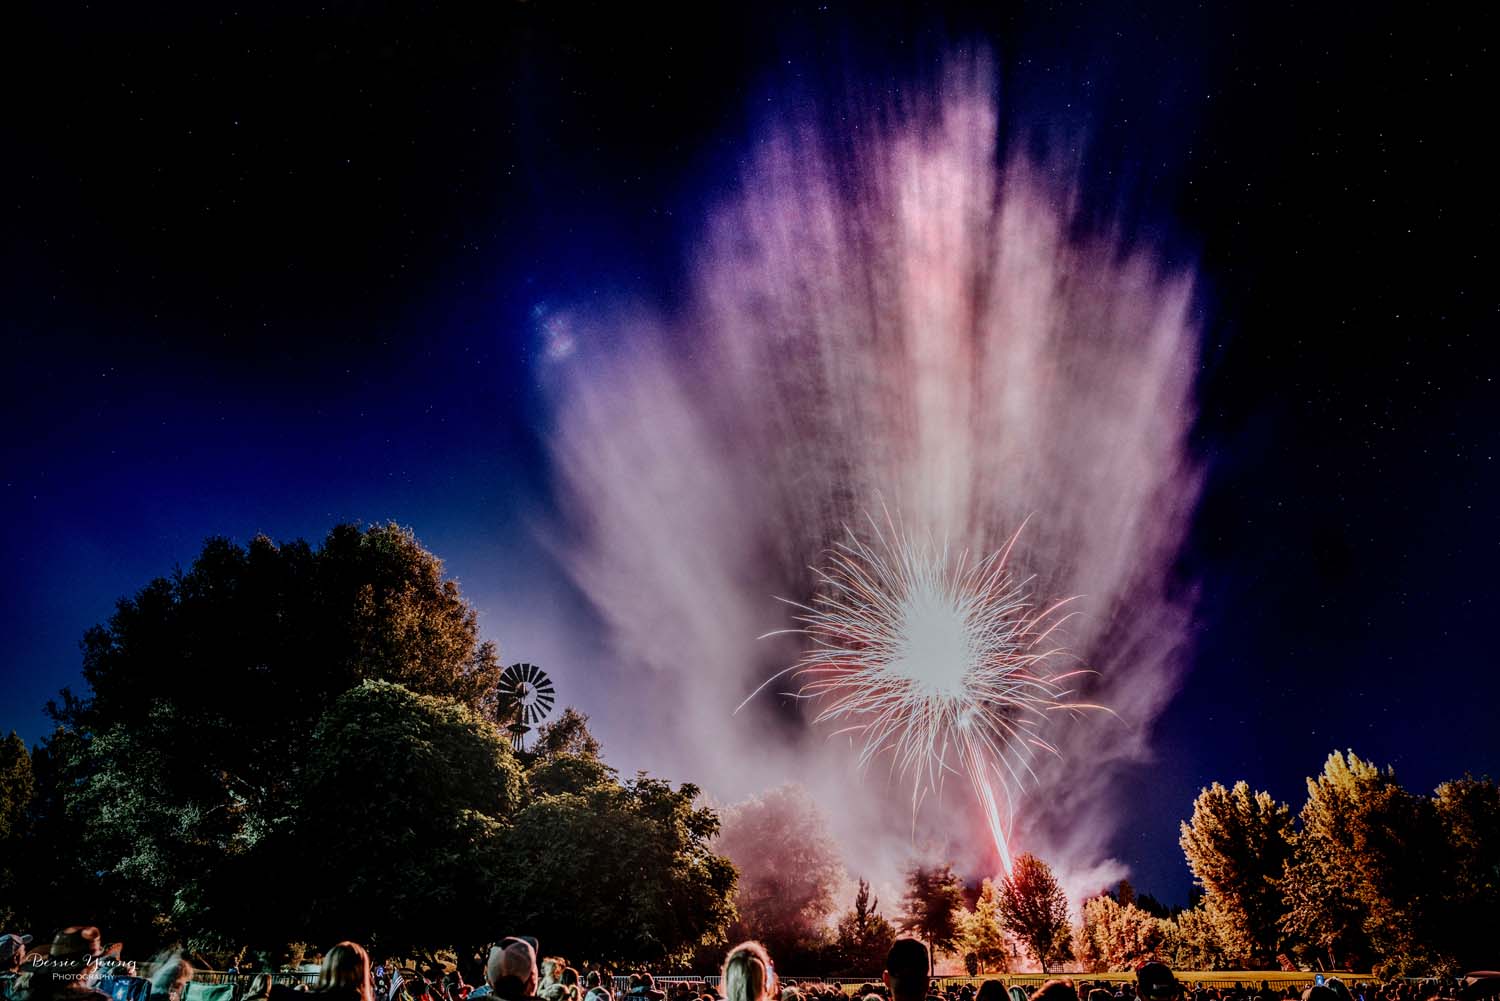
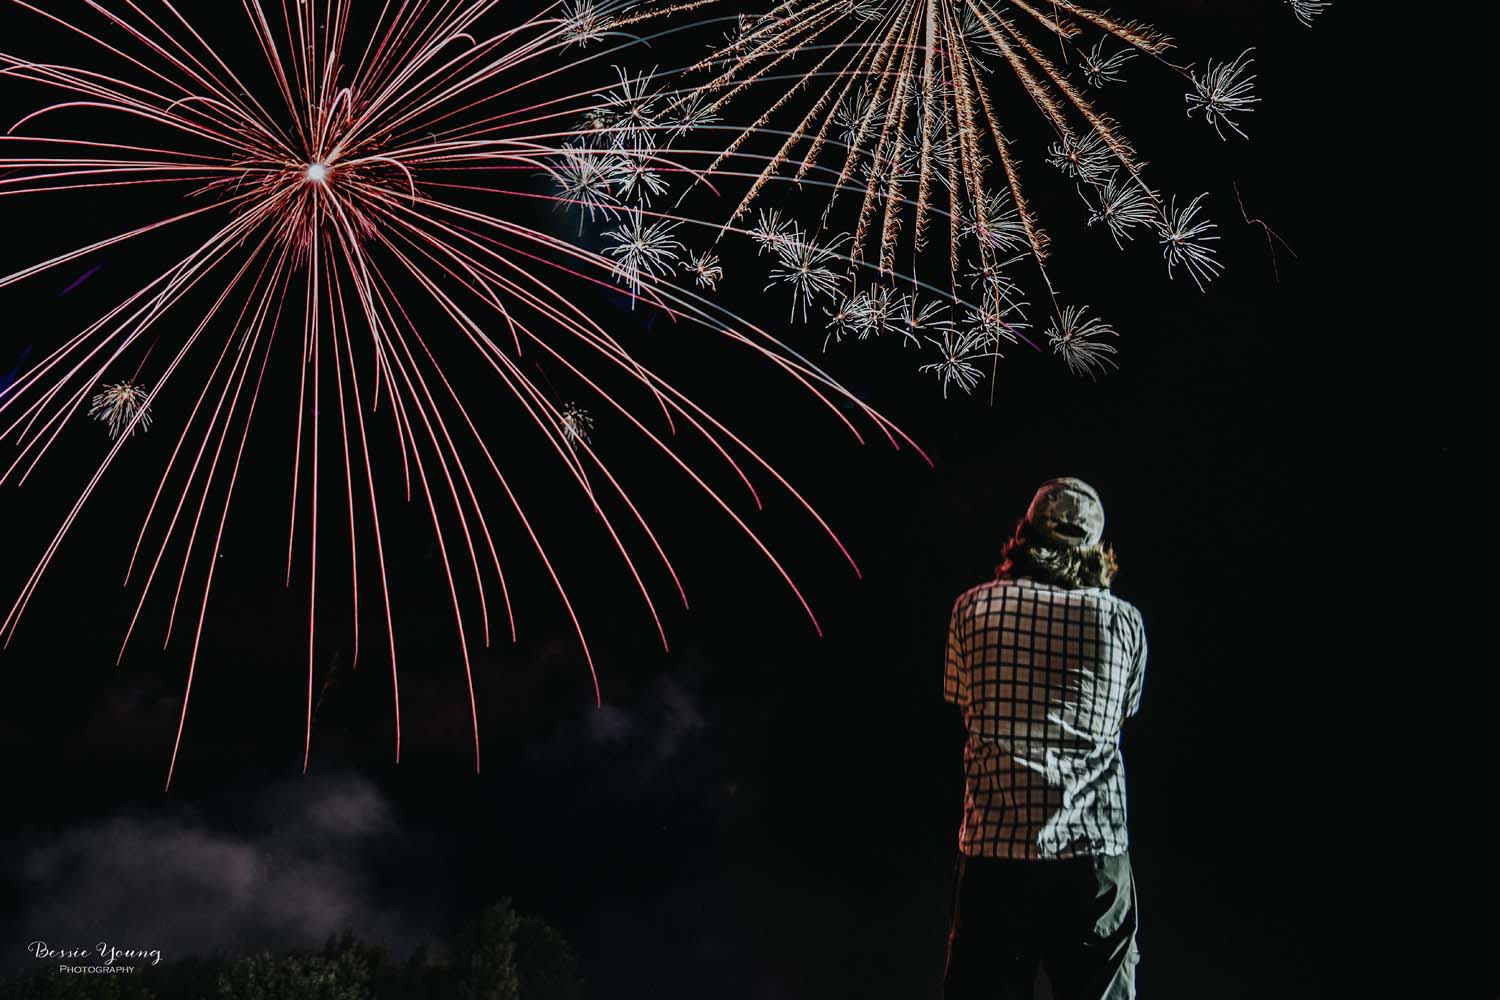
My plans for the evening was to get some dinner and a nice ice cold beer. I was unaware that dinner would consist of a huge BBQ festival in the middle of Mammoth. There were so many people it was quite strange, as I had just been in the wilderness alone for basically 4 days. Coming back to a crowd was a bit of a shock, but it was a super fun evening as I got to try out a few different BBQ items and then headed over to the Mammoth brewery for the beer that I had been craving for the last day or so.
On the way back to my hotel room, the BBQ festival was still going and the music was getting loud. As I got closer I realized it was one of the bestest songs, Free Bird by Lynard Skynard. Thinking that it was a cover band, I stood over with the crowd to enjoy the song. Much to my surprise, it was actually LYNDARD SKYNARD! No Joke! The actual band was there. Talk about the perfect way to end the perfect trip J
I hope you all enjoyed following along with me on this journey. If you are just popping in make sure to check out days 1, 2, and 3.
Wishing you all gorgeous pictures and fun adventures!
Bessie
p.s. if you haven't seen days 1 - 3 check them out here
Day 1 , Day 2 , Day 3
My Gear
P.S. wanna know what gear I used? Check it out here:
Kit Used:
Camera: Sony A7Rii: http://amzn.to/1taGpAu
Favorite Lens: Sony FE 24-70 F2.8 G Master: http://amzn.to/2n747NJ
Wide Angle: Sony 16-35mm lens: http://amzn.to/1UBjBDW
Vanguard Tripod: http://amzn.to/2aoI5ku
Filming:
Samsung Note 4 smart phone
Editing & Processing:
Bulk editing: Adobe Lightroom: http://amzn.to/1WB7Jnc
Fine tuning: Adobe Photoshop : http://amzn.to/1WB7YPh
Viva Video Pro for combining videos