Badwater Basin Death Valley National Park - Hiking Trail

Badwater Basin Death Valley National Park - Hiking Trail

by Bessie Young

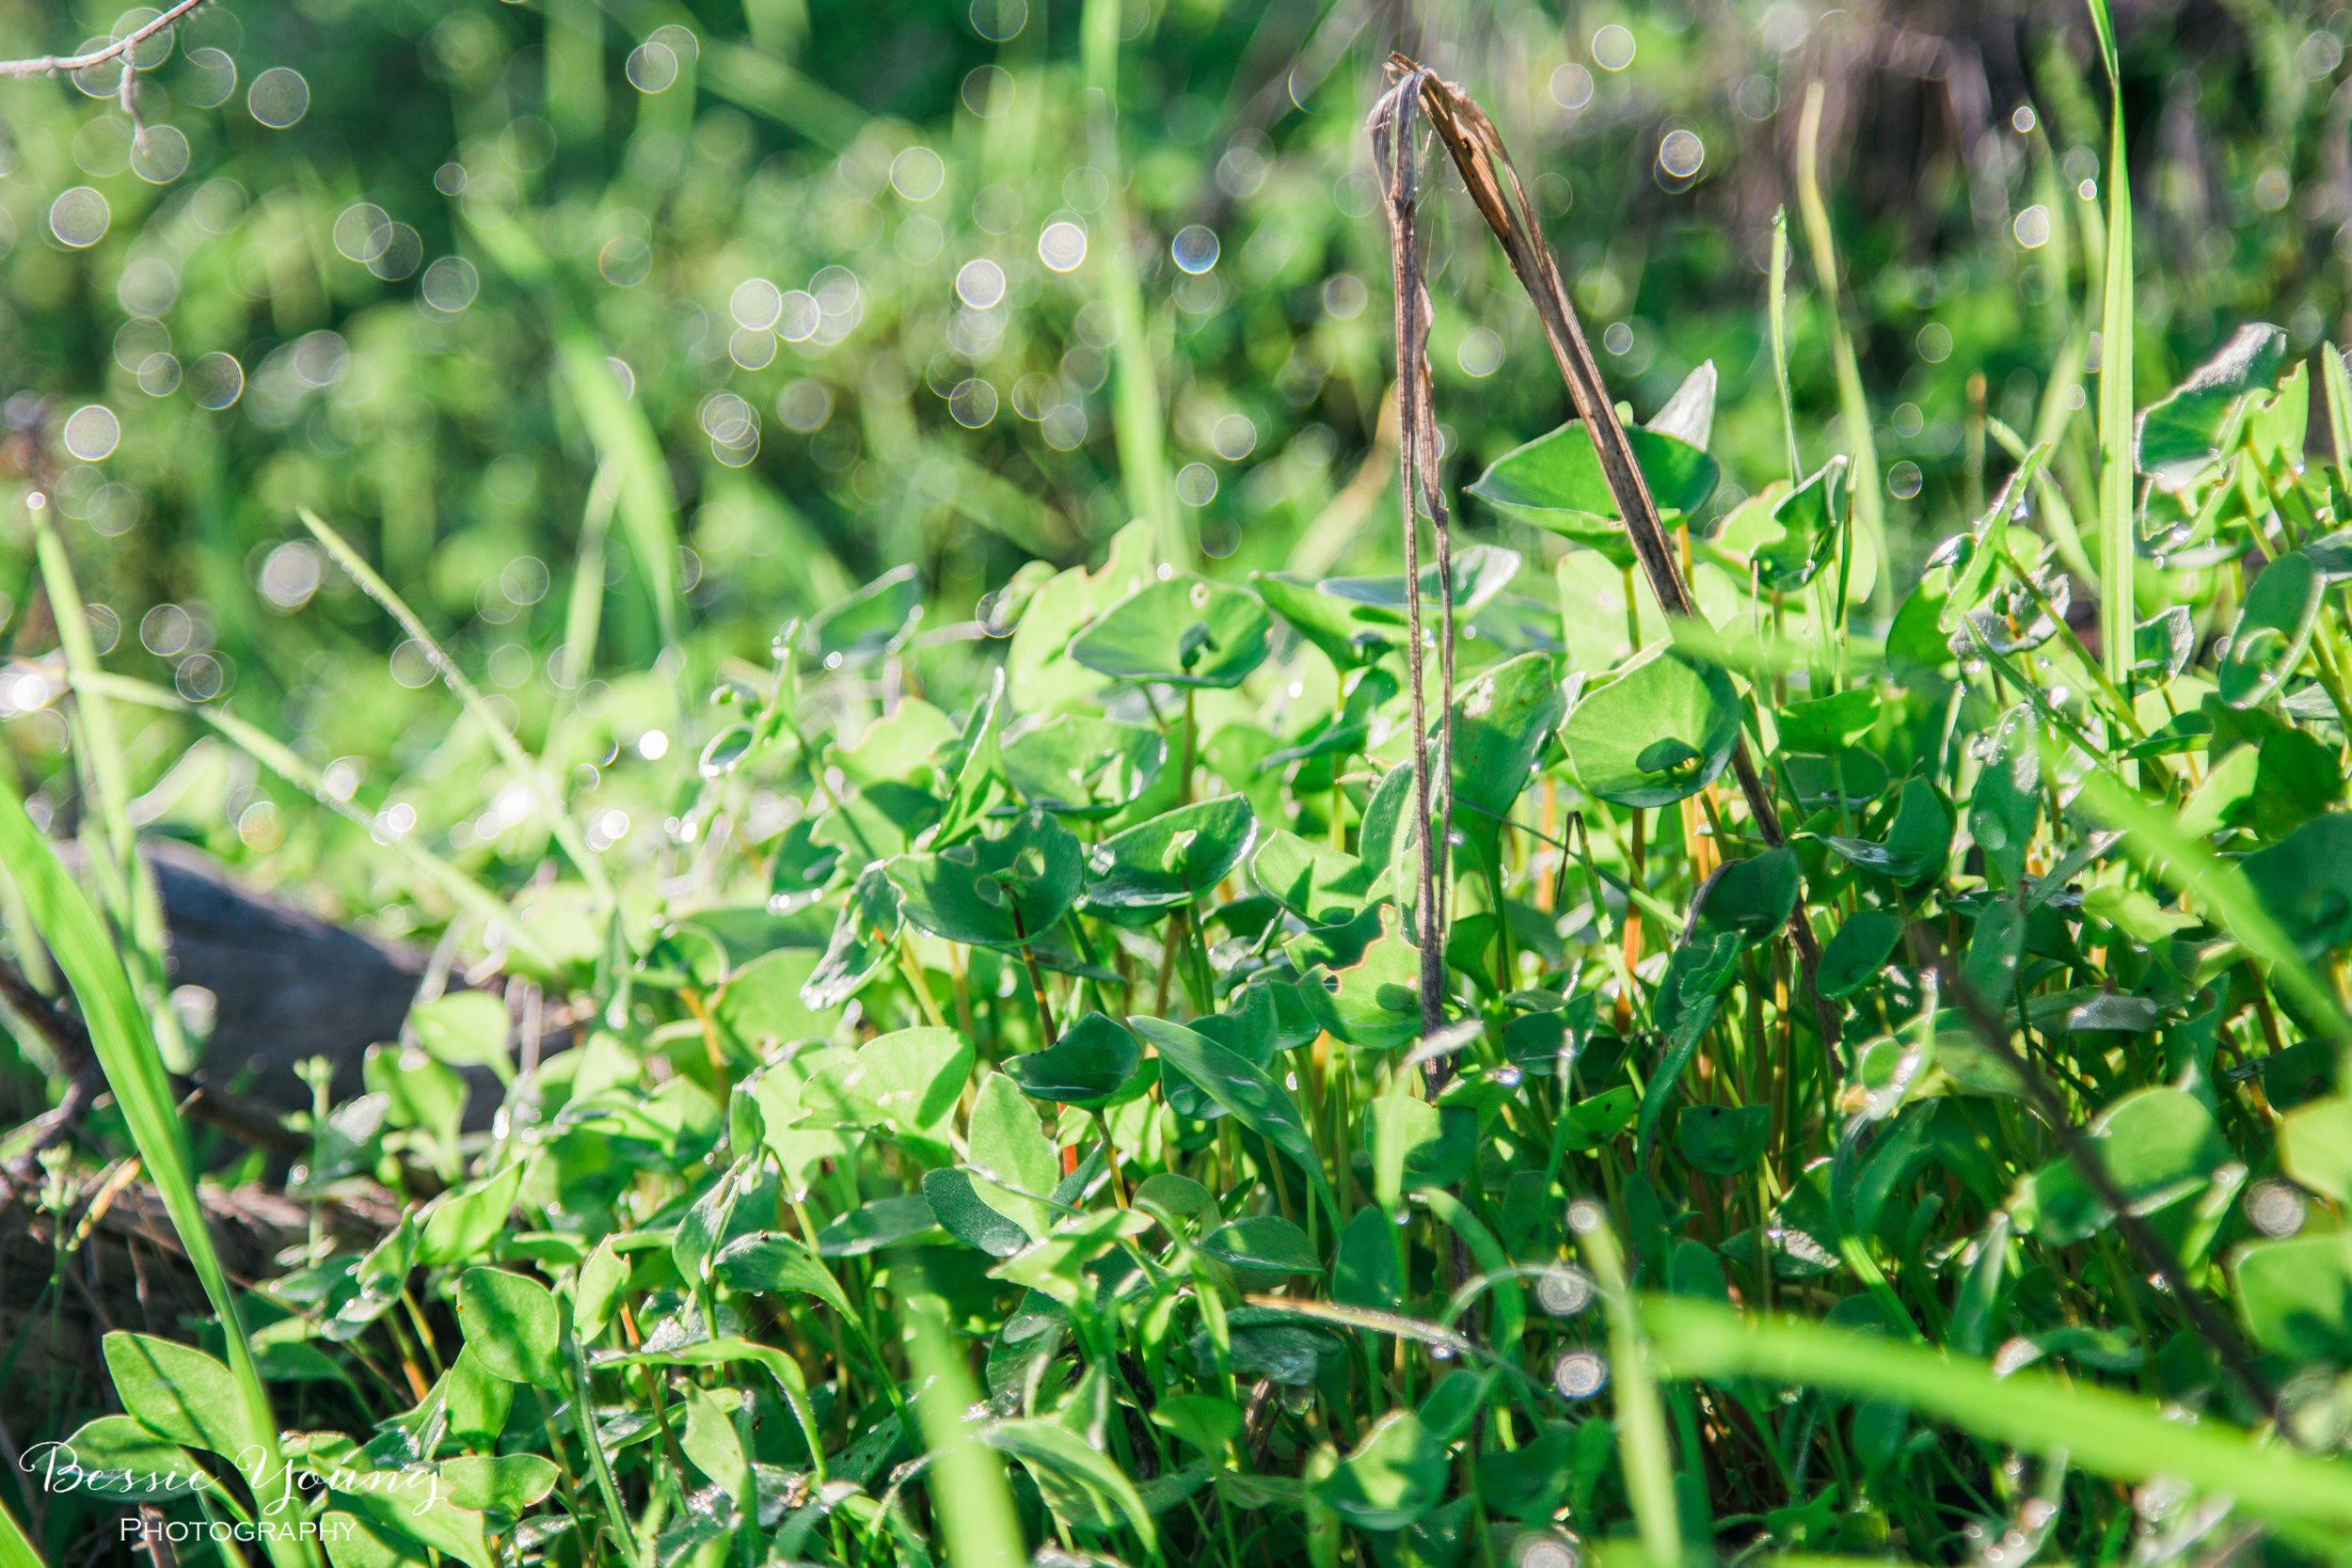
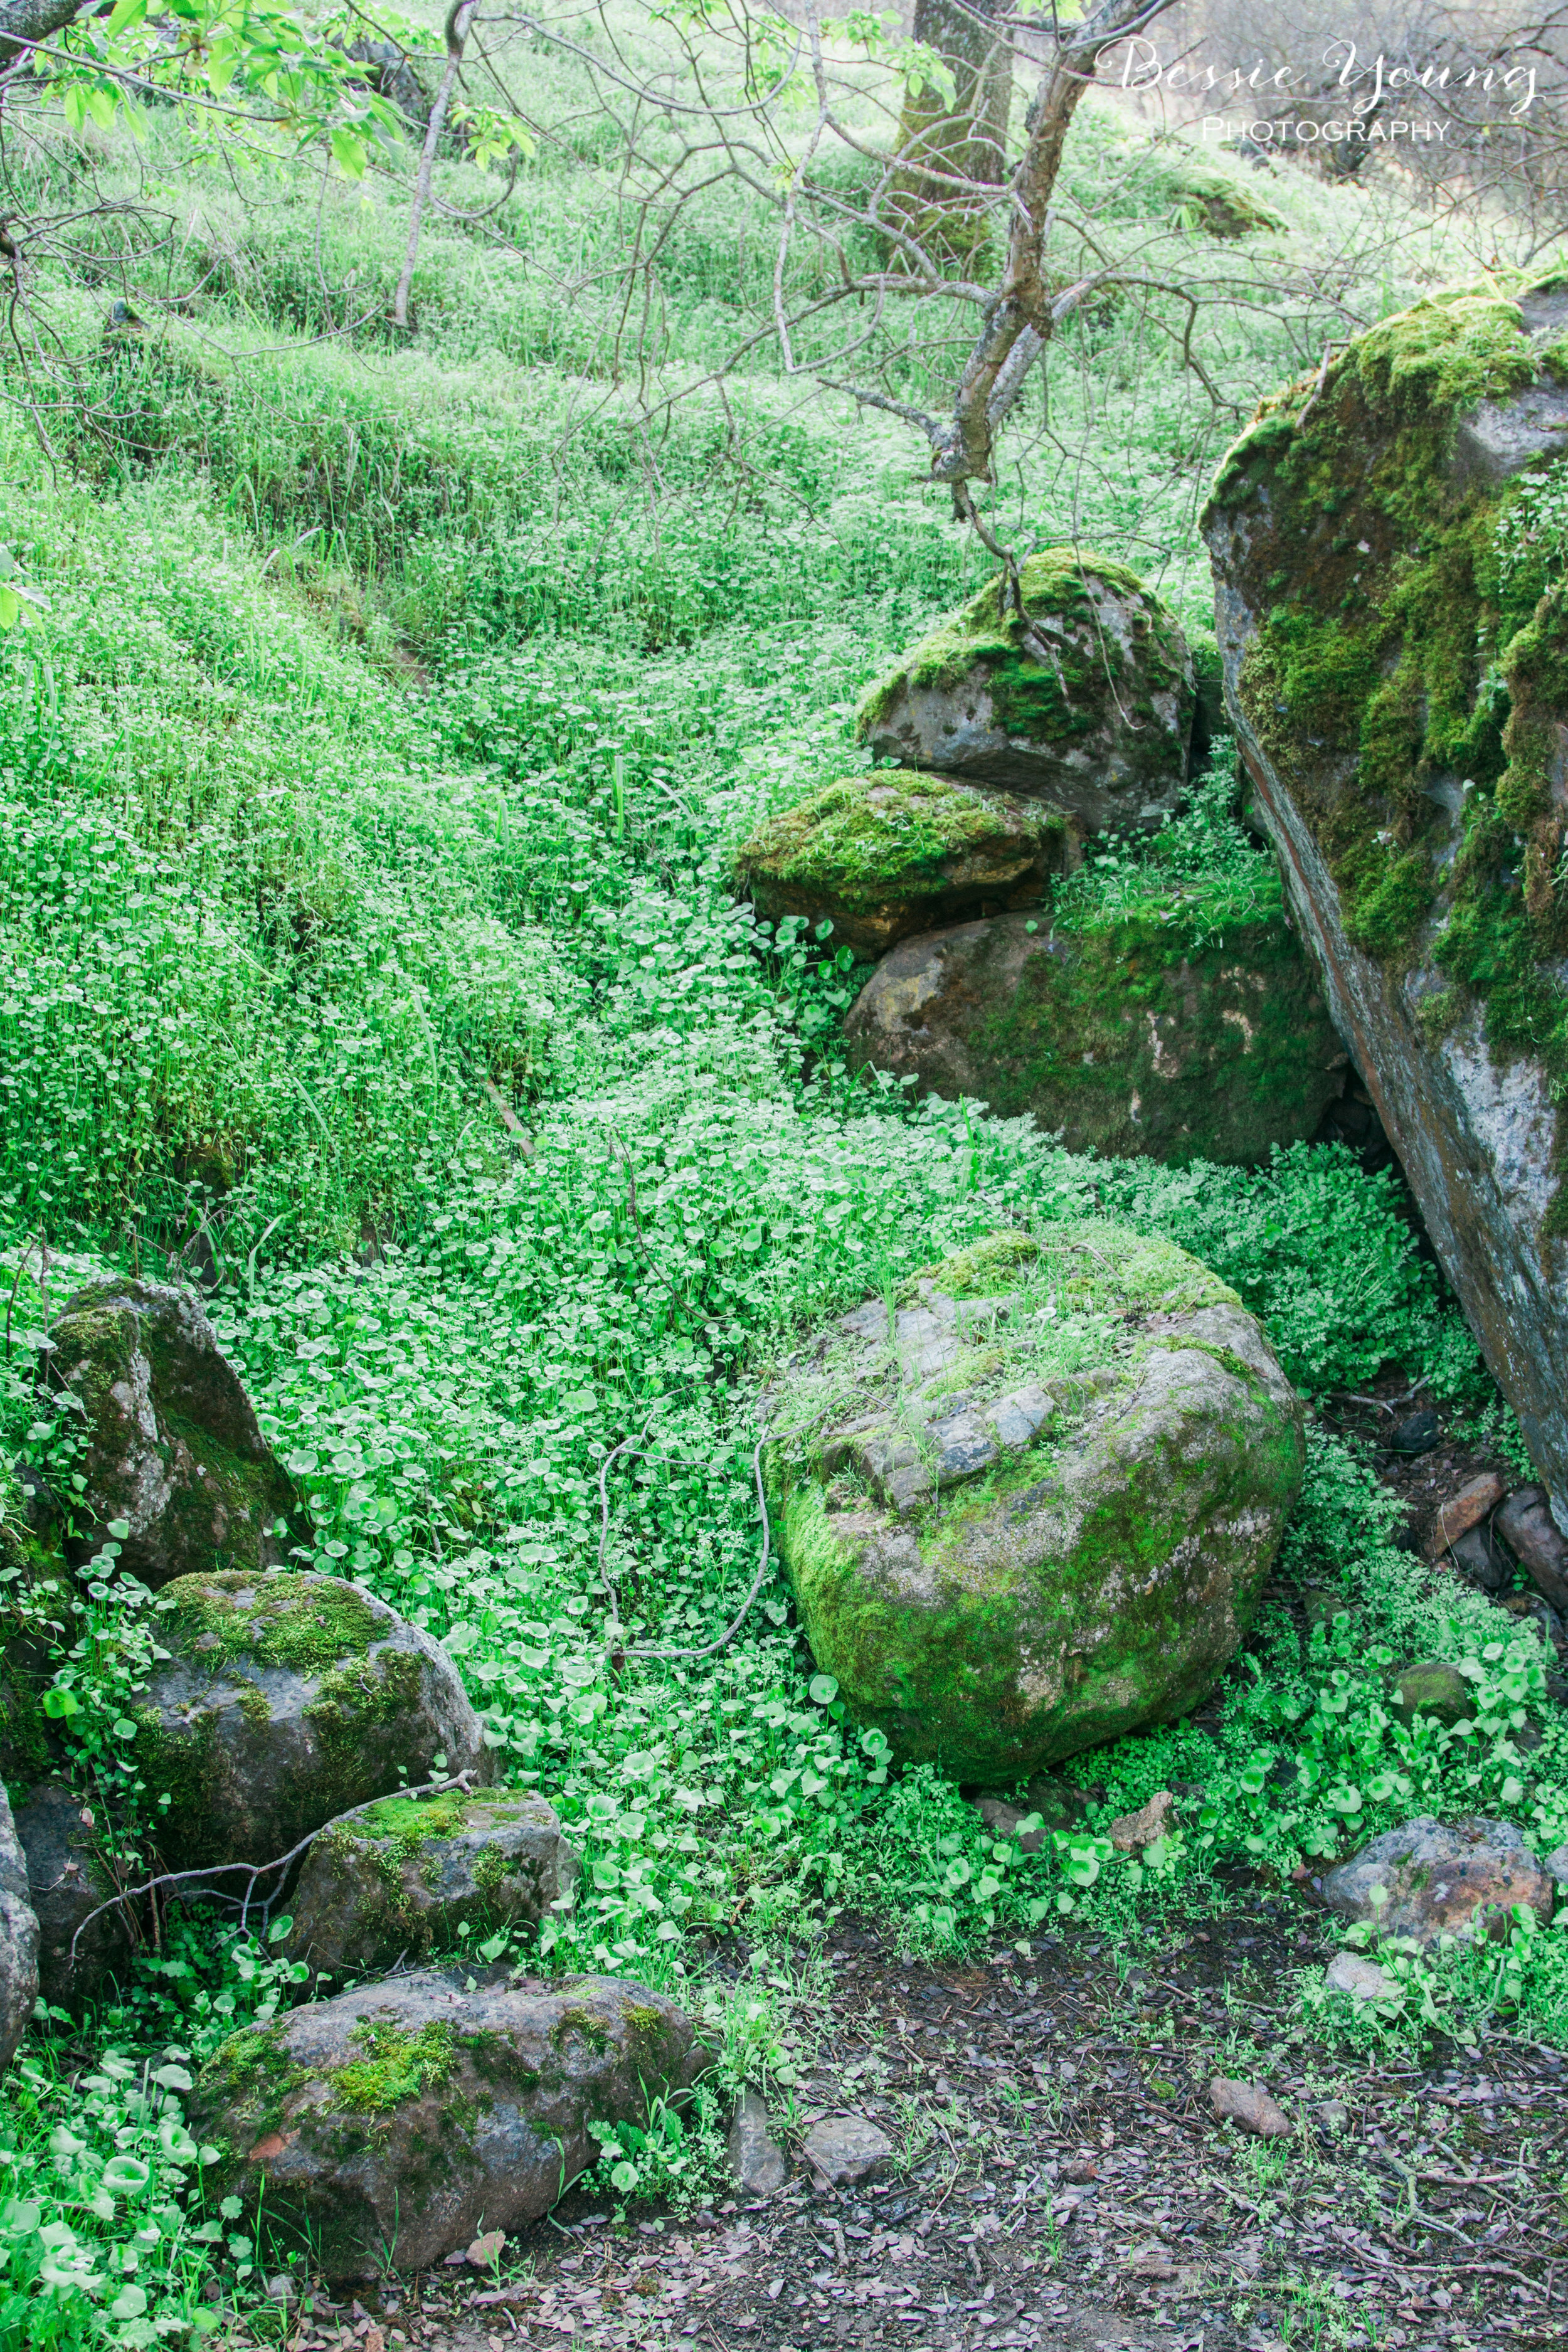
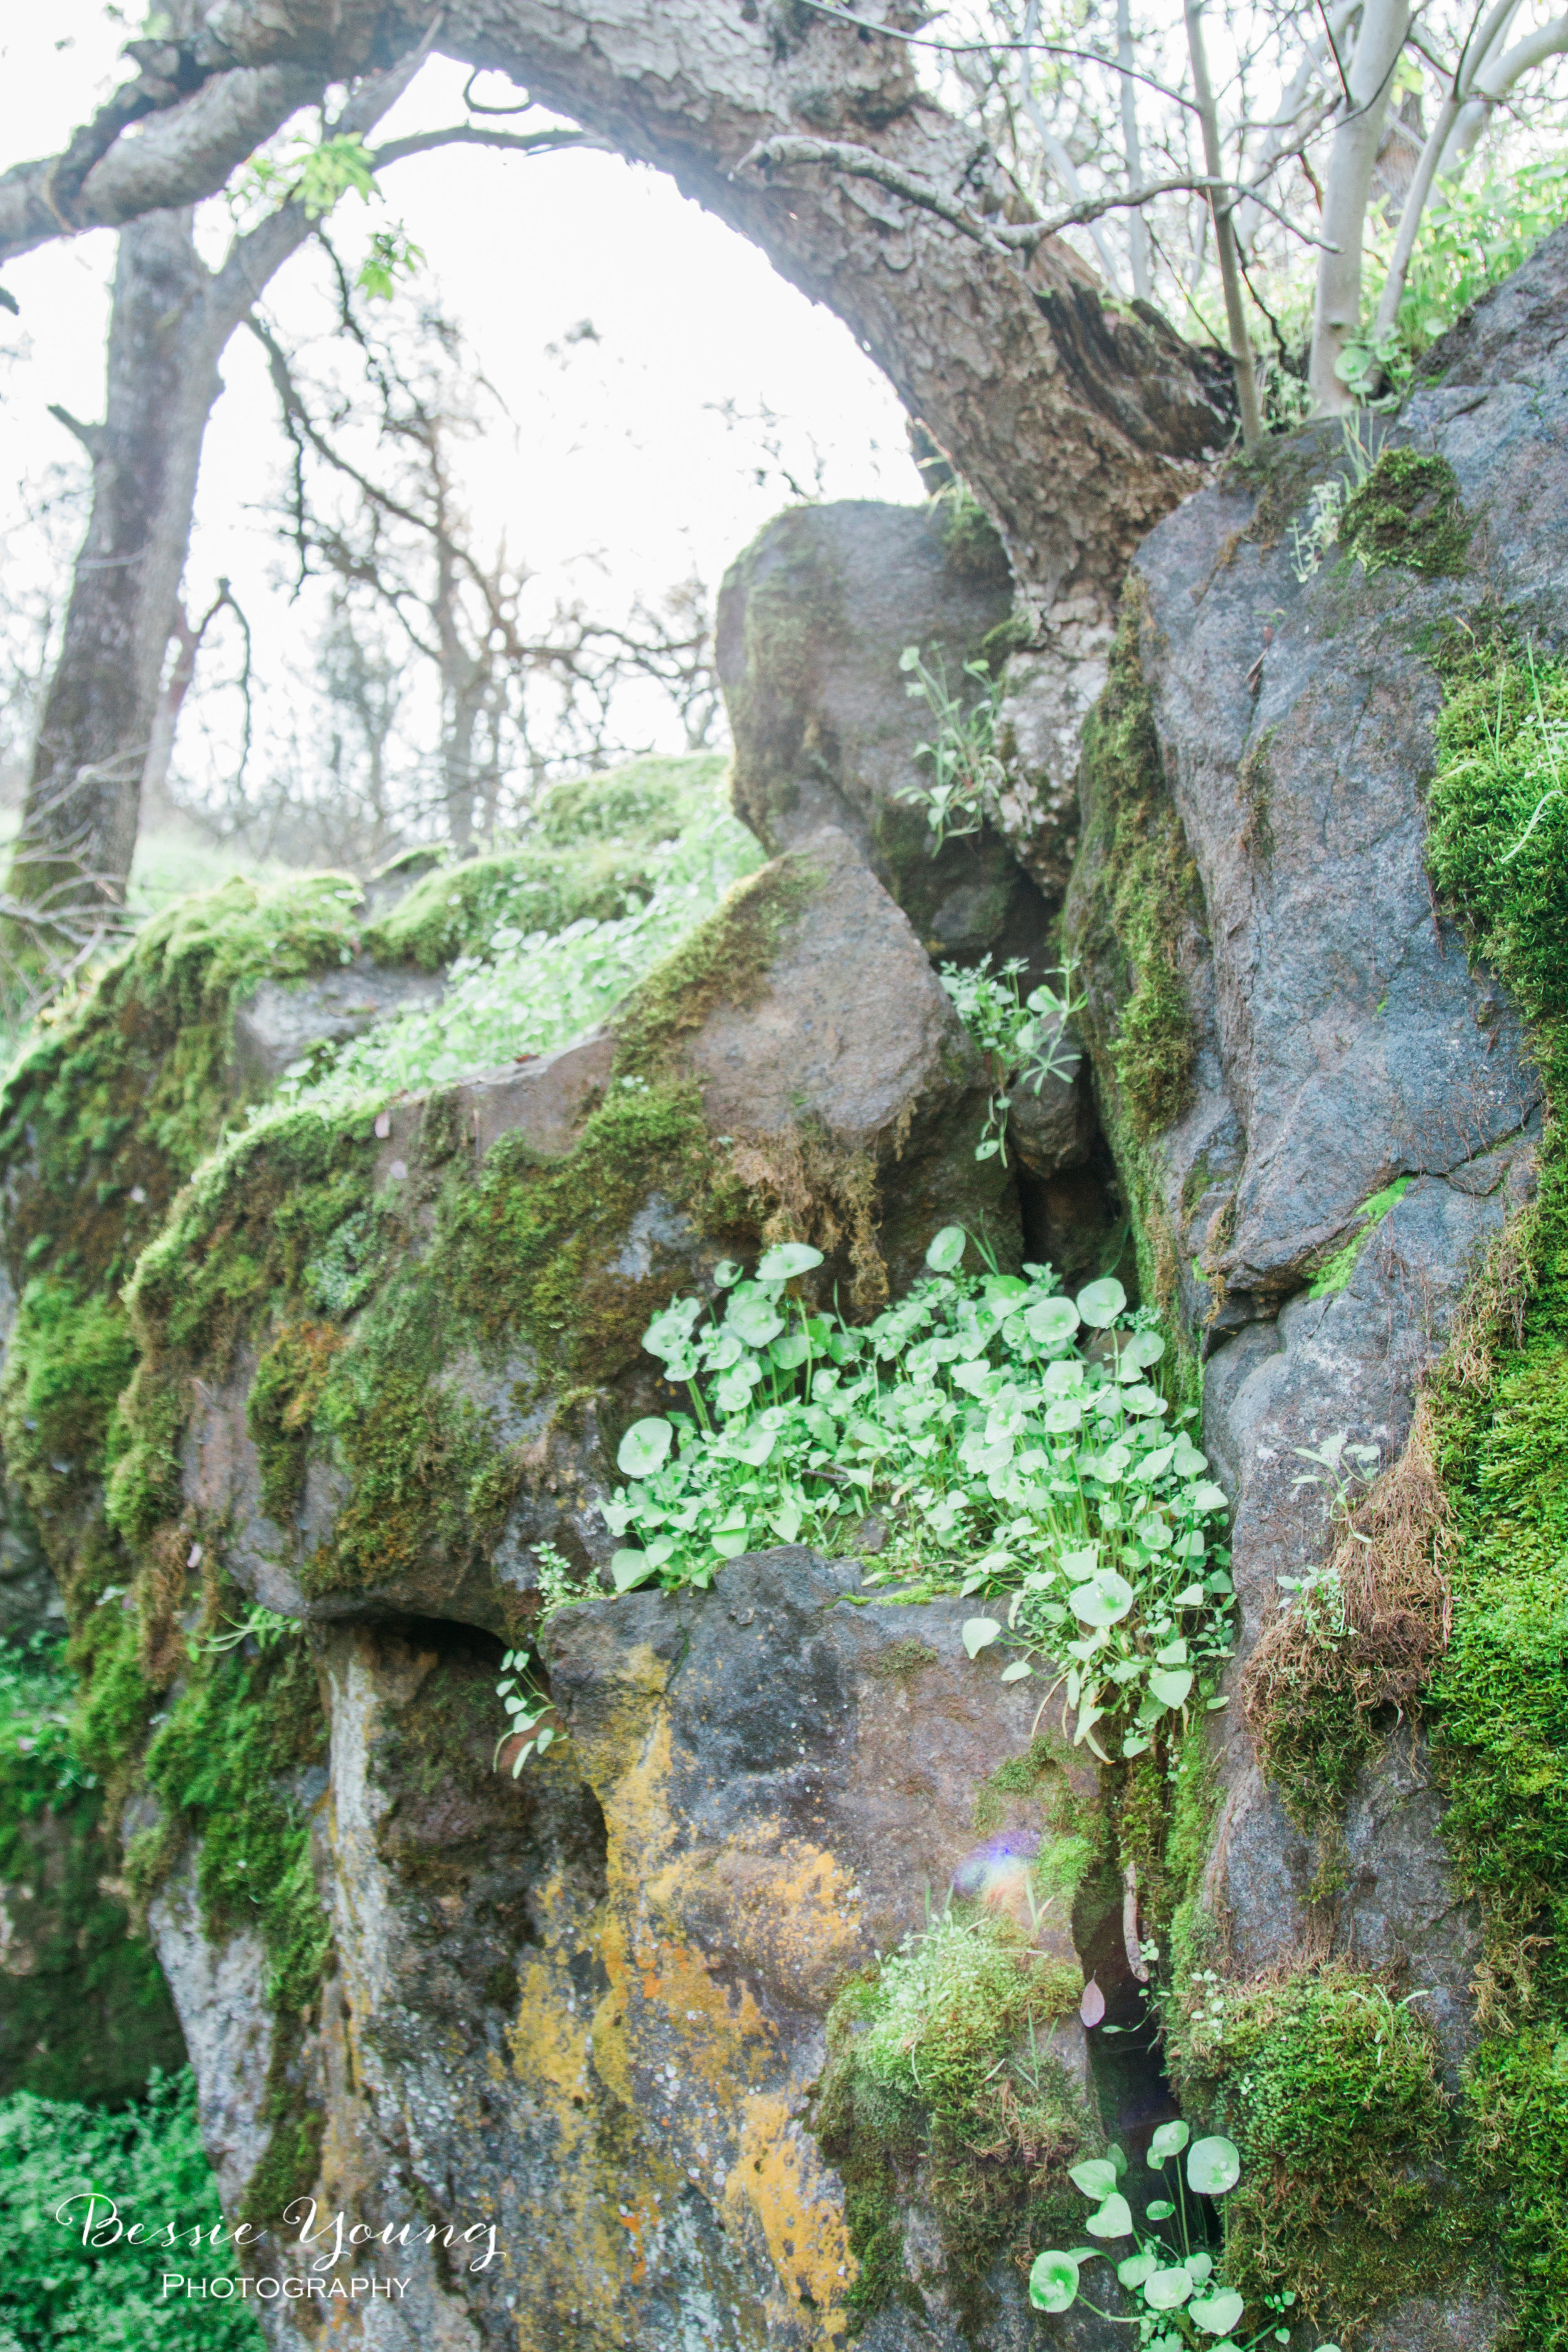
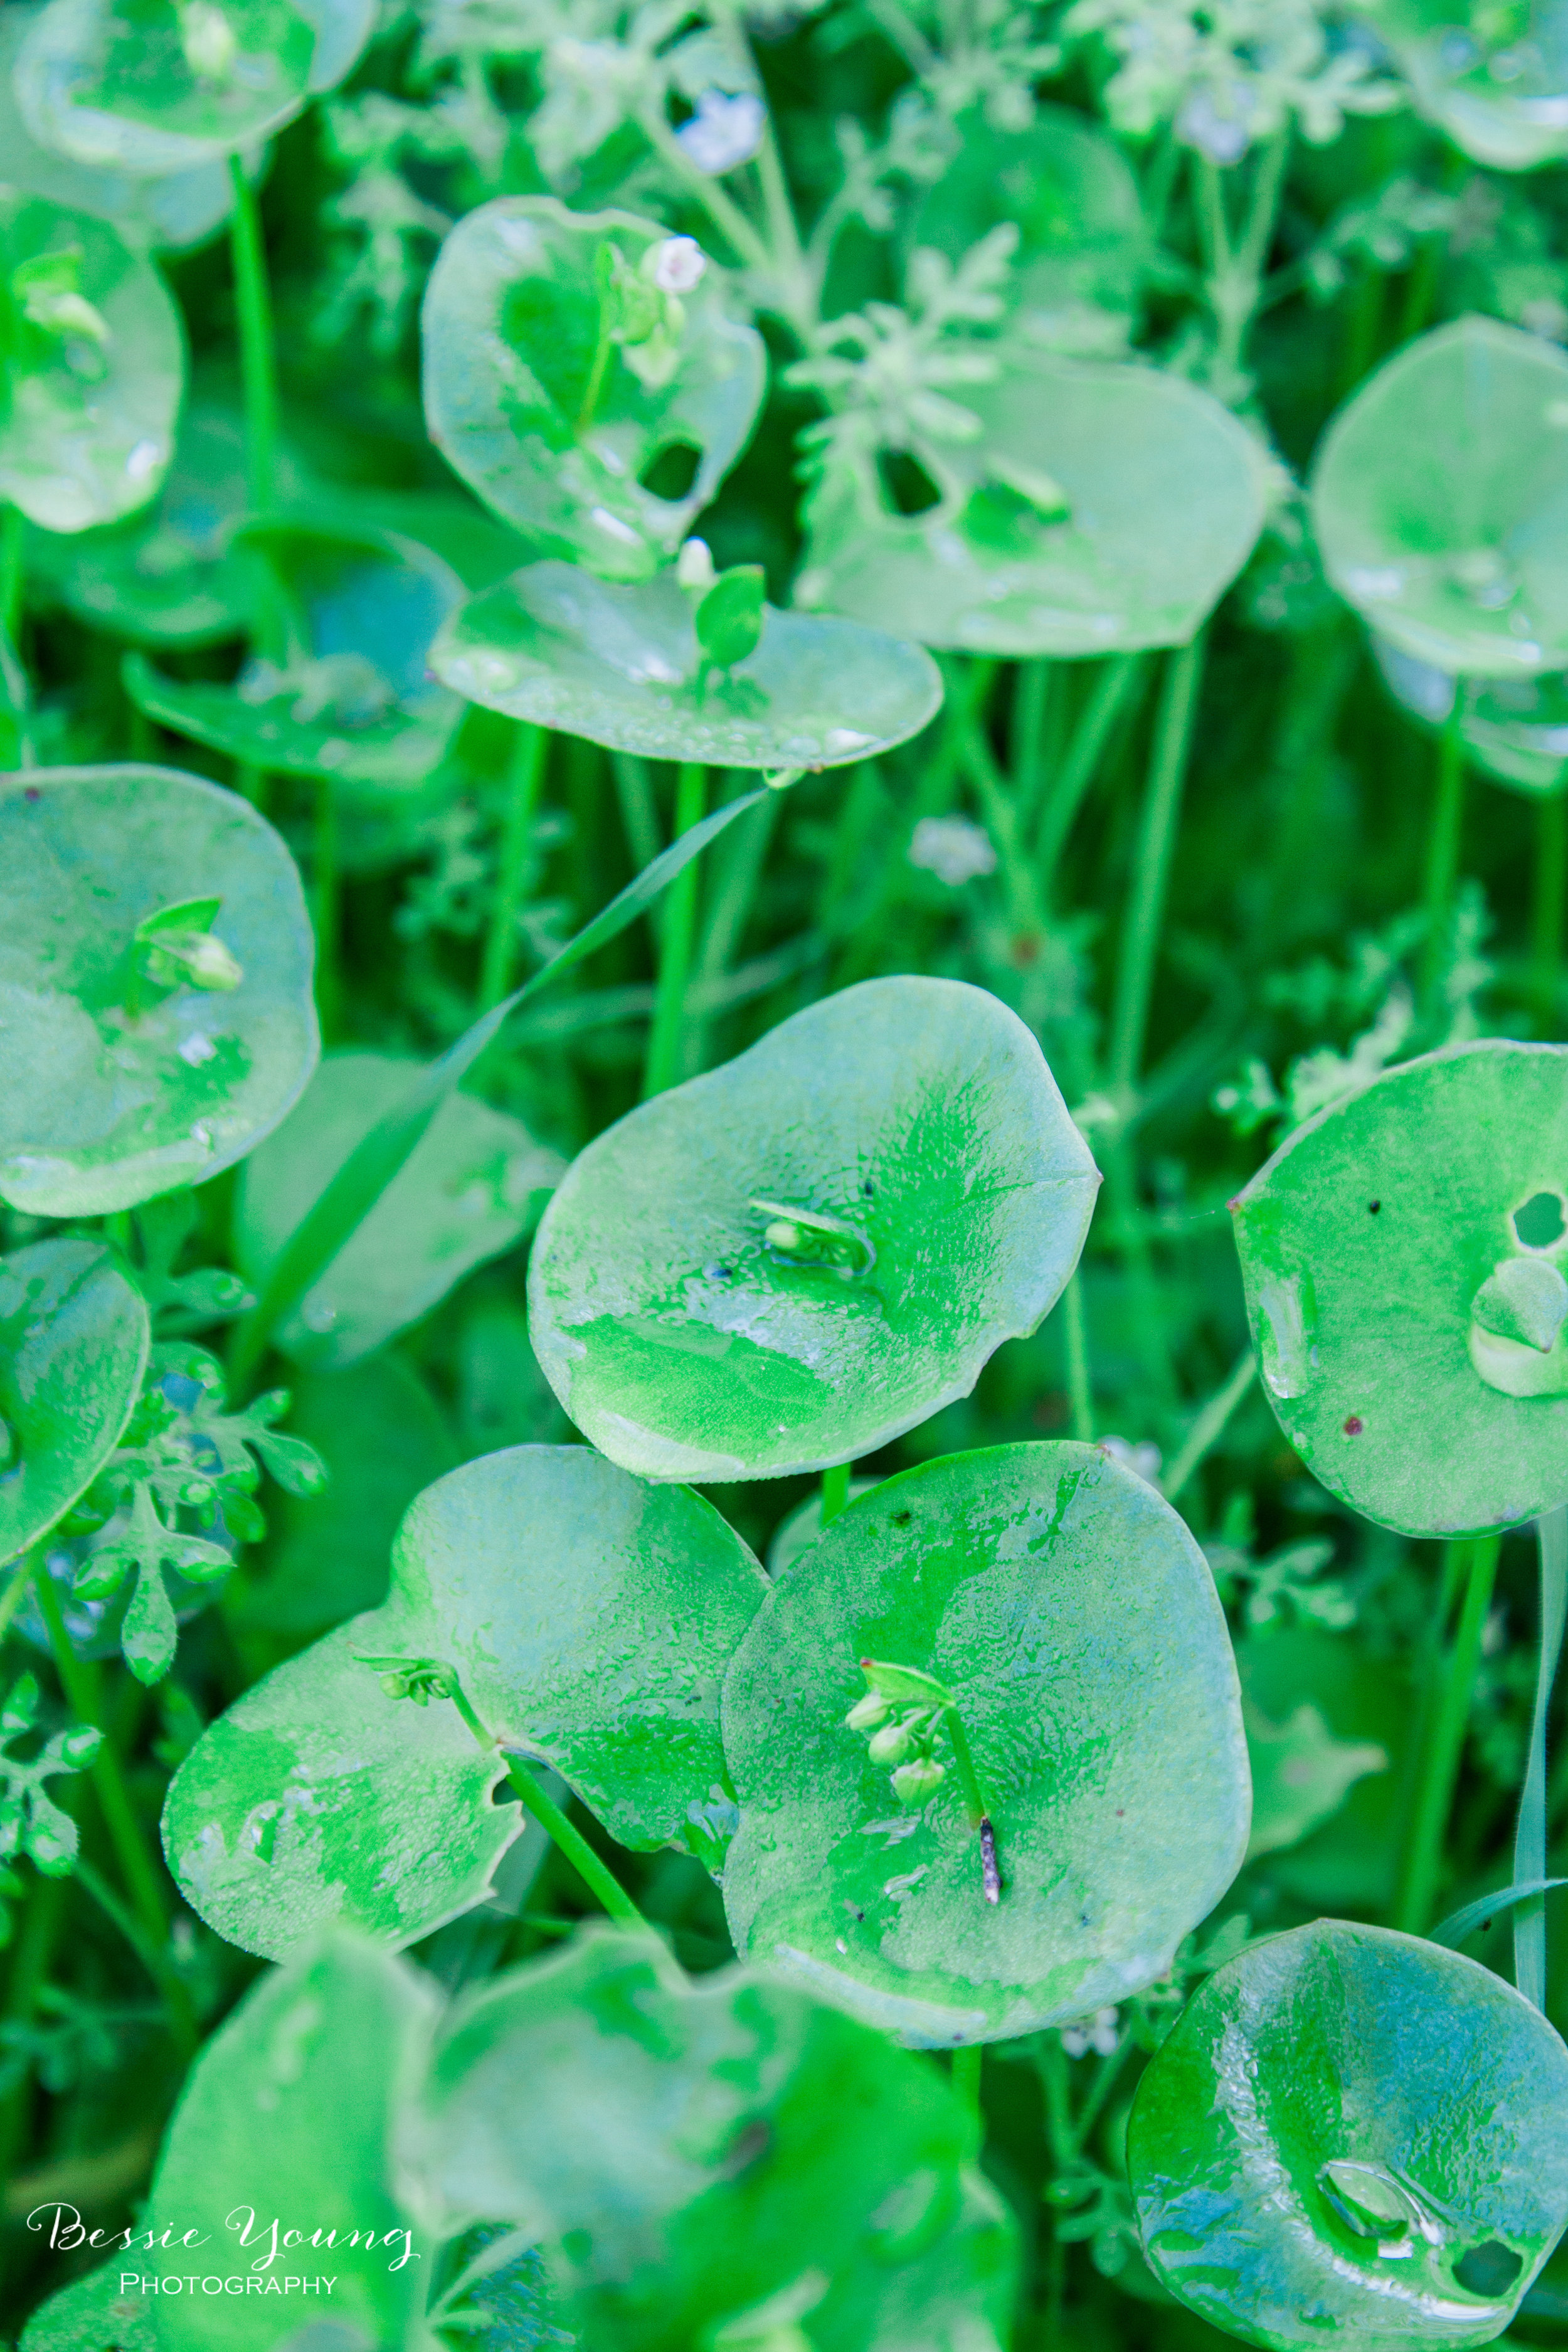
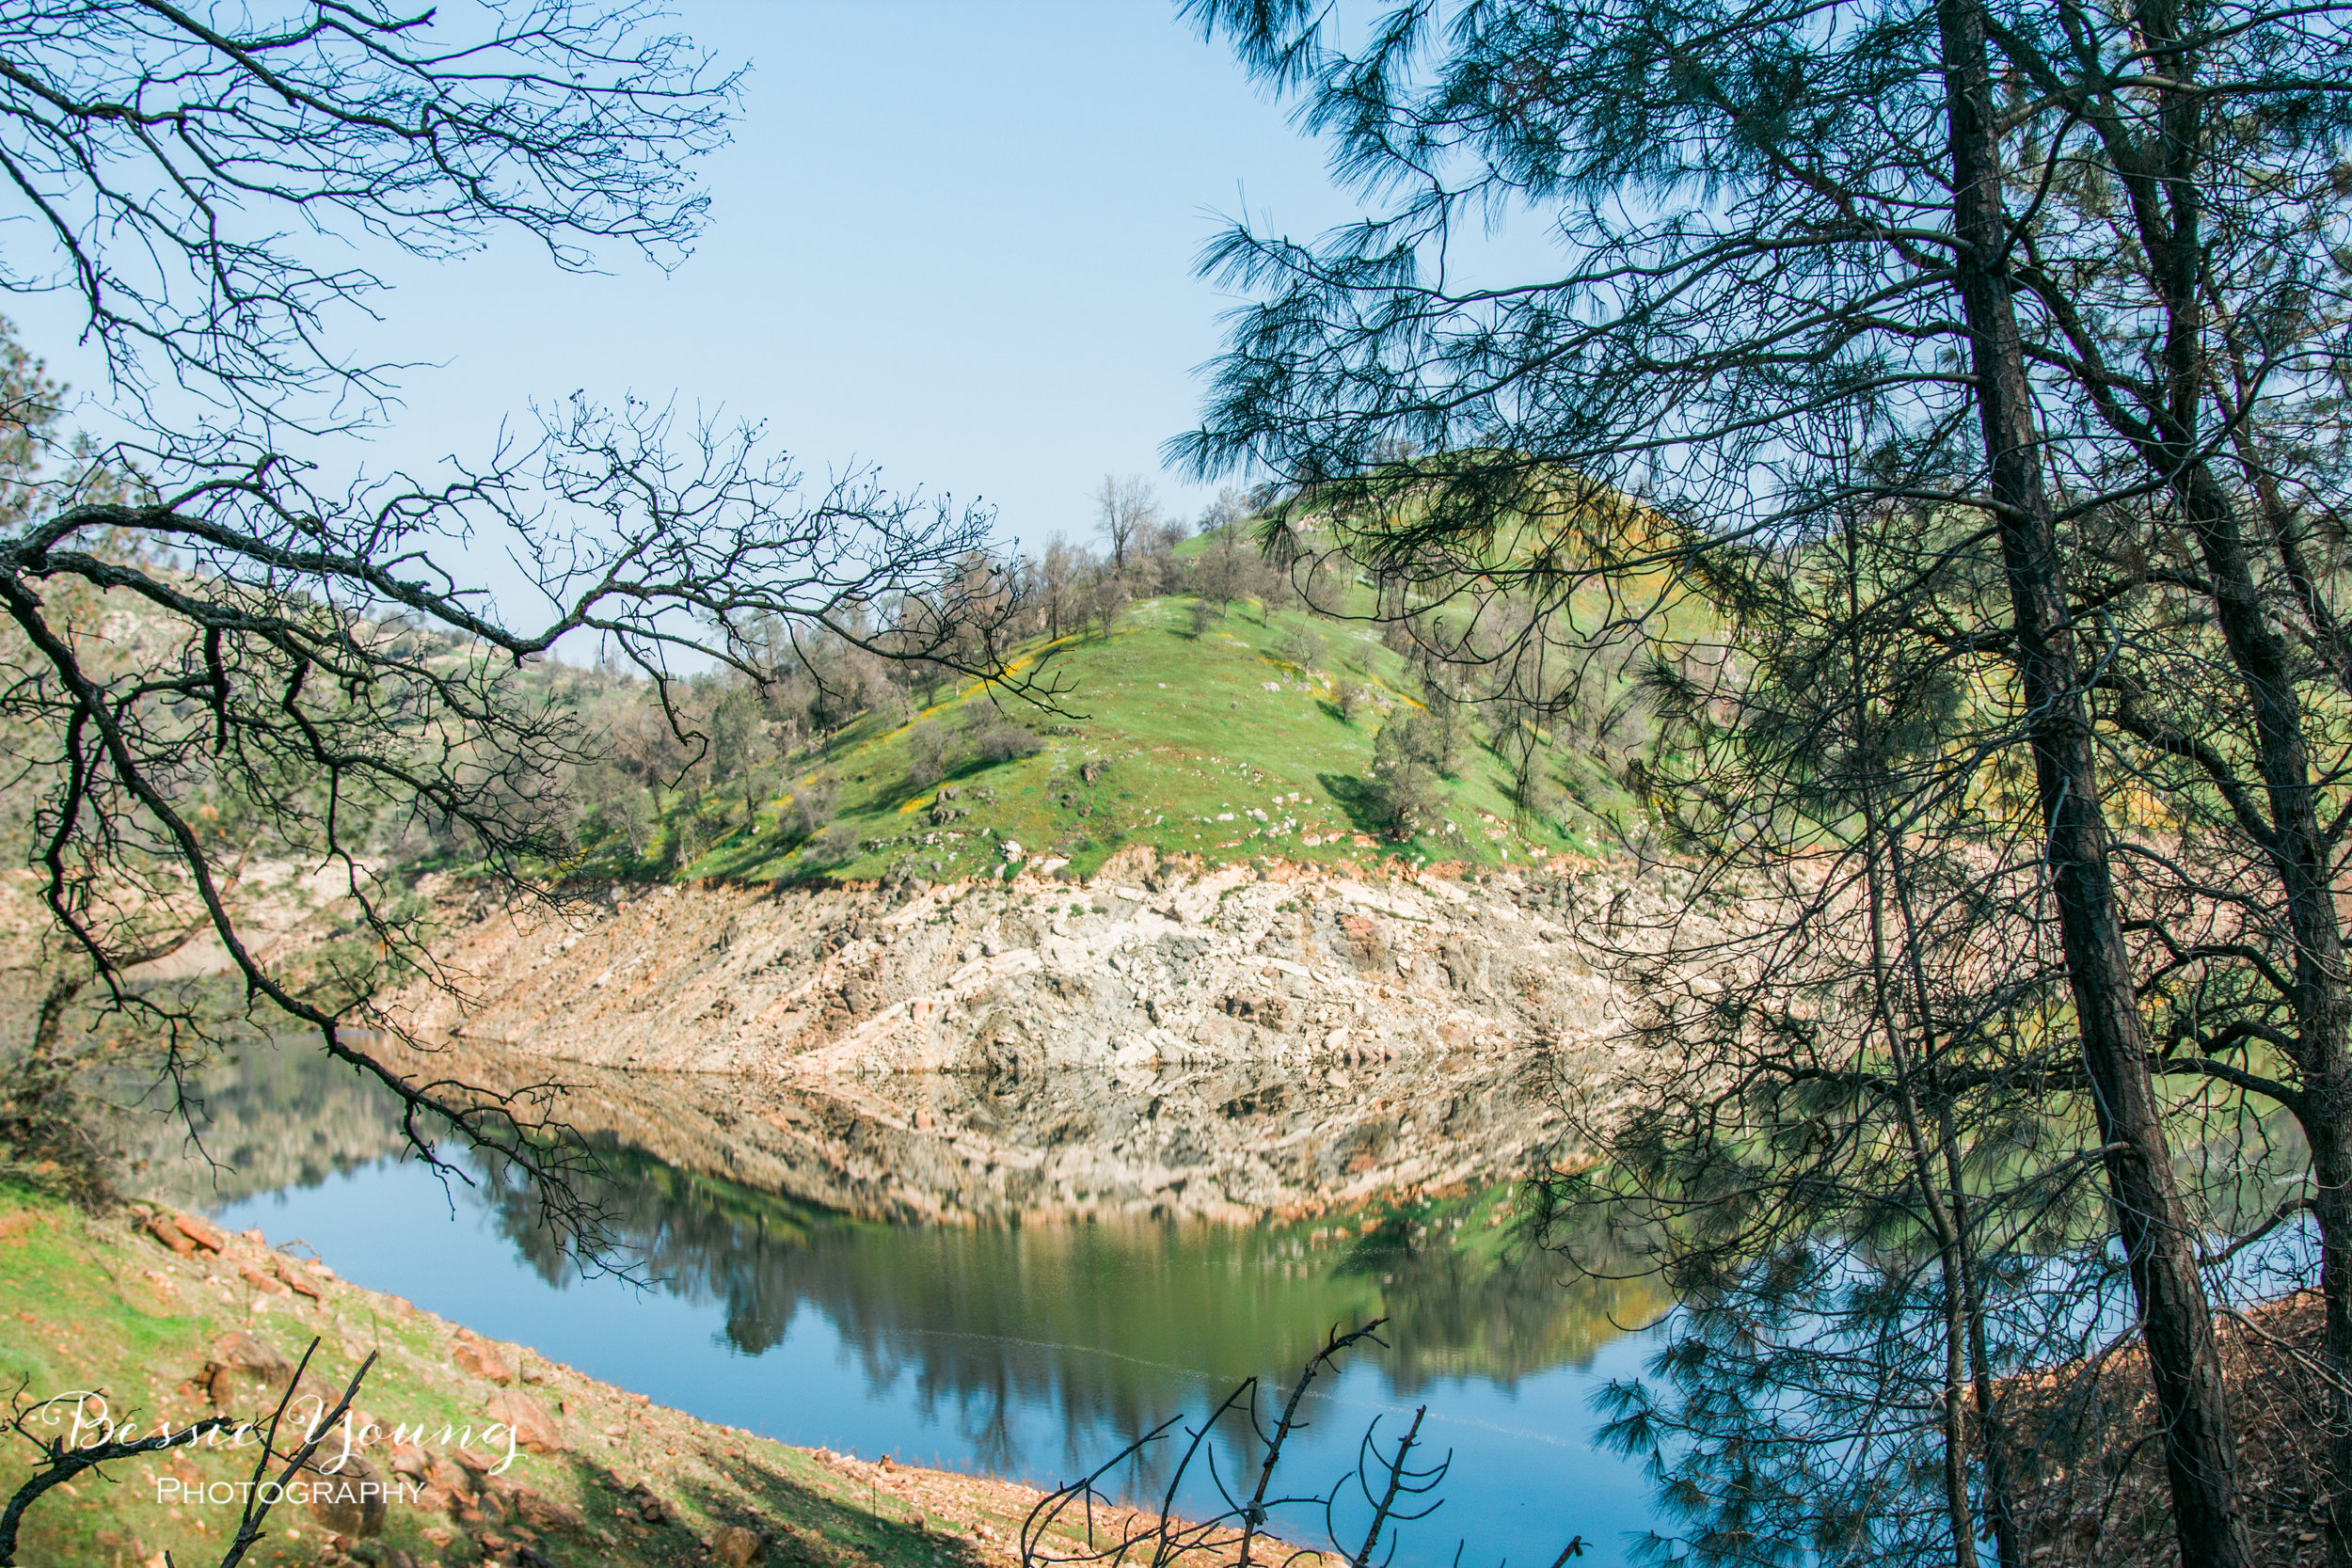
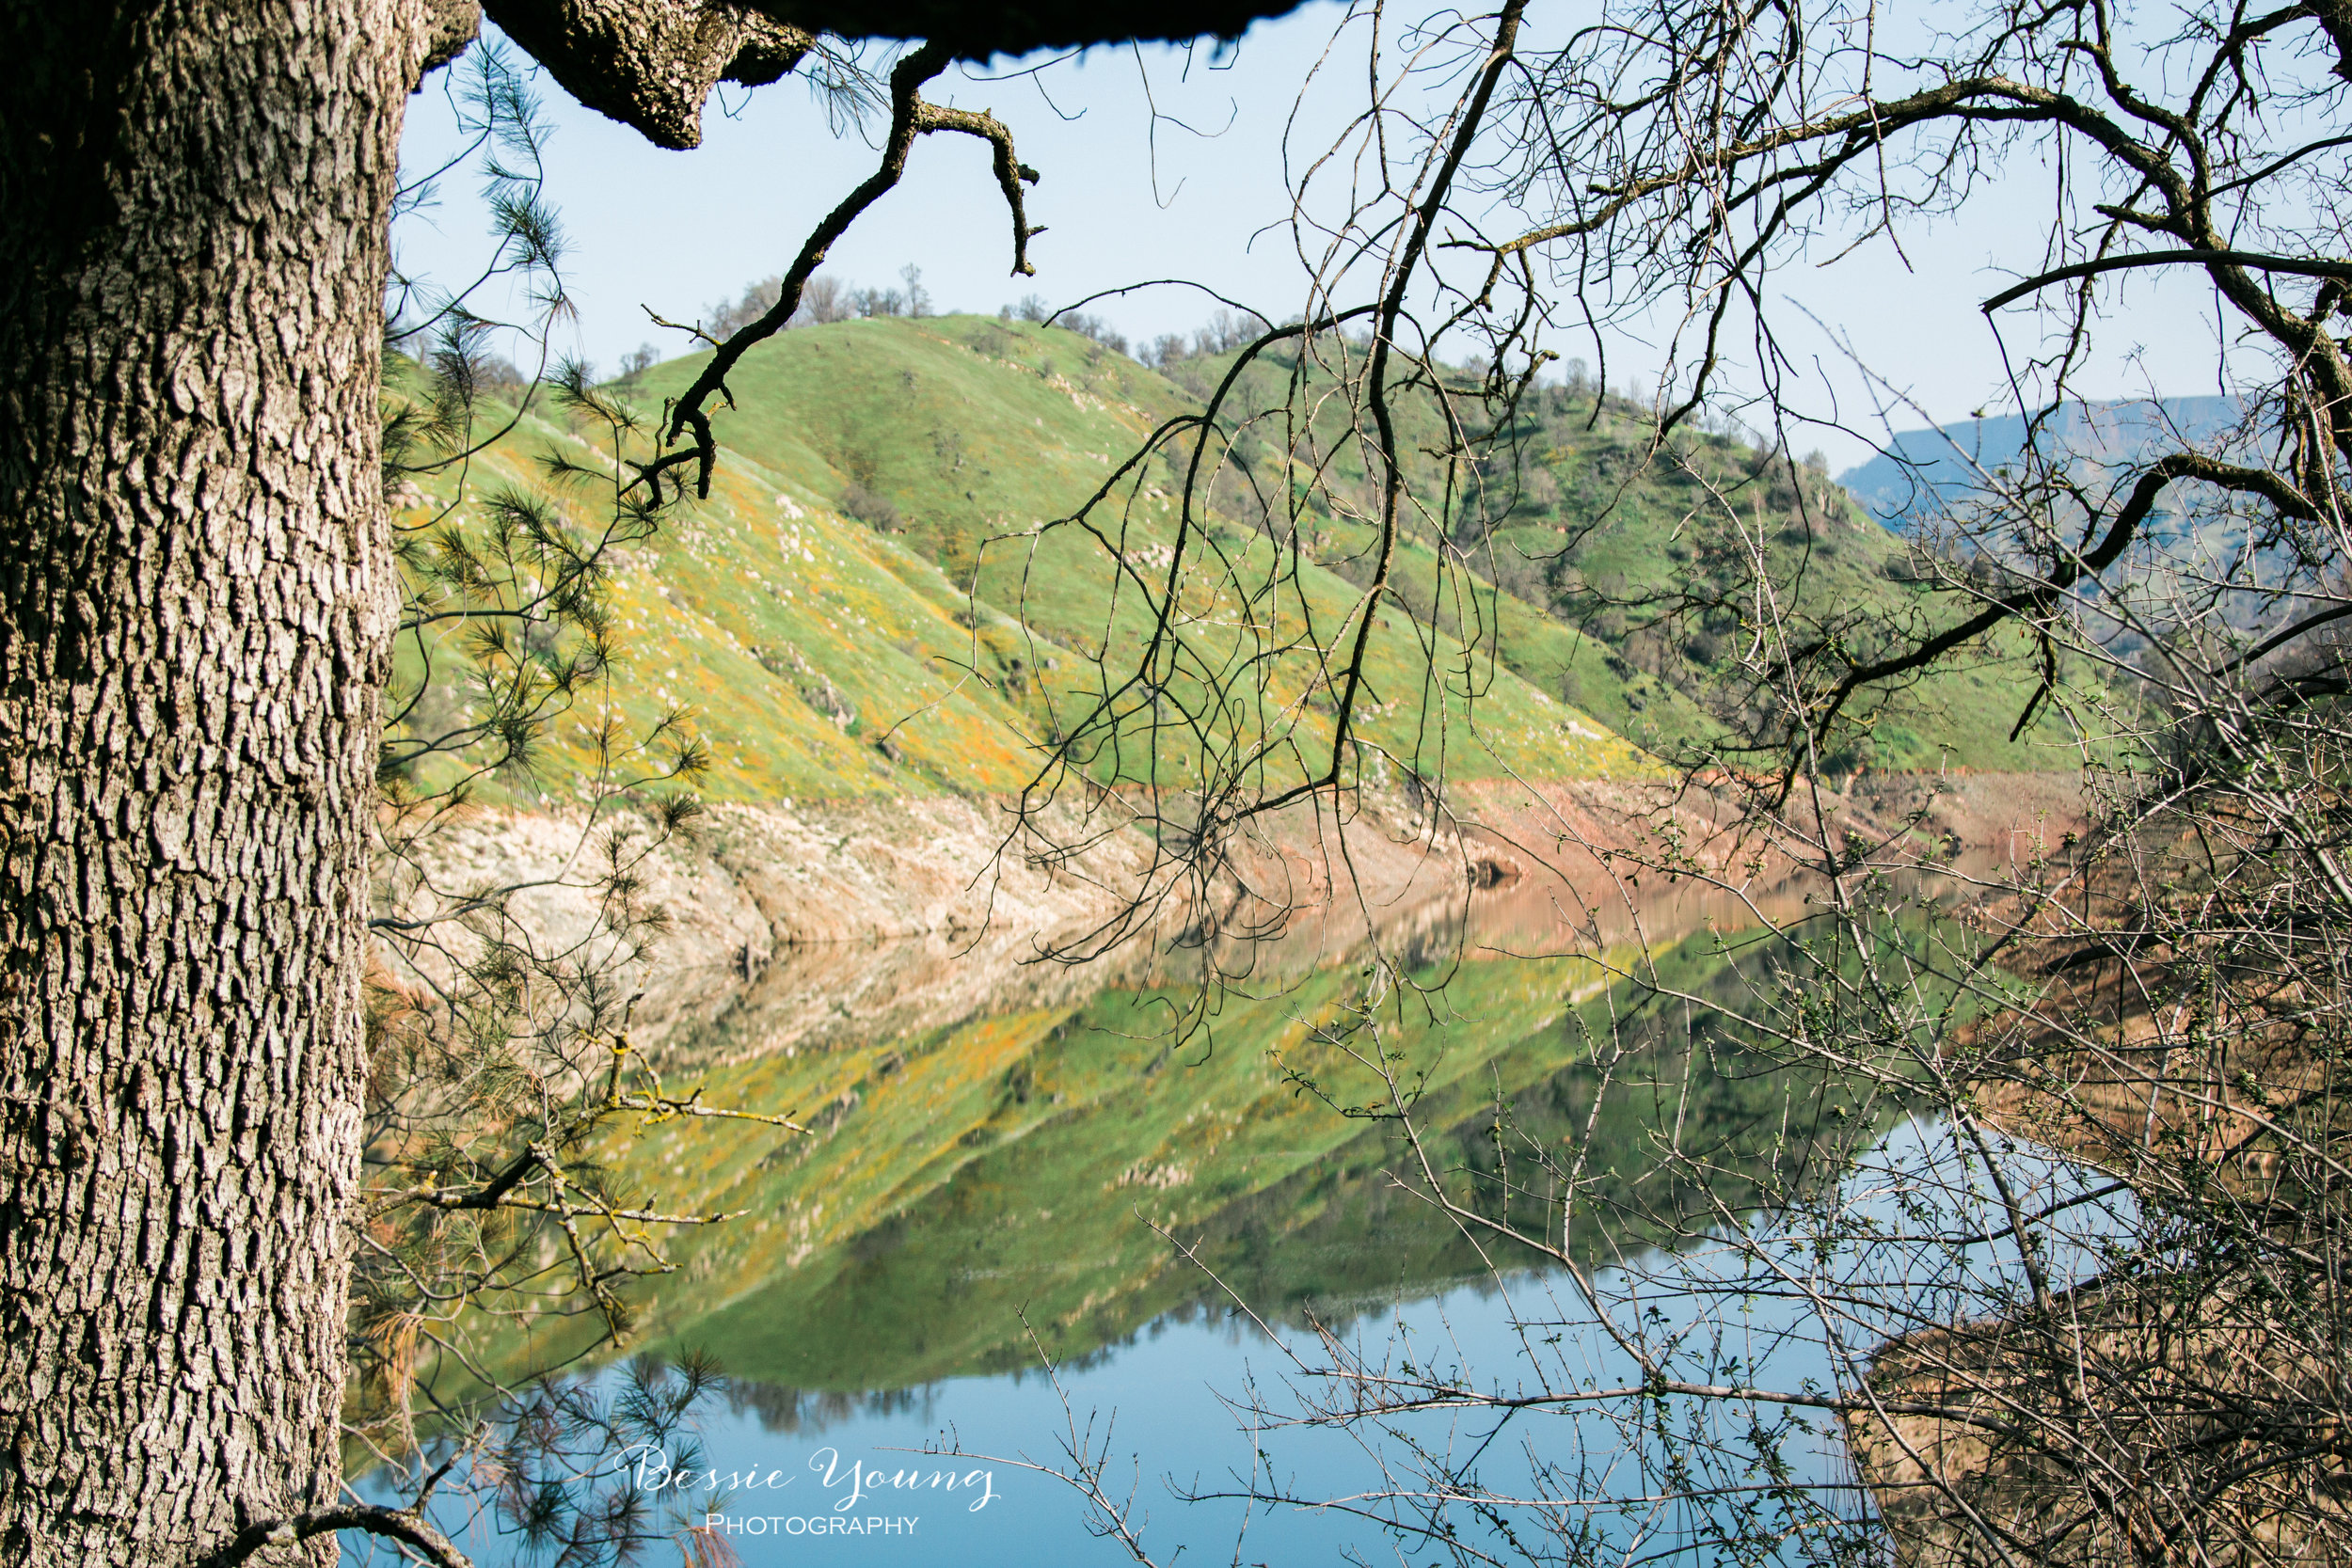
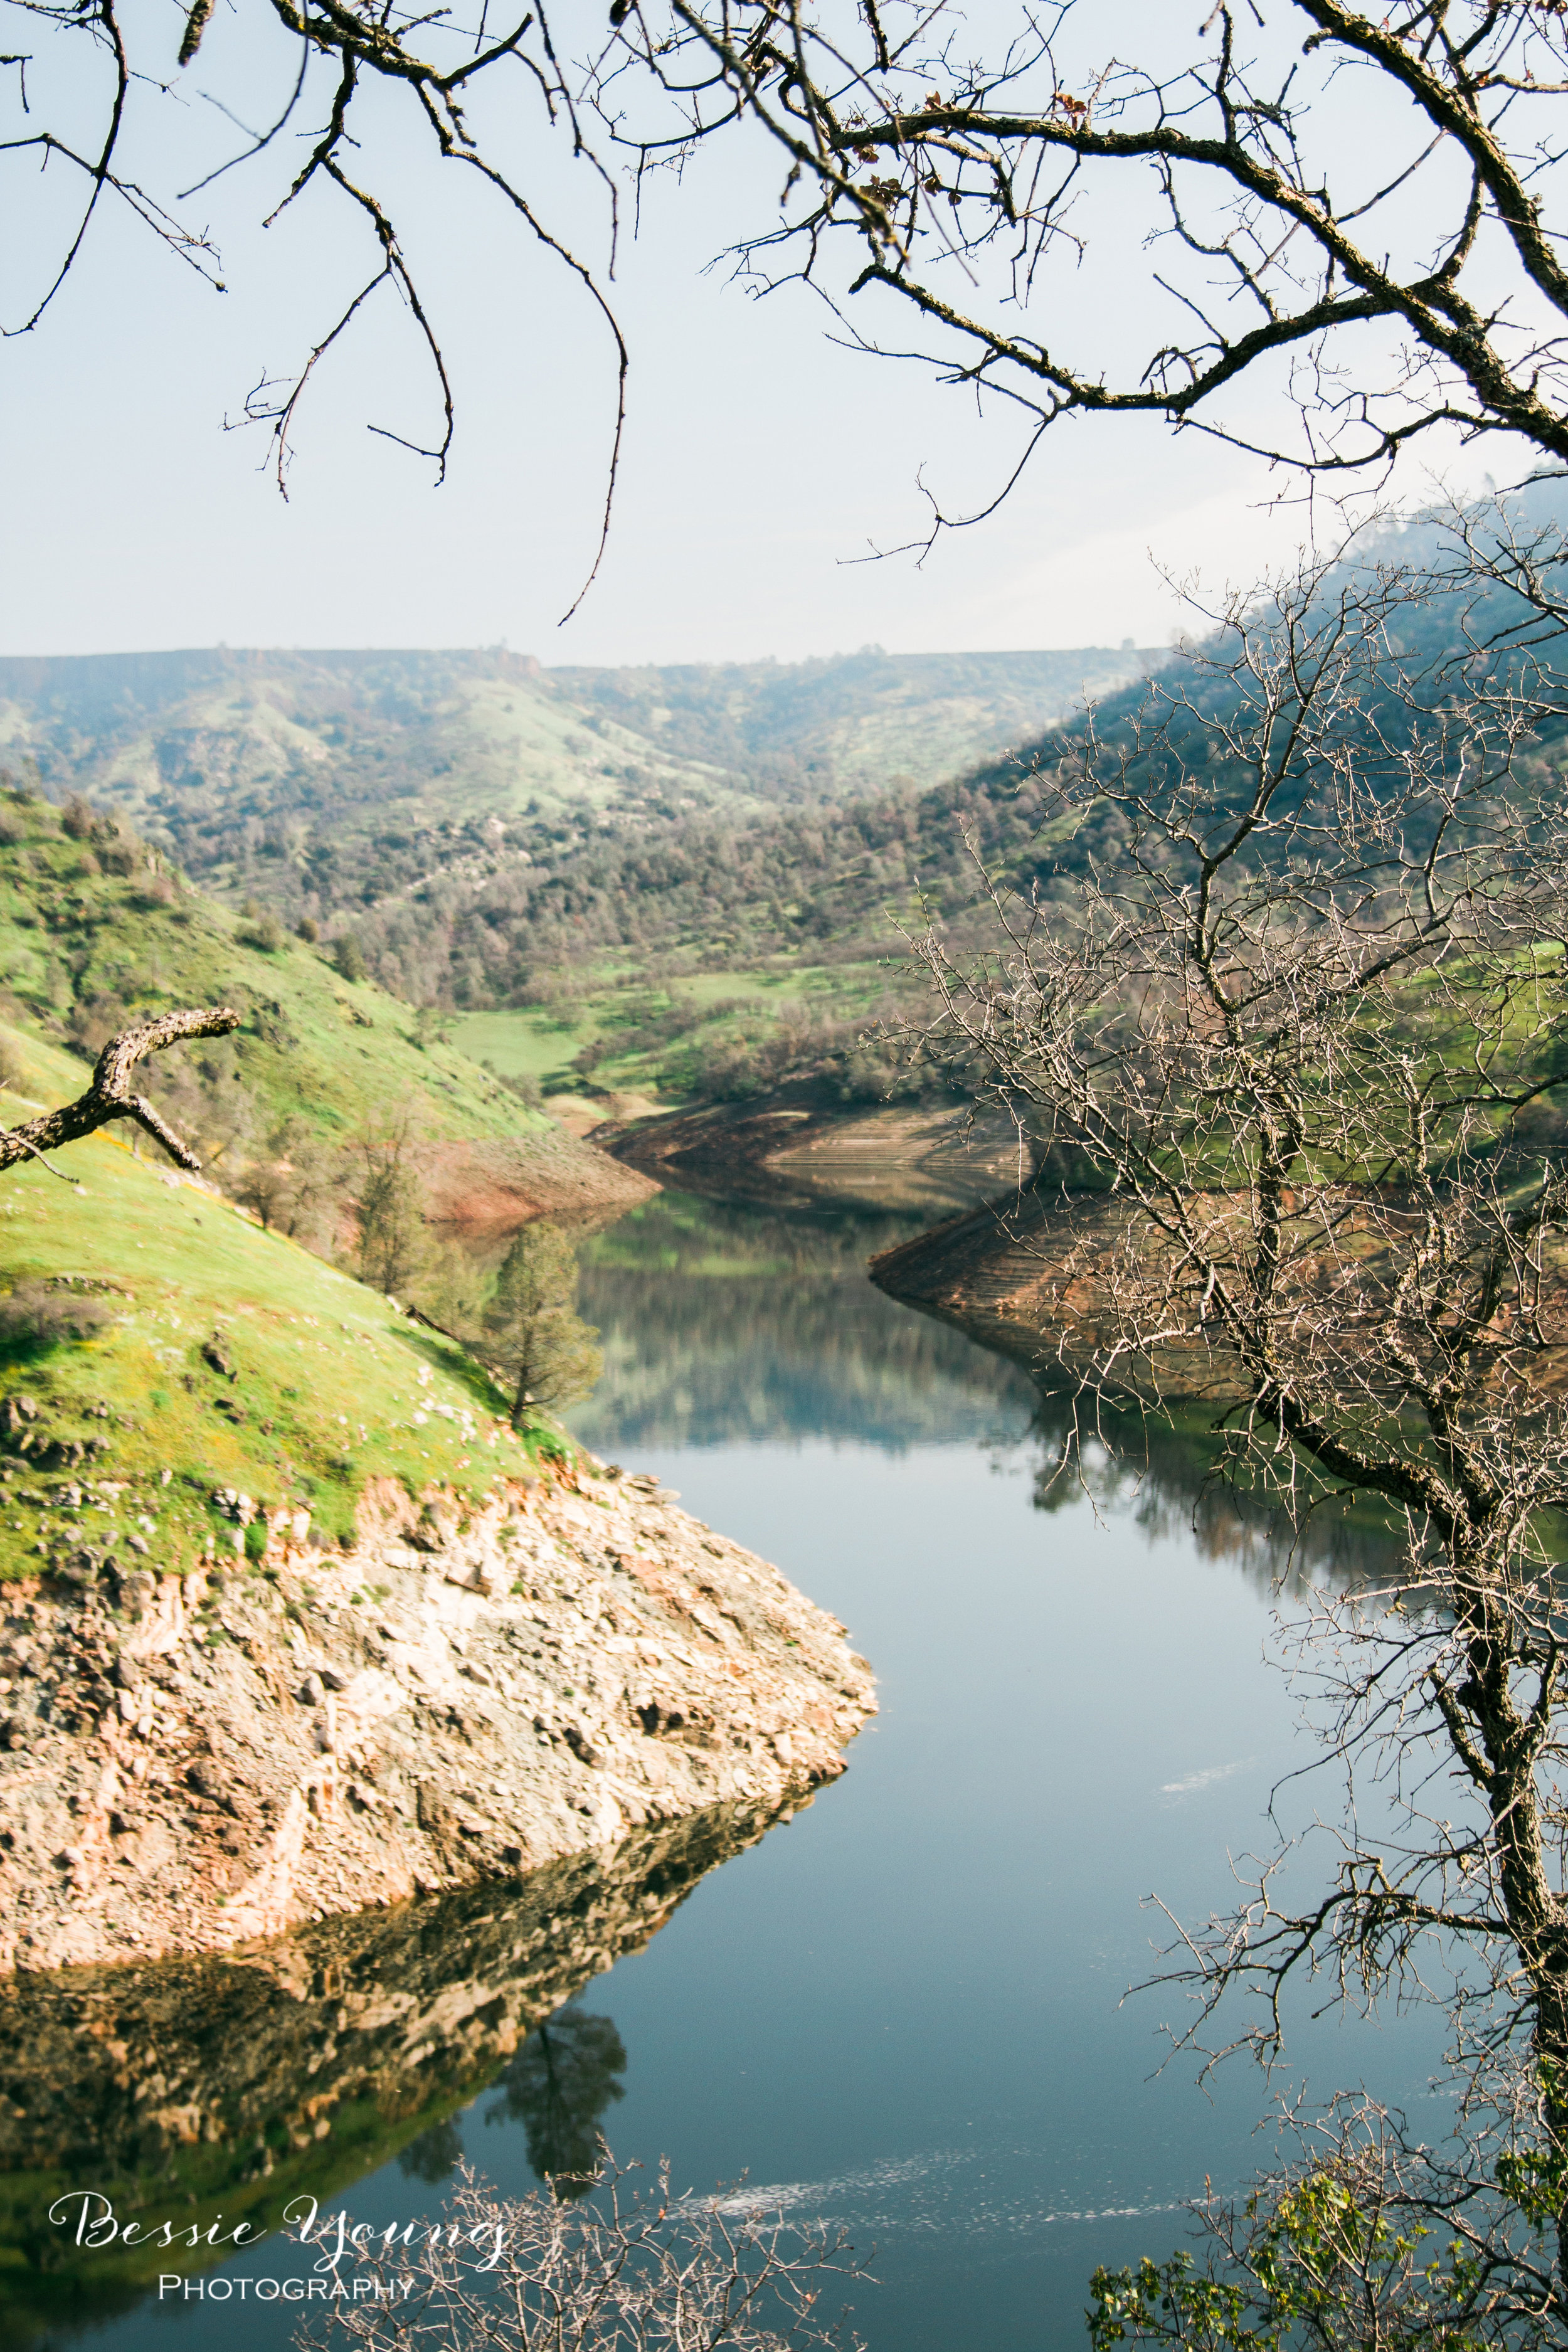
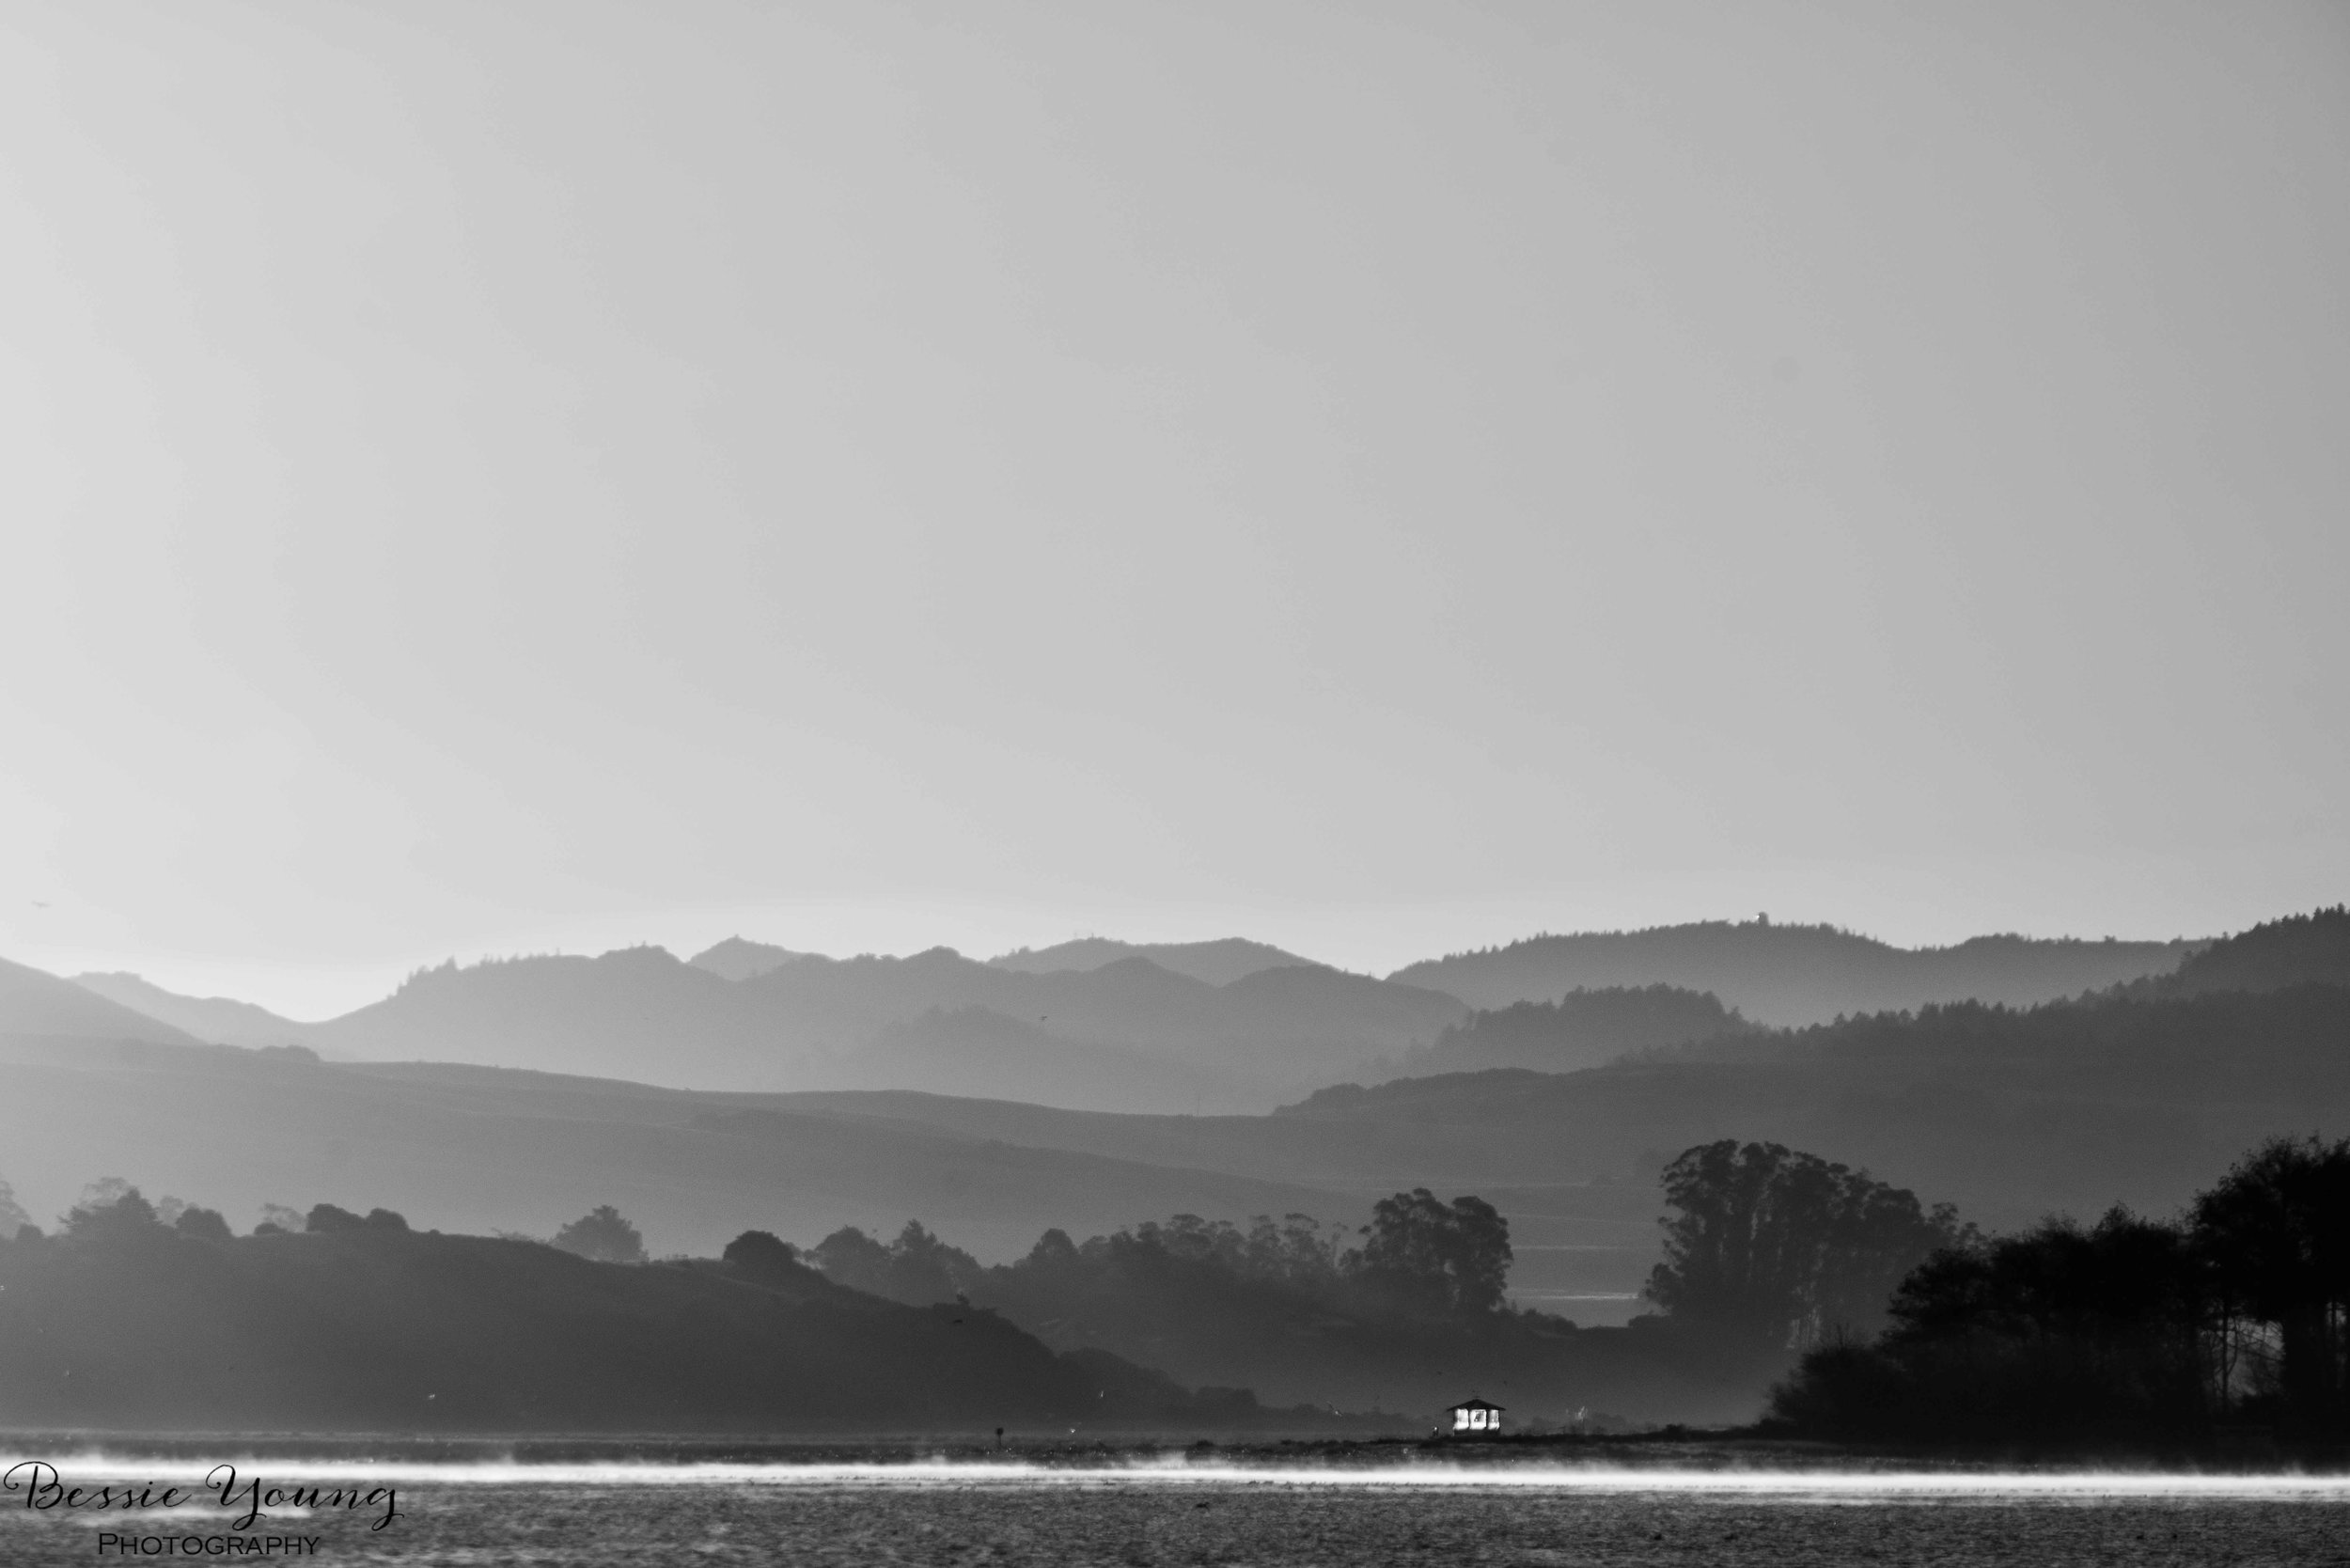
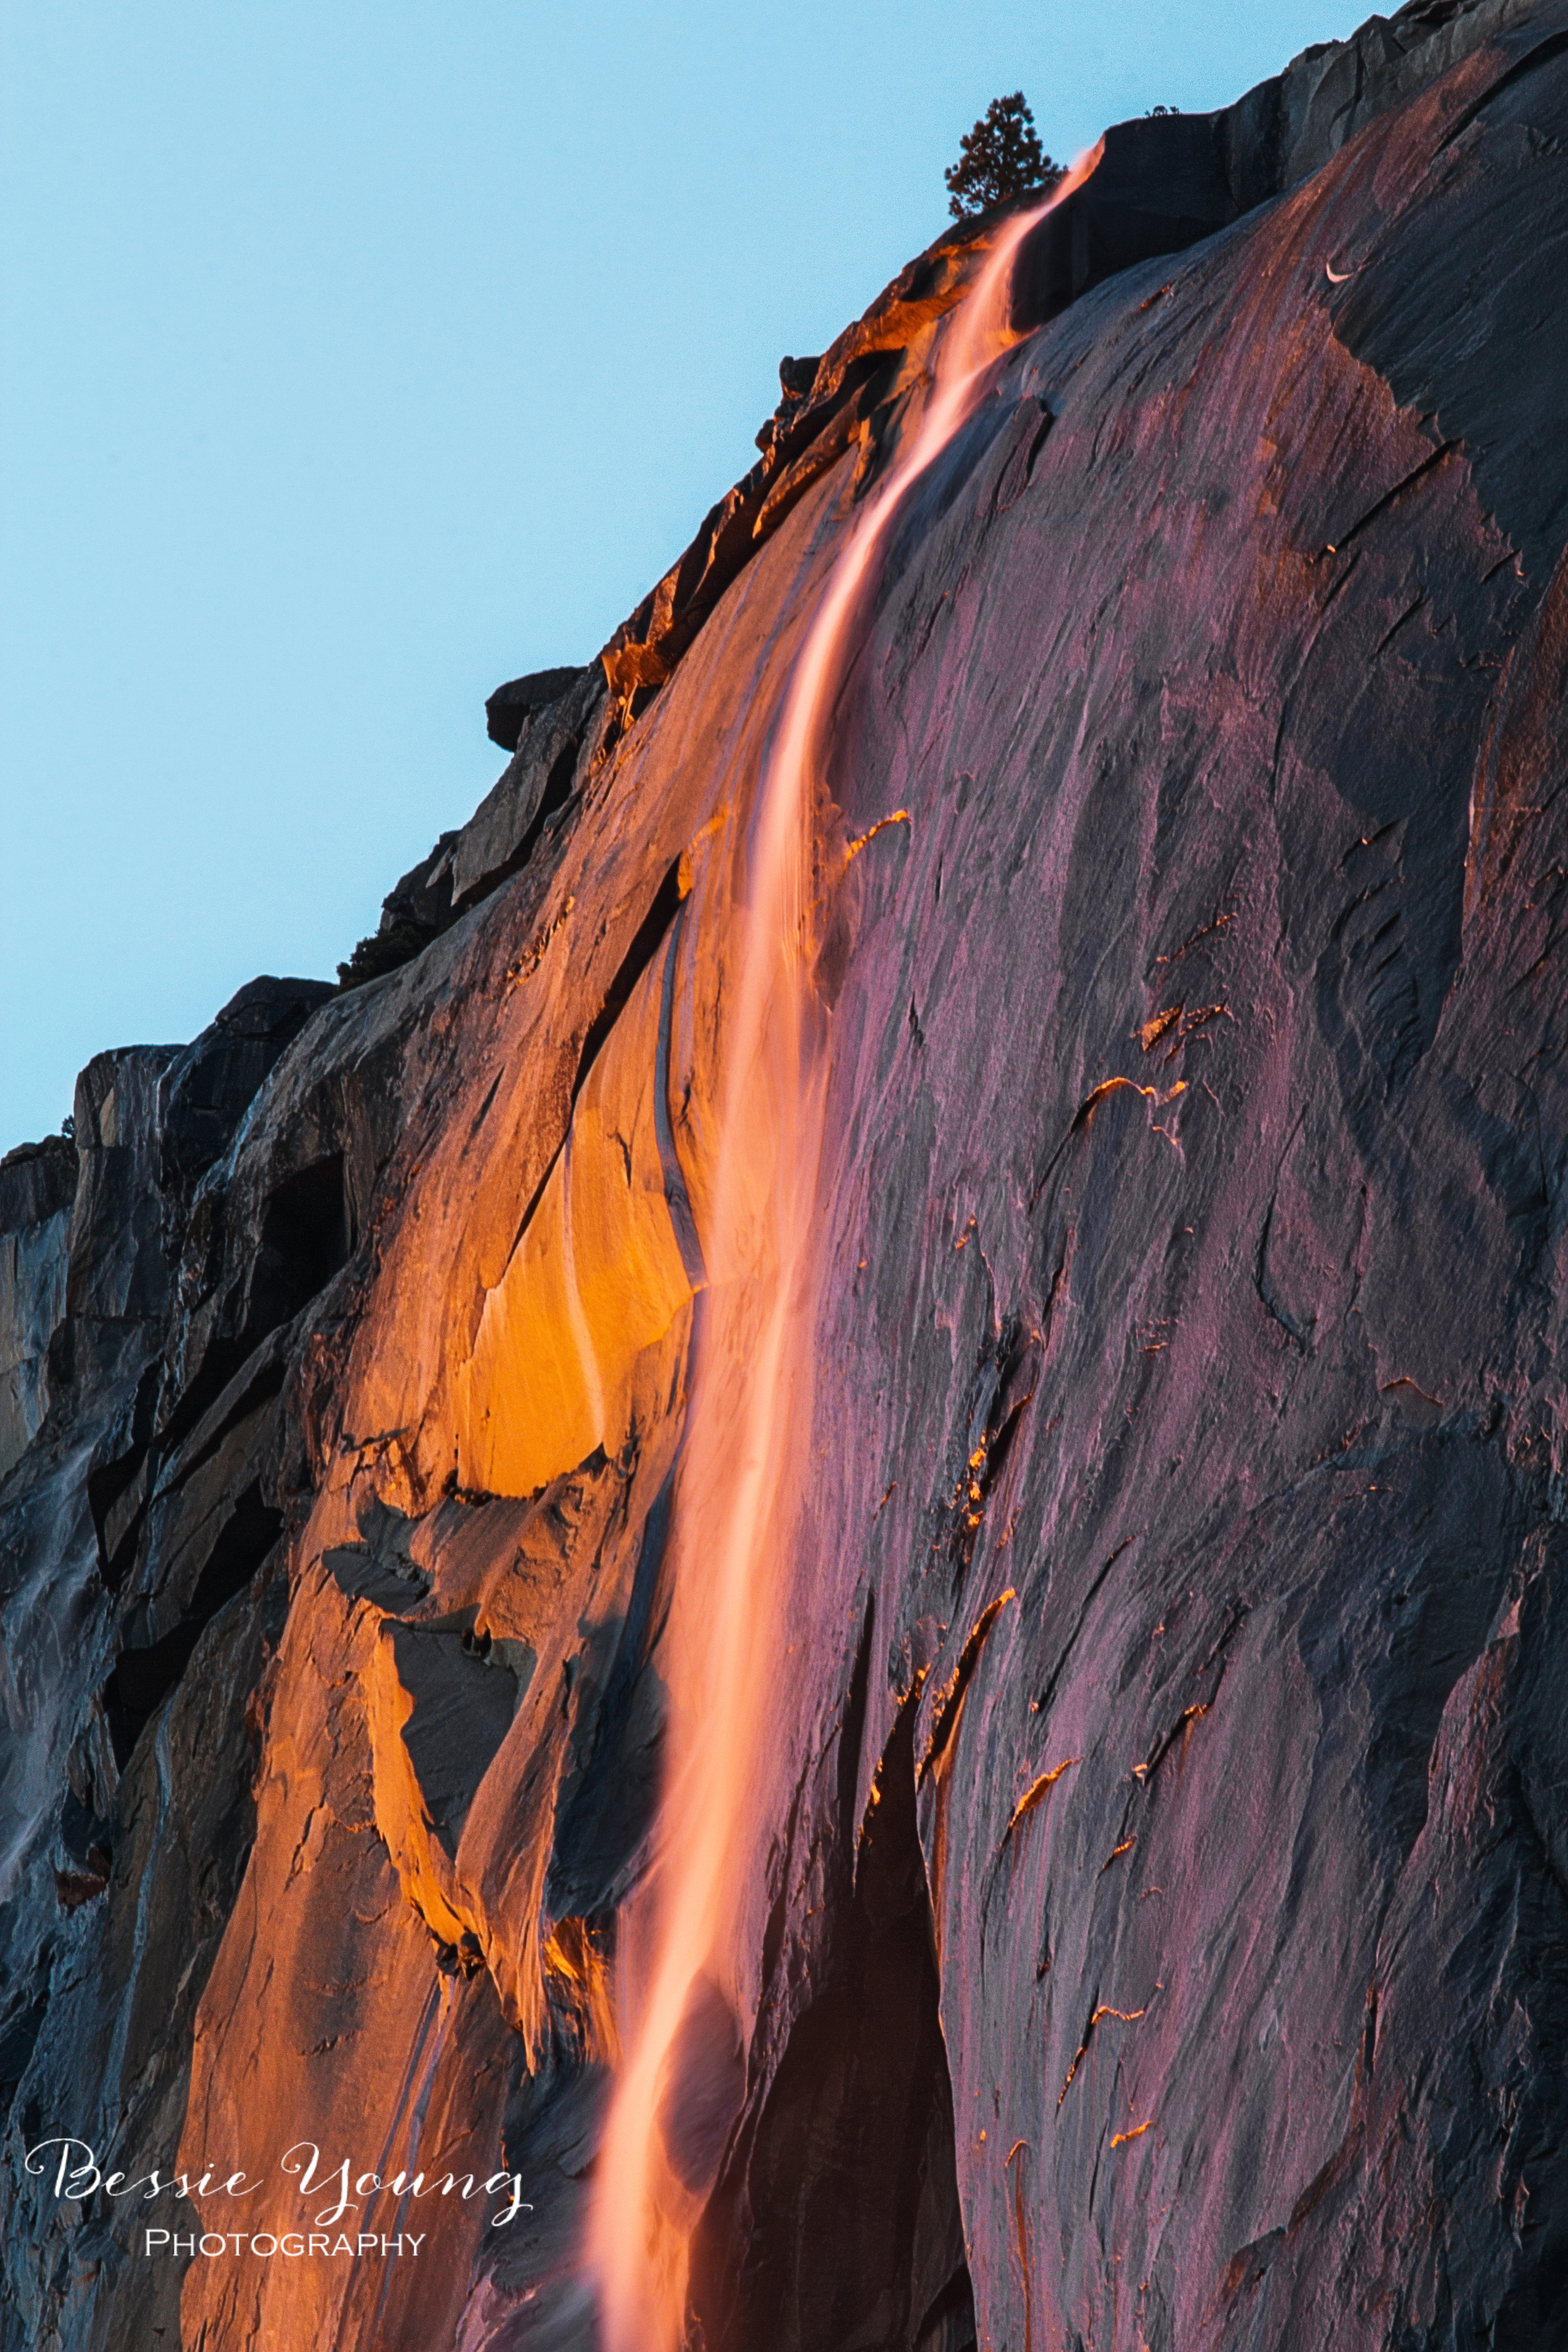
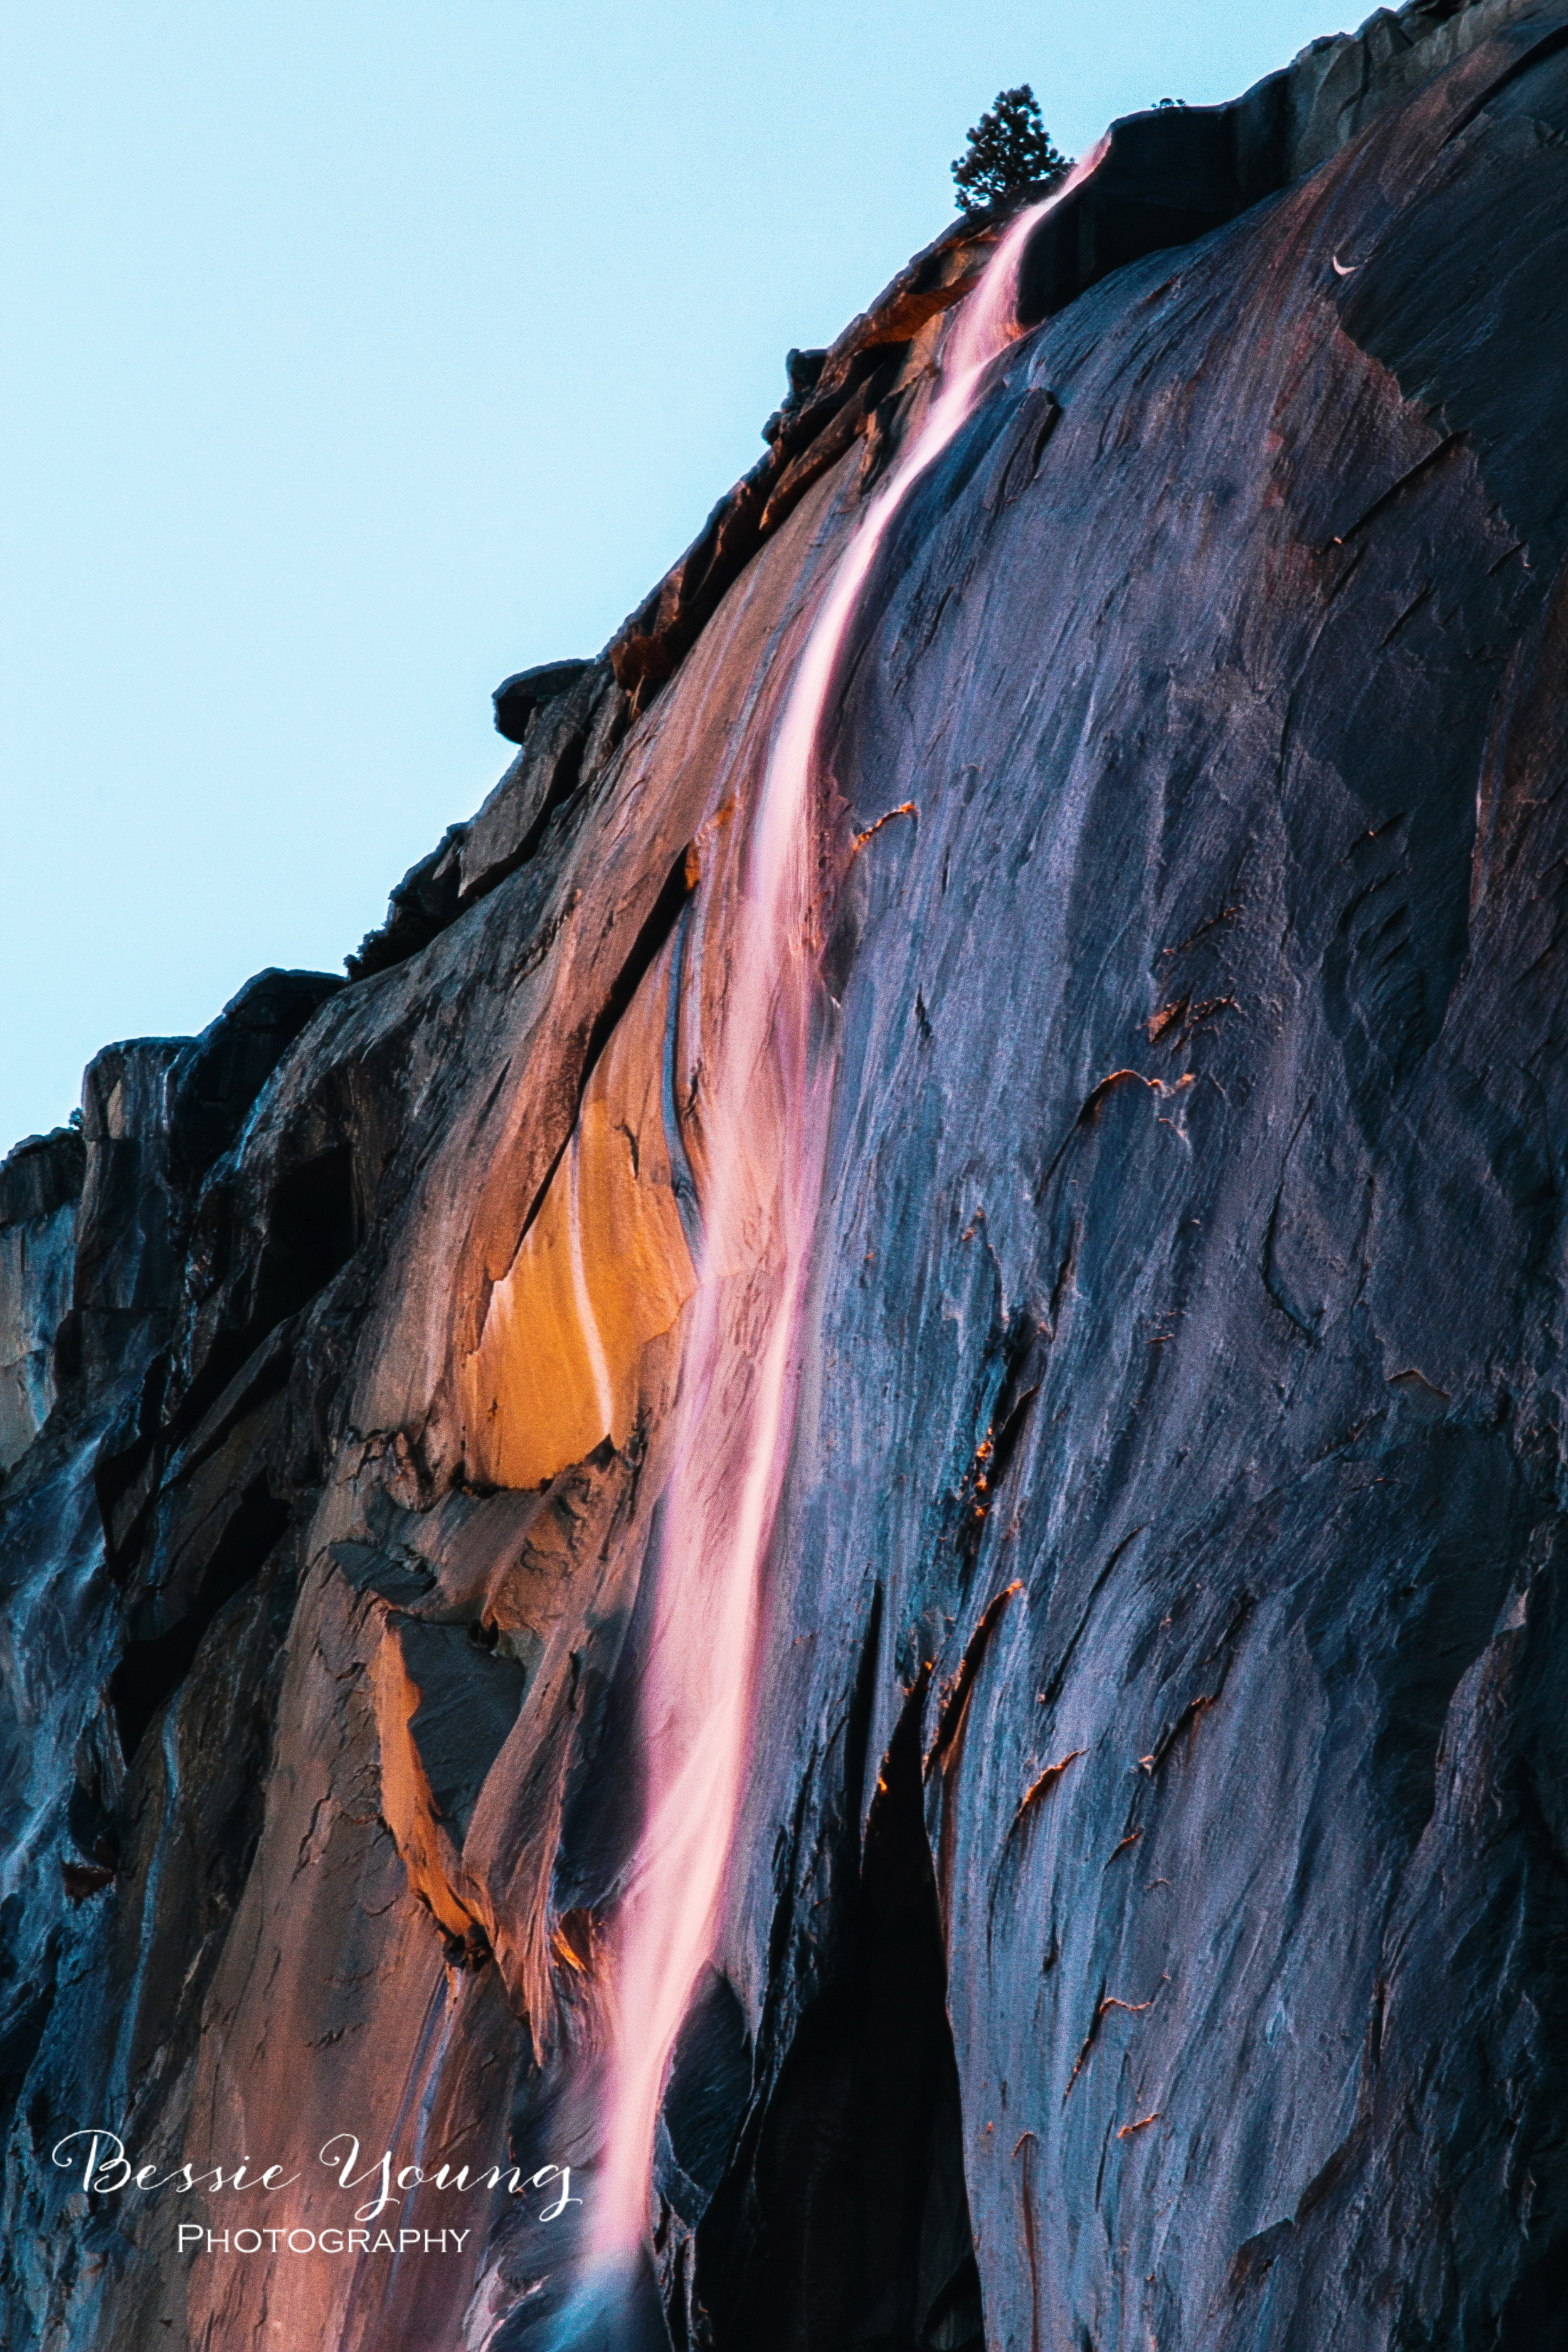
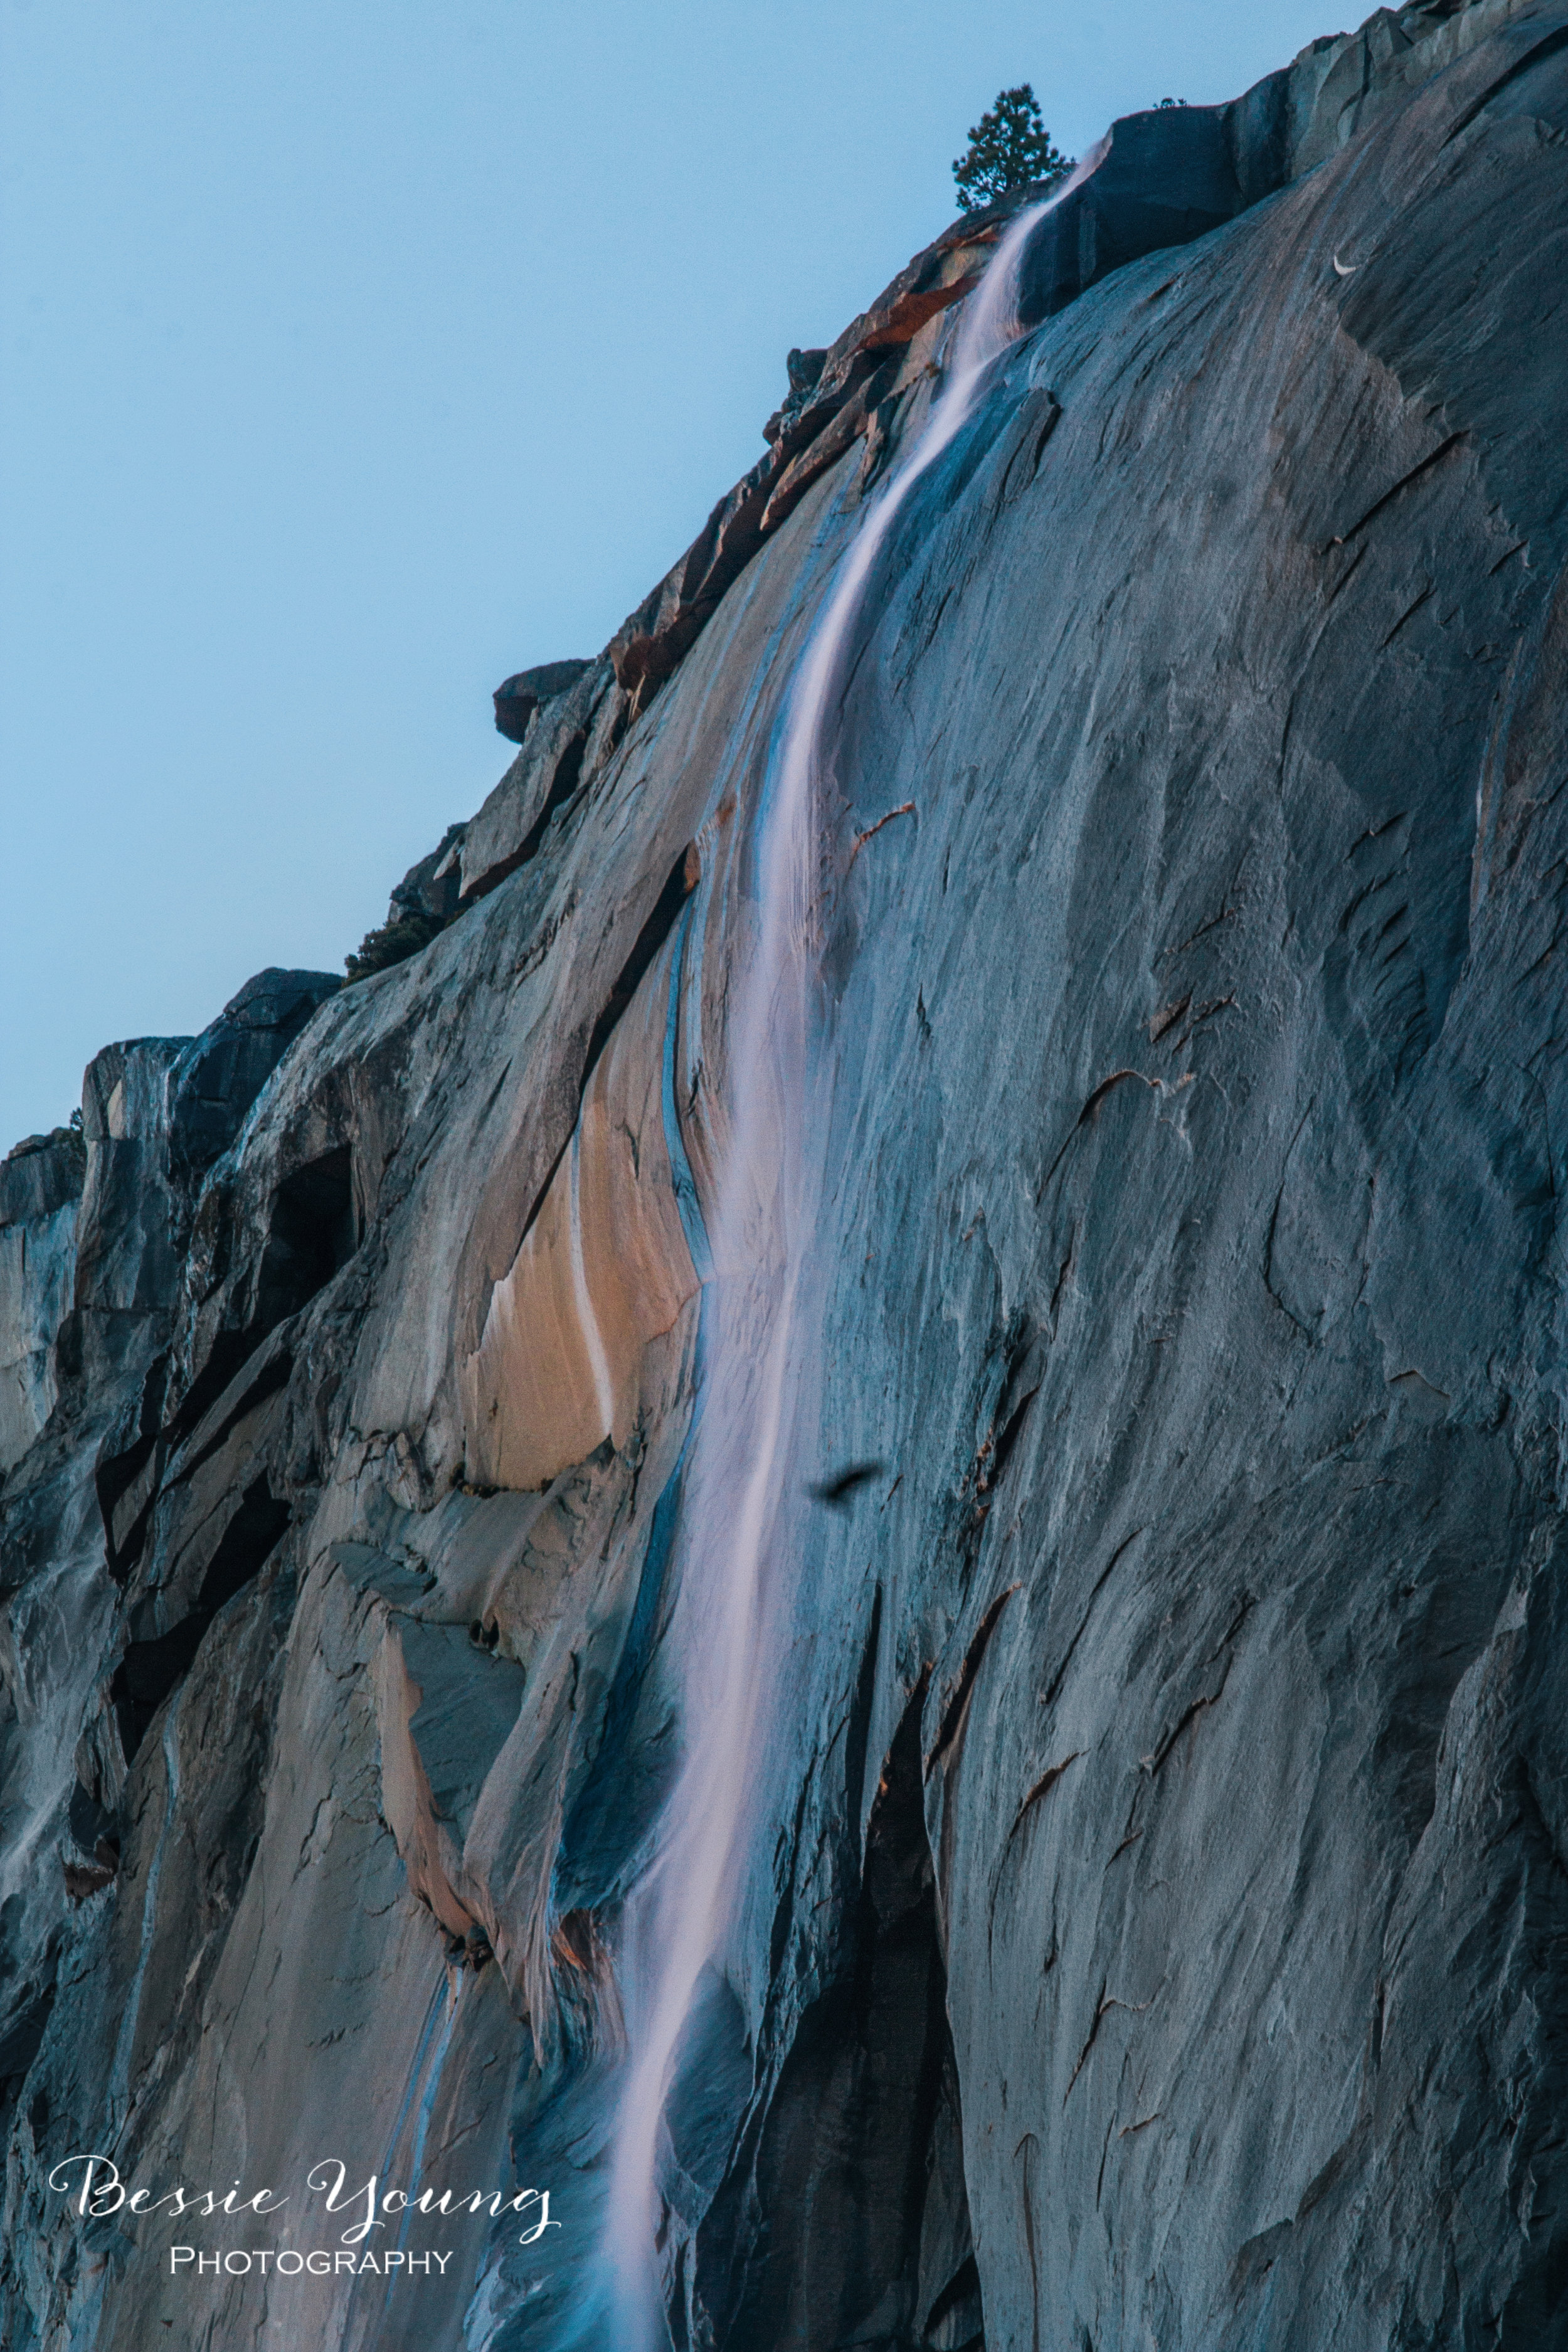
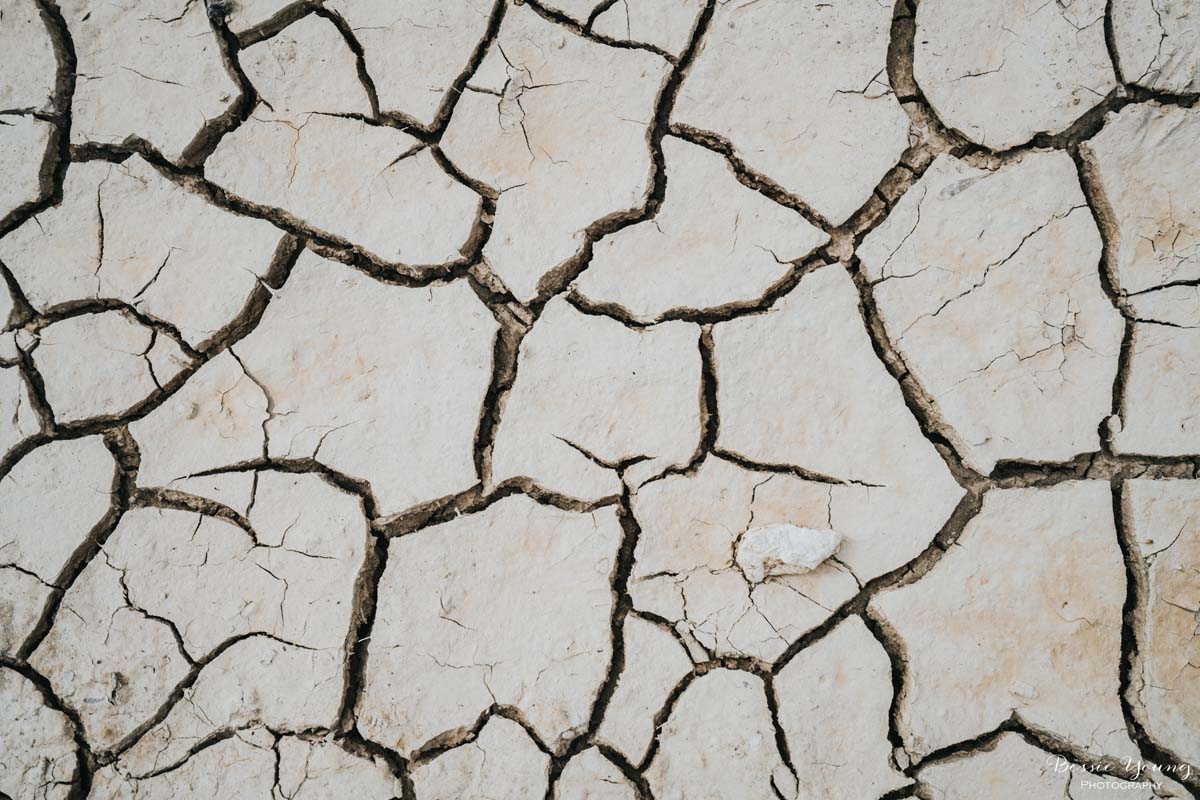
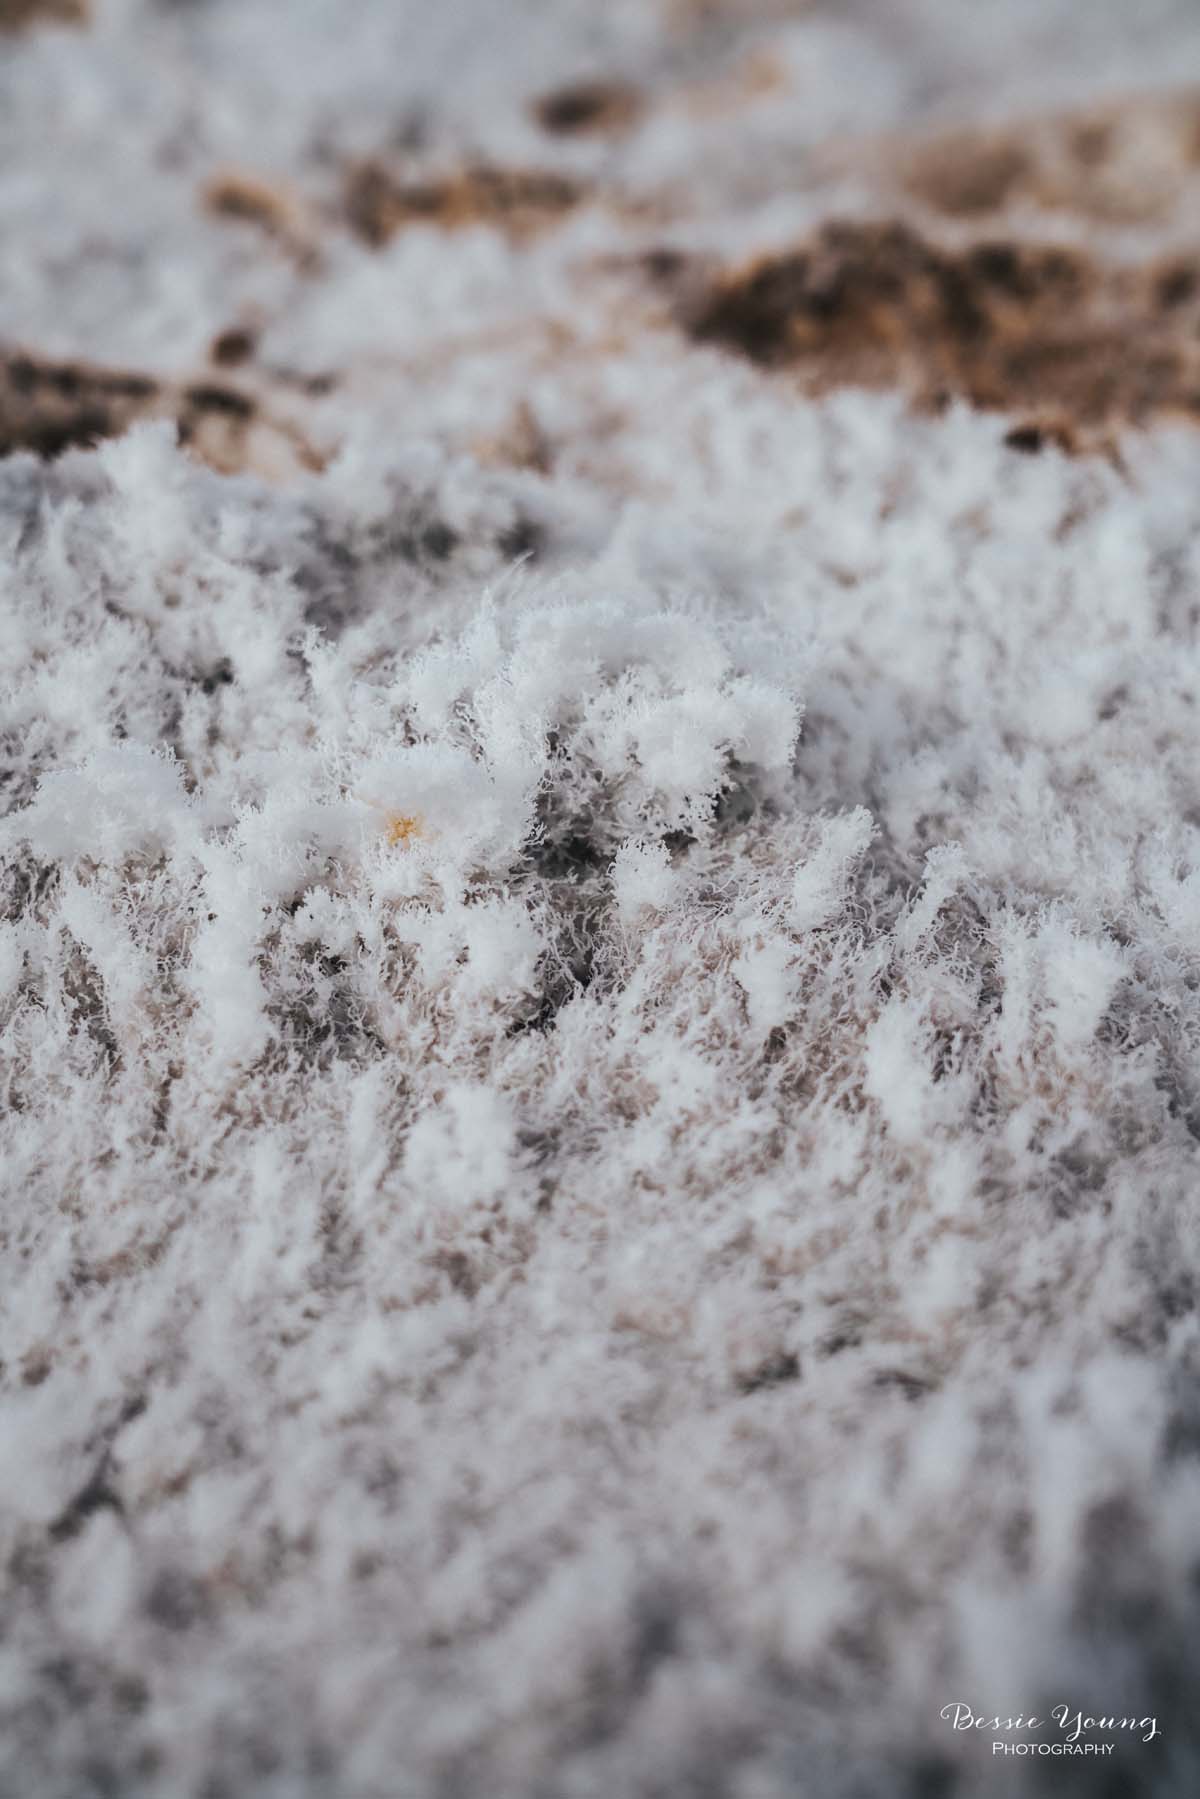
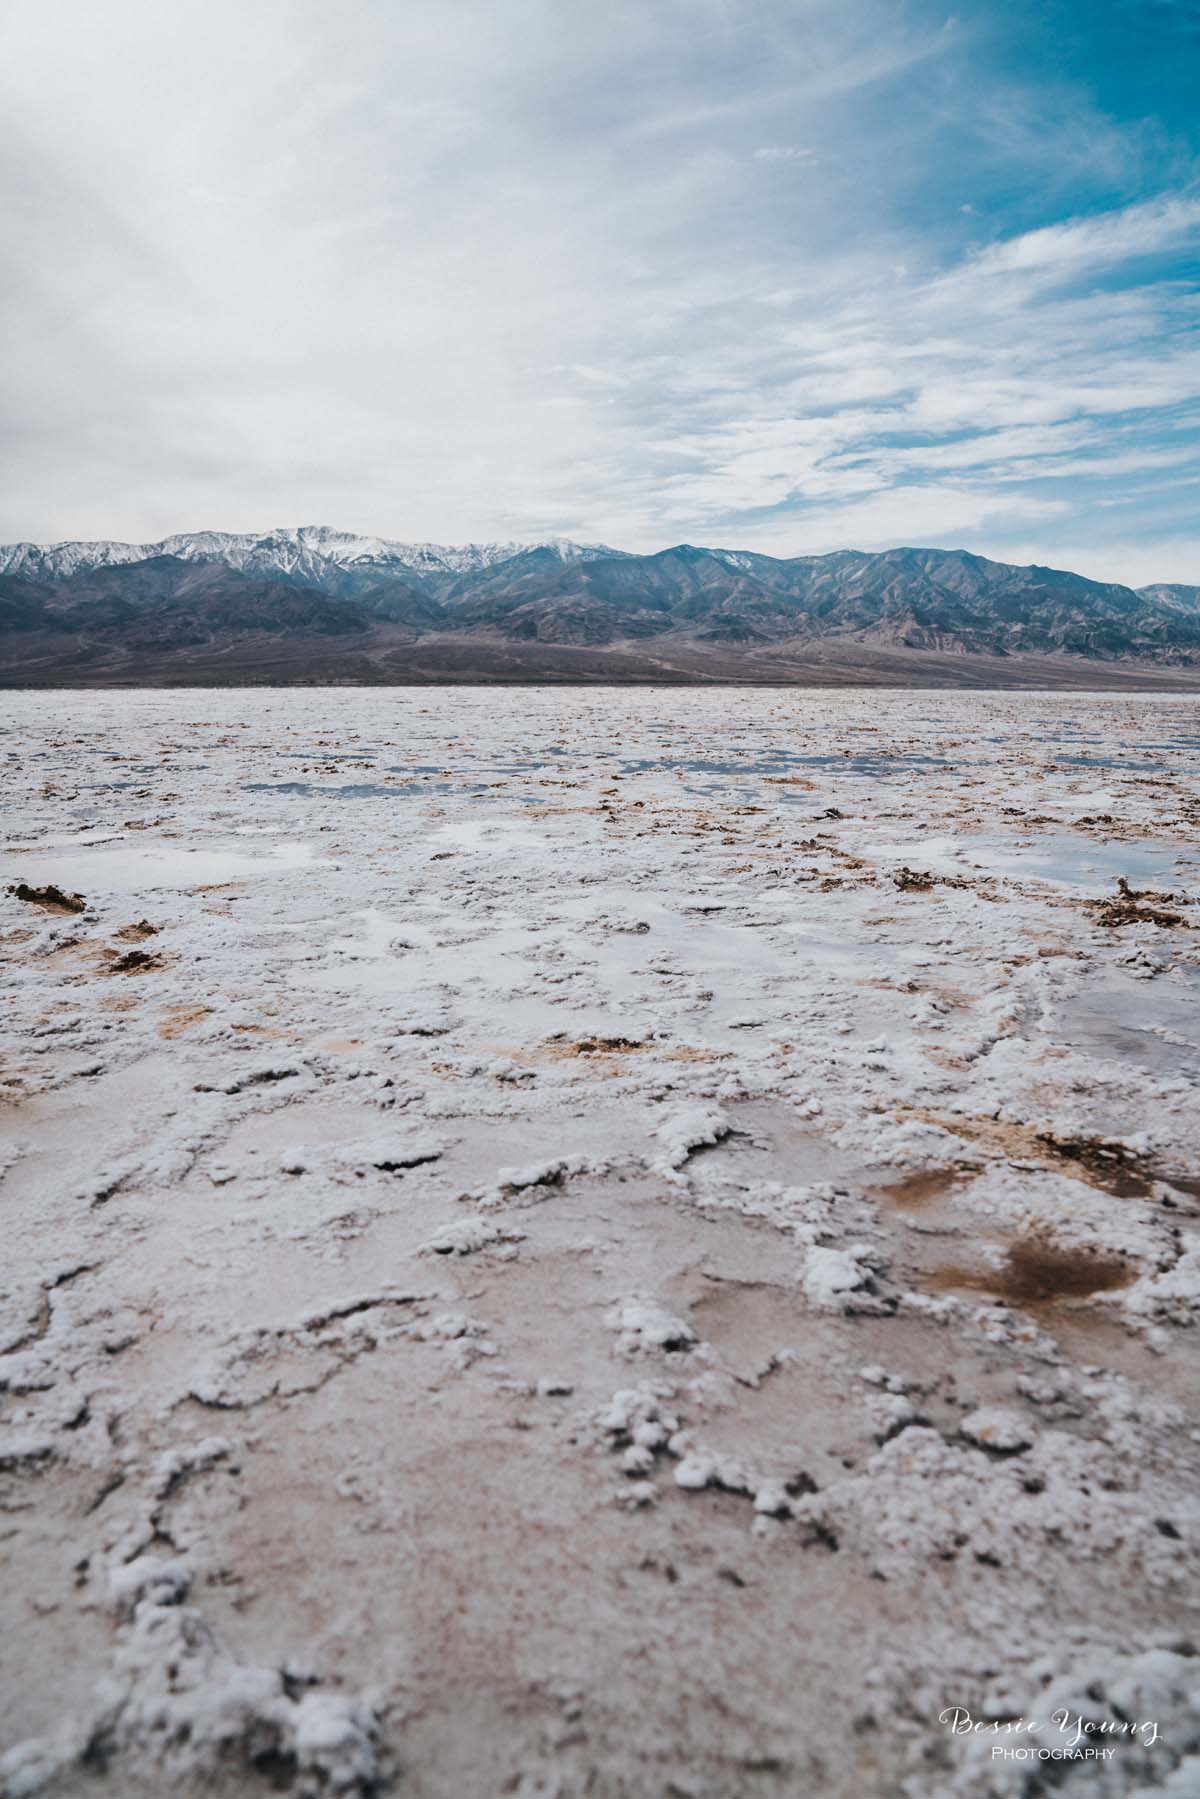
The desert has water in it....

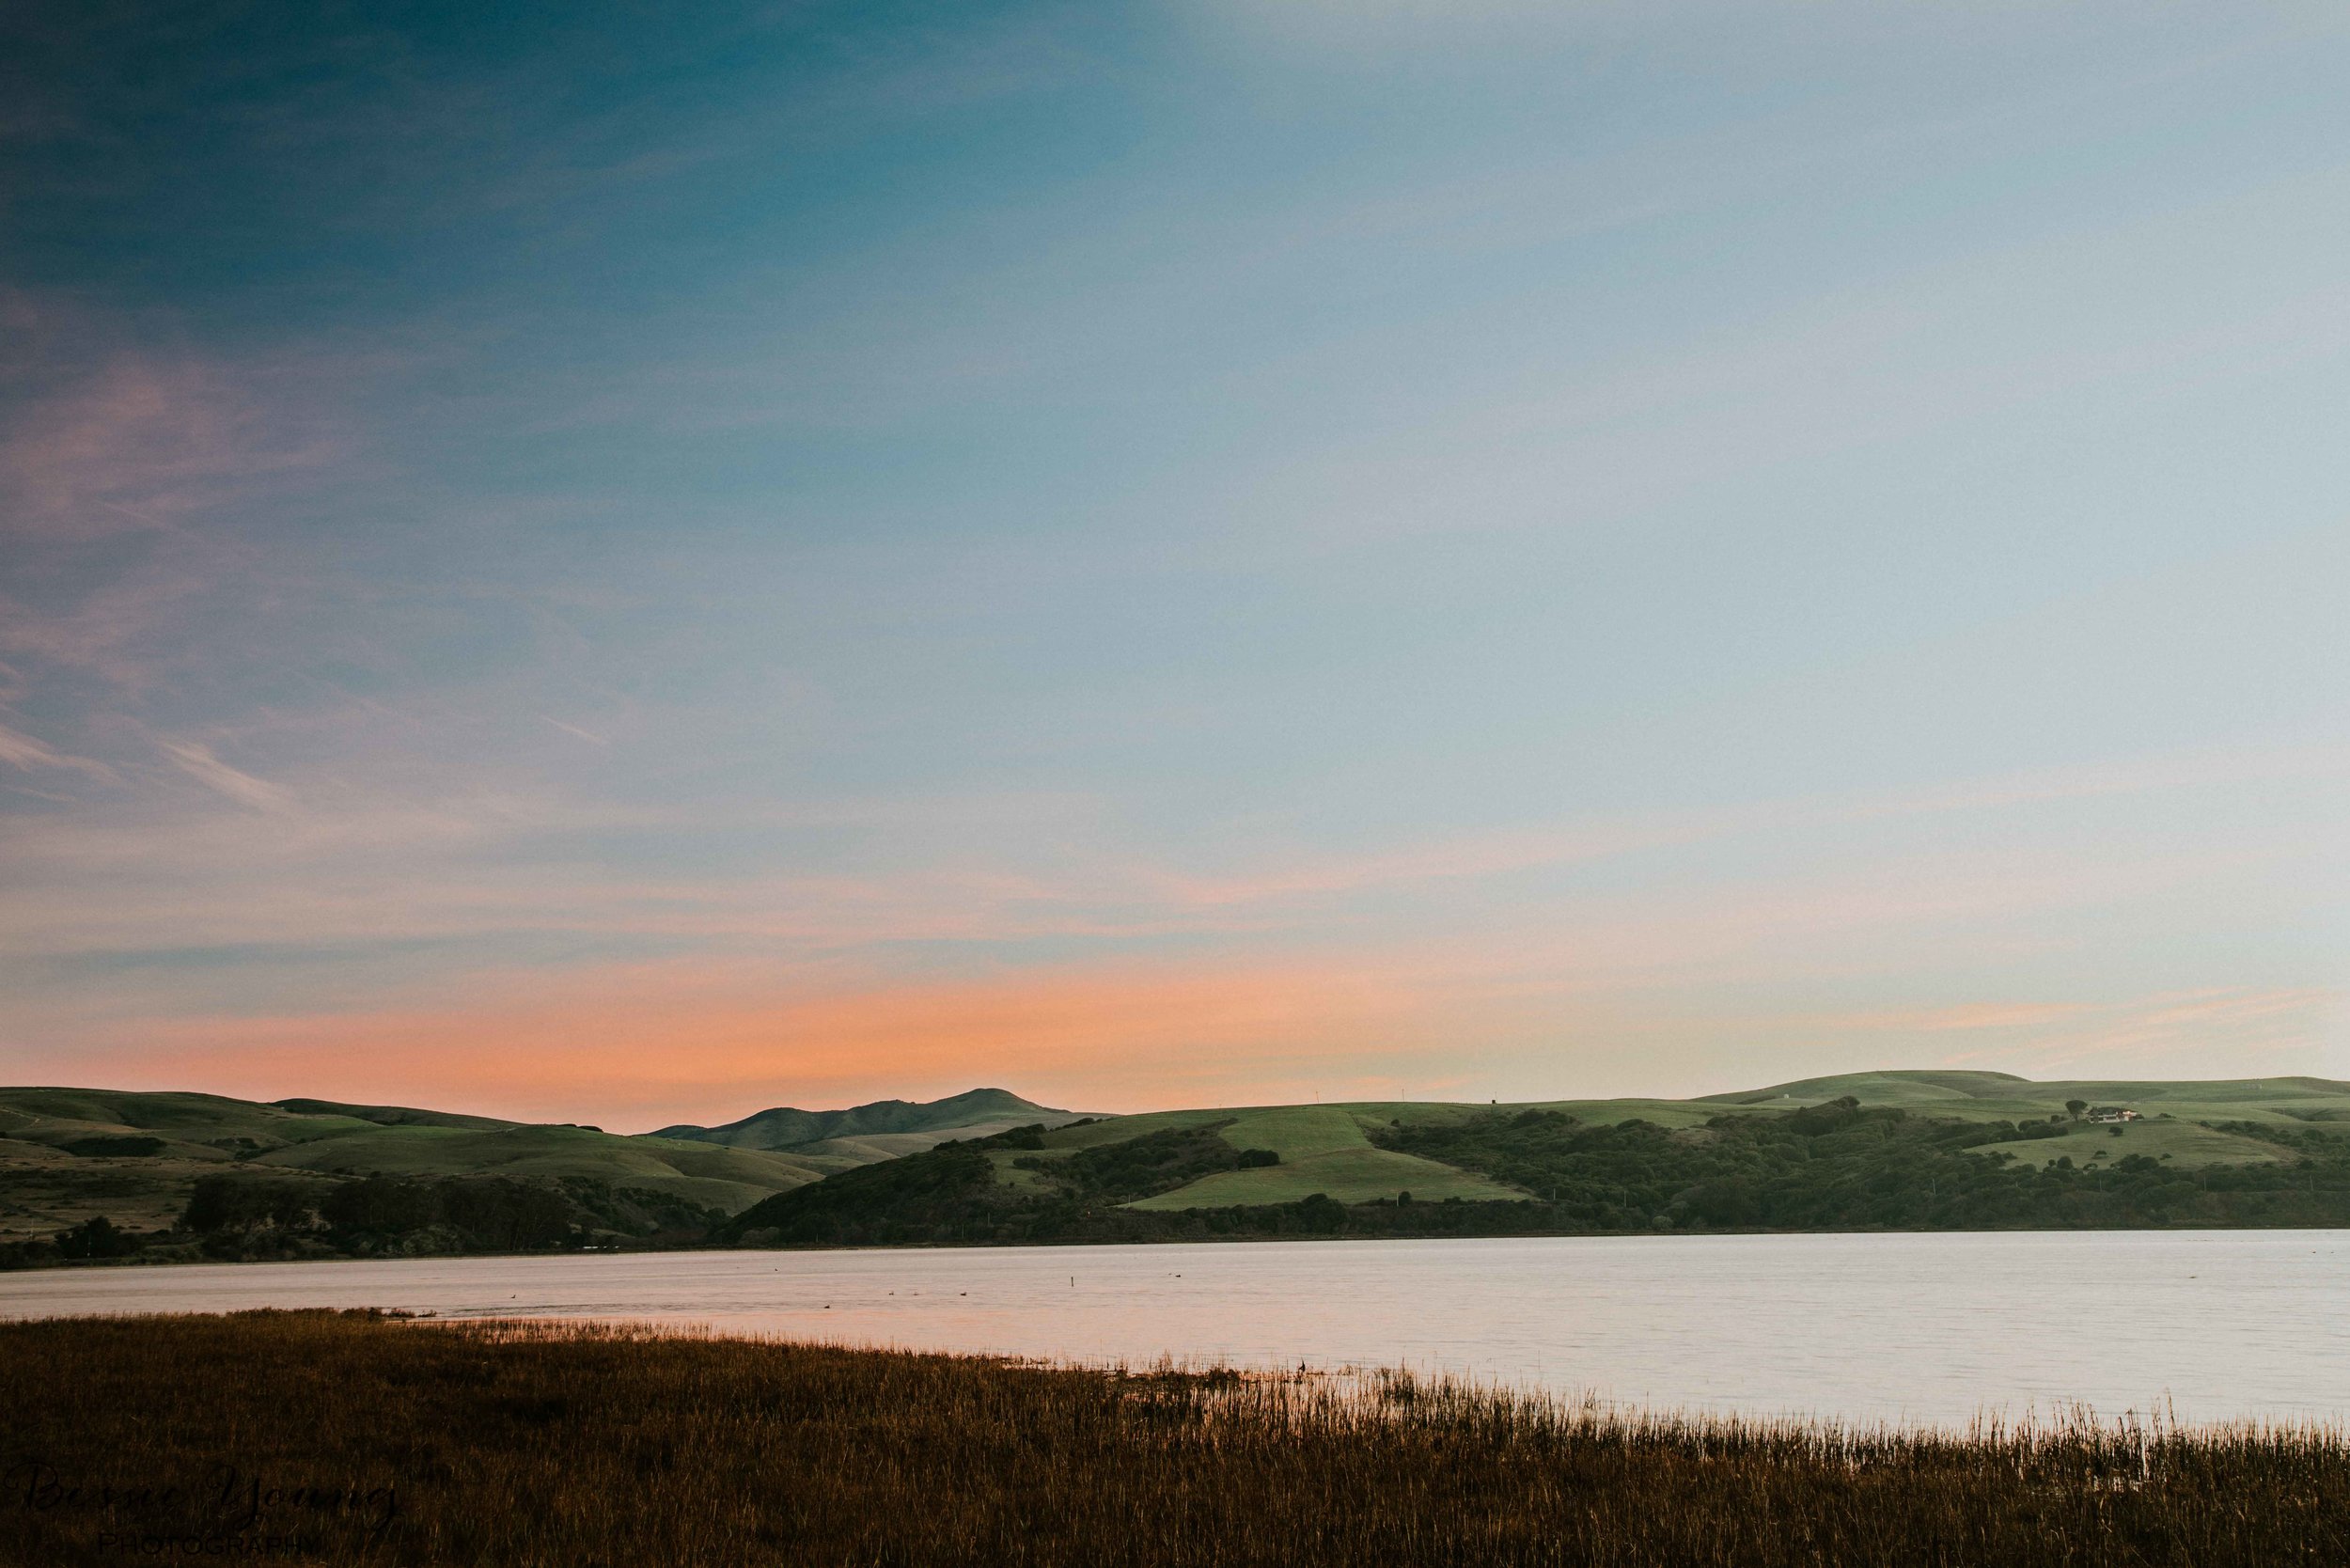
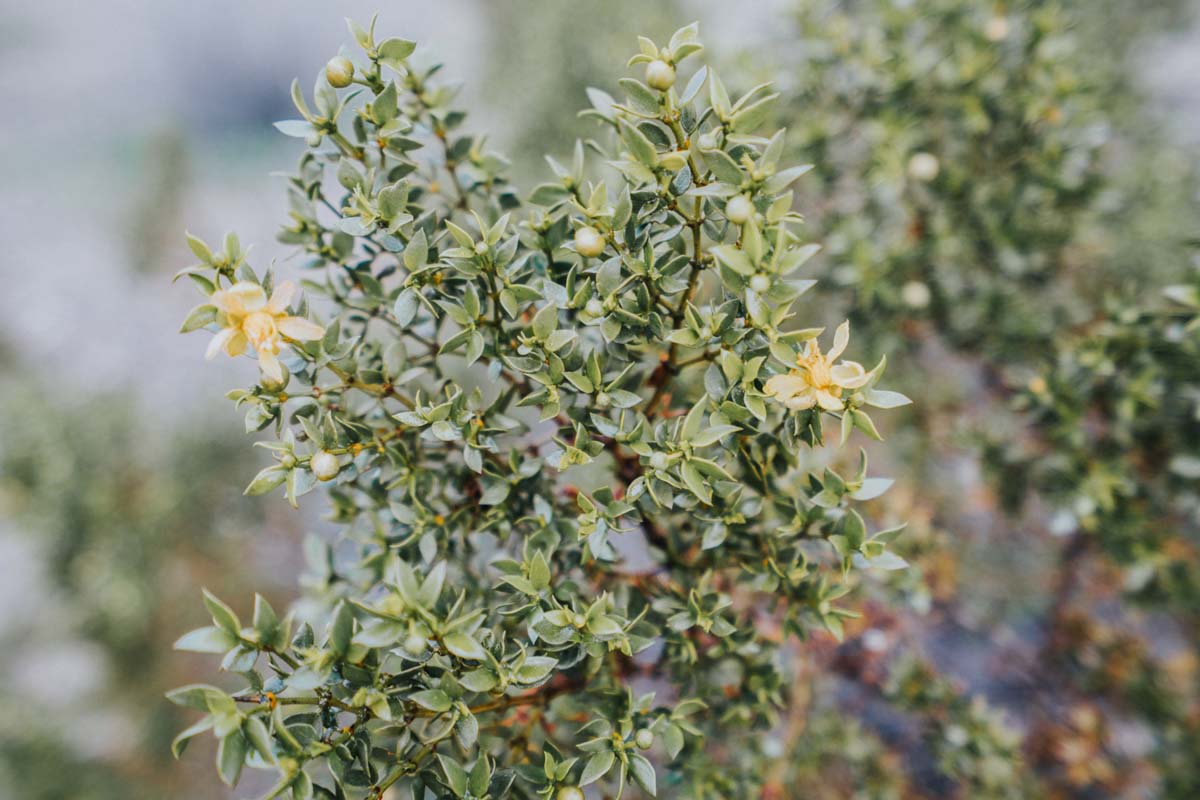
Wait... what?!!! The desert has water in it? Yes, you read that right. When I read this I just had to see it for myself. This meant last minute scheduling for a fun adventure to Badwater Basin in Death Valley National Park, California. California has been having quite a bit of rain this year which has caused some amazing natural phenomenons such as water in the desert.

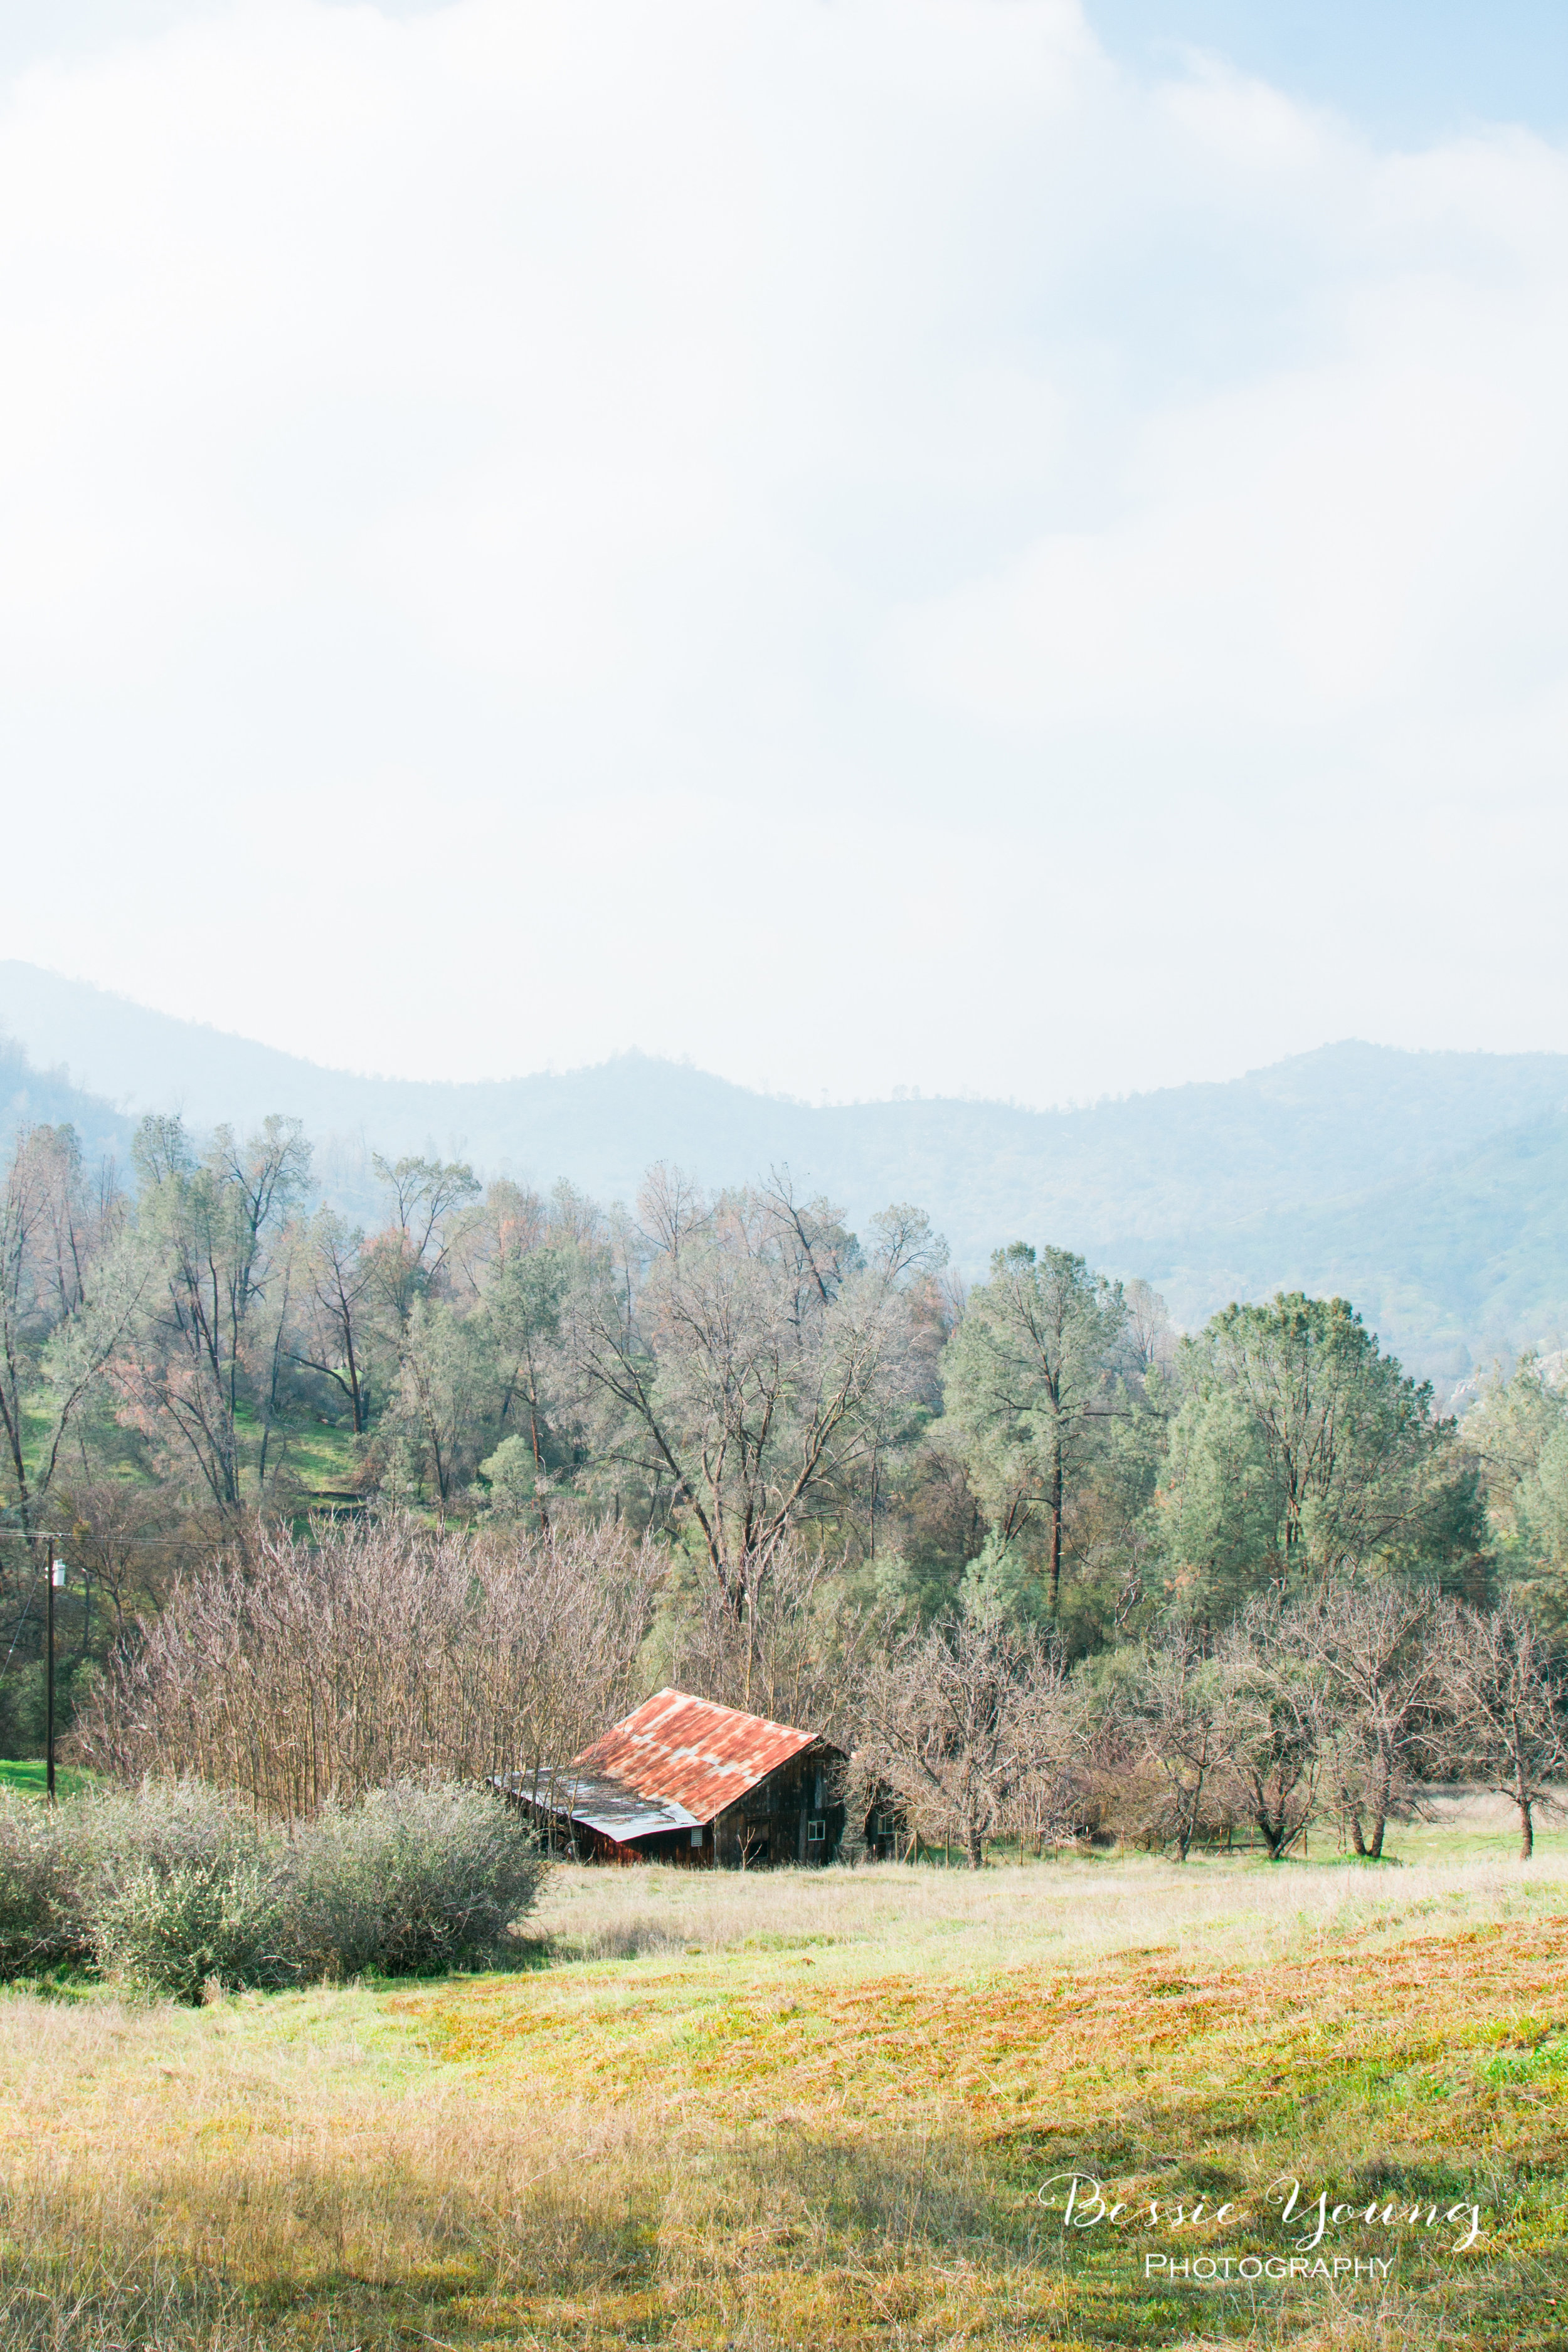
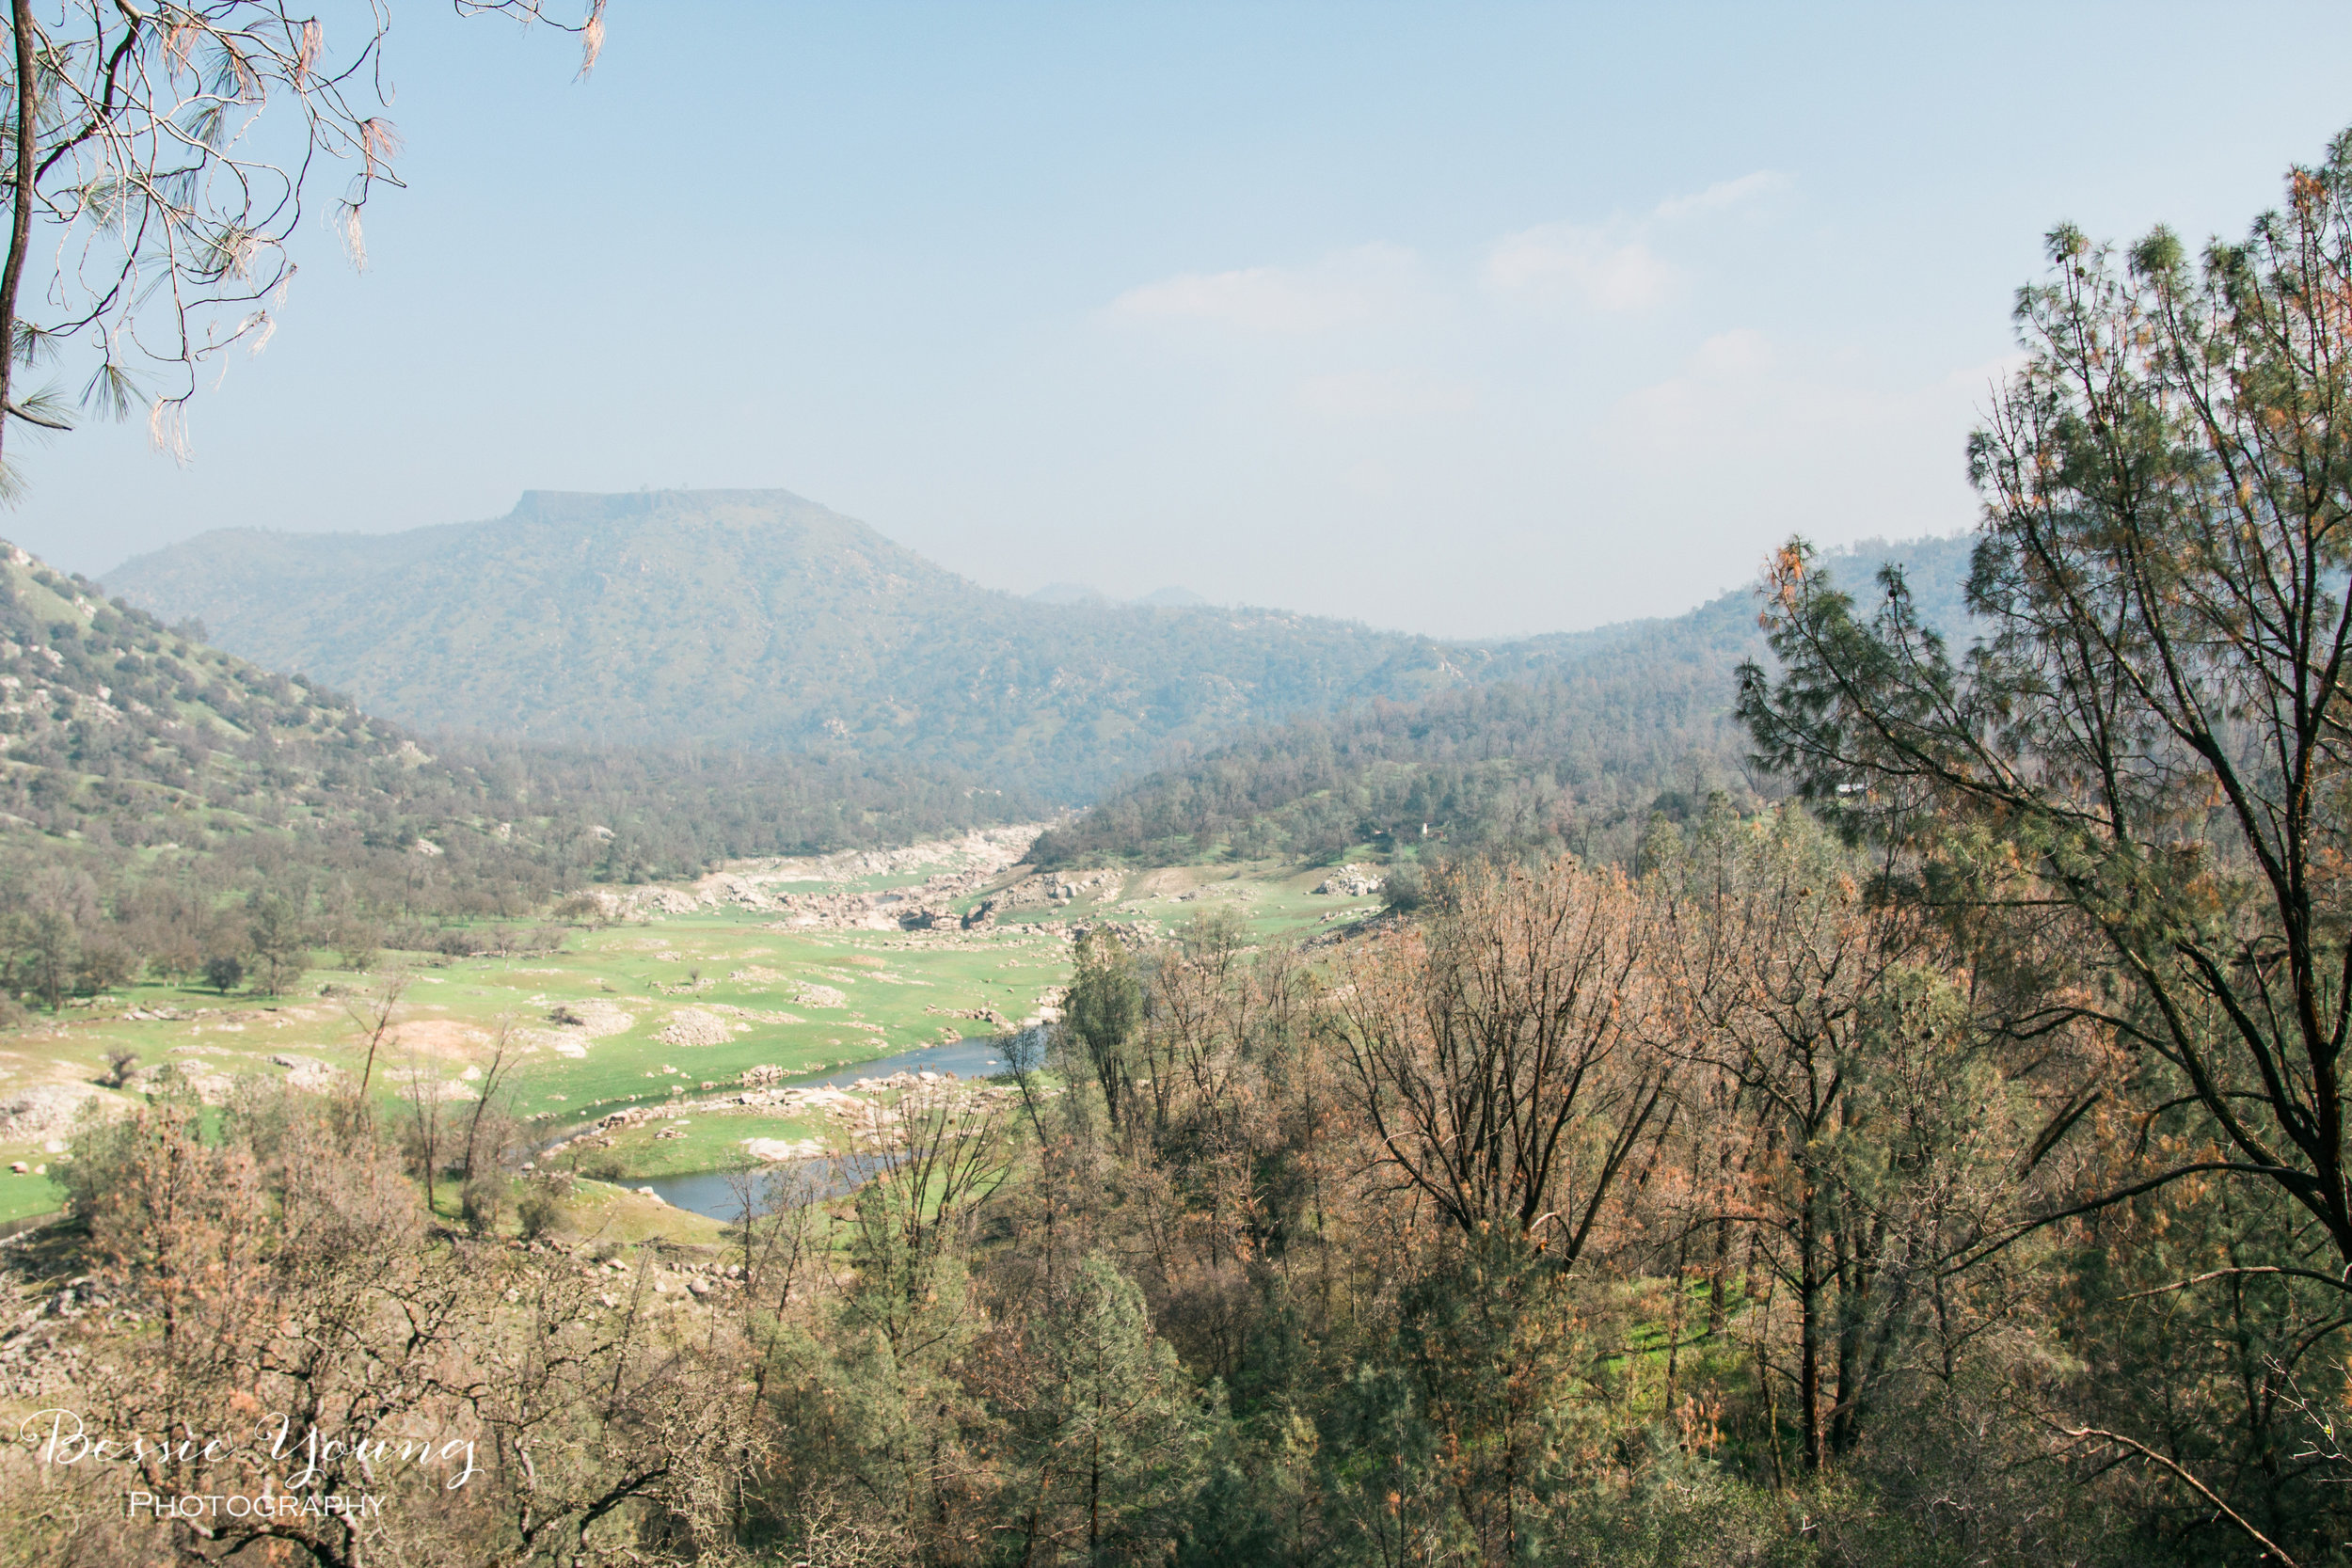
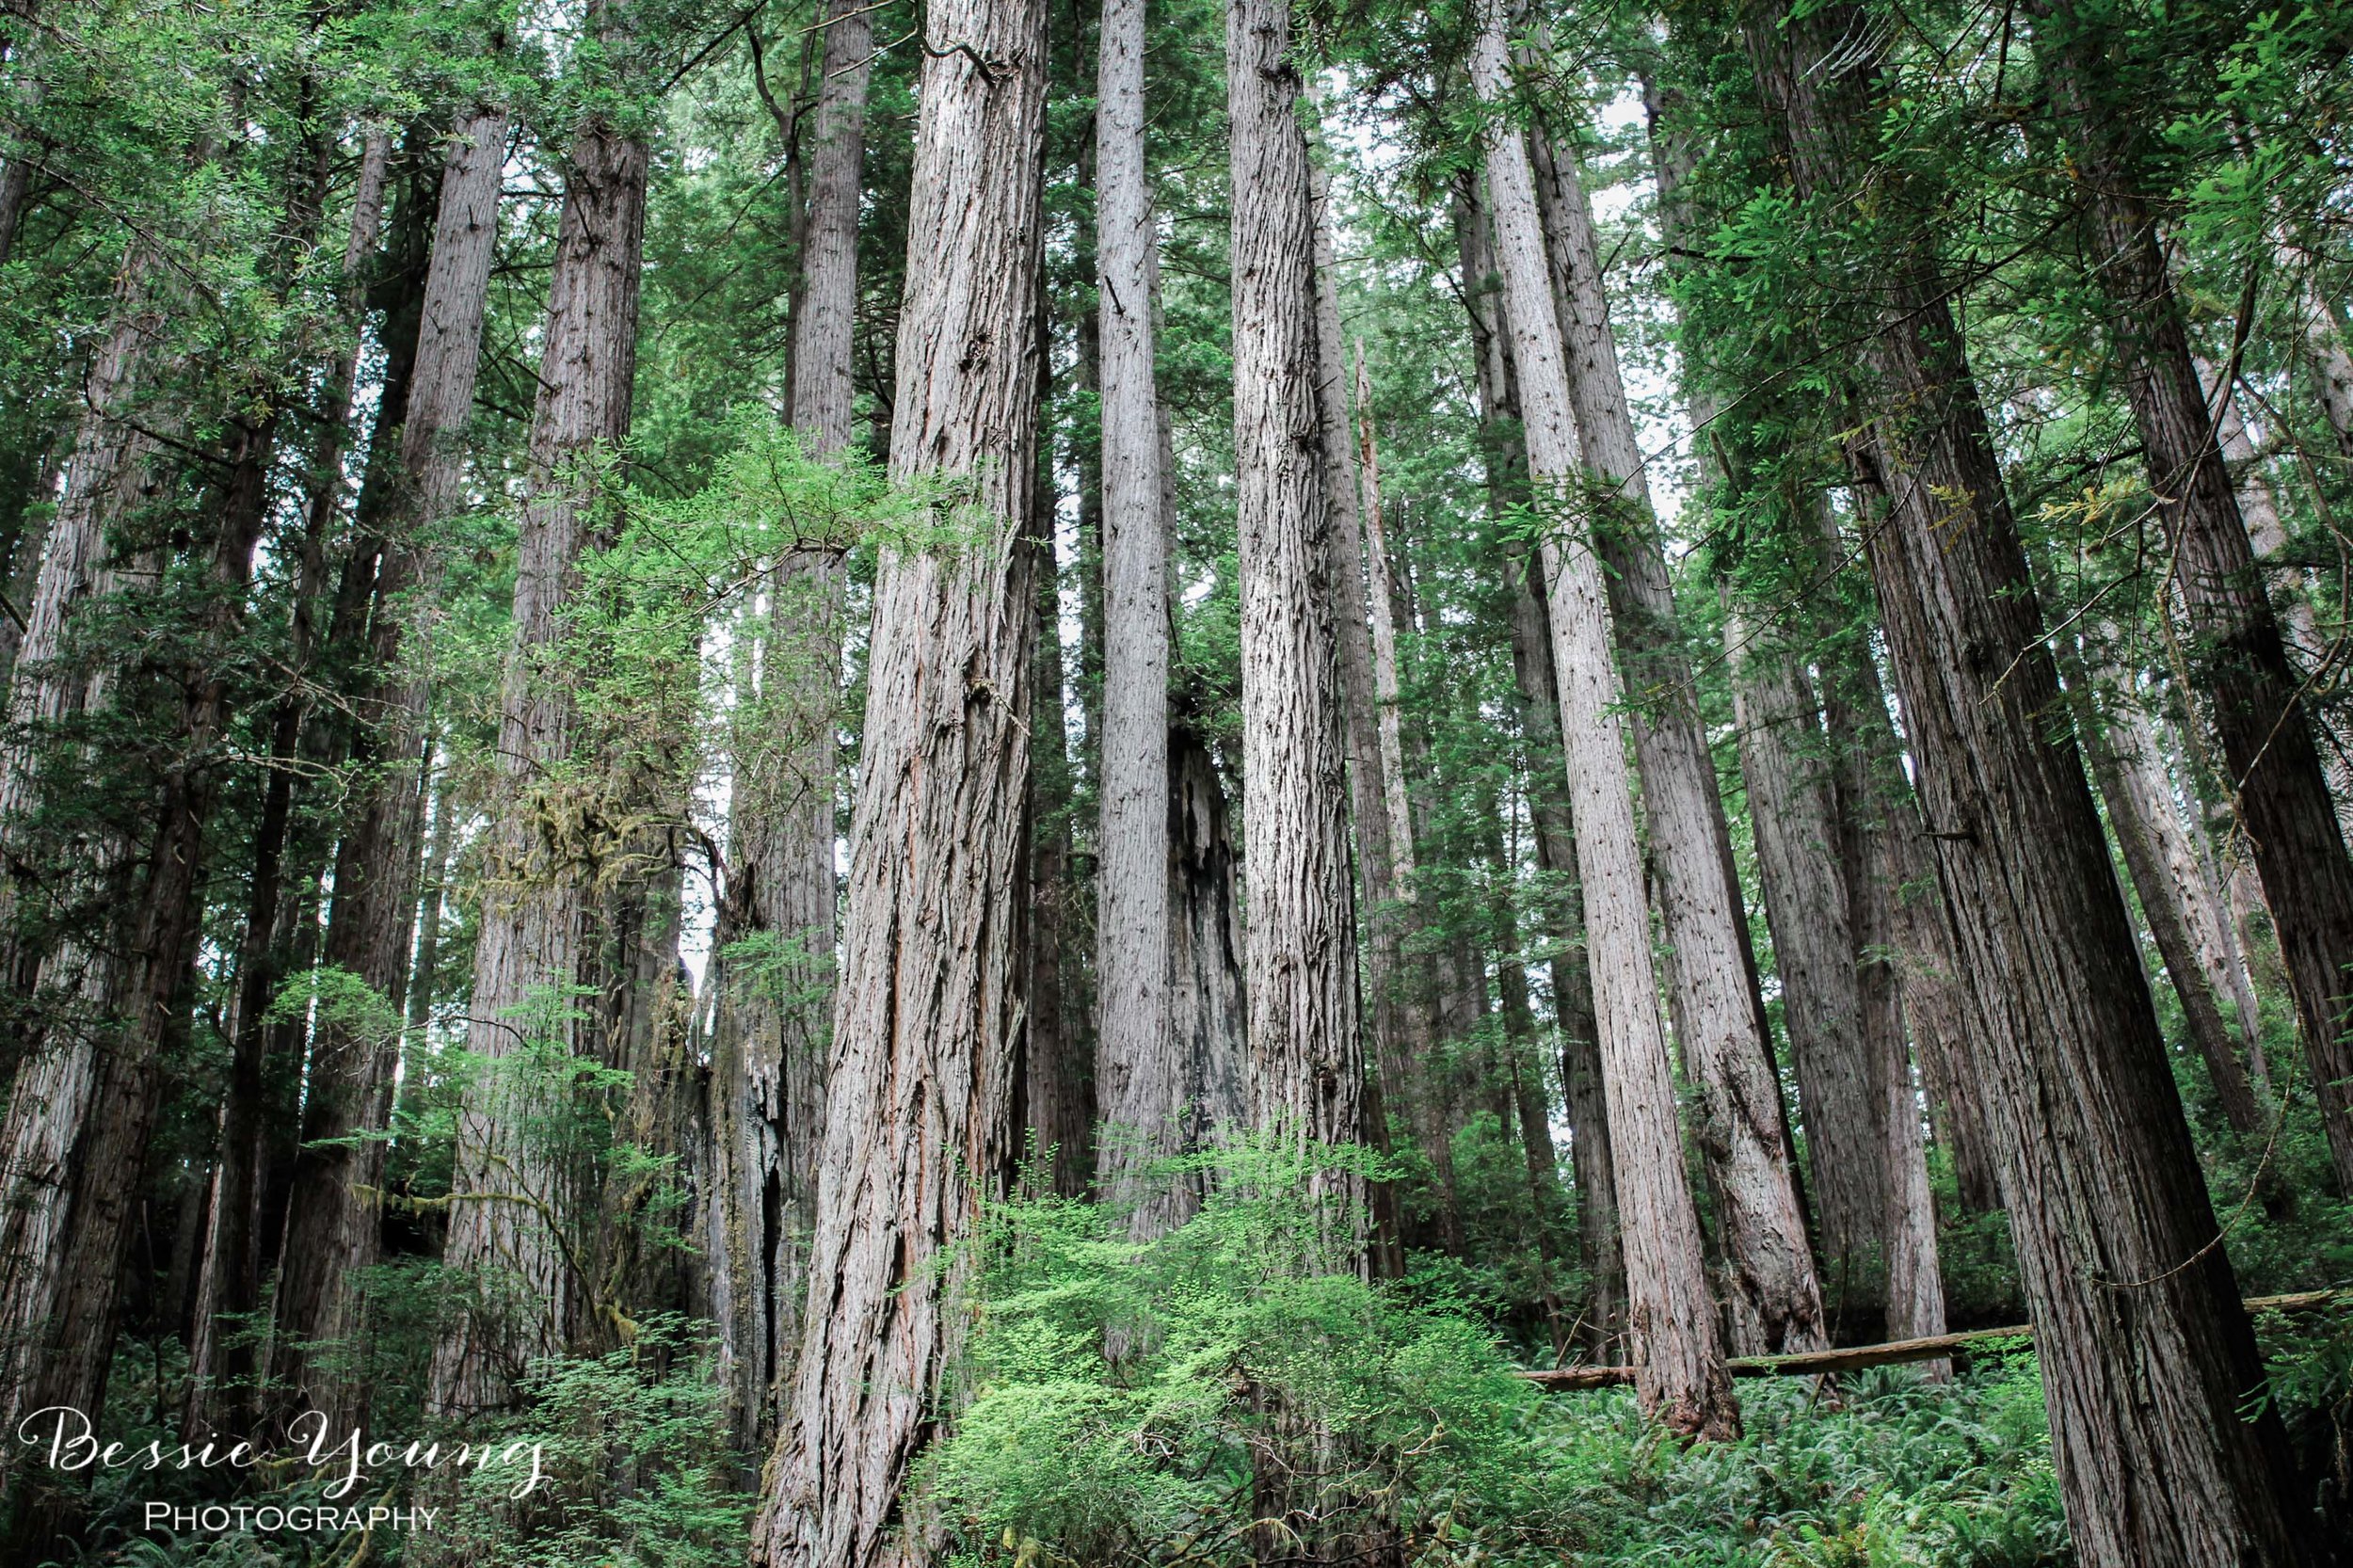
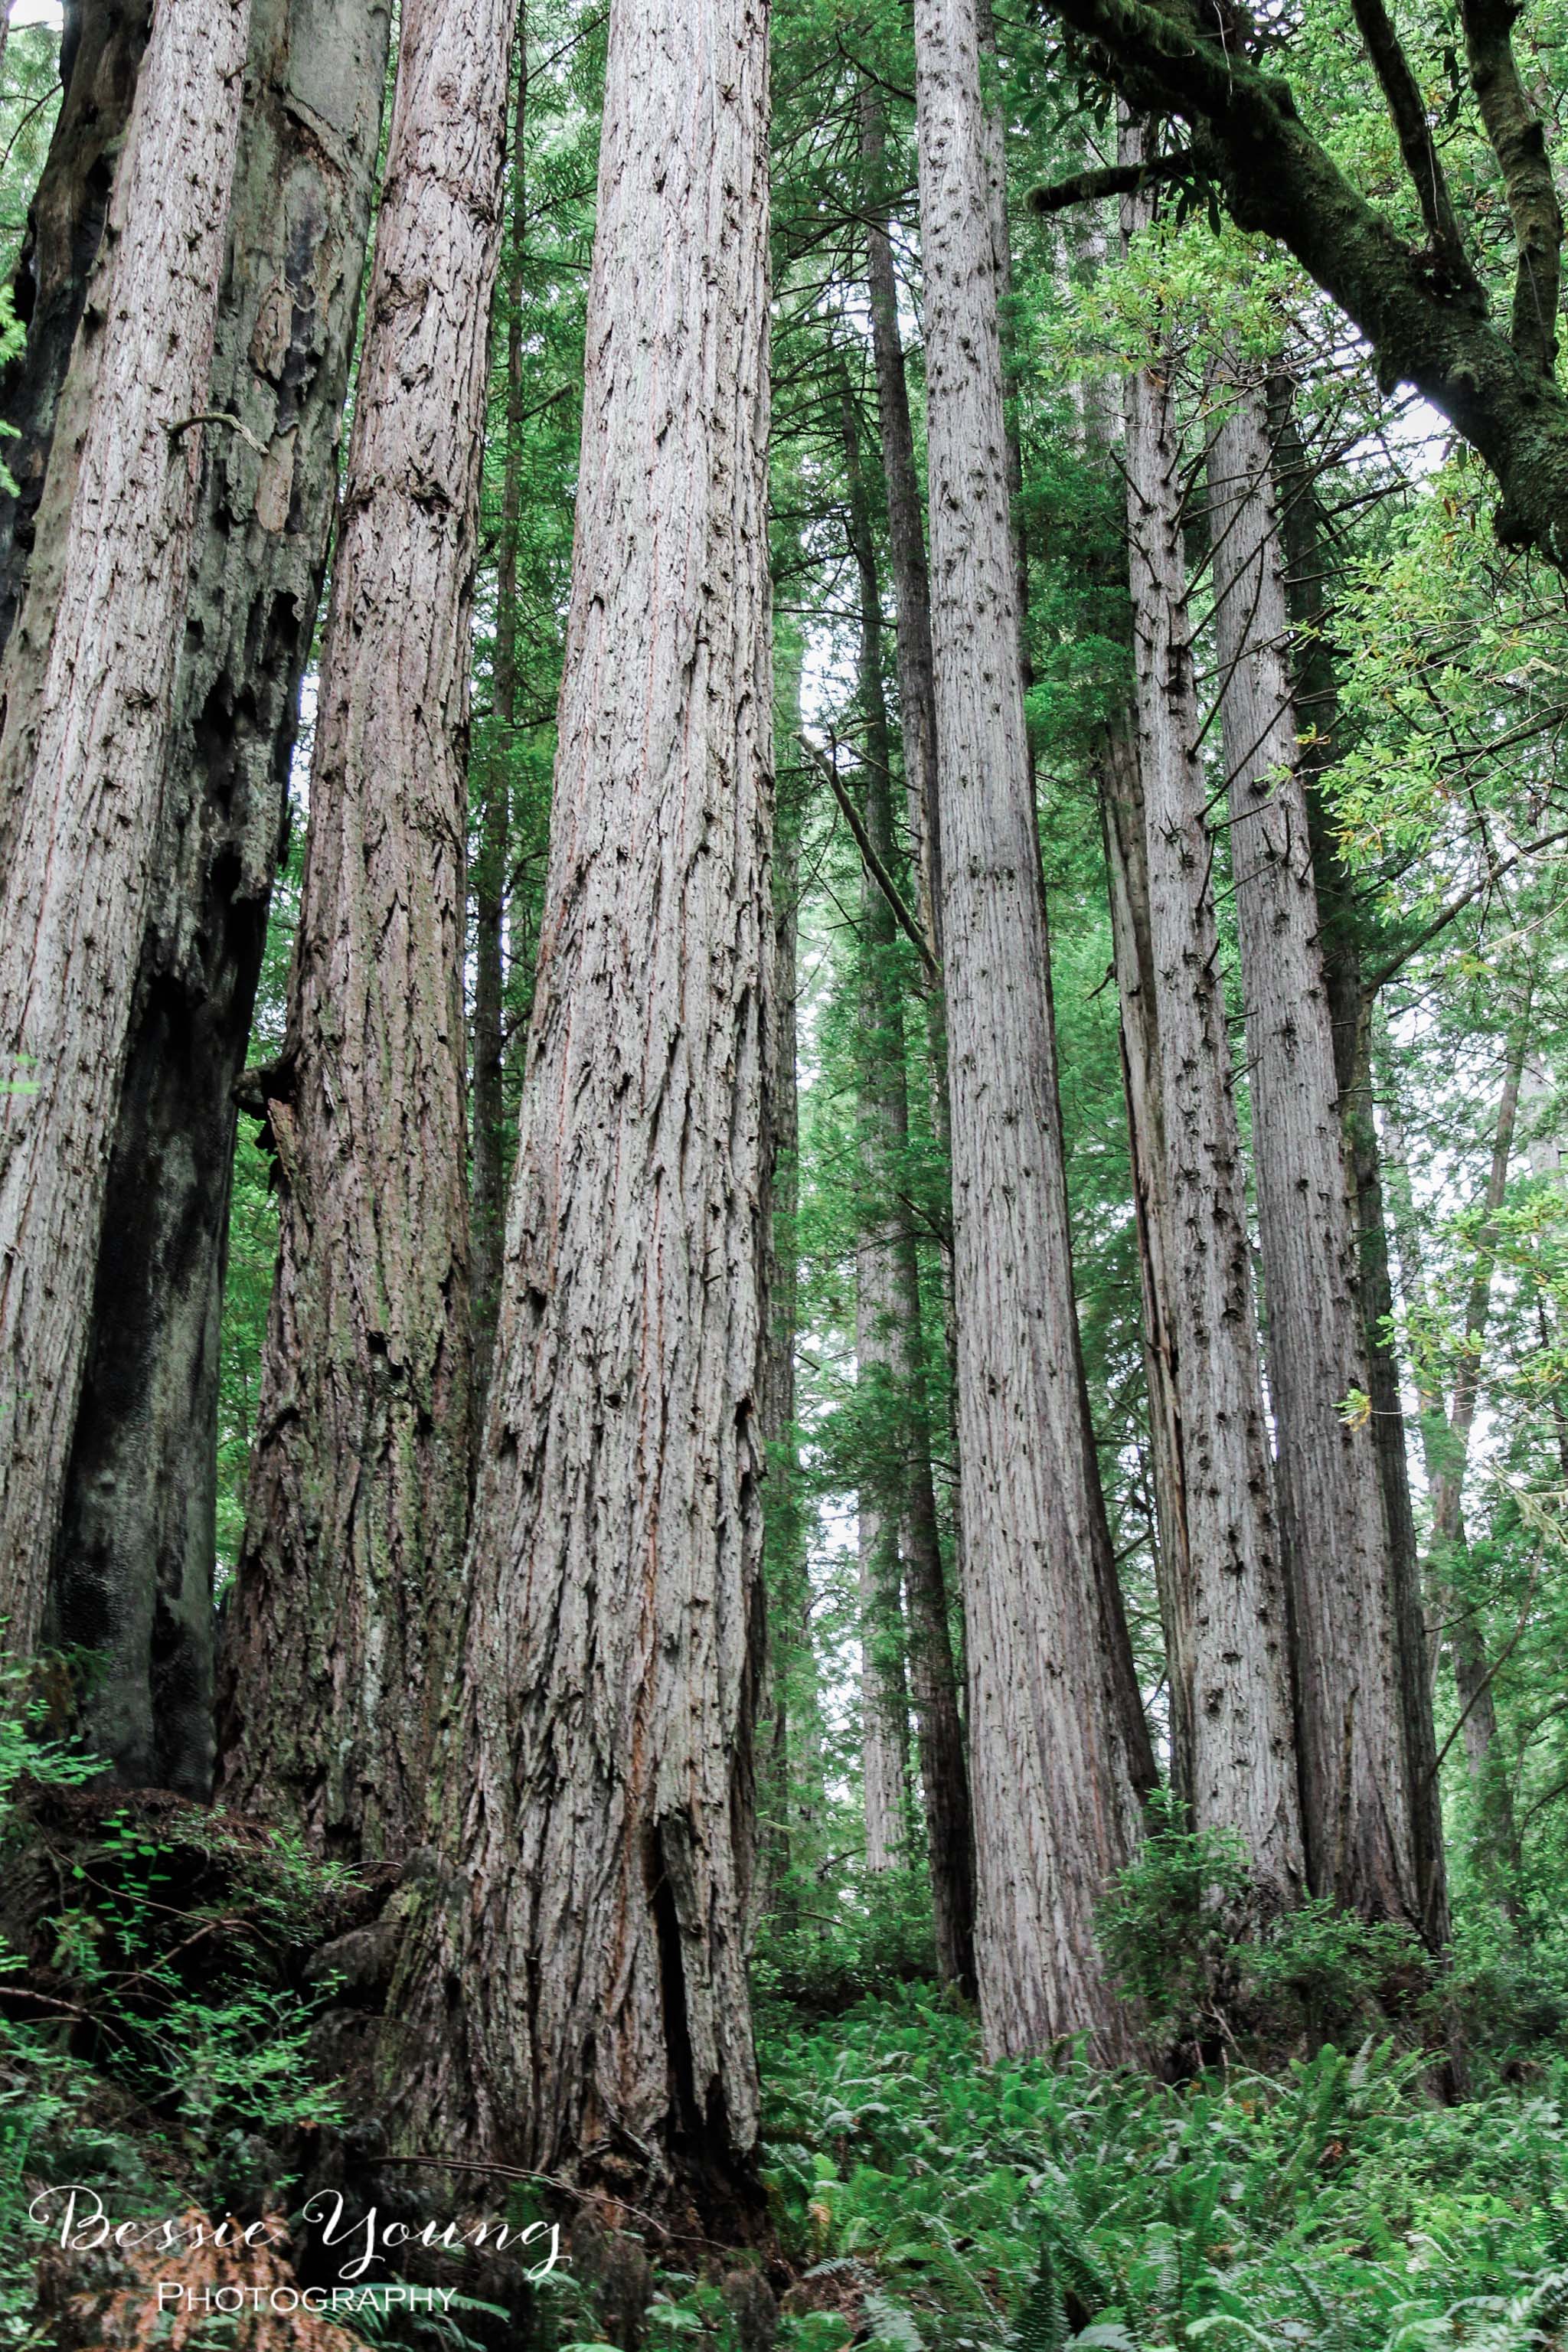
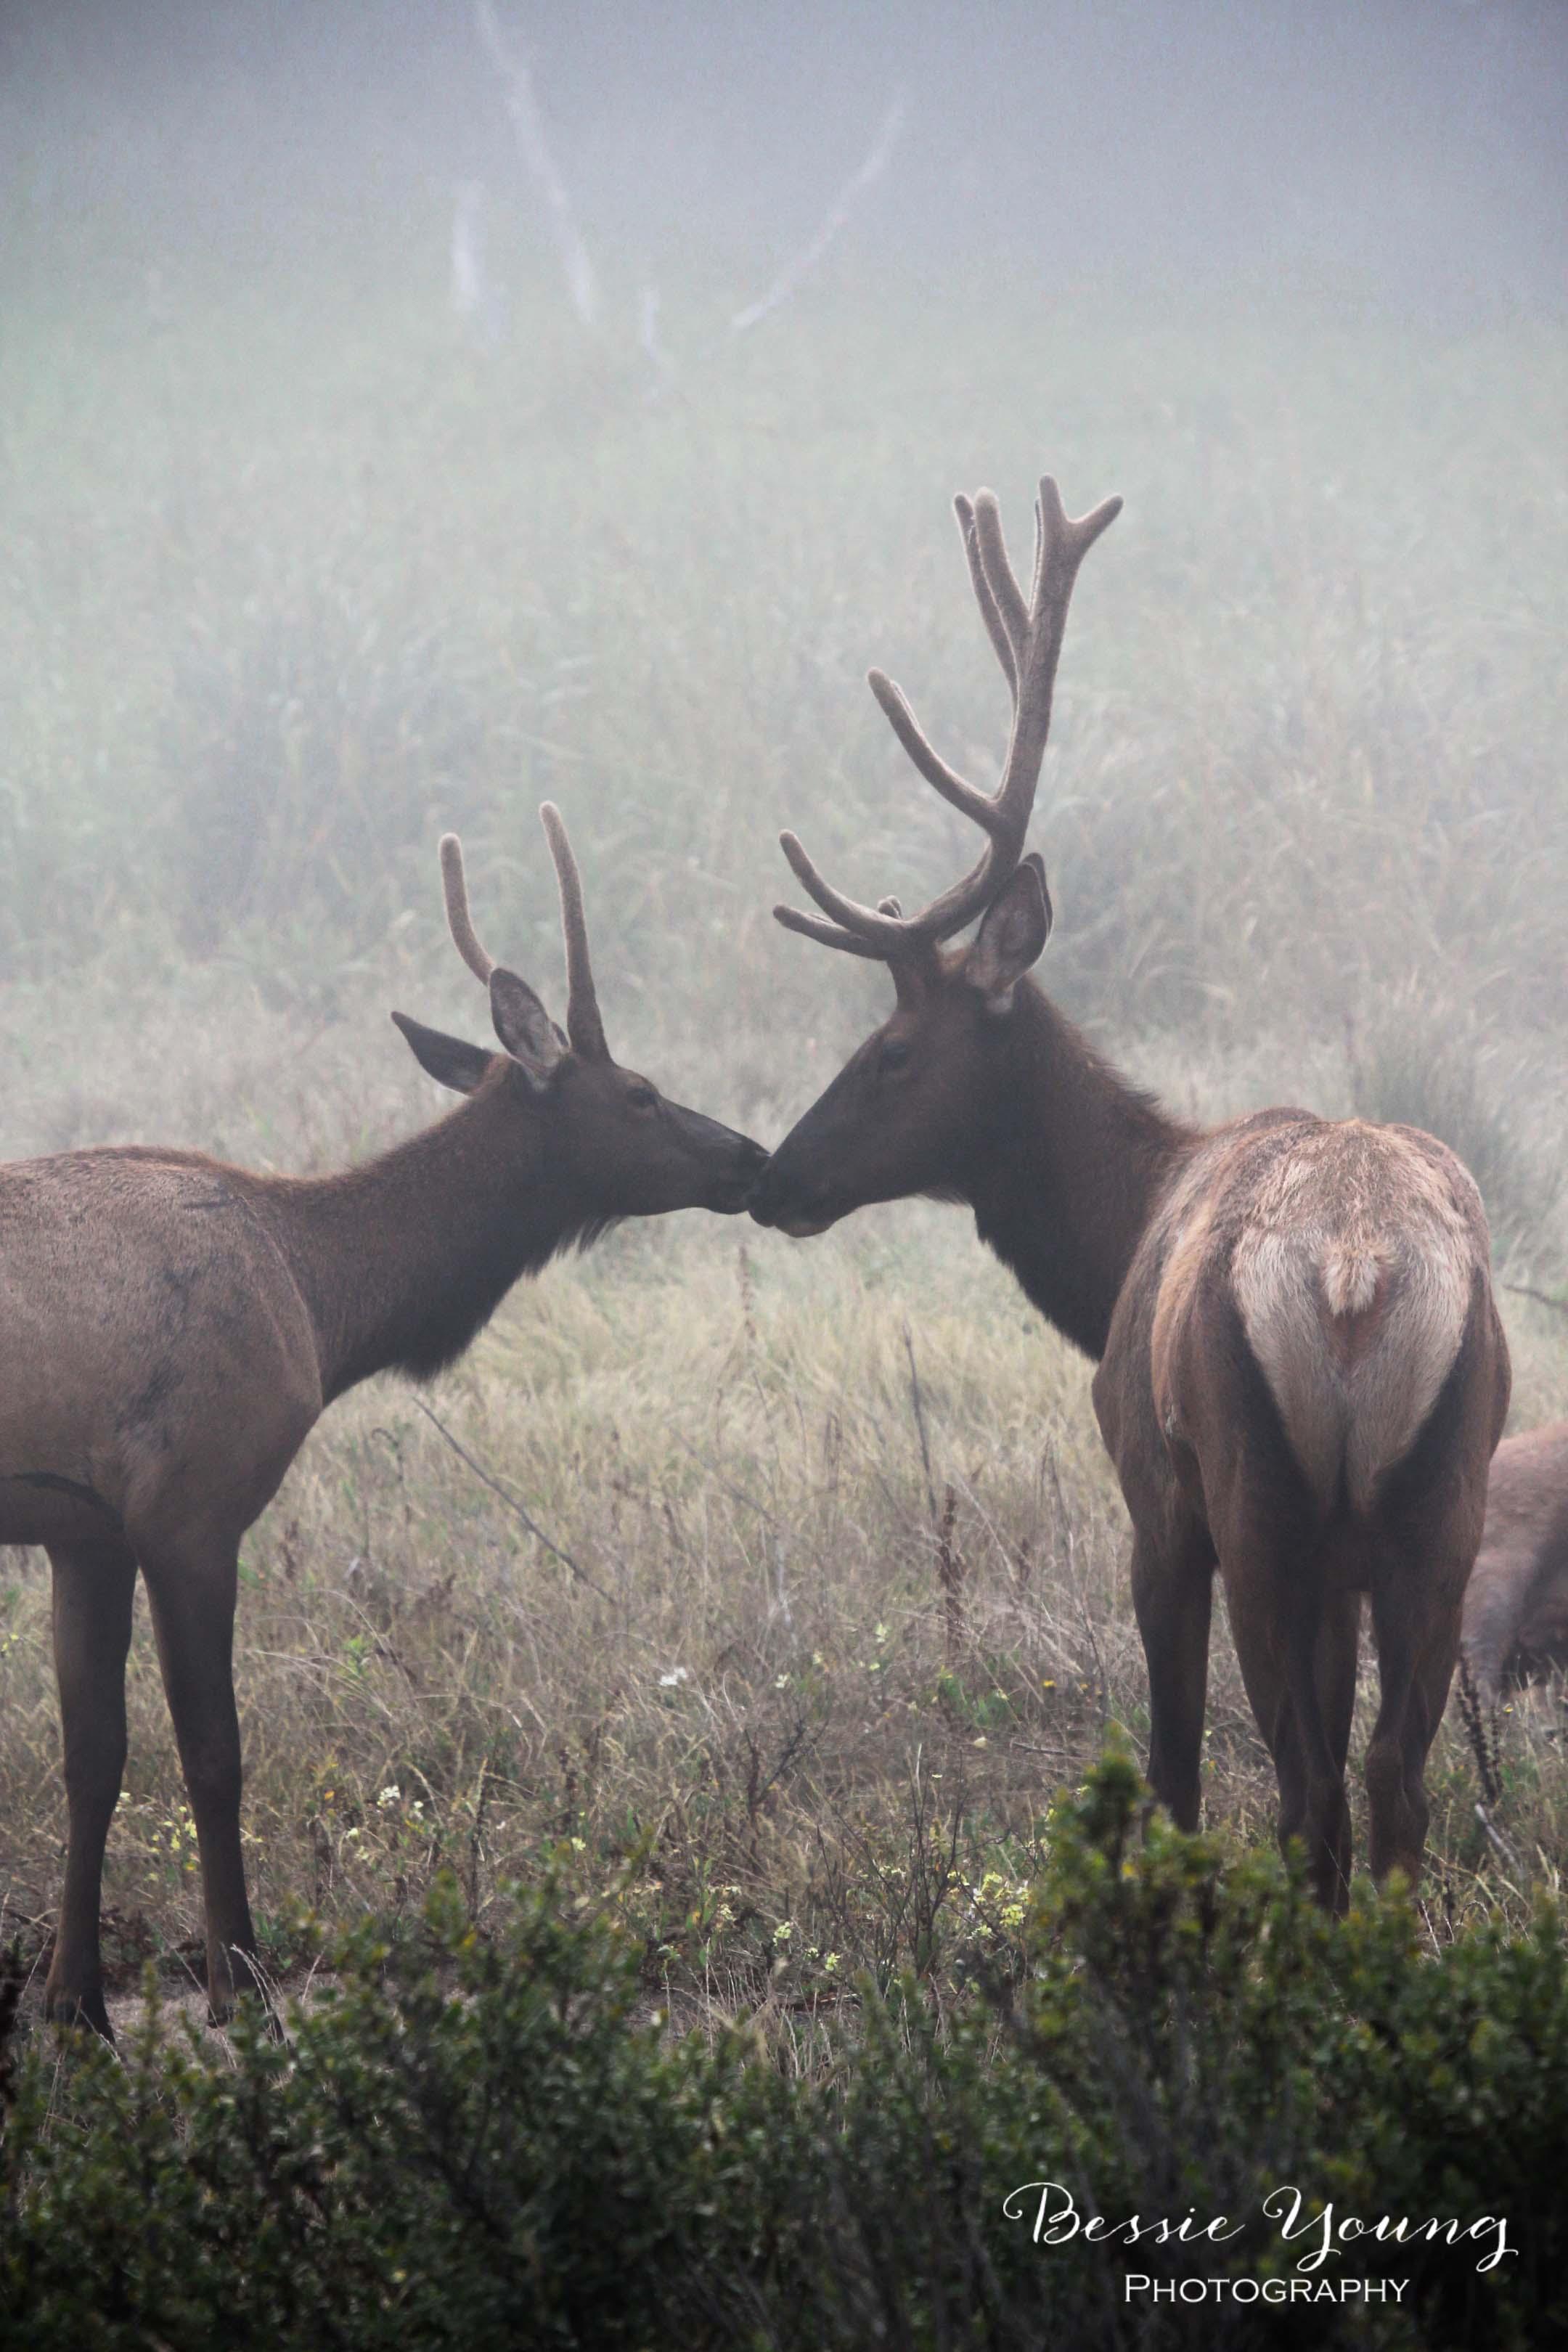
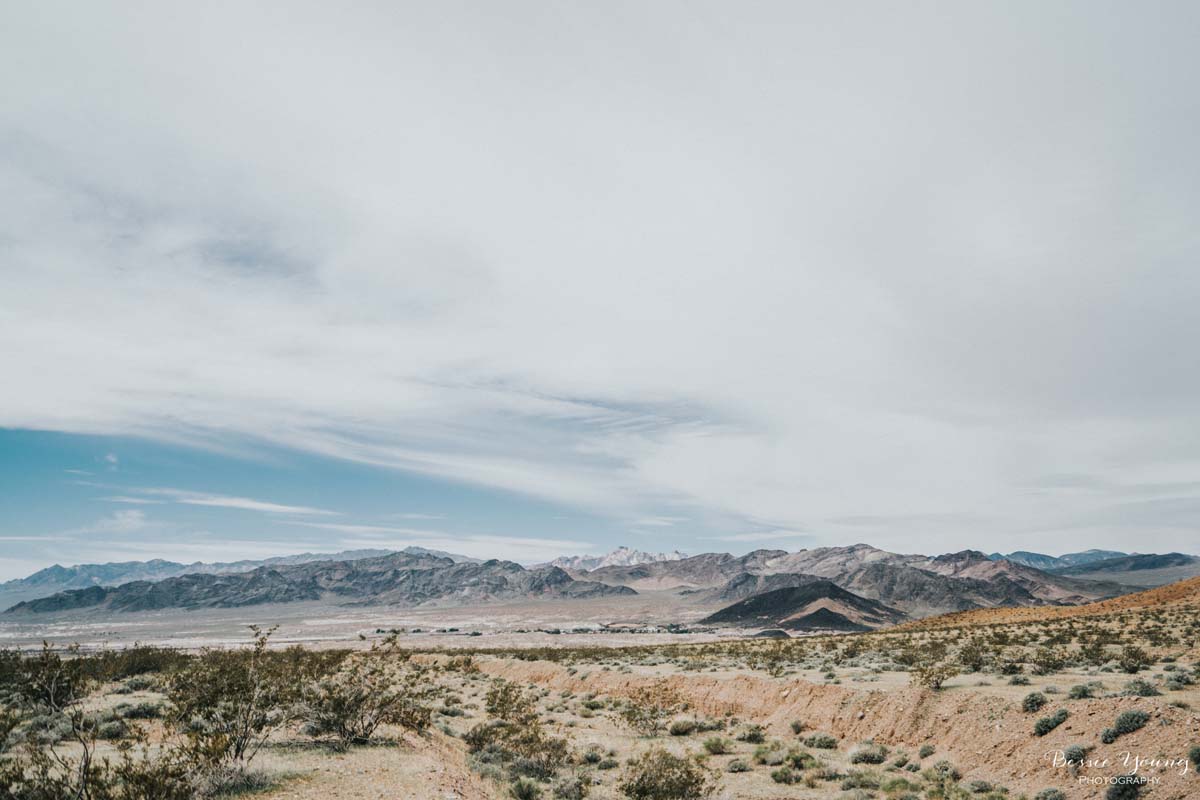
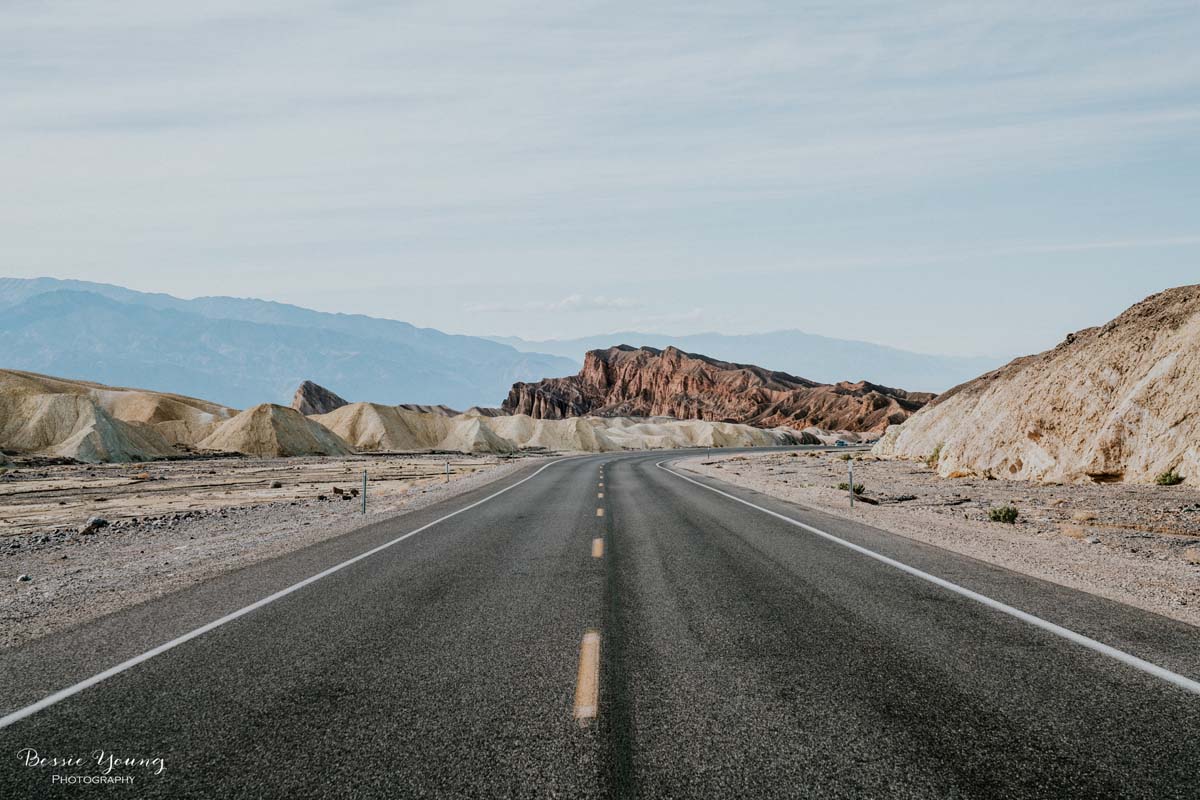
Driving over to Death Valley, I decided to head South into Tehachapi and then North to Death Valley. This was mainly due to all the passes near my area being closed for the winter. The trip was about 6 hours long. Heading into Death Valley was so exciting and there are so many places to stop and take pictures! I had a hard time not stopping every 2 minutes.

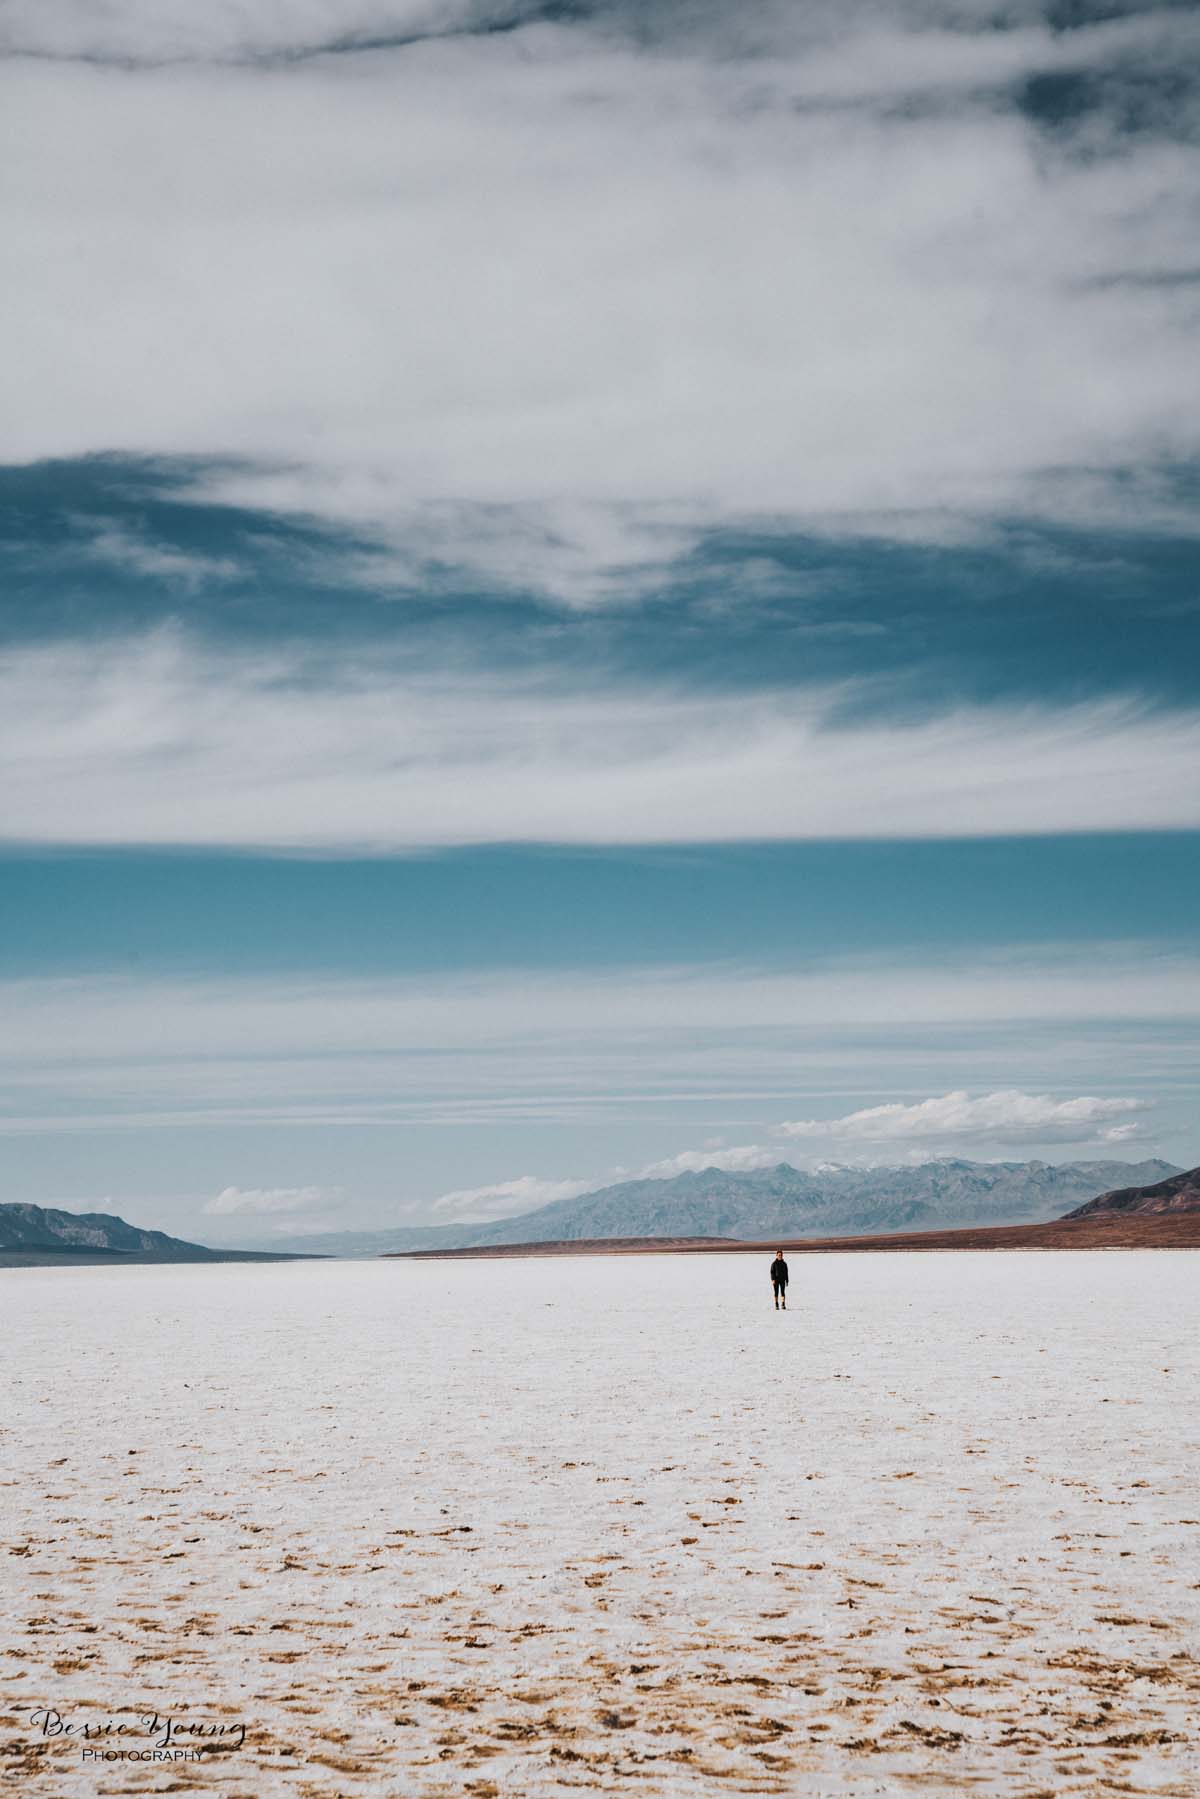
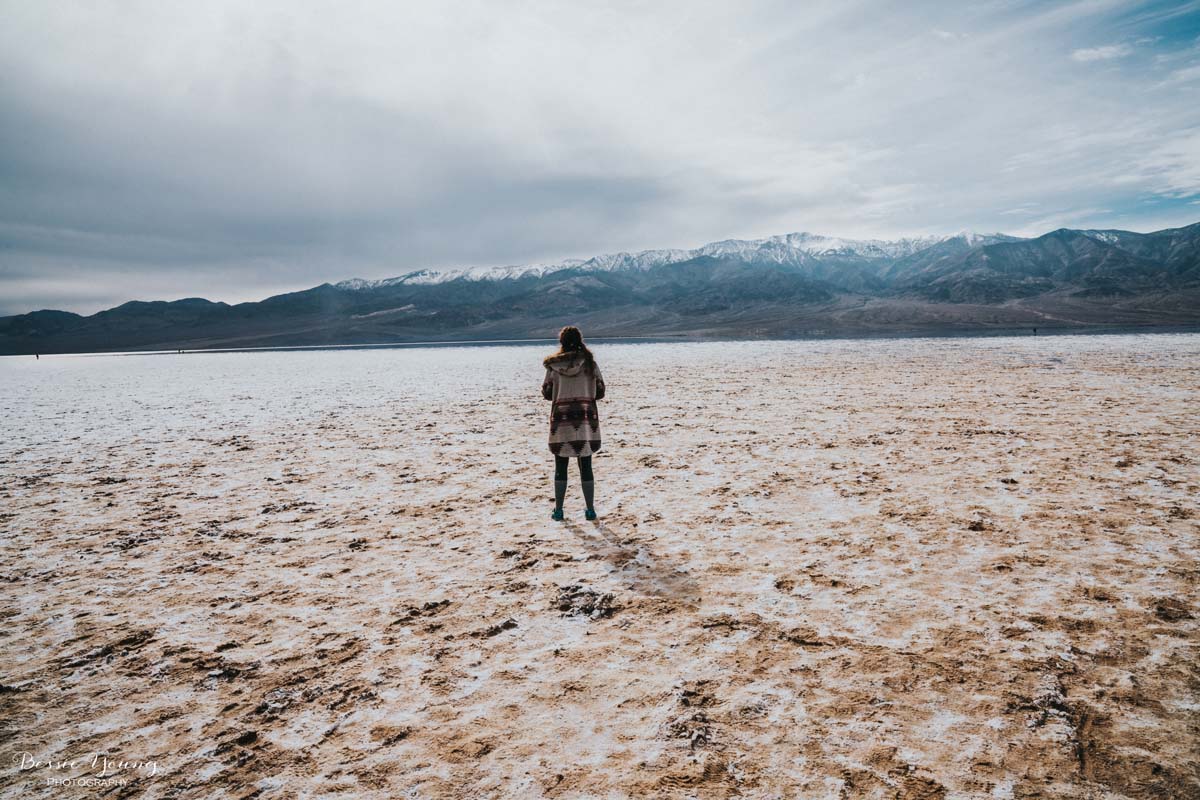
The Badwater Basin Trail

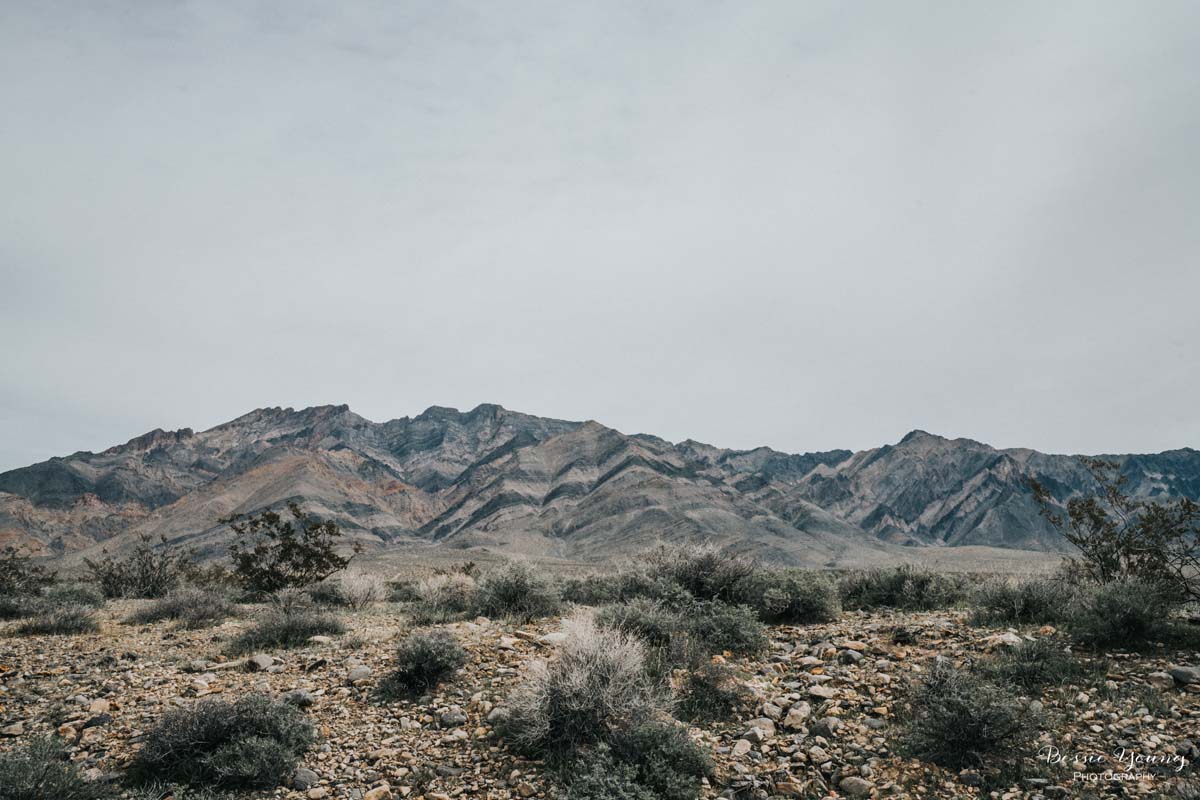
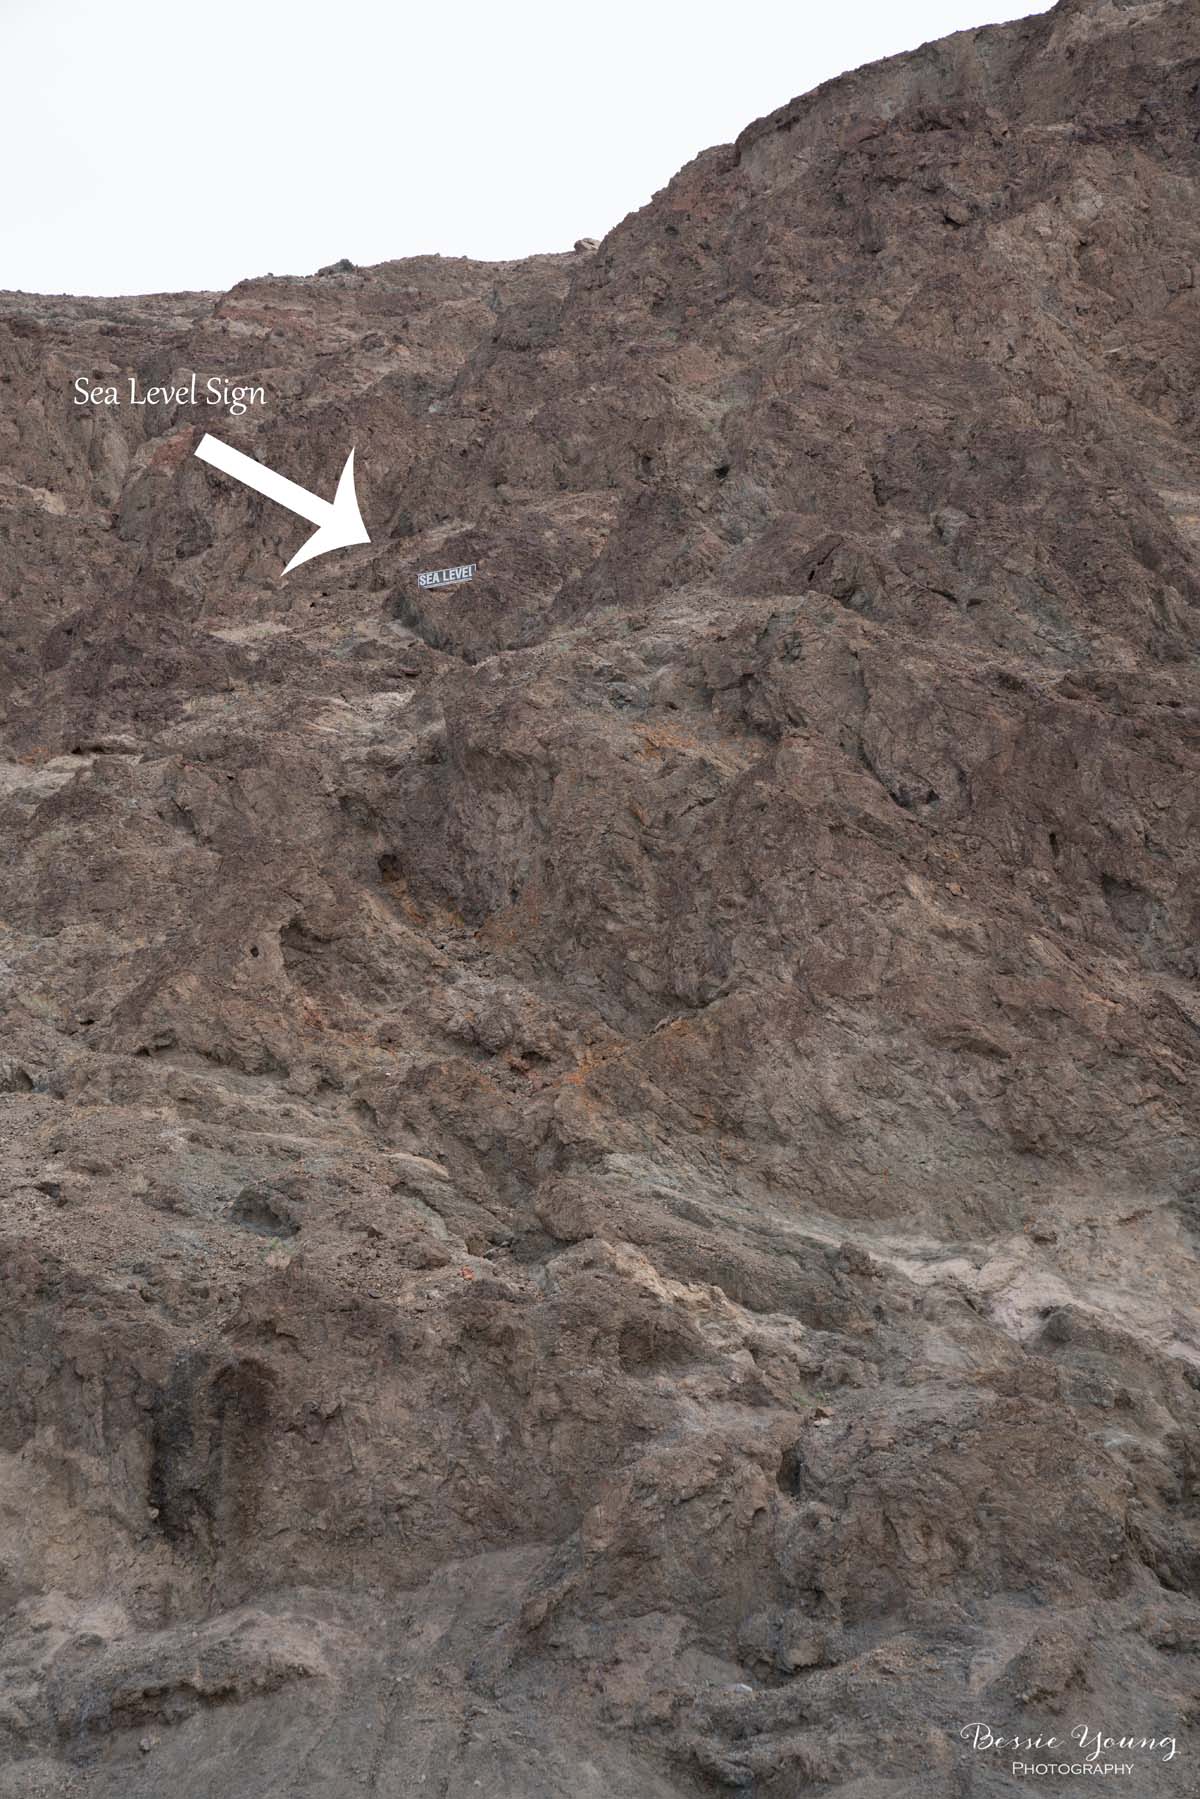
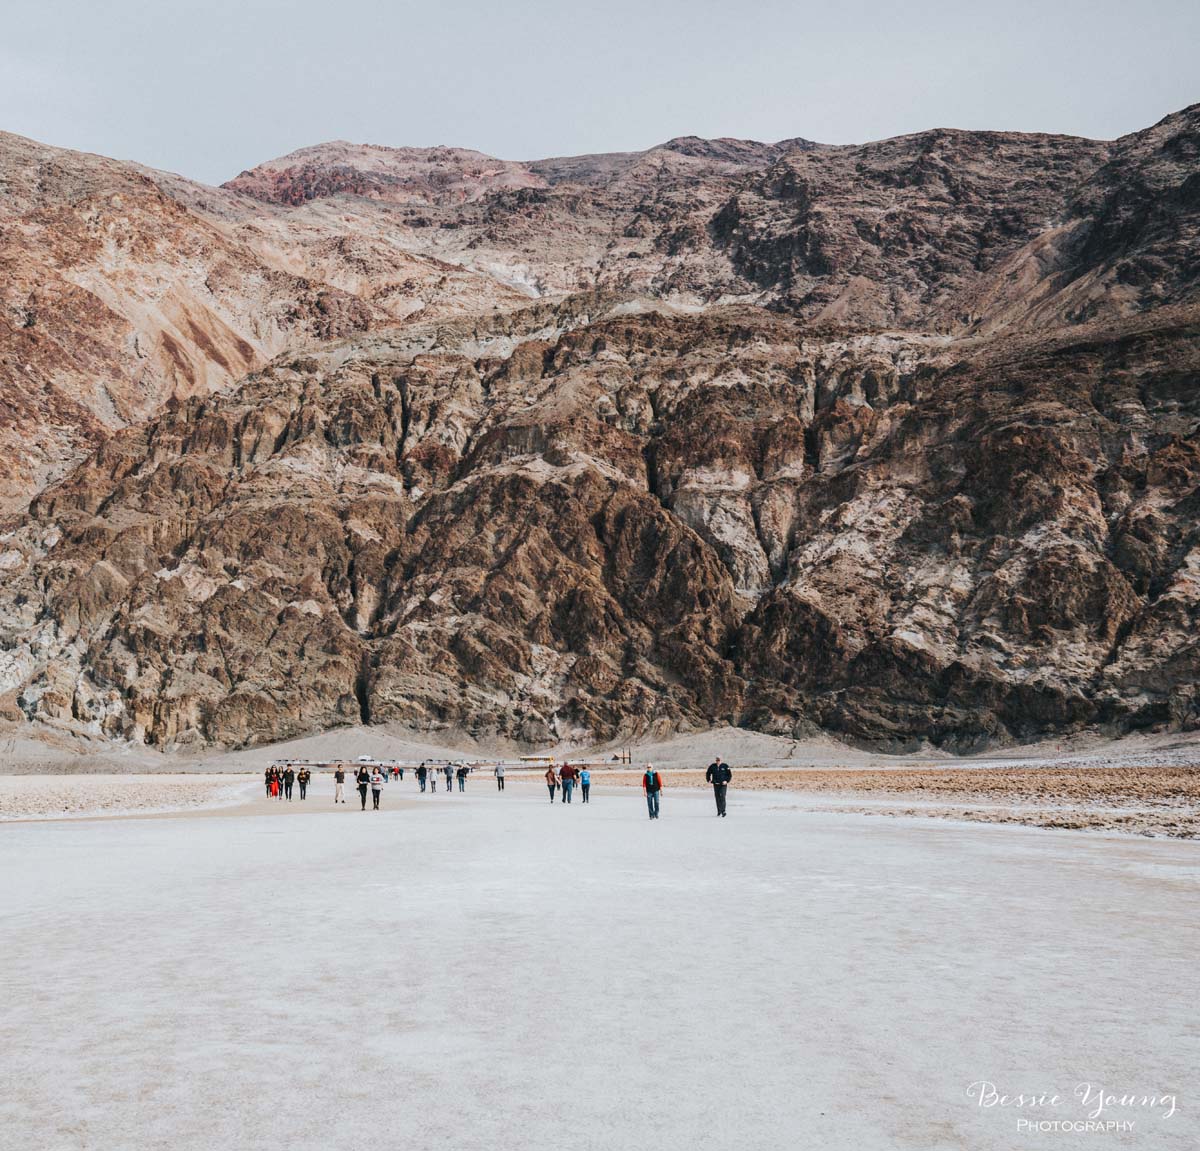
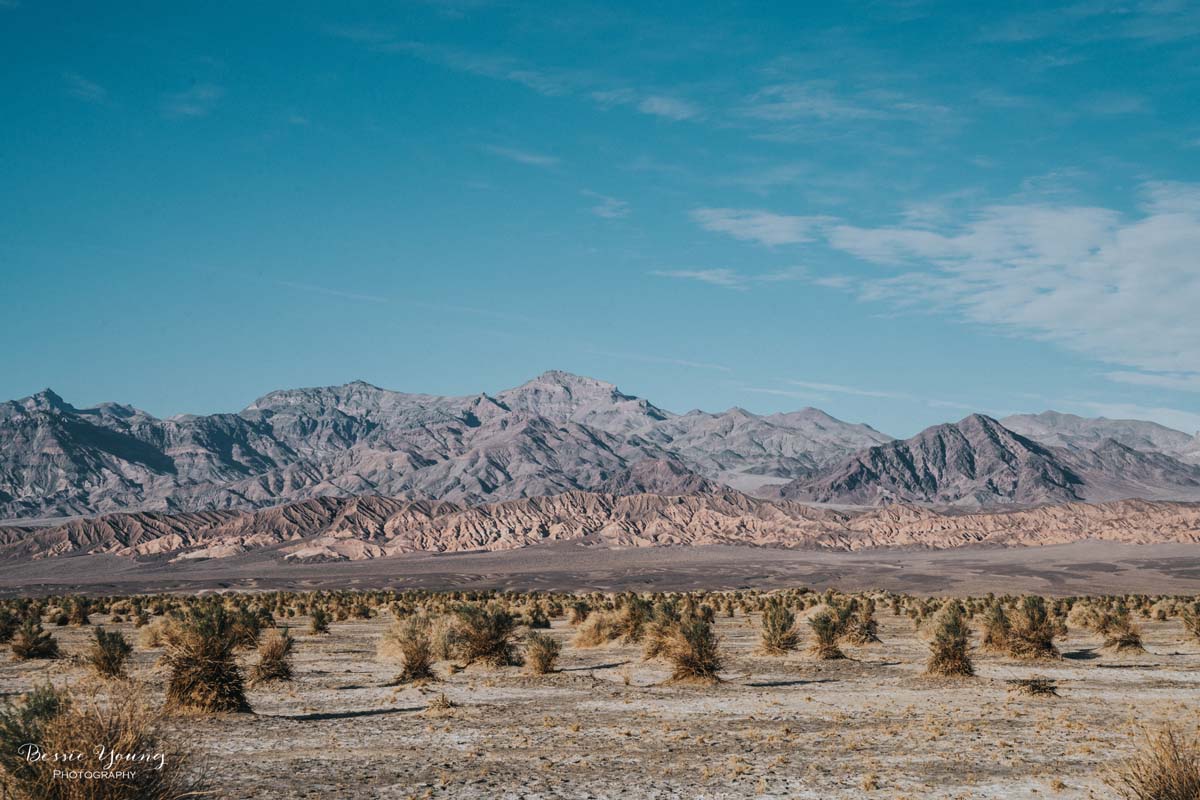
I was so excited to finally make it to the trail head. Badwater Basin is well below Sea Level which is amazing! All the mountains around it are 3000+ feet! At the trail head you can look to the East and see a sea level sign up on the mountain above you. The trail head was busy and there wasn't a ton of parking; however, there are bathrooms which is a plus :) . This trail is not pet friendly so also keep that in mind while you plan your trip.

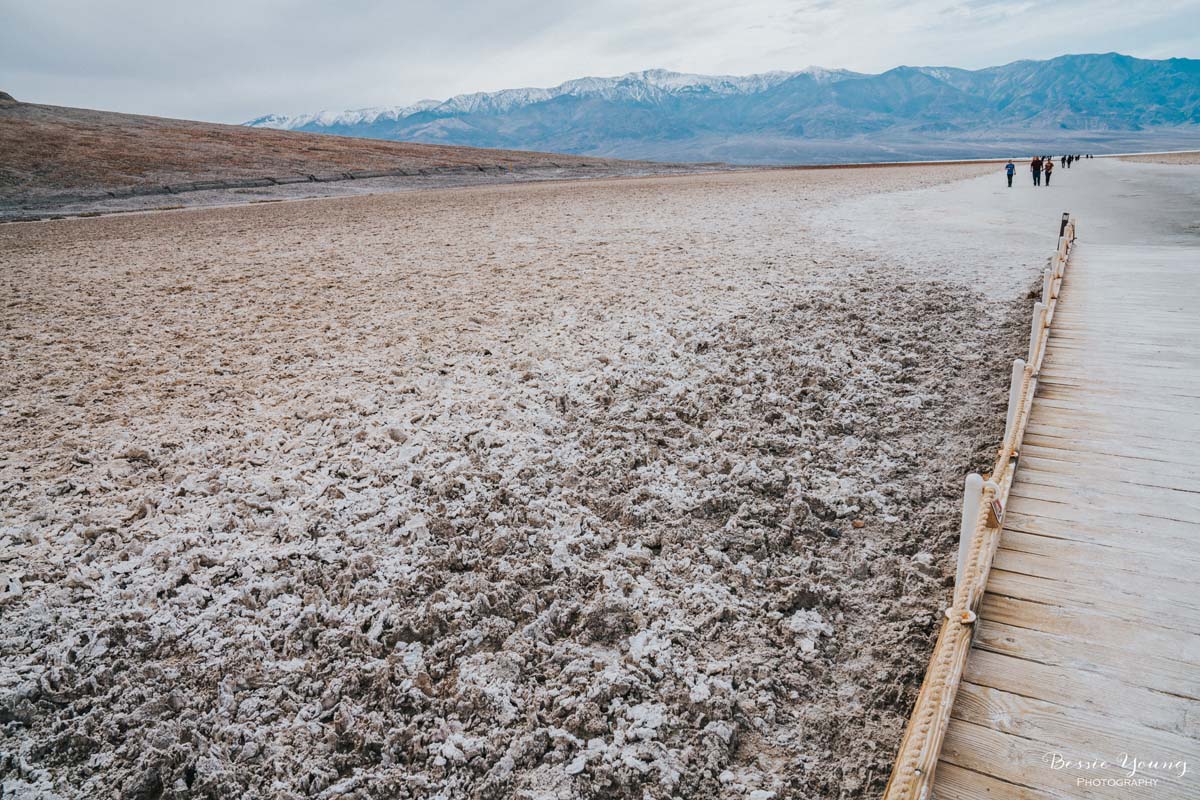
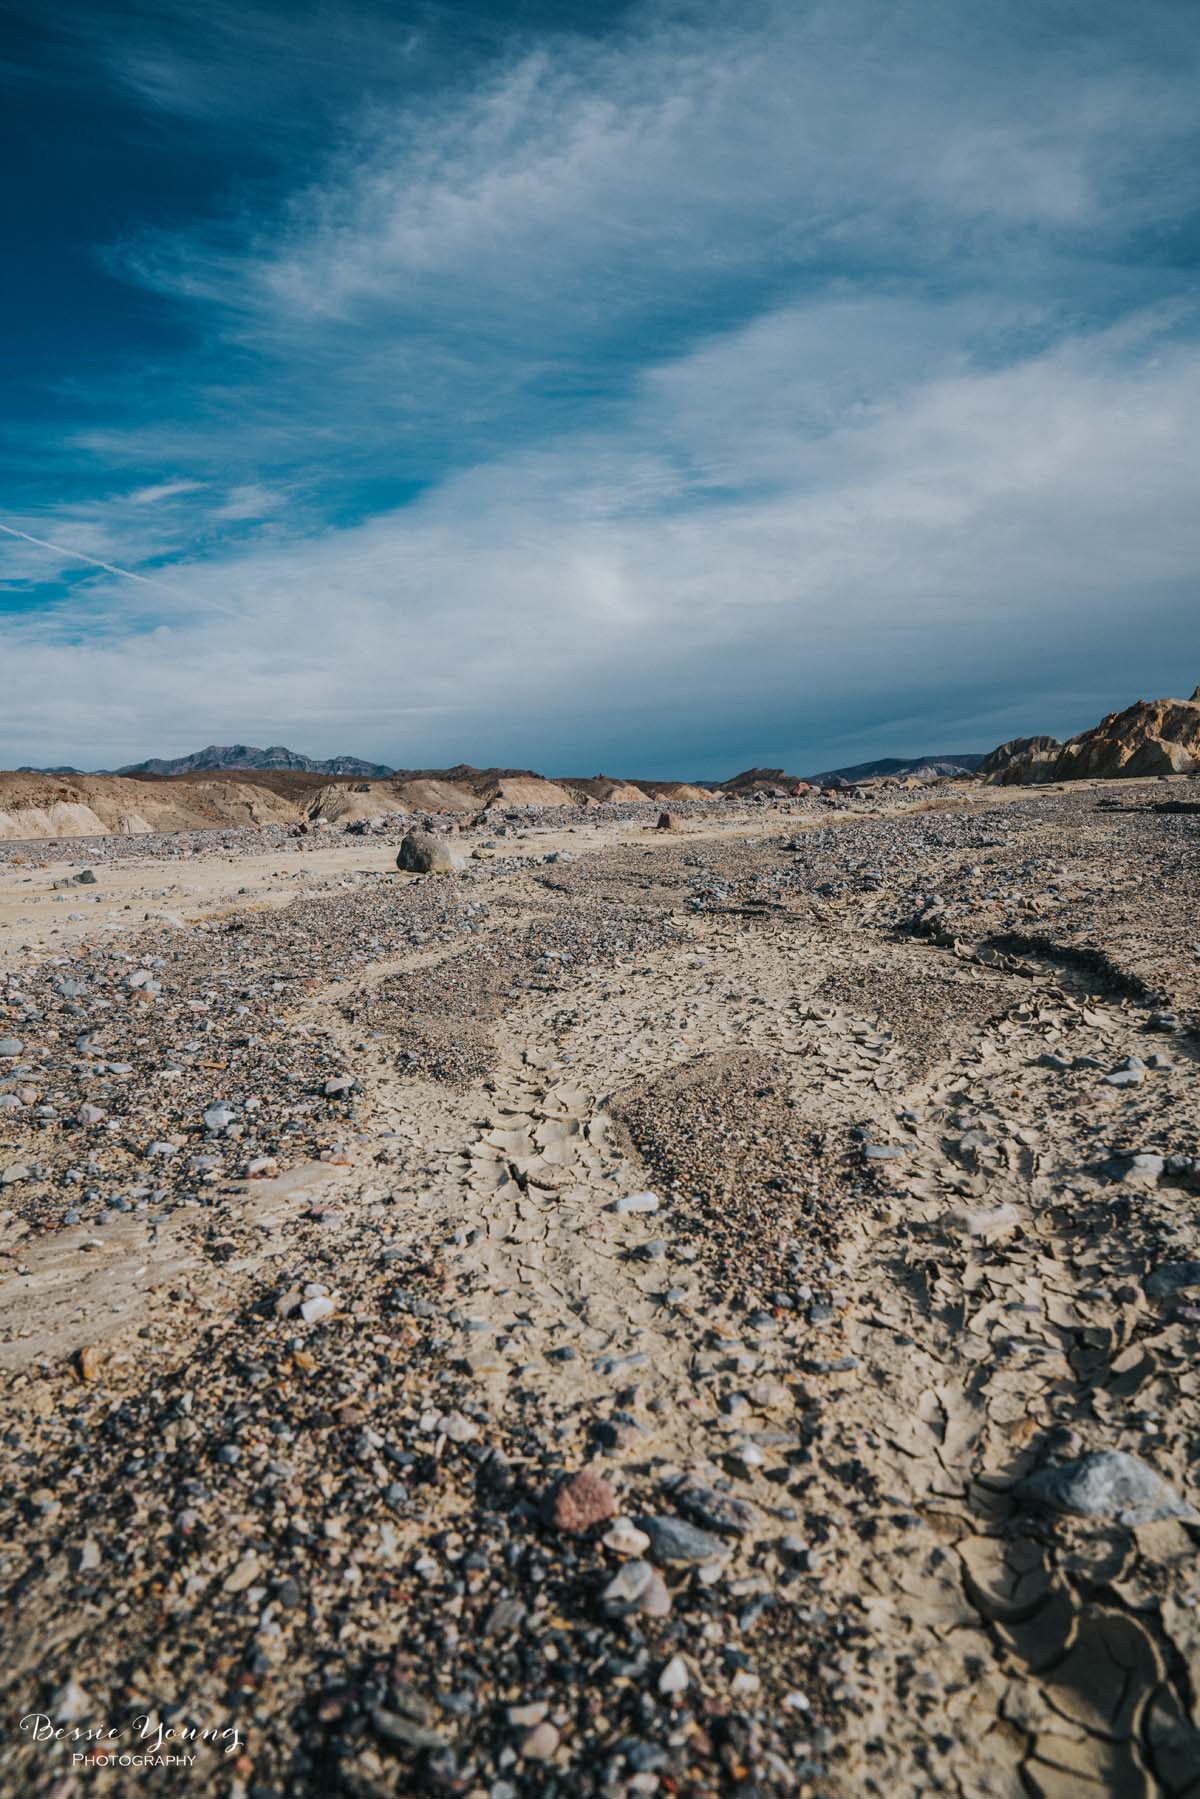
The trail is flat and easy. With the water in the basin the trail ended up being about 3/4 of a mile.  Typically the trail is around 1 mile. The only warning I would say about this area is to make sure that you go during the cooler weather. It is flat, hot, dry, and there is no shade. Luckily I went in February so the weather wasn't too much of a concern, but it was still quite warm.


Trail Details:

Distance: Approximately 2 miles round trip

Difficulty: Easy . The trail is flat.

Elevation: 282' below sea level

Pet Friendly: No

Bathrooms: Yes at the trail head

Best time of year: Early Spring or Winter due to the heat of the desert

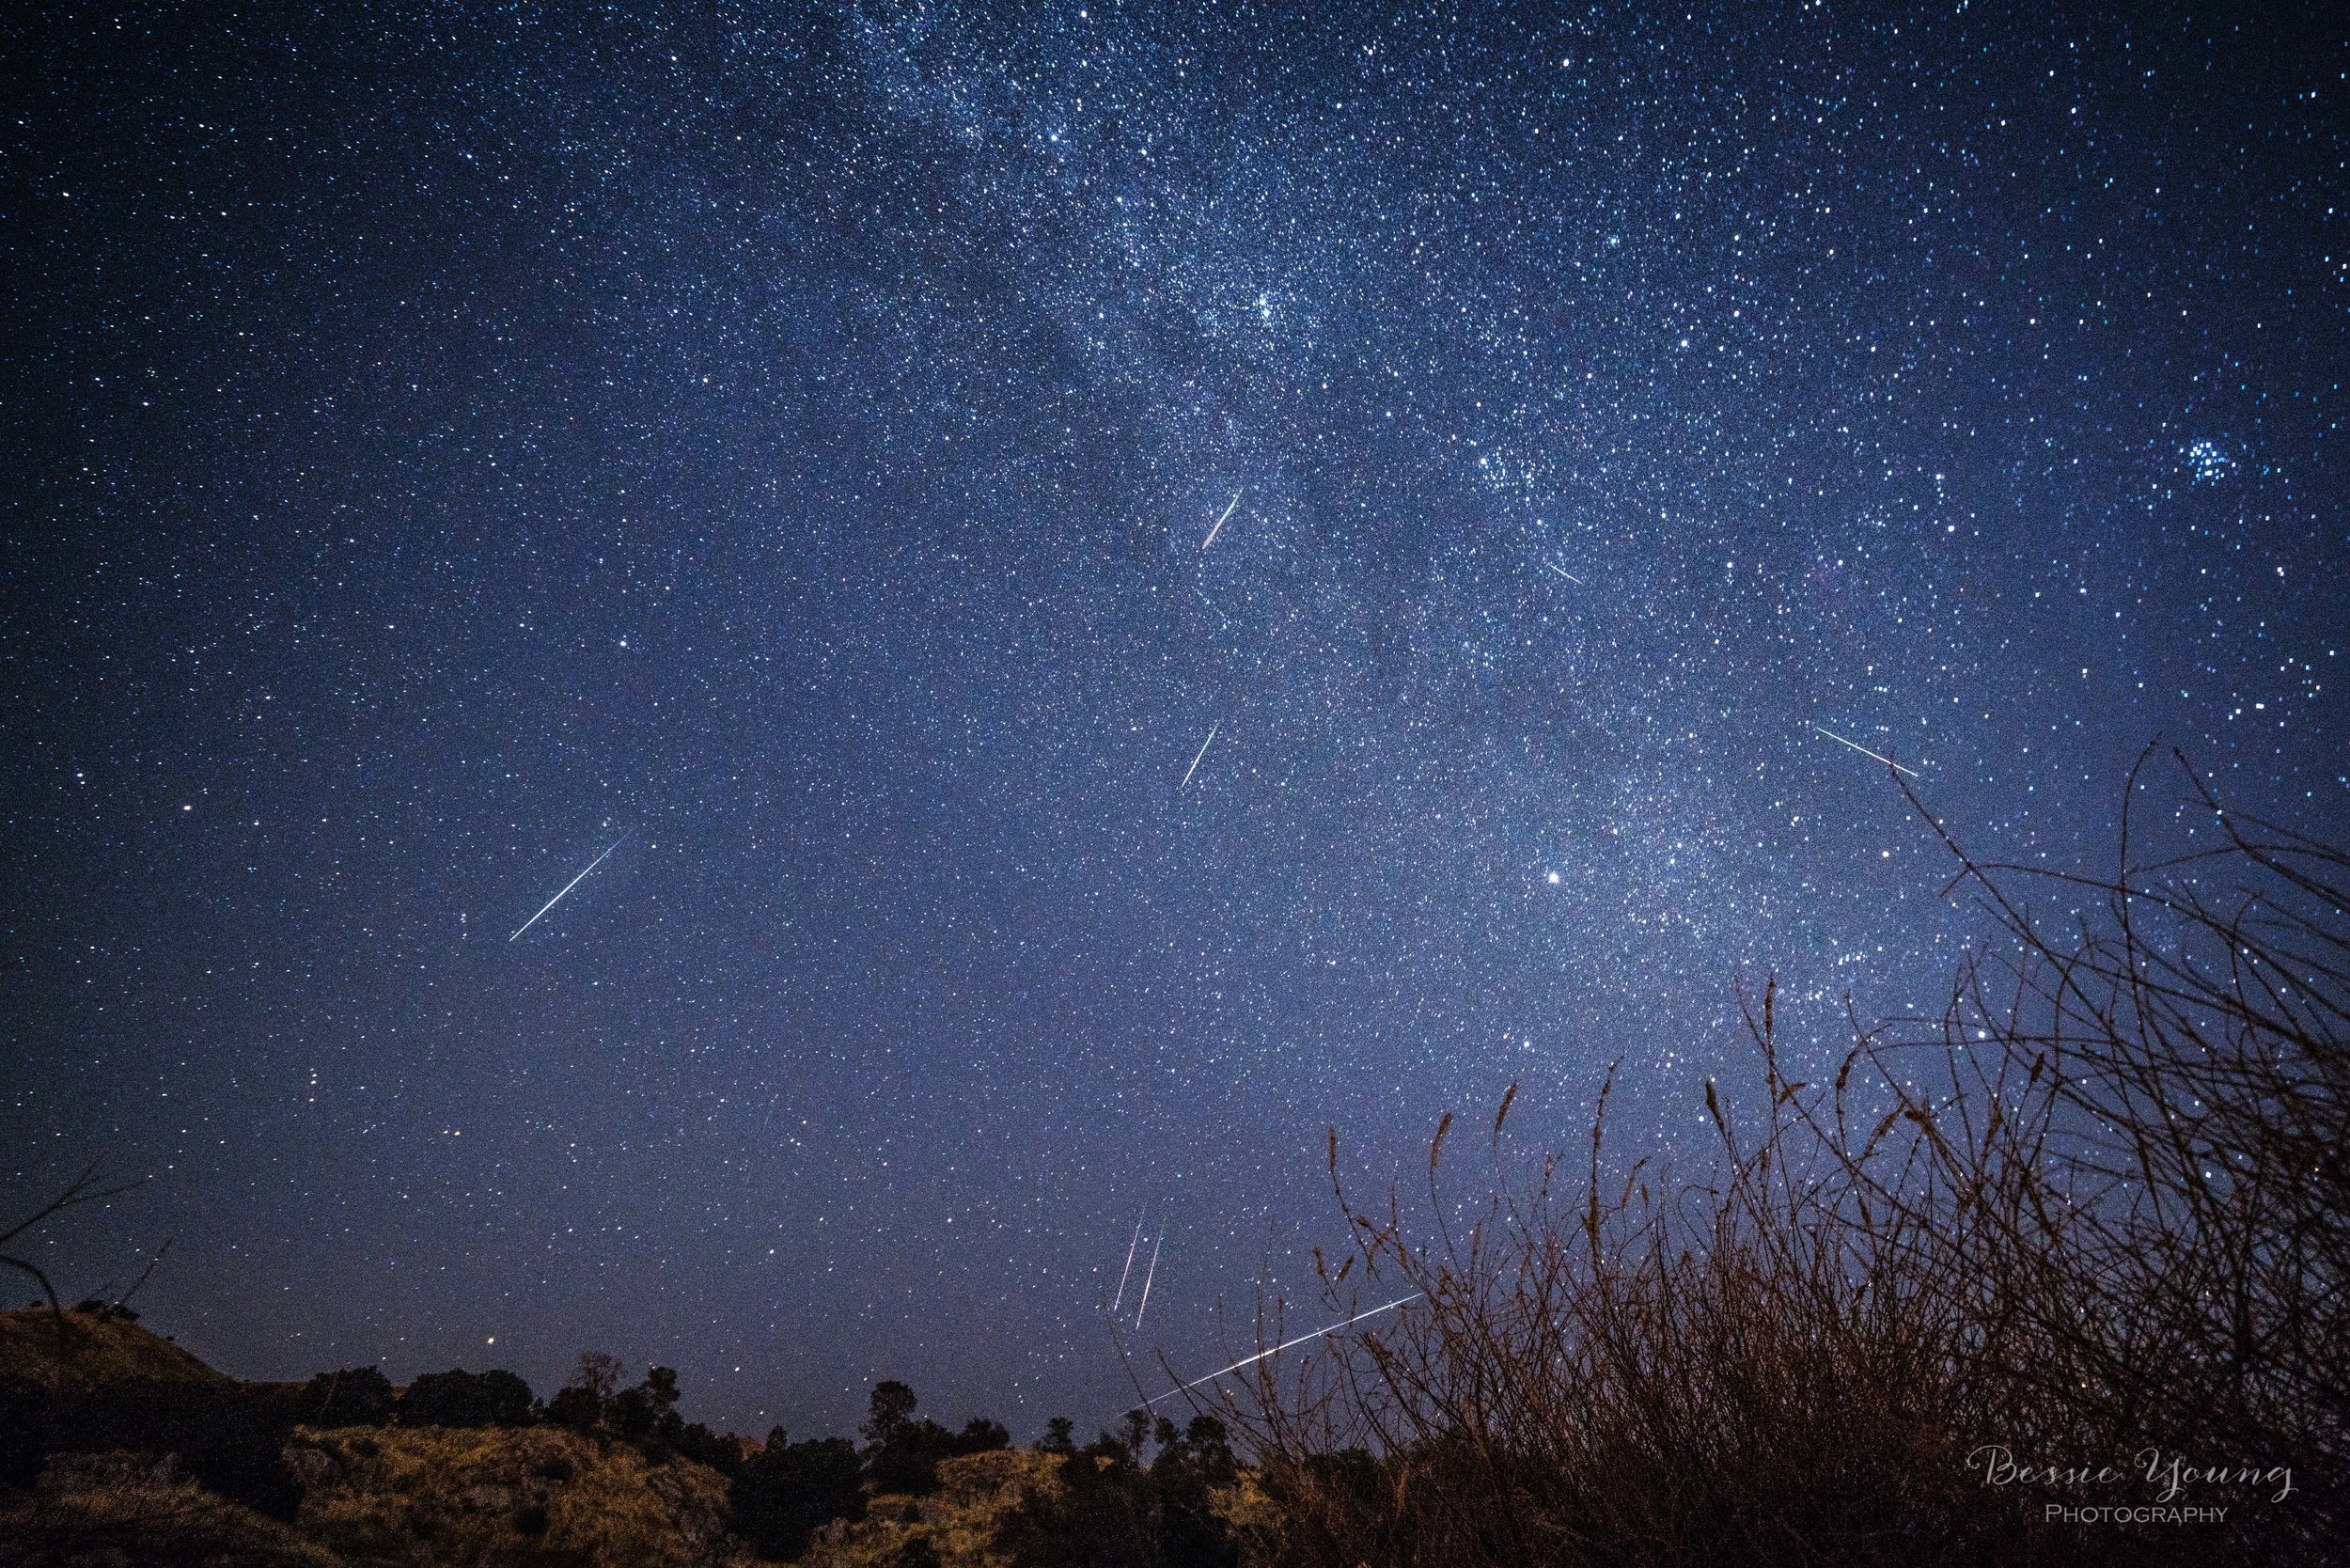
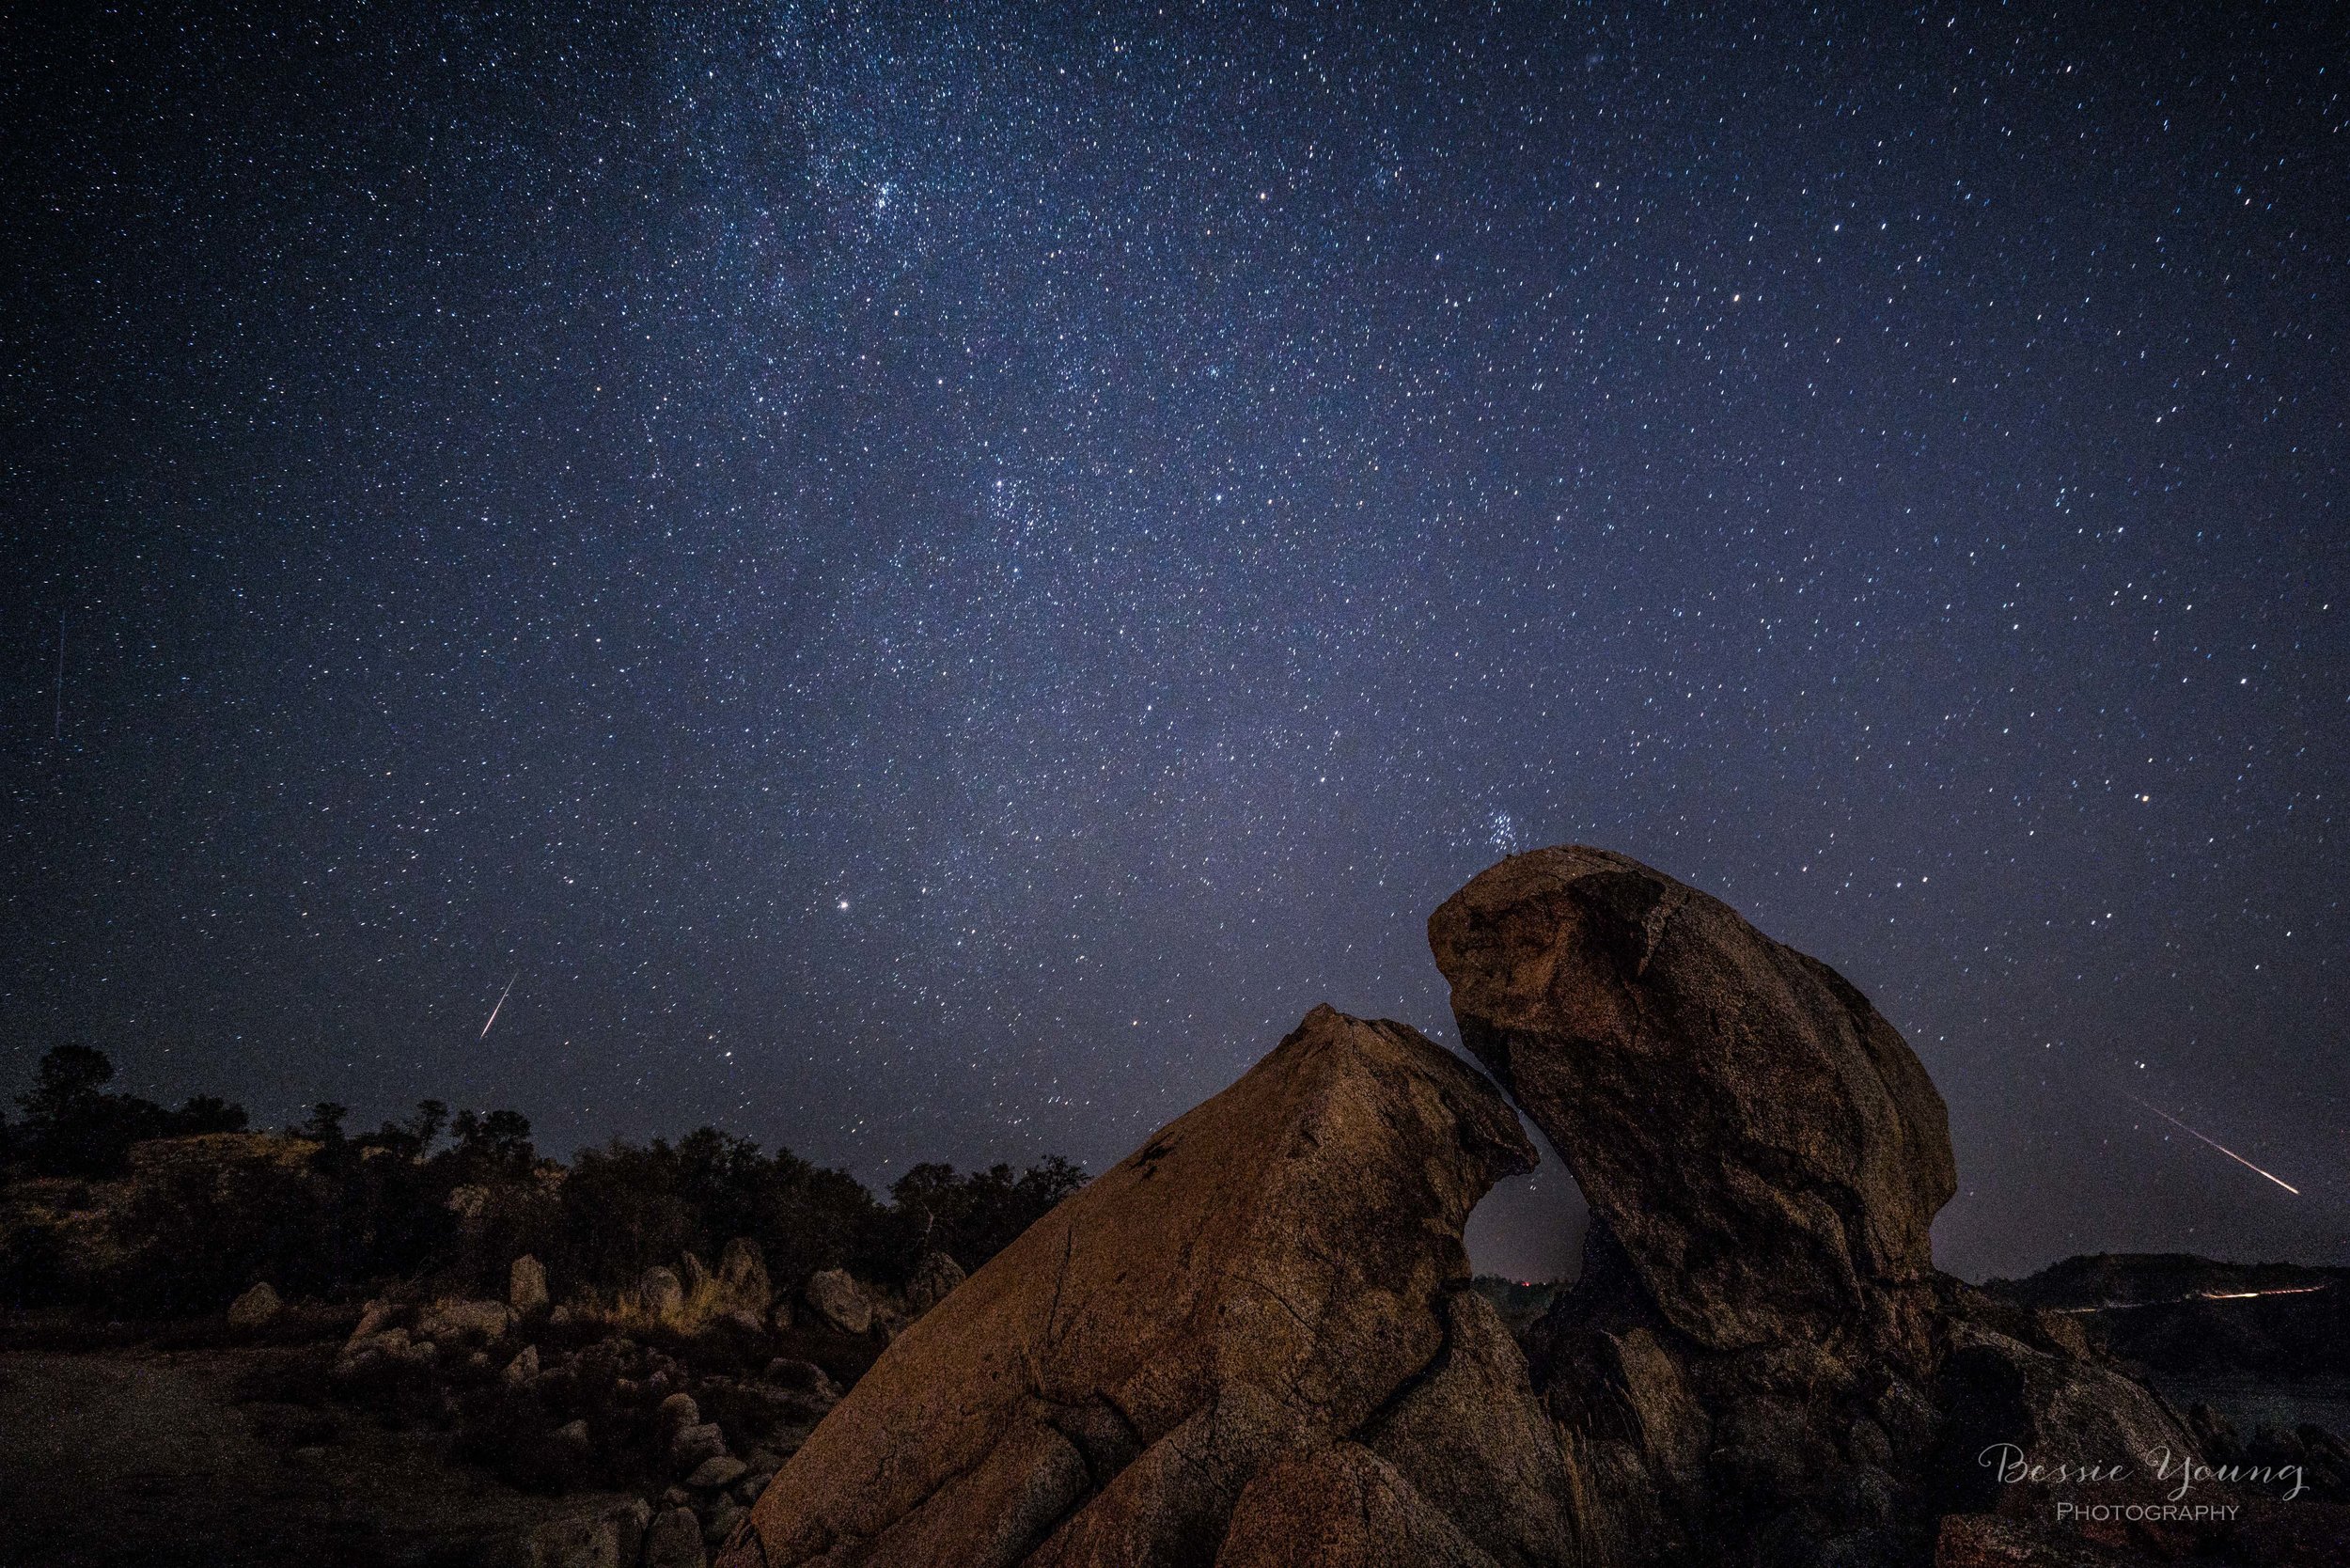
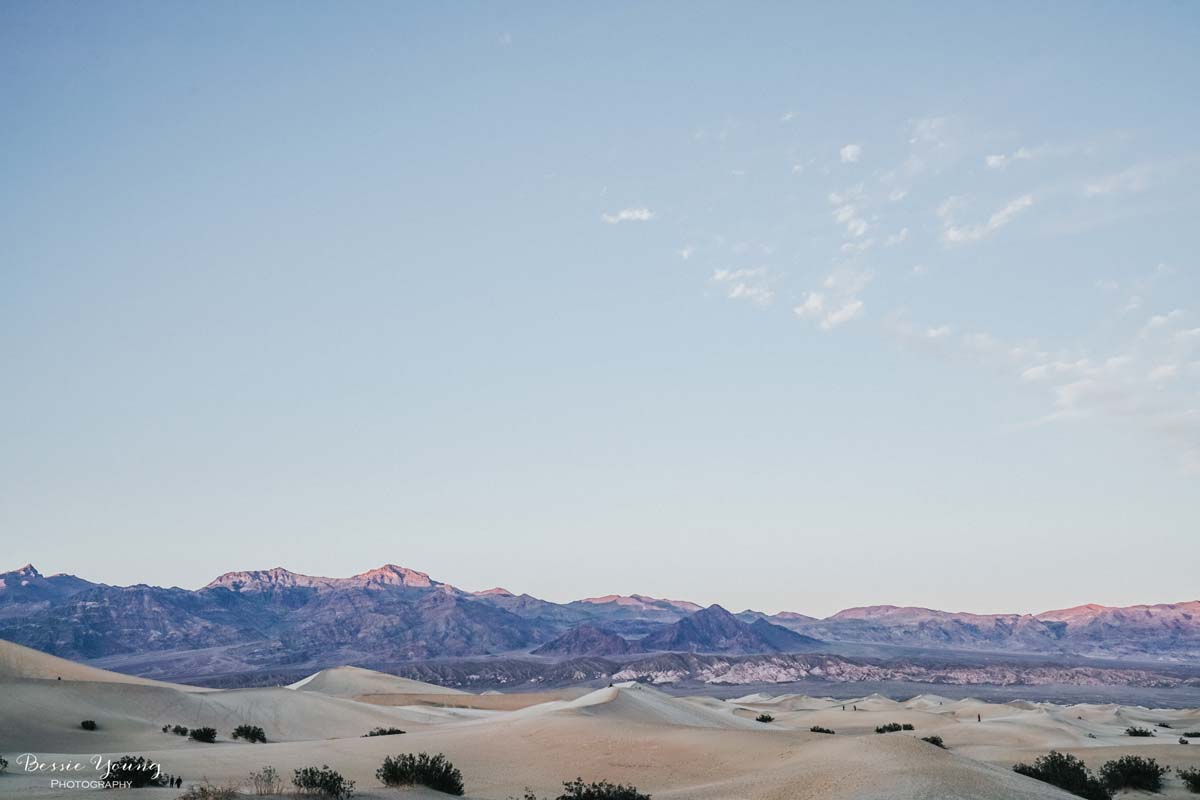
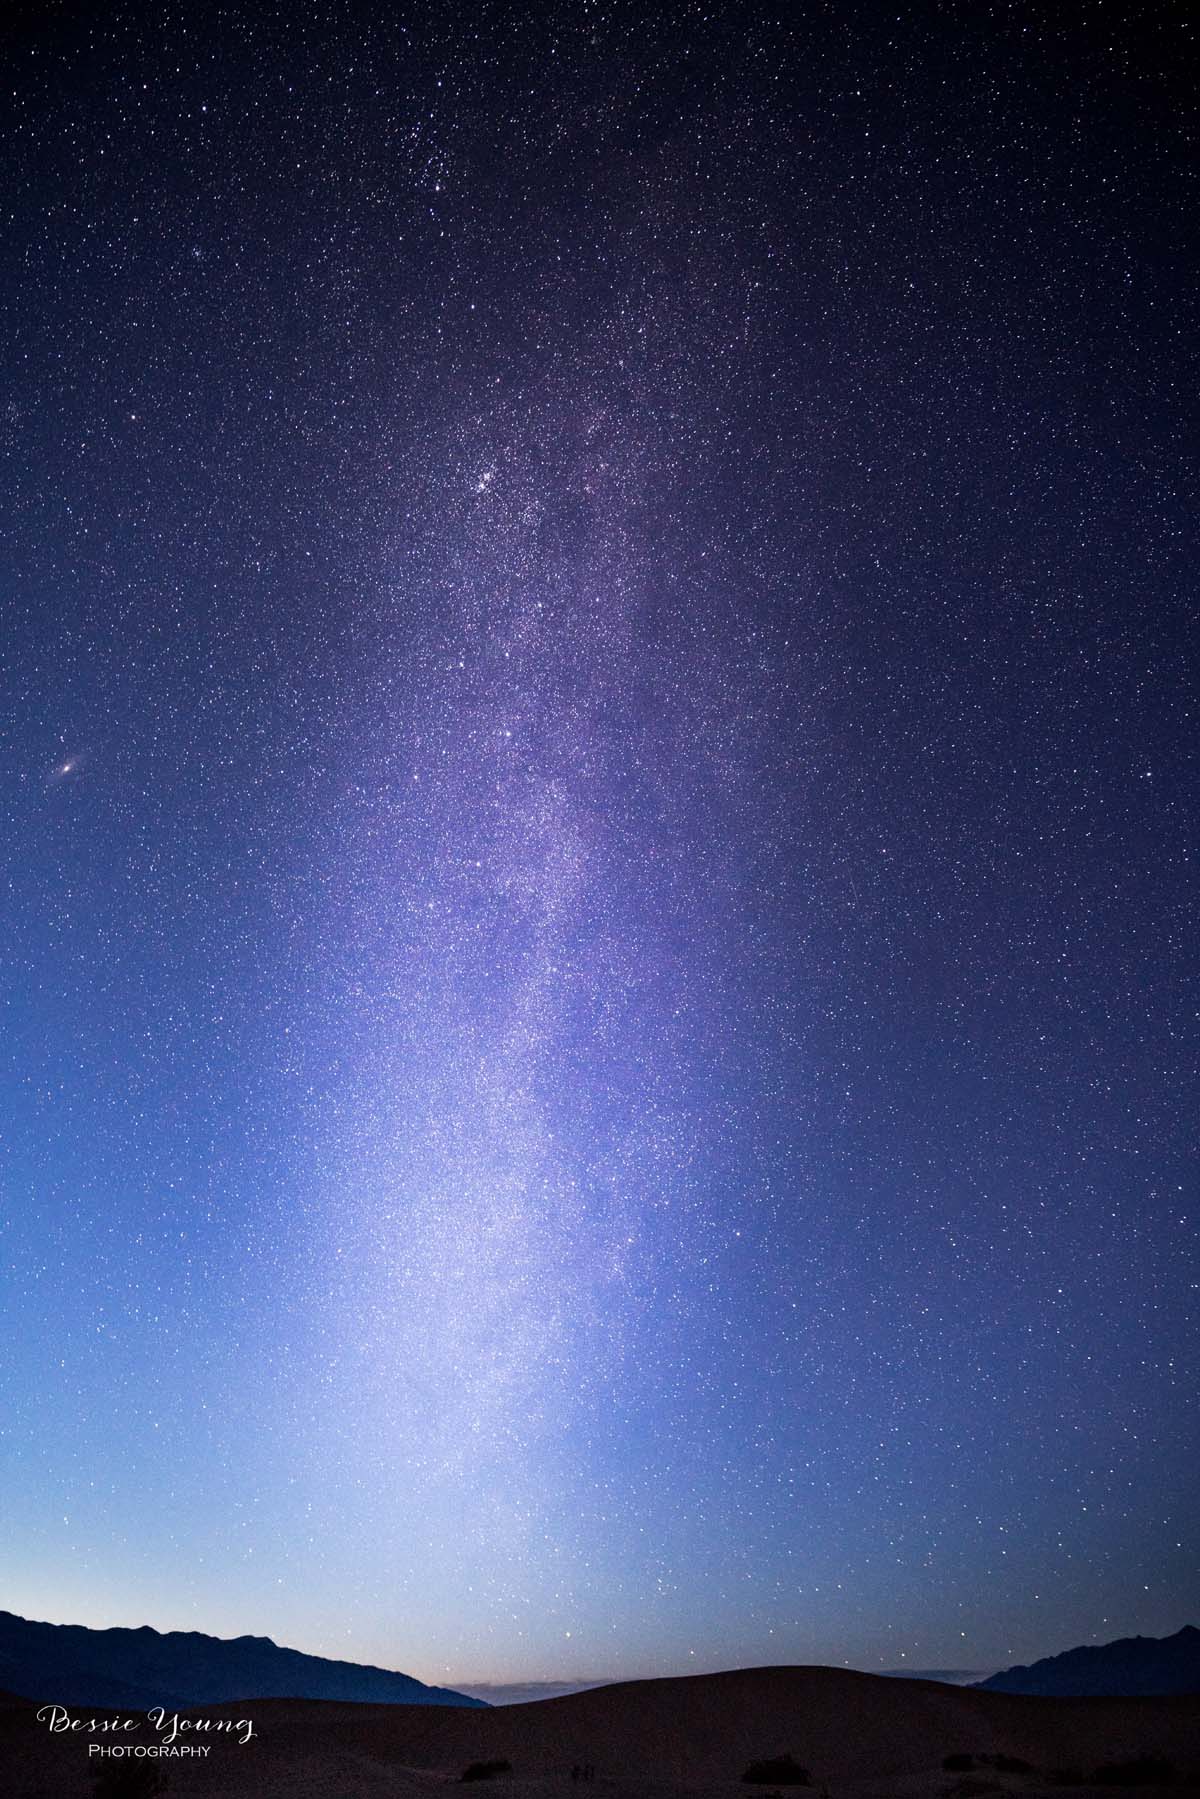
As I made my way out of Death Valley I stopped at the Mesquite flat sand dunes. This is where I spent the remainder of my day and stayed into the twilight hours.

Adventuring into Badwater Basin was so much fun. As I traveled out of the desert I started to really think how amazing California landscape really is, and how amazing it was that I have never been to Death Valley. I live not too far away but for some reason I haven't ever gone. Now, I am excited to say that I have seen it for the first time and it definitely won't be the last.

Have you ever been to Badwater Basin or Death Valley National Park? Tell me about your experience in the comments below. If you loved this post make sure to keep in touch by subscribing to my newsletter! Plus, each month I send out a fun FREE cell phone background of one of my featured images. Sign up here. All images are for sale in my Shop so make sure to check that out when you get a chance.

Wishing you all nothing but wonderful adventures,

Bessie


P.S. wanna know what gear I used? Check it out here:


Kit Used:


Sony A7Rii: http://amzn.to/1taGpAu
Sony FE 24-70 F2.8 G Master: http://amzn.to/2n747NJ
Sony 16-35mm lens: http://amzn.to/1UBjBDW
Vanguard Tripod: http://amzn.to/2aoI5ku

Filming:
LG G3 Smart Phone

Editing & Processing:
Adobe Lightroom: http://amzn.to/1WB7Jnc
Adobe Photoshop : http://amzn.to/1WB7YPh
Viva Video Pro for combining videos


Images are for sale here:
http://bessieyoung.photography/produc...

Hot Air Balloon Festival - Pahrump, Nevada


Hot Air Balloon Festival - Pahrump, Nevada

by Bessie Young


Spontaneous Adventures are the best types of adventures

This weekend I decided to go adventuring into the desert. I found out that in Nevada there is a little town called Pahrump that has a hot air balloon festival! The festival has hot air balloon rides, a Ferris Wheel, and then in the evening they have an amazing hot air balloon light show that is timed to music.

Driving to Pahrump took approximately 6 and a half hours. I decided to go down Hwy 99, then up over Hwy 58, along Hwy 15, and then take Hwy 178 into Pahrump, Nevada. This route made it to where there would be ample places to stop and take breaks, fill up on gas, and allow the best scenery of the desert.

I had booked a little cabin at the Preferred RV resort. It was such a cute little cabin and totally worth it as it was about half the price of any hotel room. This little cabin was equipped with a bed, bathroom, kitchen and living room. It had a TV, pots and pans for cooking, along with a coffee pot! The cabin was pet friendly which is a must for me as we all know I can't go anywhere without Yota.

The Festival

The balloon festival lasted all weekend. In the morning they had a little take off session for the balloons. Then in the afternoon there were different types of vendors, carnival rides, and hot air balloon rides. Around 6:30 the balloon light show started, on both Friday and Saturday, and lasted until about 6:50pm. People began gathering around the field at about 5pm. This festival was definitely a happening place. I got there around 5 for the light show to claim my spot. The good spots filled up fast around the field, so I was happy that I got there so early.

To find out more about the festivities check out their site here.

It was a little cold that evening. I had on a warm jacket, long sleeves, jeans, and boots. Even with all that, my toes were still super cold. If you do plan on heading out to this balloon festival make sure to pack an easy to carry chair, like this one, and some warm clothes.

All in all, this balloon festival was alot of fun. The timing was a little off as the flyer said the light show started at 6, but it really started at 6:30. There were two balloons that you could ride in. The balloons were tethered to the ground and the tickets were $10 each. If you wanted to get up close and personal to the balloons you could pay a VIP field entrance fee of $30. This allowed you to get much closer to the balloons during the light show. If not, you needed to stay behind a fence (which is what I did).

For me, it was all about the picture opportunity and the light show. The pictures turned out fantastic!

I hope you all enjoyed this post!

Wishing you nothing but fun adventures,

Bessie

------------------------------------------------------------

Wondering what gear I used? Check it out here:

Kit Used:


Camera Sony A7Rii: http://amzn.to/1taGpAu
Wide angle lens Sony 16-35mm lens: http://amzn.to/1UBjBDW
Standard lens Sony Master 24-70mm lens f2.8: http://amzn.to/2l6tTSA
Vanguard Tripod: http://amzn.to/2aoI5ku

Editing & Processing:
Adobe Lightroom: http://amzn.to/1WB7Jnc
Adobe Photoshop : http://amzn.to/1WB7YPh


San Joaquin River Trail - California Hiking Trail - Fresno

San Joaquin River Trail - California Hiking Trail - Fresno

(From Friant to Auberry)

Life is either a great adventure or nothing. Helen Keller

The San Joaquin River Trail is incredibly easy to get to which makes it quite popular. The road is a paved road all the way to the trail head and is only 25 minutes from Fresno. In my opinion, the best time to hike this trail is during the Spring. The temps are hiking friendly and you get to see all the beautiful wild flowers! The trail is a single track trail and you can expect to see hikers, runners, and mountain bikers . This is not a trail that loops, you will need to have travel accommodations at the finish line or you will be walking another 14 miles back to your vehicle. Cell phone reception is spotty along the trail.

Before we go into too much detail, I want to get one thing straight here... the sign at the downstream trail head says 11 miles from the beginning to the end. This would be from the restrooms at the Sky Harbour Picnic Area (S. Finegold Picnic Area)  to the San Joaquin River Gorge Special Recreation Management Area (formerly Squaw Leap); however, that sign is dead WRONG! I started a little further upstream from the Sky Harbour Picnic Area and still ended up walking around 13 miles according my GPS. The San Joaquin River trail website states that the trail is 14 miles, end to end. To see there website clickhere  .   It may not sound like a lot, but that extra 3 miles will add 1-2 hours to your trip depending on your speed. Here is an image of where I started:


San Joaquin River Trail Hike Details

Name: San Joaquin River Trail
Starting Point: Sky Harbour Picnic Area (S. Finegold Picnic Area)
Ending Point: San Joaquin River Gorge Special Recreation Management Area (formerly Squaw Leap)
Activity type: Hiking
Description: Carrying 30 lbs for training - A good portion of that being camera gear.
Total distance: 13.0 mi
Total time: 6:30:22
Moving time: 5:22:46
Average speed: 2.0 mi/h
Average moving speed: 2.4 mi/h
Max speed: 6.1 mi/h (at one point I started running up the hill just to get it over with)
Max elevation: 1014 ft
Min elevation: 433 ft
Elevation gain: 2374 ft
Max grade: 31 %
Min grade: -71 %

How to get to the trail head:

From Fresno, take Friant Road East through the town of Friant to Sky Harbour Road. Take a left(you can't go right). It is approximately 6 miles until you come to a dead end at the picnic area. The trail starts off steep so be ready to climb for about 1/2 mile right out of the gate. You can even take a little bit of a detour to the top of Pin Cushion Peek if you want to.

After the first 1/2 mile the trail flattens out for a while and then you begin to descend to just above the river.

San Joaquin River Trail - Hiking Trail - Fresno by Bessie Young Photography

As a side note... the lip balm. My sister bought this Alba lip balm for me when I was probably 20 and there is absolutely no going back to anything else. It is one of my favorites! It keeps your lips smooth and smells delicious. Just saying.... Ok, continue on...

Miners Lettuce will be abundant along the trail in the Spring. Ever Since I was little I have been obsessed with Miners Lettuce. It is absolutely beautiful, has these cute little white flowers, and always holds water droplets just perfectly from the morning dew. There is something about this plant that I just absolutely love.

The trail twists and turns along with the San Joaquin River. For the majority of your trip you will be near the river. In mid February you will catch the start of the poppy bloom and the grass will be green and lush.

If you do end up going in the spring you will find that the water is flowing and creating some beautiful albeit small waterfalls in the creeks. The creeks are a great opportunity for your dog to cool off. As you can see Yota loved the creek!

Eventually the trail begins to work it's way away from the river and you will find yourself looking over Temperance Flats. There is even a pit toilet not too far from where this photo was taken if you have to answer the call of the wild :)


Walking further away from the river you stumble upon this this beautiful old structure. (I am obsessed with old wood barns and homes so this was a huge delight.)

A bridge! You may think this is a sign that you are almost done, but think again. Once you cross this metal bridge you will find yourself heading uphill once again for a good stretch. You are in the home stretch; however after 11 miles, this uphill section isn't too much of a friendly sight.

Starting at 9:30 in the morning ended up being a little too late due to those pesky extra miles I had not planned for. I scheduled my ride to pick me up and as we got back to my car the sun had just started setting over Millerton Lake. Talk about gorgeous!

If you ever take this trip make sure to tag me in your photos @bessieyoungphotography! I would love to see your trip and the images you got. Also, if you enjoyed this post make sure to comment below and subscribe to my blog.

Until next time, wishing you nothing but fun adventures!

Bessie


To see more hiking trails check these blogs posts out:


Golden Gate Bridge, San Francisco


Golden Gate Bridge, San Francisco | Landscape Photography

by Bessie Young Photography

Where you Live

You know, it is quite funny that I live in California, only a couple hours from San Francisco, and I have yet to get a picture of the Golden Gate Bridge. I mean seriously?! How is it that possible. I am a photographer, almost 30 years old, and have yet to capture a good image of the Golden Gate Bridge San Francisco? This is a little bit crazy, a little bit sad, and honestly just wrong on so many levels.

San Francisco 2016 - Bessie Young Photography-61.jpg

This adventure was a great reminder that I need to stop and remember the epicness of the area around you. Sometimes we forget that we live next to some amazing sites. We live in a world where we are expected to travel to these epic places, but sometimes the epic places are in your back yard. These places are something that you have seen time and time again, but for some reason you never took the time to really stop and appreciate how epic they truly are. Stop! Look around you! Appreciate the gorgeous world you life in.

People travel from around the world to see the Golden Gate Bridge in San Francisco. For me, it is basically a hop, skip, and a jump for me to get to. This adventure was a reminder to myself to take a moment and appreciate how wonderful everything is around me rather than constantly looking at what the entire world has to offer. Sometimes, your back yard is truly epic.

The Golden Gate Bridge

The adventure was spontaneous, and it was intensely windy that day. I looked around for a bit and eventually found the perfect spot to get an amazing image of the Golden Gate Bridge. The Golden Gage Bridge San Francisco is an iconic piece of history....


During my adventuring that day I found out that night was the Summer Solstice and the Strawberry Moon. I stayed out late to get an image. The moon came up over the Bay Bridge and City of San Francisco. Come check out that blog here. Talk about being at the right place at the right time.

I hope you all enjoyed this blog post .  Don't forget to keep in touch by subscribing to my blog!

Images are for sale here.

Wishing you all nothing but happiness and epic adventures.

Bessie

------------------------------------------------------------

Wondering what gear I used? Check it out here:

Kit Used:


Sony A7Rii: http://amzn.to/1taGpAu
Sony 16-35mm lens: http://amzn.to/1UBjBDW
Canon 100-400mm f4: http://amzn.to/28TA55m
Sigma MC11 Adapter: http://amzn.to/28TjmRR
Vanguard Tripod: http://amzn.to/2aoI5ku

Filming:
LG G3 Smart Phone

Editing & Processing:
Adobe Lightroom: http://amzn.to/1WB7Jnc
Adobe Photoshop : http://amzn.to/1WB7YPh
Viva Video Pro for combining videos

Follow Along:
Facebook: http://www.facebook.com/bessieyoungphotography...
Instagram: http://www.instagram.com/bessieyoungphotography...
Twitter: https://twitter.com/bessyoungphoto
 

Sundial Bridge Redding, California

Sundial Bridge Redding, California

by Bessie Young

Wow! I cannot believe it took me so long to blog about this amazing bridge up in Redding, California! Earlier this Summer, I headed up to Redding for a fun night out exploring Turtle Bay. The main purpose of the trip was to get pictures of the Sundial Bridge at night. A few years back, I found out about the Sundial Bridge; however, I wasn't there at night. Ever since then I have been wanting to go back to Redding in order to capture the beauty of the bridge all lit up.

I was so excited to be able to get the opportunity to take some pictures of the bridge at night. I even was able to capture a few stars despite the bright lights of the bridge.

There were quite a few people hanging out on and around the bridge that night. It seems as though Turtle Bay is a happening place up in Redding. There are some super fun events that happen near and around the bridge such as farmers markets and so forth. This made it a tiny bit difficult to capture a good picture of the bridge with no one on it. Also, the bridge sways ever so slightly which can interfere with the quality of the photo.

The bridge looks amazing from far away; however, you have to walk on it! The lights on the base of the bridge glow this beautiful blueish purple. The Sundial Bridge is absolutely astonishing at night. The way the bridge lights up is phenomenal and a must see if you are in the area. If you want to learn a little more about the Sundial Bridge check it out here.

You can also find some more information about the bridge and fun things to do up in Redding here on the Visit Redding website.


Wishing you nothing but fun adventures,

Bessie

Hey Photogs! Want to know what equipment I used? Check it out here:

Kit Used:


Sony A7Rii: http://amzn.to/1taGpAu
Sony 16-35mm lens: http://amzn.to/1UBjBDW
Vanguard Tripod: http://amzn.to/2aoI5ku

Filming:
LG G3 Smart Phone

Editing & Processing:
Adobe Lightroom: http://amzn.to/1WB7Jnc
Adobe Photoshop : http://amzn.to/1WB7YPh
Viva Video Pro for combining videos

Photographing Foxes | Wildlife Photography

Photographing Foxes | Wildlife Photography

by Bessie Young

Most people don't know this, and some photographers don't want to admit it, but every photographer has a 'photo bucket list'. Yes, I said it... a bucket list. A list of images that you are dying to get at some point in your life. It may be an image that has been taken a thousand times, but you haven't taken it. You haven't been able to put your own special twist on the subject. For me, getting a picture of a fox is something that has always been on my bucket list.

Yes, they are super hard to find and typically come out at night. I have always wondered if I would be lucky enough to check this one off of my Photography Bucket List, and come Christmas Eve 2016 I can finally say that it is checked off!!!!

I am so beyond excited to share these images with you guys. One day I was out for a run and saw a fox in the field. I was beyond ecstatic, but of course, I did not have my camera with me. After all I was trying to get a work out in :) Well, the work out became a session of staring into the field, watching a fox run around and then eventually lay down to sunbath. Ever since then, whenever I pass the field, I stare hoping to see the fox again. This Christmas Eve, I saw him again and this time I was prepared. I decided to have a stakeout. I sat in a chair, camera on a tripod, in freezing cold weather, with a nice cup of hot tea and a down jacket.... just waiting.... hoping.... and praying that I may get the chance to get a picture of the little guy. Then, he came out! Then another one! Seeing two was almost too much!

Finally, after about 1.5 hours, I got a handful of fantastic images! I am thrilled to have these pictures in my portfolio. I am still perfecting my wildlife photography and learning so much along the way.

If you have any questions don't forget to leave a comment :)

Wishing you nothing but fantastic adventures!

Bessie

Hey Photogs! Curious what gear I used? Check it out here:

Sony A7Rii: http://amzn.to/1taGpAu
Canon 100-400mm f4: http://amzn.to/28TA55m
Sigma MC11 Adapter: http://amzn.to/28TjmRR
Vanguard Tripod: http://amzn.to/2aoI5ku

Filming:
LG G3 Smart Phone

Editing & Processing:
Adobe Lightroom: http://amzn.to/1WB7Jnc
Adobe Photoshop : http://amzn.to/1WB7YPh
Viva Video Pro for combining videos

Point Reyes National Seashore Ship Wreck

Point Reyes National Seashore Ship Wreck

by Bessie Young

My eyes were stinging and it was pitch dark outside. I laid in bed wondering... should I, or shouldn't I.... will it even be worth it? I rolled over, turned on the light by my bed to help me wake up a little... and then I laughed. Will it be worth it, come on Bessie Please! Of Course it will be worth it! Jumping out of bed, I rushed to gather all my things from the hotel in order to get on the road and head out to my location of choice, the ship wreck out at Point Reyes National Seashore.

As I walked outside I looked up and the stars were still out nice and bright. First things first, coffee! It was about 5 in the morning in December which meant cold cold cold. I wasn't really expecting below freezing though. After I got my coffee and headed out to Point Reyes I noticed the degree, 29! What? 29 in the Bay Area of California? I was beyond excited that I pack like a girl scout and I had by down jacket with me :) . Yes, I even try to carry the kitchen sink ;) .

The drive took about an hour from Mill Valley, California. This state still amazes me with the diversity. In 3 hours you can be at pretty much any landscape you want... desert, mountains, or ocean. It is fantastic!

Getting to my spot of choice, there was still barely any light which was perfect. It gave me just enough time to scope out my location and find a place to set up. The pictures turned out phenomenal. I am a little obsessed with the sun rays coming over the bay, the ducks, and the little building all lit up in the background. Right now that one is my favorite.

Let me know which one is your favorite by commenting below!

This is an absolutely beautiful place to go, and if you haven't ever been, you should schedule something soon. The ship wreck is amazing, put the entire Point Reyes National Park is absolutely beautiful. Now keep in mind:

  1. There is no good way to get there
  2. There is no gas in the area
  3. Cell phone reception is sketchy at best.

I hope you all enjoyed this post. Don't forget to comment and subscribe.

Wishing you nothing but amazing adventures,

Bessie


Hey Photogs! Wondering about the kit I used? Check it out here:

Kit Used:


Sony A7Rii: http://amzn.to/1taGpAu
Sony 16-35mm lens: http://amzn.to/1UBjBDW
Canon 100-400mm f4: http://amzn.to/28TA55m
Sigma MC11 Adapter: http://amzn.to/28TjmRR
Vanguard Tripod: http://amzn.to/2aoI5ku

Filming:
LG G3 Smart Phone

Editing & Processing:
Adobe Lightroom: http://amzn.to/1WB7Jnc
Adobe Photoshop : http://amzn.to/1WB7YPh
Viva Video Pro for combining videos


Perseid Meteor Shower

Perseid Meteor Shower

Millerton Lake Fresno | August 2016 Adventure


Keep your eyes on the stars, and your feet on the ground. Theodore Roosevelt

An all too familiar tune was sounding in the far distance. I rolled over and rubbed my eyes, picked up my phone to see the the time.... 12:30am... my alarm going off nice and loud. Turning it off I rolled over on my back, rubbing my stinging eyes, and then Boom it hit me... the meteor shower! It is time to head out and enjoy the yearly meteor shower, not to mention get some amazing photos :)  I had originally planned to pull an all nighter, but why do that when you can get a few hours of shut eye and still enjoy the natural occurrence?

Perseid Meteor Shower by Bessie Young Photography

All my things were already loaded in the car. All I had to do was walk outside and drive to my planned spot at the North side of Millerton lake!

The annual meteor shower hit its peak during the morning of Friday, August 12th. Each and every year, during August, the Earth passes through a trail of debris left by the comet Swift Tuttle. When this happens the event is called the Perseid Meteor Shower. This year it was predicted that at the height of the Meteor Shower there could be a soar of 200 meteors per hour during perfect conditions. Perfect conditions being clear skies, no artificial light, and a new moon. This year the moon is about half and sets around 1am which is the perfect time to go out and watch the show.

It is not in the stars to hold our destiny but in ourselves. William Shakespeare
Perseid Meteor Shower by Bessie Young Photography


Why should you make the effort to watch the Perseid meteor shower?

  1. To unplug
  2. Enjoy nature
  3. Enjoy solitude and reconnect with yourself
  4. Get inspired
  5. Be awestruck by God's creations
  6. Realize how small we really are in this massive world

How to watch the Perseid Meteor Shower:

  1. Plan to head outside before the August 24th
  2. Get away from any artificial light
  3. Plan out your spot and find an open sky
  4. Be ready to stay up late (past midnight)
  5. Look to the northern sky
  6. Bring a blanket , comfy chair, and some hot cocoa
  7. Don't forget about snacks and bug spray :)
  8. Enjoy the show!


It took alot of planning and quite a bit of effort but I made it! I was able to get some great photos and enjoy the show! Did you head out to see the meteor shower? Leave a comment below and let me know about your trip. Also, if you have any questions or just want to chat about my photography or my experience leave a comment. I would love to talk to you :)


Wishing you lots nothing but great adventures!


Bessie


P.S. for you photogs out there here is a list of the equipment I used:

Camera - Sony A7Rii

Lens - Sony 16-35mm f4

Tripod - Vanguard

Editing - Lightroom and Photoshop

All video was taken with my phone.


Prairie Creek Redwood State Park


Prairie Creek Redwood State Park

Northern California

by Bessie Young

The Northern California coast is one of my absolute favorite places to visit during the Summer. The weather is amazing, the people are kind, and the views are spectacular.  Each and every year my family and I head north for a summer camping trip. We venture up to Northern California to get away from the heat, go camping, and enjoy the outdoors with great company!

As you drive to the Northern California coast you want to make sure to take HWY 20 if you are coming from Central California as this is a quick route and you won't hit any traffic. The last good place to fill up is Williams and then after that the next best spot is Willits. Now if you have never been North along Hwy 101 you need to know that it is desolate. There are few towns and even fewer gas stations so make sure you plan accordingly.

When I head north there are 3 things that I have in mind to see. The first is the gorgeous redwoods and various hiking trails. The second is the Ocean. The third are the Roosevelt Elk! Each and every year these scenes never get old. They are absolutely amazing and it is so wonderful when we get lucky enough to see the Elk.

If you ever get a chance to hike the California Redwoods you need to do it! The trails go from the redwoods all the way to the ocean. Most of these trails are easy to moderate hiking depending on the trail you decide to take. Typically, I venture to the scenic route along Hwy 101, the Newton Drury Scenic Pkwy, and begin my wandering. This area is called the Prairie Creek Redwood State Park.  If you are planning on making it to the ocean make sure you start your venture off of the scenic route on Hwy 101 and use the trails on the West side of the road. These trails head West to the ocean. Here is a map of the park.

Other fun things to do while near this area:


Gear used for photos:

I would absolutely love to talk to you about my trip, photography, or anything. Leave a comment below!

Wishing you nothing but happiness and fun adventures!

Bessie

Summer Solstice | Strawberry Moon

Summer Solstice | Strawberry Moon

June 20th, 2016

By Bessie Young

It is Summer, it is the solstice the crowd is cheering, the crowd is laughing in detail
permanently, seriously without thought. - William Carlos Williams

I was one of the lucky ones....

Ding... my phone went off. Ding, ding... again. Ding, ding, ding.... again and again. I found myself in San Francisco on June 20th. My goal was to get pictures of the Golden Gate Bridge at sunset, but for some reason people kept texting me! As I stepped away from my camera and looked down at my phone to see what was going on I found that I had a few texts from different people. The first message 'hey girl! camping this Sunday?' ... the second message 'hello? what are you doing?' ..... the third message 'Heads up!!! There's a once in a generation event happening tonight! The strawberry moon! Summer solstice coinciding with a full moon!' .... the fourth message 'it's supposed to be the strawberry moon tonight just fyi'....

Umm what!!!! Yes, that got my attention in the matter of seconds. "once in a generation event"!! So of course I had to get my google foo on to research this so called strawberry moon. It just so happened that I was lucky enough to be in the right place at the right time! Talk about amazing! I was one of the lucky ones. One of the people that actually witnessed this event happening. I was even luckier as I just so happen to have all my photography gear in order to capture this amazing event! Wow, just wow!

So, what is this once in a generation thing that I am talking about? The summer Solstice and the Full moon occurring on the same day. The full moon rose on the same day as the June solstice for the very first time since 1948, and I got to photograph it!!

According the the farmers almanac:

“For the first time in nearly 70 years, the Full Moon and Summer Solstice coincide on the same day. This full Moon rises just as the Sun sets. The moment of full Moon is early Monday morning, 20 June. So it will look equally full on Sunday night and Monday night. You get two chances to enjoy the Solstice” strawberry moon!

Read the full article here:

http://www.almanac.com/content/first-day-summer-2016-summer-solstice

Learn more about the summer solstice and full moon occurrence from the National Geographic site here

or from the Treehugger site here

Gear used:

Camera - Sony A7Rii

Lens - Canon 100-400mm f4

Lens - Sony 16-35mm f4

Tripod

LG G3 phone for Remote to my camera

Wishing you nothing but great adventures and beautiful days!

Bessie

Yosemite Firefalls - El Capitan Horsetail Falls

Yosemite Firefalls - El Capitan Horsetail Falls

The sun setting, the temperature dropping, and the hope that the weather cooperates. People talking about where they are from and some giving their life stories. Other share in their camera settings and how to get 'the shot'. Each learning something from one another. Then the colors start to change... Silence...

Yosemite Firefalls - El Capitan Horsetail Falls by Bessie Young Photography

One person cheers, another claps, and then the entire valley floor roars with hooping and hollering for the beauty that nature is providing us. The sun continues to set, colors change yet again, everyone still in utter awe over the natural phenomena. The colors begin to fade, and everyone breaths yet again. Amazed at what they just saw and realizing that they made it. They saw it. They came and saw something that most people couldn't even dream of seeing. Yosemite Firefalls - El Capitan Horsetail Falls.

It is absolutely astonishing how nature can bring people together. Hundreds of people gathered around with a hope to see the Firefalls.

People begin to say their goodbyes to others they never met until this night. Nature bringing people together. It didn't matter their political views, opinions, age, or status. It only mattered that each and every person there had one thing in common... their true love for nature. As you sat there watching the colors change the entire world went away. Worries were gone, everyone connected, and the thought of hope could be found in each and everyone's eyes.

John Muir was more than right: 'In every walk with nature one receives far more than he seeks.'

If you ever get a chance to experience the Firefalls, don't hesitate! Don't think! Just do. Realize that we only live once and that as long as we actually LIVE it that once is enough. Experience Life.

Image is available for sale in my shop just click here.

Details about Yosemite Firefalls natural occurrence:

When: Middle to Late February

Where: Horsetail Falls also known as El Capitan falls in Yosemite National Park

How: The phenomenon appears when the angle of the setting sun hits the waterfall. If conditions are not perfect then the fall will not glow. What is needed:

  1. Has to be February at sunset. This year the the orange showed up at 5:40pm.

  2. Horsetail falls must be flowing

  3. The western sky must be clear at sunset. Absolutely no clouds.

To get more details check out this post:

http://yosemitefirefall.com/yosemite-firefall-horsetail-fall/


As always, wishing you nothing but the very best!

Bessie


facebook.com/bessieyoungphotography

instagram.com/bessieyoungphotography


Purchase a print for your wall of this natural phenomenon here