Four Minute Fridays are Here!! Photography Tips and Tricks

Four Minute Fridays are Here!!

Photography Tips and Tricks

Four Minute Fridays are here! Wait what is that even a thing?
Heck yes it is, I just made it up 😂.

Ok on a serious note... I made a YouTube video all about it to kick off 4 Minute Fridays! Go check it out.


This year I decided I wanted to add more how to tips and tricks videos for this YouTube channel. I put out a poll on my social media both Instagram and Facebook. That pole was asking if people would be interested in 4 minute Fridays and every single person voted yes.

Ok so what the heck am I talking about? Four minute Fridays are going to be a series of how-to videos. Each video is going to be under four minutes long and get straight to the point. I will be posting these videos every other Friday throughout this year and if I get crazy I will post them every Friday.

Now don't worry I'm still going to be sharing my behind the scenes and how I got the shot videos along with my Adventures. The Four Minute Friday series is only going to be an addition to my landscape photography. I hope you guys are as excited as I am for this series of videos. I can't wait to begin sharing all the things that I have for you in this upcoming year.

So until next Friday I hope you guys have an amazing day.

Bessie


Hey Photogs! Wanna know what gear I use? Check these out:

Camera Gear

Electronic Gear


To see photography tips and tricks:

Top 3 Questions Photographer’s Are Asking

There are so many questions that I get asked from photographers or aspiring photographers. Many of them are the same, and I always have the same answer. This post is to answer the top 3 questions photographers are asking:


I’m brand new, where do I start?

Q: "I'm new, like I just bought my camera kind of new. I don't really know how to use it, I don't have any clients or a portfolio. What should my first step be? Where do I start?

A: Let me tell you Friend, I have been there. When I first started I had an old Canon T2i and a kit lens. I only had pictures of my family as my portfolio. I typically shot in auto while dabbling in manual mode.  I focused on the business side of things and worked hard on setting up systems that would be not only sustainable but profitable.

Starting a photography business isn't all about photography or how good you really are. WHAAATTTTTT? Yes, I said it, a photography business isn't all about the pictures. Weird right? The truth is, you have to know how to run a business or you will most likely not be able to make a living being a photographer. So, honestly, and I know it isn't what you want to hear, but you are going to have to learn the business side of things. Invest in this.

As a photographer the art is our passion. We want to be better, we challenge ourselves as artists, and we are always motivated to improve because it is what we love. Learning the strategies that keep your business afloat is the difficult part and a place that you need to focus your energy on.

Now with all that being said, have you gotten your FREE photography basics cheat sheet? Make sure to head on over to my Freebie section and download yours for free today.

How can I build my confidence up?

Q: "How do I build my skills and my portfolio so I can feel confident in charging money, running my business, and pursuing my dream? Do I really have what it takes?”

A: Fear is taking over your thoughts. You need to allow your self to pursue your passion. Listen to that little voice inside your head, your intuition. The voice is telling you a photography business IS possible; therefore, it is! Make it happen!

When I first started my business I only a handful of family portraits. Yes, these family portraits were of my sisters and their families. That is it. Now, with that being said, the experience you create is just as important. You want to make the people you are serving feel important and valued. I know that I am not the best photographer out there, but I treat my customers like they are the absolute top priority for me (because they are and always should be!).

Don't let your fear and what you think is 'rational reasoning' to stop you from starting your dream. Just start it. You have to start somewhere right? A few things I did when first starting out is I reached out to a few friends and family, set up a few styled shoots, and began building my portfolio. I even did a few shoots for free in order to build up my portfolio. Create work you are proud of and that will build your confidence. Also, let go of all your worries and stop stopping yourself.

I’m afraid to put myself out there…

Q: I am afraid to put myself out there. I don't want to be rejected and I don't want people to judge me. I want to reach my ideal customer, but when I put up my images I feel like a fraud, like I'm not a 'real photographer'. I feel stuck...

A: This is where the pep talk comes in! In order for people to love your work, they have to love you. Your work is your art, and there are so many photographers out there it is unbelievable, but there is only one you in this world and that is your power. Don't believe the lie that you are "just another photographer, and oh all those photographers are just the same, just pick the cheapest one." NO! Let me say it again, there is only one you in this world and that is your POWER. You need to share a bit about yourself before people can trust you. You need to be present in your business, and not just show your portfolio. People need to learn more about you, and get to know you before they can trust you.

So my question to you, is are you showing up on your feed? Can I find a picture of you? The more people can connect with you, the more they will know, like and trust you. Once you get this, then you can focus on serving and then providing content.

Before you post something anywhere (blog, social media, email, etc ) make sure to ask these questions...

1. Who is this serving? Is it my client?

2. How are you telling the story with the image? You want to be personable.

3. Does this sound like me, or am I hiding behind the image. Would people know that this is me talking, or just a robot? Does it others connect with me?

Hopefully this helps a little bit with addressing your fears.

Now Go Get Em!

Bessie
What do you need? How can I help you?

Please take just one minute for me, because this is for you....

I am working on creating a few Freebies for my website! One of my main goals in my Landscape photography is to help you! I want to serve you, but first I need to know exactly what you need.

What are you wanting? What are you needing? Where are you stalling on? What questions do you have? How can I help?
So, I have a few ideas on Freebies to offer, but first I wanted to see what all your thoughts were. Please vote!


Survey: What do you need? How can I help with a free gift?

These are just some of my ideas that I think would help you. Please make sure to leave a comment to let me know what exactly you need :) Thank you so so much for participating!


Thank you so so very much for taking the time to participate in this quick survey. I truly appreciate it!

Also, don't forget to sign up for my newsletter to be the first to know about new freebies when they come out!

Wishing you nothing but beautiful days and fun adventures!

Bessie


How Can I Help You in Learning Photography by Bessie Young.jpg

How To Take A Panoramic Picture | Minaret Summit | Landscape Photography

How To Take A Panoramic Picture

on location at the Minaret Summit

Mammoth Lakes, California


After my adventure to find fall throughout Montana, Utah, and California, I ended up in Mammoth Lakes. While searching around Mammoth for fall colors I stumbled upon this beautiful lookout, the Minaret Summit. When I saw the amazing views this lookout had to offer, the first thing that came to my mind was I need to get a Panorama! I mean, what better spot to take a panoramic picture than when your staring at one of the most iconic ranges in the Sierra?!

I decided that this was also the perfect spot to talk a bit about how I take panoramic pictures :) So....

How to take the perfect panoramic picture:

Step 1:

  1. Set up your tripod.
  2. Level your tripod.
    • This is key! Make sure that the bubbles on your tripod are spot on.
  3. Point your camera to the left side of your scene. This will be your first image.
    • Make sure to add a little extra space to each side of your panorama as you will loose a little bit in post processing.
  4. Lock your tripods adjustments in place.
  5. Double check your camera settings and fine tune the focus.
  6. Put your camera on at least a 2 second timer for an ultra clear shot.
  7. Take the picture.

Step 2:

  1. Unlock your pan on your tripod.
  2. Pan to the right about a third of the way from your previous frame.
    • This means you want to have approximately two thirds of your previous image in your second image.
    • Why? This way your images have enough data for stitching them together in post processing and will guarantee a clear image with no seams.
  3. Lock your tripods adjustments in place.
  4. Take the picture.

Step 3:

  1. Repeat step 2 until you pan across your entire scene. I have found that I typically take 4-5 frames.

Hopefully this helps you to capture those beautiful panoramic pictures that you have always dreamed of!

Wishing you nothing but the best!

Bessie

P.S. Wondering what gear I used? Check out my gear list here.


20 Inspiring Photography Quotes

20 Inspiring Photography Quotes

by Bessie Young

There are so many famous photographers throughout history that have provided some amazing images; however, it wasn't just their images that were inspiring... it was their actions, the way that they looked at life, and the way that they spoke about it. Their insights into the creative process have guided generations of photographers and guided the way for how we see photography today.

Many creatives get stuck in a creative void. Their inspiration leaves them one night while they are sleeping. When they wake up... they find a black hole. An empty spot in their mind and belly. Something that could last for days, weeks, or even years. This can be a fear of many creatives. Something that comes naturally to them vanishes at the blink of an eye. We, as creatives, have to feed the fire that burns inside us. If we don't feed it, we end up going a little bit crazy. We lose our sense of being... our sense of life... our sense of value.  I have had this happen to me, but luckily it only lasted just a few days. During that time, I felt a little lost. What do I do? Where do I go from here? When I begin to feel this way with photography there are a few things that I do to bring the inspiration, the fire, back:

  • I head out into nature
  • I schedule a creative shoot
  • I review other peoples gorgeous photos (photography forums, facebook groups, and of course Pinterest :)
  • I read quotes!

Some of the above ideas are easy to do, but finding inspiring quotes... not so much. I wanted to provide an easy page to provide some inspiration, some quotes that will help you get your creative mind back. It took a bit of research to find inspiring quotes. There are so many quotes out there, but most don't resonate with you. Most are some odd thing that someone said at a moment in their life. But to find a truly inspiring quote can get you back into action. Here are 20 inspiring quotes that I have documented throughout my creative luls:

20 Inspiring Photography Quotes by Bessie Young.jpg

1. It is more important to click with people than to click the shutter - Alfred Eisenstaedt

2. Wherever there is light, one can photograph - Alfred Stieglitz

3. The best images are the ones that retain their strength and impact over the years, regardless of the number of times they are viewed - Ann Geddes (1956)

4. You don't take a photograph, you make it - Ansel Adams (1902 - 1984)

5. There are always two people in every picture: the photographer and the viewer - Ansel Adams (1902 - 1984)

6. A good photograph is knowing where to stand - Ansel Adams

7. Photography helps people see - Berenice Abbott (1898-1991)

8. Photography is a love affair with life - Burk Uzzle (1938)

9. Photography for me is not looking, it is feeling. If you can't feel what you are looking at, then you are never going to get others to feel anything when they look at your pictures - Don McCullin (1935)

10. Photography takes an instant out of time, altering life by holding it still - Dorothea Lange

One should really use the camera as though tomorrow you’d be stricken blind - Dorothea Lange

12. A camera is a tool for learning how to see without a camera - Dorothea Lange

13. A portrait is not made in the camera but on either side of it - Edward Steichen (1879-1973)

14. There are only you and your camera. The limitations in your photography are in yourself, for what we see is what we are - Ernst Haas

15. Which of my photographs is my favorite? The one I am going to take tomorrow - Imogen Cunningham

It’s one thing to make a picture of what a person looks like, it’s another thing to make a portrait of who they are - Philip Jones Griffiths

17. The eye should learn to listen before it looks - Robert Frank (1924)

18. Photographs open doors into the past, but they also allow a look into the future 0 Sally Mann (1951)

19. Only photograph what you love - Tim Walker - 1970

20. When you photograph people in color you photograph their clothes, but when you photograph people in black and white, you photograph their souls - Ted Grant

And one of my absolute all time favorites:

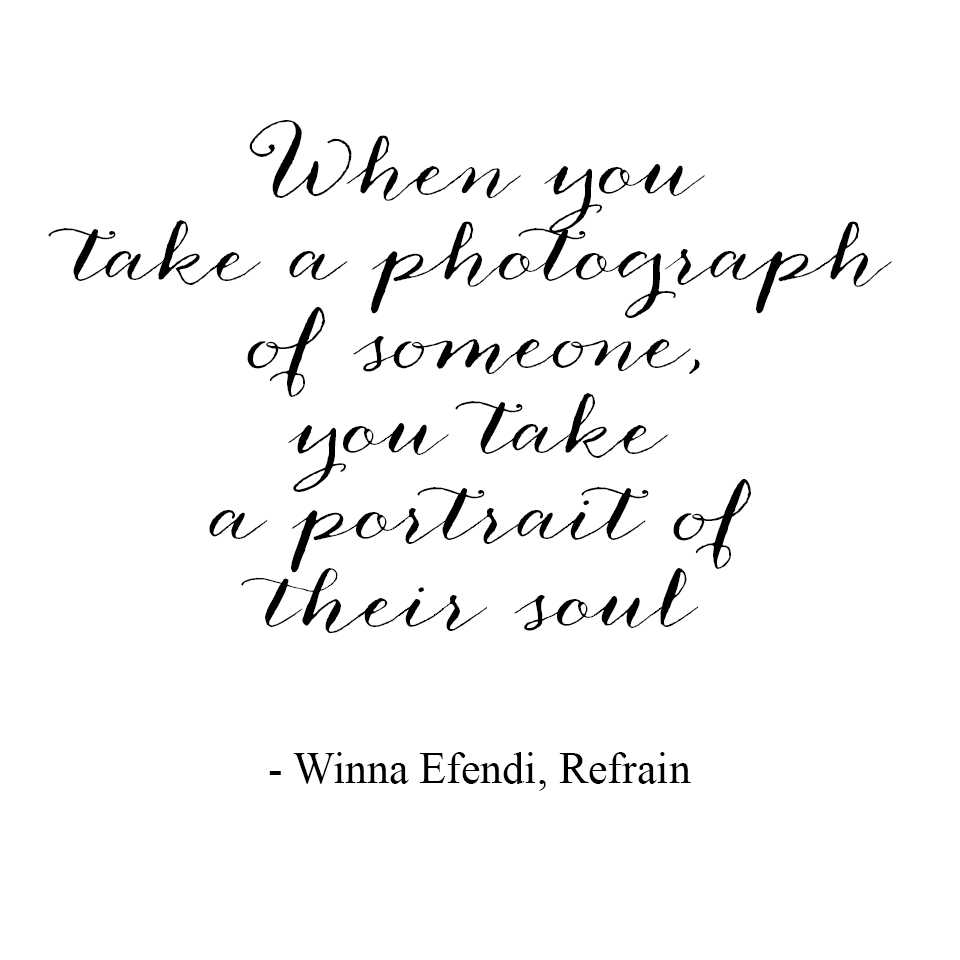
When you take a photograph of someone, you take a portrait of their soul - Winna Efendi, Refrain

I hope that some of these quotes inspired you to get back out there and take pictures.

Wishing you nothing but inspiration and creativeness

Bessie
photography quote by bessie young photography.jpg
 

Some of these quotes were found on petapixel.com

and Brainy Quotes

Photography Tips and Tricks | Introducing Light | Learn to shoot manual mode

Hey Guys! This is the first video and blog in my fundamentals of light series in order to help you learn to shoot manual mode. Within this series we will be discussing Shutter Speed, Aperture, and ISO. With this series I also created a super handy Photo Basics Cheat Sheet! You can find it off to the right of this page. All you have to do is enter your information and the cheat sheet will be available for instant download. Super neat right?! This is all free and will help you along your journey in learning photography.  For this first post I want to introduce light and exposure. After all what is photography without perfect light?

Every photo has a story. In order to create that story many elements have to come together. One of the key elements is light. it sets the mood, creates depth, or highlights your subject. Light can make or break a photo. So what are the fundamentals of seeing light? There is exposure, quality, direction, and then there is shadows and highlights.

Exposure is the amount of light that falls on the sensor of your camera resulting in the overall brightness of your image. In photography it is very common to hear exposure refered to as a stop of light. The difference between one stop can be significant. Here is an example:

Exposure-example-by-Bessie-Young-Photography-250x88.jpg

This image goes from three stops under exposed to three stops over exposed. So how do you get the correct exposure? Exposure is controlled by three elements called the 'holy trinity' of exposure. These elements are Shutter Speed, Aperture, and ISO. I will explain these three elements in three future blog posts. This way we can dive deep into each element.

If you are wanting to learn photography I am on a mission to make photography easy to understand and help teach as many people as I can. Make sure to subscribe to my Youtube channel or to my blog in order to get updates when I post something new.

Wishing you all a wonderful day and beautiful photos,

Bessie

P.S. wanna know what gear I used? Check it out here:
Kit Used:
Camera: Sony A7Rii: http://amzn.to/1taGpAu
Favorite Lens: Sony FE 24-70 F2.8 G Master: http://amzn.to/2n747NJ
Best Wide Angle: Sony 16-35mm lens: http://amzn.to/1UBjBDW
Vanguard Tripod: http://amzn.to/2aoI5ku

Filming:
LG G3 Smart Phone

Editing & Processing:
Bulk editing: Adobe Lightroom: http://amzn.to/1WB7Jnc
Fine tuning: Adobe Photoshop : http://amzn.to/1WB7YPh
Viva Video Pro for combining videos


Unboxing the Sony A6500 | I finally got one!

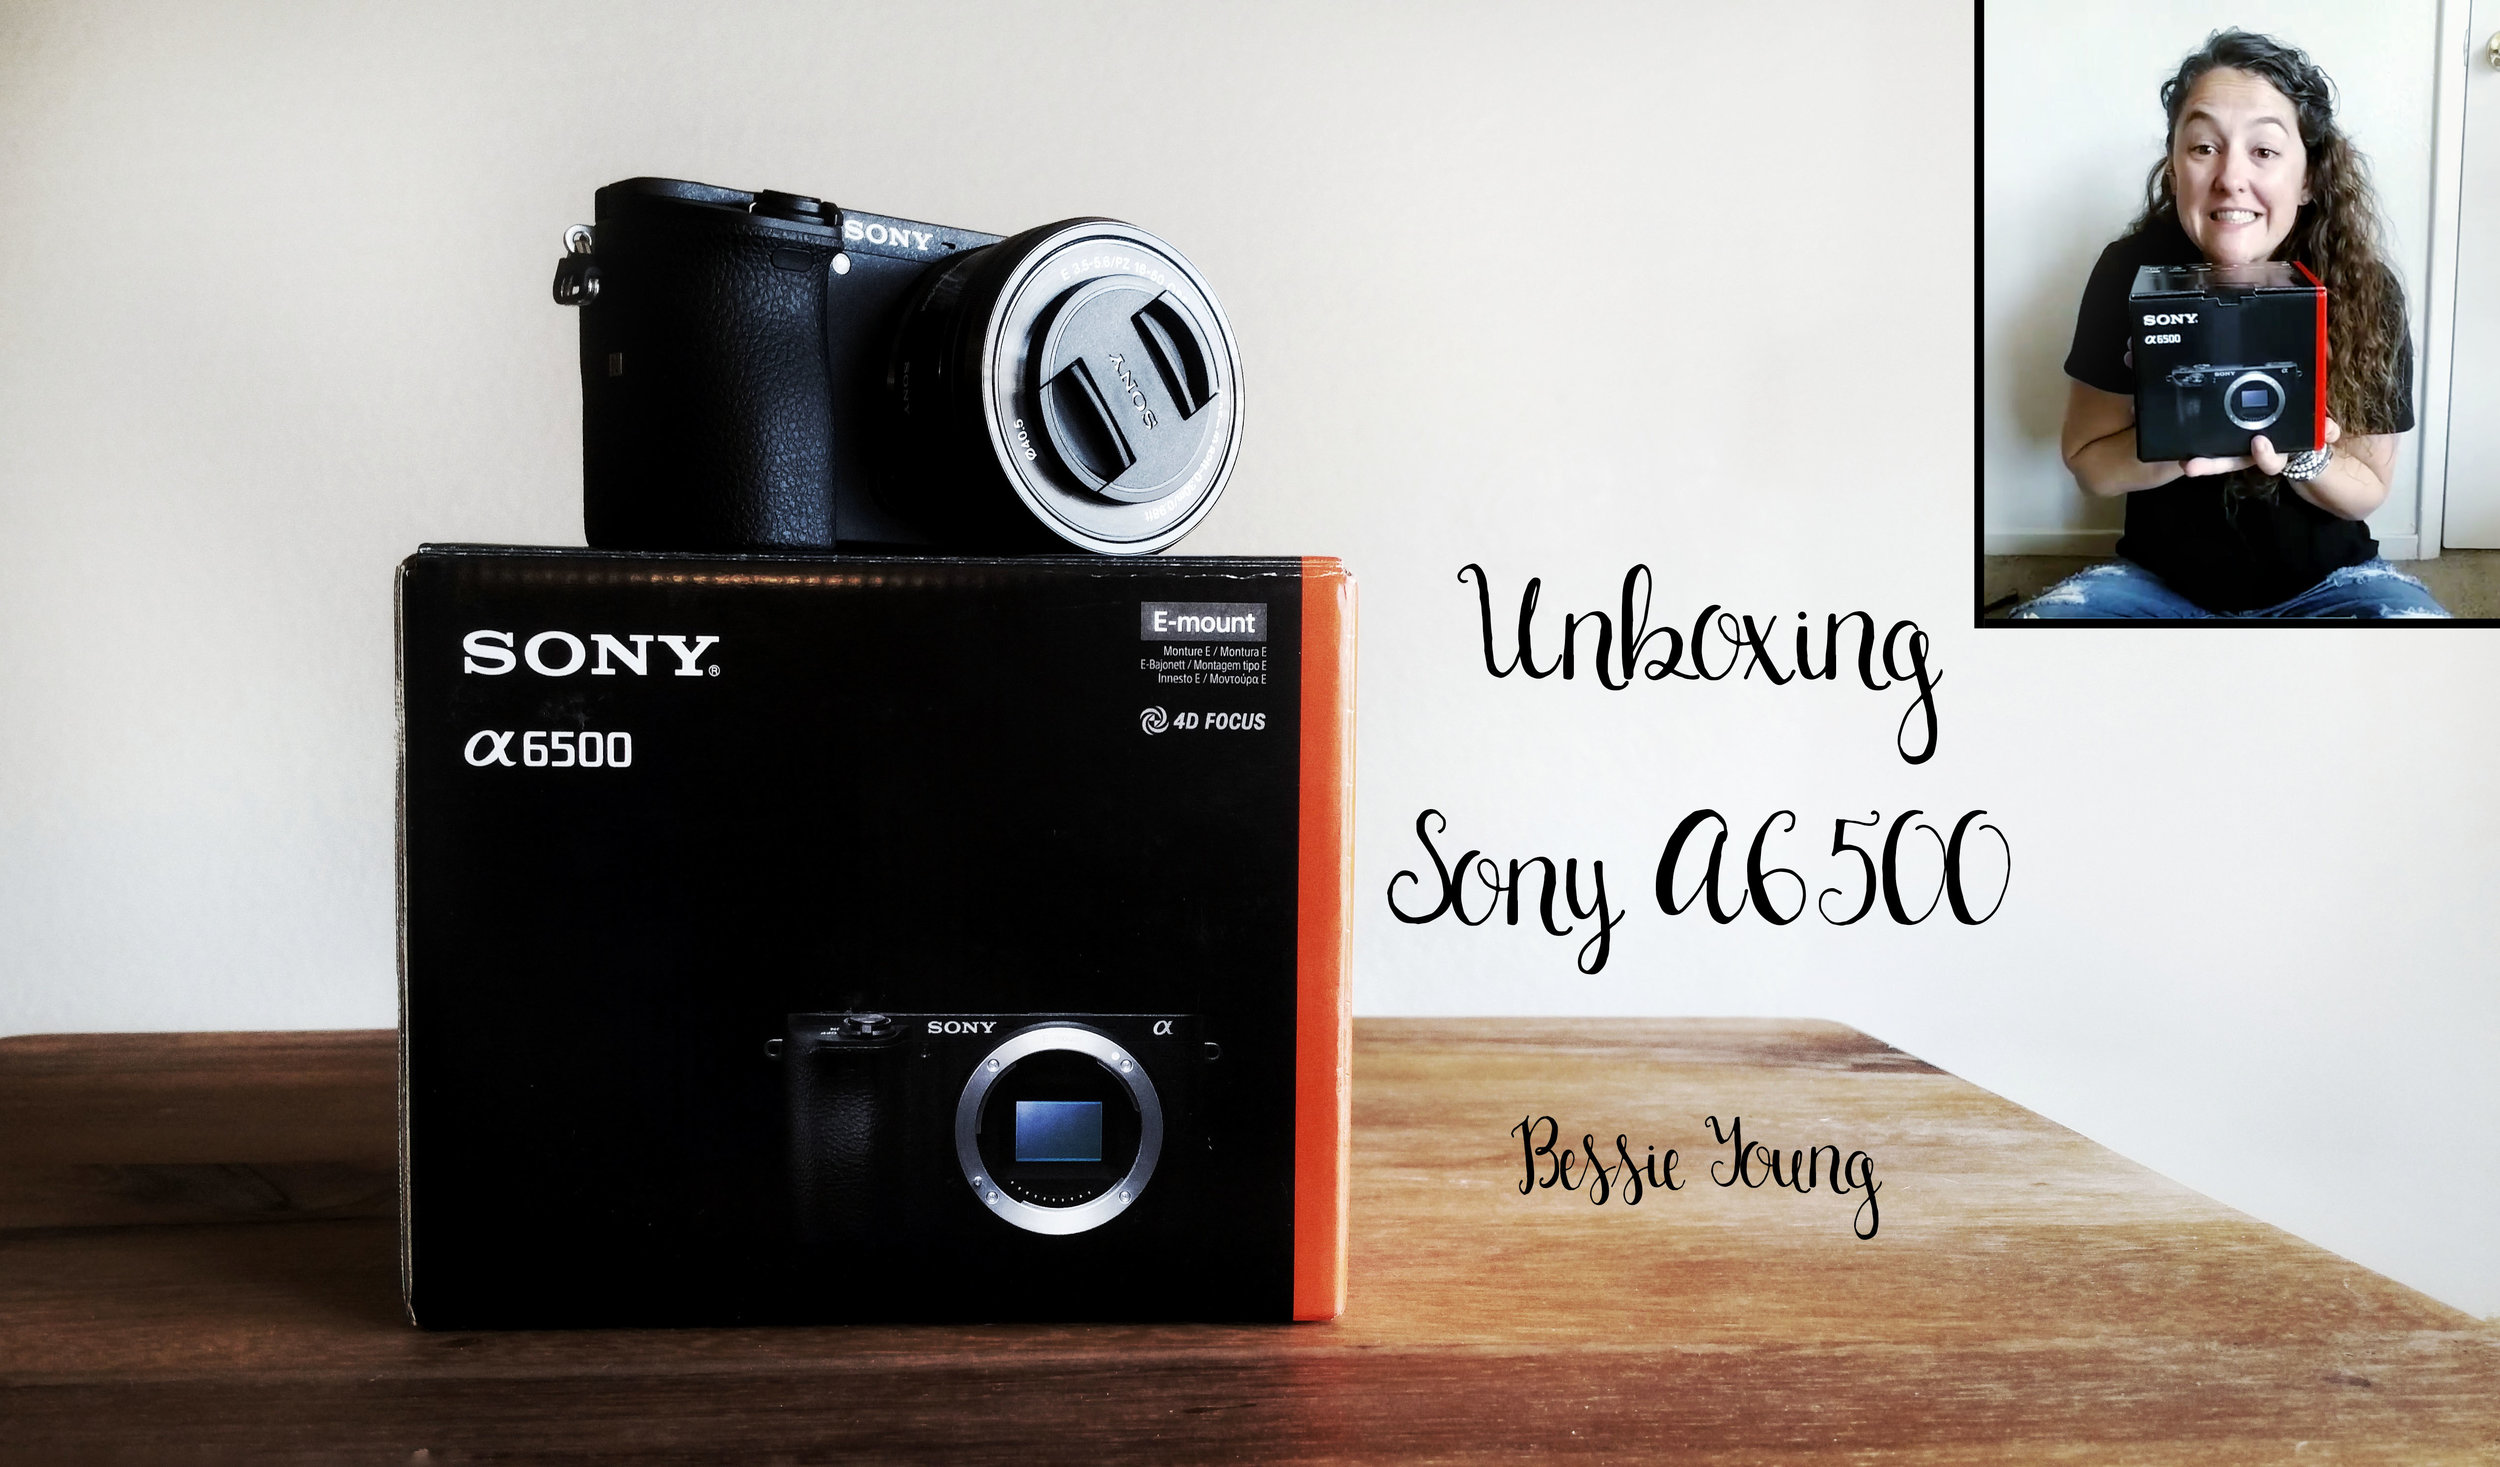
I am beyond excited about finally getting the Sony A6500 (if you watched the video, you could probably tell by how many times I said it). This past week, I finally bit the bullet and decided that in order to really up my video game I needed to use something other than my smart phone. I also decided that it would be a good idea to have a second camera for those needed or unexpected moments.

unboxing the Sony A6500 by Bessie Young.jpeg


This camera is going to allow me to get some awesome video and behind the scene shots for my adventuring and 'how I got the shot' videos. I can't wait to take this out and give it a try. So why did I choose this one? Why didn't I get another Sony A7rii, A7, or A6000? Well alot of factors went into this decision. I have been putting this purchase off for quite some time as I wanted to make sure I made the right decision. Basically, the deciding factors were the size, the fact that it would use all my lenses, the price tag, the burst mode capability, and the video capability. I wanted to mainly use this camera for my videos and then having a backup camera is much needed. It is slightly smaller than the A7rii, my main camera.

Is there a down side? Yes. This camera is a cropped sensor camera where as my main camera is a full frame. I thought about getting another A7rii, but did I NEED another full frame camera? At this moment in time, I decided that this camera will be the next big step and I am absolutely thrilled!!

So, I just wanted to give you all an update on what I have been up to and the thoughts behind expanding my photography business.

I hope you all enjoyed this small update. If you want to follow along on my crazy life, business adventure, learn photography, and so forth make sure to subscribe to my blog. This way you will get an update on when I post some fun and exciting news :)

Also, don't forget about the photography cheat sheet! You can find it to the right of your screen, or the bottom if you are on a phone. Download it for free!

Wishing you all a beautiful day,

Bessie

P.S wanna know what gear I used? Check it out here:

Unboxing-Sony-A6500.jpg


Kit Used:


Camera: Sony A7Rii: http://amzn.to/1taGpAu
Backup Camera and Video: Sony A6500: http://amzn.to/2rEEh63
Favorite Lens: Sony FE 24-70 F2.8 G Master: http://amzn.to/2n747NJ
Best Wide Angle: Sony 16-35mm lens: http://amzn.to/1UBjBDW
Vanguard Tripod: http://amzn.to/2aoI5ku

Filming:
Samsung Note 4 Smart Phone: http://amzn.to/2rxq2yd
Sony A6500: http://amzn.to/2rEEh63

Editing & Processing:
Bulk editing: Adobe Lightroom: http://amzn.to/1WB7Jnc
Fine tuning: Adobe Photoshop : http://amzn.to/1WB7YPh
Viva Video Pro for combining videos


Common Mistakes in Landscape Photography

Remember growing up and having your parents get mad at your sibling for something? Let's just say I am the youngest of 4 girls so I got to watch my older siblings get in trouble. Yes there were lots of tears in a house of 4 girls (actually 5 when you count my mama). After watching the frustration, pain, sadness, and all around bad feelings happen when someone makes a mistake you learned that you wouldn't do that same thing or else you would get in trouble too, and go through those same feelings!

If you see someone make a mistake you most likely won't make the same mistake that they did.  So, lets discuss common mistakes in landscape photography. I wanted to talk about this subject in order to show you the mistake in hopes that it would help you not make the same one.

Here are the common mistakes that I have seen, and made myself, while on my journey in Landscape Photography:

  1. Lazy field work

    • Get the picture right in the field.
    • Move your feet to where they need to be. Get the random object out of your frame. Don't fix your lazy field work in your editing. Get it right in the field.
  2. Over complicating your image

    • Simplicity is key.
  3. Bad lighting

    • Shoot during sunrise or sunset.
    • Choose natural light.
  4. Bad Exposure

    • Stop looking at the back of your camera and start paying attention to your histogram.
    • Get the exposure right in the field not in your post processing (editing).

Watching the video is going to be the best and most detailed.

I hope you guys enjoyed this one. Please leave a comment and let me know common mistakes that you have seen in the field. If you have a question, or would like me to post a video about something specific make sure to let me know!

Wishing you nothing but beautiful images,

Bessie

Common mistakes in landscape photography by Bessie Young.png


P.S. wanna know what gear I used? Check it out here:


Kit Used:


Camera: Sony A7Rii: http://amzn.to/1taGpAu
Favorite Lens: Sony FE 24-70 F2.8 G Master: http://amzn.to/2n747NJ
Best Wide Angle: Sony 16-35mm lens: http://amzn.to/1UBjBDW
Vanguard Tripod: http://amzn.to/2aoI5ku

Filming:
LG G3 Smart Phone

Editing & Processing:
Bulk editing: Adobe Lightroom: http://amzn.to/1WB7Jnc
Fine tuning: Adobe Photoshop : http://amzn.to/1WB7YPh
Viva Video Pro for combining videos

My Landscape images are for sale here
 

Essentials for Landscape Photography

Essentials for Landscape Photography

Photography Tips and Tricks

by Bessie Young

Getting started in photography can be quite overwhelming. Don't fret, I am here to help :) If you are looking to get started in photography and wondering where exactly to start, what exactly you need to get started, then this post and video is for you :) This one is all about the Essentials for Landscape Photography.

Many people think that you need a plethora of things to begin taking pictures, but the truth is, you don't need as much as you may think.

So, without further adieu here are the

Bare essentials for landscape photography:

1. A Camera

Now this is somewhat of a duh thing, but what I mean by this is that you need a camera that you can shoot in manual mode. This is where you can adjust the aperture, shutter, ISO, and white balance.

2. A Wide Angle Lens

Most landscape photographs are shot with a wide angle lens. In landscape you want to get the majority of the scene. In order to do so you will need to have the widest lens possible.

Wide lenses are in the lower ranges such as a 16-35mm.

Mid range lenses are best for portraits. These will be in the 50mm - 85mm range.

Long lenses, telephoto, are best for wildlife. This will be 100mm and above.

3. A Tripod

Yes this is a must. A tripod will allow you to get those crisp, clear shots. It will also allow you to use a slow shutter speed in order to get smooth water, night skies, etc.

THAT'S IT!

I hope this helps un-complicate things and inspires you to get out and start taking photos.

Wishing you nothing but the best!

Bessie

P.S. wanna know what gear I used? Check it out here:


Kit Used:


Camera: Sony A7Rii: http://amzn.to/1taGpAu
Favorite Lens: Sony FE 24-70 F2.8 G Master: http://amzn.to/2n747NJ
Best Wide Angle: Sony 16-35mm lens: http://amzn.to/1UBjBDW
Vanguard Tripod: http://amzn.to/2aoI5ku

Filming:
LG G3 Smart Phone

Editing & Processing:
Bulk editing: Adobe Lightroom: http://amzn.to/1WB7Jnc
Fine tuning: Adobe Photoshop : http://amzn.to/1WB7YPh
Viva Video Pro for combining videos

My Landscape images are for sale here:
http://bessieyoung.photography/produc...


3 Tips to Instantly up your Photo Game


3 Tips to Instantly up your Photo Game

Photography Tips and Tricks

by Bessie Young Photography

Are you struggling with your photography and getting those pictures just right? Well, whether you use an Iphone or a DSLR camera here are 3 tips and tricks to instantly up your photo game:

1. Angles -

Try something different. Take about 10 seconds to move your feet and try a different angle.

Ideas would be to take the picture from:

  • Above
  • Below
  • Lying down
  • 45 degree angle

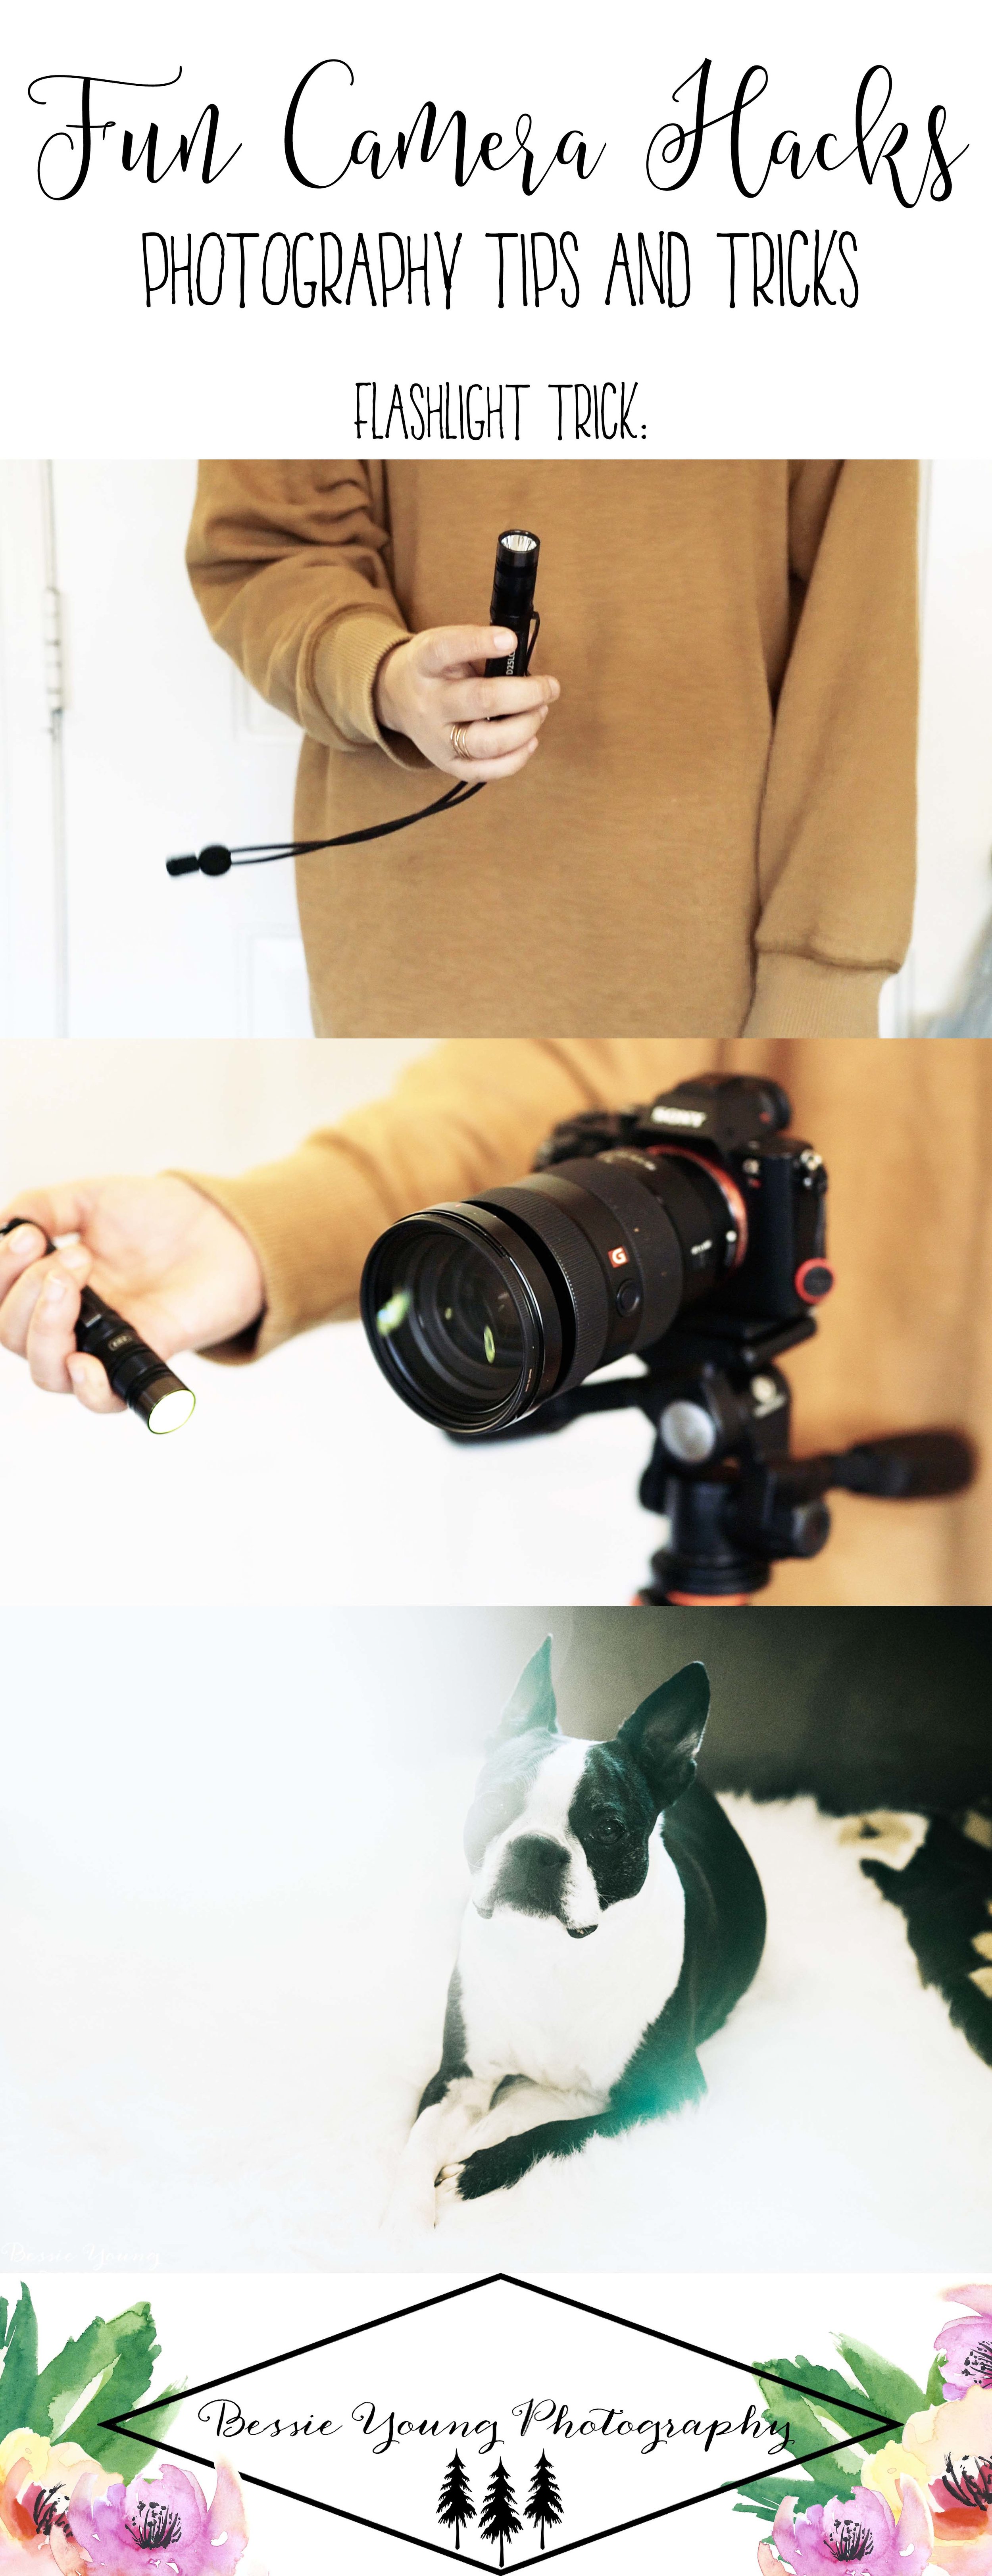
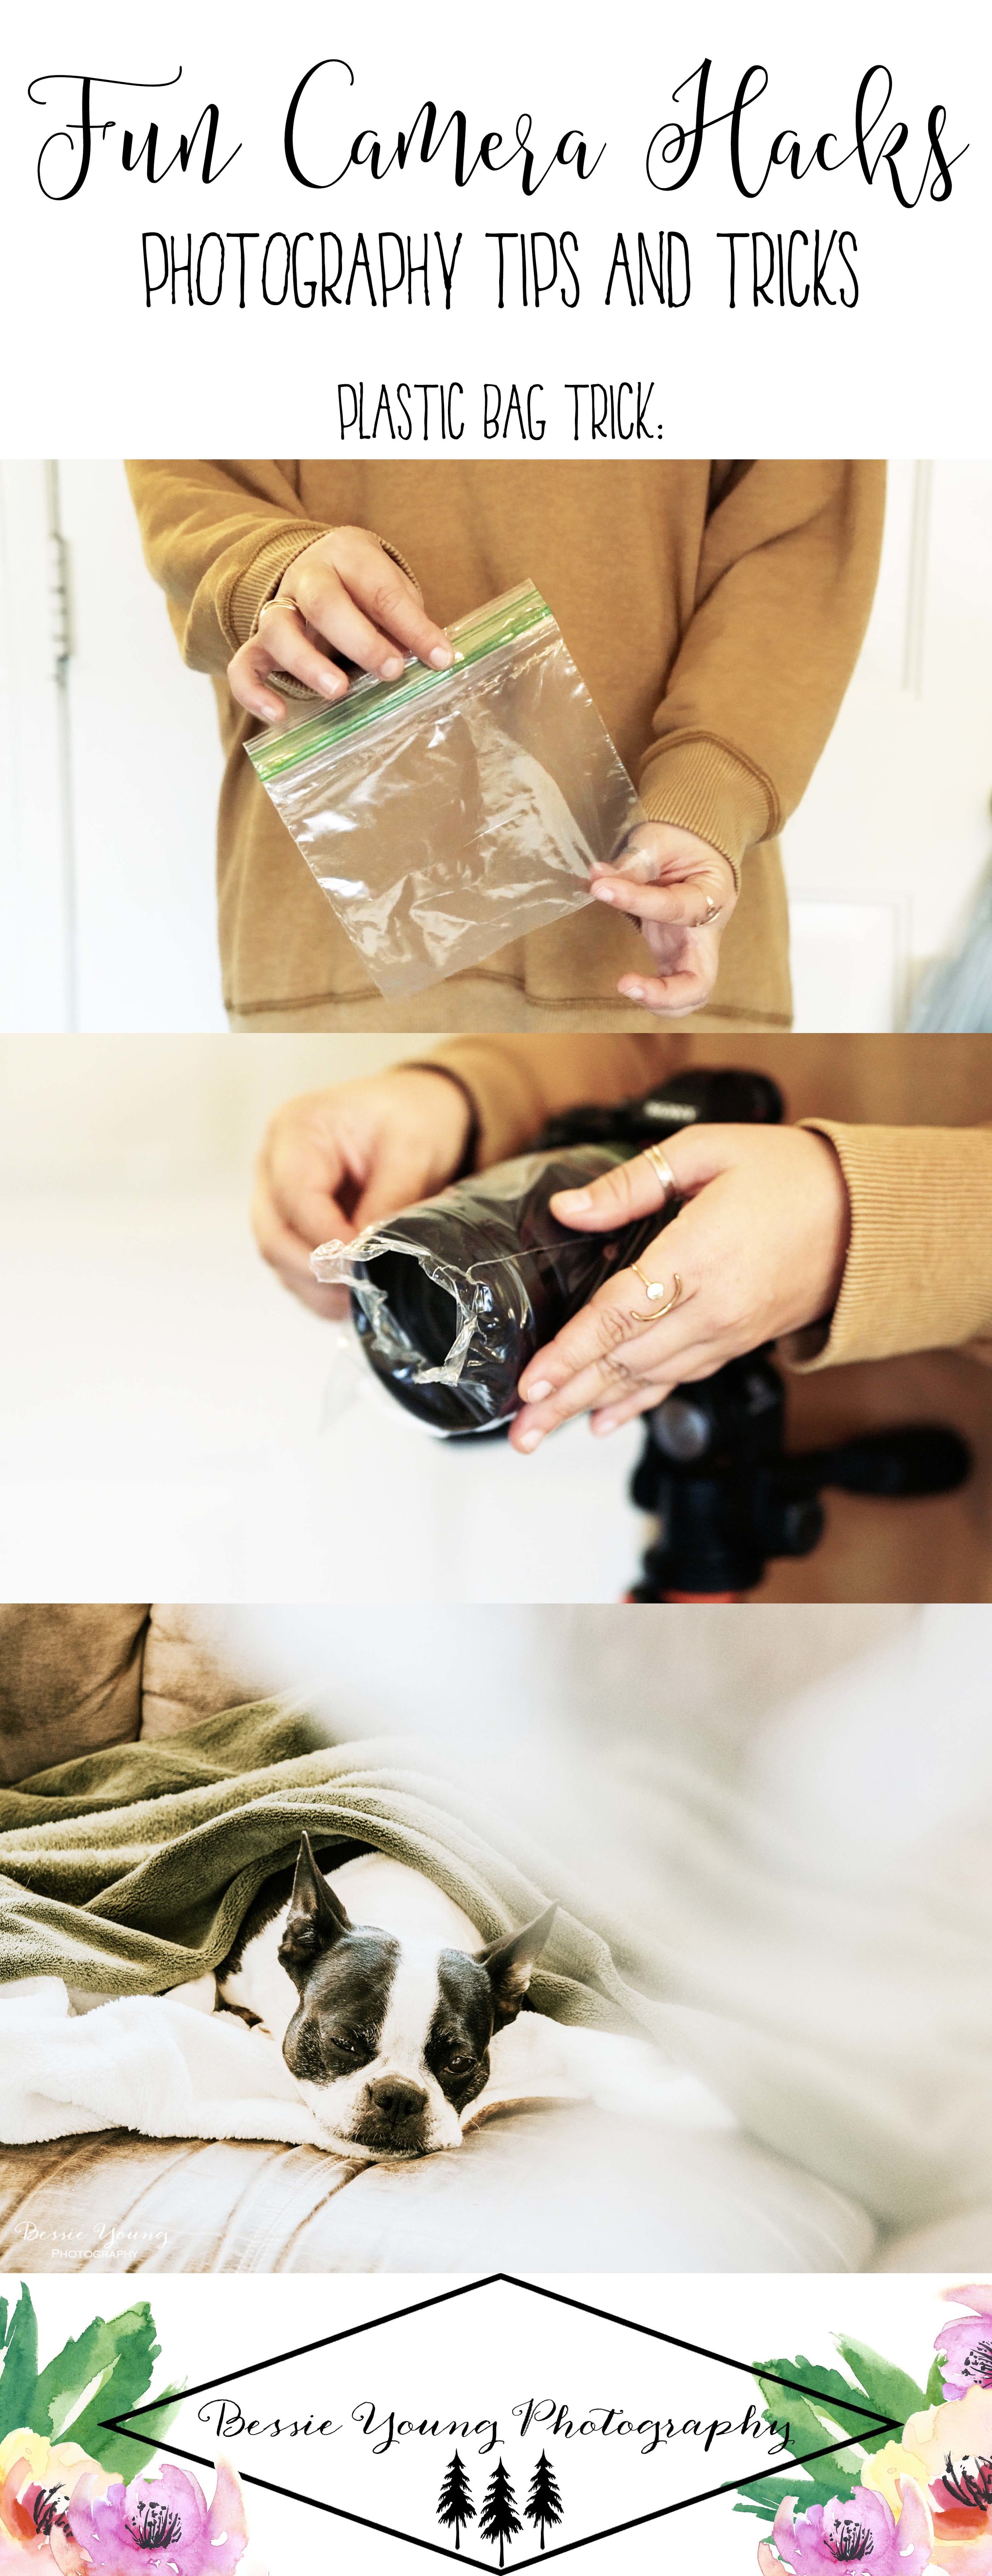
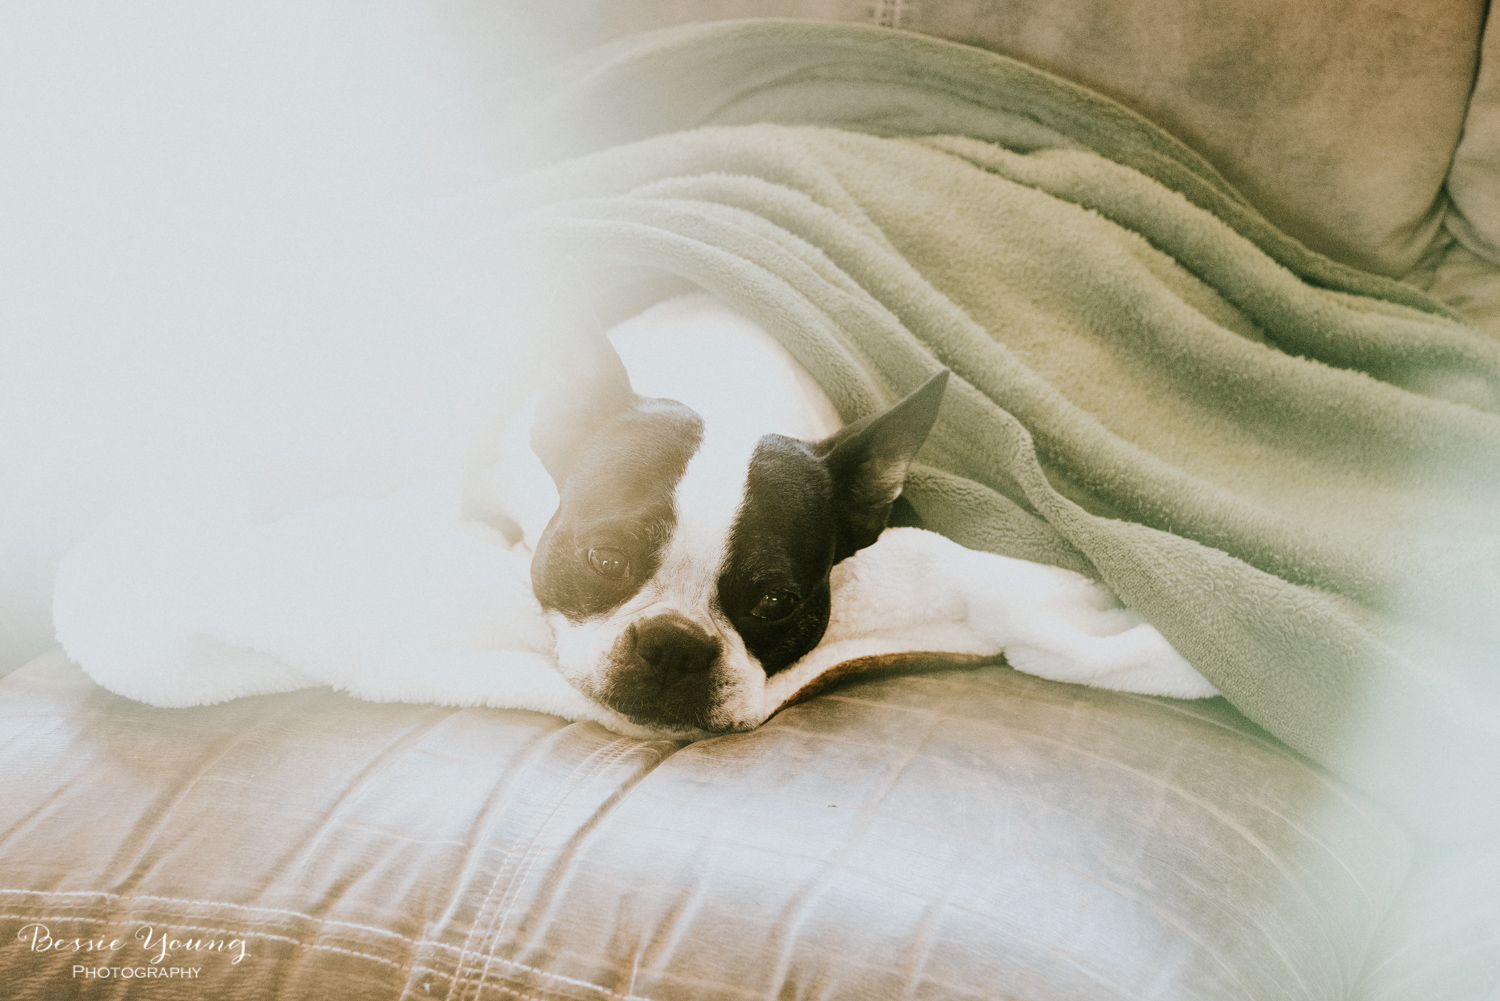
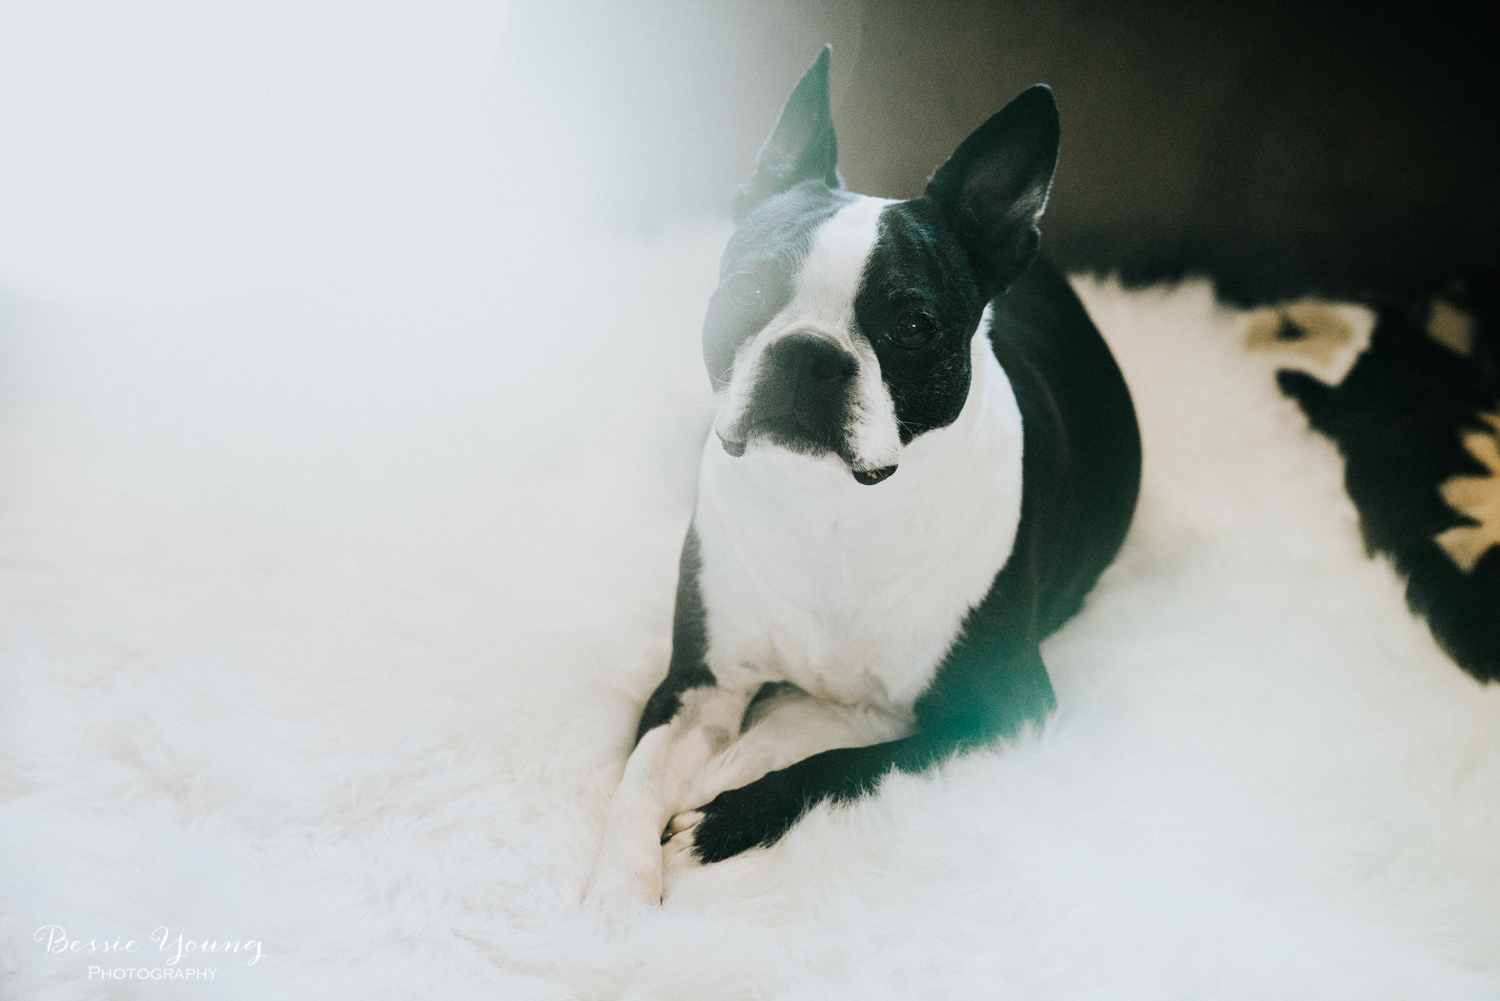
2. Shoot through something -

This is probably my most favorite. This creates some of the most amazing pictures.

  • Ideas would be to shoot through:
  • Leaves
  • Branches
  • Flowers
  • Rocks

3. Lighting -

This is the most important one of all. Natural light is the absolute best (in my opinion)

Think about where the light is and go to it. Ideas would be:

  • Stand next to a window
  • Go outside
  • Shoot during golden hour.


If you guys enjoyed this one make sure to head on over to my Youtube channel to subscribe. I am going to be posting a how to video once a week :)

Wishing you all nothing but fun adventures and beautiful photographs!

Bessie

P.S. wanna know what gear I used? Check it out here:


Kit Used:


Camera: Sony A7Rii: http://amzn.to/1taGpAu
Favorite Lens: Sony FE 24-70 F2.8 G Master: http://amzn.to/2n747NJ
Best Wide Angle: Sony 16-35mm lens: http://amzn.to/1UBjBDW
Vanguard Tripod: http://amzn.to/2aoI5ku

Filming:
LG G3 Smart Phone

Editing & Processing:
Bulk editing: Adobe Lightroom: http://amzn.to/1WB7Jnc
Fine tuning: Adobe Photoshop : http://amzn.to/1WB7YPh
Viva Video Pro for combining videos

My Landscape images are for sale here:
http://bessieyoung.photography/produc...

3 Tips to Instantly Up Your Photo Game by Bessie Young.jpg


How to take Firework Pictures: Quick Tips

How to take Firework Pictures Quick Tips

by Bessie Young

Can you believe it is already the 4th of July?! Time sure does fly by. I am sure you all want to be able to take some amazing pictures of the fireworks, your kids playing with sparklers, and just the festivities that the 4th of July brings.

How to Photograph Fireworks by Bessie Young Photography - Photography tips and tricks

Here are a few quick tips on how to take some great firework shots:

1. Scope out your location : This is key to a great shot.

2. Use a tripod : this will keep your camera stable and allow the images to not be blurry

3. Use a cable release or wireless remote : This will decrease the possibility of camera shake

4. Shoot the image in as high of quality as you can : I shoot in RAW

5. Turn off Auto focus and manually focus your lens to infinity: I set up when it is bright outside and find my best focus. Then, when it gets dark I know for certain that my image is going to be crisp sharp.

6. Turn your flash off.

7. Use manual mode on your camera.

  • Shutter Speed: Think about how you want the fireworks to look. Do you want them to be streaks in the sky, or do you want a burst of light? If you want streaks in the sky you need to set your shutter speed to 15 seconds or more. Bulb mode is optimal. You can use bulb mode and your shutter release cable. This will allow you to keep the shutter open as long as you would like. Be careful if you are trying to get multiple bursts as it is very easy to overexpose the image.
  • ISO : Shooting at a low ISO will keep for a clean shot. You really need to know your camera and at what ISO your camera will begin to get grain. I typically set mine to 400 or less.
  • Aperture : Keep your aperture between 8 and 16.
  • Hint: A good starting point is to set your settings at ISO 100, F 11, and 30 sec exposure. If the photos are too dim, keep the shutter open longer.
Ironstone Vineyards 4th of July Celebration  - Bessie Young Photography-7 combined trees.jpg

8. Experiment : experiment with different settings but make sure to track your results. This way you know what works best.

Now go get out there and have fun. Happy 4th of July!!!

Bessie

P.S. wanna know what gear I used? Check it out here:


Kit Used:


Camera: Sony A7Rii: http://amzn.to/1taGpAu
Favorite Lens: Sony FE 24-70 F2.8 G Master: http://amzn.to/2n747NJ
Best Wide Angle: Sony 16-35mm lens: http://amzn.to/1UBjBDW
Vanguard Tripod: http://amzn.to/2aoI5ku

Filming:
LG G3 Smart Phone

Editing & Processing:
Bulk editing: Adobe Lightroom: http://amzn.to/1WB7Jnc
Fine tuning: Adobe Photoshop : http://amzn.to/1WB7YPh
Viva Video Pro for combining videos


Sunset Time Lapse | Sony A7Rii

Sunset Time Lapse | Sony A7Rii

Woodward Park, Fresno

By Bessie Young

Everyone can identify with a fragrant garden, with beauty of sunset, with the quiet of nature, with a warm and cozy cottage. Thomas Kincad

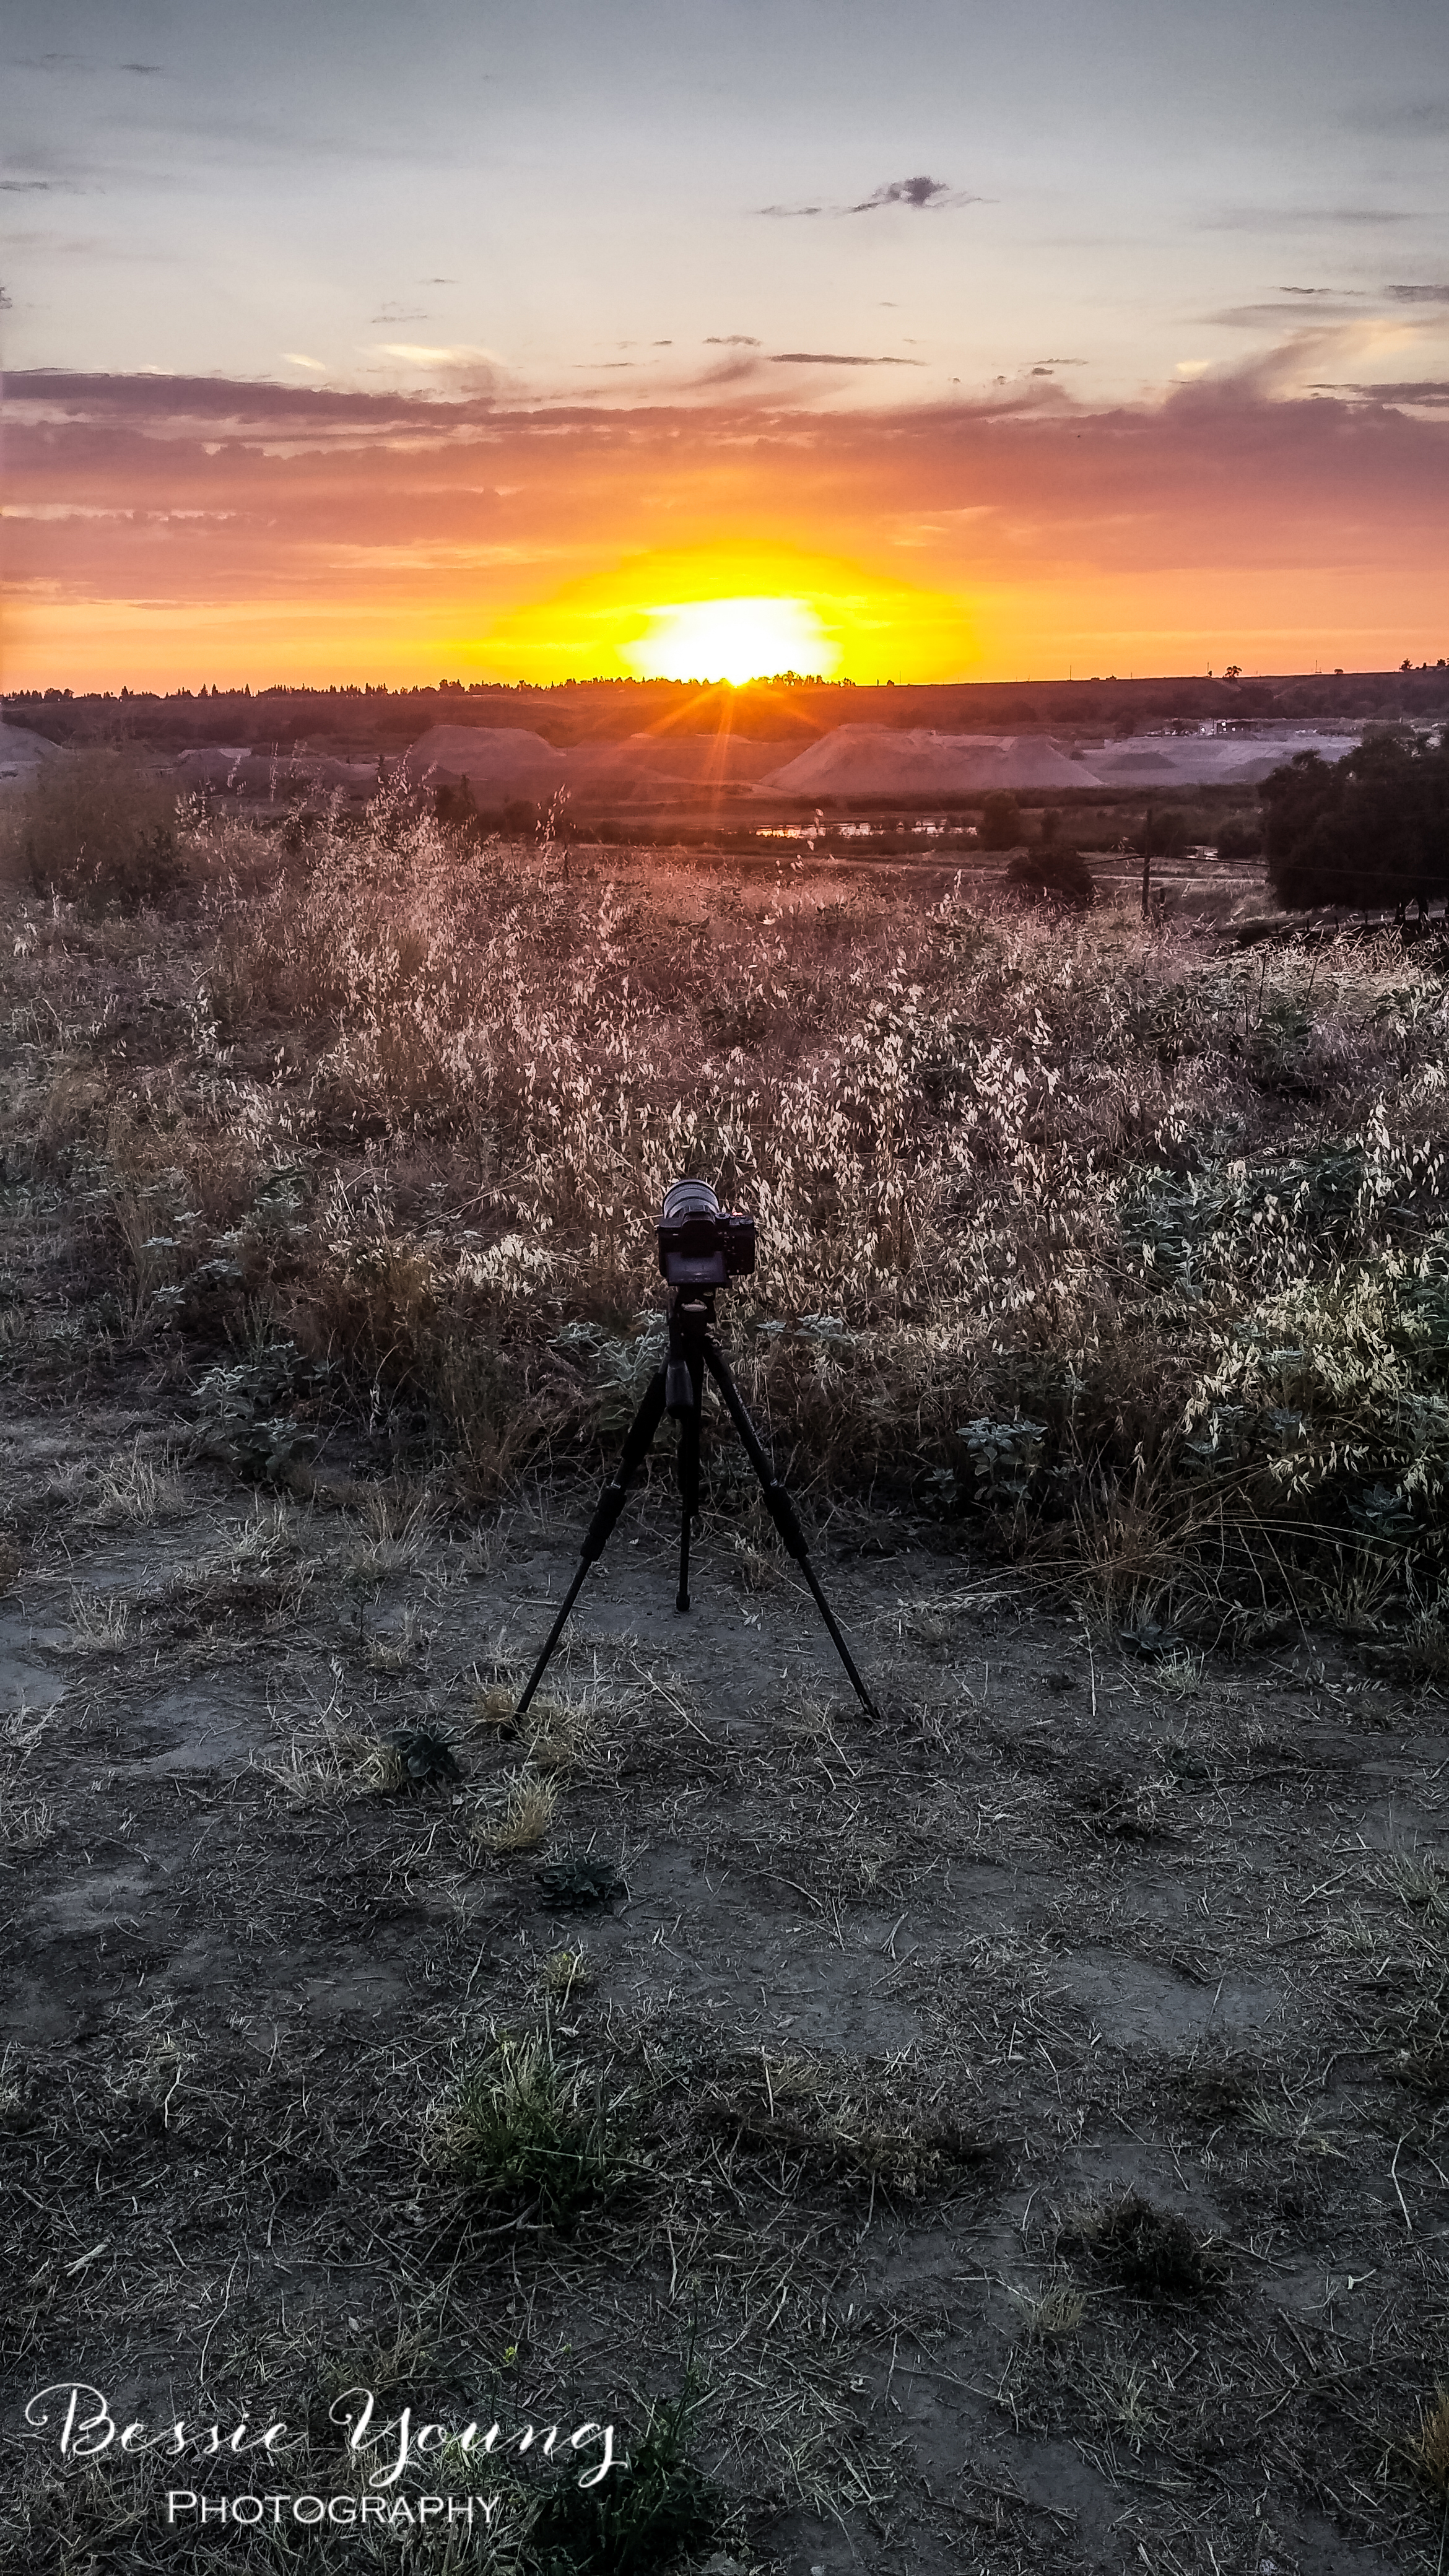
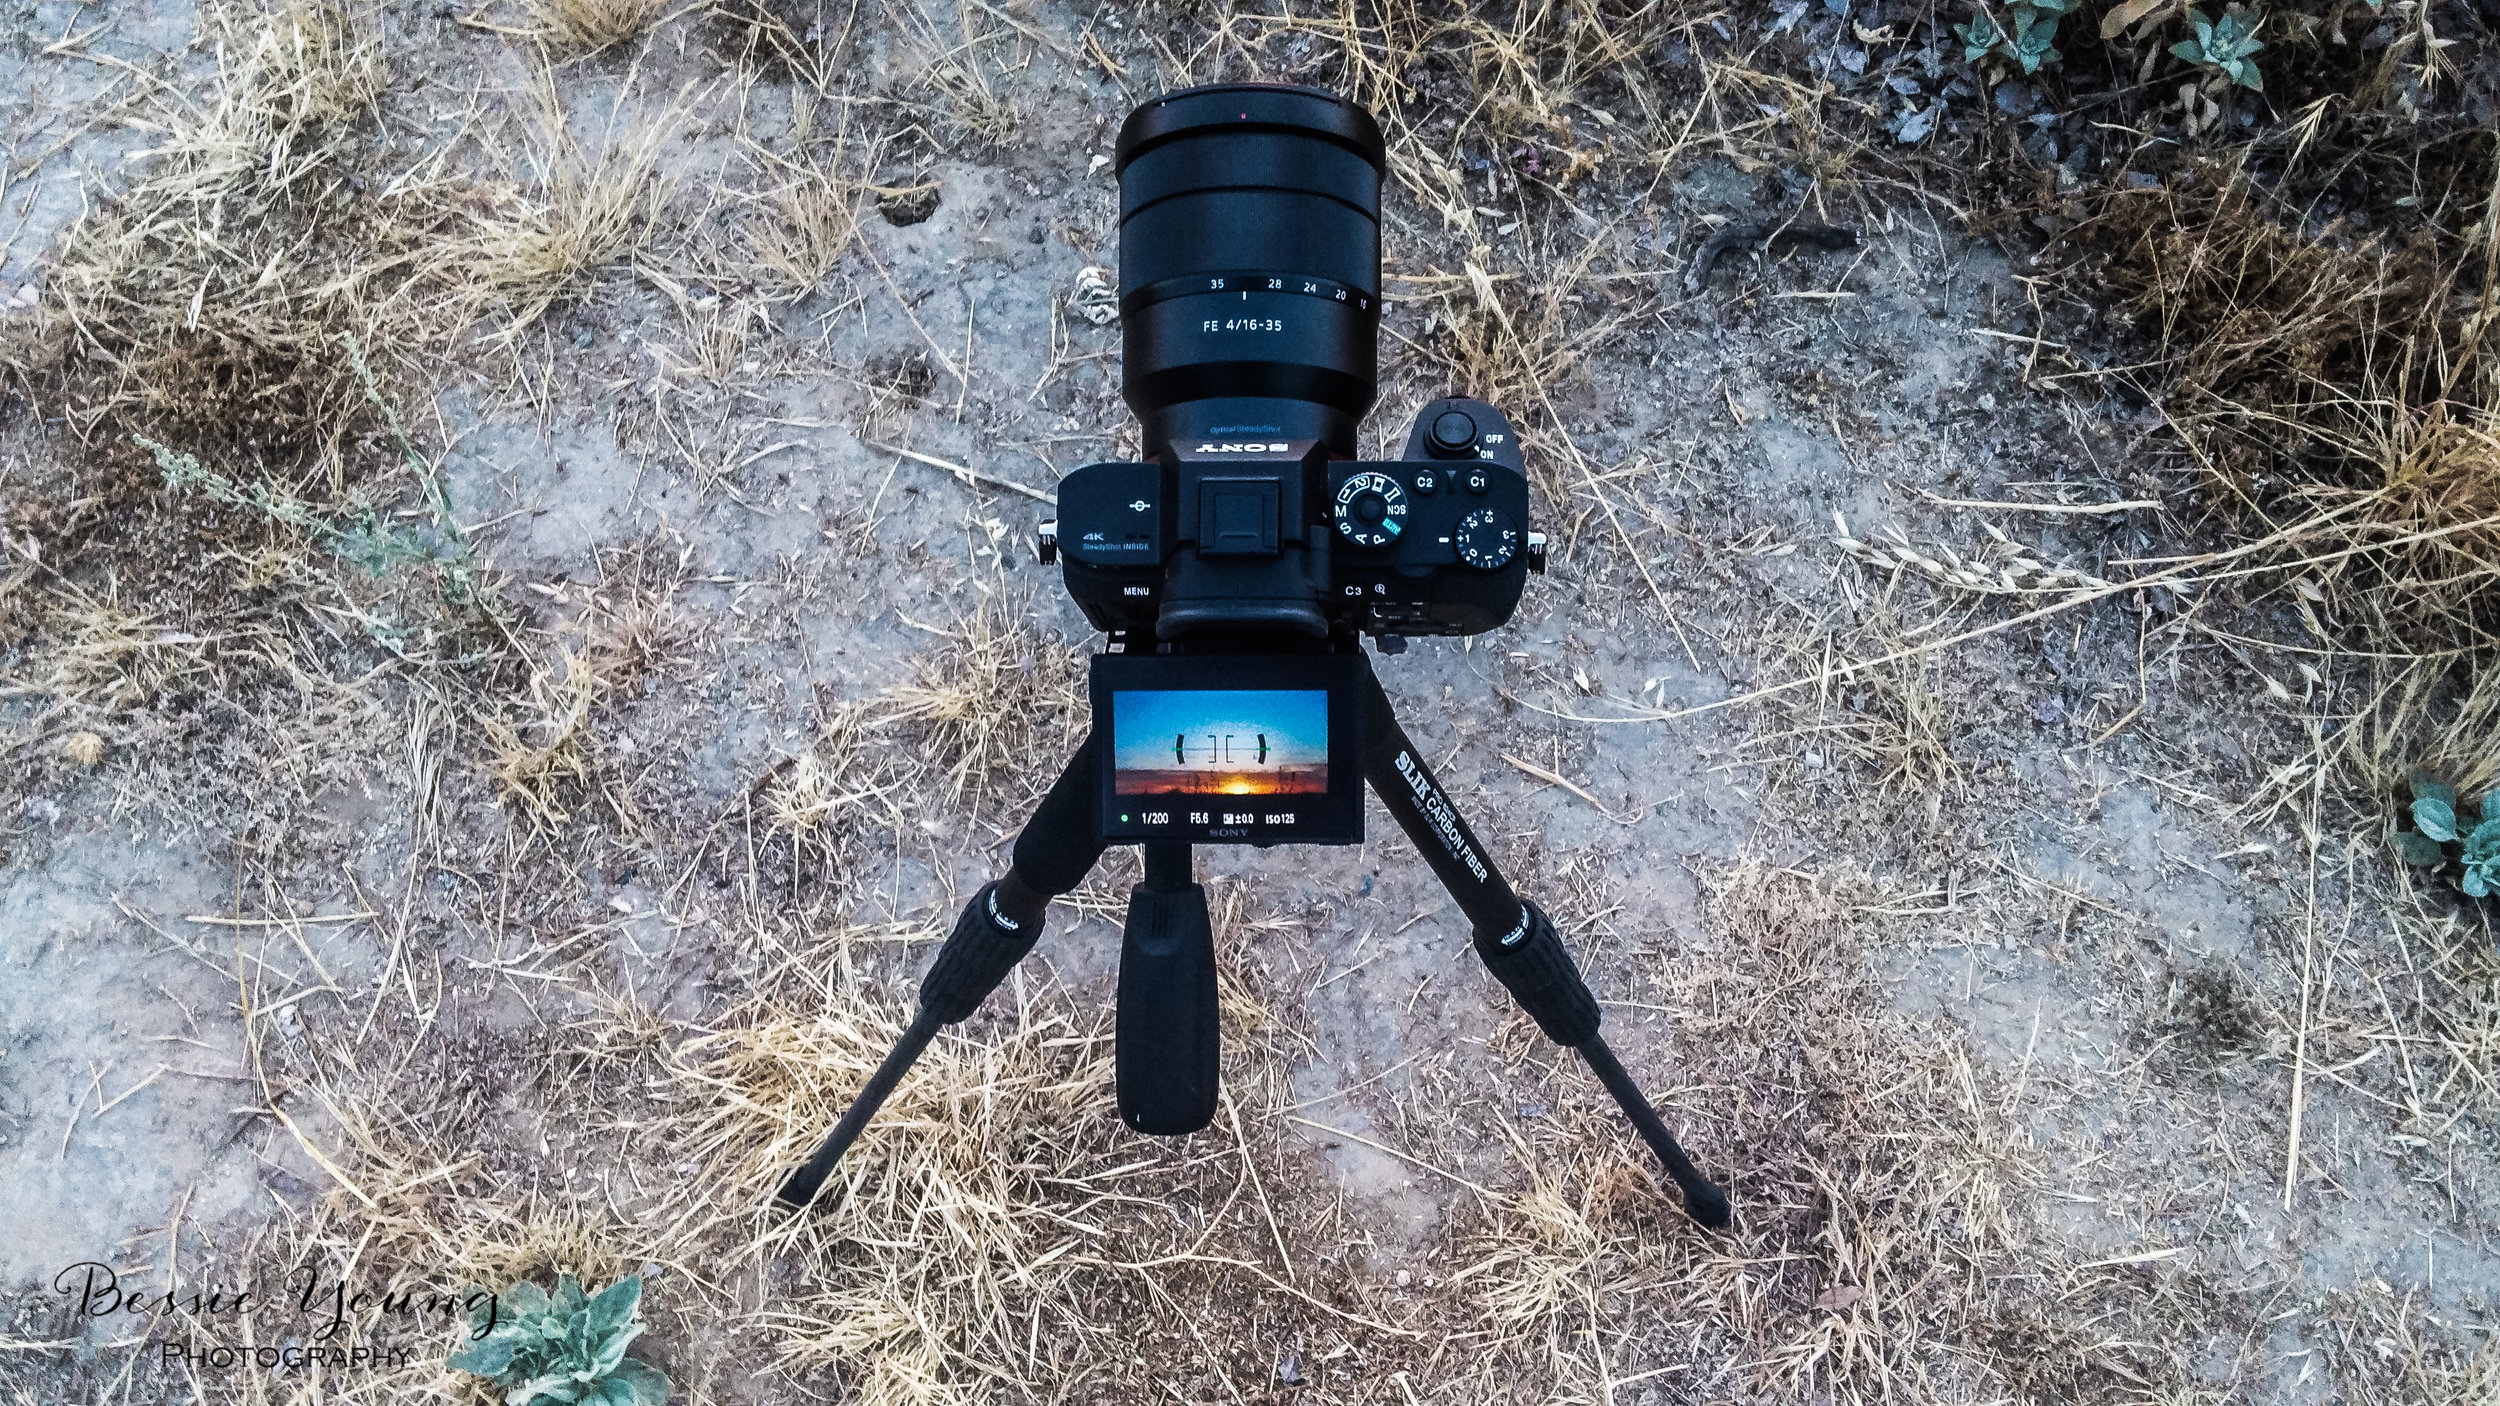
It seems that since I have gotten into night photography, or astro photography, lately around 7:30 in the evening I begin to feel ancy. I begin to think of all the great photos I could take, how I need to practice with my new camera before my backpacking trip this summer, and so on and so forth. Then around 7:45 I jump into action and run out the door before the mood rises or before the sun sets. This time I was in a rush to get to a spot in order to take a time lapse of the sunset. Now, in my video you will hear me talk about 'oh you really need to plan your trip, plan what you want to photograph' yadda, yadda, yadda. Well, easier said than done.... and do what I say not as I do hahaha. I really need to take my own advise.

This is my very first attempt at a time lapse. It is a series of 240+ images over approximately 40 minutes.

As always wishing you nothing but great adventures!

Bessie


Equipment used:

Sony A7Rii

Sony 16-35mm lens

Tripod

Time lapse app

Sunset Time Lapse Sony A7Rii - Woodward Park, Fresno- Bessie Young Photography-2.jpg