Best books on photography composition

Best Photography books for Composition by Bessie Young Photography Tips and Tricks to Learn Photography.jpg

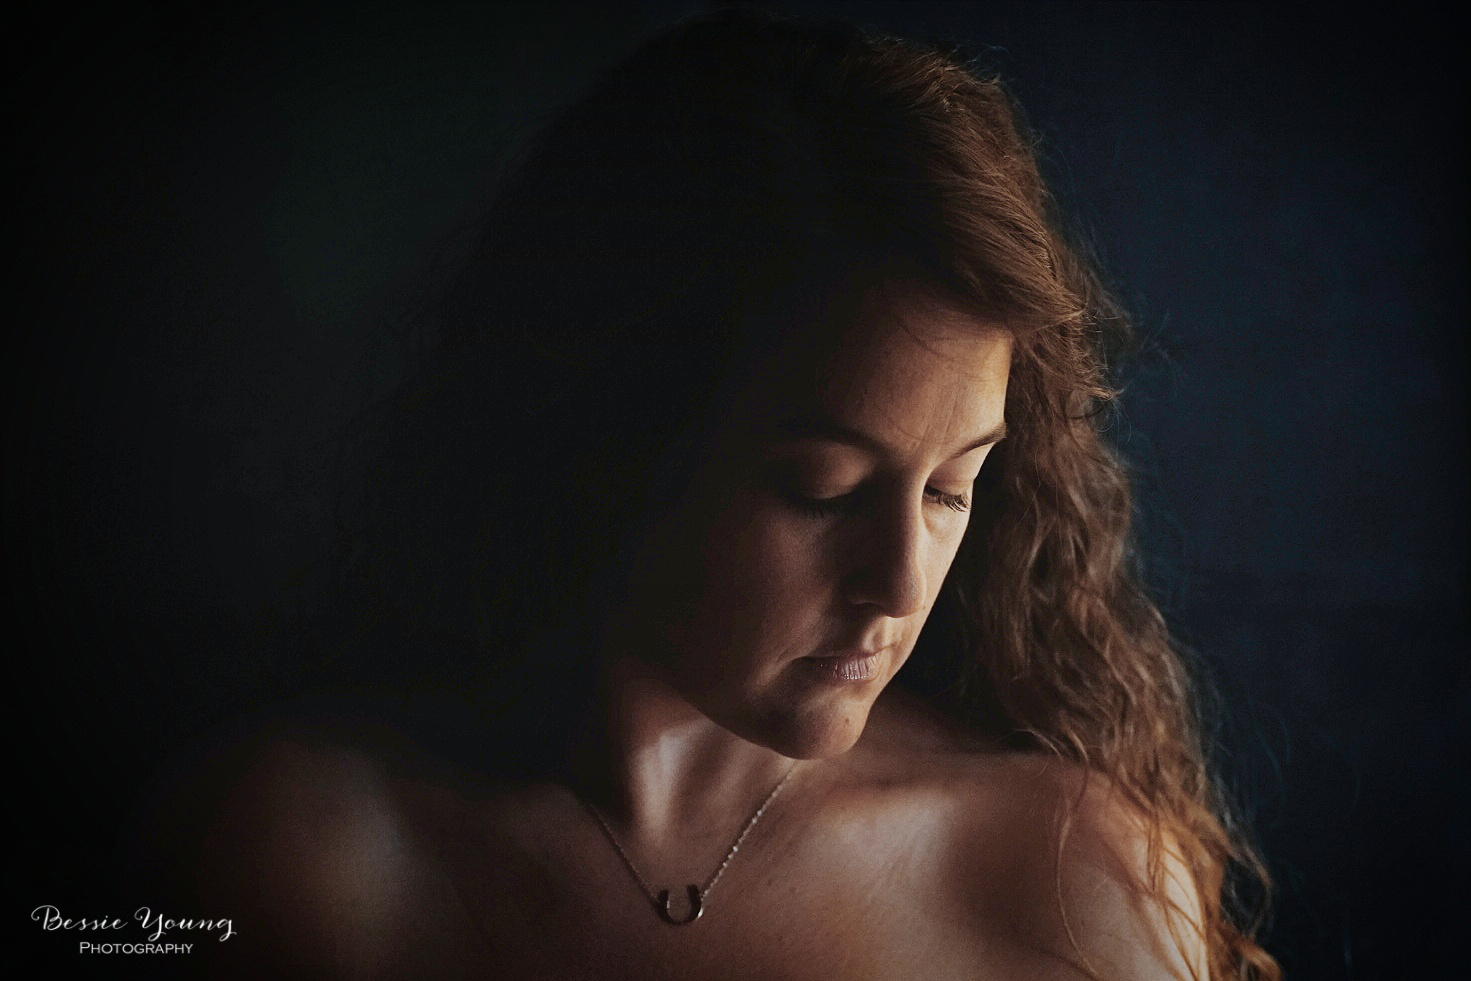
This is a question I get all the time. What are the best books on photography composition. I have almost thought about making my own book since I get the question so often lol.

As you all know I love to provide tips, tricks, and how to’s with photography. Make sure to head on over to my Youtube channel to see all sorts of tips on photography compositions.

Now, with that being said, I wanted to be able to provide a good answer to the question, so I did a bunch of research on the best books for composition. Please note, that I have not read all these books; however, this is a list of the highest ranking books and / or the most suggested books out there. It has taken me the majority of the year to find these books for you.

As a quick side note, composition theory has been a thing for hundreds of years. Make sure that you do not narrow your search to just photography books. You will be surprised how much you can learn from old books on painting composition. Make sure to check out your local library and just look for books on composition.

So let’s get into it:

Best books on photography composition

  1. How to Create Stunning Digital Photography by Tony Northrup

    *This one comes in around $20

  2. Mastering the art of Photography composition

    *This little jewel is only $3

  3. The New Art of Photographing Nature

    *This was one of the most recommended book in all my research. It is around $25

  4. Perception and Imaging: Photography - A Way of Seeing, Richard Zakia

    *This was the second most recommended book; however, it is much more expensive coming in at $50

  5. Tavis Leaf Glover's composition : Canon of Design: Mastering Artistic Composition

    *Under $10

  6. Magazine photography (Life, National Geographic, Travel magazines)

    *This is not just a book. This means magazines about photography. There are so many out there that will help you with your photography art. You can sign up via the link above to the National Geographic magazine for 1 year and $25.

Hopefully this list will help you be able to start digging deeper into learning photography. If you have a suggestion leave a comment below. I would love to hear your suggestions and then add them to this list :)

Happy Reading Friends!

Bessie


Best Beginner Lenses for Landscape Photography

Ok, it is overwhelming. I totally get it. There are so many different lenses out there how do you know which one to buy as a beginner landscape photographer?  Well that is why I am writing this blog post. I don't want you to waste your money! So honestly I spent a lot of money playing with lenses, buying new lenses, and then realizing the lenses that I actually needed . I want to save you that step. Basically I want to save you all the time, all the money, and all the frustration when it comes to lenses .  

Read More

Best Beginner Lenses for Portrait Photography

There are so many different lenses out there how do you know which one to buy as a beginner ?  Well that is why I am writing this blog post. I don't want you to waste your money! So honestly I spent a lot of money playing with lenses, buying new lenses, and then realizing the lenses that I actually needed . I want to save you that step. Basically I want to save you all the time, all the money, and all the frustration when it comes to lenses .

Read More

27 Ways to Make Money with Photography - Types of Photography

So, I just recently did a blog post on 7 Ways to Make Money with Photography, but I really wanted to break that down a little bit with different types of photography and ways to make money.

When people think about becoming a photographer they think of only a few things: portraits, weddings, and babies. Yep, that is pretty much it, but there is so much more out there! There are so many different ways to make money with photography though the different types of photography.

Read More

5 Essential Photo Apps for Social Media

Wow social media….. where do I even begin. Holy moly this world has become obsessed with social media and I definitely have a love hate relationship with it. I have done so much installing and uninstalling of apps to be able to find good ones! So obviously I wanted to share this information with you! These apps have made my life so much easier.

Read More

What's In My Camera Bag - Sony Kit for Landscape Photography

What's In My Camera Bag - Sony Kit for Landscape Photography

Photography Gear

This blog has been a long time coming. I wanted to do this blog back when I started my photography business, but I was in the middle of major decision making when it came to gear. I was deciding on whether to switch from Canon to Sony or to just stick with Canon.

Then, after I decided to switch to Sony, I just didn’t feel comfortable doing a ‘Whats in my camera bag’ video. I am not sure why, but probably that whole imposter syndrome thing….

Then three years went by and still no video. I still felt weird doing one of these so I just didn’t.

Recently I was able to get a brand new camera bag from my friends down at Horn Photo and I figured it was the best time to actually do a video since I was going to be switching all my gear over to my new bag.

So, here it is…. All the things that I carry in my camera bag.

Now please keep in mind that I do not carry all of these things all of the time. Since I am an adventure photographer, a landscape photographer, and a wedding photographer, I have to pick and choose what to take with me for the occasion.

You do not need to always carry everything with you! Please remember that!

So, lets get into it

What’s in my camera bag - Sony Kit

Cameras:

Sony A7riii (my main camera)

Sony A7rii (my backup camera)

Sony 6500 (my camera for video)


Lenses:

Sony 24-70mm G Master F 2.8 lens (my go to lens for EVERYTHING)

Sony 100-400mm G Master F 4-5.6 lens (specifically for wildlife or close up landscapes)

Sony 16-35mm F4 lens (I never use this lens anymore. I only use the Batis for my wide angles)

Batis 18mm F2.8 lens (my go to landscape and wide angle lens)

Sigma Art 50mm F1.4 lens (specifically for portraits)

Other:

Pro-Master Backpack

DJI Ronin S Gimble (for smooth video)

Laptop - Dell XPS 15

Zebra headlamp

Peak Design Clip for backpacking

Lens cleaning kit

Hand warmers

Flash for weddings

SD Cards

Pro-Master Lens Caps

Sigma MC11 Adapter for Canon to Sony.


Hopefully that helps if you are on the fence about new gear!

What kind of shooter are you? Nikon, Canon, Sony, Fuji, Olympus, other? Leave a comment down below and let me know :)

Bessie


Batis 85mm Lens vs Sony 85mm G Master Lens - Lens Comparison

Batis 85mm Lens vs Sony 85mm G Master Lens - Lens Comparison

Photography Gear

Ever since I started using the Batis 18mm lens I have been extremely interested in Batis lenses.

Batis 85mm vs Sony 85mm G master lens comparison Which Lens Should You Buy For Portrait Photography by Bessie Young Photography

Before we start this lens comparison, if you are looking for more information on the Batis 18mm or the lens comparison video for the Batis 18mm vs. the Sony 16-35mm make sure to check out the lens comparison blog here: Batis 18mm Lens vs Sony 16-35mm Lens

Now, I want to start off by saying that I do not own either of these lenses. I have been debating on grabbing an 85mm lens of some sort, but really didn’t know where to put my money. Do I buy the big boy, the Sony 85mm G Master? Do I spend all the money on the top of the line native lens, or do I save some money and not by a non native lens? Now, I figured if I had that question and that debate, others did too!

So, off I went to compare two lenses that I had my eye on. The Batis 85mm F1.8 vs. the Sony 85mm G Master F1.4 G Master. I was able to borrow these two awesome lenses from my friends down at Horn Photo. On a side note, if you are debating on equipment, or wishing you were able to check out equipment before you made that major purchase, make sure to check out your local camera shop like Horn Photo. You can actually rent gear for the day or the week! This could save you major money in the long run. I absolutely love this option, and have rented gear multiple times throughout the years. Whether I want to do a lens comparison, see if I like a certain item, or if I need something for an upcoming wedding but don’t want to purchase the item. Just rent it!!!

Ok, moving on :)

To start off there are a few huge differences for the Batis 85mm vs Sony 85mm G Master:

  • Price

    • Batis 85mm: $930

    • Sony 85mm G Master: $1800

  • Weight

    • Batis 85mm: 1 lb 3 ounce

    • Sony 85mm G Master: 2 lbs 7 ounces

  • Aperature Ring

    • Batis 85mm: No

    • Sony 85mm G Master: Yes

      • The aperature ring is super cool for video!

  • Aperature capability

    • Batis 85mm: F1.8 - F22

    • Sony 85mm G Master: F1.4 - F16

Batis 85mm vs Sony 85mm G master lens comparison by Bessie Young Photography.jpg

Filter ThreadFront: 67mm

Aperature: F1.8-F22

Length: 3.6 in.

Weight: 1lb 1 ounce

Price: $930


Filter Thread Front: 77mm

Aperature: F1.4-F16

Length: 4.2 in.

Weight: 1.8 lb

Price: $1800


Batis 85mm vs Sony 85mm G Master lens comparision by Bessie young THUMBNAIL.jpg

Now lets talk about actual field experience and photo comparison…

An 85mm lens is typically used for portraits. I am debating on using the 85 as my second lens for backpacking. Right now I use the Batis 18mm and the Sony 24-70mm G Master. What I am thinking about doing is changing out the Sony 24 - 70 G Master with an 85mm. Now, with all that being said, I wanted to do a lens comparison for what these lenses are typically used for, Portraits!

Luckily I have the cutest model in the world that just loves to have her picture taken… my Boston Terrier Yota :) In order to do an accurate lens comparison, I kept my aperature at 1.8 for all the photos. This way I didn’t compare an F1.4 to an F1.8.

In the field and during post processing I noticed a few main things:

  • Bokeh differences

  • Vignetting

  • Chromatic aberration

  • Automatic Focusing

  • Lens Noisiness/ Loudness

Bokeh:

There isn’t a huge difference with the Bokeh at F1.8. The thing I noticed most here was that the Sony had a creamier bokeh and the Batis had more of a swirl that was counter clockwise. If you look at the Batis image, it looks more like you are spinning. Really focus on the images below. Notice the swirl on the Batis? Do you see how the Sony is much more creamy?

Batis 85mm vs Sony 85mm G master lens comparison by Bessie Young Photography Bokeh Comparison.jpg

Vignetting and Chromatic Aberration

So there are two things here and each lens has its fault. The Sony has a bit of chromatic aberration compared to the Batis. The Batis didn’t seem to have any chromatic aberration during my little session with Yota. Now, this was only tested during this session, so this doesn’t go to say that the Batis doesn’t have chromatic aberration in certain scenarios. See the images below.

Now with that the Batis has a bit more vignetting than the Sony. See images below.

Batis 85mm vs Sony 85mm G master lens comparison by Bessie Young Photography Vignetting Comparison.jpg

Automatic Focus Speed and Sound:

Wow, now this is really where there is a major difference. Honestly, this was where my decision was made and where the Batis really took the cake.

The Batis was able to automatically focus quickly, capture movement, and didn’t make hardly a sound. The Sony on the other hand didn’t focus quickly at all. Actually, I wasn’t able to capture a single motion image in focus. Plus, during the focusing, it made the loudest noise ever, and just really annoyed me lol. I am not sure why it was bothering me so much, but it was at the point where I didn’t even want to use it any more. The focusing sound it made was really not awesome. Imaging being at a wedding, where everyone is silent, and your lens is making a focusing/ kind of grinding noise? I think that would ultimately suck. People would start listening to your camera rather than the vows!

Batis:

Sony:


Conclusion:

So, with all that being said, I will definitely be getting the Batis 85mm. There is just absolutely no reason not to! It is cheaper, lighter, focuses quicker, quieter, and the photos are almost the exact same as the Sony 85mm G Master. The aperature goes to F22 which is awesome for Landscape Photography and there is less chromatic aberration. The down side to the Batis is the fact that there is a bit of vignetting and the aperature doesn’t go as wide as the Sony; however, these are definitely things that I can work with.

What lens is your favorite? Leave a comment below.

Would you like to see a certain lens comparison video? Comment below and I can add it to my list :)

Wishing you a beautiful day!

Bessie


How To Take Flower Photos - Joshua Tree National Park Wildflowers

Images For Sale in the BYP Shop-

Click the image to purchase or click the buy me button below.

About 2 weeks ago I came down with a cold and it was something fierce. It sucked. It lasted an entire week! I woke up on Wednesday and I felt like I had been hit by a truck! I thought that it was going to be just a day thing, but man did it last longer.

The ultimate bummer part is that I had plans to go to Death Valley that weekend! I was super hopeful that I was going to get better; however, it just didn’t happen. So… my Death Valley trip got cancelled. It sucked!

Then, after about a week of this not feeling good and having a temperature over 100, I started to feel slightly better, but really not 100%. So another weekend went by of me just being lazy, laying on my couch, and trying to get better.

Finally, after 2 weeks, I was feeling quite a bit better. I started to get the itch. All I could think about was Death Valley and the wildflowers. After deciding I was going to make a trip no matter what, I started to do my research for Death Valley (checking weather and road conditions). To my surprise it was supposed to be in the upper 90’s! Yep, I really wasn’t ready for camping with a low of 65 and a high of 98.

With all that being said, I thought I was going to miss out. I figured it just wasn’t in my cards this year, but then I remembered Joshua tree! I have never been to Joshua Tree and I knew it was supposed to have quite a bit of wildflowers. I checked the weather… High of 75…. Yep Joshua Tree it is!

How To Take Flower Photos Joshua Tree National Park Wildflowers by Bessie Young Photography

The Adventure

Joshua Tree National Park is about 5.5 hours from my place. I left around 11am thinking that this would give me enough time to get to the park, roam around for a minute, and then get a sunset shot… Boy was I wrong lol.

I headed down the freeway and everything was going smoothly until I hit the dreaded LA traffic. I got to San Bernidino and the traffic was terrible. It basically cost me 1.5 hours. So my 5.5 hour trip turned into more of a 7 hour trip which put me in a bit of a time crunch.

Joshua Tree National Park Wildflowers

There are two entrances to Joshua Tree, the North and South. I chose to stay in Indio along Hwy 10 in order to start at the South entrance. Then, my plan was to stay in Yucca Valley for the second night which is near the North side entrance.

When I finally reached Indio, I checked into my hotel, and then I was off to the South side entrance of Joshua Tree National Park.

When I arrived, I had about a half hour until sunset so, I ended up barely making it into the park, pulled over at the first trail I could and walked around.

It was awesome! There were so many flowers blooming and the trail was just what I needed to stretch my legs and get some neat shots of the flowers.

While I was there, I figured it would be the perfect time to talk about how to take flower photos. So, I created the video above for my Youtube Channel, and wanted to put these tips into writing. So, lets get to it!

How To Take Flower Photos by Bessie Young - Joshua Tree National Park Wildflowers Landscape Photography Fine Art.jpg

Tips on How to Take Flower Photos

Ultimately I have 2 types of photos that you may want to get, and the tips to get those photos. I wanted to get you started with taking flower photos because Spring is here!!!

1. How to get that creamy background

  • You need to get at their level. Yep, you have to move your bootay and get down to the ground. Don’t try to stay standing up. This is where most people go wrong.

  • Use a low F stop/ wide aperature. Basically, the lower the number the better in my opinion. Now most lenses will go to F4. This is ok, but ultimately you want to be around F2.8 or lower. If you are just starting out, just make sure that you are at the widest aperature possible for your lense. As I was saying F2.8 or lower is so much better. This is where you are really going to see that creamy background, also known as bokeh. This means that yes, you are going to have to spend a bit of money to get that type of lens; however, it is totally worth it!

See the images below for example. All of these images were taken from ground level at F2.8.

All Images For Sale in the BYP Shop-

Click the image to purchase

2. How to get that amazing landscape shot with the flowers in the foreground

Ok, so do you ever see those images, of the amazing flowers in the foreground, yet some how there is still that awesome landscape in the background? These are some of my favorite images! So how do you get them?

  • You need to again, get down to their level. Get up close and personal with those beauties. This is going to allow you to have the flower in the foreground and then the gorgeous landscape in the background.

  • Use a moderate F value. What do I mean? Basically you will want a good ‘landscape’ F value. I prefer F8 - F11.

  • Focus on the mountains in the background. Whalah! You get your beautiful landscape wildflower image!

3. Other Tips

  • Type of Lens to use: Really, anything that will allow you to focus manually and to shoot at a wide aperature. For me, I use my Sony 24-70mm G master F2.8

  • Type of camera to use: You really need a camera that will allow you to shoot manual mode. If you don’t have this, then you are going to be hard pressed to try to use these tips. I use the Sony A7riii and the Sony A7rii

  • Time of year to take flower photos: Pretty much any time of year that there are flowers! Now, if you want wildflowers you will need to shoot in the spring time.

    • For desert wildflowers you will want March and April, but these little flowers die quickly so you really need to keep an eye out on how the flowers are doing. There are awesome websites that you can check. The National Park Service website even has cool wildflower ratings :)

    • For foothill wildflowers you will want to go out during March and April.

    • For high mountain wildflowers you will want sometime in late July and early August.

    • Note: This all depends on the weather and the rain accumulation. You will need to check. These months are all a rough estimate.

  • Time of day to take flower photos: Sunrise or sunset. These are the ultimate best because you are going to get that soft gorgeous light. If you happen to be shooting during the middle of the day, you can always block the flower with your shadow to help mellow out the light.

How to Photograph Flowers - Joshua Tree National Park Wildflowers 2019 By Bessie Young Photography.jpgHow To Take Flower Photos Joshua Tree National Park Wildflowers by Bessie Young Photography

Do you have any tips on how to take flower photos? If so, comment below. I would love to add them to the list :)

This blog is all about community over competition. Let’s help each other, be friends with each other, learn together, and grown together.

Wishing you the very best!

Bessie


P.s. Love this post? Check out these similar ones:

Photography Apps I Use

There are so many dang Apps out there how do you even begin to choose what Apps to use?

I have tried alot of apps. Like a lot a lot and to be honest most of them kinda sucked. It took alot of installing, time wasted, and uninstalling to find good apps.

Now, there are many different apps I use for photography. Some for landscape scouting, some for backpacking, some for editing on my phone, and some for social media. Yes… like I said… I use alot of apps. So lets get into it.

Are you learning Photography? Check out the freebie page to get you started! I have created a bunch of awesome freebies to help you out :)

Photography Apps I Use

Essential photo apps for by Bessie Young Photography.jpg

Photography Apps For Landscape Photography:

I created a post on this one. I use two main apps for my landscape photography. Head on over that way to check that out. In short I use Back Country Navigator and Photo Pills. You can read the entire post all about why I chose these two apps here:

2 Essential Apps for Landscape Photography

Photography Apps For Social Media:

  • Unfold

    This little app is pretty awesome for instagram stories. It allows you to create absolutely beautiful picture stories for different occasions. I use it for when I create a new blog post, a new Youtube video, or add new products to my BYP Shop.

  • Snapseed:

This is one of the best photo editing apps I have found out there. If I take a photo with my phone, I can edit in in snapseed and not worry about how it is going to look on my instagram feed. It is beautiful! So now you can take some pretty awesome images on your phone and share away. Yay!!

Other:

  • Keep Notes

    I keep all my notes on this. It is seriously the best and helps me stay organized. I use it for my business and for personal use. You can create different notes with different lists.

  • Playmemories

    This is the app I use to hook up to my phone. The app makes it to where my phone becomes a remote. It also allows me to share the photos from my camera straight to my phone!

  • GPS Test

    This little handy dandy app does quite a bit. The thing I use it for the most is to help my GPS lock onto the satellites when it is having a difficult time. It also shows the compass, how quickly you are moving, the date and time, sunset date and time, and where all the satellites are in the sky,

  • My Tracks

    This tracks me everywhere. It is actually what I use for backpacking, hiking, walking, or running. It shows my speed, my distance, elevation gain and more! It allows me to add way points such as different cool landscape features, lakes, and so forth. I love this one specifically for the distance, speed, and elevation gain.

  • Blog

    This is a Squarespace app. It is freaking awesome! When I come up with a blog idea I can just open this app and start a new blog post. To me this is just amazing. This way I don’t have to carry a notebook and I won’t have to let an idea slip away. Once I get back to my computer I can just open up my website, and BOOM! there it is! The new post that I started :)

Do you use any of these apps? If not, what apps do you use? Leave a comment below. This is a community for photographers to help other photographers. Lets create a list of awesome apps so we don’t have to keep wasting our time with the install / uninstall game. Leave a comment below with the app you use and why.

Wishing you the absolute best!

Bessie


Stay Inspired with Photography - Things to try in 2019

Being a creative can sometimes be difficult. We are incredibly hard on ourselves, we get frustrated when we cannot create, we doubt ourselves quite often, and we get in these weird creative slumps from time to time.

I have done all this more than I would like to admit, and that is just counting last year :? I wanted to create this post to help you to stay inspired. To give you some ideas of different things to try this year to stay going forward in your photography journey, to keep you inspired, to keep you creating and doing what you love.

These are just a few ideas that I had off the top of my head. If you have other ideas please share them in the comments below. I want this to be an amazing community where we help each other grown, learn, and stay inspired. Becoming the best creatives, the best photographers, and the best humans that we can absolutely be.

Check out these fun photography mugs that I design for Photographers, Creative Entrepreneurs, and coffee lovers:

Stay Inspired with Photography - Things to try in 2019

  1. Refresh your skills with a class

 I seriously cannot stress this enough. Taking a class is probably the last thing on your mind, but it is probably the most valuable thing that you can do. It will not only help you learn new skills, it will also keep your creative juices flowing! This is huuugggeeee!

Plus, you are investing in yourself, your knowledge, and your well being. As creatives we tend to think that the last place we should spend money on is ourselves. Well I Yell Blasphamy! Serious, you are where you should invest your money in. Take care of yourself, treat yourself, expand your knowledge, become better.

Did you know that many careers have a continuing education piece? This is where they have to go back to school a certain amount of hours each year in order to stay on top. We should be treating ourselves and our business just like this.

2. Spice up your lens collection

 Ahhh, there is nothing like getting a new piece of equipment to really help you stay creative. This is a double investment in my opinion. This will help you with getting better photographs, it is an investment into your business, and it will keep you creatively motivated. How freaking awesome is that? Here are some of my favorite lenses.

3. Explore new heights and angles

 I mean this as far as composition is concerned. Think outside of the box.

Do you always take photos standing straight up? Well, then try squatting down! Here are a few other things to try:

  • Try shooting from above (aerial view) - You can stand on a log, a rock, or a mountain! Just try taking images from the top down.

  • Photograph from below - Lay on your back and shoot up into the sky.

  • Photograph from laying on your belly - Get at ground level. Who cares if you get dirty!

Stay Inspired with Photography - Things to try in 2019 by Bessie Young Photography

4. Start a self portrait project

 This can be one of the funnest and scariest ideas out there. I have tried this a few times, and man, each time I get nervous. Lol. I mean how can I get nervous in front of myself?

Starting a self portrait project can also help you think outside of the box, it can help you become more creative with lighting, angles, posing and so forth. But it can also help you with self confidence. Seriously, there is nothing like seeing a pretty picture of yourself to make you feel better.

5. Save time on editing

Editing can seriously be such a drag. We started photography because we liked to take photos! Not because we like to sit behind a desk all day, staring at a computer, editing our life away. There are some amazing tricks to help you save time on editing whether that is editing photos or videos. Make sure to check out my photography tips and tricks to get some awesome editing tricks. You can also check out my Youtube channel that has some easy tips and tricks for editing faster!

6. Try editing on the go

 So I just started this this year and OMGEEEEE!! It is amazing. Talk about always staying creative. I bought a super sweet laptop for photo editing, downloaded my Lightroom, and BOOM! Now I can edit on the go. This is going to be amazing for when I head out of town on a road trip.

This is also going to help you stay on time with your galleries, not feel too overloaded, and will help you stay creative.

7. Experiment with double exposure

 I looovvveee double exposures. Have you tried them yet? Comment below if you have.

There are certain cameras that will let you take a double exposure in camera! Now if that isn’t just the coolest then I do not know what is. The Sony A7rii is one of those cameras.

If you don’t have one of those cameras you can also do a double exposure in post. Check out these images below that I created in post:

 8. Sell your presets

Yep, this is a big one. There is nothing like being inspired with photography then by helping others. It is so awesome to see others use my presets for their photos. They tag me in the photos and OMG I am obsessed.

Plus, it is pretty awesome to get paid to do what you love!

If neither of these inspire you then I just don’t know what will.

Did you know that I sell some presets? Well, if not make sure to check them out.

9. Sell your landscape prints

 There are so many pros to selling your landscape prints I don’t even know where to begin. If you have been on the fence about this let me just give you a HARD push. What do you have to lose? Seriously though can you answer me that? What do you have to lose by trying?

Selling your prints is amazing. First of all you get to see your images printed on a huge canvas, metal, or lustre paper. Ok, if that hasn’t sold you yet let me just keep going.

Second, you get to sign your photograph!

Third, you get to decorate someone elses home with your creation! Imagine, someone is putting your print on their walls and admiring that image ever day! AHHHHH! This just makes me so excited.

10. Print more often and on the go!  

I created an entire blog post around this subject. You need to go check it out for yourself so see why it is so freaking cool to print your photos, and print them more often. Here is the post:

How to print photos from your phone

Printing your photos is just the best. Seeing your creations in person, holding them in your hands….. man there is just not much better than that. It kind of solidifies the entire process. It makes everything whole. Whether you are a professional photographer, a mom, or someone in high school, there is nothing like getting your photos printed out. You need to do this.

Create photo albums, hang the photos on your walls or your fridge, put them in your wallet. Do all the things! Believe me, you will thank me after that.

The Polaroid Zip:

Now, to make printing on the go super freaking easy check out this little guy. You can print anywhere right from your phone!

It is called the polaroid zip. Now there are a ton of different options out there, but this is the one I use. I use if for my brides, I use if for my families, I use it for my engagement sessions, and I use if for my family get togethers. It is my favorite. Again, check out the post that I created, linked above.


I hope this gets your creative juices going and thinking about new things that you can try this year to stay inspired with photography. Make sure to comment below if you have other ideas on how to stay inspired. My goal with this blog is to not only share photography tips and tricks, but to create an awesome community that helps each other become the absolute best we can be.

Wishing you nothing but the most beautiful 2019!

Bessie


P.s. did you enjoy this blog? Make sure to check out these similar ones here: