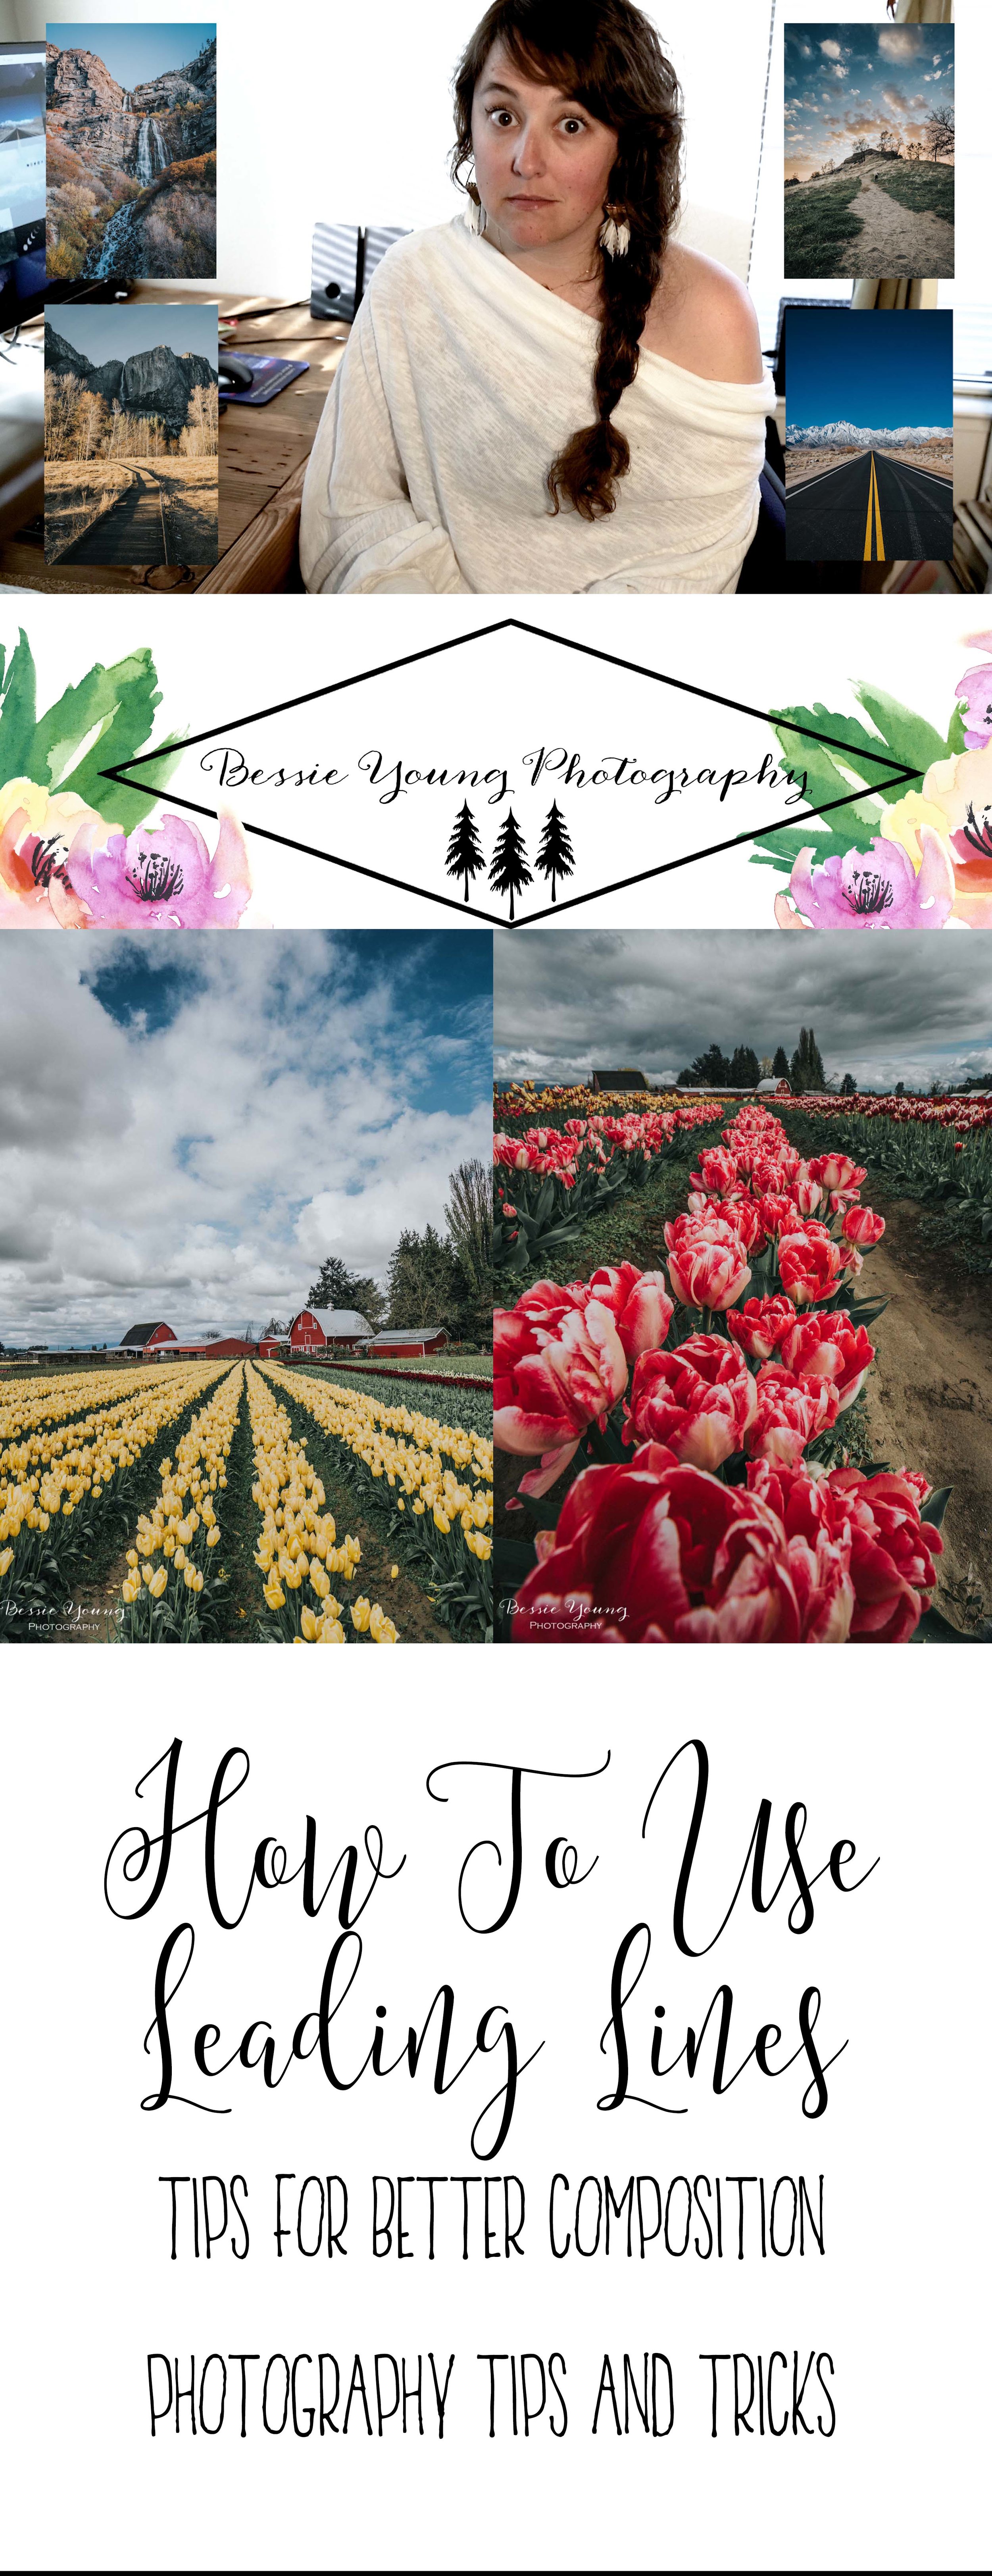
How To Print Photos From Your Phone - Print on Location

I am a HUUUGGEEEE believer of printing your images. Yes, I think it’s crazy important. In todays world, everyone thinks that me most important thing to have is digital images. Well I do believe those are important printing your images is just as important. You need to hold your images in your hands, hang them on your walls, put them in photo albums, share them with friends, and just do all the things with them.

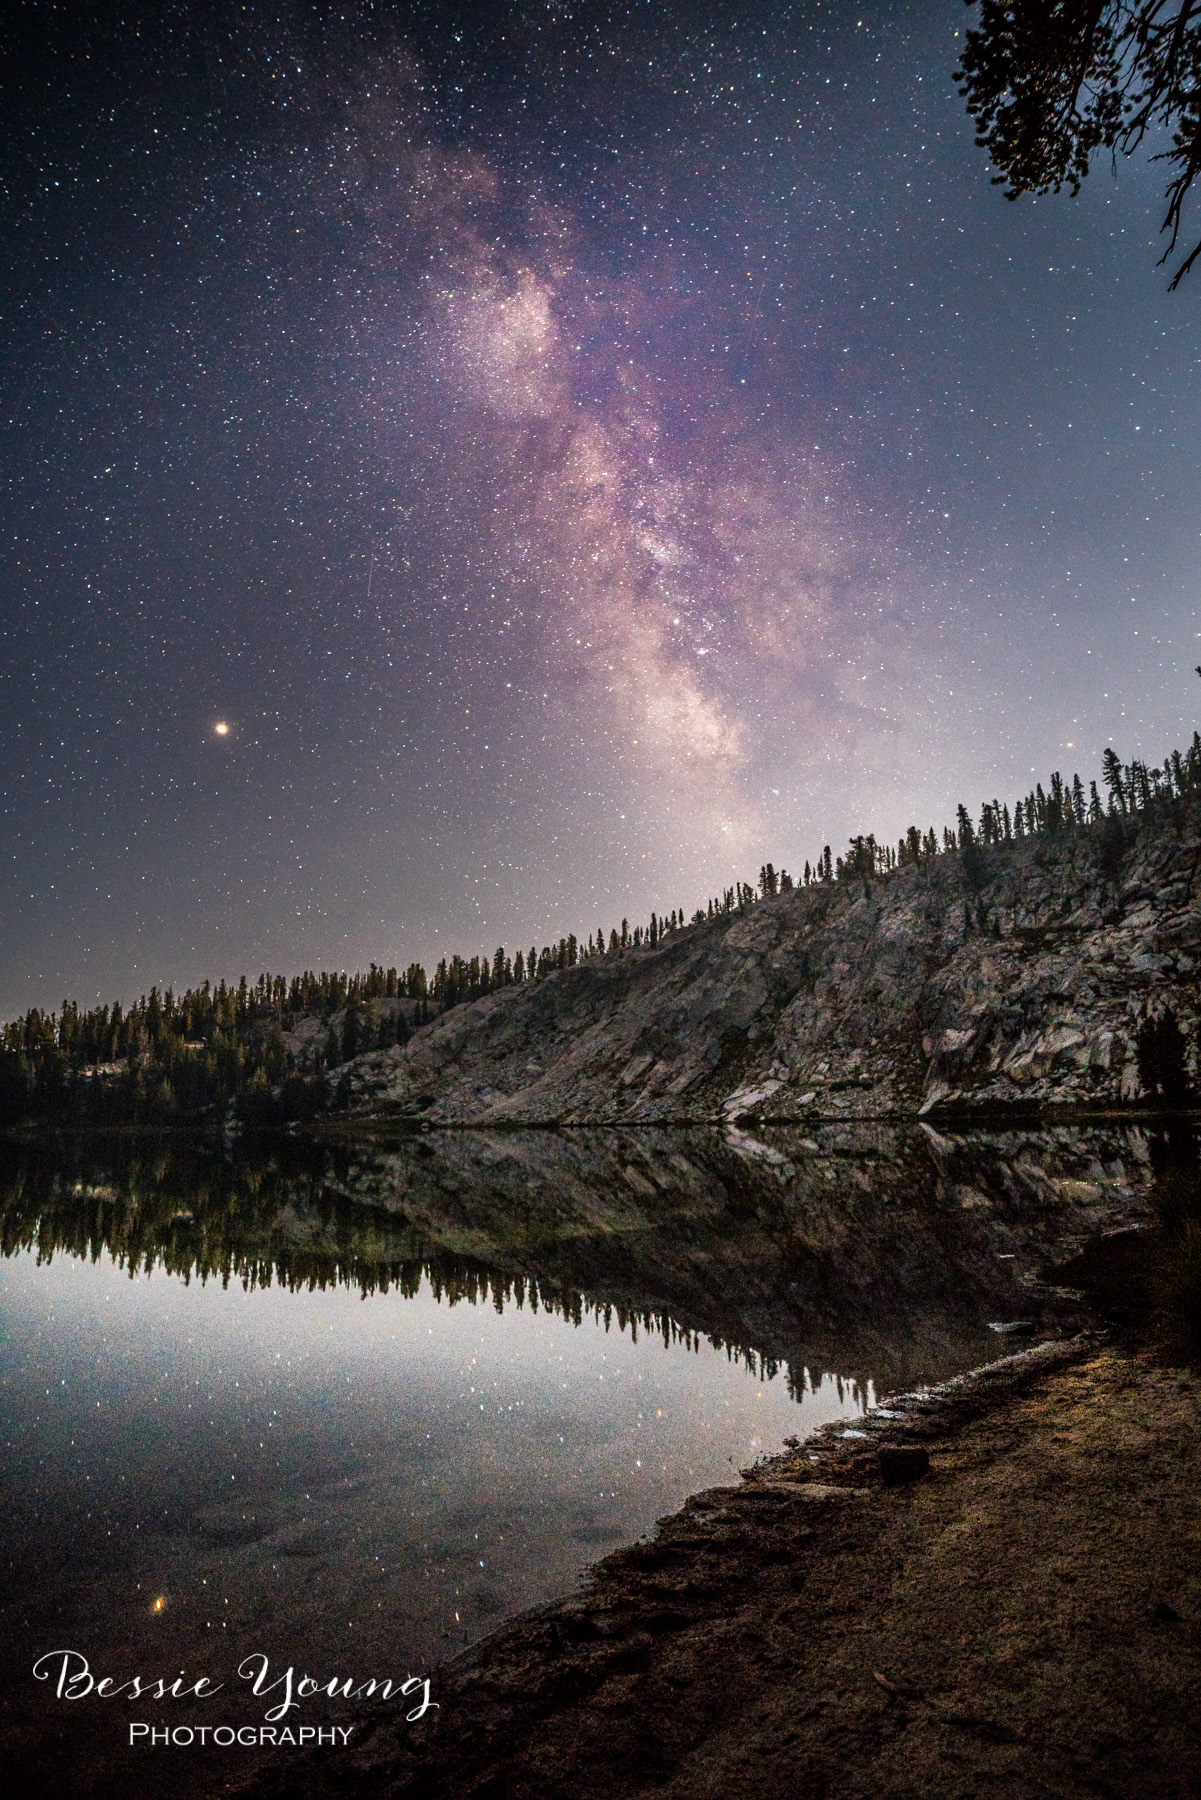
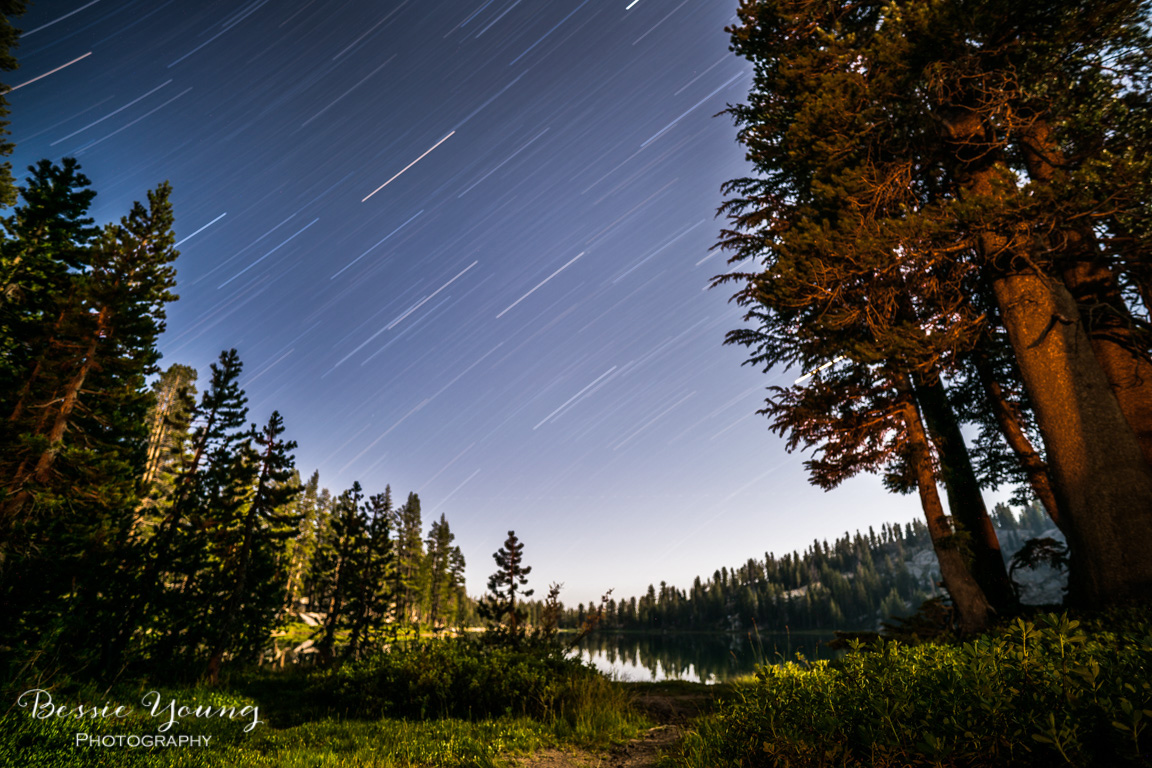
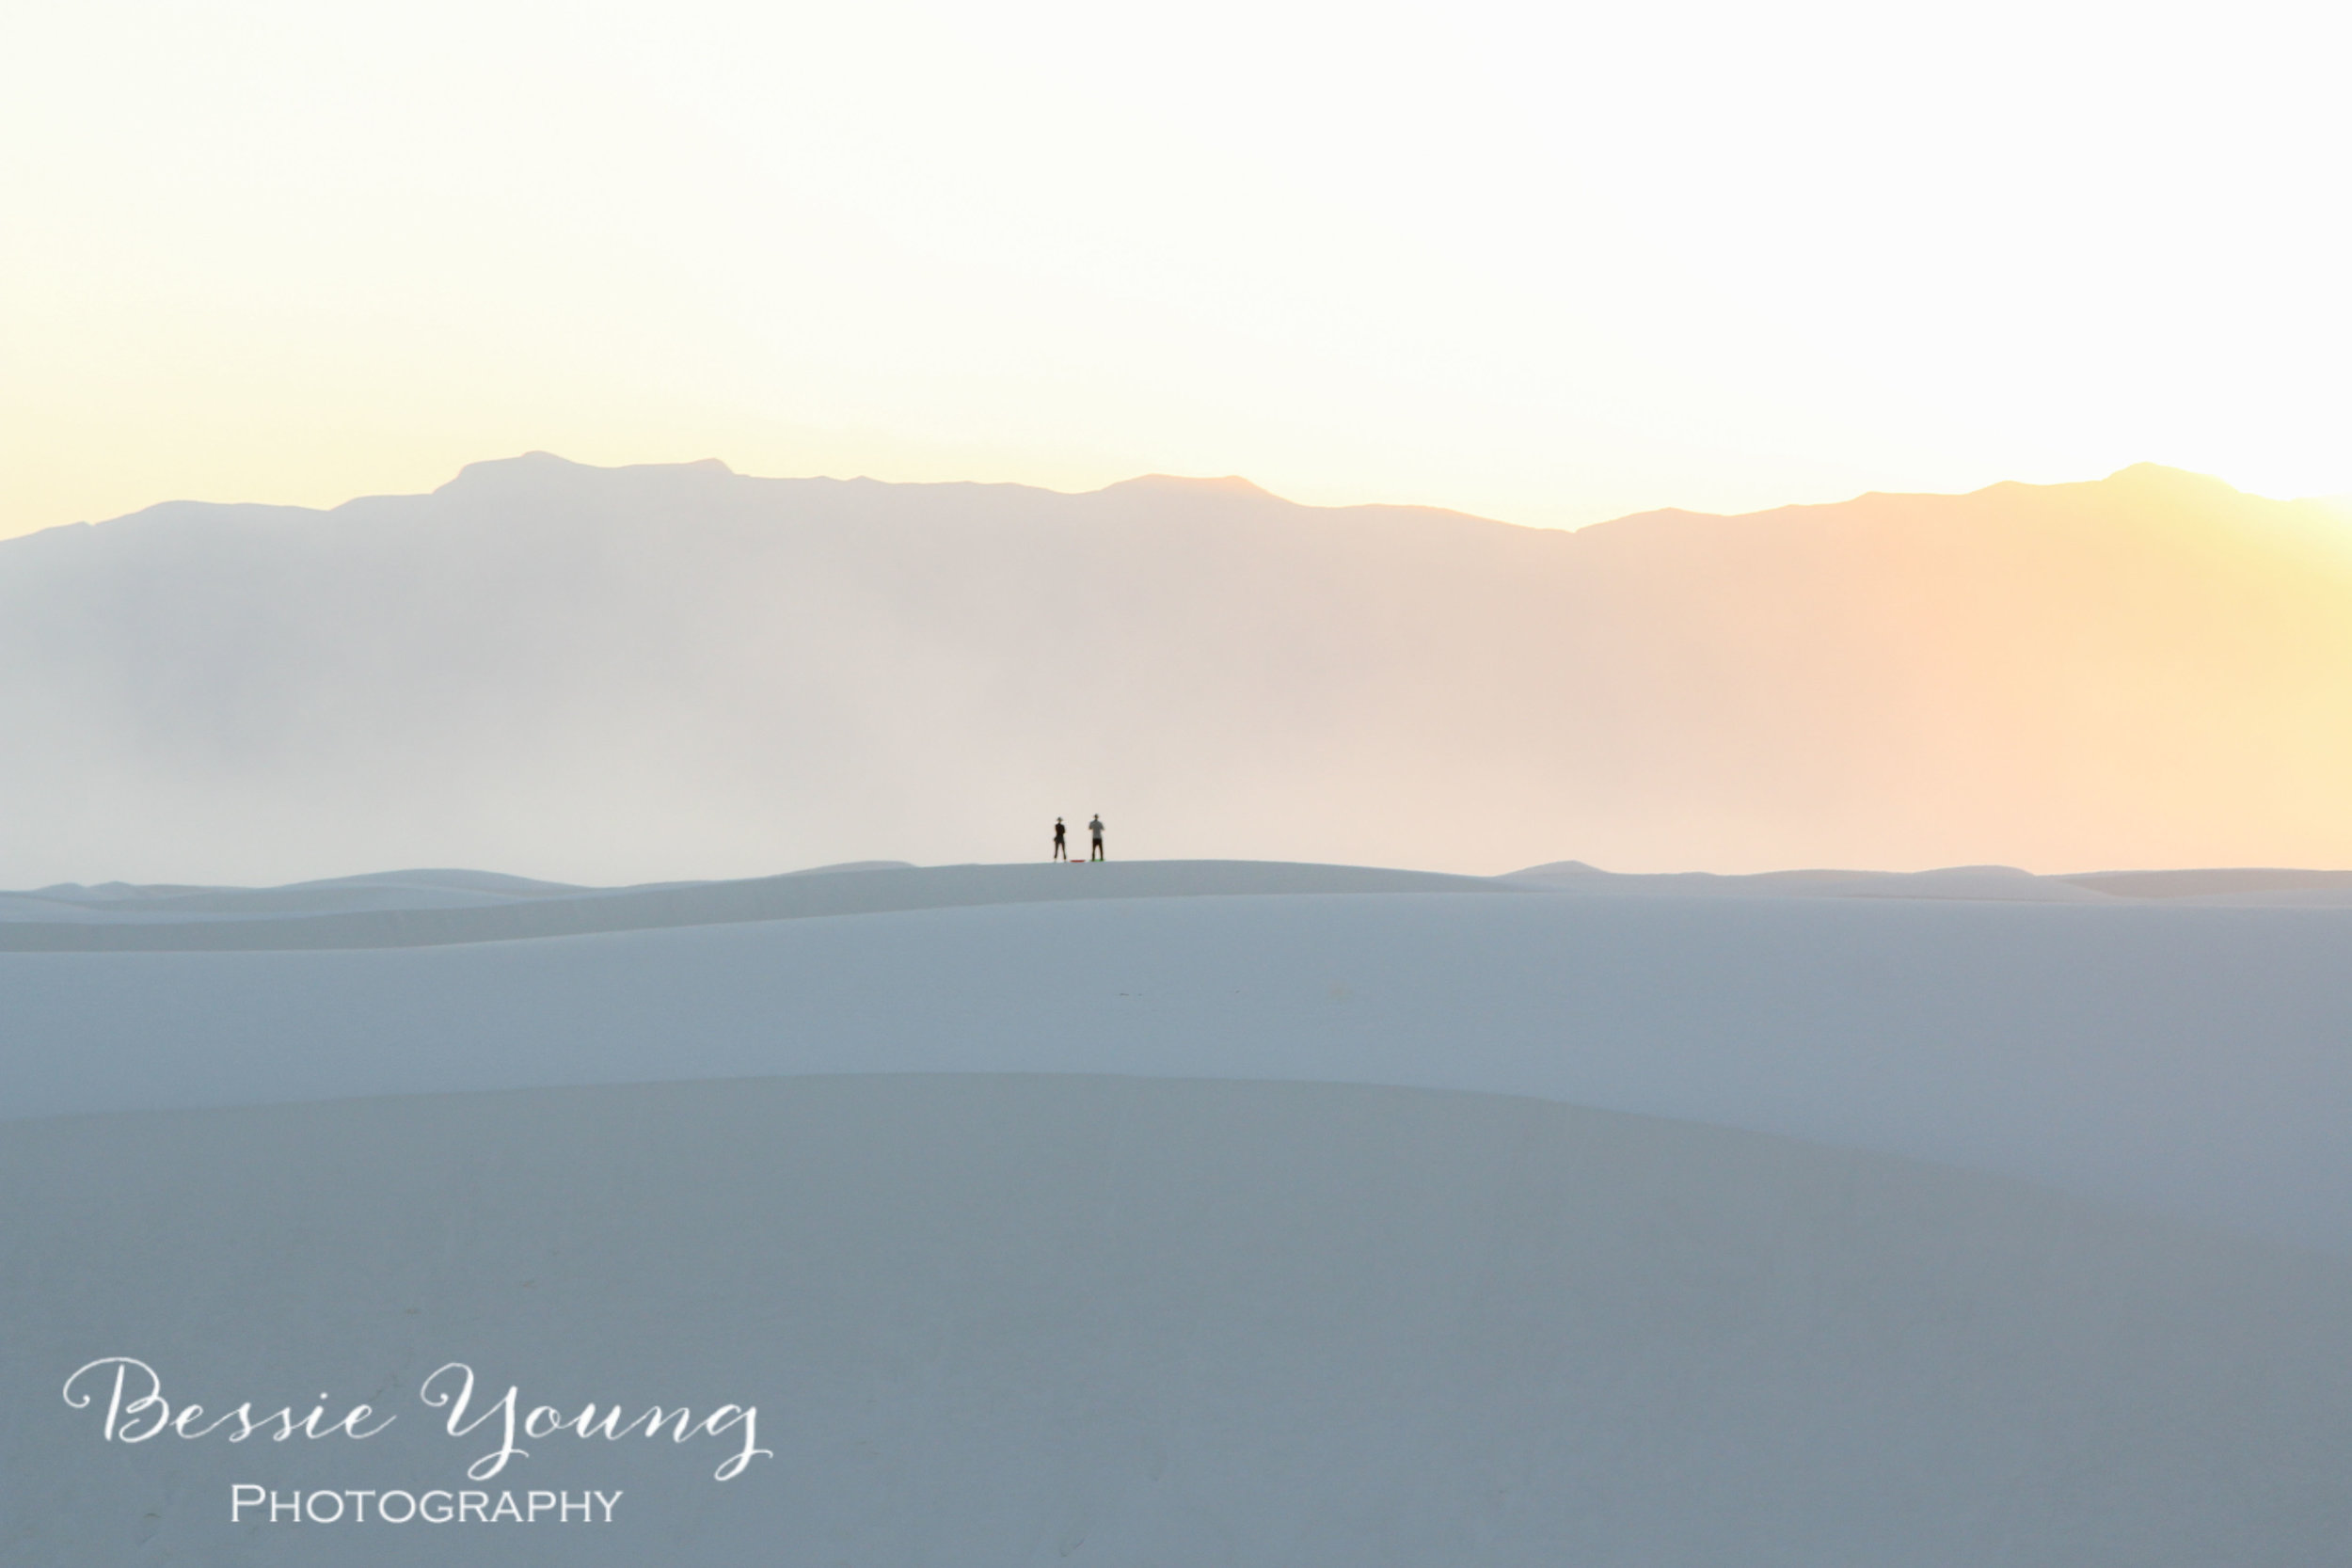
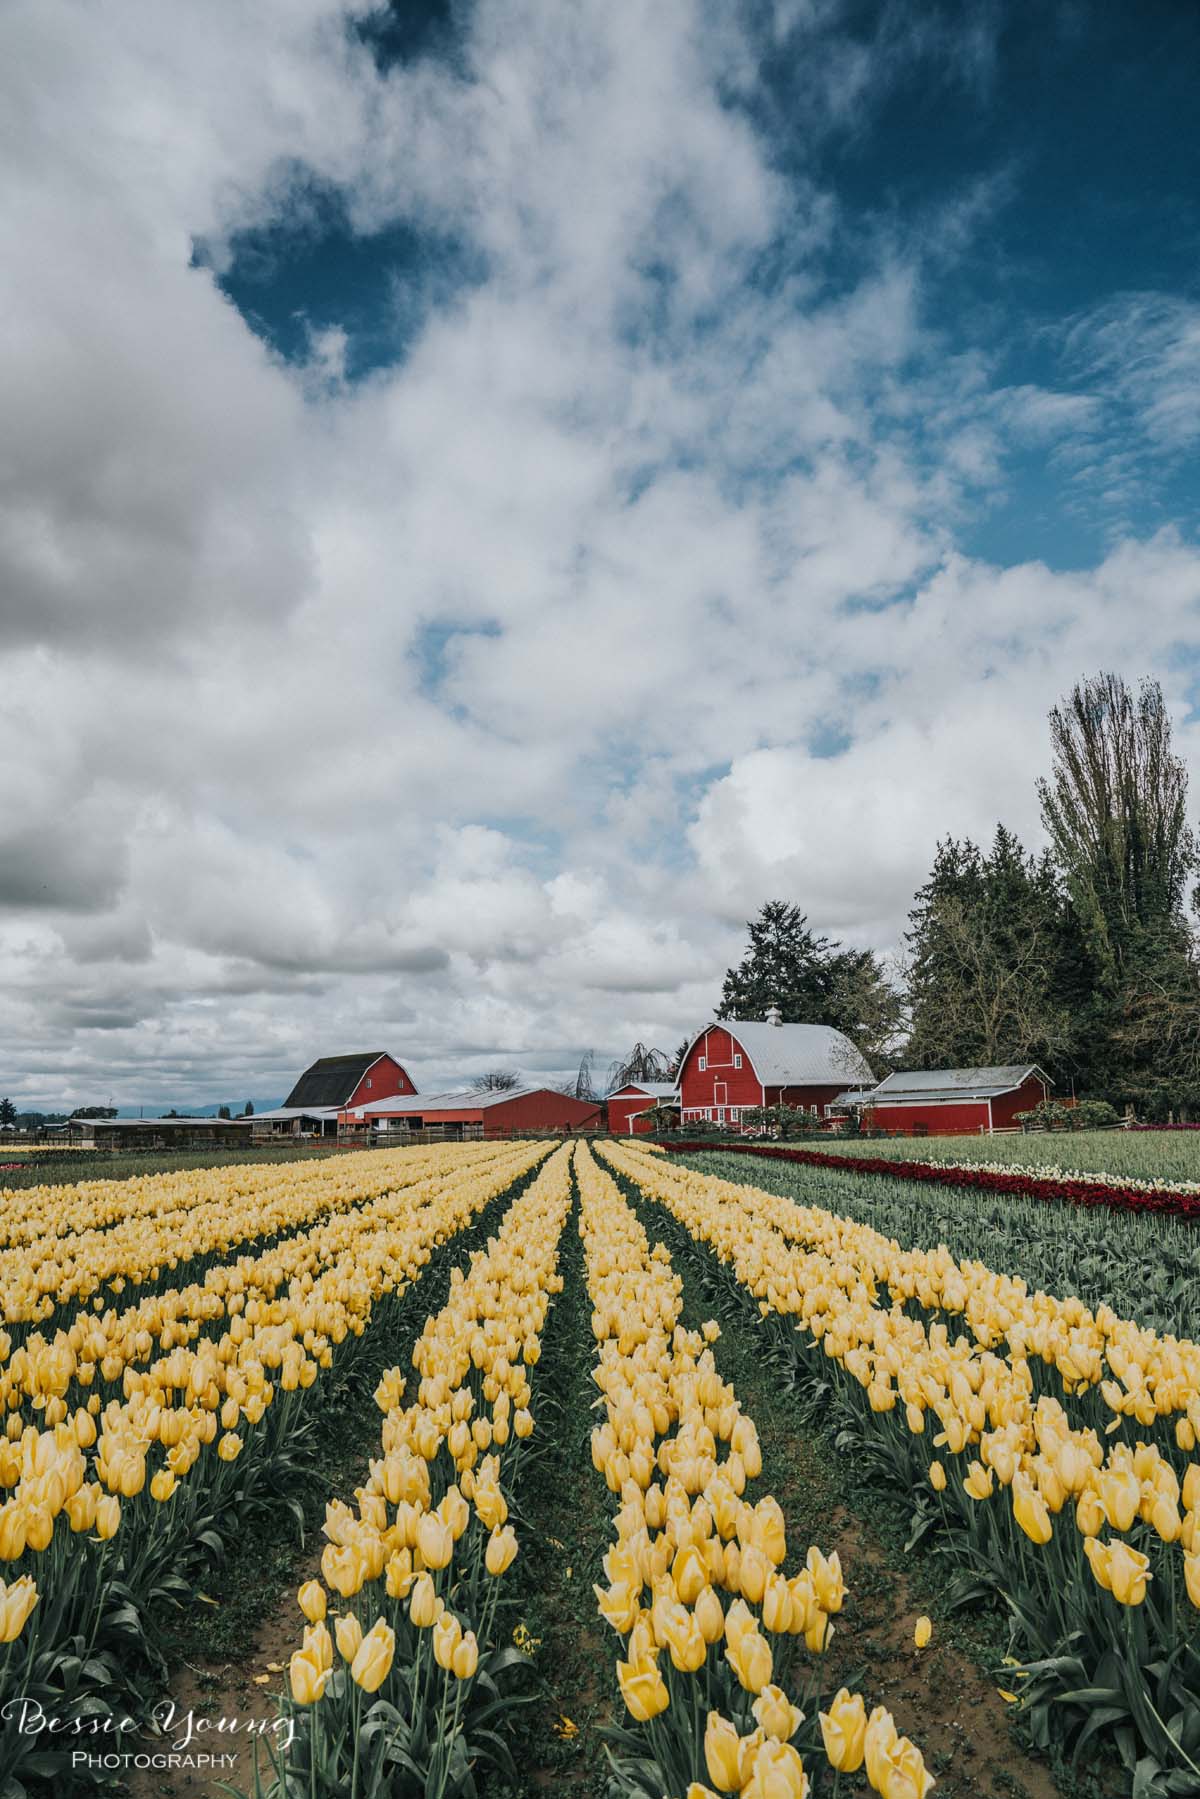
As you guys know I do both Landscape photography and Portrait photography. I love love love to spoil my customers, I love to be able to hand an image to someone and see their expression, and I just love printing pictures lol. (how many times can I say that?! So, I have been on the search to print images on location.
I figured it would be the coolest thing to be at a portrait session or a wedding and be able to hand a printed image to my people. We are so used to getting things right now, and I want to be able to provide that kind of service.
I also wanted to be able to be at a family party and hand a print over to my sisters after a silly selfie :O
So, the search began and I found the coolest little printer you ever did see!!! It is called the

There are so many things I love about this little printer.
It is small which is perfect for packing around while you are on a shoot, or just putting in your purse while you are at a party
It is easy to use! All you need to do is download the app and boom!
The battery lasts a long time
The printer prints quickly
The picture size is awesome. Perfect for wallets!
Now, with the pro’s always comes the cons. So here are the things I don’t like:
Only holds 10 sheets of paper
The color is off
The quality isn’t that great
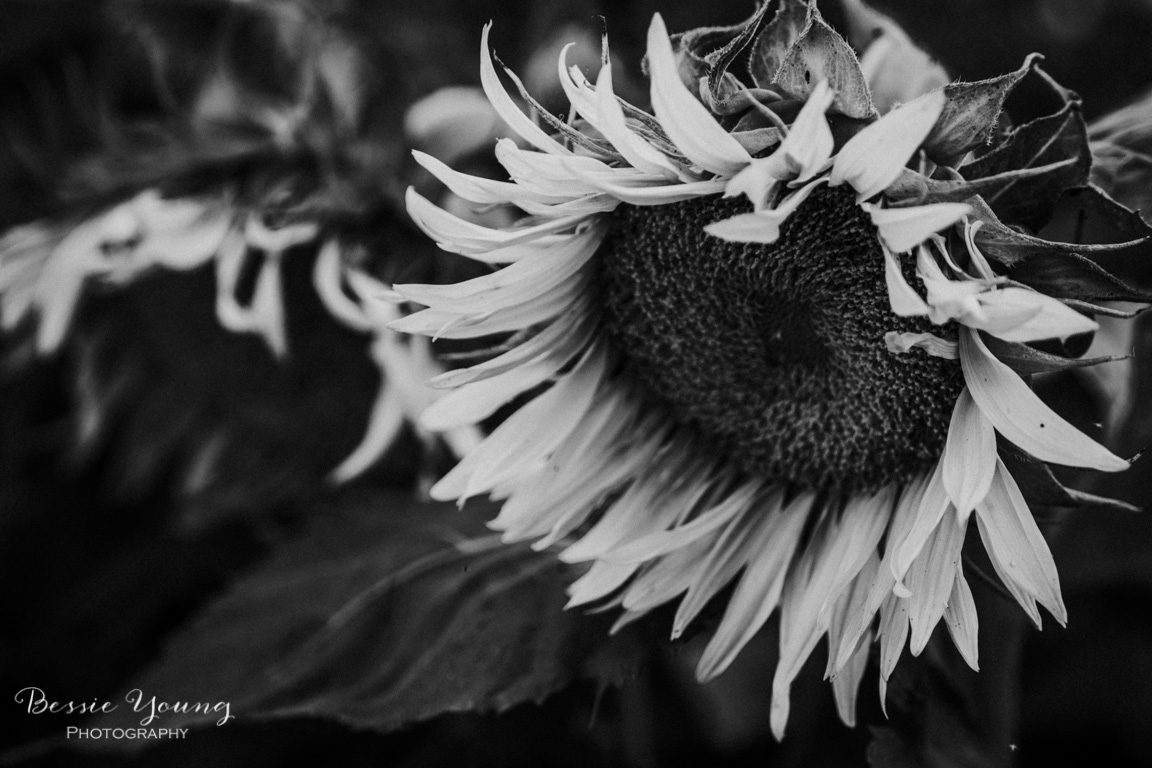
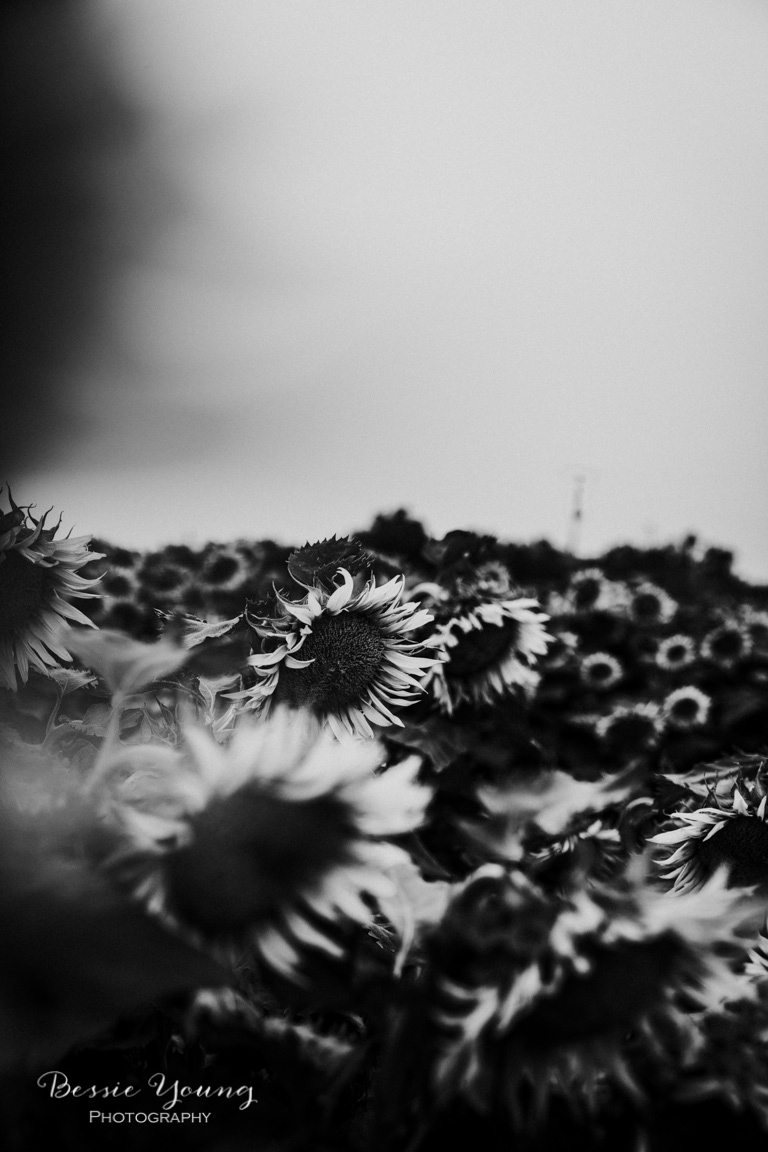
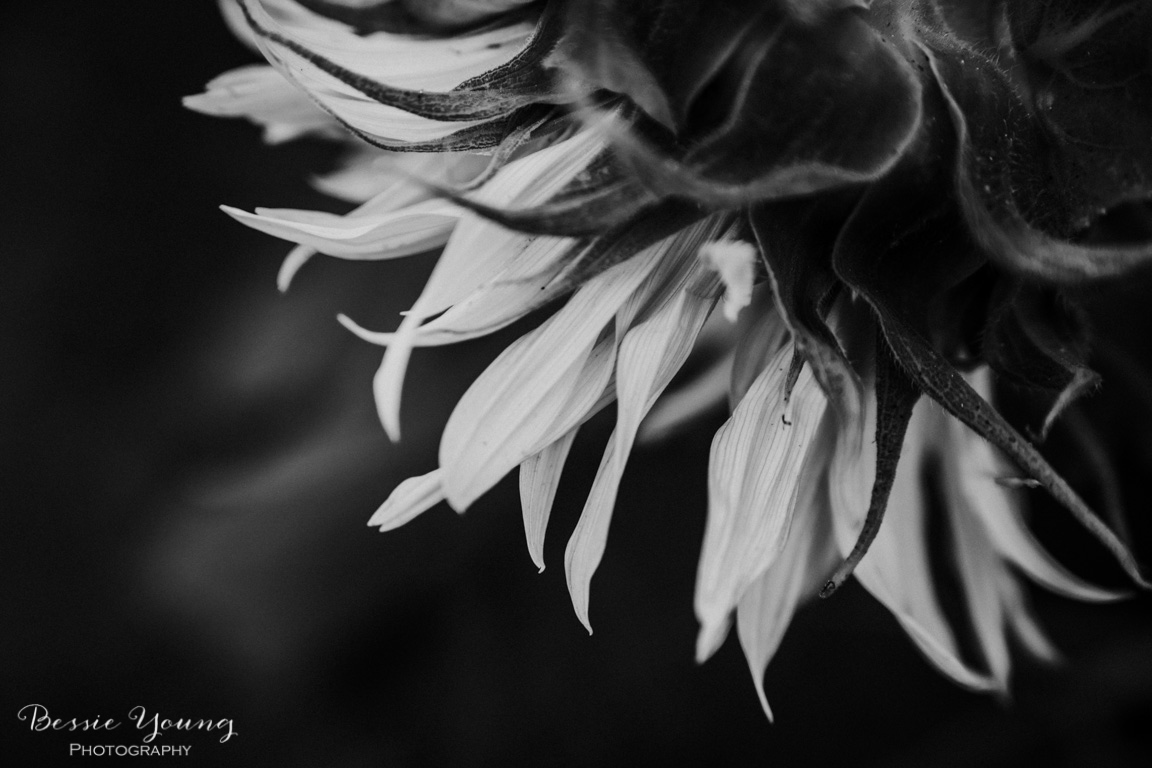
Now, the con’s really aren’t that bad because I only print in black and white. If I am going to print a photo for my clients I do not want to print it in color because then they might get the idea that their images will look like what is printed. If you print black and white, they get the picture, the immediate satisfaction, and great customer service. They walk away smiling and super excited to see the rest. Not to mention it places a small little thought in their head that prints are awesome!

There is also a bunch of other super cool printers that are incredibly similar. So check out these tiny little printers:
Are you learning Photography? Check out the freebie page to get you started! I have created a bunch of awesome freebies to help you out :)
I hope you guys enjoyed this little post :)
If you want to see more gear make sure to head on over to my gear lists!
Wishing you the very best and super pretty pictures!
Bessie