Klamath River Sunset - I Forgot My Tripod - Landscape Photography

Klamath River Sunset 

I Forgot My Tripod

Landscape Photography

Heading up  to Klamath California is one of my favorite things in the whole year. I get to hang out with my family for a whole week, camp, adventure around the redwoods, and be in one of the most gorgeous places for Landscape photography. Let me tell you its a photographers dream. There are mountains, oceans, and forests filled with giant redwoods! Umm... need I say more?

I Forgot My Tripod Klamath River Sunset Landscape Photography by Bessie Young .jpg

Klamath is about a 9 hour drive from my place, so getting ready for this trip can be interesting. I am always worried that I am going to forget something... and yes, this year I did!

I made the drive, and enjoyed my first night with my family. The next day I wanted to get a pretty sunrise picture and that's when I realized it.... I forgot my tripod! Ugh! Seriously frustrating; however, I did have a small Joby tripod that I brought to use with my Sony A6500. I figured I couldn't make it work with my Sony A7rii, but then again...

So, the entire trip I decided to not use the tripod until one evening when the sunset was going to be amazing. I just knew it was going to be amazing, so out I went with my little Joby tripod, my Sony A7rii, my adventure dog Yota, and determination to get a beautiful Klamath River Sunset image.

It was challenging, it made me think, it made me have to be creative, and it completely worked! I am so excited with the images that came from this adventure.

So moral of the story? You don't need all the fancy gear to get the shot! Furthermore, sometimes it is better to not have all the gear. It challenges you and really makes you stop, think, and be creative!

I hope you all enjoyed this blog. Have you ever forgotten something on a long trip? Leave a comment below. I would love to hear.

Wishing you nothing but fun and beautiful adventures!

Bessie

I Forgot My Tripod Klamath River Sunset Landscape Photography by Bessie Young Klamath California Sunset.jpg

p.s. Did you like this one? Check out similar posts here:

2017 Year in Review and 2018 Goals

2017 Year in Review and 2018 Goals

Wow 2018 is next week!!! Actually it is only in a couple of days. Can you believe it? I know that I am in shock! Serious shock! This year went by so fast.

Being able to do a year in review and goal setting is so much fun. I love looking back on the year and reminiscing on everything that has happened. It is amazing how we forget the little things and don't realize how much actually happened within the year until we actually stop and think about it. So, lets look back on what happened in 2017 for Bessie Young Photography.

2017 Year in Review

1. I split my website into 2!

The biggest thing that happened for my business is the fact that I split my websites. This was a huge endeavor, it took a lot of time, but I am so incredibly happy that I did this! So now, all my landscape images, behind the scenes, how I got the shot, and tips/tricks are on this website. All my everything pertaining to portrait photography is on www.bessieyoung.photography

2. I was able to go on so so so many adventures.

- Death Valley National Park and Badwater Basin

- Skagit Valley Tulip Festival in Washington

- Finding Fall and the Alpine Loop, Utah

3. I started sharing Tips, Tricks, How To's, and Tutorials on my Youtube Channel!

Wowza right?! I mean holy moly man. Talk about a busy year, and that is just the landscape side of my business!

Ok, so now lets chat about 2018.

2018 Goals

1. Create a 2019 calendar and get it ready to sell by October 2018

2. Work on my Sierra Nevada Mountain Wildflower Guide Book.

Yep you read that right! I have been working on gathering content for years and years. Getting pictures of the wildflowers in the Sierra Nevada Mountains can be challenging as they only come out once a year. I finally have taken all the images of the wildflowers that I want in my book. Now, I need to compile all the data and create a book. This is going to be a big undertaking but I am so ready for the challenge and to be able to see one of my biggest dreams come true :)

Growing up I absolutely loved getting nature books. It was something that my parents got me for my birthday quite often. I loved going outside and trying to name all the bugs, birds, trees, and especially flowers. I always said that one day I will make a book, only better. One with good images. One where you can look at the picture and not have to guess. Well, that time has come my friends! That time is now and I couldn't be more excited.

3. Start my shop!

Ok so if you didn't watch the video I am going to be adding a section to my shop that includes coffee mugs, T Shirts, and more for photographers! I am so excited about this. Everything is going to be hand drawn, designed, and created by me. I will then get it printed and everything will be printed and designed in the USA. This was a huge thing for me and took me a little while to actually find a printer that was USA based; however, I found one and am so incredibly excited to start this section of my shop!

So that is everything. My 2017 in review and my 2018 goals. So what are you most proud of from 2017? What are your 2018 goals? Leave a comment below. I would love to hear from you!

Wishing you Happy New Year and a wonderful 2018!

Bessie

Alpine Loop Utah - Finding Fall

Alpine Loop Utah - Finding Fall

Fall is my absolute favorite time of year! I am obsessed with everything fall. ... the crisp air, the cooler weather, the gorgeous leaves changing colors, the holidays just around the corner, all of it! Plus to make it that much better, it means I get to wear my comfy sweaters, tall boots, and hats!

So naturally, I also love to take pictures of fall. As a landscape photographer, this is the perfect time to take pictures, at least in my opinion, because you get the gorgeous scenery with a bunch of color! How can you not love that?!

This Fall I was on a mission to find the beautiful fall colors. In early September I began researching where the best places were to see fall colors. The Alpine Loop was a place that kept coming up in my searches and to make it even better, it isn't that far from where I live. Well compared to places like Canada, New York, or Vermont, Utah is a hop skip and a jump from California. So I set my sights on Utah and never looked back.

What is the Alpine Loop?

This loop is a scenic drive that follows along Hwy 92 running through the American Fork Canyon. It is approximately 20 miles long. You travel through the Uinta National Forest and end along Hwy 189 in the Provo Canyon. The road is completely paved starting off as a two lane road with a double yellow line; however, it eventually changes into a windy, narrow one lane road.

The Alpine Loop scenic drive offers amazing views of a mountain called Mount Timpanogos along with views of various other peaks that were carved by glaciers.

The road is open from May to late October entirely depending on the weather. If you want to spend the day in the area, go on hikes, and so forth, you will need to purchase a $6 pass at the entrance booth; however, if you are just passing through there is no fee.

The Adventure

My trip started on the north end of the Alpine loop along Hwy 92. I traveled into the canyon taking in all the gorgeous views. Let me tell you though, I was not expecting the traffic. There were people everywhere, which made driving a little tense.

The road started off as a two lane road with a double yellow line; however, as you began to climb into the mountain the line went away and the road began to narrow. Eventually, there were sections that were only one car width wide.

This area offers so many gorgeous views and opportunities to take photos; however, pull outs are few and far between, plus with the amount of people on the mountain made it a bit more difficult. It can get a little frustrating when you see the perfect picture; however, you cannot pull over to get the shot. So, if you ever decide to travel along the loop, make sure that you are ready for alot of people, and also make sure that your patients are in check. In hind sight, I would say use ever pull out as an opportunity. Just take the pull out and then decide after you park if it is a good spot or not.

The entire area is gorgeous, the drive is gorgeous, and I loved everything about it.


An Unexpected Surprise

As I ended my journey along the loop and found myself driving down Provo Canyon. The light was fading fast, and I thought my adventure was over. All of the sudden as I looked to my left there was a huge waterfall!

Not knowing the area at all made it difficult to figure out how to get to the falls, but I had to get there! After all I most likely won't be back in the area for quite some time, if ever, so I had to make it happen!

After almost giving up on the idea of catching an image of this gorgeous waterfall, I found a spot to turn around! Finally!!!! Rushing back to the falls, there was just a few more moments of usable light. I set up my camera in a rush, got my settings just right, clicked the shutter button, and then took a big sigh of relief :)

Satisfied, overwhelmed with the gorgeous day, and excitement to edit my photos I headed back to my hotel room to get a bit of sleep and begin my adventure to June Lake, California.

I hope you guys enjoyed this blog and adventure. If you did don't forget to subscribe :)

Wishing you nothing but beautiful adventures,

Bessie


Idaho Falls, Idaho

Idaho Falls, Idaho

Bessie Young

While on an adventure to find fall I found myself staying in Idaho Falls, Idaho. I already knew that Idaho Falls was famous for a waterfall in town; however, I had no idea where it was or how to get to it.

After booking my hotel room, I lay there googling Idaho Falls. Much to my surprise I was staying right next to the falls! Seriously?! How much more convenient could that be?

Ultimately I decided to sleep in, get some breakfast, and then stop by the falls before I continued south to Utah. It was quite cold that morning, the snow had fallen the previous day, and things were a little frozen over; however, that wasn't going to stop me from getting a beautiful picture.

There is a nice trail that follows the falls the entire way. I drove along the road to scope out where exactly I wanted to get my shot, parked, and then walked along the trail. Ultimately, I ended up at the most Northerly side of the falls and the most Southerly side of the falls.

If you want to read a little about walk along the river check it out here.

How I got the shot:

Note: Make sure to watch the video first.

First shot (on the top of this blog):

  1. Use a Wide Angle Lens. I used my Sony 16-35 mm f4
  2. It was quite bright that morning, almost 9am, so I had to use a 10 stop ND Filter in order to get the smooth water.
  3. Tripod - This is to allow for a long exposure
  4. Adjust settings as needed. My settings were based around my shutter speed as I wanted smooth water. My settings were: ISO 80 | Shutter speed 2.5 seconds | Aperture F 6.3

Second Shot (right below):

  1. Same technique as above
  2. Settings were: ISO 64 | Shutter speed 8 seconds | Aperture F 11


I would love to hear from you! Leave a comment below and don't forget to share with your friends!

Wishing you nothing but fun adventures and beautiful photos.

Bessie

My Gear

P.S. wanna know what gear I used? Check it out my Gear list or check it out here:

Kit Used:
Camera: Sony A7Rii: http://amzn.to/1taGpAu
Favorite Lens: Sony FE 24-70 F2.8 G Master: http://amzn.to/2n747NJ
Wide Angle: Sony 16-35mm lens: http://amzn.to/1UBjBDW
Vanguard Tripod: http://amzn.to/2aoI5ku

Filming:
Samsung Note 4 smart phone

Editing & Processing:
Bulk editing: Adobe Lightroom: http://amzn.to/1WB7Jnc
Fine tuning: Adobe Photoshop : http://amzn.to/1WB7YPh
Viva Video Pro for combining videos


How To Take A Panoramic Picture | Minaret Summit | Landscape Photography

How To Take A Panoramic Picture

on location at the Minaret Summit

Mammoth Lakes, California


After my adventure to find fall throughout Montana, Utah, and California, I ended up in Mammoth Lakes. While searching around Mammoth for fall colors I stumbled upon this beautiful lookout, the Minaret Summit. When I saw the amazing views this lookout had to offer, the first thing that came to my mind was I need to get a Panorama! I mean, what better spot to take a panoramic picture than when your staring at one of the most iconic ranges in the Sierra?!

I decided that this was also the perfect spot to talk a bit about how I take panoramic pictures :) So....

How to take the perfect panoramic picture:

Step 1:

  1. Set up your tripod.
  2. Level your tripod.
    • This is key! Make sure that the bubbles on your tripod are spot on.
  3. Point your camera to the left side of your scene. This will be your first image.
    • Make sure to add a little extra space to each side of your panorama as you will loose a little bit in post processing.
  4. Lock your tripods adjustments in place.
  5. Double check your camera settings and fine tune the focus.
  6. Put your camera on at least a 2 second timer for an ultra clear shot.
  7. Take the picture.

Step 2:

  1. Unlock your pan on your tripod.
  2. Pan to the right about a third of the way from your previous frame.
    • This means you want to have approximately two thirds of your previous image in your second image.
    • Why? This way your images have enough data for stitching them together in post processing and will guarantee a clear image with no seams.
  3. Lock your tripods adjustments in place.
  4. Take the picture.

Step 3:

  1. Repeat step 2 until you pan across your entire scene. I have found that I typically take 4-5 frames.

Hopefully this helps you to capture those beautiful panoramic pictures that you have always dreamed of!

Wishing you nothing but the best!

Bessie

P.S. Wondering what gear I used? Check out my gear list here.


Hope Valley, California | Autumn is here!

Hope Valley, California | Landscape Photography

by Bessie Young Photography

Fall is my absolute favorite time of year. The colors are beautiful, the weather is perfect, and you start to get that feeling that winter is coming and all the fun holiday festivities are just around the corner. It is the beginning of the end of the year, and for some reason it adds a sense of peace. Everything begins to slow down a bit, and we start thinking about the things that really matter such as friends, family, nature, and our true creator. It brings a peace of mind knowing that life isn't all about hustle. Throughout the year we forget to stop... take a deep breath.... and enjoy what truly matters. We are so busy with our day to day lives that the year flies by, but then fall comes around and for some reason it helps us to stop and think. It helps us to look back on the year, and to look forward to the rest of the year. We get a sense of peace. A sense of meaning and understanding.

The spring, summer, is quite a hectic time for people in their lives, but then it comes to autumn, and to winter, and you can’t but help think back to the year that was, and then hopefully looking forward to the year that is approaching. Enya

Hope Valley is one of my absolute favorite places in California. Growing up, we would always head over to Hope Valley in order to bring in the Fall season. Sometimes we would hit the aspen's changing at just the right moment. Other times we were either a little too early or a little too late. No matter when we got there, it was still amazing. The sound of the aspen leaves fluttering in the wind, the picnic and family laughter, and the beautiful melody of the creek. It brings everything together. It is funny how some of us cling to certain traditions and if we happen to not be able to accommodate that tradition we feel slightly lost inside. A little piece of our year is missing.

Everyone must take time to sit and watch the leaves turn.
Elizabeth Lawrence

This year, we hit the Aspens just right. The colors were amazing! There were oranges, yellows, greens, and reds. It was absolutely beautiful! Heading over to Hope Valley we decided to take Hwy 88. This Hwy is beautiful and is mainly forest. If you need gas make sure to gas up in Jackson before making your long journey to Hope Valley.

Autumn is a second spring when every leaf is a flower. Albert Camus

The Aspens seem to change in early October, depending on the weather. Since Hope Valley is so close to South Lake Tahoe it is the perfect weekend adventure. Not to mention that South Lake Tahoe has an amazing Oktoberfest that occurs during the first weekend of October :) Talk about perfect timing! Fall is my favorite time of year. Not only the colors make fall the best, but all the festivities that happen during this season. Oktoberfests, Harvest festivals, Halloween parties, and Thanksgiving to only mention a few things. How can you not love Fall?!

Delicious autumn! My very soul is wedded to it, and if I were a bird I would fly about the earth seeking the successive autumns.
George Elio

I hope you enjoyed this post. If you did don't forget to subscribe to my blog :) This way you will get an email whenever I post something new.

Please leave a comment! I would love to talk to you.

Wishing you nothing but amazing adventures and beautiful days.

Bessie

Ansel Adams Wilderness Day 1 Backpacking

Ansel Adams Wilderness Day 1 Backpacking

Mammoth Lakes, CA

by Bessie Young

This year’s backpacking trip took me onto portions of the Pacific Crest and the John Muir Trails within the Ansel Adams Wilderness. It was such an awesome adventure and I am so excited to share the images with you all.

The planning of the trip was a bit difficult as California received quite a winter with over 200% of normal snowfall and I wanted to be there when the flowers were in bloom. As a result of all the snow this caused me to postpone the trip until late July.  It also made for some last minute travel changes as certain areas of the trail still had quite a bit of snow. Luckily the permit gods smiled upon me and everything worked out perfectly.

Starting the Day

The day started off in the early morning with packing things up into the truck and heading off into the unknown. I traveled through Yosemite, over Hwy 120 to the Visitor Center in Lee Vining. This is where I picked up my wilderness permit. As I talked to the rangers they requested my planned camp locations for each night. I was so excited to tell them Ediza Lake for the first night as I had really been looking forward to taking photos of the sun setting over the Minarets. The ranger looked at me with a bit of confusion and said “Ediza lake is frozen over". Honestly, I had no idea how to respond so I just said ”Oh”. As I left the ranger station I figured I could just wing it if Ediza Lake was actually frozen over.

After picking up the permit I headed down into Mammoth Lakes, CA for lunch before hitting the trail. My permit was for the Shadow Lake Trail out of Agnew Meadows Trail head. In order to get there you have to take a shuttle bus from the ski resort which costs 7 dollars.

Getting on the Trail

Once I got on the trail all my packing worries from the day before went away. Do I have all my stuff? Did I get the water filter? Did I grab all my camera gear? It’s quite funny how when you are preparing for backpacking you think you need everything and the kitchen sink; however, once you get out there all the worry, questioning and anxiety goes away. Once you set your feet on the ground and start walking, you begin looking around, enjoying the scenery and just living thin the moment.

The trail started off fairly easy along the Pacific Crest river trail. The destination for night 1 was Ediza Lake, which is about 7 miles in. As I walked through the wilderness I swear I could have taken 1000 more pictures than I did, but I had a long journey ahead of me. The trail takes you along the Middle fork of the San Joaquin river and up to Shadow Lake. The climb to this lake is steep, rocky, and in the full sun. Shadow was a beautiful sight to see after the hot, steep climb up the mountain.

Making it to the First Lake

As I walked along Shadow Lake I saw a couple sitting on some rocks with their little one in their arms. I looked closer and yelled "Becky?" with a questioning voice. She looked up, a little startled and dismayed, and replied 'Bessie'? It was so amazing to see Becky out on the trail. You see, I went to high school with Becky and we worked together at Baskin Robbins in Sonora for about 4 years! This area is so remote and over 5 hours from home. It just goes to show how small the world truly is. We chatted for a few minutes and then I went on my way to reach my destination before nightfall.

Continuing on

Continuing on I talked with some fellow hikers asking where they have been and what they had seen. My main question was about Ediza Lake as I wasn't even sure if I was going to be able to make it. Everyone I passed assured me that there was no snow on the trail; however, they did say that the bridge which crossed the river to get to the lake had been washed away due to the heavy winter that California saw.

As I traveled, I found this gorgeous meadow along the river.

Making it to Ediza

It was a difficult meadow to leave as it was absolutely amazing. I could have sat there all day, but I needed to make it to the lake. Right before the lake I had to boulder hop along the river since the bridge was gone. This was a bit difficult but let me tell you, it was completely worth it!

There wasn't alot of camping spots at this lake. All the good spots were already taken; however, some reason this didn't bother me at all. I was able to see the lake, get some amazing images andcamp at the beautiful meadow I passed along the way. The total mileage for the day was just shy of 9 miles.

Home for the night

The meadow along the river made for the perfect evening. Unfortunately, there was a requirement of no camp fires in this area so instead of sitting around watching the fire I star gazed. As I sat there looking up I noticed the Milky Way just above the mountain tops.

Day 1 was a huge success for hiking and getting beautiful photos. Let me know if you have been to this area by leaving a comment below. If you want to see days 2-4 make sure you subscribe to my blog.

Wishing you nothing but absolutely amazing adventures!

Bessie


My Gear

P.S. wanna know what gear I used? Check it out here:
Kit Used:
Camera: Sony A7Rii: http://amzn.to/1taGpAu
Favorite Lens: Sony FE 24-70 F2.8 G Master: http://amzn.to/2n747NJ
Wide Angle: Sony 16-35mm lens: http://amzn.to/1UBjBDW
Vanguard Tripod: http://amzn.to/2aoI5ku

Filming:
Samsung Note 4 smart phone

Editing & Processing:
Bulk editing: Adobe Lightroom: http://amzn.to/1WB7Jnc
Fine tuning: Adobe Photoshop : http://amzn.to/1WB7YPh
Viva Video Pro for combining videos


Solar Eclipse 2017 | Landscape Photography

Preparing for the Solar Eclipse 2017:

Let's just say that I had planned to go see the Solar Eclipse 2017 since 2016. I was so excited about it and had a plan to travel to Wyoming to witness the natural phenomena. The plan was to watch the Solar Eclipse in Wyoming, and then adventure into Yellowstone National Park. This seemed like an awesome plan to me. As the Solar Eclipse started getting closer some unsettling stories began to surface. Small towns worried about not being able to handle the crowd, running out of gas, sewers not being sufficient.  Some small towns were preparing for the eclipse the same way they would prepare for a natural disaster. Word was every small town in the path of totality was going to become a parking lot.

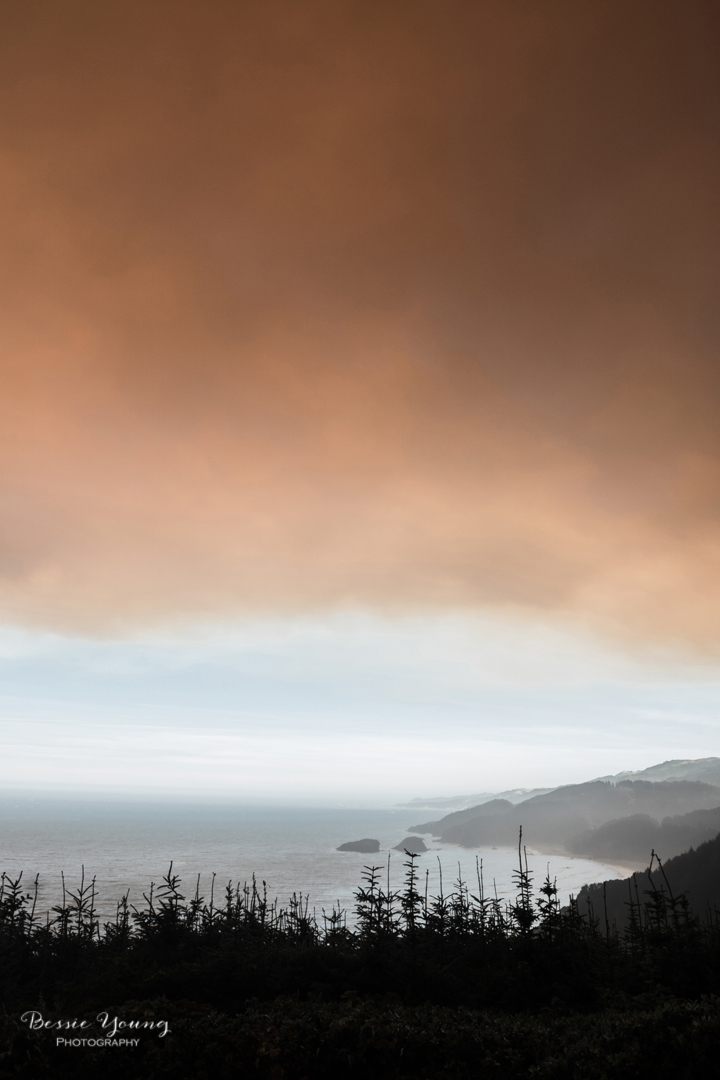
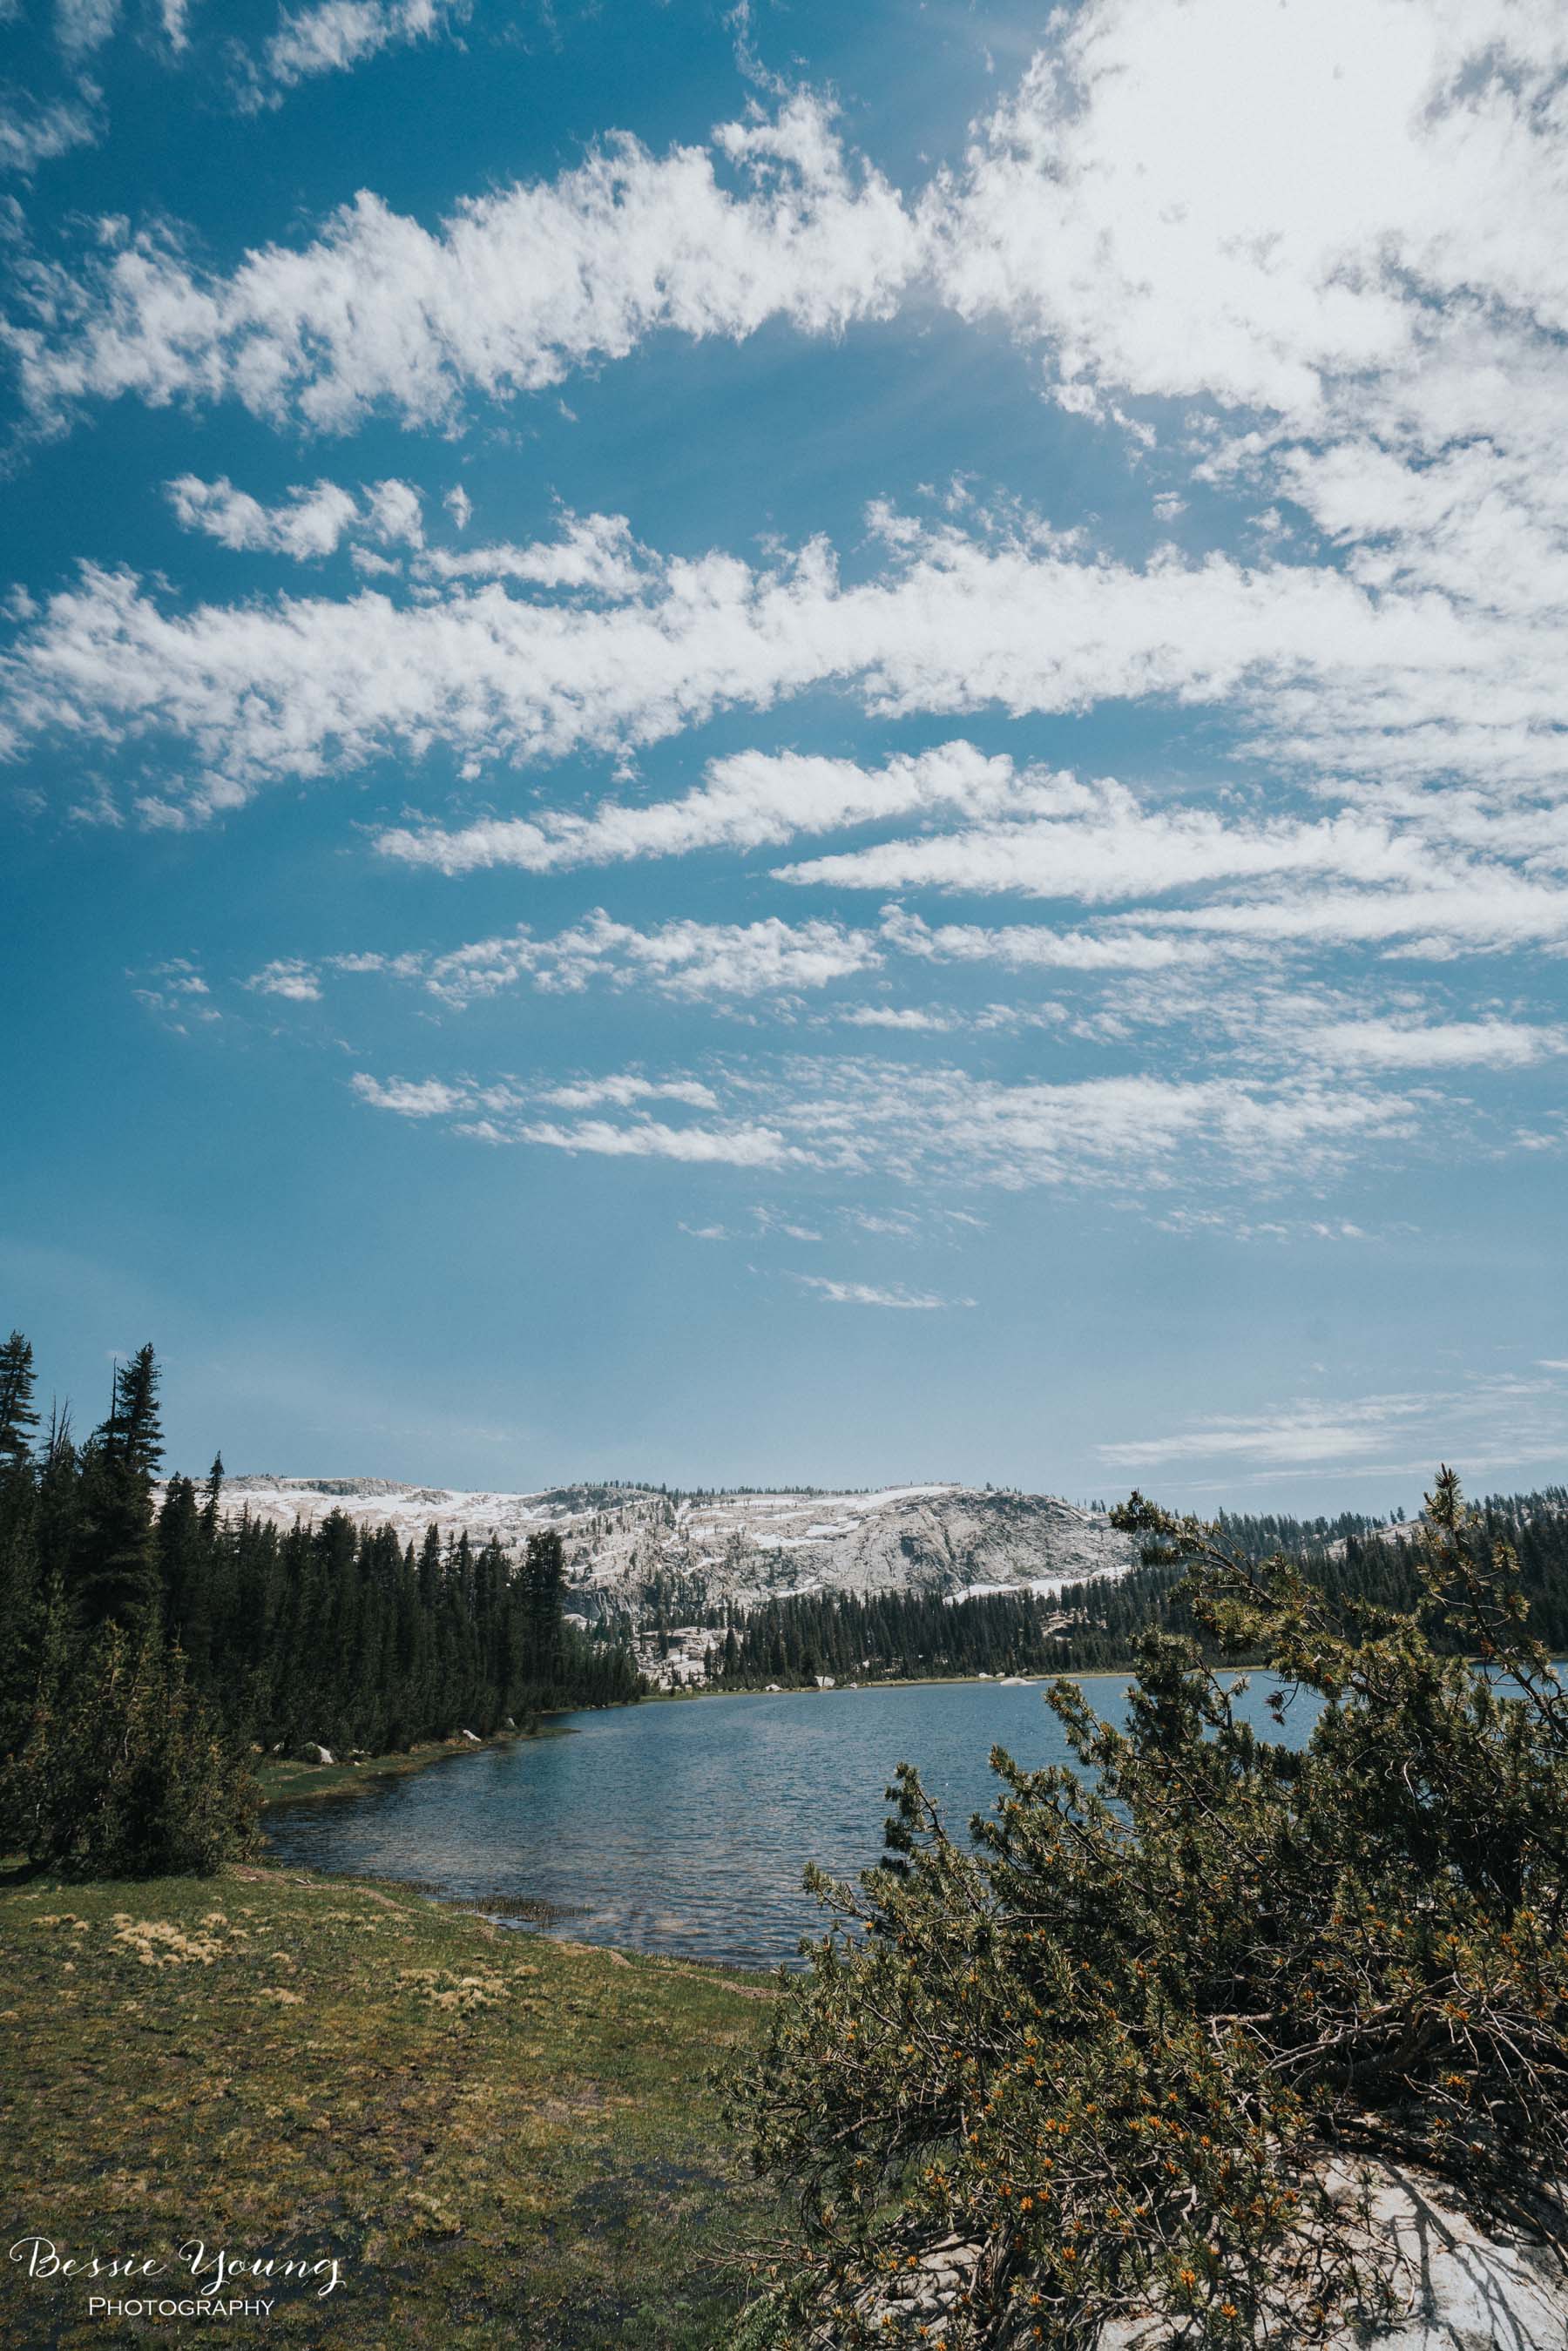
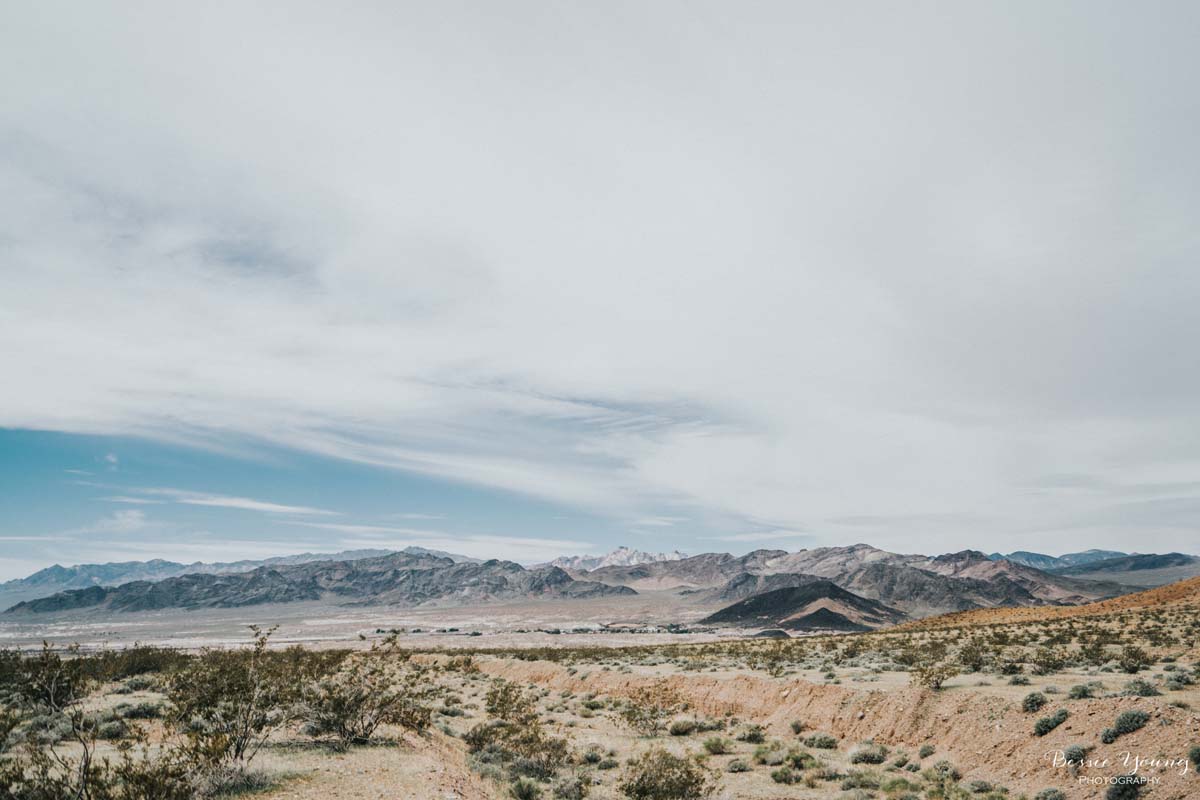
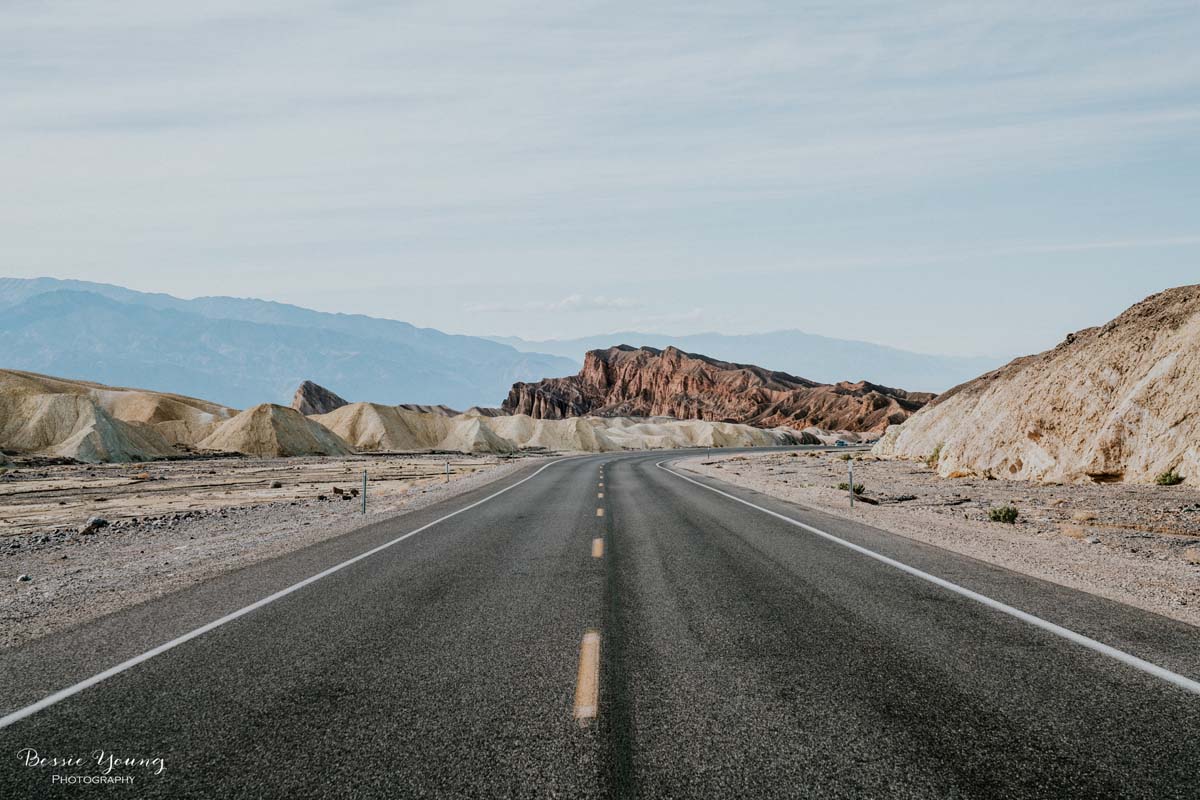
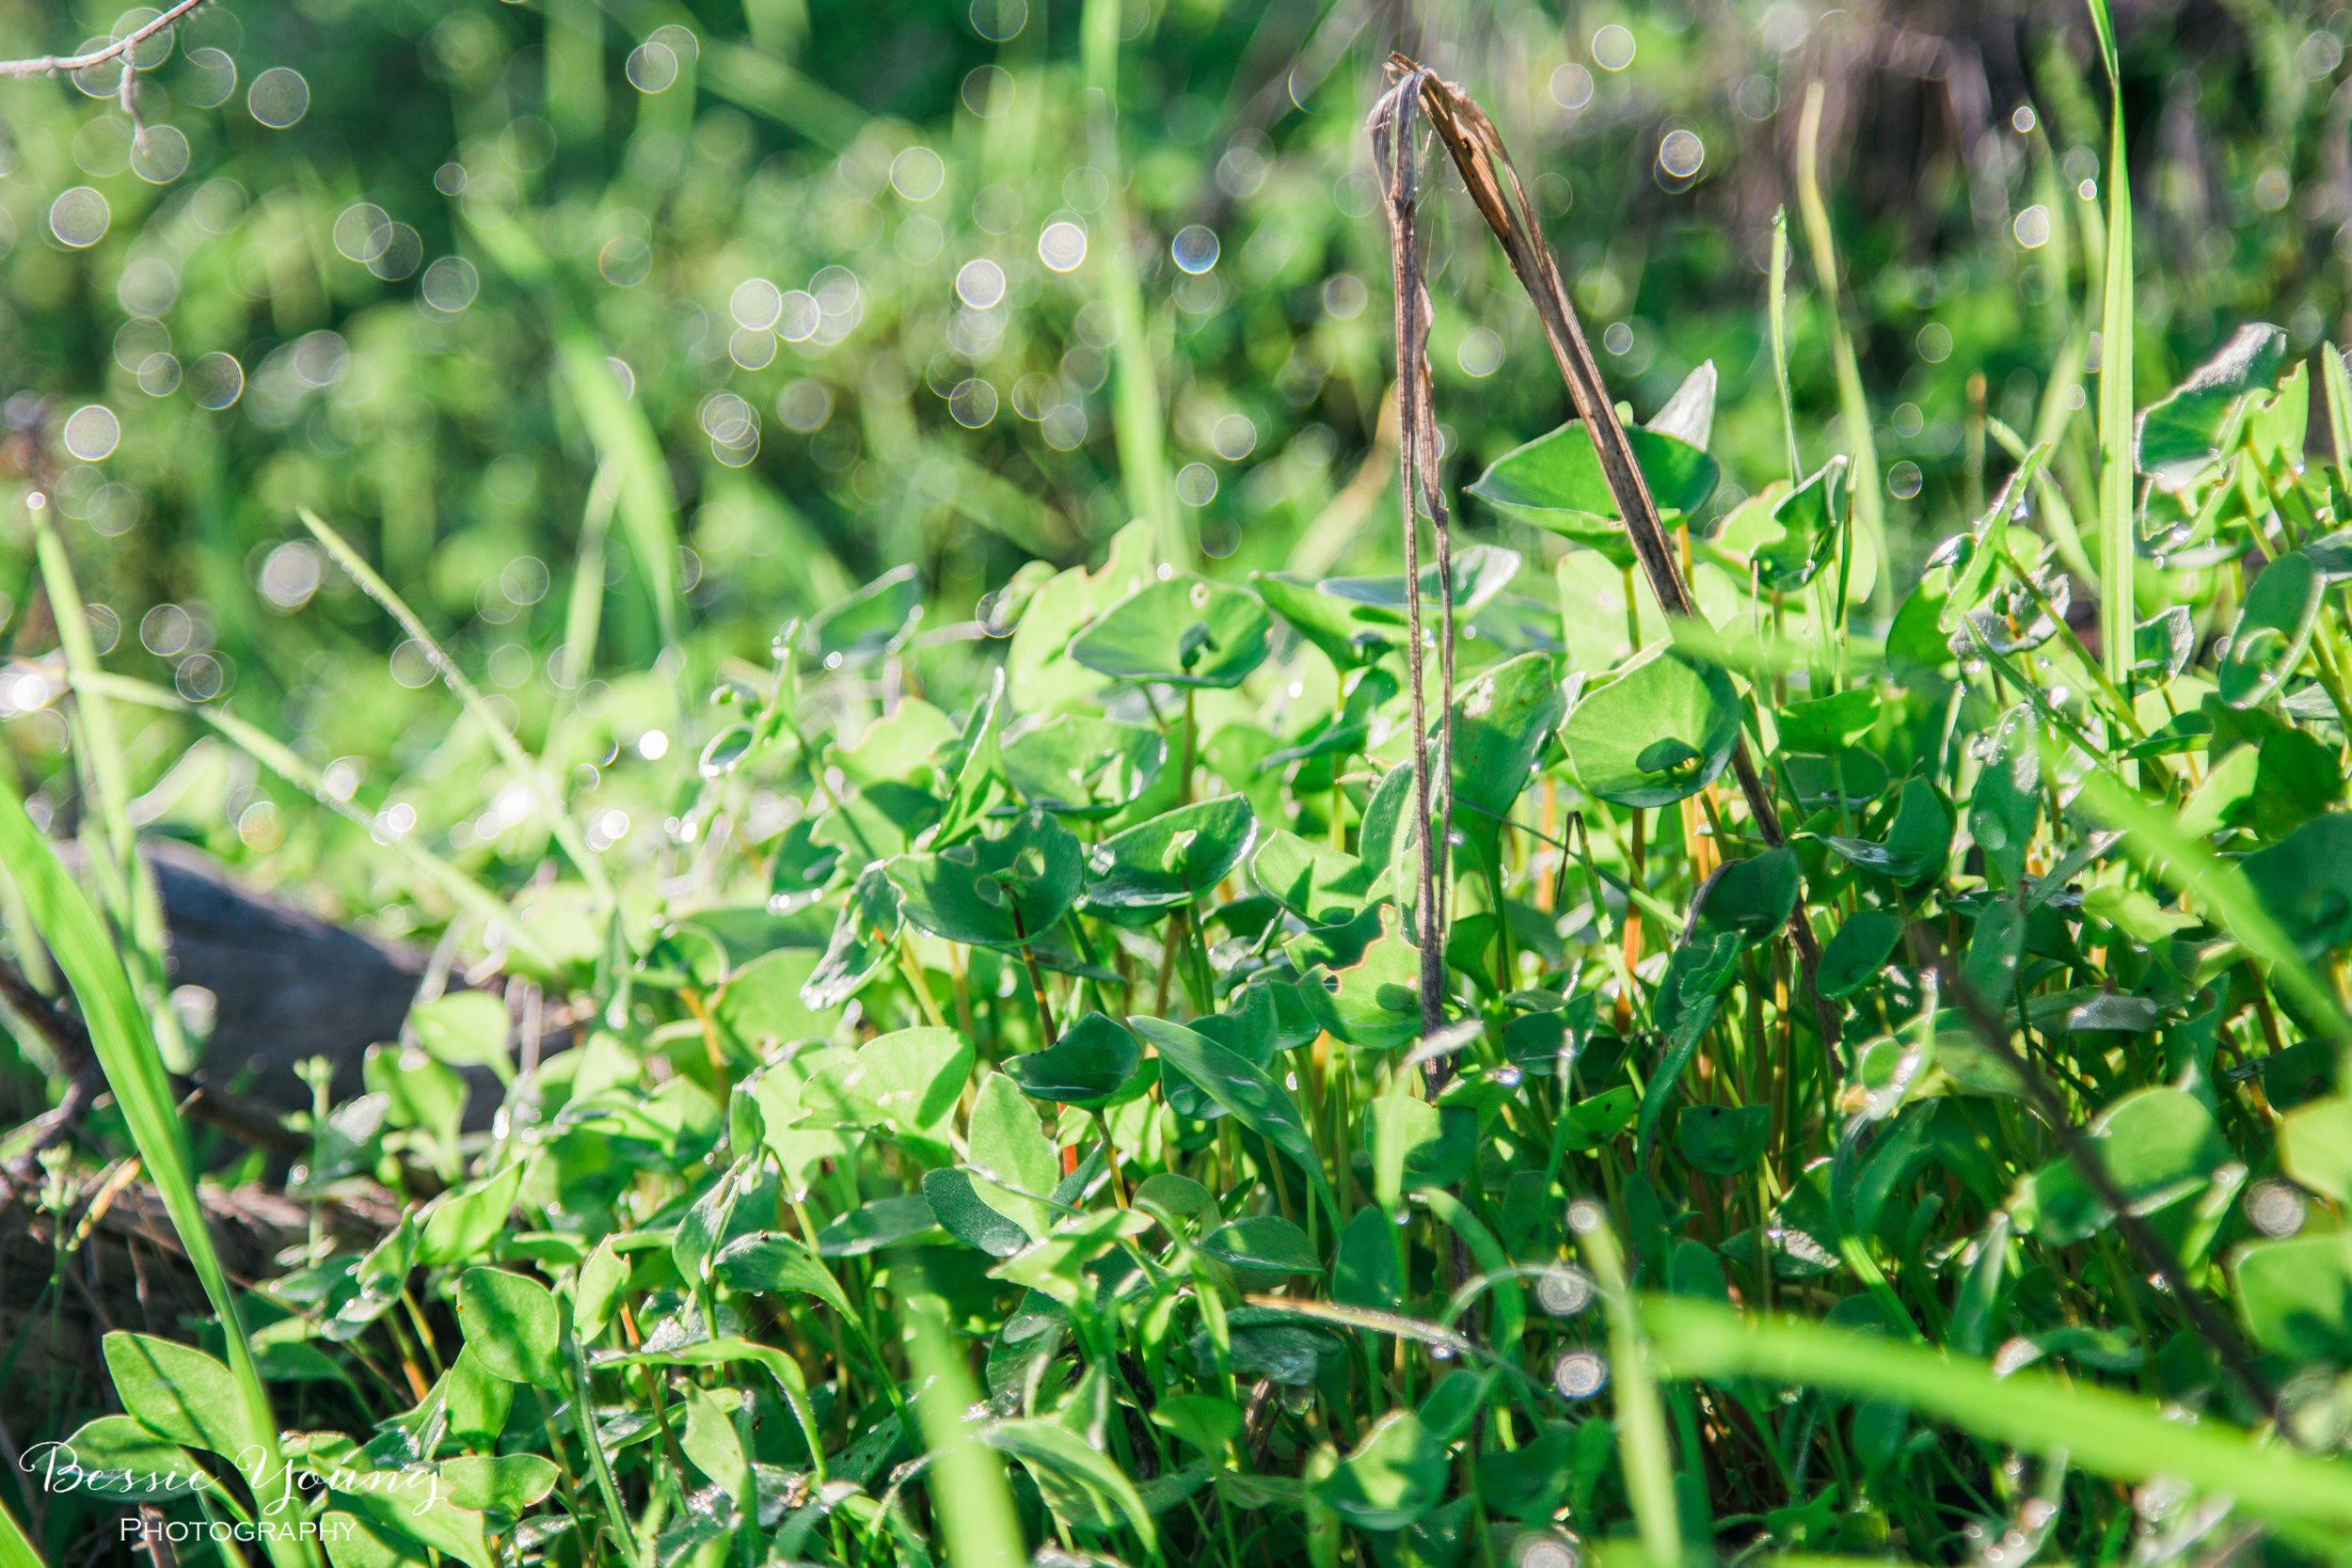
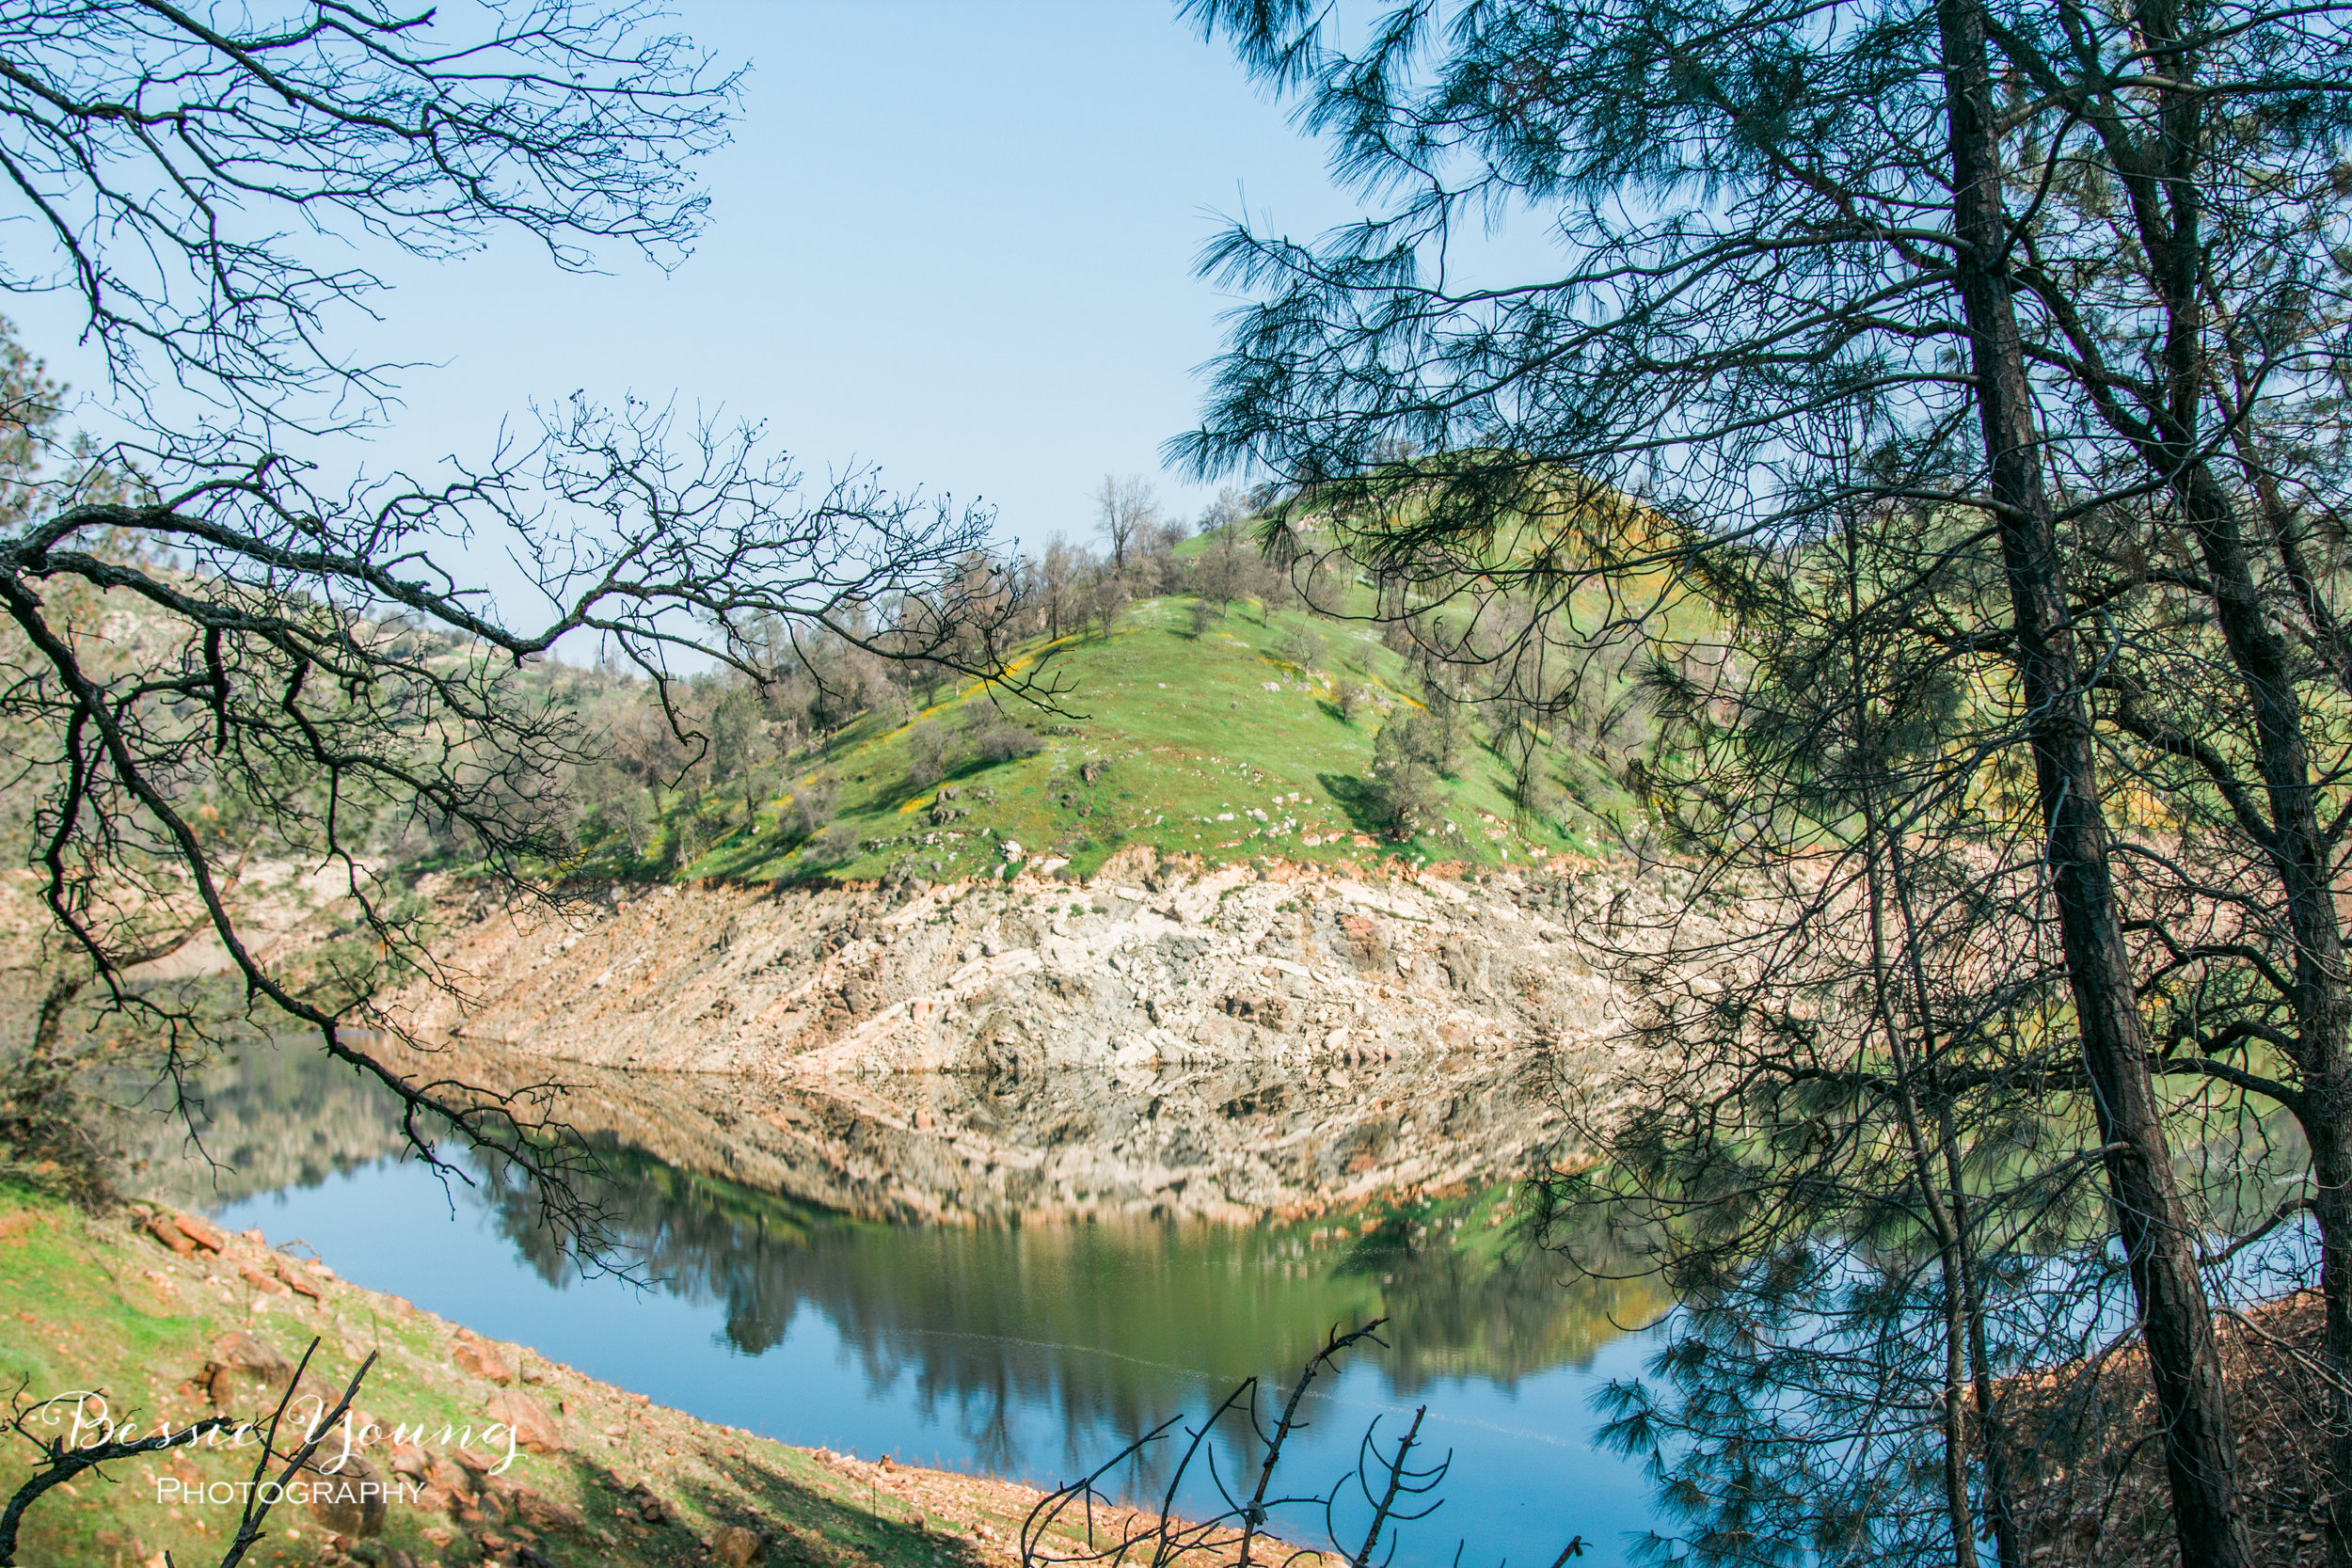
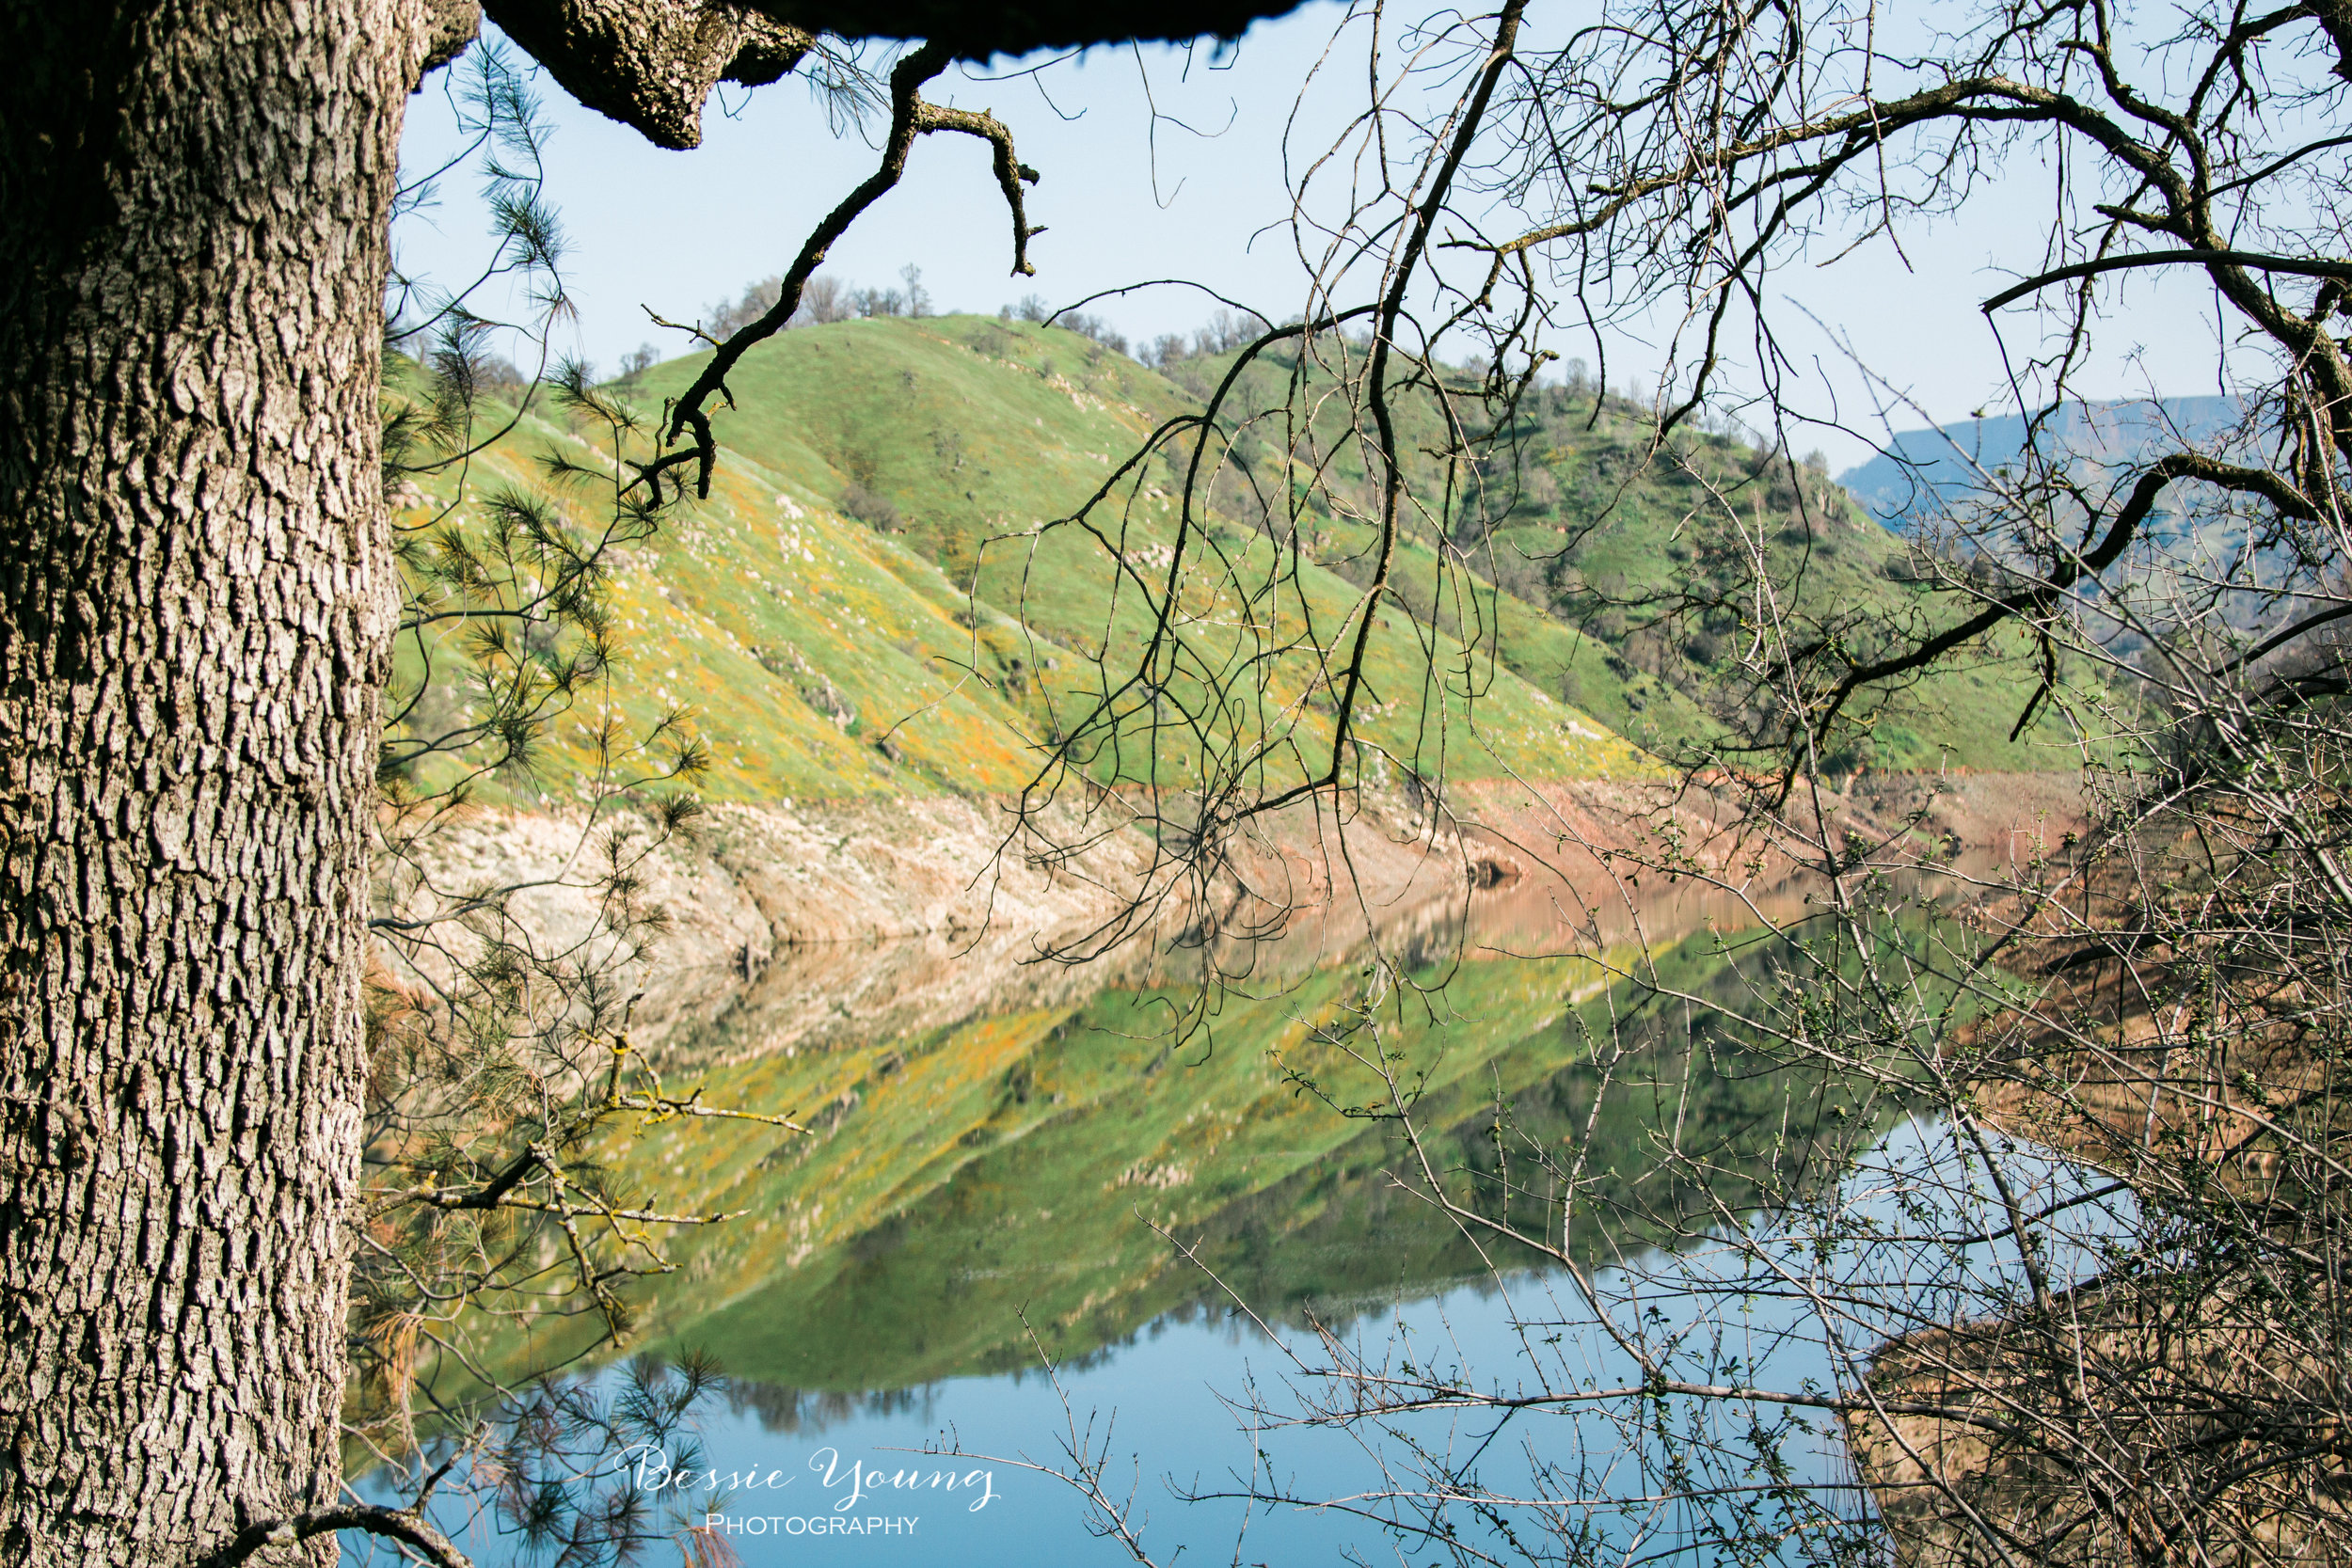
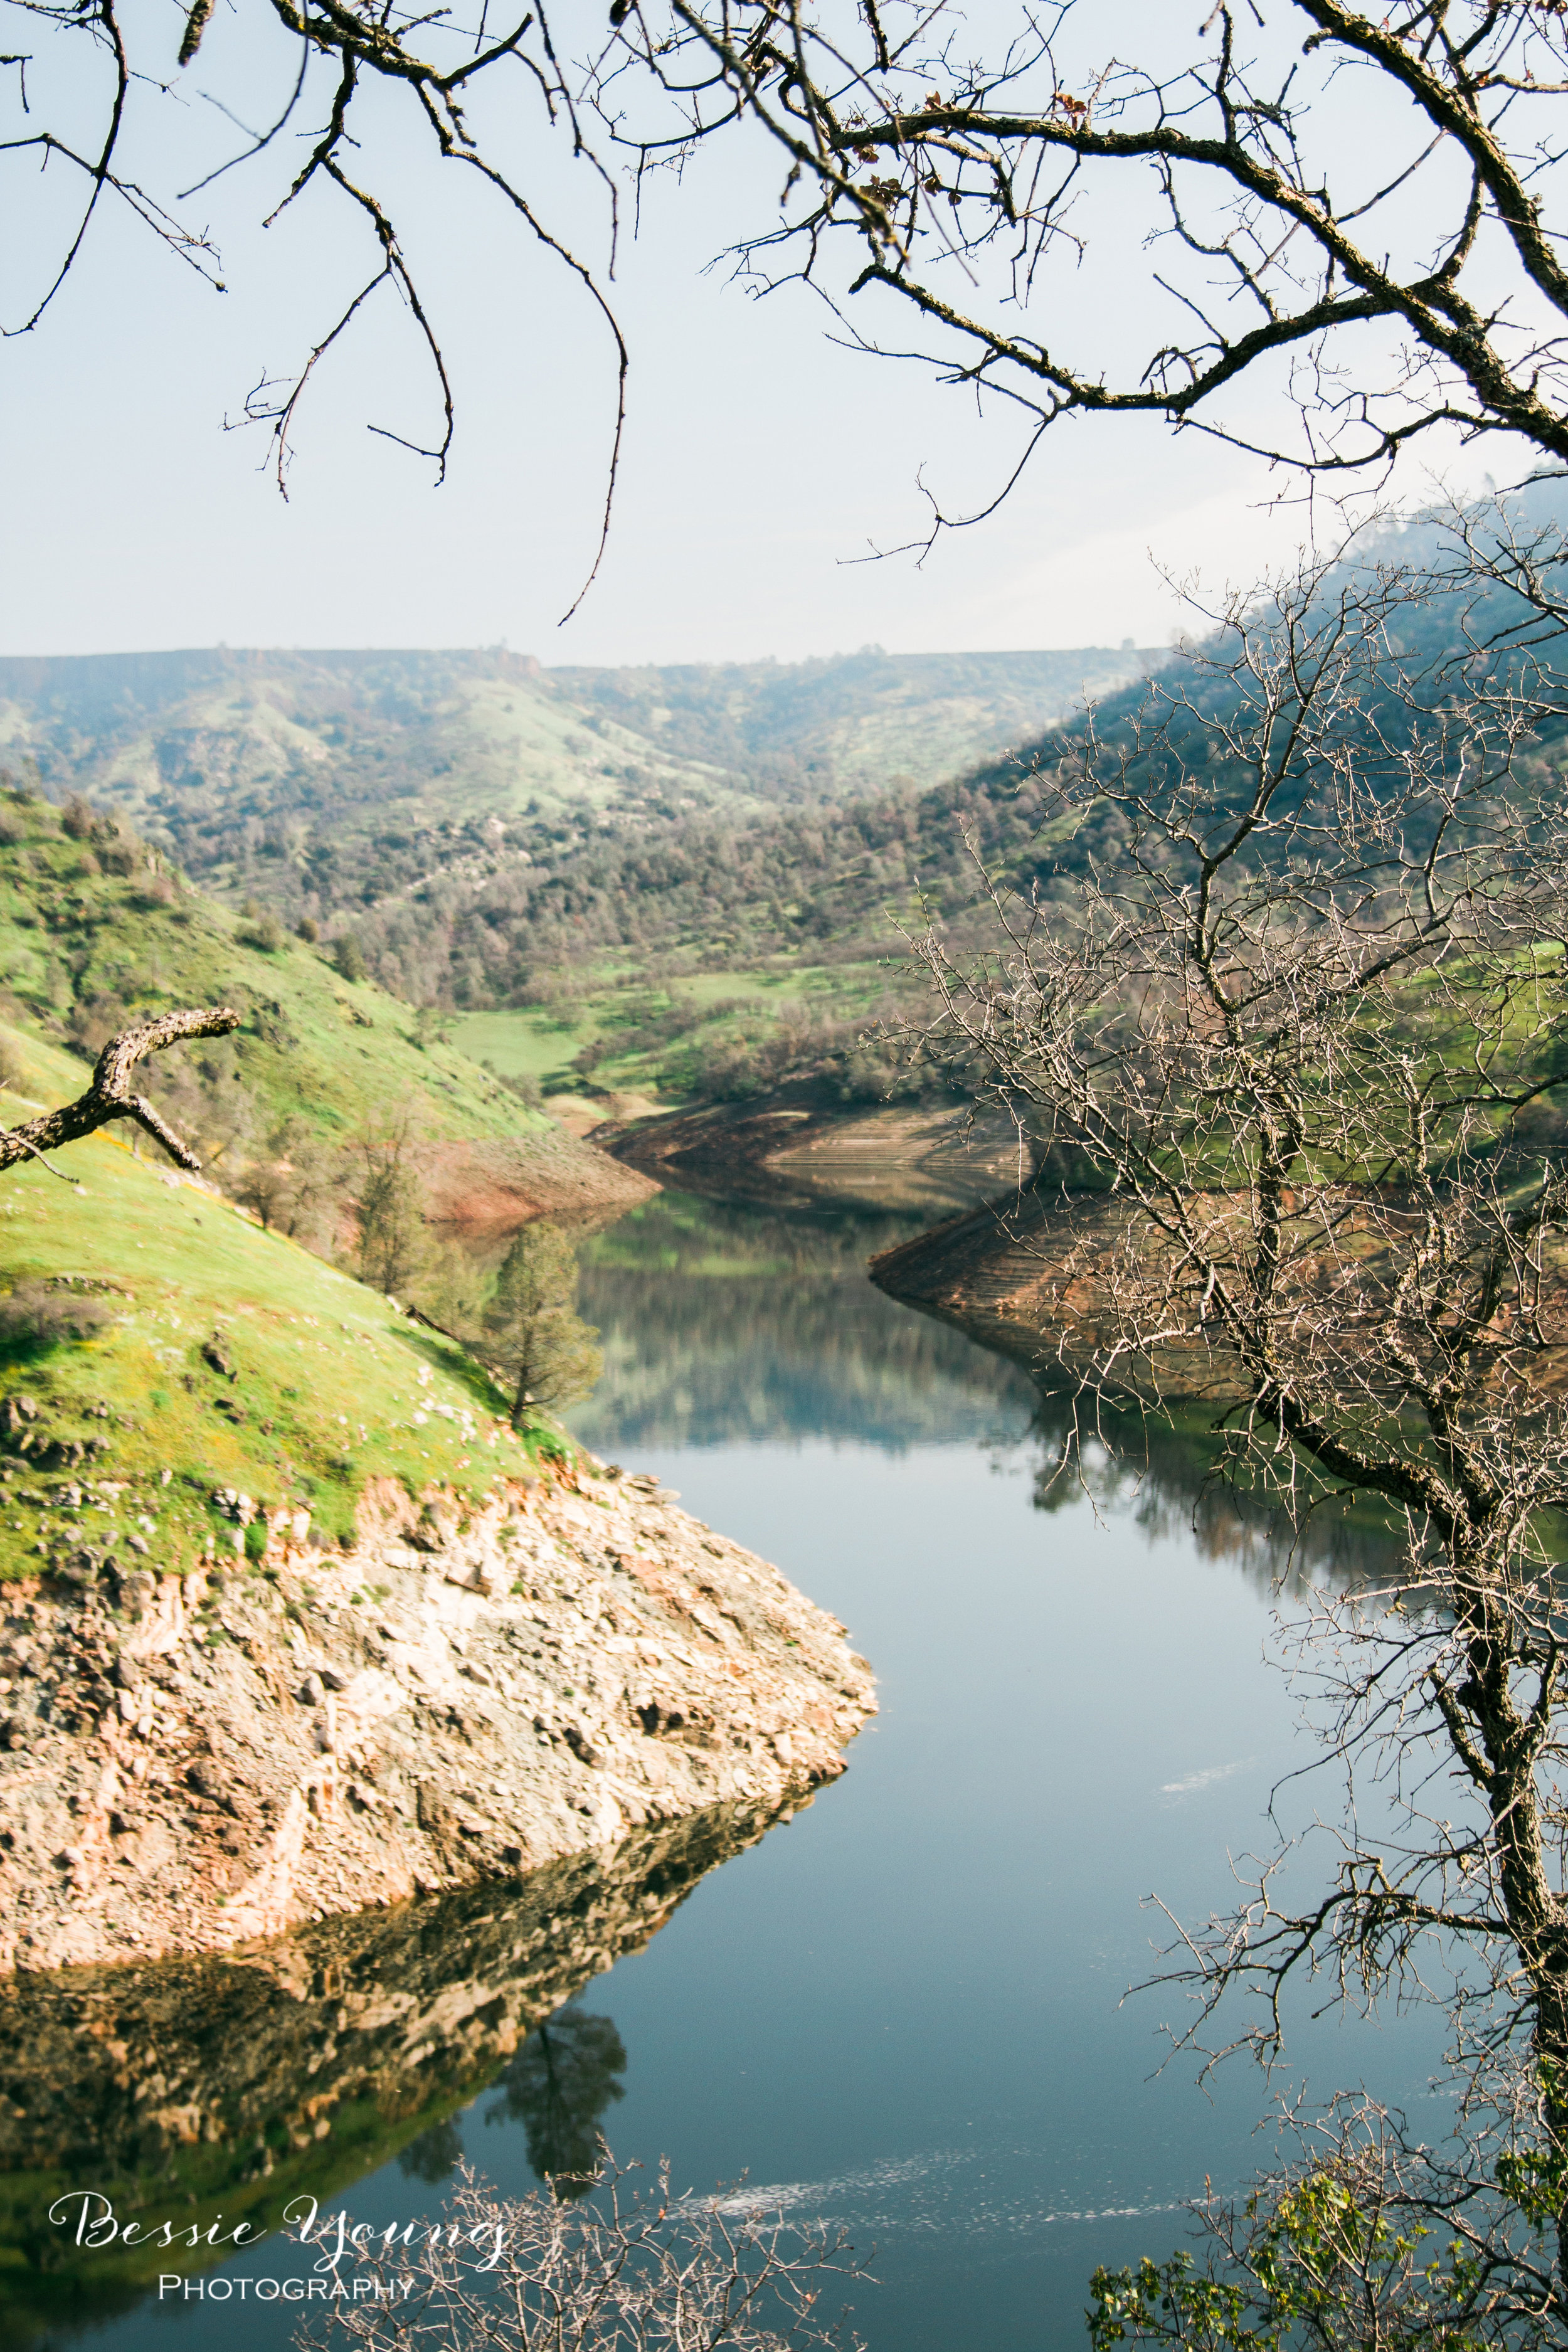
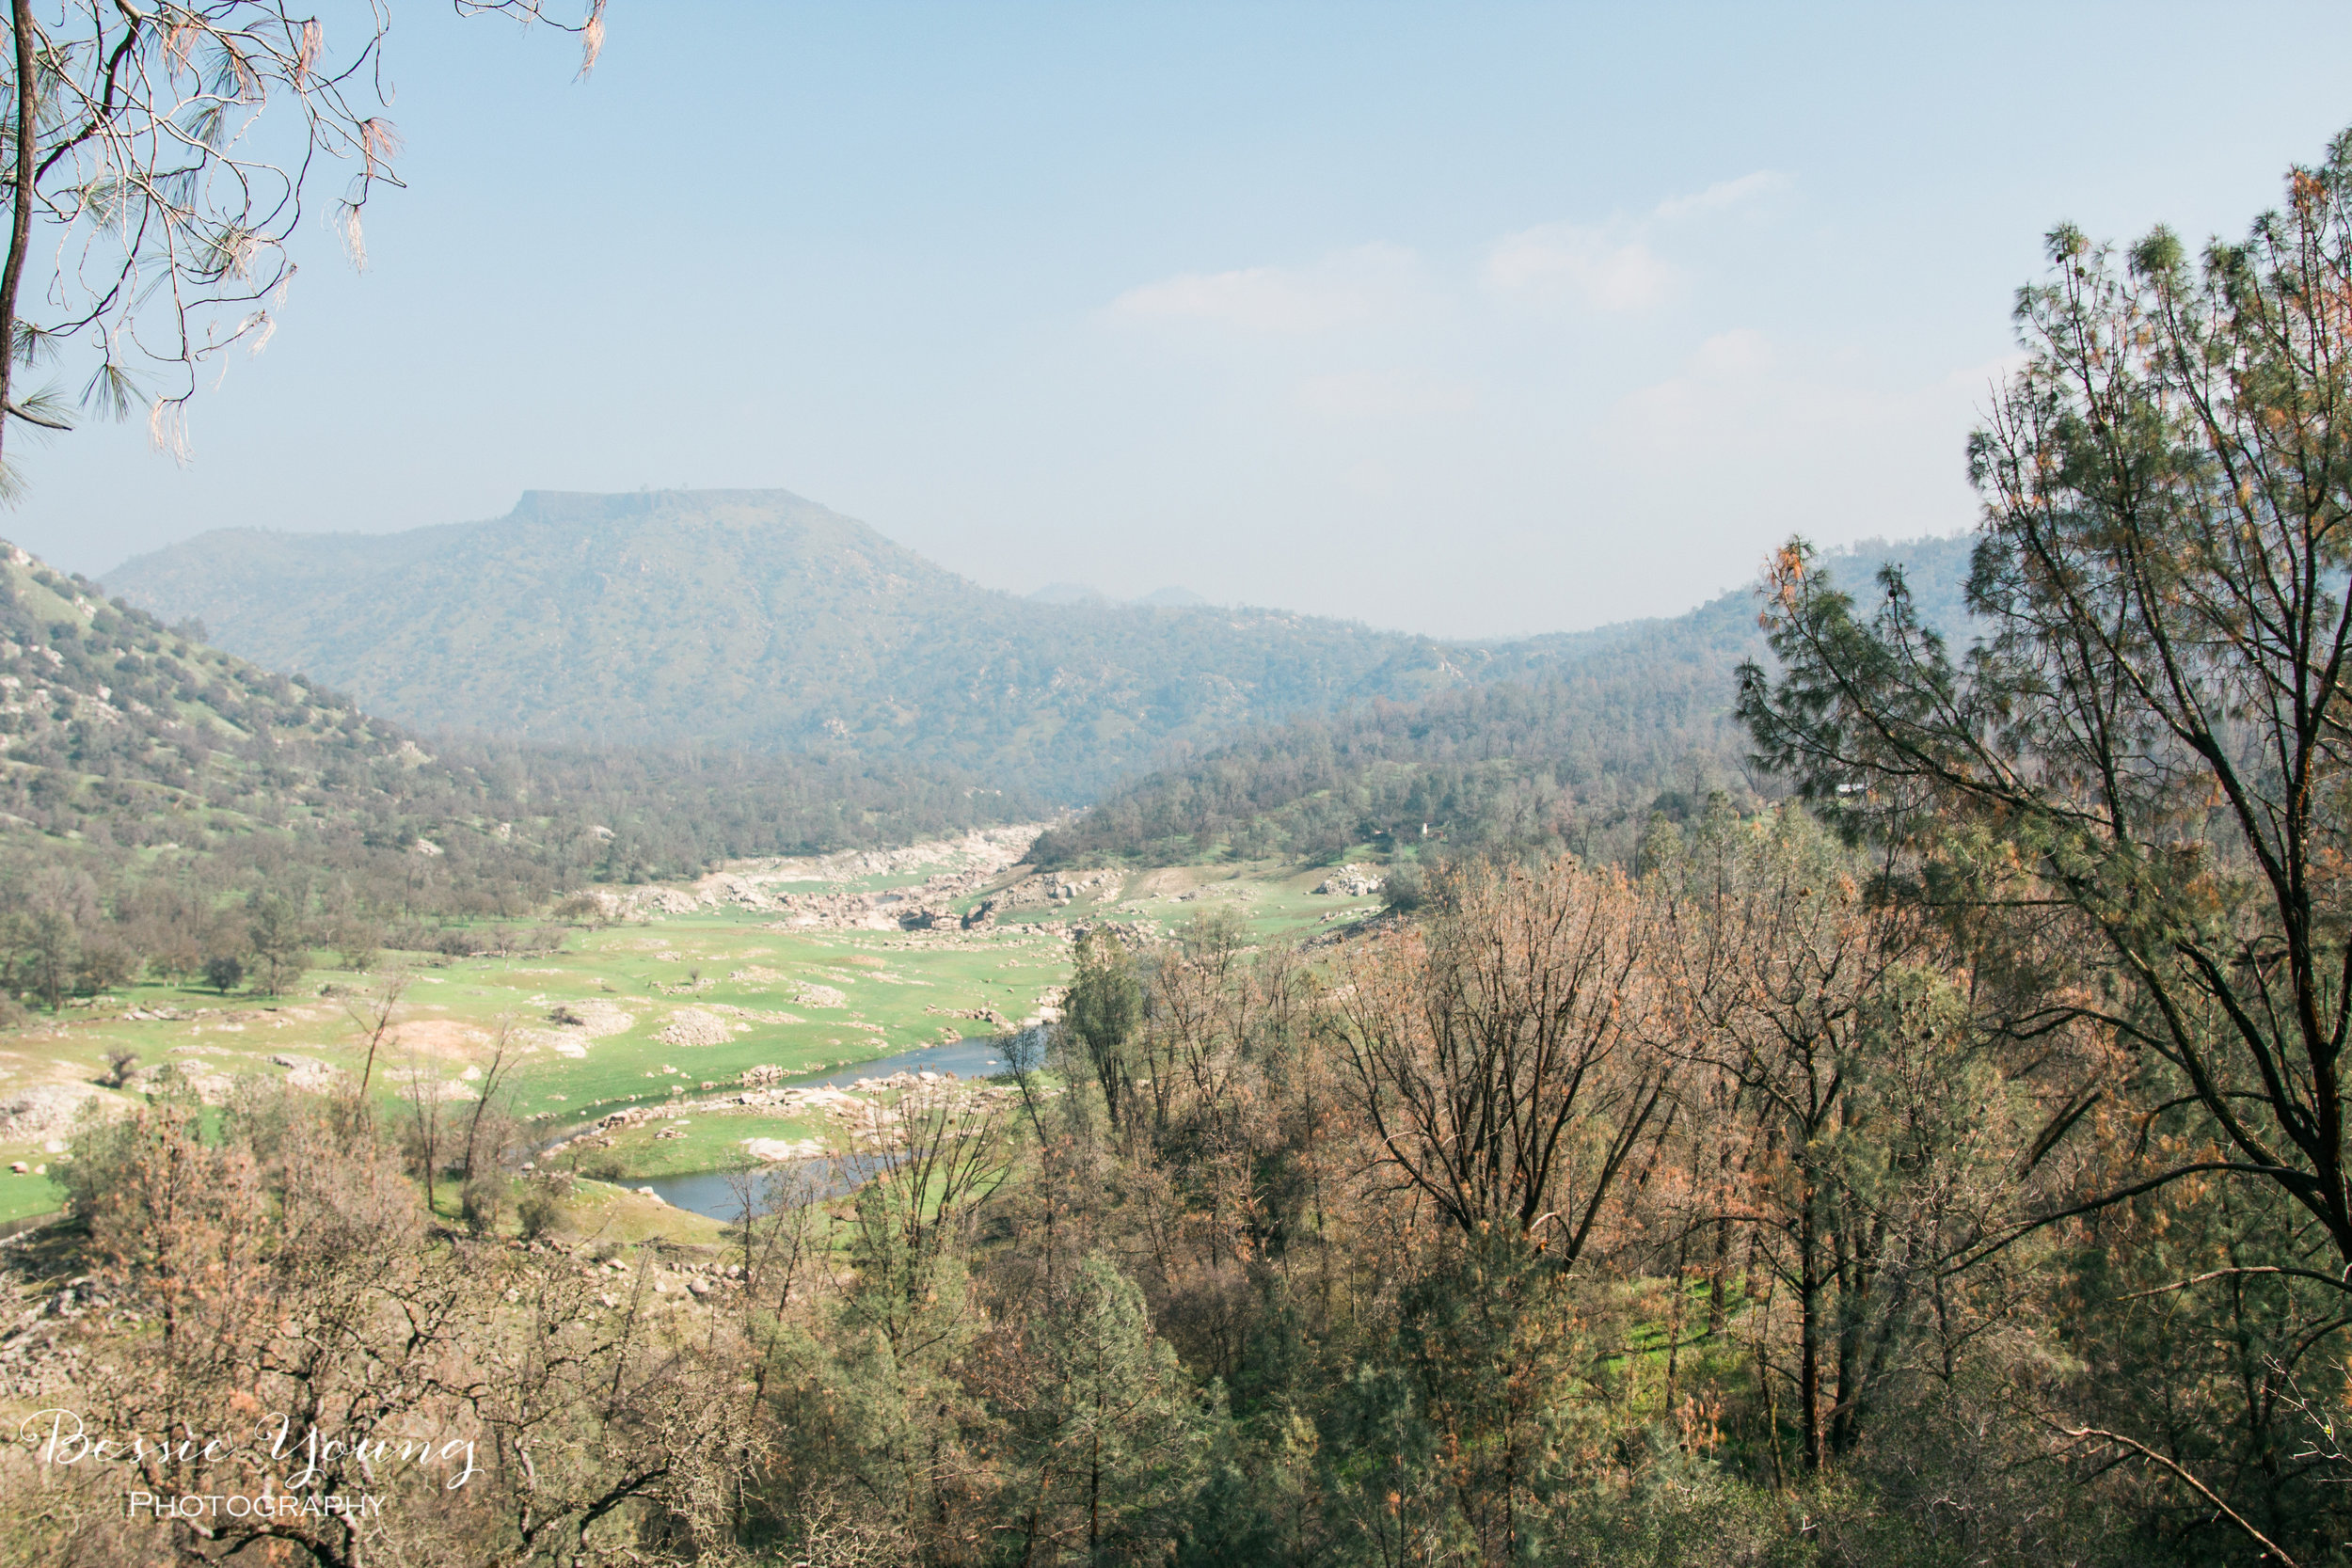
One week before I left for Wyoming, I decided to change plans. My new plan was to head up the California Coast and into Oregon. This took a bit of research in order to find places to camp along the way as everything seemed to be full the closer you got to the path of totality. I ultimately decided that not seeing totality was going to be good enough. I opted for a less stressful adventure, less people, and hopefully less traffic. Honestly, I wasn't even sure I was going to be able to get a good photograph of the eclipse (yes I was nervous and doubted my capability), so going into the path wasn't something that was a must for me. I wanted to get as close as I could get without sitting in traffic for hours.

Ready to Photograph the Solar Eclipse?.......Not really:

Leading up to the Solar Eclipse, let me tell you, I did my research when it came to how to photograph it. I knew I had to get the series of images. You know the one that shows all the different phases of the Solar Eclipse. Everything I read was that an ND filter would be sufficient to take Solar Eclipse photographs. I read it on the internet so it must be true, right?  Um, no.  PLOT TWIST!

The night before the solar eclipse I read an article on the Sony website - why didn't I go their first? Then another article and another, explaining that an ND filter wasn't sufficient.  Using one would reduce my camera to a paper weight. I needed to have a Solar filter. I had the wrong filter! Obviously I couldn't find a solar filter the night before the Solar Eclipse. What was I going to do? Was this it? Did I travel all this way to not get the picture?

After doing a bit more research I found out that I could use a welders lens. That is right a welders lens! You know the lens that welders use in their helmets. The search was on. Where could I get one? Where could I find this, last minute, in the little ocean town of Bandon on a Sunday evening? Nowhere, that's where. I feared I might not be able to capture the solar eclipse but hey, least I found out before I ruined my camera.

Undeterred I made a plan.

Up before the sun:

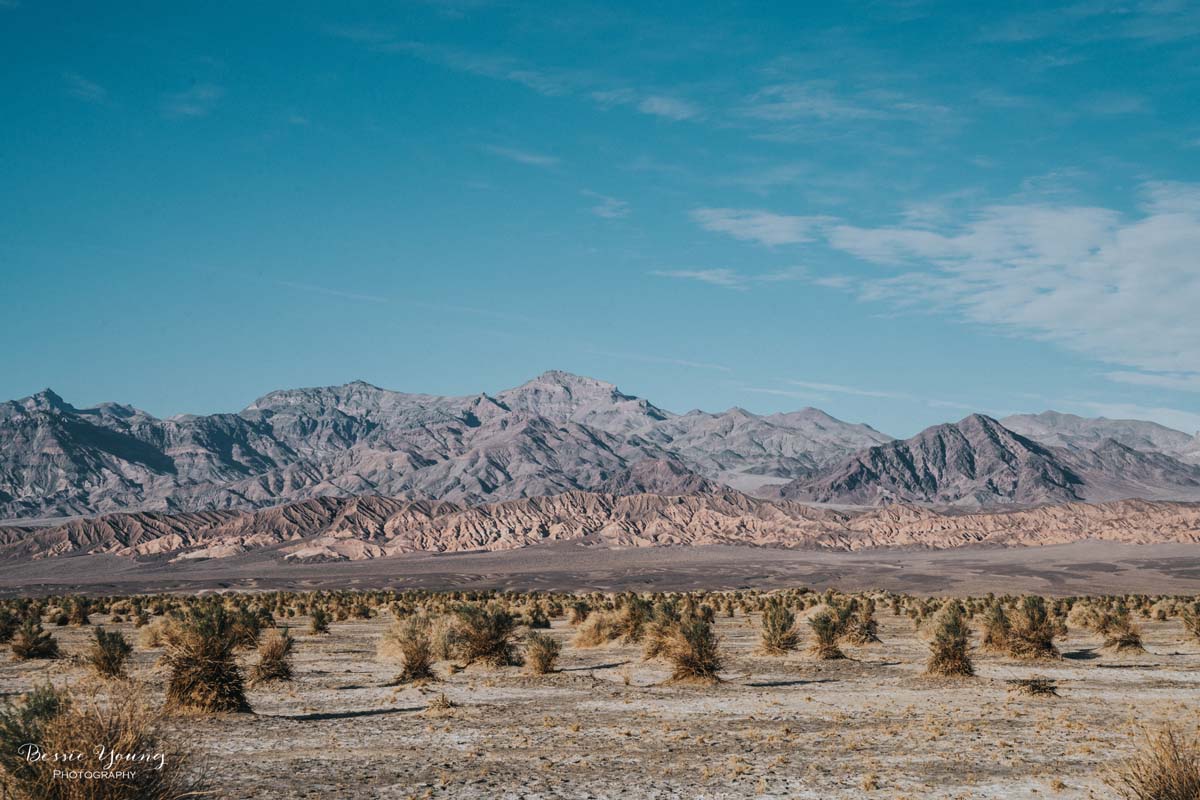
My goal was to make it as close to the zone of totality as I could without getting stuck in the crowds. I was aiming for Roseburg but if I could get further North I would. I woke up early but that wasn't the difficult part. The difficult part was not having coffee :( that's right... I hit the road without a drop of coffee. Who does that anyways?

As I traveled along Hwy 42 towards Roseburg I passed through the small town of Coquille and guess what... they had a little drive through coffee stand. You don't even know how excited I was.  With a new vigor I continued on to Winston.  As I pull into town I see a hardware store.  Surely they would have a lens, right?  Wrong.  Sold out.  Now where?  NAPA!  That's where.

I called Napa not realizing it was right around the corner from me.  When they said they actually had a couple I about lost it.  Pretty sure I was yelling at the guy on the phone when I said I'd be right over. You guys have no idea how excited I was to hear this. I could actually get the pictures of the Solar Eclipse! Now to find the perfect secluded spot to photograph the eclipse.

The set up:

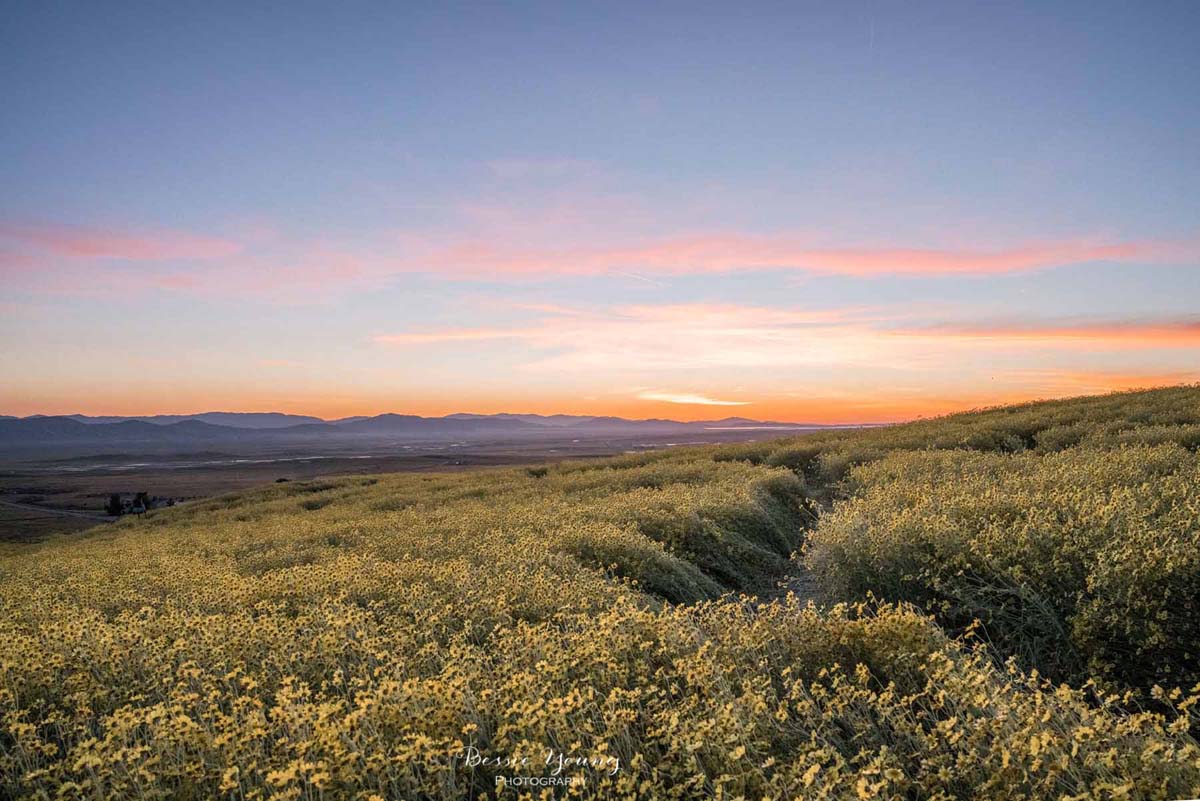
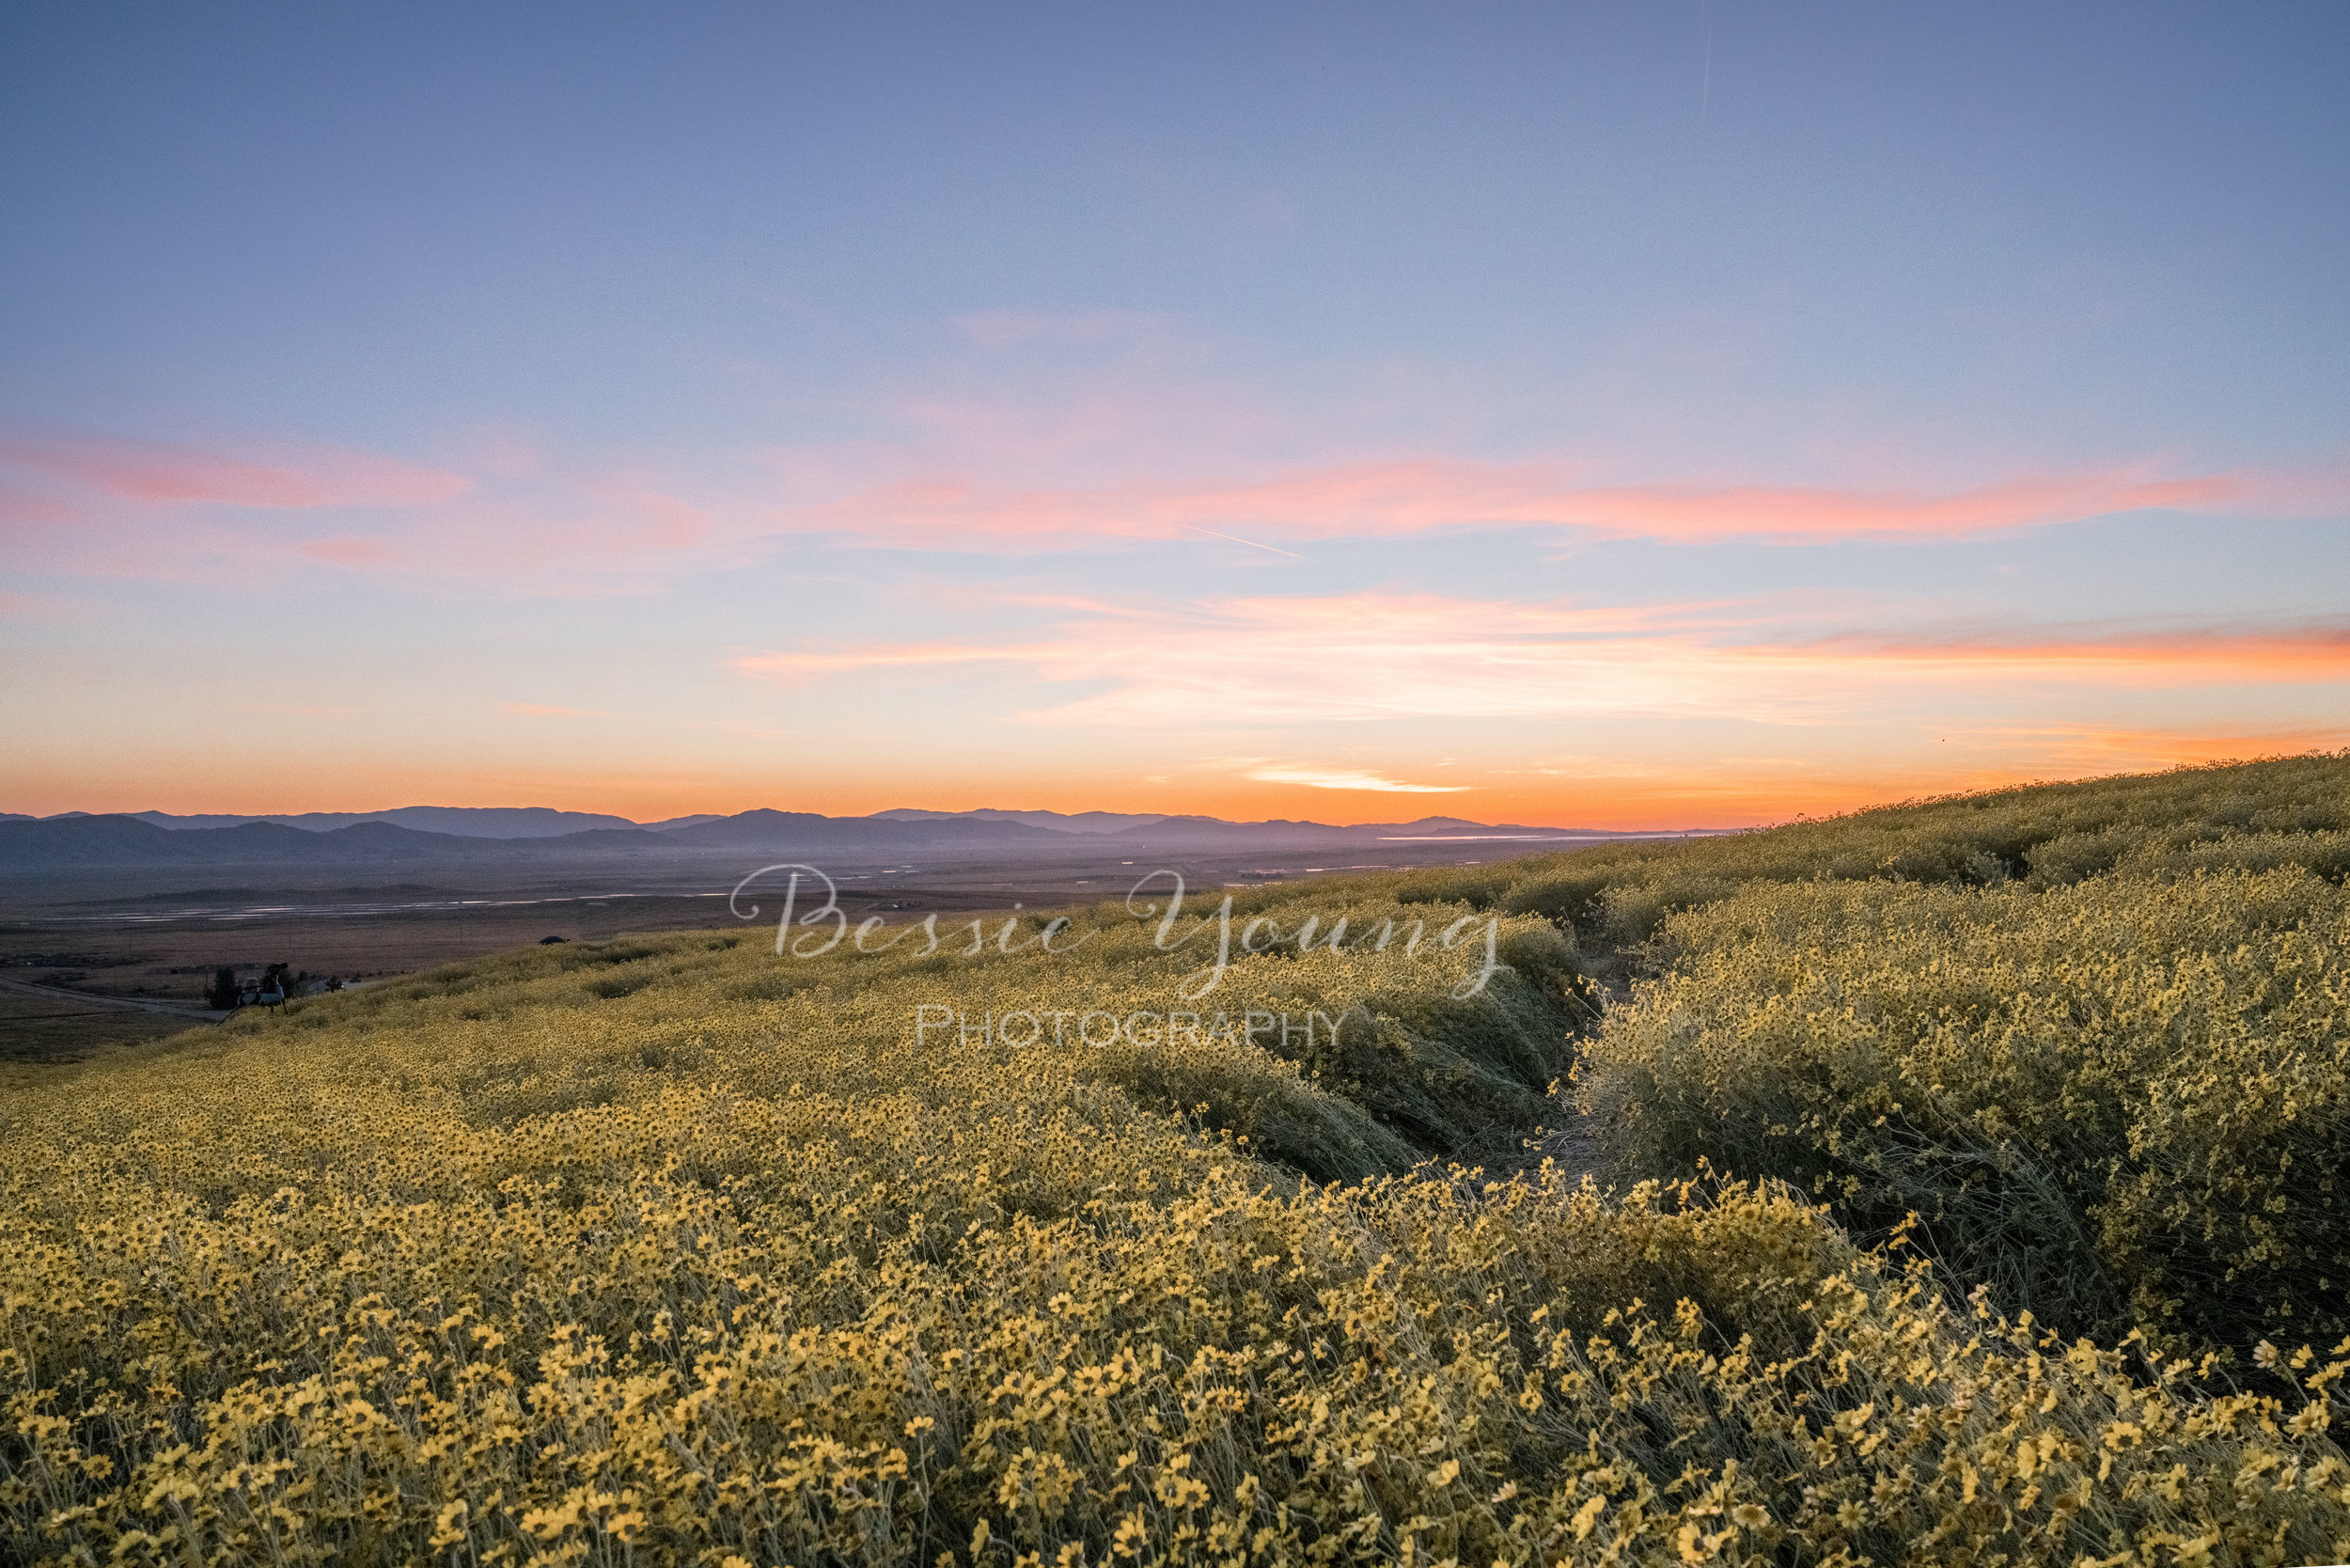
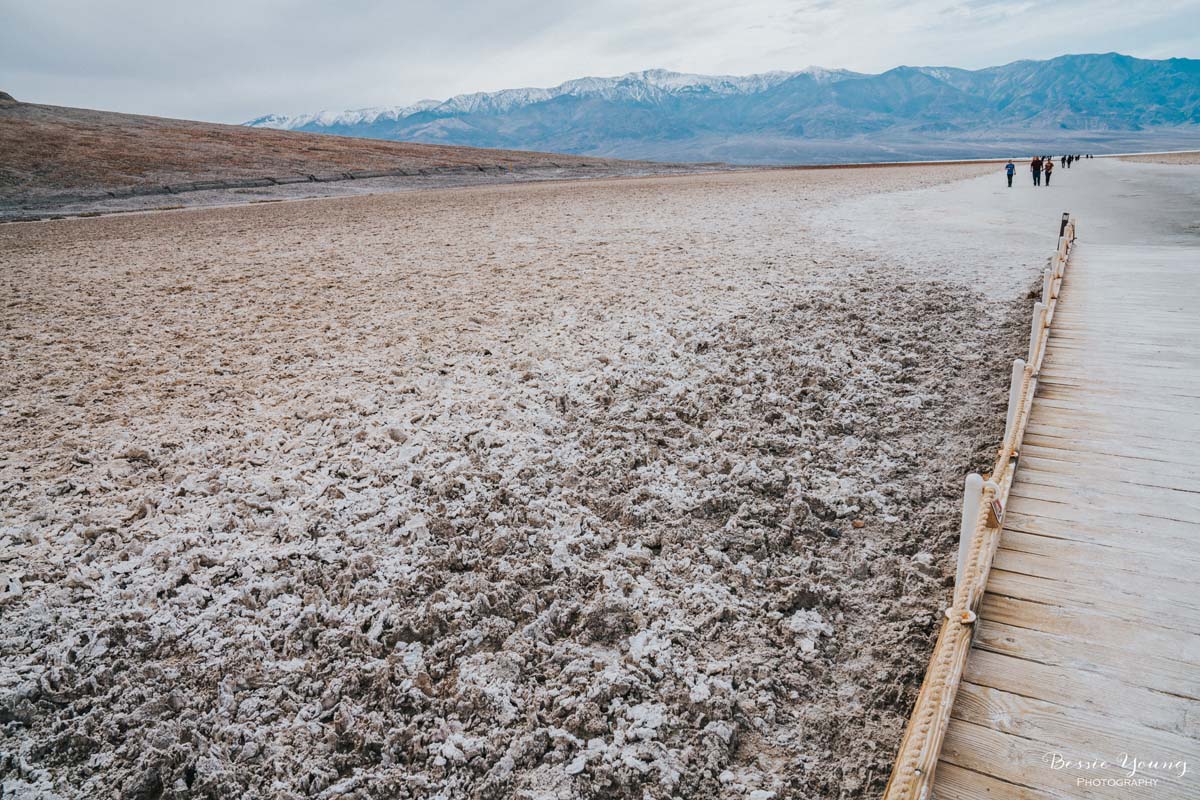
I found a spot along a country road that would work perfectly. I was at a location that was about 97% totality (meaning 97% of the sun would be covered by the moon).  The ideal spot to capture the photo I have always dreamed of capturing.

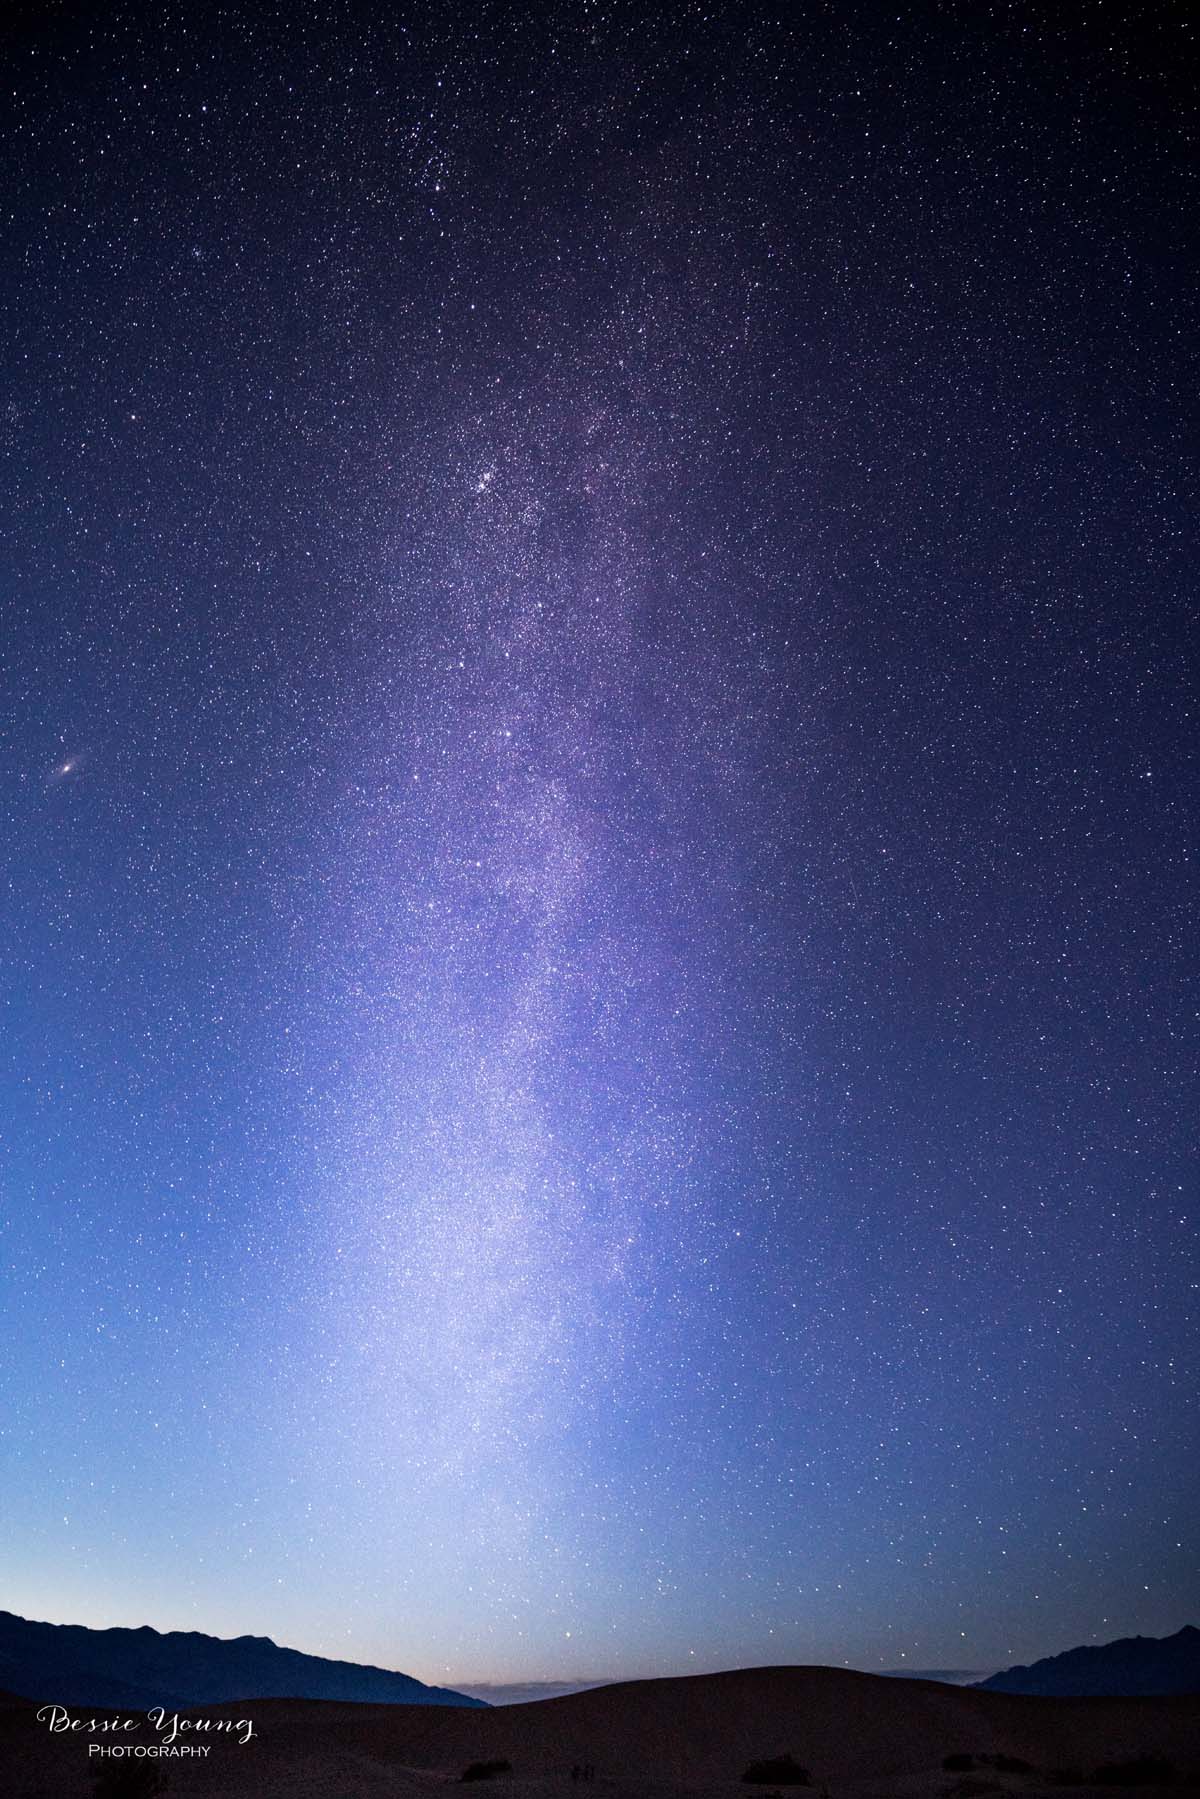
The Solar Eclipse 2017 began around 9 am. There are various phases of the Solar Eclipse and I wanted to capture them all. At 10 am it started to get darker and the temperature started to drop. The darker it got, the cooler it got.  Eventually I needed my jacket. 10:21 was the full solar eclipse and at 10:23 it was over. It got about as dark as dusk and then began to slowly get brighter and warmer.

The Final Image:

I got it, I did it and I was able to document to Solar Eclipse 2017! Ultimately, I stayed at my location until about 11:40 because I wanted to make sure to capture the all the different phases of the event. Doing so I was able to create this image:


Although I didn't get the one image with full totality, I am absolutely excited with the way that this turned out! How awesome is this?!

If you want to read a little more about the solar eclipse, how it happened, where it was, and so forth check out this article here.

Note: The solar eclipse image is available for sale on my website here.

Wishing you all nothing but beautiful adventures,

Bessie


P.S. wanna know what gear I used? Check it out here:

Kit Used:

Camera: Sony A7Rii: http://amzn.to/1taGpAu
Favorite Lens: Sony FE 24-70 F2.8 G Master: http://amzn.to/2n747NJ
Wide Angle: Sony 16-35mm lens: http://amzn.to/1UBjBDW
Vanguard Tripod: http://amzn.to/2aoI5ku

Filming:
Samsung Note 4 smart phone

Editing & Processing:
Bulk editing: Adobe Lightroom: http://amzn.to/1WB7Jnc
Fine tuning: Adobe Photoshop : http://amzn.to/1WB7YPh
Viva Video Pro for combining videos

Chetco Bar Fire | Brookings, Oregon

Chetco Bar Fire

This summer's road trip took me up the coast of California and into Oregon. I traveled along Hwy 1 in California and then made my way to Hwy 101 continuing into Oregon. The further I traveled North, the more smokier it got. Ash eventually started falling close to the border of Oregon and California.

Once I reached Brookings, Oregon the sky began to get dark. I looked out over the ocean and the sky was nothing but a deep gray. As I continued North on Hwy 101 the sky got darker and darker,  eventually requiring me to turn on my headlights.  The feeling was eerie and surreal at the same time, like nothing I have ever felt before.  The colors in the smoke began to change from gray to blue, to purple, to red, to orange, and then to yellow.


Incredible overlook

Just outside of Brookings I saw a sign for a lookout so I decided to flip the turn signal and check it out.  As I parked got he car and walked up the stairs to the lookout I could already tell this was going to be an incredible sight.  It was a beautiful disaster. I created a little video and took these images to document this powerful moment in time.


The Chetco Bar Fire

To read a little more about the fire and get some detailed information check it out here.

So many people are currently dealing with being evacuated, thinking about the possibility that their home may be lost.  My heart, thoughts, and prayers go out to each and every individual dealing with this fire.

Wishing you all nothing but the best,

Bessie


P.S. wanna know what gear I used? Check it out here:

Kit Used:

Camera: Sony A7Rii: http://amzn.to/1taGpAu
Favorite Lens: Sony FE 24-70 F2.8 G Master: http://amzn.to/2n747NJ
Wide Angle: Sony 16-35mm lens: http://amzn.to/1UBjBDW
Vanguard Tripod: http://amzn.to/2aoI5ku

Filming:
Samsung Note 4 smart phone

Editing & Processing:
Bulk editing: Adobe Lightroom: http://amzn.to/1WB7Jnc
Fine tuning: Adobe Photoshop : http://amzn.to/1WB7YPh
Viva Video Pro for combining videos


Nelson Lake Trail | Sierra Wildflower Hike

All Images For Sale in the BYP Shop-

Click the image to purchase or click the buy me button below.

Sierra National Forest - Dinkey Wilderness

This year in California we had quite the winter which was great, but also meant that the trails would be closed for hiking for quite some time. I have been wanting to go up to Nelson Lake since about April, but haven't been able to due to road closures, trail closures, and all the snow.

This past weekend I was finally able to get up there! Yay!

The hike itself is beautiful, somewhat challenging, and made for the perfect day. It took about two hours to get to the trailhead from Fresno. The hike to the lake is 5 miles (so 10 miles round trip). It was beautiful weather to go on the hike, but one thing I must warn you about is the mosquitoes. They were out in force and I forgot my bug spray :( Let's just say I stopped counting all the mosquito bites I had when I got home cause there were just too many.

Trail Details / Access / Etc. :

  • Name of Trail-head: Cliff Lake Trail-head

  • Access: The road is paved the entire way. You can get a 2 wheel drive car to the trail-head. The trail-head is gravel. It will take you about 2 hours to get to the trail head from Fresno, CA

  • Dogs are allowed

Nelson Lake 2017 - Bessie Young Photography.jpg
  • Permits are required for backpacking

  • Distance: 10 miles

  • Elevation Gain: approximately 1,025'

  • Highest Elevation Point: 8,942'

  • Trail type: There and back, one way

  • Skill Level: Moderate

  • Duration: Day hike

  • Season: Best July - October (bring mosquito spray)

  • Area / Location: Sierra National Forest, Dinkey Lakes Wilderness - Fresno, California

The Flowers though!

Now it is July and that means High Sierra Wildflowers!  The flowers were blooming which is what I was hoping would happen. Here are some flower pictures I got :)

All Images For Sale in the BYP Shop-

Click the image to purchase or click the buy me button below.

Then while driving home the sky decided to put on a beautiful show:

I hope you all enjoyed this blog and adventure. Leave a comment below if you have taken this hike before and don't forget to subscribe!

Wishing you all beautiful adventures!

Bessie

P.S. wanna know what gear I used? Check it out here:


Kit Used:

Camera: Sony A7Rii: http://amzn.to/1taGpAu
Favorite Lens: Sony FE 24-70 F2.8 G Master: http://amzn.to/2n747NJ
Best Wide Angle: Sony 16-35mm lens: http://amzn.to/1UBjBDW
Vanguard Tripod: http://amzn.to/2aoI5ku

Filming:
LG G3 Smart Phone

Editing & Processing:
Bulk editing: Adobe Lightroom: http://amzn.to/1WB7Jnc
Fine tuning: Adobe Photoshop : http://amzn.to/1WB7YPh
Viva Video Pro for combining videos


Ironstone Vineyard 4th of July Celebration

Happy 4th of July weekend!

I hope you are all having an amazing long weekend and enjoying every bit of it!

Yesterday, July 1st 2017, Ironstone Vineyard in Murphys California put on a phenomenal firework show. This is something they have been doing for quite some time and I was lucky enough to be able to go! The show started as sundown; however, you could get there early to claim your seats, listen to music, and enjoy the afternoon. The festival had different food vendors, some various booths, live music, along with beer and wine.

This Celebration was definitely the place to be. The place was packed to say the least. As far as the details... it was $15 per person to enter into the festivities. For this year they allowed dogs, but they did not allow you to bring in your food and drink (this includes no water). Be prepared for that.

(Just as a side note, if you are going to bring your dog to a firework show, be responsible as most dogs get scared of fireworks.)

Everyone brought chairs, blankets, and lots of laughs. There were large grass areas to set up your spot for the evening with plenty of shade. Some people even brought shade covers. This is a very family friendly place to be during the 4th of July. Talk about a great place to bring the kids and just relax.

It was so much fun and the firework show lasted an hour!!! A whole hour!! Talk about amazing :)  If you get a chance to make it out to their next firework show take advantage! Calavaras county and Tuolumne county are both counties that restrict fireworks. There are some great places to attend a good show, but let me tell you.... Ironstone Vineyard put on a fantastic show!

Here is a fair warning... Getting out of the parking lot after the event was crazy. It took over 45 minutes to leave the parking lot and get on the road. There is only one small road that goes into the gravel parking lot, one small road that exits the paved parking lot, and with that many people in one spot made for some major traffic. There was no one guiding traffic which made for a free for all. Just saying...

Ironstone Vineyards 4th of July Celebration  - Bessie Young Photography-Combined Gage 1.jpg

Are you wanting to learn more about how to take firework pictures? Check out this post with some great quick tips to get you started and ready to take pictures this 4th of July!

I hope you all enjoyed this blog. If you did don't forget to subscibe to get the latest news.

Wishing you all a happy 4th of July!

Bessie


P.S. wanna know what gear I used? Check it out here:

Kit Used:


Camera: Sony A7Rii: http://amzn.to/1taGpAu
Favorite Lens: Sony FE 24-70 F2.8 G Master: http://amzn.to/2n747NJ
Best Wide Angle: Sony 16-35mm lens: http://amzn.to/1UBjBDW
Vanguard Tripod: http://amzn.to/2aoI5ku

Filming:
LG G3 Smart Phone

Editing & Processing:
Bulk editing: Adobe Lightroom: http://amzn.to/1WB7Jnc
Fine tuning: Adobe Photoshop : http://amzn.to/1WB7YPh
Viva Video Pro for combining videos


Olympic National Park Adventuring

The Adventure Began

I was on a mission to spend as much time in Washington as I could with the little amount of time that I had. When booking my plane tickets I made sure to pick the earliest flight out and the latest flight back. That meant getting up much too early and staying up much too late :) but it would all be worth it.

The plan was to make it to Olympic National Park in order to adventure around and see new things. I have always wanted to go to this park and I was finally making it happen! Getting up at 4:00 am in order to make the flight was a little rough, I am not going to lie. Once the plan touched down in Seattle it was off to renting a car, then getting on a ferry, and then traveling up to Olympic National Park.

Hurricane Ridge Road

Olympic National Park was more amazing than i ever expected. In order to get some of the best views of the mountains you need to travel up a road called Hurricane ridge road.  This road meanders along the ridge of the mountains and ends at a dead end. I was beyond thrilled to see snow capped mountains.

It even started to snow on me while I was up at the top of the mountain :) Talk about amazing.

A Detour

The next stop within Olympic National Park was Sol Duc Falls, but as I drove to the trail head I passed a 'Waterfall trail head' sign. I decided to take a slight detour, be spontaneous, and hike a trail to an unknown waterfall. Man was it worth it! I even made a little friend along the way. This beautiful duck decided he wanted to hang out with me at the trail head while I got packed and ready to go.

This trail took me to the Marymere Waterfalls. It was raining ever so slightly the entire walk. The tail was about 2 miles round trip and absolutely gorgeous. As I ventured further into the wild I was accompanied by the beautiful sound of the river almost the entire way.

Was that a Fish?

Once I got back to the car I continued my trek to the Sol Duc Falls. Unfortunately, I wasn't able to make it to the falls, but I did stop along the Sol Duc river. There was a sign saying there were cascades in the area, so I decided that it would create a beautiful photograph. While setting up my camera to get a picture of the Sol Duc River, I thought I saw something jump out of the water...

"Was that a fish?" I asked myself.

I figured I might actually be loosing it a little bit and continued with getting my settings right on my camera. Then not but a 30 seconds later another jump, and then another, and another.

"Those are fish!!!" I actually think I yelled it at that moment. Luckily there wasn't anyone around to see my little bit of crazy and all too excited self.


This was an absolute treat.  Fish trying to swim upstream! After I got my river shot I headed over to the rocks where the fish were jumping and got some awesome shots. It felt almost like I was in National Geographic :) All I needed was a big Grizzly Bear trying to catch the fish while they jumped out of the water.

(yes I always imagined myself being a photographer for a place like the National Geographic where I traveled the world taking pictures of landscapes and wildlife, but I digress... back to the topic at hand)

It started getting quite dark, so I had to head back to my hotel. Olympic National Park was absolutely amazing. I am so excited that I was finally able to travel up that way and mark this adventure off my bucket list. It was gorgeous, quite drizzly, amazingly green, and completely worth the trip. If you ever get a chance to go .... go and do it!

I hope you all enjoyed this blog. If you did, don't forget to subscribe :) All my images are for sale in my shop.

Wishing you all amazing adventures,

Bessie


P.S. This area of Washington has a Lavender Festival! Yes, you read that right and you know what that means?.... I will be heading up that way sometime to catch the gorgeous fields in bloom. For this trip, I got some pretty neat shots of these little wild Quail.


P.S.S wanna know what gear I used? Check it out here:


Kit Used:


Camera: Sony A7Rii: http://amzn.to/1taGpAu
Favorite Lens: Sony FE 24-70 F2.8 G Master: http://amzn.to/2n747NJ
Best Wide Angle: Sony 16-35mm lens: http://amzn.to/1UBjBDW
Vanguard Tripod: http://amzn.to/2aoI5ku

Filming:
LG G3 Smart Phone

Editing & Processing:
Bulk editing: Adobe Lightroom: http://amzn.to/1WB7Jnc
Fine tuning: Adobe Photoshop : http://amzn.to/1WB7YPh
Viva Video Pro for combining videos


Have you heard of Snoqualmie Falls, Washington | Adventure

Snoqualmie Falls, Washington Adventure

By Bessie Young

Last week I flew up to Washington to check out the Tulip Festival in Skagit Valley. When I landed I had to get a rental car. Walking up to the counter was what you would expect. Nothing special, but after providing my name and reservation information the conversation lead to something unexpected.

"You should go to Snoqualmie Falls" explained the teller at the Thrifty rental car checkout.

"Snoqualmie falls? Where is that?" I asked....

"Oh it is up on Hwy 90".

The conversation continued with more pleasantries, but that one suggestion stayed with me throughout my Washington adventure. The last day in Washington, I found myself with quite a bit of time before my plane was scheduled to take off... so I decided why not!? When else would I be able to see this waterfall? A rare chance, but most likely never.

Traveling up the the falls was absolutely gorgeous. You end up going through a few little towns and then find yourself reading the sign 'Snoqualmie Falls turn out 1000' ahead'. No, I didn't do any research for this adventure, and I had no idea what I was going to find. It ended up being absolutely amazing! There were quite a few people at the Snoqualmie Falls with not alot of parking. As you walk toward the falls you hear the loud roar of the water, then you see the fence, then the look out, then BAM there it is.... an amazing, powerful, roaring waterfall.

There was an upper lookout and a lower lookout. Both lookouts had a parking lot, but I didn't know this at the time. I learned about the lower parking lot after taking the trail from the upper lookout to only find myself in a lower parking lot leading to the lower lookout. :) Hey, I guess I needed a bit of a hike and a sweat session to get the complete experience.

The trail was absolutely awesome and I am glad I took it. It was all uphill and downhill, so if you go on this adventure make sure that you are prepared for the hike. There are signs all along the way telling you what plants are what. I am obsessed with learning plant names so this was an amazing surprise for me.

The lower lookout was just as awesome as the upper lookout, if not better. This lookout allowed for you to see the river along with the falls which made for an amazing image.

After checking out the falls I headed into the town of Snoqualmie, Washington. This is where I had lunch and then planned my route back to the airport to catch my flight home.

Basically, what I learned from this experience is that if you find yourself with the time and your wanderlust voice is getting the better part of you... just do it! You won't regret it. The place may be a complete bust, but then again the place may lead you to a magical gorgeous place like Snoqualmie Falls, Washington.

If you are interested in purchasing any of these photos, my Landscape prints are for sale here.

Wishing you all nothing but fun adventures!

Bessie

P.S. wanna know what gear I used? Check it out here:


Kit Used:

Camera: Sony A7Rii: http://amzn.to/1taGpAu
Favorite Lens: Sony FE 24-70 F2.8 G Master: http://amzn.to/2n747NJ
Best Wide Angle: Sony 16-35mm lens: http://amzn.to/1UBjBDW
Vanguard Tripod: http://amzn.to/2aoI5ku

Filming:
LG G3 Smart Phone

Editing & Processing:
Bulk editing: Adobe Lightroom: http://amzn.to/1WB7Jnc
Fine tuning: Adobe Photoshop : http://amzn.to/1WB7YPh
Viva Video Pro for combining videos


Corrizo Plain Super Bloom

Corrizo Plain Super Bloom Adventure

by Bessie Young

“The biggest adventure you can take is to live the life of your dreams. Oprah Winfrey”

California Super Bloom

California is having a Super Bloom this year throughout the desert and it is slowly starting to move North. The bloom started in Southern California around Anza Borrego State park, Joshua Tree, and Mojave. It is slowly heading North and hit the Corrizo Plain last week. I was unable to go South during the Super bloom, but I was lucky enough to see the Corrizo Plain Super bloom.

This place was absolutely amazing. In order to get there I headed down Hwy 41, jetted over to Hwy 33 traveling South into McKittrick, and then West on Hwy 58. Hwy 58 twisted through the foothills and dropped you right off into the Corrizo Plain Super bloom. It was amazing driving through the hills. The colors slowly started to appear in shades of yellow, orange, and purple.

Rightfully so, there were alot of people here that day. I am sure the place has been full of people since the flowers started blooming. The majority of the flowers were a beautiful yellow, called Miners Gold. I wanted to be able to head up into the Temblor mountains; however, the trail head was quite busy. So instead of making that my first stop, I made it my last which was by far the best decision as I got some amazing sunset pictures up there.

Touring Corrizo Plain National Monument

The majority of the roads out at the Corrizo Plain's are dirt roads. They are bumpy and not good for small vehicles if there has just been a good rain. Luckily it hadn't rained recently so I was able to get my gas saver through :) .

My first stop was Soda Lake. This is a main stop to see in the Corrizo Plain National Monument. It was beautiful with its bright blue water, white dirt, and the yellow flowers surrounding it.

After driving around the National Monument the sun began to set so I headed back to the Temblor Mountains to get some final images. There were quite a few people still out and about. It was windy, warm, and beautiful. I walked to the top, waited for the sun to set, and just enjoyed the view.

“Every man can transform the world from one of monotony and drabness to one of excitement and adventure. Irving Wallace”

Sunset

As I sat there that evening, waiting for the sun to go down, all I could think of is yes, this is what I was meant to do with my life. I was meant to share Gods beauty with the world through my lens. I was meant to be outside, finding unique places, share this information with the world, and show people what is out there. Yes, some of these things are far away, but alot of them are right in our backyard yet we don't know about them. As I sat there... I knew that this is my goal in life, this is my calling, this is what I was born to do.

When the sky started to change colors I had to stop letting my mind wonder into the realm of life ideas and the future, set up my camera, and get ready for the beautiful show that the sky was going to put on. I was able to get one of my favorite shots of the year thus far.

All and all the day was a hug success and one to mark off my adventure list. I was thrilled and lucky to be able to witness this massive California Super Bloom that everyone has been raving about. If you end up adventuring this way, make sure that you have plenty of food, water, and gas. There are no services anywhere near this area.

“We live in a wonderful world that is full of beauty, charm and adventure. There is no end to the adventures that we can have if only we seek them with our eyes open. Jawaharlal Nehru”

I hope you all enjoyed this adventure. If you were able to make it to the Corrizo Plain Super Bloom leave a comment below. I would love to hear about your adventure. Also, don't forget to subscribe to my blog (p.s. you get free cell phone wallpapers each month if you sign up!).

Wishing you all nothing but amazing adventures,

Bessie

P.S. wanna know what gear I used? Check it out here:


Kit Used:

Camera: Sony A7Rii: http://amzn.to/1taGpAu
Favorite Lens: Sony FE 24-70 F2.8 G Master: http://amzn.to/2n747NJ
Best Wide Angle: Sony 16-35mm lens: http://amzn.to/1UBjBDW
Vanguard Tripod: http://amzn.to/2aoI5ku

Filming:
LG G3 Smart Phone

Editing & Processing:
Bulk editing: Adobe Lightroom: http://amzn.to/1WB7Jnc
Fine tuning: Adobe Photoshop : http://amzn.to/1WB7YPh
Viva Video Pro for combining videos

Images are for sale here:
http://bessieyoung.photography/produc...


Badwater Basin Death Valley National Park - Hiking Trail

Badwater Basin Death Valley National Park - Hiking Trail

by Bessie Young

The desert has water in it....

Wait... what?!!! The desert has water in it? Yes, you read that right. When I read this I just had to see it for myself. This meant last minute scheduling for a fun adventure to Badwater Basin in Death Valley National Park, California. California has been having quite a bit of rain this year which has caused some amazing natural phenomenons such as water in the desert.

Driving over to Death Valley, I decided to head South into Tehachapi and then North to Death Valley. This was mainly due to all the passes near my area being closed for the winter. The trip was about 6 hours long. Heading into Death Valley was so exciting and there are so many places to stop and take pictures! I had a hard time not stopping every 2 minutes.

The Badwater Basin Trail

I was so excited to finally make it to the trail head. Badwater Basin is well below Sea Level which is amazing! All the mountains around it are 3000+ feet! At the trail head you can look to the East and see a sea level sign up on the mountain above you. The trail head was busy and there wasn't a ton of parking; however, there are bathrooms which is a plus :) . This trail is not pet friendly so also keep that in mind while you plan your trip.

The trail is flat and easy. With the water in the basin the trail ended up being about 3/4 of a mile.  Typically the trail is around 1 mile. The only warning I would say about this area is to make sure that you go during the cooler weather. It is flat, hot, dry, and there is no shade. Luckily I went in February so the weather wasn't too much of a concern, but it was still quite warm.


Trail Details:

Distance: Approximately 2 miles round trip

Difficulty: Easy . The trail is flat.

Elevation: 282' below sea level

Pet Friendly: No

Bathrooms: Yes at the trail head

Best time of year: Early Spring or Winter due to the heat of the desert

As I made my way out of Death Valley I stopped at the Mesquite flat sand dunes. This is where I spent the remainder of my day and stayed into the twilight hours.

Adventuring into Badwater Basin was so much fun. As I traveled out of the desert I started to really think how amazing California landscape really is, and how amazing it was that I have never been to Death Valley. I live not too far away but for some reason I haven't ever gone. Now, I am excited to say that I have seen it for the first time and it definitely won't be the last.

Have you ever been to Badwater Basin or Death Valley National Park? Tell me about your experience in the comments below. If you loved this post make sure to keep in touch by subscribing to my newsletter! Plus, each month I send out a fun FREE cell phone background of one of my featured images. Sign up here. All images are for sale in my Shop so make sure to check that out when you get a chance.

Wishing you all nothing but wonderful adventures,

Bessie


P.S. wanna know what gear I used? Check it out here:


Kit Used:


Sony A7Rii: http://amzn.to/1taGpAu
Sony FE 24-70 F2.8 G Master: http://amzn.to/2n747NJ
Sony 16-35mm lens: http://amzn.to/1UBjBDW
Vanguard Tripod: http://amzn.to/2aoI5ku

Filming:
LG G3 Smart Phone

Editing & Processing:
Adobe Lightroom: http://amzn.to/1WB7Jnc
Adobe Photoshop : http://amzn.to/1WB7YPh
Viva Video Pro for combining videos


Images are for sale here:
http://bessieyoung.photography/produc...

Hot Air Balloon Festival - Pahrump, Nevada


Hot Air Balloon Festival - Pahrump, Nevada

by Bessie Young


Spontaneous Adventures are the best types of adventures

This weekend I decided to go adventuring into the desert. I found out that in Nevada there is a little town called Pahrump that has a hot air balloon festival! The festival has hot air balloon rides, a Ferris Wheel, and then in the evening they have an amazing hot air balloon light show that is timed to music.

Driving to Pahrump took approximately 6 and a half hours. I decided to go down Hwy 99, then up over Hwy 58, along Hwy 15, and then take Hwy 178 into Pahrump, Nevada. This route made it to where there would be ample places to stop and take breaks, fill up on gas, and allow the best scenery of the desert.

I had booked a little cabin at the Preferred RV resort. It was such a cute little cabin and totally worth it as it was about half the price of any hotel room. This little cabin was equipped with a bed, bathroom, kitchen and living room. It had a TV, pots and pans for cooking, along with a coffee pot! The cabin was pet friendly which is a must for me as we all know I can't go anywhere without Yota.

The Festival

The balloon festival lasted all weekend. In the morning they had a little take off session for the balloons. Then in the afternoon there were different types of vendors, carnival rides, and hot air balloon rides. Around 6:30 the balloon light show started, on both Friday and Saturday, and lasted until about 6:50pm. People began gathering around the field at about 5pm. This festival was definitely a happening place. I got there around 5 for the light show to claim my spot. The good spots filled up fast around the field, so I was happy that I got there so early.

To find out more about the festivities check out their site here.

It was a little cold that evening. I had on a warm jacket, long sleeves, jeans, and boots. Even with all that, my toes were still super cold. If you do plan on heading out to this balloon festival make sure to pack an easy to carry chair, like this one, and some warm clothes.

All in all, this balloon festival was alot of fun. The timing was a little off as the flyer said the light show started at 6, but it really started at 6:30. There were two balloons that you could ride in. The balloons were tethered to the ground and the tickets were $10 each. If you wanted to get up close and personal to the balloons you could pay a VIP field entrance fee of $30. This allowed you to get much closer to the balloons during the light show. If not, you needed to stay behind a fence (which is what I did).

For me, it was all about the picture opportunity and the light show. The pictures turned out fantastic!

I hope you all enjoyed this post!

Wishing you nothing but fun adventures,

Bessie

------------------------------------------------------------

Wondering what gear I used? Check it out here:

Kit Used:


Camera Sony A7Rii: http://amzn.to/1taGpAu
Wide angle lens Sony 16-35mm lens: http://amzn.to/1UBjBDW
Standard lens Sony Master 24-70mm lens f2.8: http://amzn.to/2l6tTSA
Vanguard Tripod: http://amzn.to/2aoI5ku

Editing & Processing:
Adobe Lightroom: http://amzn.to/1WB7Jnc
Adobe Photoshop : http://amzn.to/1WB7YPh


San Joaquin River Trail - California Hiking Trail - Fresno

San Joaquin River Trail - California Hiking Trail - Fresno

(From Friant to Auberry)

Life is either a great adventure or nothing. Helen Keller

The San Joaquin River Trail is incredibly easy to get to which makes it quite popular. The road is a paved road all the way to the trail head and is only 25 minutes from Fresno. In my opinion, the best time to hike this trail is during the Spring. The temps are hiking friendly and you get to see all the beautiful wild flowers! The trail is a single track trail and you can expect to see hikers, runners, and mountain bikers . This is not a trail that loops, you will need to have travel accommodations at the finish line or you will be walking another 14 miles back to your vehicle. Cell phone reception is spotty along the trail.

Before we go into too much detail, I want to get one thing straight here... the sign at the downstream trail head says 11 miles from the beginning to the end. This would be from the restrooms at the Sky Harbour Picnic Area (S. Finegold Picnic Area)  to the San Joaquin River Gorge Special Recreation Management Area (formerly Squaw Leap); however, that sign is dead WRONG! I started a little further upstream from the Sky Harbour Picnic Area and still ended up walking around 13 miles according my GPS. The San Joaquin River trail website states that the trail is 14 miles, end to end. To see there website clickhere  .   It may not sound like a lot, but that extra 3 miles will add 1-2 hours to your trip depending on your speed. Here is an image of where I started:


San Joaquin River Trail Hike Details

Name: San Joaquin River Trail
Starting Point: Sky Harbour Picnic Area (S. Finegold Picnic Area)
Ending Point: San Joaquin River Gorge Special Recreation Management Area (formerly Squaw Leap)
Activity type: Hiking
Description: Carrying 30 lbs for training - A good portion of that being camera gear.
Total distance: 13.0 mi
Total time: 6:30:22
Moving time: 5:22:46
Average speed: 2.0 mi/h
Average moving speed: 2.4 mi/h
Max speed: 6.1 mi/h (at one point I started running up the hill just to get it over with)
Max elevation: 1014 ft
Min elevation: 433 ft
Elevation gain: 2374 ft
Max grade: 31 %
Min grade: -71 %

How to get to the trail head:

From Fresno, take Friant Road East through the town of Friant to Sky Harbour Road. Take a left(you can't go right). It is approximately 6 miles until you come to a dead end at the picnic area. The trail starts off steep so be ready to climb for about 1/2 mile right out of the gate. You can even take a little bit of a detour to the top of Pin Cushion Peek if you want to.

After the first 1/2 mile the trail flattens out for a while and then you begin to descend to just above the river.

San Joaquin River Trail - Hiking Trail - Fresno by Bessie Young Photography

As a side note... the lip balm. My sister bought this Alba lip balm for me when I was probably 20 and there is absolutely no going back to anything else. It is one of my favorites! It keeps your lips smooth and smells delicious. Just saying.... Ok, continue on...

Miners Lettuce will be abundant along the trail in the Spring. Ever Since I was little I have been obsessed with Miners Lettuce. It is absolutely beautiful, has these cute little white flowers, and always holds water droplets just perfectly from the morning dew. There is something about this plant that I just absolutely love.

The trail twists and turns along with the San Joaquin River. For the majority of your trip you will be near the river. In mid February you will catch the start of the poppy bloom and the grass will be green and lush.

If you do end up going in the spring you will find that the water is flowing and creating some beautiful albeit small waterfalls in the creeks. The creeks are a great opportunity for your dog to cool off. As you can see Yota loved the creek!

Eventually the trail begins to work it's way away from the river and you will find yourself looking over Temperance Flats. There is even a pit toilet not too far from where this photo was taken if you have to answer the call of the wild :)


Walking further away from the river you stumble upon this this beautiful old structure. (I am obsessed with old wood barns and homes so this was a huge delight.)

A bridge! You may think this is a sign that you are almost done, but think again. Once you cross this metal bridge you will find yourself heading uphill once again for a good stretch. You are in the home stretch; however after 11 miles, this uphill section isn't too much of a friendly sight.

Starting at 9:30 in the morning ended up being a little too late due to those pesky extra miles I had not planned for. I scheduled my ride to pick me up and as we got back to my car the sun had just started setting over Millerton Lake. Talk about gorgeous!

If you ever take this trip make sure to tag me in your photos @bessieyoungphotography! I would love to see your trip and the images you got. Also, if you enjoyed this post make sure to comment below and subscribe to my blog.

Until next time, wishing you nothing but fun adventures!

Bessie


To see more hiking trails check these blogs posts out:


Golden Gate Bridge, San Francisco


Golden Gate Bridge, San Francisco | Landscape Photography

by Bessie Young Photography

Where you Live

You know, it is quite funny that I live in California, only a couple hours from San Francisco, and I have yet to get a picture of the Golden Gate Bridge. I mean seriously?! How is it that possible. I am a photographer, almost 30 years old, and have yet to capture a good image of the Golden Gate Bridge San Francisco? This is a little bit crazy, a little bit sad, and honestly just wrong on so many levels.

San Francisco 2016 - Bessie Young Photography-61.jpg

This adventure was a great reminder that I need to stop and remember the epicness of the area around you. Sometimes we forget that we live next to some amazing sites. We live in a world where we are expected to travel to these epic places, but sometimes the epic places are in your back yard. These places are something that you have seen time and time again, but for some reason you never took the time to really stop and appreciate how epic they truly are. Stop! Look around you! Appreciate the gorgeous world you life in.

People travel from around the world to see the Golden Gate Bridge in San Francisco. For me, it is basically a hop, skip, and a jump for me to get to. This adventure was a reminder to myself to take a moment and appreciate how wonderful everything is around me rather than constantly looking at what the entire world has to offer. Sometimes, your back yard is truly epic.

The Golden Gate Bridge

The adventure was spontaneous, and it was intensely windy that day. I looked around for a bit and eventually found the perfect spot to get an amazing image of the Golden Gate Bridge. The Golden Gage Bridge San Francisco is an iconic piece of history....


During my adventuring that day I found out that night was the Summer Solstice and the Strawberry Moon. I stayed out late to get an image. The moon came up over the Bay Bridge and City of San Francisco. Come check out that blog here. Talk about being at the right place at the right time.

I hope you all enjoyed this blog post .  Don't forget to keep in touch by subscribing to my blog!

Images are for sale here.

Wishing you all nothing but happiness and epic adventures.

Bessie

------------------------------------------------------------

Wondering what gear I used? Check it out here:

Kit Used:


Sony A7Rii: http://amzn.to/1taGpAu
Sony 16-35mm lens: http://amzn.to/1UBjBDW
Canon 100-400mm f4: http://amzn.to/28TA55m
Sigma MC11 Adapter: http://amzn.to/28TjmRR
Vanguard Tripod: http://amzn.to/2aoI5ku

Filming:
LG G3 Smart Phone

Editing & Processing:
Adobe Lightroom: http://amzn.to/1WB7Jnc
Adobe Photoshop : http://amzn.to/1WB7YPh
Viva Video Pro for combining videos

Follow Along:
Facebook: http://www.facebook.com/bessieyoungphotography...
Instagram: http://www.instagram.com/bessieyoungphotography...
Twitter: https://twitter.com/bessyoungphoto
 

Sundial Bridge Redding, California

Sundial Bridge Redding, California

by Bessie Young

Wow! I cannot believe it took me so long to blog about this amazing bridge up in Redding, California! Earlier this Summer, I headed up to Redding for a fun night out exploring Turtle Bay. The main purpose of the trip was to get pictures of the Sundial Bridge at night. A few years back, I found out about the Sundial Bridge; however, I wasn't there at night. Ever since then I have been wanting to go back to Redding in order to capture the beauty of the bridge all lit up.

I was so excited to be able to get the opportunity to take some pictures of the bridge at night. I even was able to capture a few stars despite the bright lights of the bridge.

There were quite a few people hanging out on and around the bridge that night. It seems as though Turtle Bay is a happening place up in Redding. There are some super fun events that happen near and around the bridge such as farmers markets and so forth. This made it a tiny bit difficult to capture a good picture of the bridge with no one on it. Also, the bridge sways ever so slightly which can interfere with the quality of the photo.

The bridge looks amazing from far away; however, you have to walk on it! The lights on the base of the bridge glow this beautiful blueish purple. The Sundial Bridge is absolutely astonishing at night. The way the bridge lights up is phenomenal and a must see if you are in the area. If you want to learn a little more about the Sundial Bridge check it out here.

You can also find some more information about the bridge and fun things to do up in Redding here on the Visit Redding website.


Wishing you nothing but fun adventures,

Bessie

Hey Photogs! Want to know what equipment I used? Check it out here:

Kit Used:


Sony A7Rii: http://amzn.to/1taGpAu
Sony 16-35mm lens: http://amzn.to/1UBjBDW
Vanguard Tripod: http://amzn.to/2aoI5ku

Filming:
LG G3 Smart Phone

Editing & Processing:
Adobe Lightroom: http://amzn.to/1WB7Jnc
Adobe Photoshop : http://amzn.to/1WB7YPh
Viva Video Pro for combining videos