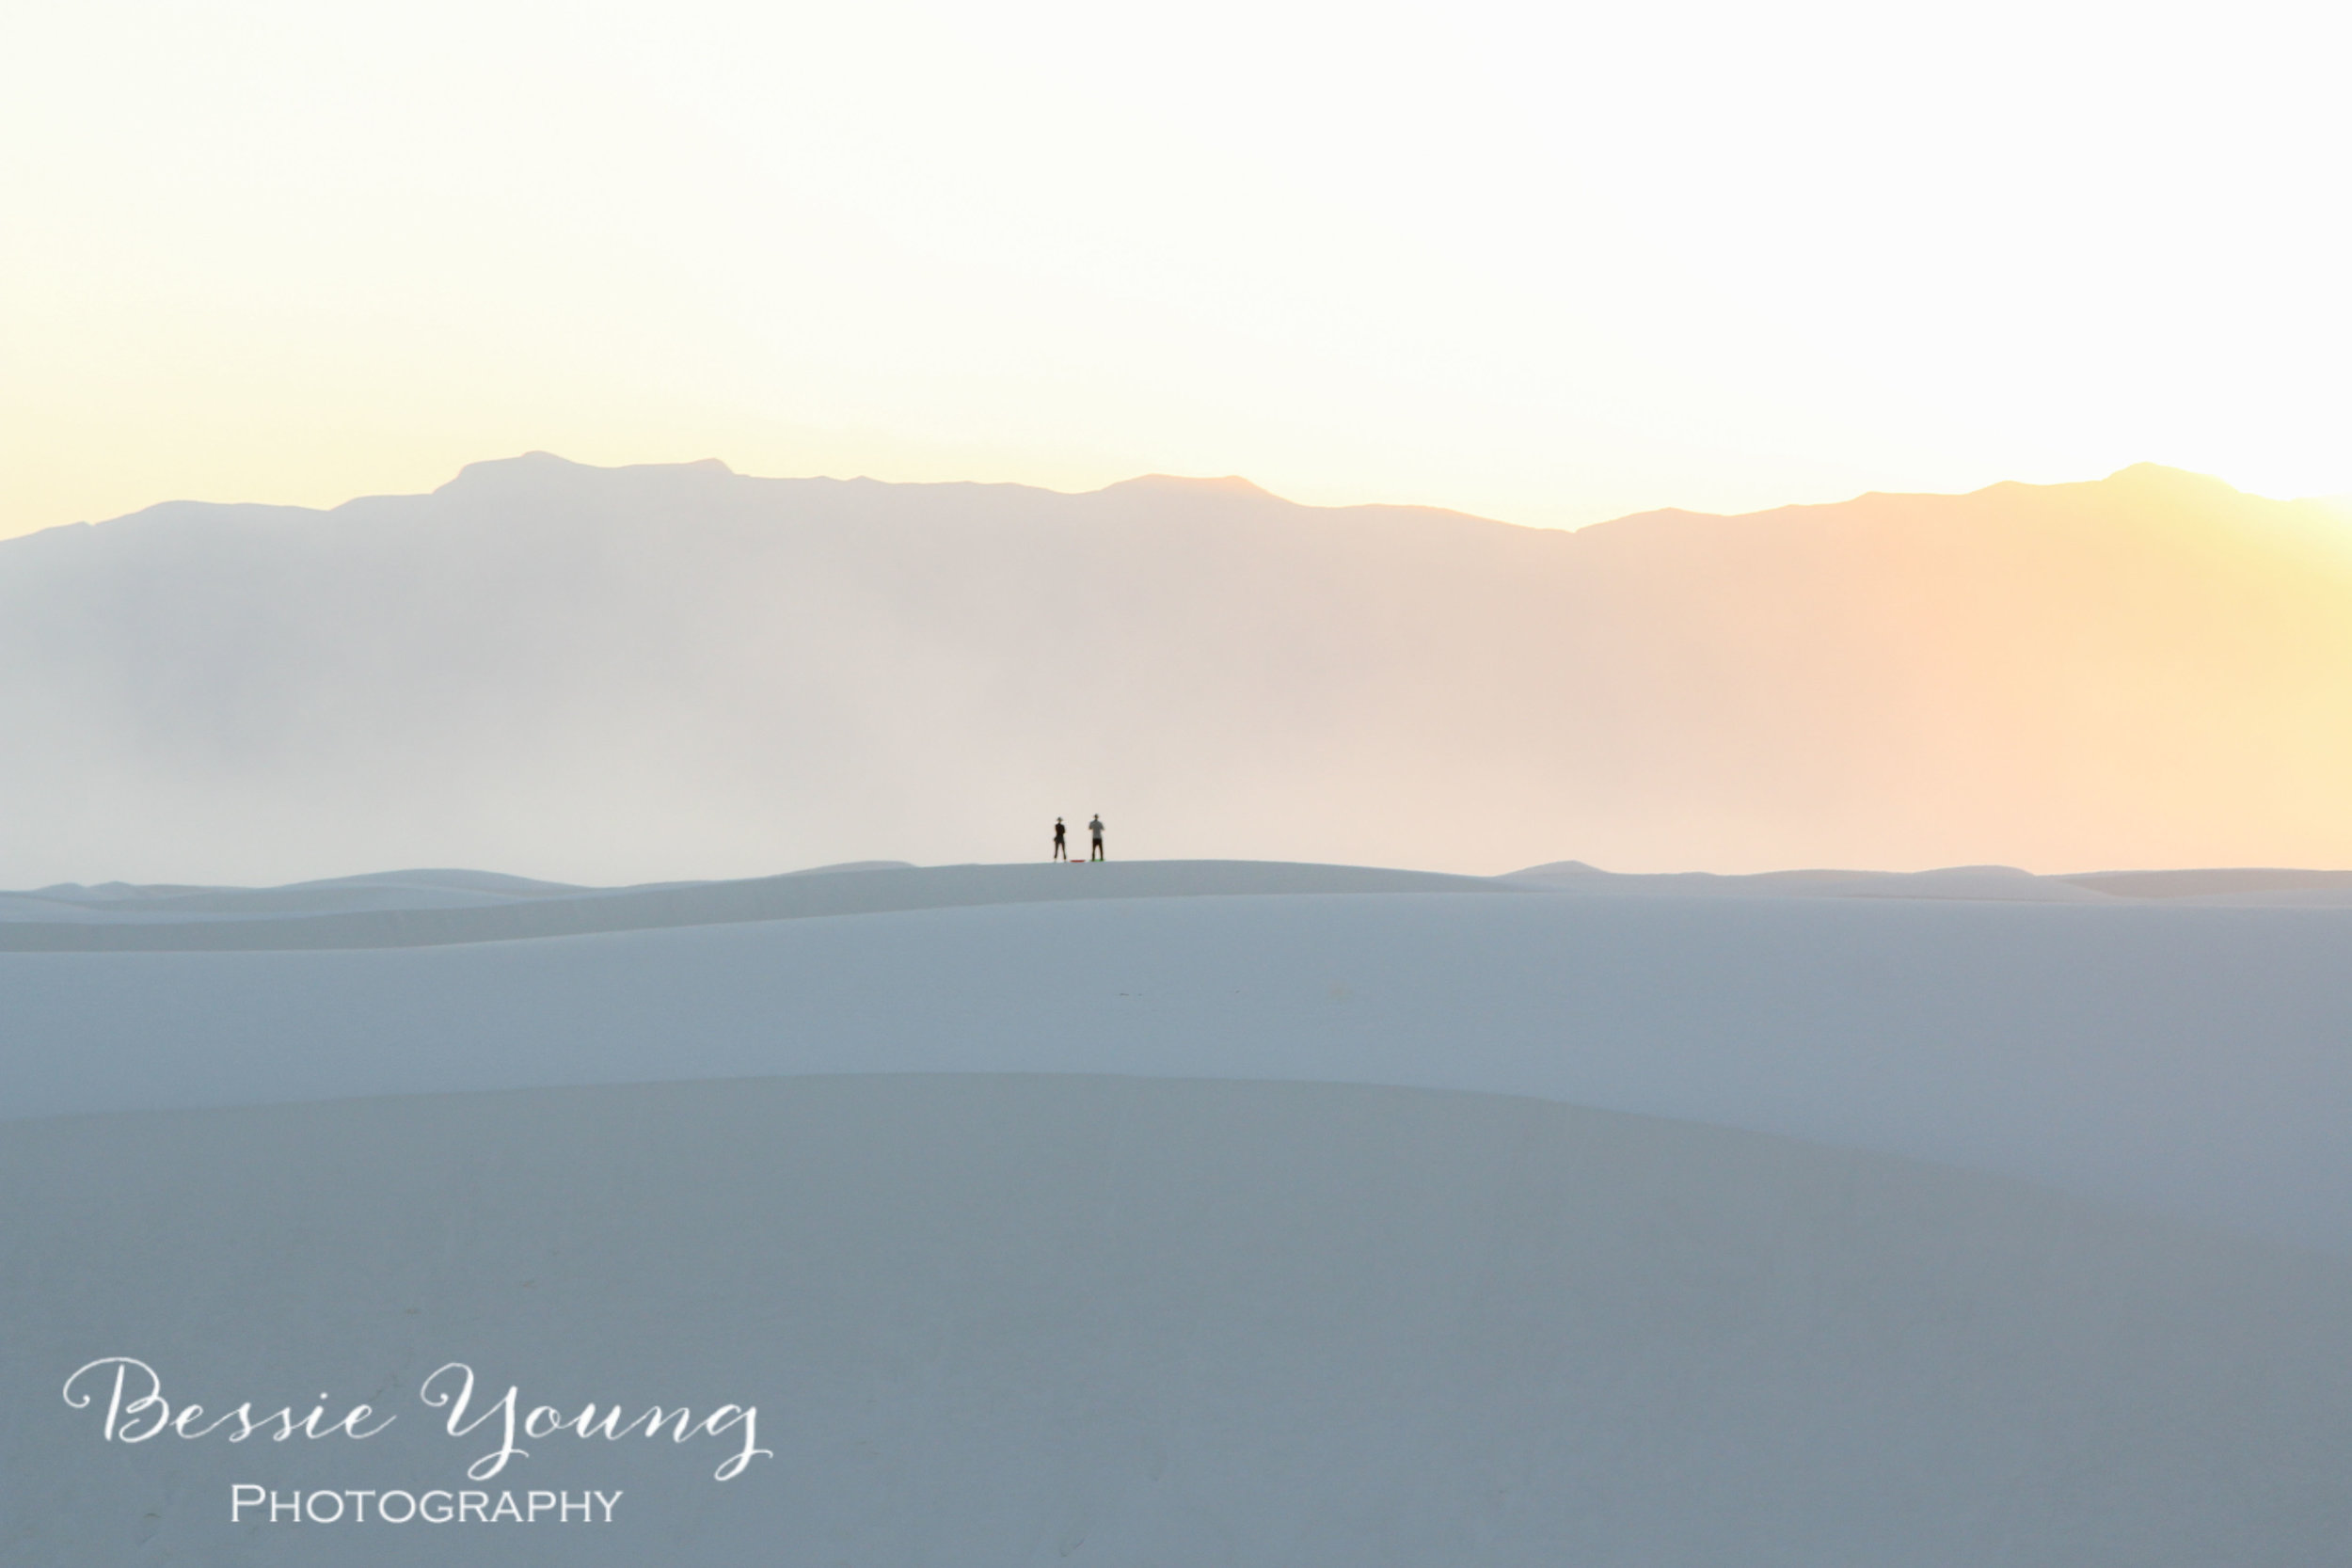
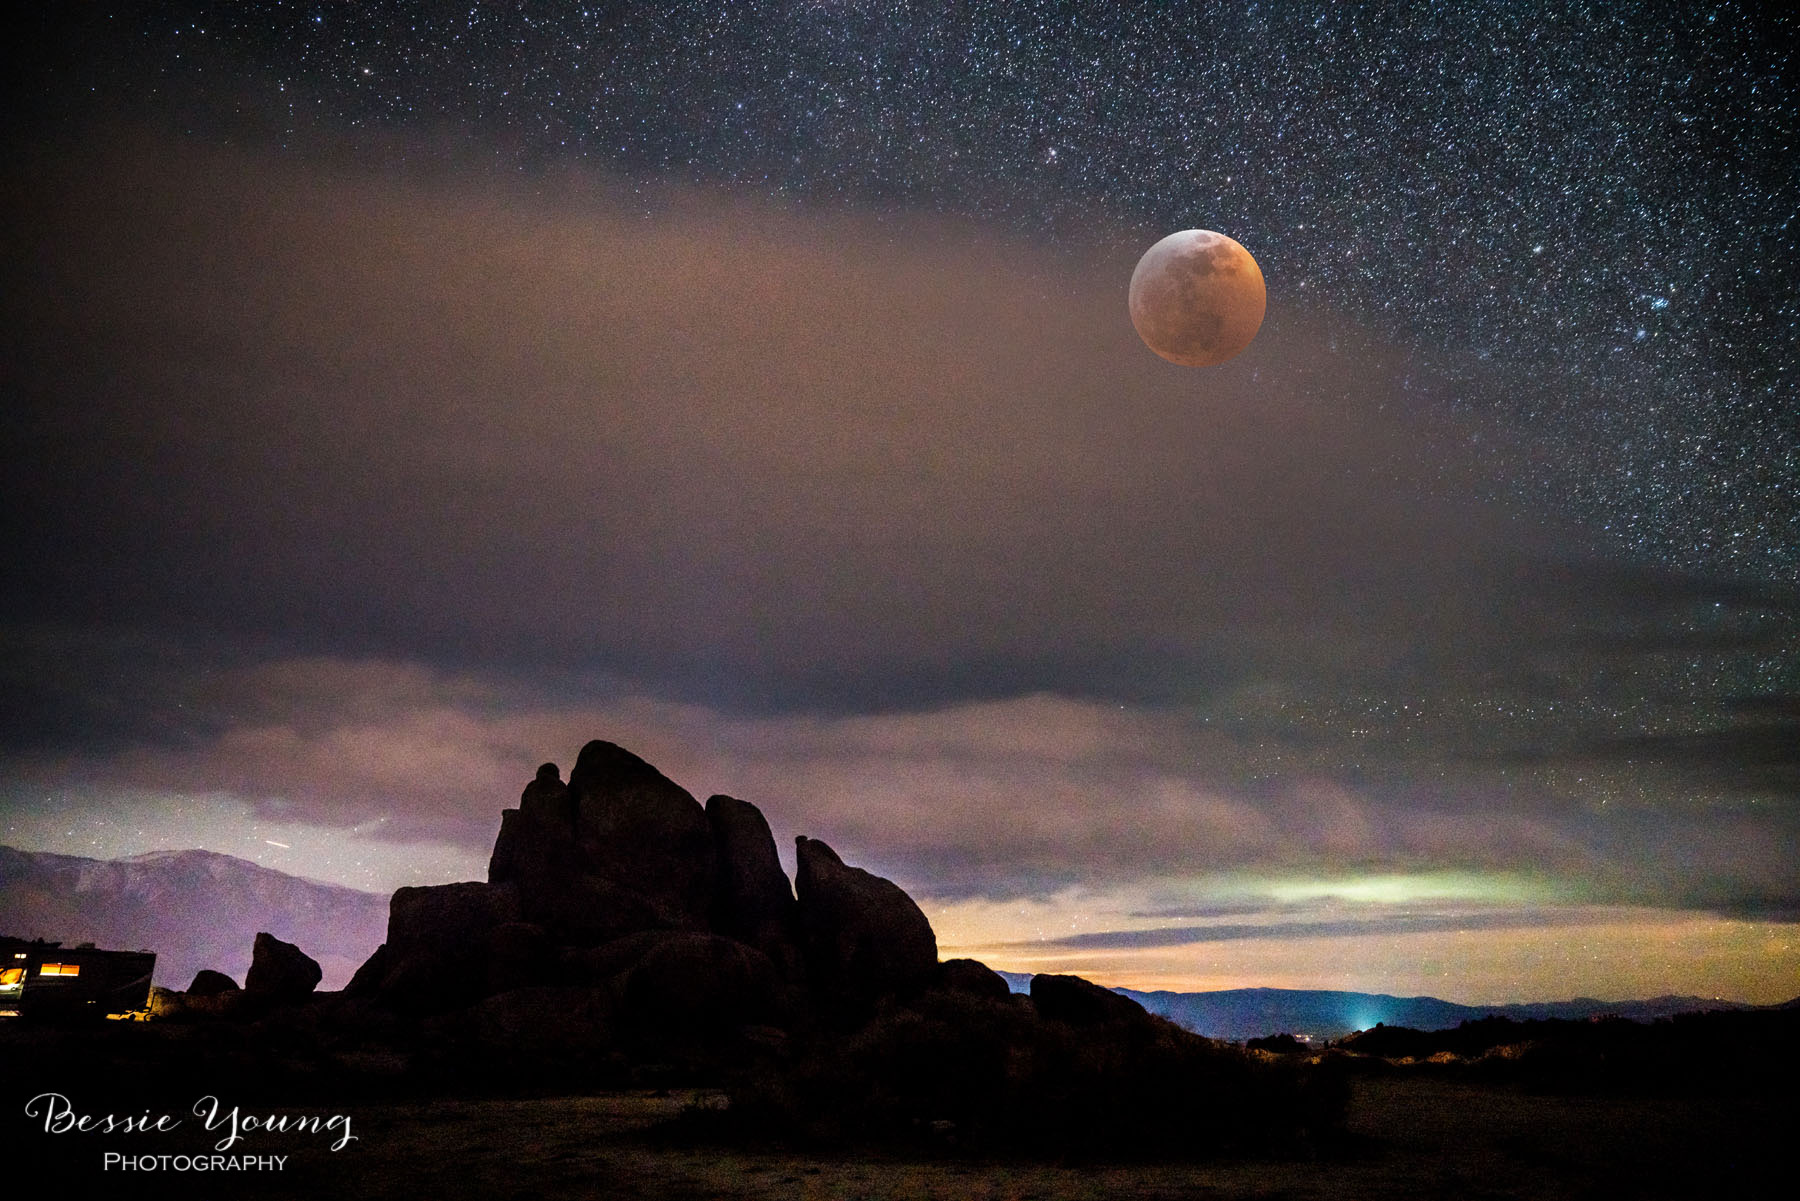
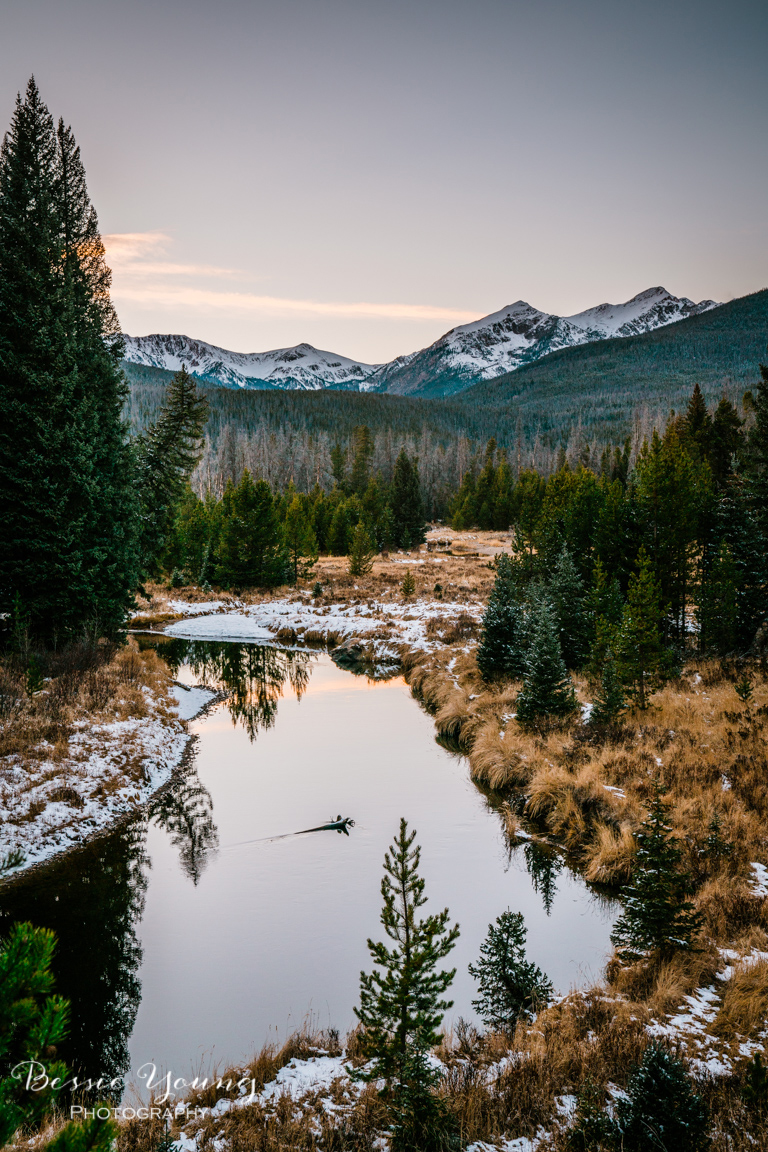
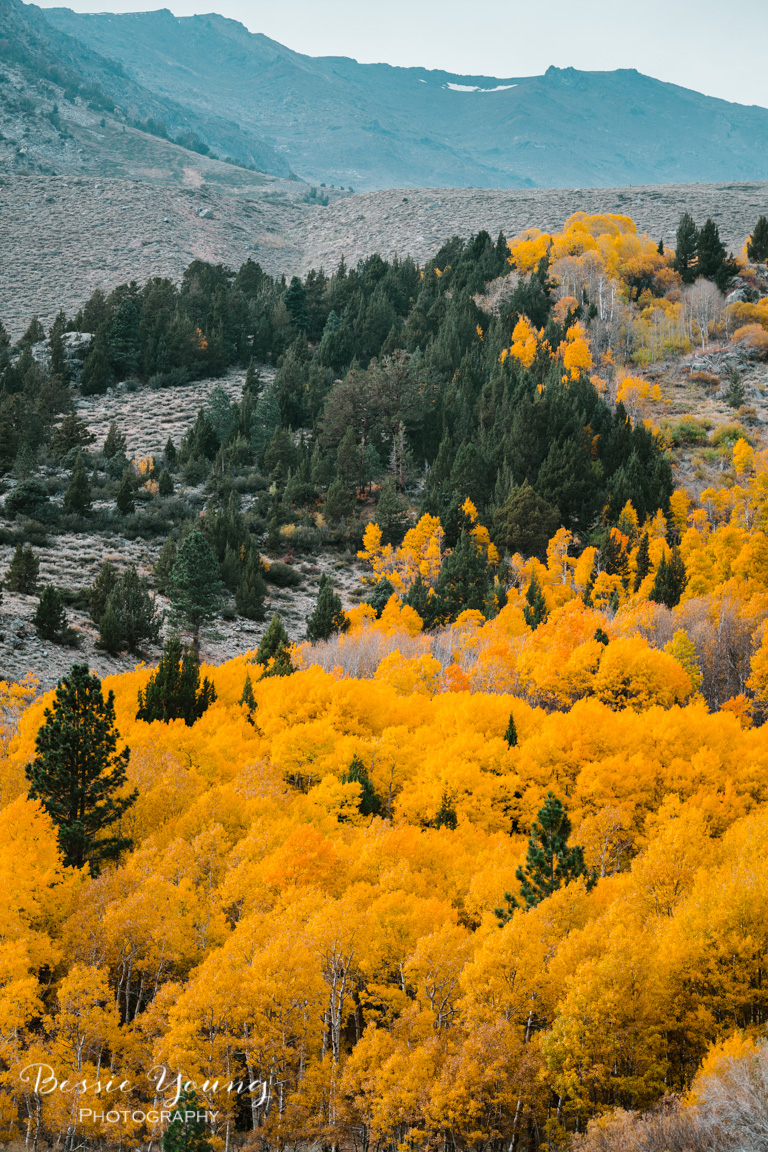
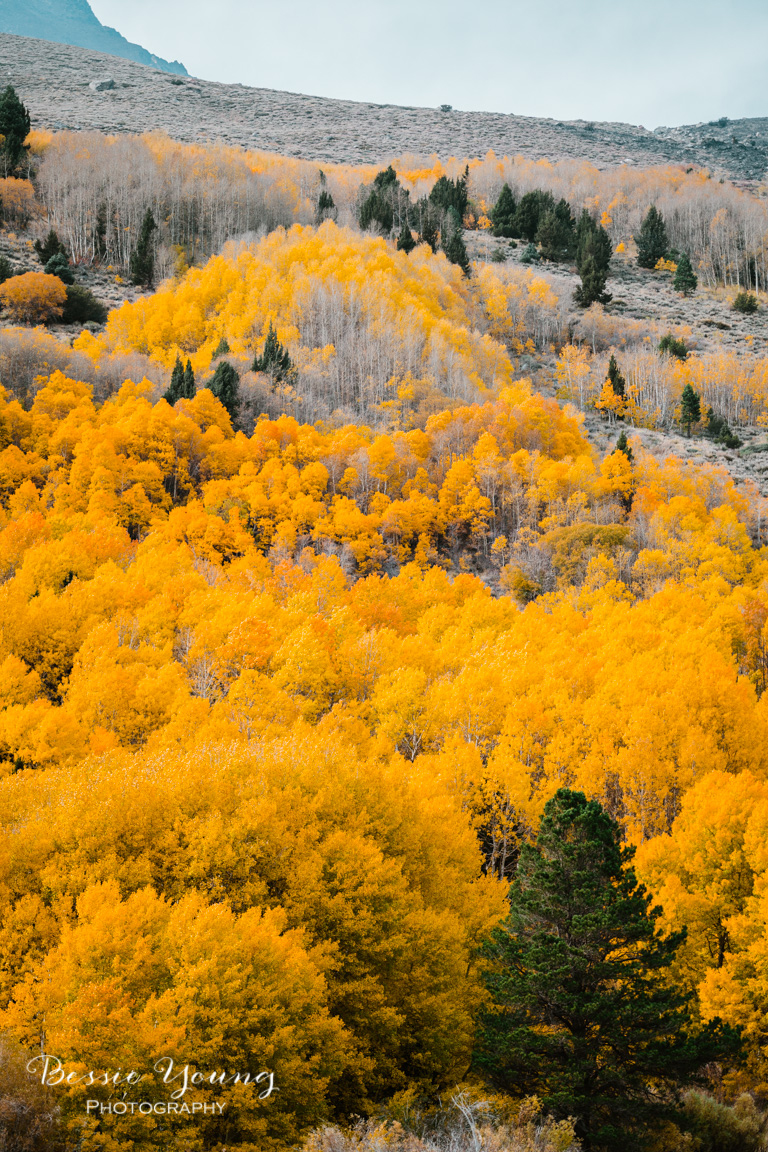
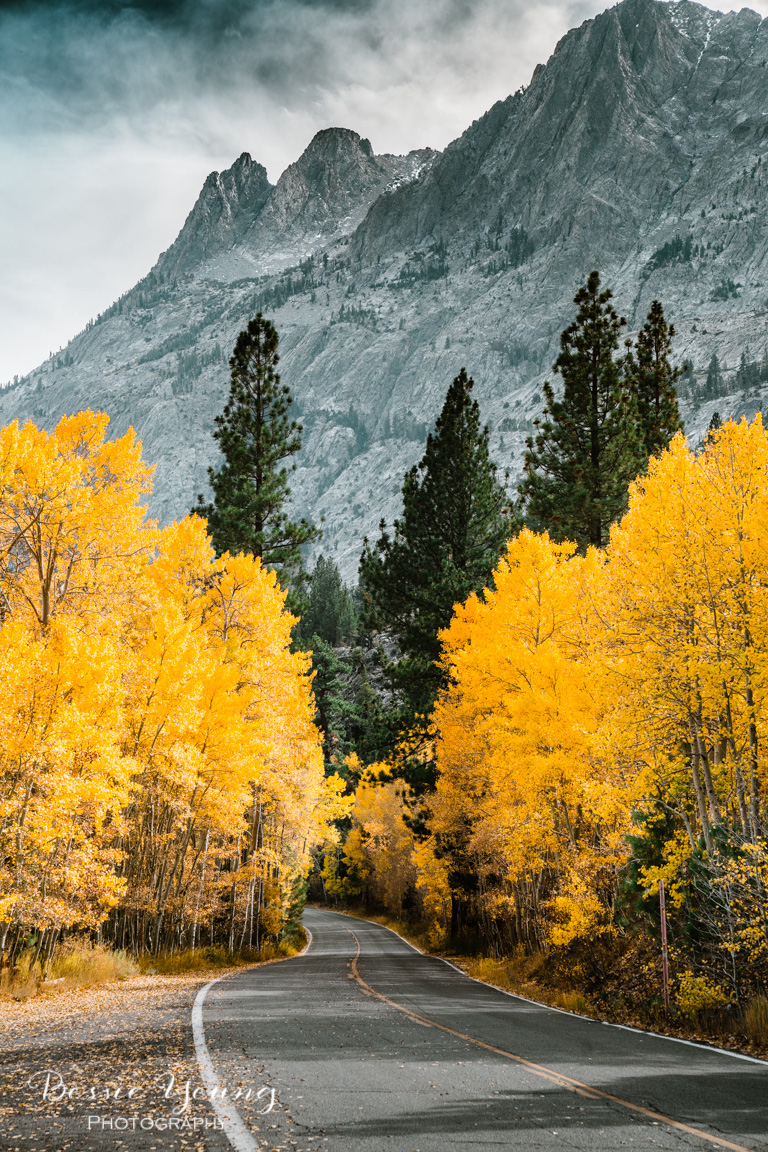
All Images For Sale in the BYP Shop-
Click the image to purchase or click the buy me button below.
Oh man was I hesitant to go to Yosemite for a second time to capture the firefalls. I kept thinking
you aren’t going to see it…
whats the point…
why do you continue to do this to your self? (put yourself through stress etc)…
Is it worth it?…
You aren’t a real photographer anyways (imposter syndrome at its finest)…
Let’s just say this battle went on for quite a bit but holy moly am I excited that my better side one :)
The Adventure
So my first attempt to see the firefalls was a bust. If you want to see more of that adventure head on over to Yosemite National Park Firefalls 2019 First attempt 1. Now in this attempt I learned alot of things. Things that made my second attempt go much smoother. One thing was the fact that Hwy 140 is a much easier drive when there is snow because they actually freaking plow that road. Hwy 41 was an absolute mess and took me over double the amount of time to get to the valley than it should have taken.


This attempt was so so so much smoother. I checked the Yosemite webcams and was able to see that the weather was looking amazing. I gathered all my gear and off I went.
The drive was beautiful! I always plan for breaks and hiccups along the way, so I left with ample time to get to my spot. As I was driving along hwy 140 there were signs for road construction…. ugh….
Slowly I turn each corner until I finally see the man with a big ole red stop sign. There I sat for almost an hour. Yep, didn’t plan for a one hour delay. Naturally, I am getting a tiny bit worried, but I did schedule for quite a bit of a buffer to be able to find my perfect spot, set up my gear, and not feel rushed.
Finally, the man let me though and I was off!
Yosemite National Park Firefall 2019
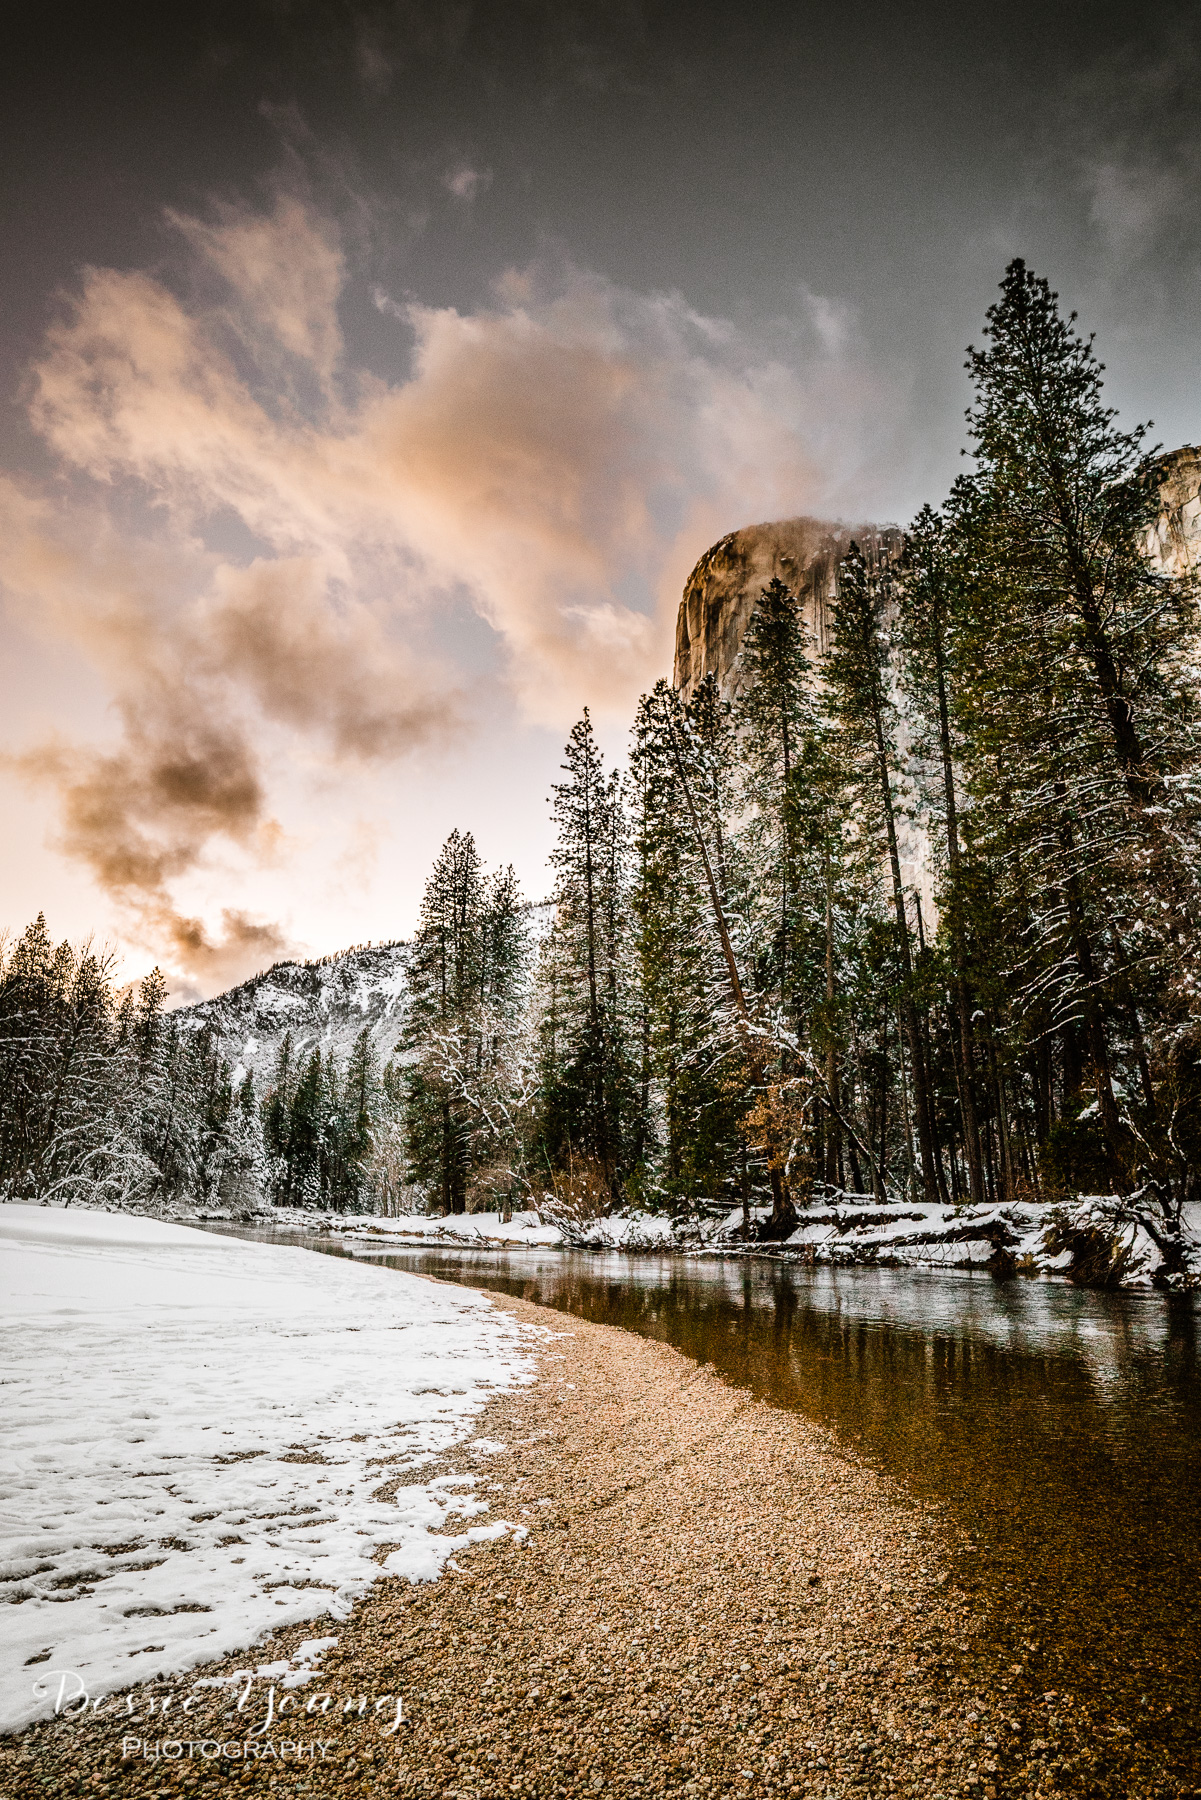
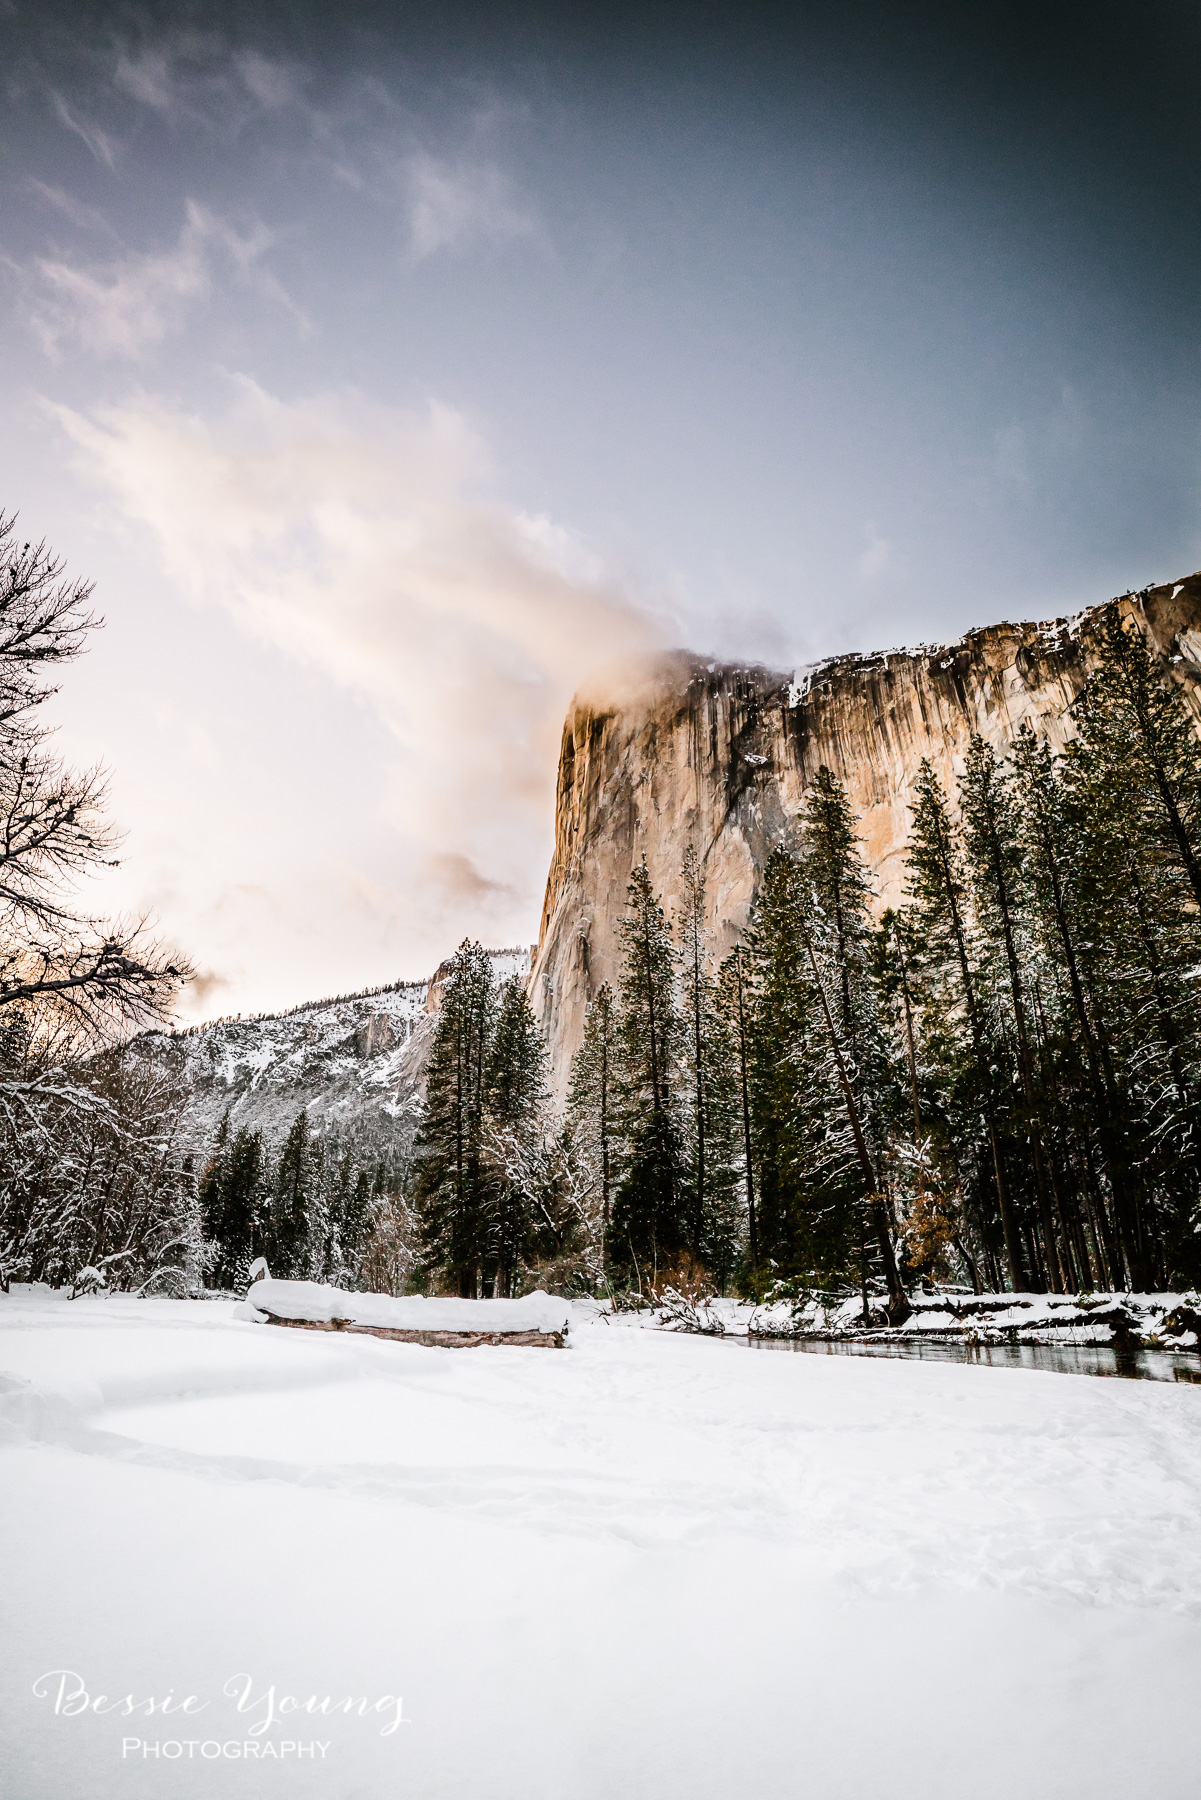
On the Yosemite National Park website there is a spot specifically discussing the Firefall. It had explained that there was absolutely no parking along the south side or north side drive of the Yosemite valley loop. The place you could park was in the Yosemite village parking lot. The park had closed down one lane for pedestrian traffic with the expectation that there were going to be hundreds upon hundreds of people trying to see this natural phenomena. The walk to the perfect spot, or at least the spot I planned to shoot from, is about 2 miles the parking spot.
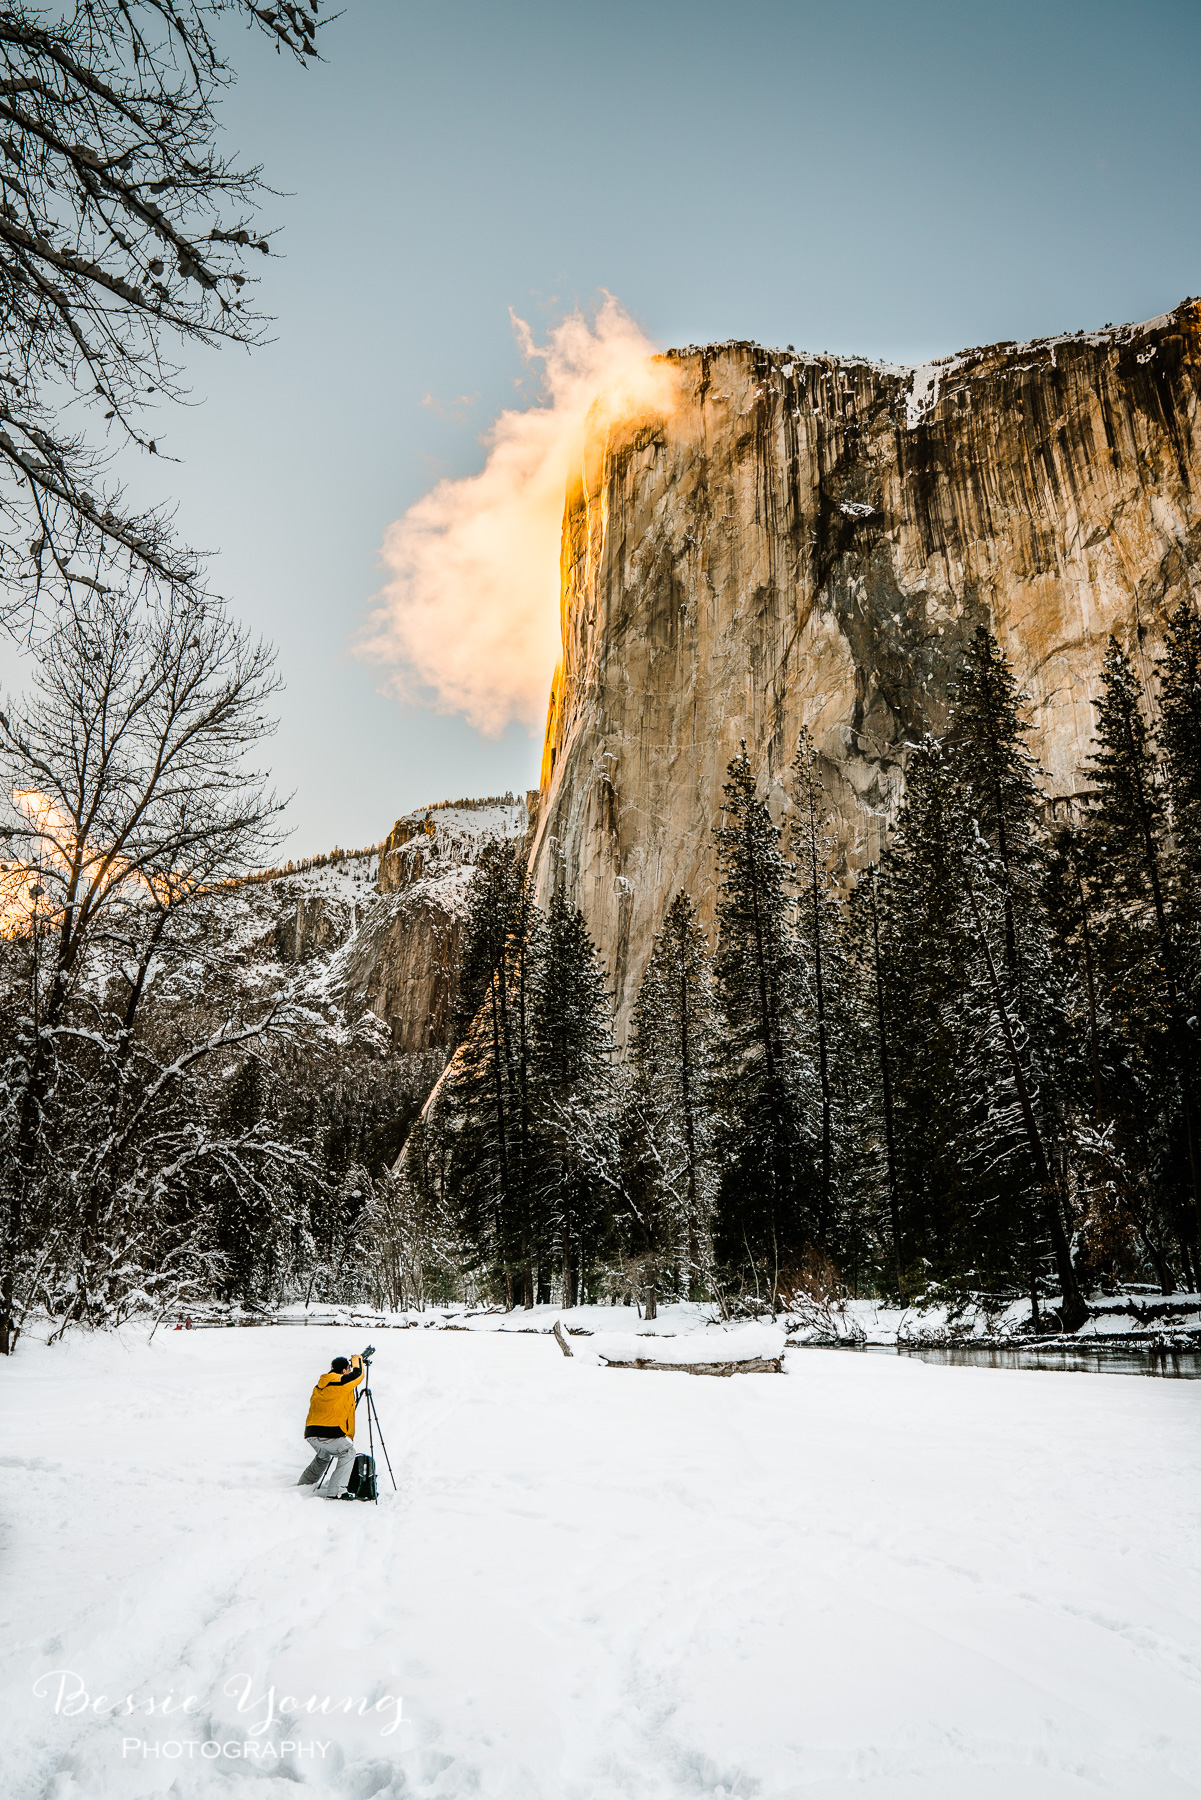
So, I parked, gathered my gear, and began my trek. It was icy, super slippery, and incredibly cold. I believe it was supposed to get below twenty degrees that night. As I was walking I was keeping a close eye on El Capitan. Sunset was scheduled to begin about 5:20 or so, and I was right on time no thanks to the awesome construction I had to wait through.
All of the sudden, it started to look like it was going to happen. I was still about 1 mile away from my spot. Now, even with running, this would have taken me 8 minutes to get there. I didn’t have 8 minutes, but I started running anyway. Frantically looking from side to side to see if there was a good spot to set up. I was worried, I started to freak out, “i am right here and not going to be able to get a good picture of it” …. Let me tell you, alot of negative self talk was happening at this moment.
Finally I found a crowd of people and the absolute perfect spot. I waded through the crowd and found an opening with an amazing angle looking right up at the falls!!!! Thank you LORD!
I set up my gear and not moments later did I begin shooting…
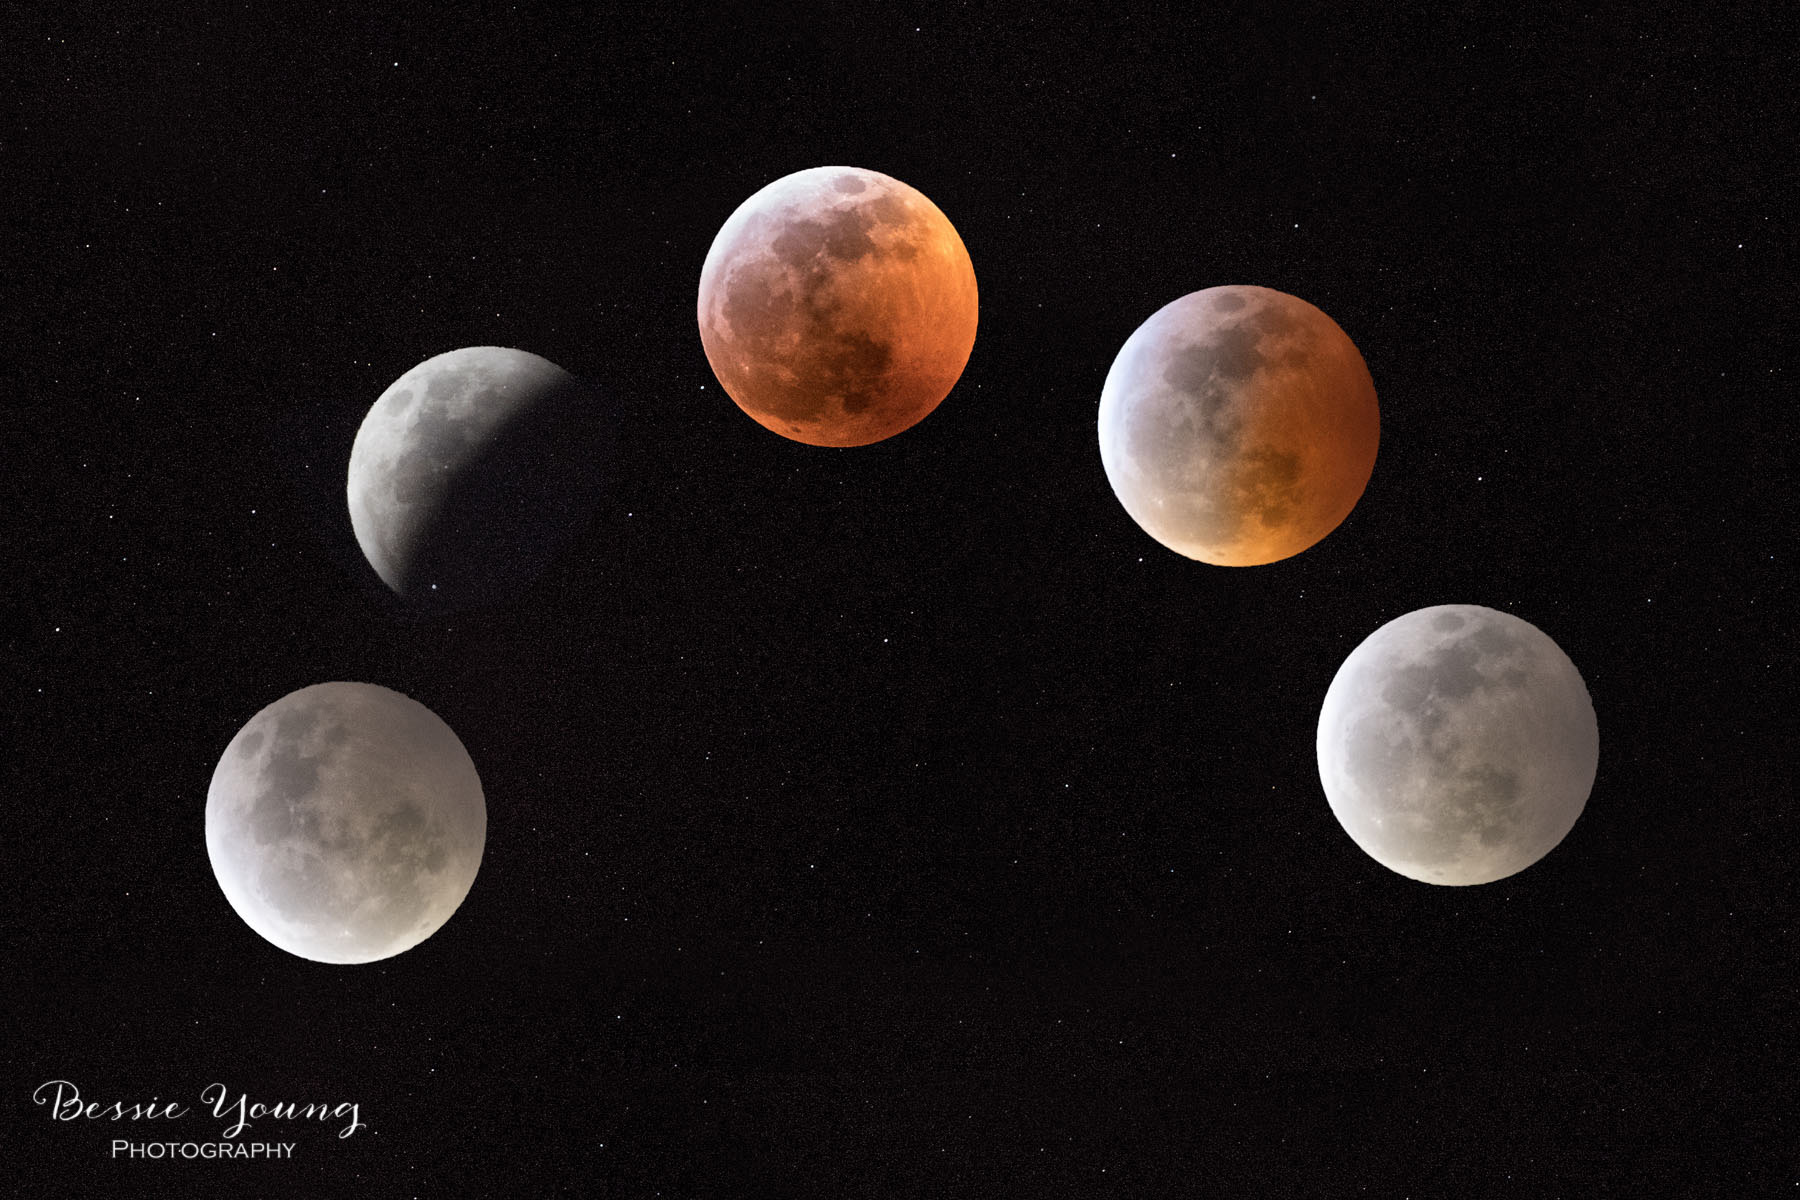
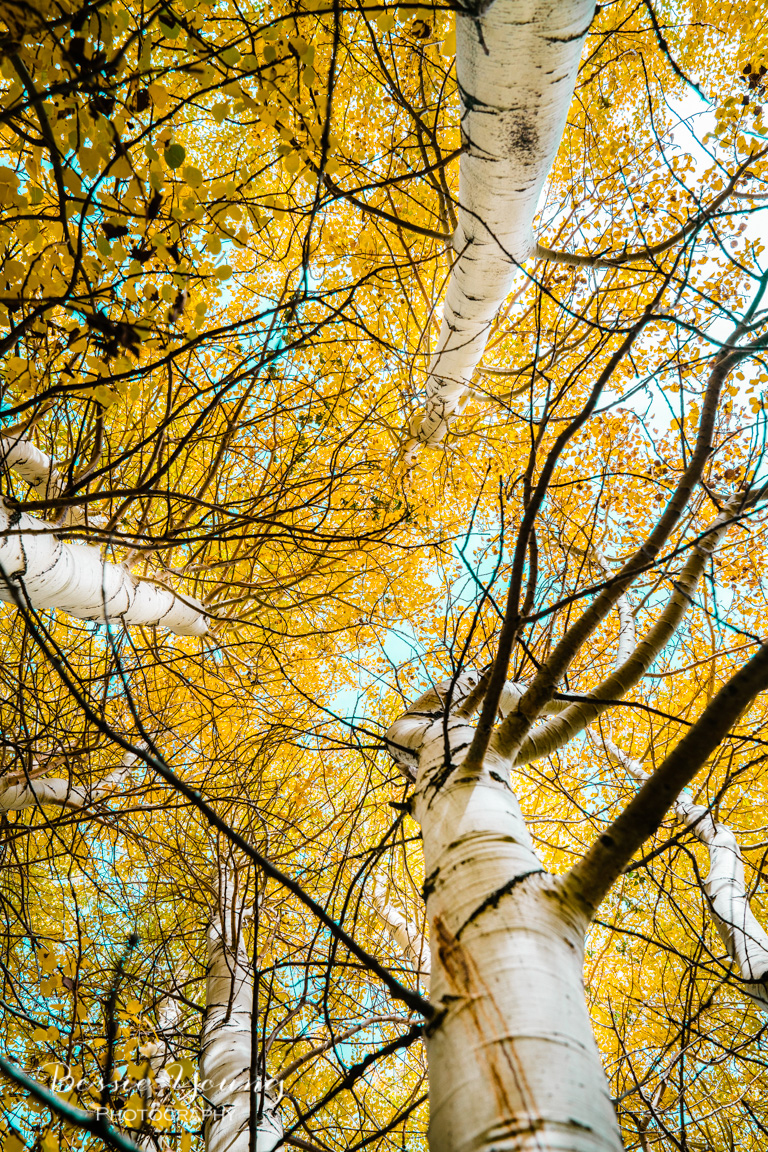
All Images For Sale in the BYP Shop-
Click the image to purchase
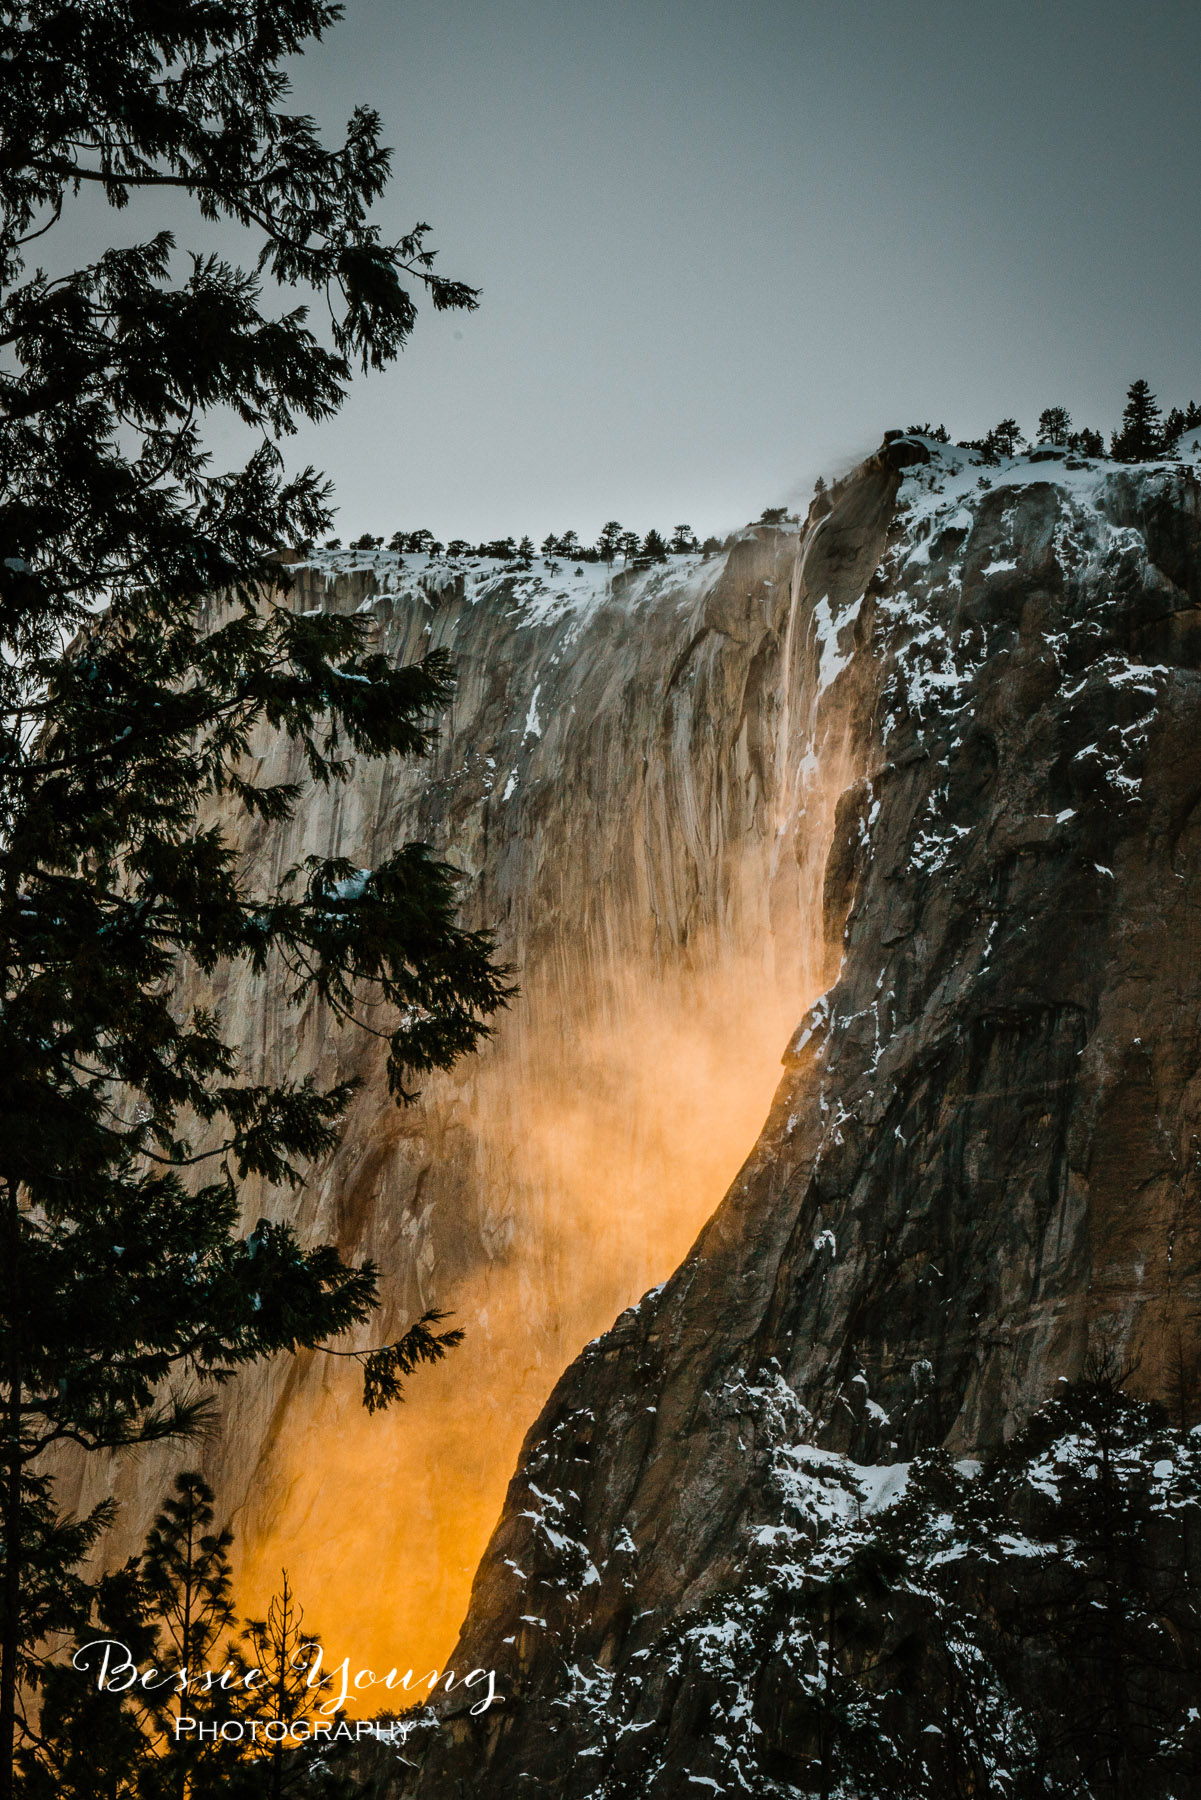
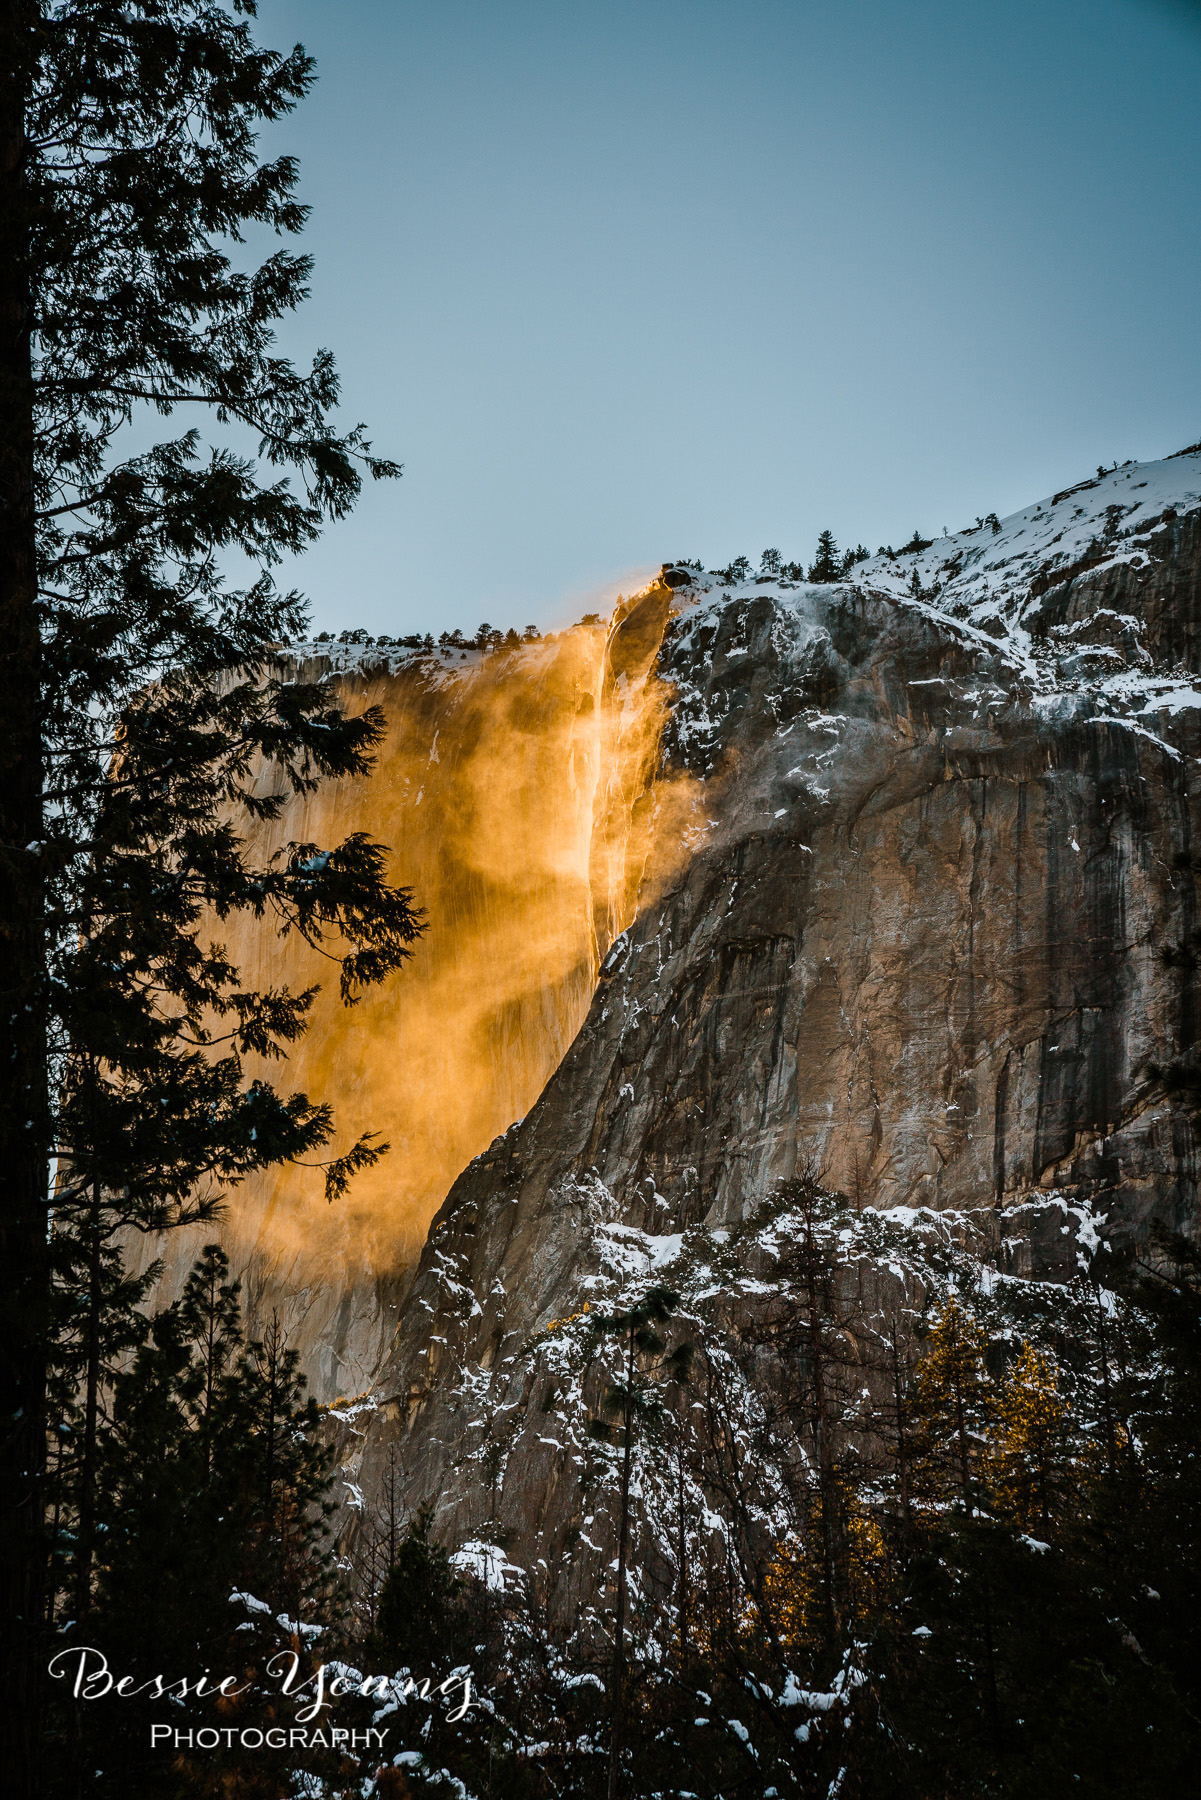
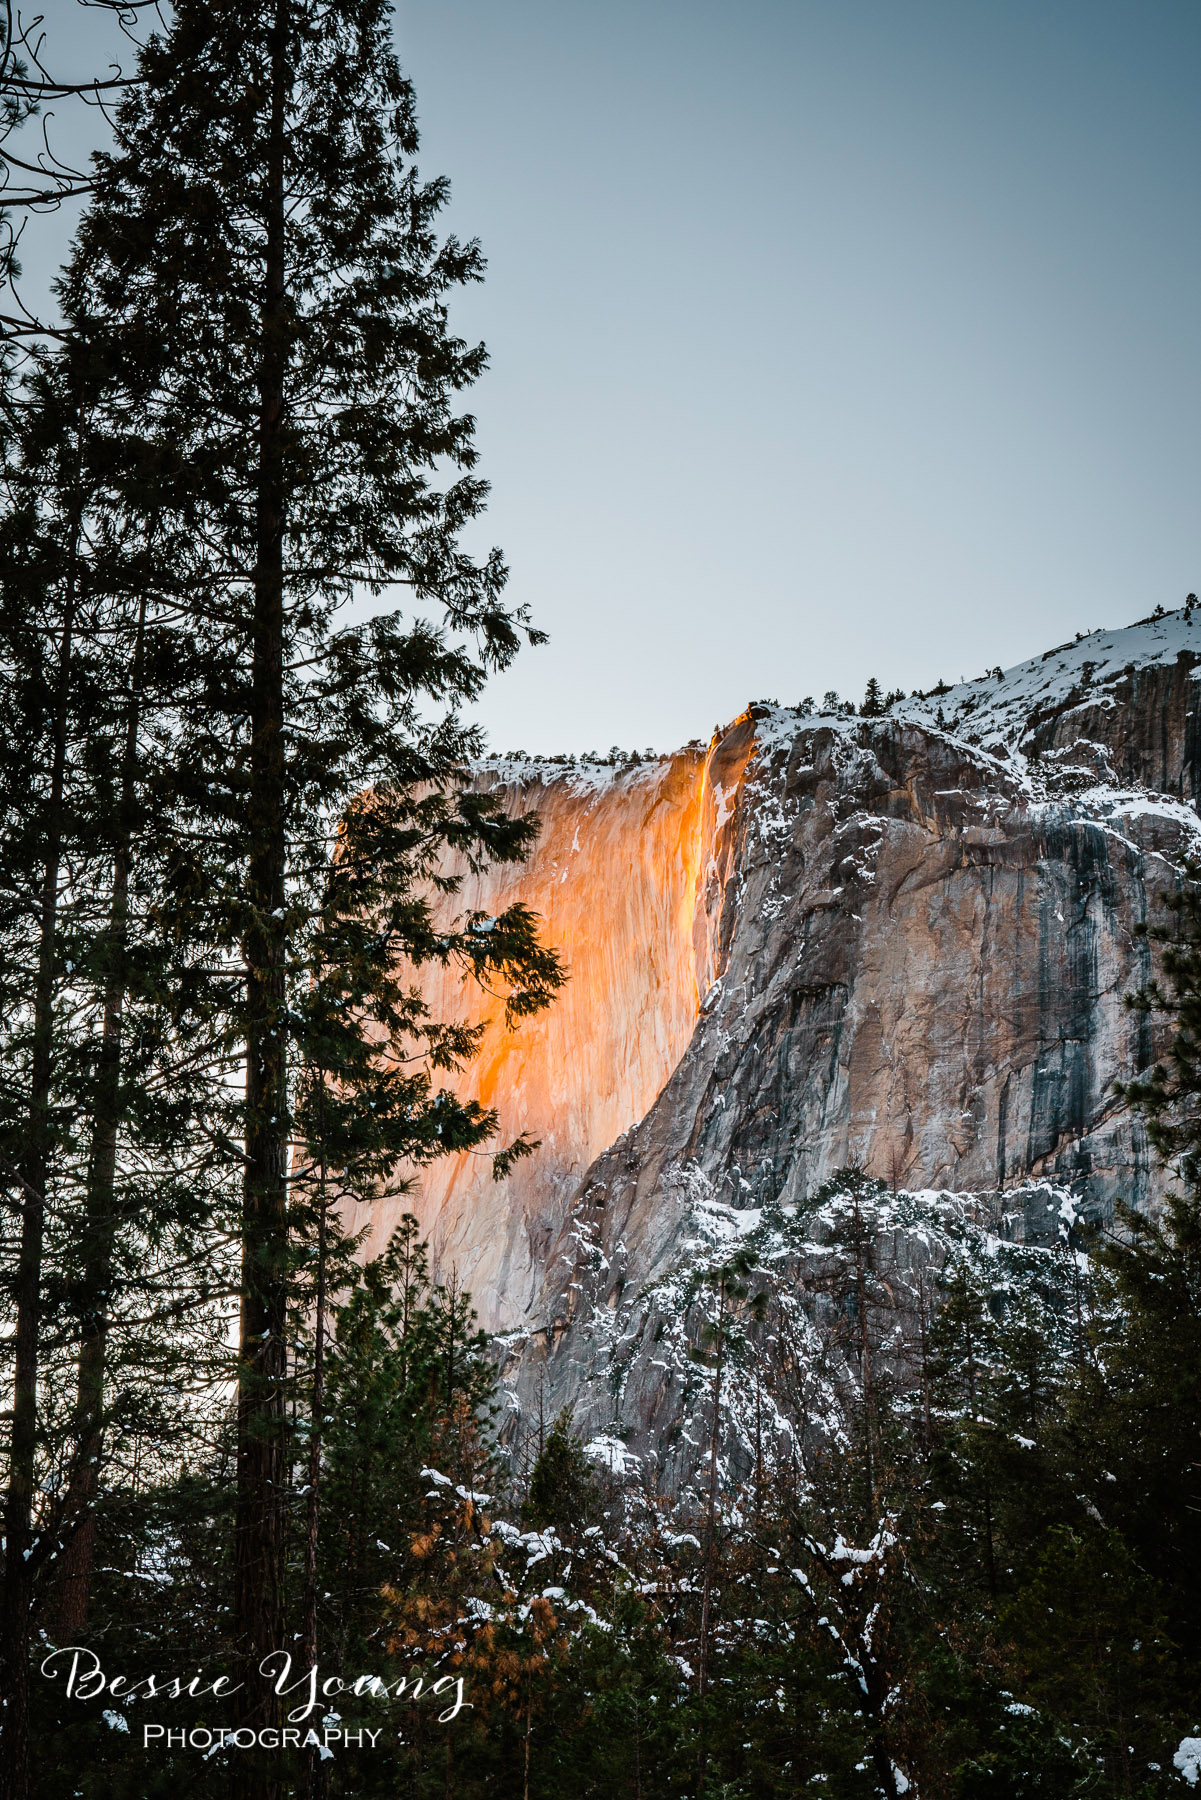
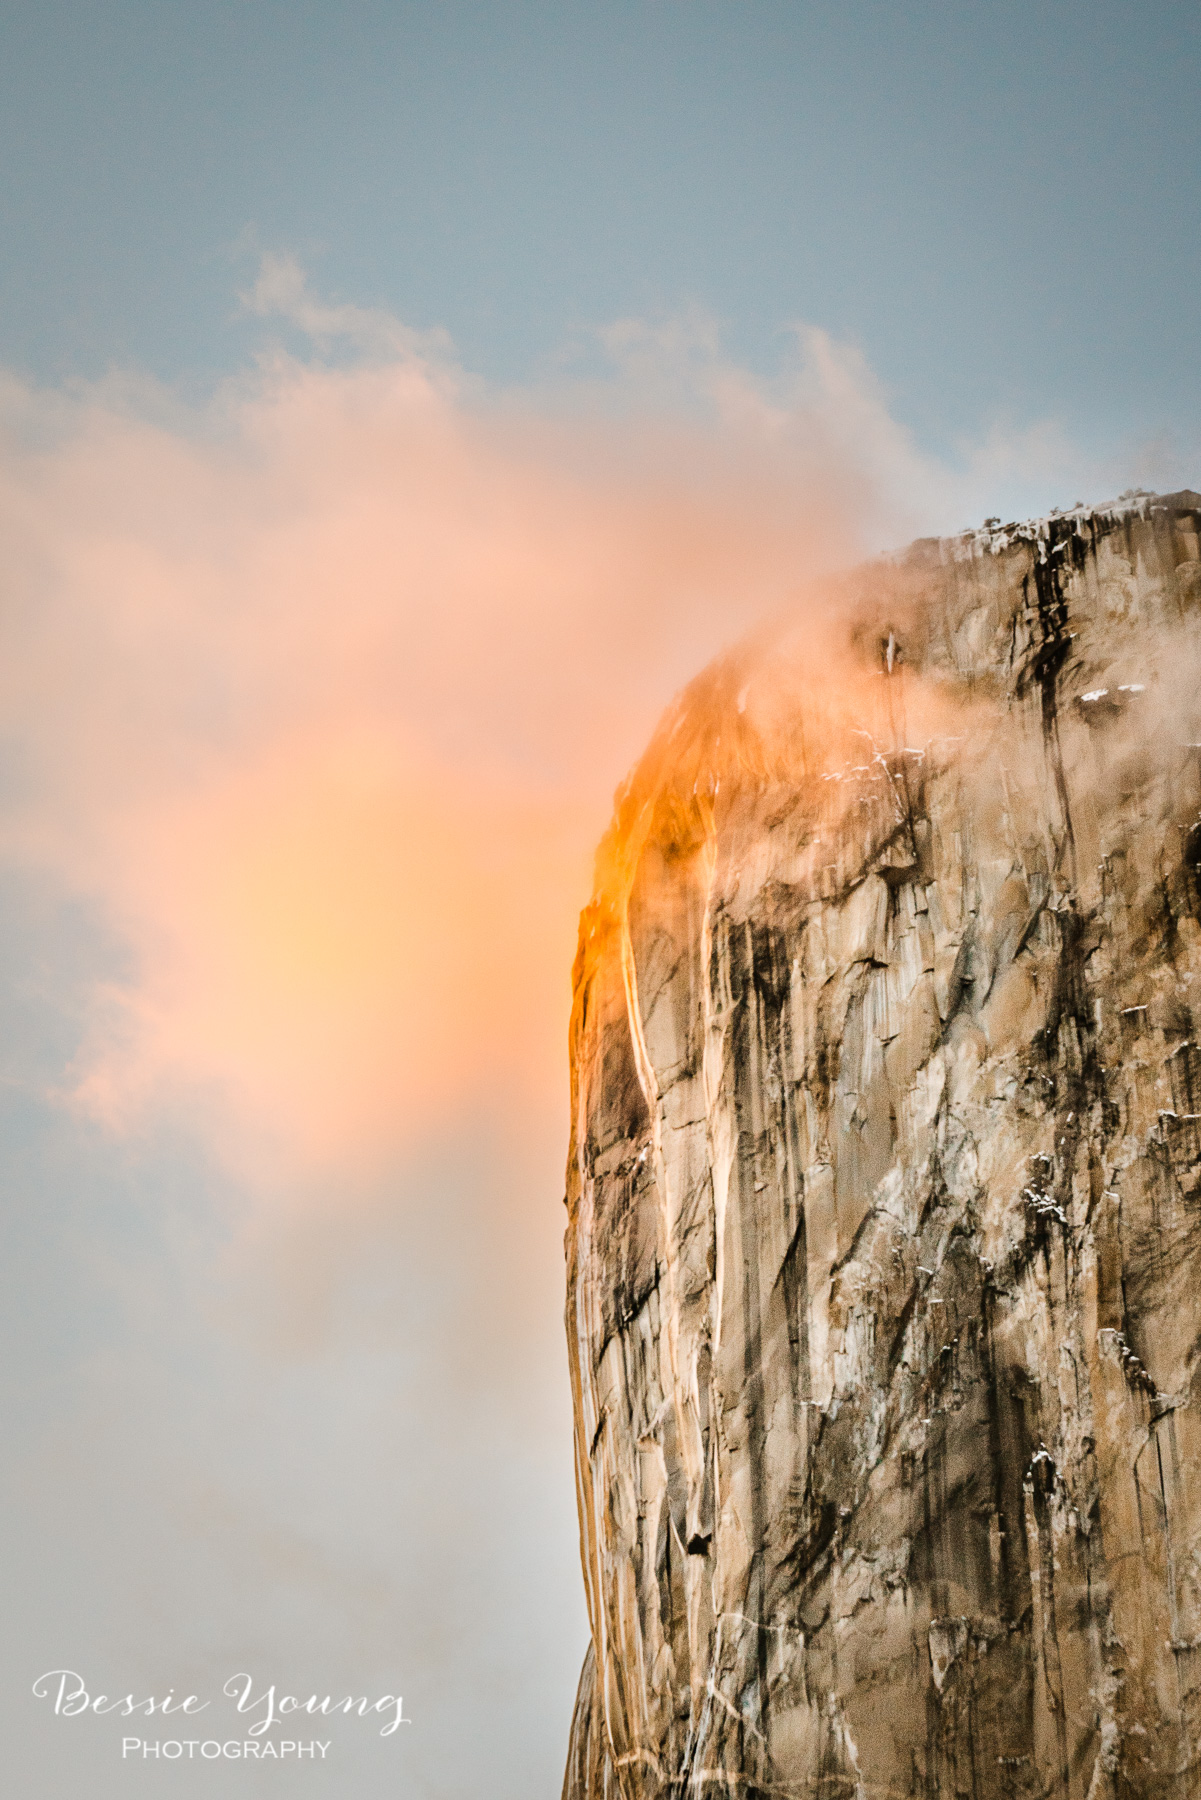
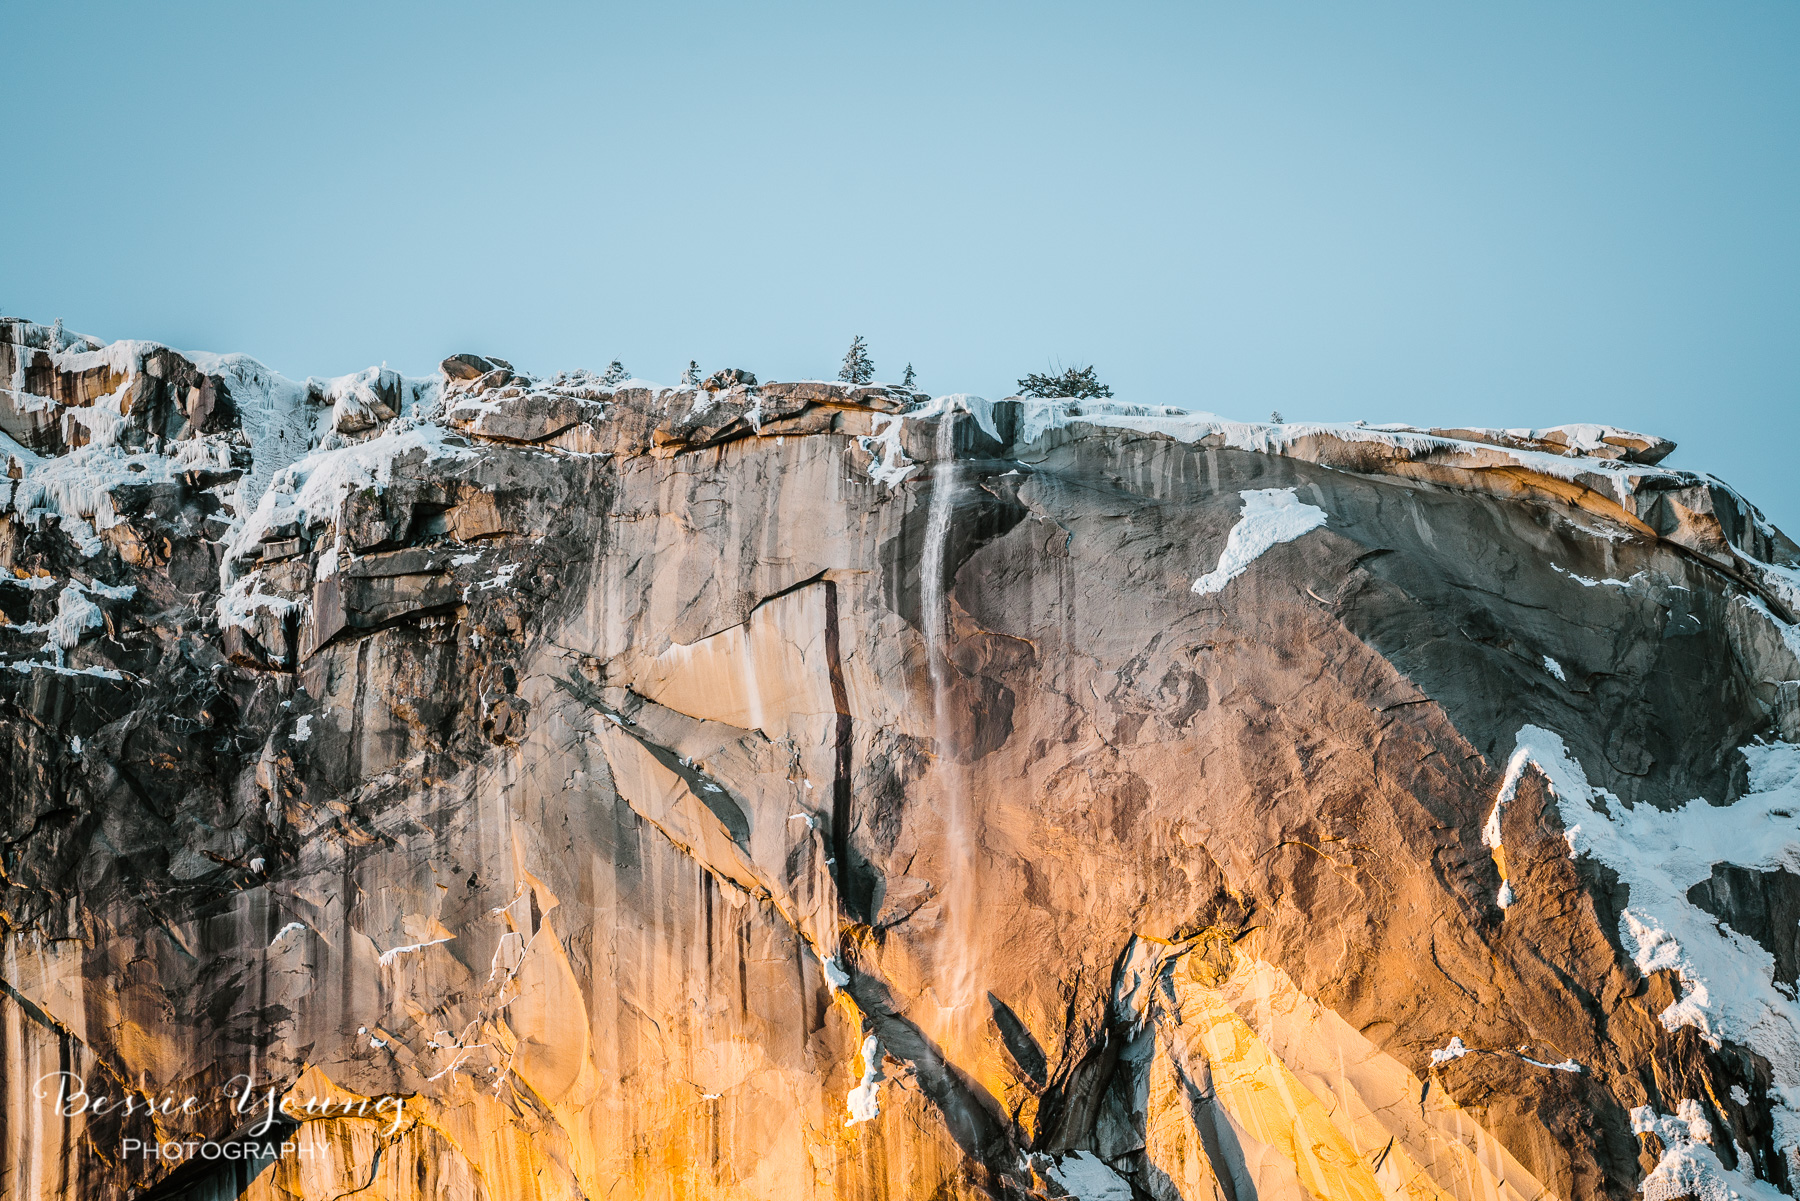
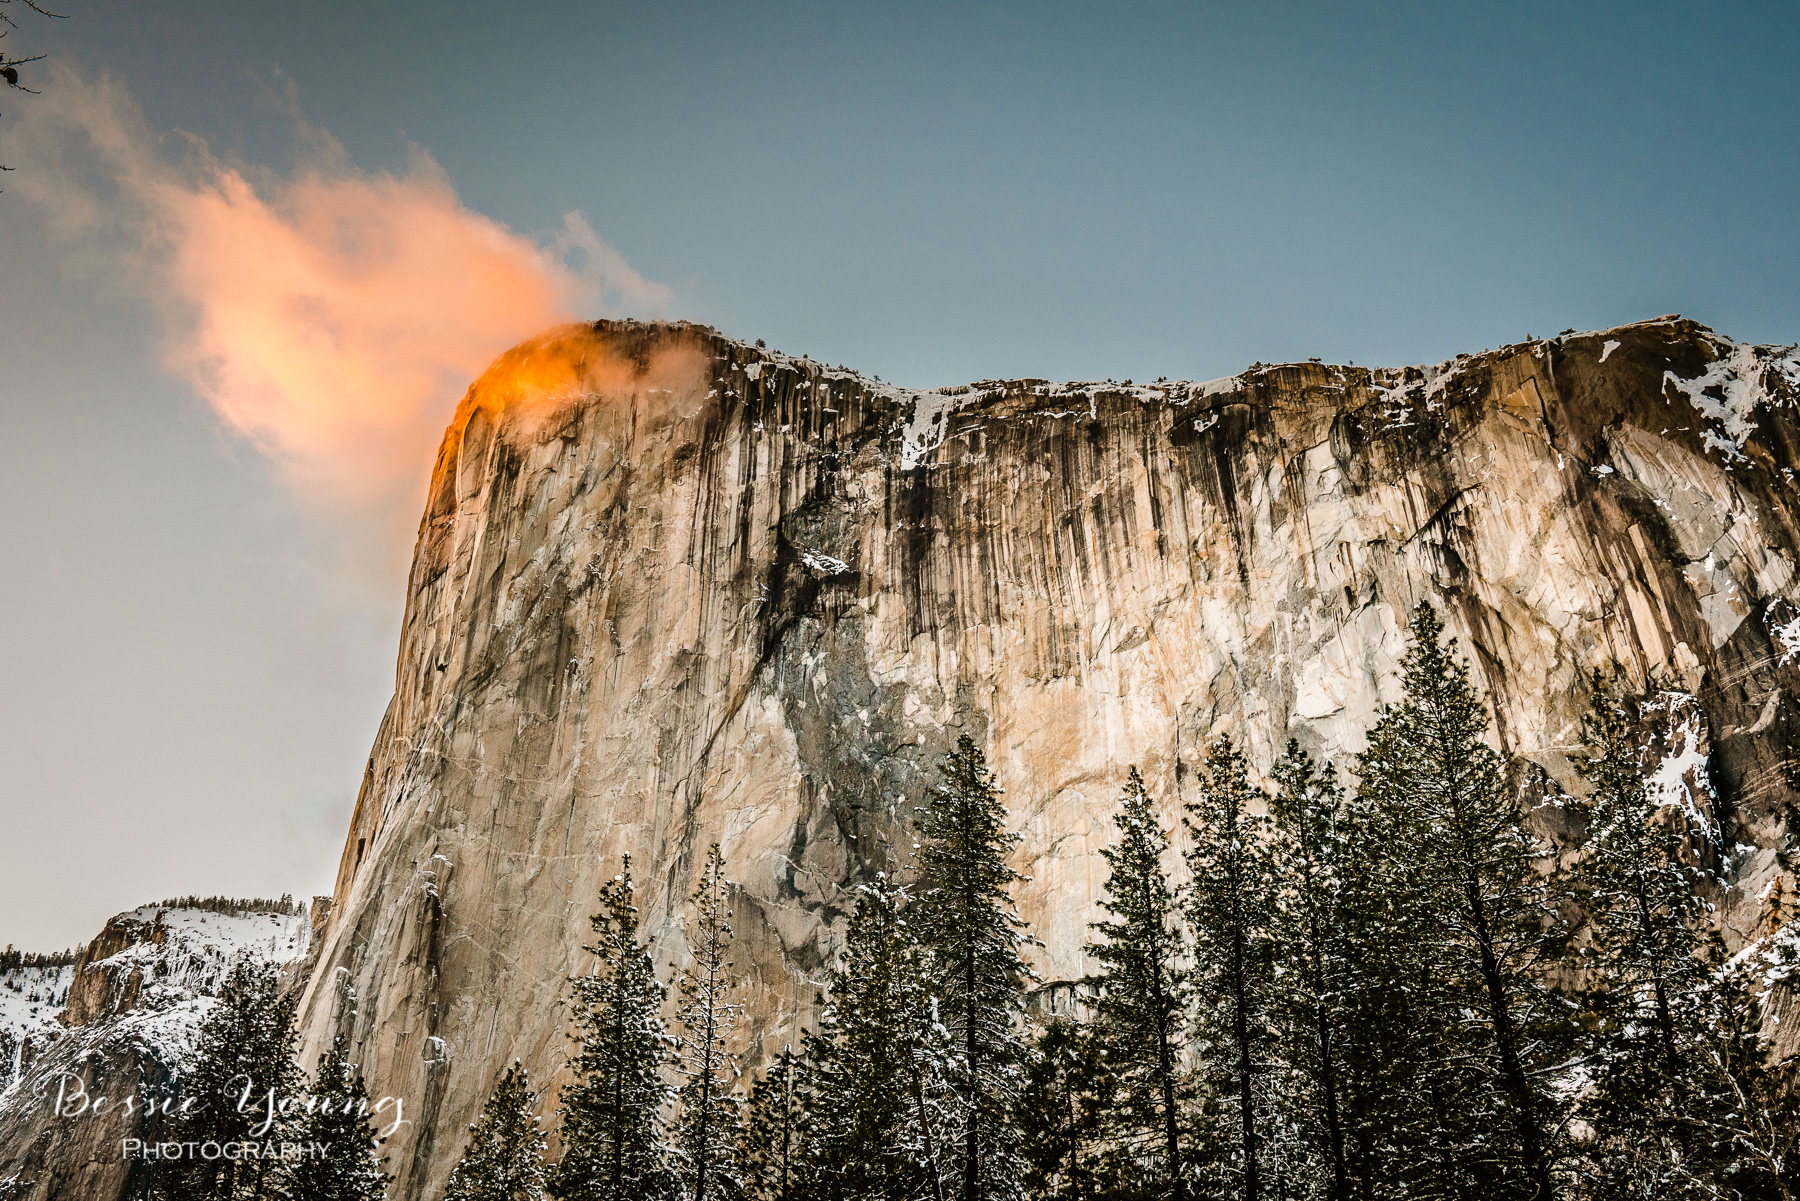
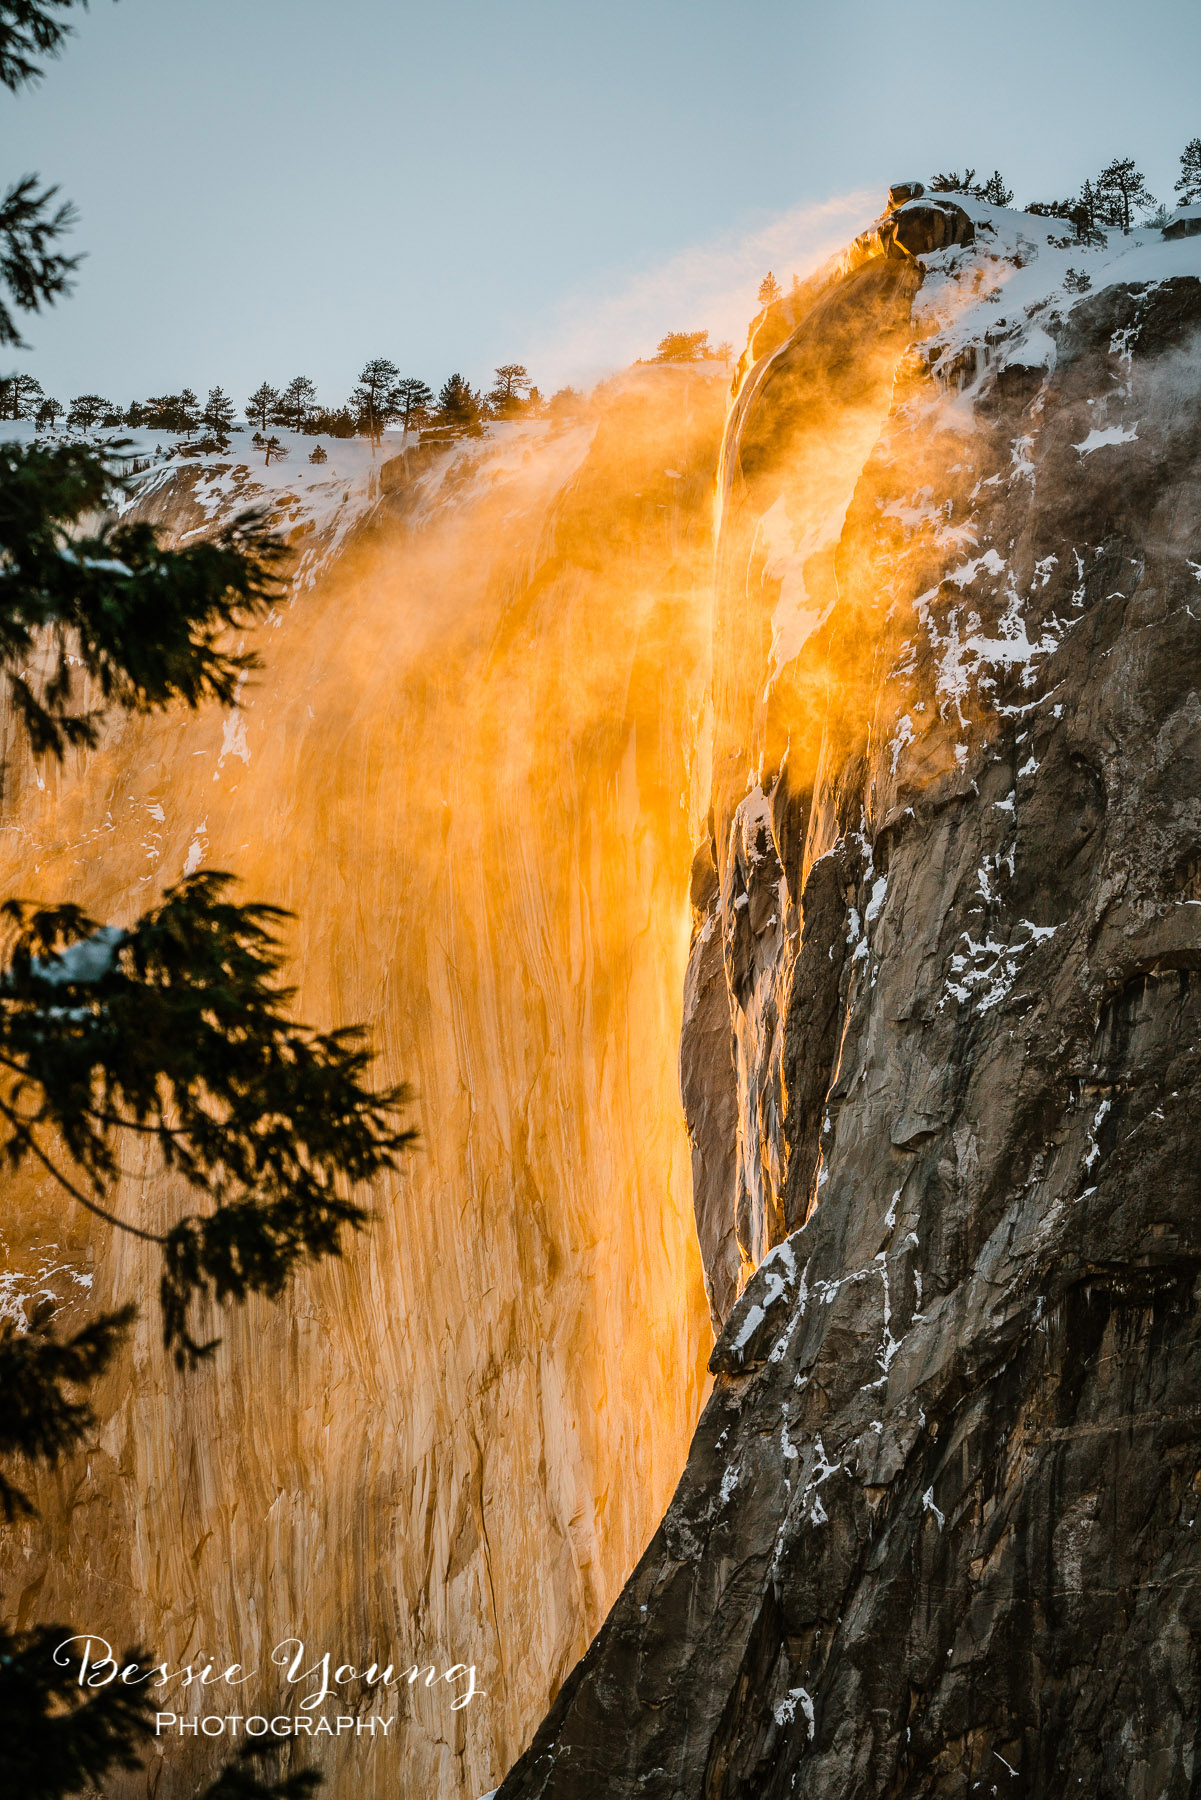
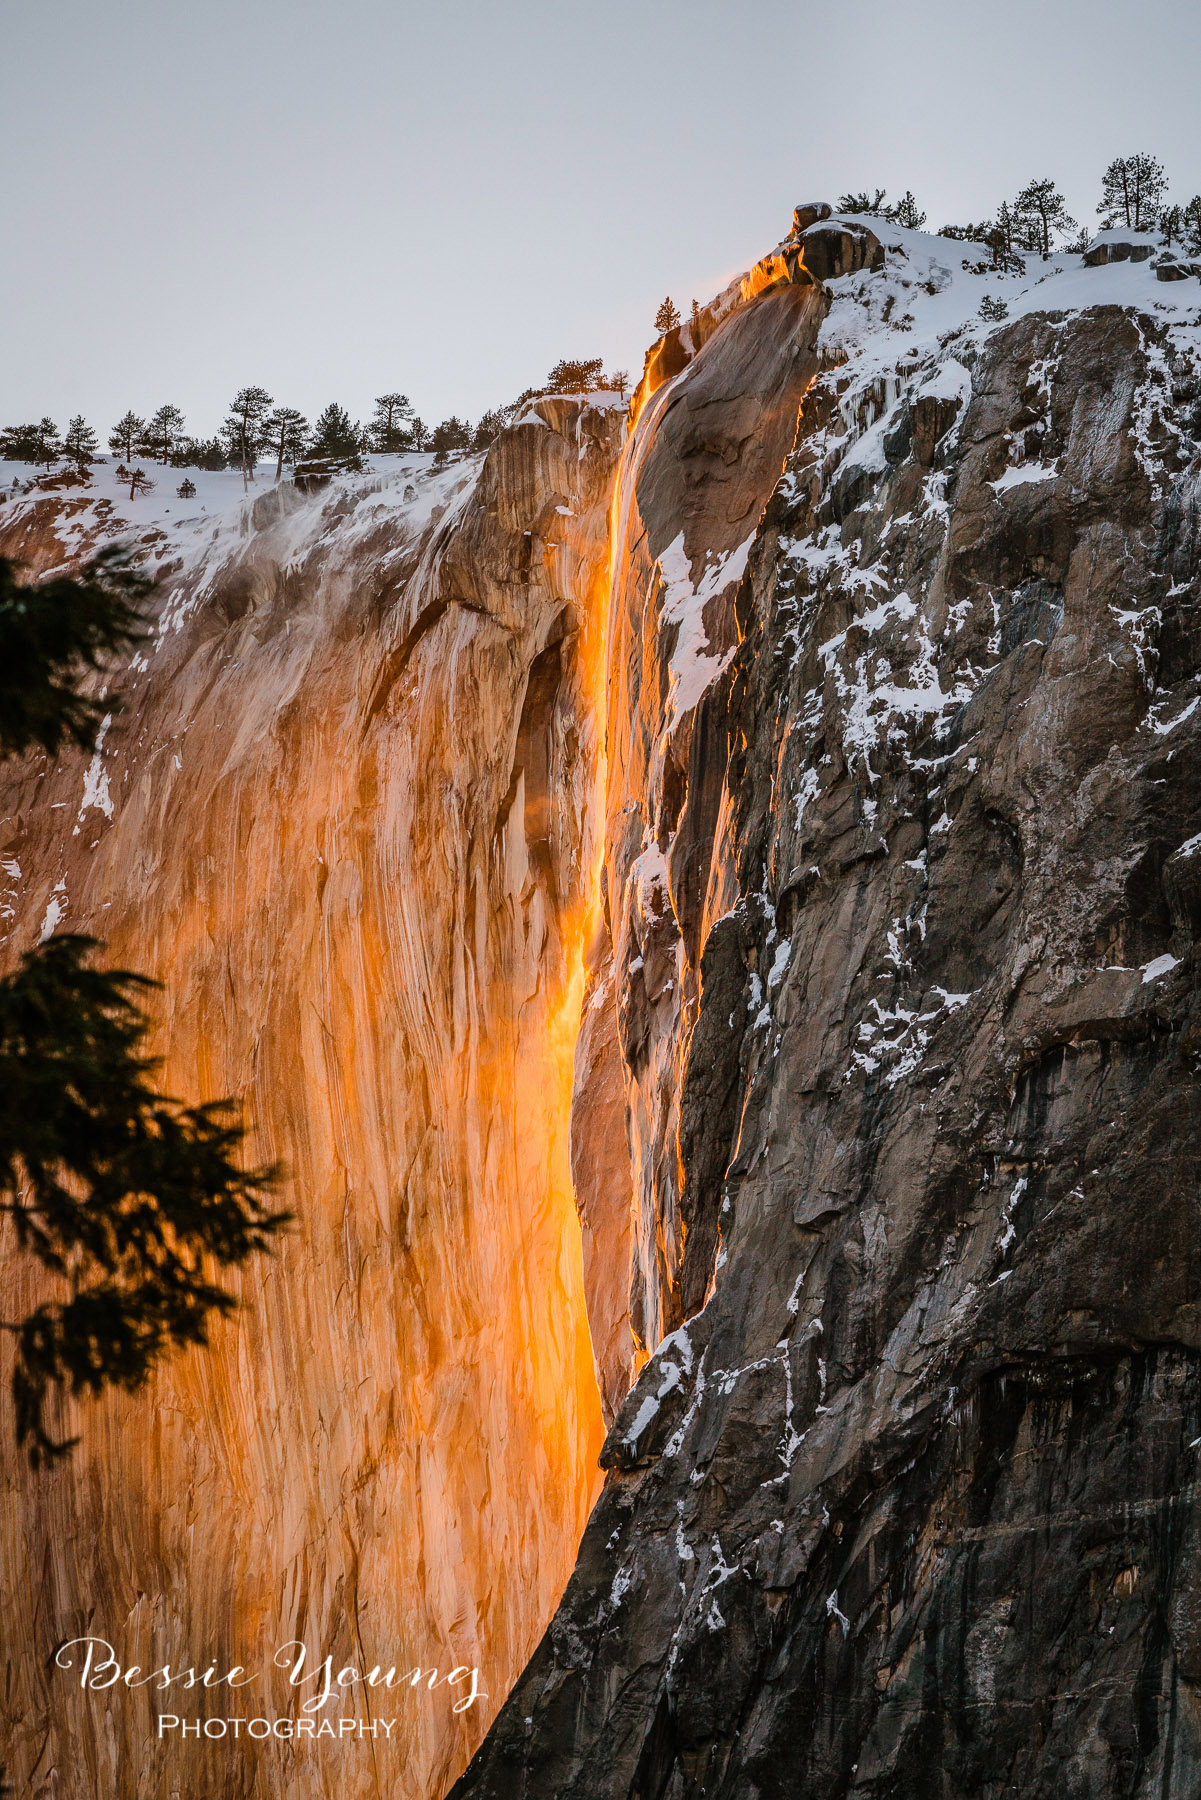
The face of El Capitan started to go from an normal granite blue color to a golden yellow. It then changed from a golden yellow to an orange and then it all of the sudden went dark. Like completely dark! Everyone sighed and some people even started to leave thinking that the show was over.
Slowly from the bottom the color started to come back, slowly the golden yellow started to glow, then the orange, and then the entire fall looked like it was on fire! This lasted for so long I was amazed. The colors then faded into a pink, to a purple, and then back to a blue as the sun started to set and the night began to fall upon us.
IT. WAS. AMAZING!
Long Lens Vs. Wide Angle:
The very very first time I was able to capture the firefalls I had done all the research. Everything said that you need to shoot with a long lens, or a telephoto lens. So naturally I used my 100 - 400mm lens. Now at the time I didn’t know any better and at the time I wasn’t lucky enough to have multiple camera set ups.
When I was taking the shot, it wasn’t exactly the shot I wanted. I ultimately wanted a wider shot. A bigger landscape shot, cause… duh…. that is what I love!
So this time I wanted to share with you some examples of a long lens vs. a wide angle lens. This way you can decide what image you actually want to get and be prepared to capture the image that you are dreaming of.
Set up 1:
Set up 2:
I set up my cameras right next to each other. This way you can get the best comparison available. So here it is … Long Lens vs. Wide Angel: 35mm vs. 250mm


How to capture the Firefalls?
Make sure to head on over to my blog on “How to shoot the Yosemite National Park Firefalls” . This blog gives you all the details: What gear to bring, how to see it, where to go, what it is, so on and so forth.
So where was I for this shot?
I parked at the lodge and walked West along the North Side drive for about 1.5 miles. Here is a little aerial of where I was. I wasn’t quite at the El Capitan picnic area.
Patience, Persistence, Love, and Grace
I have to put this in here, because this was a huge part of my adventure and a huge part of my trip. I had tried to capture this image the previous day. I was feeling defeated after not seeing it, and after how stressful that day really was.
Ultimately, I didn’t want to try again. I was feeling super discouraged. I was having all sorts of negative self talk, and it just sucked. I wanted to give up. Wasn’t really being able to pin point why I was doing this in the first place. Once I thought about this long and hard, it helped me to get my lazy booty off the couch and go have an amazing adventure.

While I was in the park, running to my location because the firefalls were going to start without me, I began that negative self talk again…
So what is my point here. My point is to not give up and to freaking give yourself grace. It doesn’t always work out as planned. It doesn’t always go smooth. It doesn’t always even work, but you know what…. it is always worth it. You are always worth it. Doing what you love and what sets your soul on fire is always worth it; however, when you are struggling, just try to be nicer to yourself along the way. You can’t control everything. Remember that. For this trip… I coudn’t control that I was stuck in construction, yet I wanted to give all the reasons as to why it was my fault that I was running behind. IT ISN’T ALWAYS YOUR FAULT. YOU CAN’T CONTROL EVERYTHING.
If you can remember this while things are going a little sideways it is going to make your life, your outlook, and pretty much just everything that much better.
The other little part of this is patience and persistence. You are never going to get the shot that you want the first time. You will walk away from multiple adventures without the shot. This is landscape photography. You have to realize that you are working with Mother Nature and let me tell you, she doesn’t care what you want, she doesn’t care about your plans, and she won’t listen to your ideas. You have to be patient. You have to be persistent. You have to KEEP TRYING.
Ok…. enough said….
Have you ever seen the Firefall? Did you even know about it before you saw this post? Comment below and let me know.
Do you have any questions on how to shoot the falls? Ask your question in the comments below and I will get back to you.
Wishing you the very best!
Bessie
P.s. Love this post? Check out these similar ones: