What Camera Strap To Get - My Favorite

Camera straps are super important, but how do you know which one to get? Well today I am going to chat a little bit about camera straps and also share my favorites.

So What Camera Strap to Get:

Wrist Straps:

So I just started checking these out. I typically hold my camera with no strap while I'm out on a shoot, but I started to think of how bit of a bummer it would be if I accidentally dropped it. Then I was talking to a fellow photographer, Danyelle Dee, and she was saying that she stepped on a bee during a shoot, got stung, and dropped her camera; however, she had a strap which saved everything! Then and there, I figured I needed to purchase one, so I ended up getting the Peak Design Wrist Strap: I will let you know what I think of it as I use it more. I chose the peak design one because of how easy they are to switch back and forth with their clipping system. There are also some leather Ona Wrist Straps that I saw which look pretty neat.

Traditional Camera Straps:

So there are a bagillion different camera straps out there, so how do you decide? For me, I like them to be a bit wider of a strap. I have found that the smaller, thinner straps seem to dig in to my shoulder and neck too much . Another think I like is if there is a little bit of a cushion on the shoulder area. My favorite so far is this peak design camera strap. I love the color options, how thin and light they are, and how easy they are to switch between cameras. Another option are these beautiful leather camera straps by Ona. I have heard great things. The only con to buying leather is taht it will stretch overtime.

Harnesses:

These are awesome if you are a wedding or portrait photographer. They have the option of holding two cameras, one on each side. I haven't ever tried them; however, I have seen them in action and they are amazing!


Clips:

Ok not really a camera strap but a clip is totally an option and something I use for all my backpacking adventures. I absolutely love the Peak Design Clip.


Do you have a favorite camera strap? Leave a comment below and let me know :) I am always on the look out for good things :)

Wishing you the best,

Bessie

p.s. like this post? Check these out:
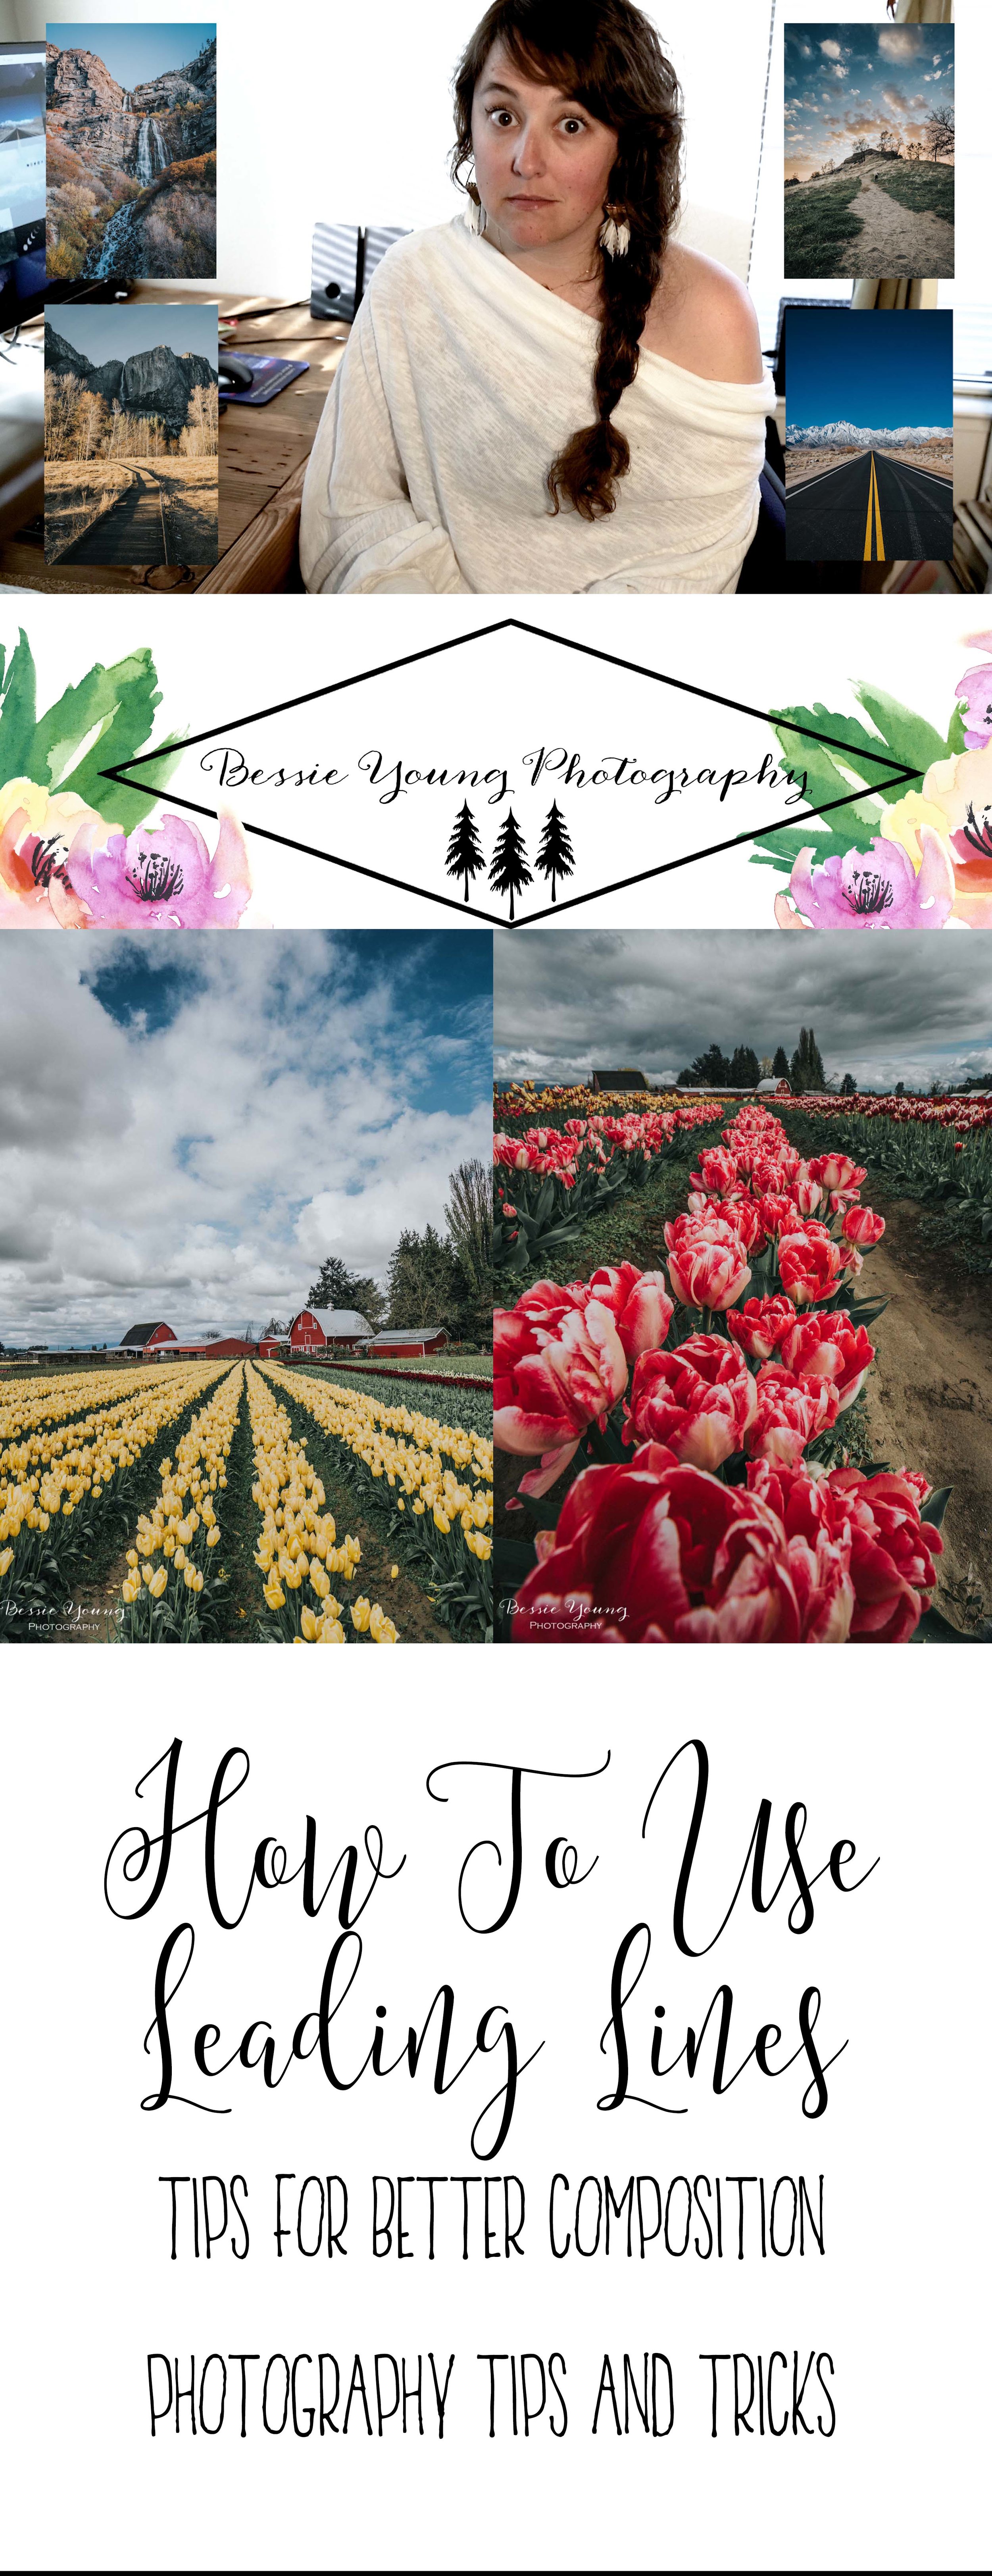
How To Use Leading Lines - Tips for Better Composition - Photography Tips and Tricks

How To Use Leading Lines - Tips For Better Composition by Bessie Young Photography.jpg

How To Use Leading Lines

Tips for Better Composition

Photography Tips and Tricks

There are so many different rules of composition, but leading lines is one of my favorites. So, what is a leading line and how do we use it to create a beautiful jaw dropping image?

So what are leading lines?

Leading lines are one of the most simple composition tips yet one of the most powerful. They grab the viewers eye and bring it into the image to a main point of focus.  Basically they are a line that leads some where, hence where it got it's name. The world is full of leading lines. Thing of things such as rivers, piers, railroad tracks, roads, foam on a beach, so on and so forth.

So what is the key to using them?

It is best if the lines flow into your images. This creates a visual pathway and ends at the main point of focus in your image. In order to successfully use leading lines, you have to position yourself in the correct place. You need to move your feet!

Find your key subject and then position yourself to point the lines to that key subject. Make sure to avoid straight vertical or horizontal lines because that is going to split your image into 2 and also cause your viewers eye to flow off your image.

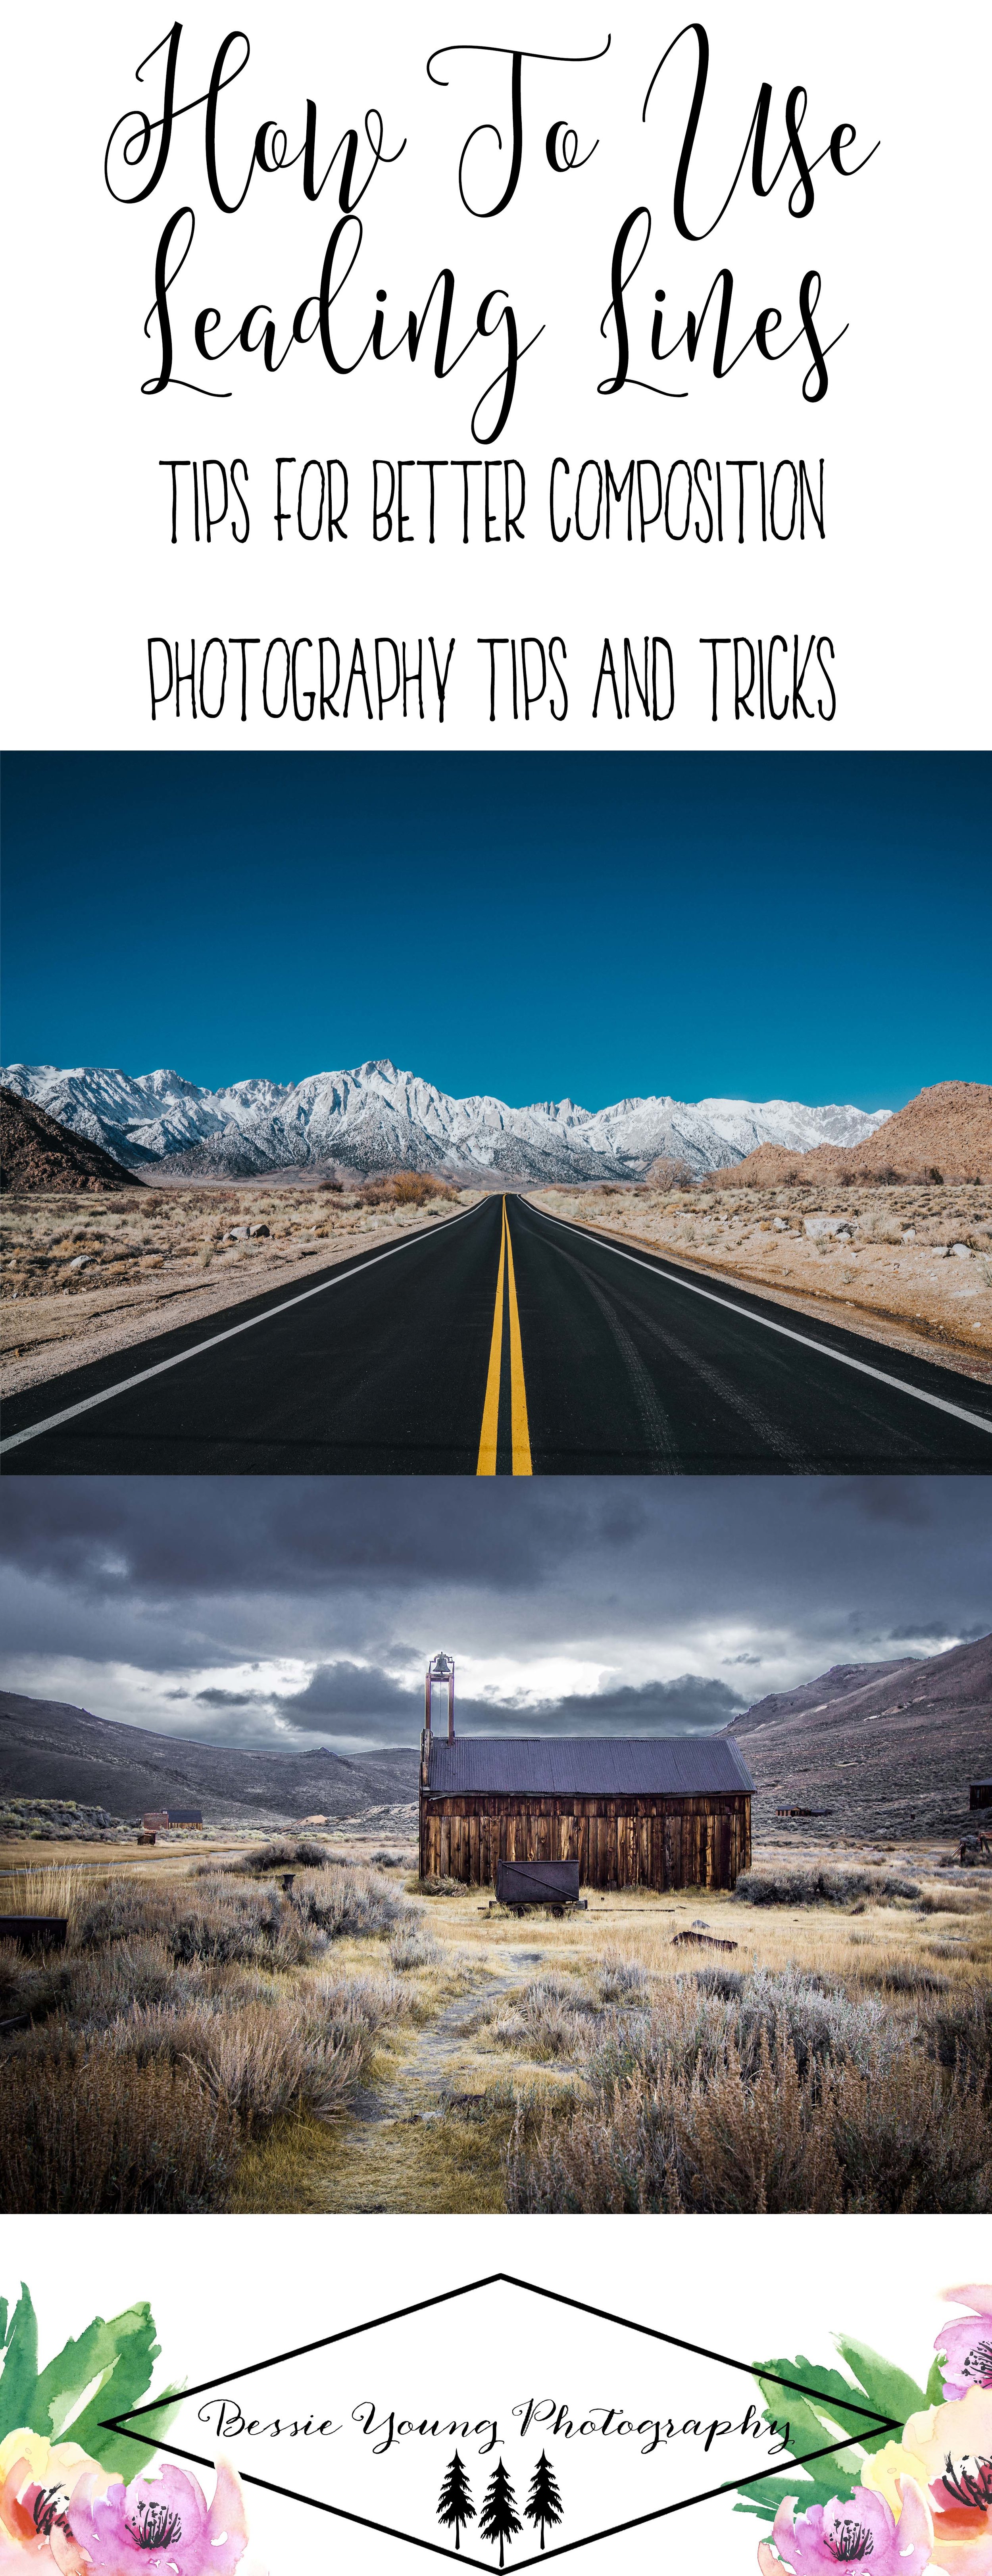
Here are some examples of How to Use Leading Lines for Better Composition:

Really study the image. Pay attention to what the line is doing, where it is going, and how your eye follows the line through the image.

Now go out there and try this rule. Pay attention to the lines that the world creates and think about how to use them to create a jaw dropping image.

Leave a comment below and let me know what your favorite rules of composition are. Don't forget to share this with all your shutter bug friends!

Wishing you nothing but a beautiful day!

Bessie

How To Use Leading Lines - Tips for Better Composition by Bessie Young Photography - Photography Tips and Tricks


P.S. Did you love this post? Want to see more photography tips and tricks? Check this out here:

How To Clean Your Camera Sensor

How To Clean Your Sensor by Bessie Young Photography.jpg

How To Clean Your Camera Sensor

The One Tool You Need

So I wanted to let you in on a little secret of mine and that is a tool that I use on a regular basis. When I switched to a mirrorless camera I was coming across the issue of constantly having dust on my sensor. Now, this rarely happened with my Canon DLSR camera so I wasn't sure what to do.

Now, with a mirrorless camera everytime you change out a lens you expose your sensor to the wide open world. This allows all the tiny little dust bunnies to attach to your sensor in a heart beat. No matter what I did to try to protect my sensor from dust, it seemed as though it always collected dust when I changed a lens.

You don't notice the dust while you are out on location. You look at your LCD screen, think the shot is amazing, and move on. Then you get your images in home and notice all the tiny little dust spots scattered throughout your image completely ruining it. Talk about incredibly frustrating!

I was doing quite a bit of research and I found what is known as the Rocket Blower! OMGEEEE you guys this changed

E V E R Y T H I N G!

How To Clean Your Sensor by Bessie Young Photography Photography Tips and Tricks

It actually has enough force to clear the sensor of the majority, if not all, dust and better yet it does it with out having to touch your sensor!

Now, how did I not know about this before, don't ask me. I guess I just never really needed it, but with a mirrorless camera you need this in your life! You seriously need this in your life! Like right now! Plus it is only $12 so it is a no brainer ; )

Alot of you might be like, DUH Bessie, but I figured that if I didn't know about it, some of you didn't know about it as well. If I can help at least one of you to save the frustration and the ruined images then I did my job.

Let me know what you use to clean your sensor in the comments below.

Wishing you a beautiful day and dust free photos!

Bessie


p.s. do you like this post? Check out these similar ones:


Essential Filters for Landscape Photography

Essential Filters for Landscape Photography

What Filters I use

Oh Filters how I love you...

3 Essential Filters for Landscape Photography tips and tricks by Bessie Young Photography tips and tricks - 4 Minute Friday - Learn Photography.jpg

Camera filters are truly an amazing thing. They help you really create a photo in the field rather than create the photo in your post processing. There is something about creating the photo at the moment that you took it. As you know, I am not a huge fan when it comes to post processing. I want to create the image in camera rather than add different effects in post processing. My goal is to reduce my time at the computer and increase my time taking pretty pictures ;)

So, here are a few filters that I have and love:

1. Heliopan Circular Polarizer

This is my go to filter for everything Landscape Photography! I love this filter and a filter I consider a must for any landscape photographer.

2. 10 Stop ND Filter

This filter has truly allowed me to get some amazing shots during the middle of the day. It is like sunglasses for your camera.

3. UV Filter

This filter is a must to protect your gear! That is pretty much all I have to say about this. If you end up dropping your lens, you will crack your UV filter rather than your lens glass. These UV filters are insanely expensive, but worth it in the long run. A lens can be thousands upon thousands of dollars. It is worth the extra $100 for that just in case... it is a security blanket in my opinion.


Leave a comment below and let me know what your essential go to apps are. I am always looking for awesome apps when it comes to photography and adventure.

Wishing you the best,

Bessie


p.s. like this post? Check these out:

2 Essential Apps for Landscape Photography

2 Essential Apps for Landscape Photography


2 Essential Apps for Landscape Photography by Bessie Young Photography - Photography tips and tricks

Let's get real here for a minute. There are so many dang terrible Apps out there to download. The struggle is real! It seems as though there are more bad, not helpful, clunky apps than there are good ones. Now I have downloaded, played with, and unistalled more apps than I can count. I'm talking probably over 100. I have been looking and searching for helpful Apps for Landscape Photography and I have finally found 2 really awesome ones!

2 Essential Apps for Landscape Photography:

1. Photo Pills

This App is awesome! It is everything you need to schedule your landscape photography trips. It will tell you when sunset is, when sunrise is, where the galaxies are in the sky, what the moon is going to do, so on and so forth.

It is a one time payment of $10, but it is totally worth it. This app is what made this image possible:

2. Backcountry Navigator

This app is definitely for navigation and safety. It is always a must to be able to know where you are at any given moment. When you are out in the wilderness you never know what the wild is going to through at you. There is no reception, no internet, no nothing so you need to make sure you have all the right equipment.

Backcountry Navigator is a must! You can download quad maps, topo maps, aerial images, and so much more. This app will show you where you are and help you navigate your way to your destination, or your way to safety. I love this app. It is another app that costs $10 one time, but its necessary.


Leave a comment below and let me know what your essential go to apps are. I am always looking for awesome apps when it comes to photography and adventure.

Wishing you the best,

Bessie

p.s. like this post? Check these out:

Batis 18mm Lens vs Sony 16-35mm Lens

Batis 18mm Lens vs Sony 16-35mm Lens

Photography Gear

I switched lenses! Yep, I sure did! So ultimately why did I choose the Batis?

  1. Weight Savings (saved about a half a pound)

  2. Wider Aperture (f2.8)

  3. Cheaper (saved about $1100)

Weight Savings:

As you all know I do a bit of adventuring where I have alot of weight on my back. During the summer days you can find me on road trips, hiking long trails, or backpacking. I love being outside and being out in the high country is where I get some of my best landscape images.

Wider Aperture:

Ever since I started getting into astro photography, I wanted to get a wide angle lens with a wider aperture than what the Sony 16-35 mm has. The Sony is an F4 and I wanted to get an F2.8. So the research began.

Price:

The Sony 16-35mm F2.8 came out and man it is drool worthy; however, it is expensive  coming in at $2100+ and a heavy pig. Then there is the Batis 18mm F2.8. This one comes in at about $1400 plus it is significantly lighter than both Sony lenses. See specs below.

One day I was in my local camera shop and there just so happened to be a Batis in the used gear section. Hmm.... do I buy a used lens? So I asked about the history of the lens and it just so happened that this lens was like brand new. The guy started out with... "well, funny story". You always know you are in for a treat when that is the very first comment. This lens was bought and returned within a few months due to its size hahaha! So, I was basically going to get a new lens for a used price..... SOLD!

Just for kicks... here are a few specs of each lens:

Filter ThreadFront: 77 mm

Dimensions (DxL)Approx: 3.94 x 3.15"

Weight: 11.64 oz

Price: $1400


Sony 16-35mm G Master F2.8

Filter ThreadFront: 82 mm

Dimensions (DxL)Approx.: 3.48 x 4.79"

Weight: 1 lb 8 oz

Price: $2200


Sony 16-35mm F4

Filter ThreadFront: 72 mm

Dimensions (DxL)Approx. 3.07 x 3.88"

Weight: 1lb 2oz

Price: $1250

So that is it! I am excited to begin sharing images that come from this lens, and am equally excited for how light my entire set up is! Yay!

What lens is your favorite? Leave a comment below. I would love to chat!

Wishing you a beautiful day!

Bessie

P.S. Did you love this post? Want to see more photography tips and tricks? Check this out here:

4 Things All Great Photos Have in Common - Photography Tips and Tricks

4 Things All Great Photos Have in Common

Photography Tips and Tricks


Have you ever wondered why your photos aren't as good as the 'Pro's'? Have you ever just felt a little down about your images knowing that you can do better, you just don't understand why the image didn't turn out the way you wanted? Well, then this blog is for you!

Here are 4 things all great photos have in common:

1. Interesting Subject

You have to love your subject. If you don't like your subject then that is going to reflect in your image.

2. Good Composition

You need to show off your subject using good composition . Stop, take a look around, and figure out what you think is neat in the scene and then compose your image to show that off. There are many different tips on composition such as leading lines, the rule of thirds, and so forth.

3. Good Technique

Figure out what the most important part of your scene is. Then use good technique to emphasize that. You will need to learn manual mode and be able to tweak your shutter speed, aperature, and ISO to be able to accentuate what you like in the scene.

4. Good Light

Basically I love shooting during golden hour. This creates some beautiful soft light, no harsh shadows, and the images are just dreamy.

If you are stuggling with figuring out what is good light, I would suggest looking at other photographers images. Really study the image and the light. Where is the light coming from, what time of day was it taken, how did they use light to get the final result?

I hope you all enjoyed this one. Make sure to share it with all your buddies :)

Wishing you a beautiful day!

Bessie

4 Things All Great Photos Phave In Common By Bessie Young Photography - Photography Tips and Tricks - 4 Minute Fridays


P.S. Did you love this post? Want to see more photography tips and tricks? Check this out here:

Four Minute Fridays are Here!! Photography Tips and Tricks

Four Minute Fridays are Here!!

Photography Tips and Tricks

Four Minute Fridays are here! Wait what is that even a thing?
Heck yes it is, I just made it up 😂.

Ok on a serious note... I made a YouTube video all about it to kick off 4 Minute Fridays! Go check it out.


This year I decided I wanted to add more how to tips and tricks videos for this YouTube channel. I put out a poll on my social media both Instagram and Facebook. That pole was asking if people would be interested in 4 minute Fridays and every single person voted yes.

Ok so what the heck am I talking about? Four minute Fridays are going to be a series of how-to videos. Each video is going to be under four minutes long and get straight to the point. I will be posting these videos every other Friday throughout this year and if I get crazy I will post them every Friday.

Now don't worry I'm still going to be sharing my behind the scenes and how I got the shot videos along with my Adventures. The Four Minute Friday series is only going to be an addition to my landscape photography. I hope you guys are as excited as I am for this series of videos. I can't wait to begin sharing all the things that I have for you in this upcoming year.

So until next Friday I hope you guys have an amazing day.

Bessie


Hey Photogs! Wanna know what gear I use? Check these out:

Camera Gear

Electronic Gear


To see photography tips and tricks:

How to take Firework Pictures: Quick Tips

How to take Firework Pictures Quick Tips

by Bessie Young

Can you believe it is already the 4th of July?! Time sure does fly by. I am sure you all want to be able to take some amazing pictures of the fireworks, your kids playing with sparklers, and just the festivities that the 4th of July brings.

How to Photograph Fireworks by Bessie Young Photography - Photography tips and tricks

Here are a few quick tips on how to take some great firework shots:

1. Scope out your location : This is key to a great shot.

2. Use a tripod : this will keep your camera stable and allow the images to not be blurry

3. Use a cable release or wireless remote : This will decrease the possibility of camera shake

4. Shoot the image in as high of quality as you can : I shoot in RAW

5. Turn off Auto focus and manually focus your lens to infinity: I set up when it is bright outside and find my best focus. Then, when it gets dark I know for certain that my image is going to be crisp sharp.

6. Turn your flash off.

7. Use manual mode on your camera.

  • Shutter Speed: Think about how you want the fireworks to look. Do you want them to be streaks in the sky, or do you want a burst of light? If you want streaks in the sky you need to set your shutter speed to 15 seconds or more. Bulb mode is optimal. You can use bulb mode and your shutter release cable. This will allow you to keep the shutter open as long as you would like. Be careful if you are trying to get multiple bursts as it is very easy to overexpose the image.
  • ISO : Shooting at a low ISO will keep for a clean shot. You really need to know your camera and at what ISO your camera will begin to get grain. I typically set mine to 400 or less.
  • Aperture : Keep your aperture between 8 and 16.
  • Hint: A good starting point is to set your settings at ISO 100, F 11, and 30 sec exposure. If the photos are too dim, keep the shutter open longer.
Ironstone Vineyards 4th of July Celebration  - Bessie Young Photography-7 combined trees.jpg

8. Experiment : experiment with different settings but make sure to track your results. This way you know what works best.

Now go get out there and have fun. Happy 4th of July!!!

Bessie

P.S. wanna know what gear I used? Check it out here:


Kit Used:


Camera: Sony A7Rii: http://amzn.to/1taGpAu
Favorite Lens: Sony FE 24-70 F2.8 G Master: http://amzn.to/2n747NJ
Best Wide Angle: Sony 16-35mm lens: http://amzn.to/1UBjBDW
Vanguard Tripod: http://amzn.to/2aoI5ku

Filming:
LG G3 Smart Phone

Editing & Processing:
Bulk editing: Adobe Lightroom: http://amzn.to/1WB7Jnc
Fine tuning: Adobe Photoshop : http://amzn.to/1WB7YPh
Viva Video Pro for combining videos