How to Photograph Waterfalls
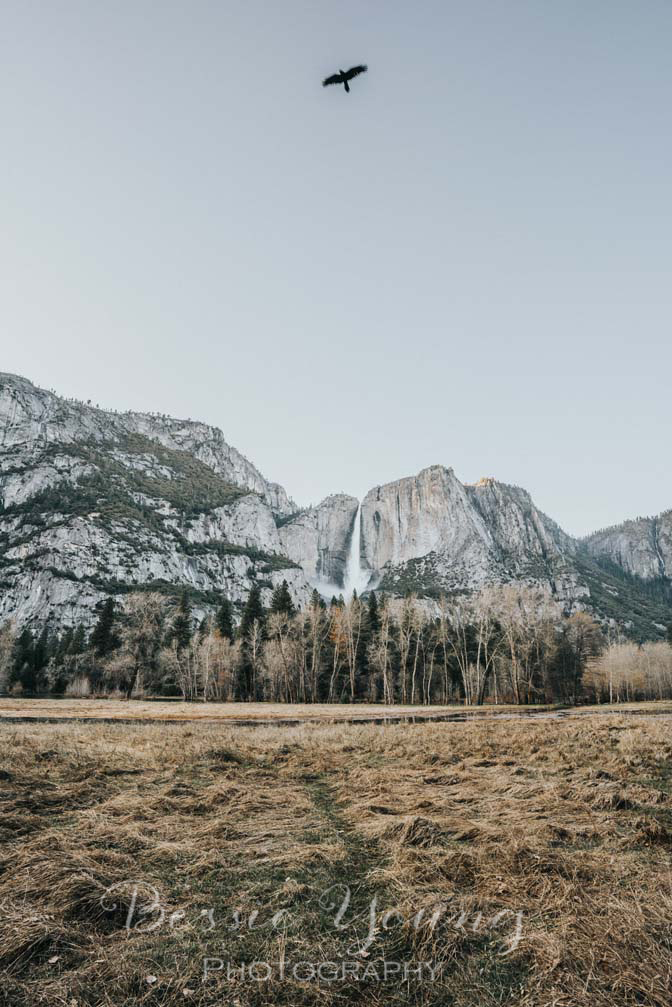
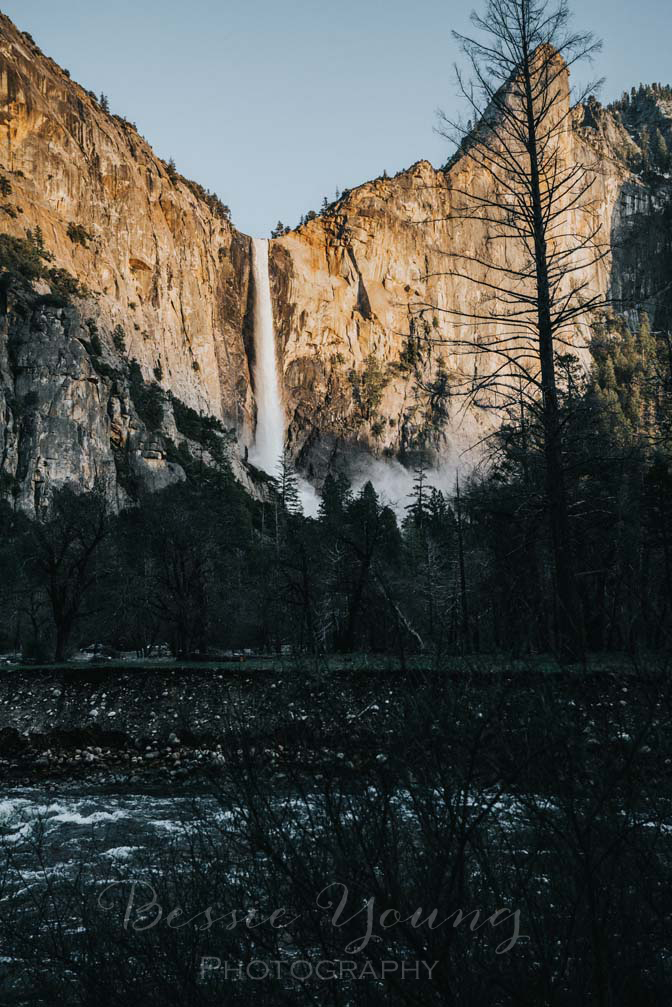
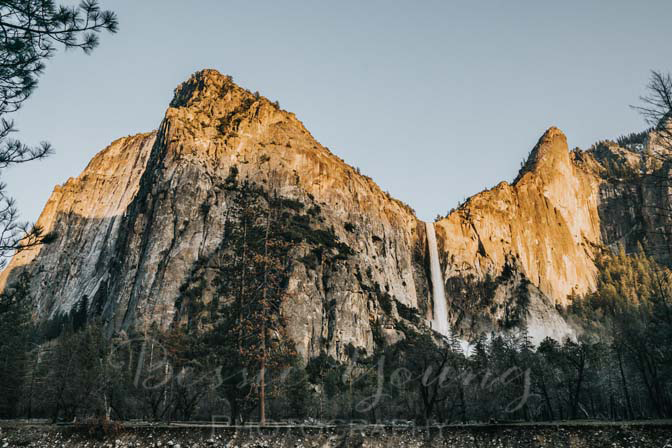
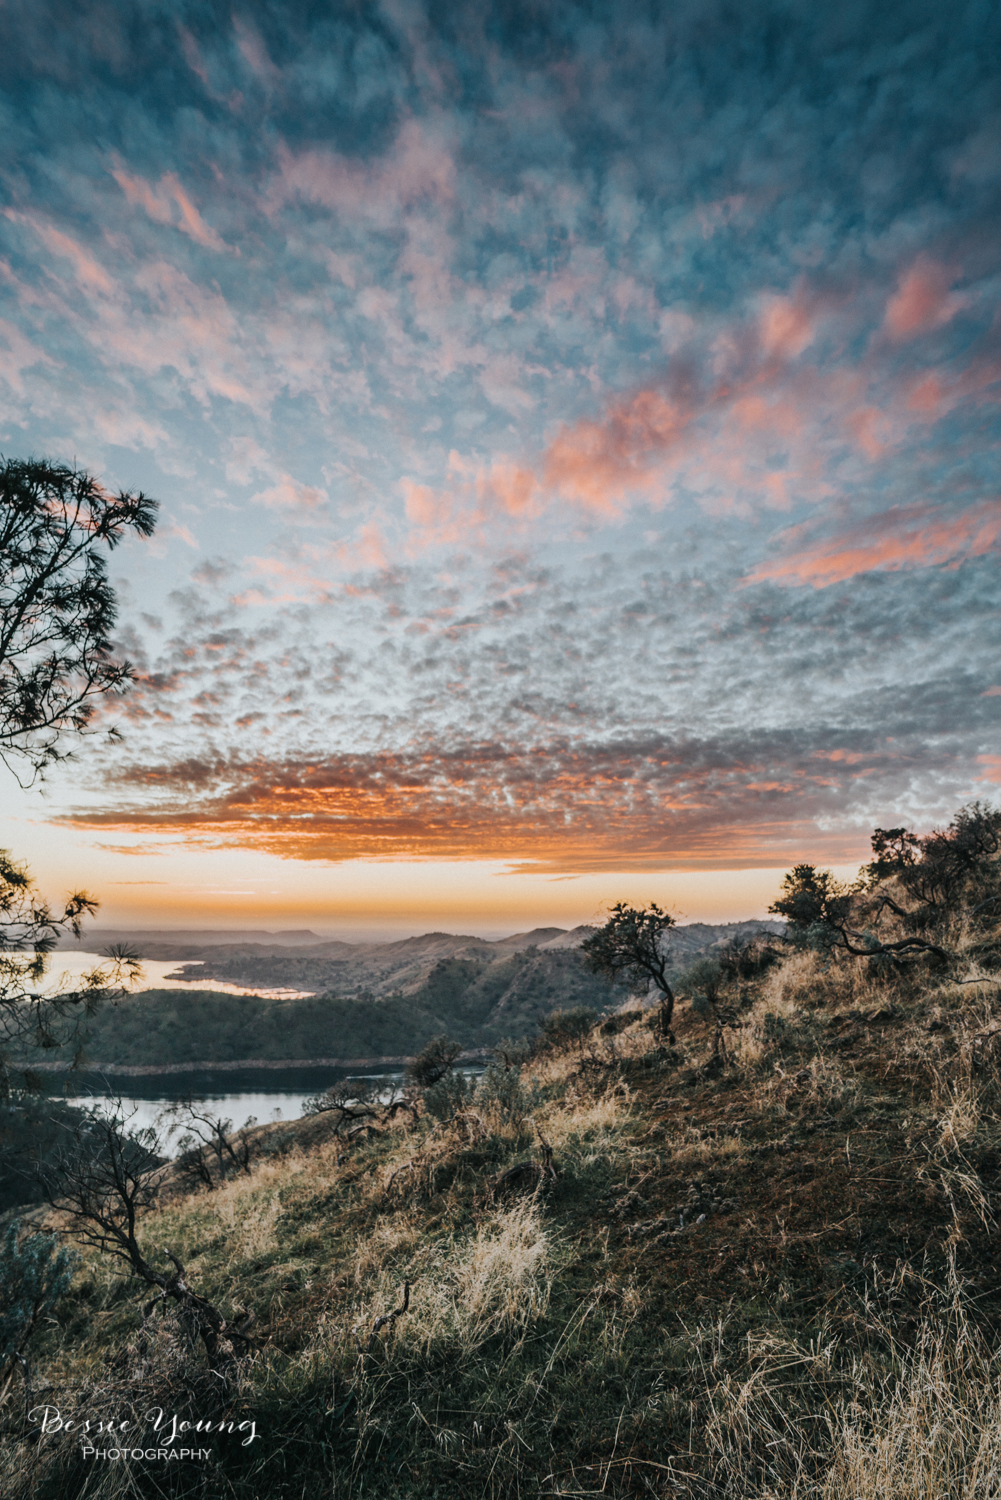
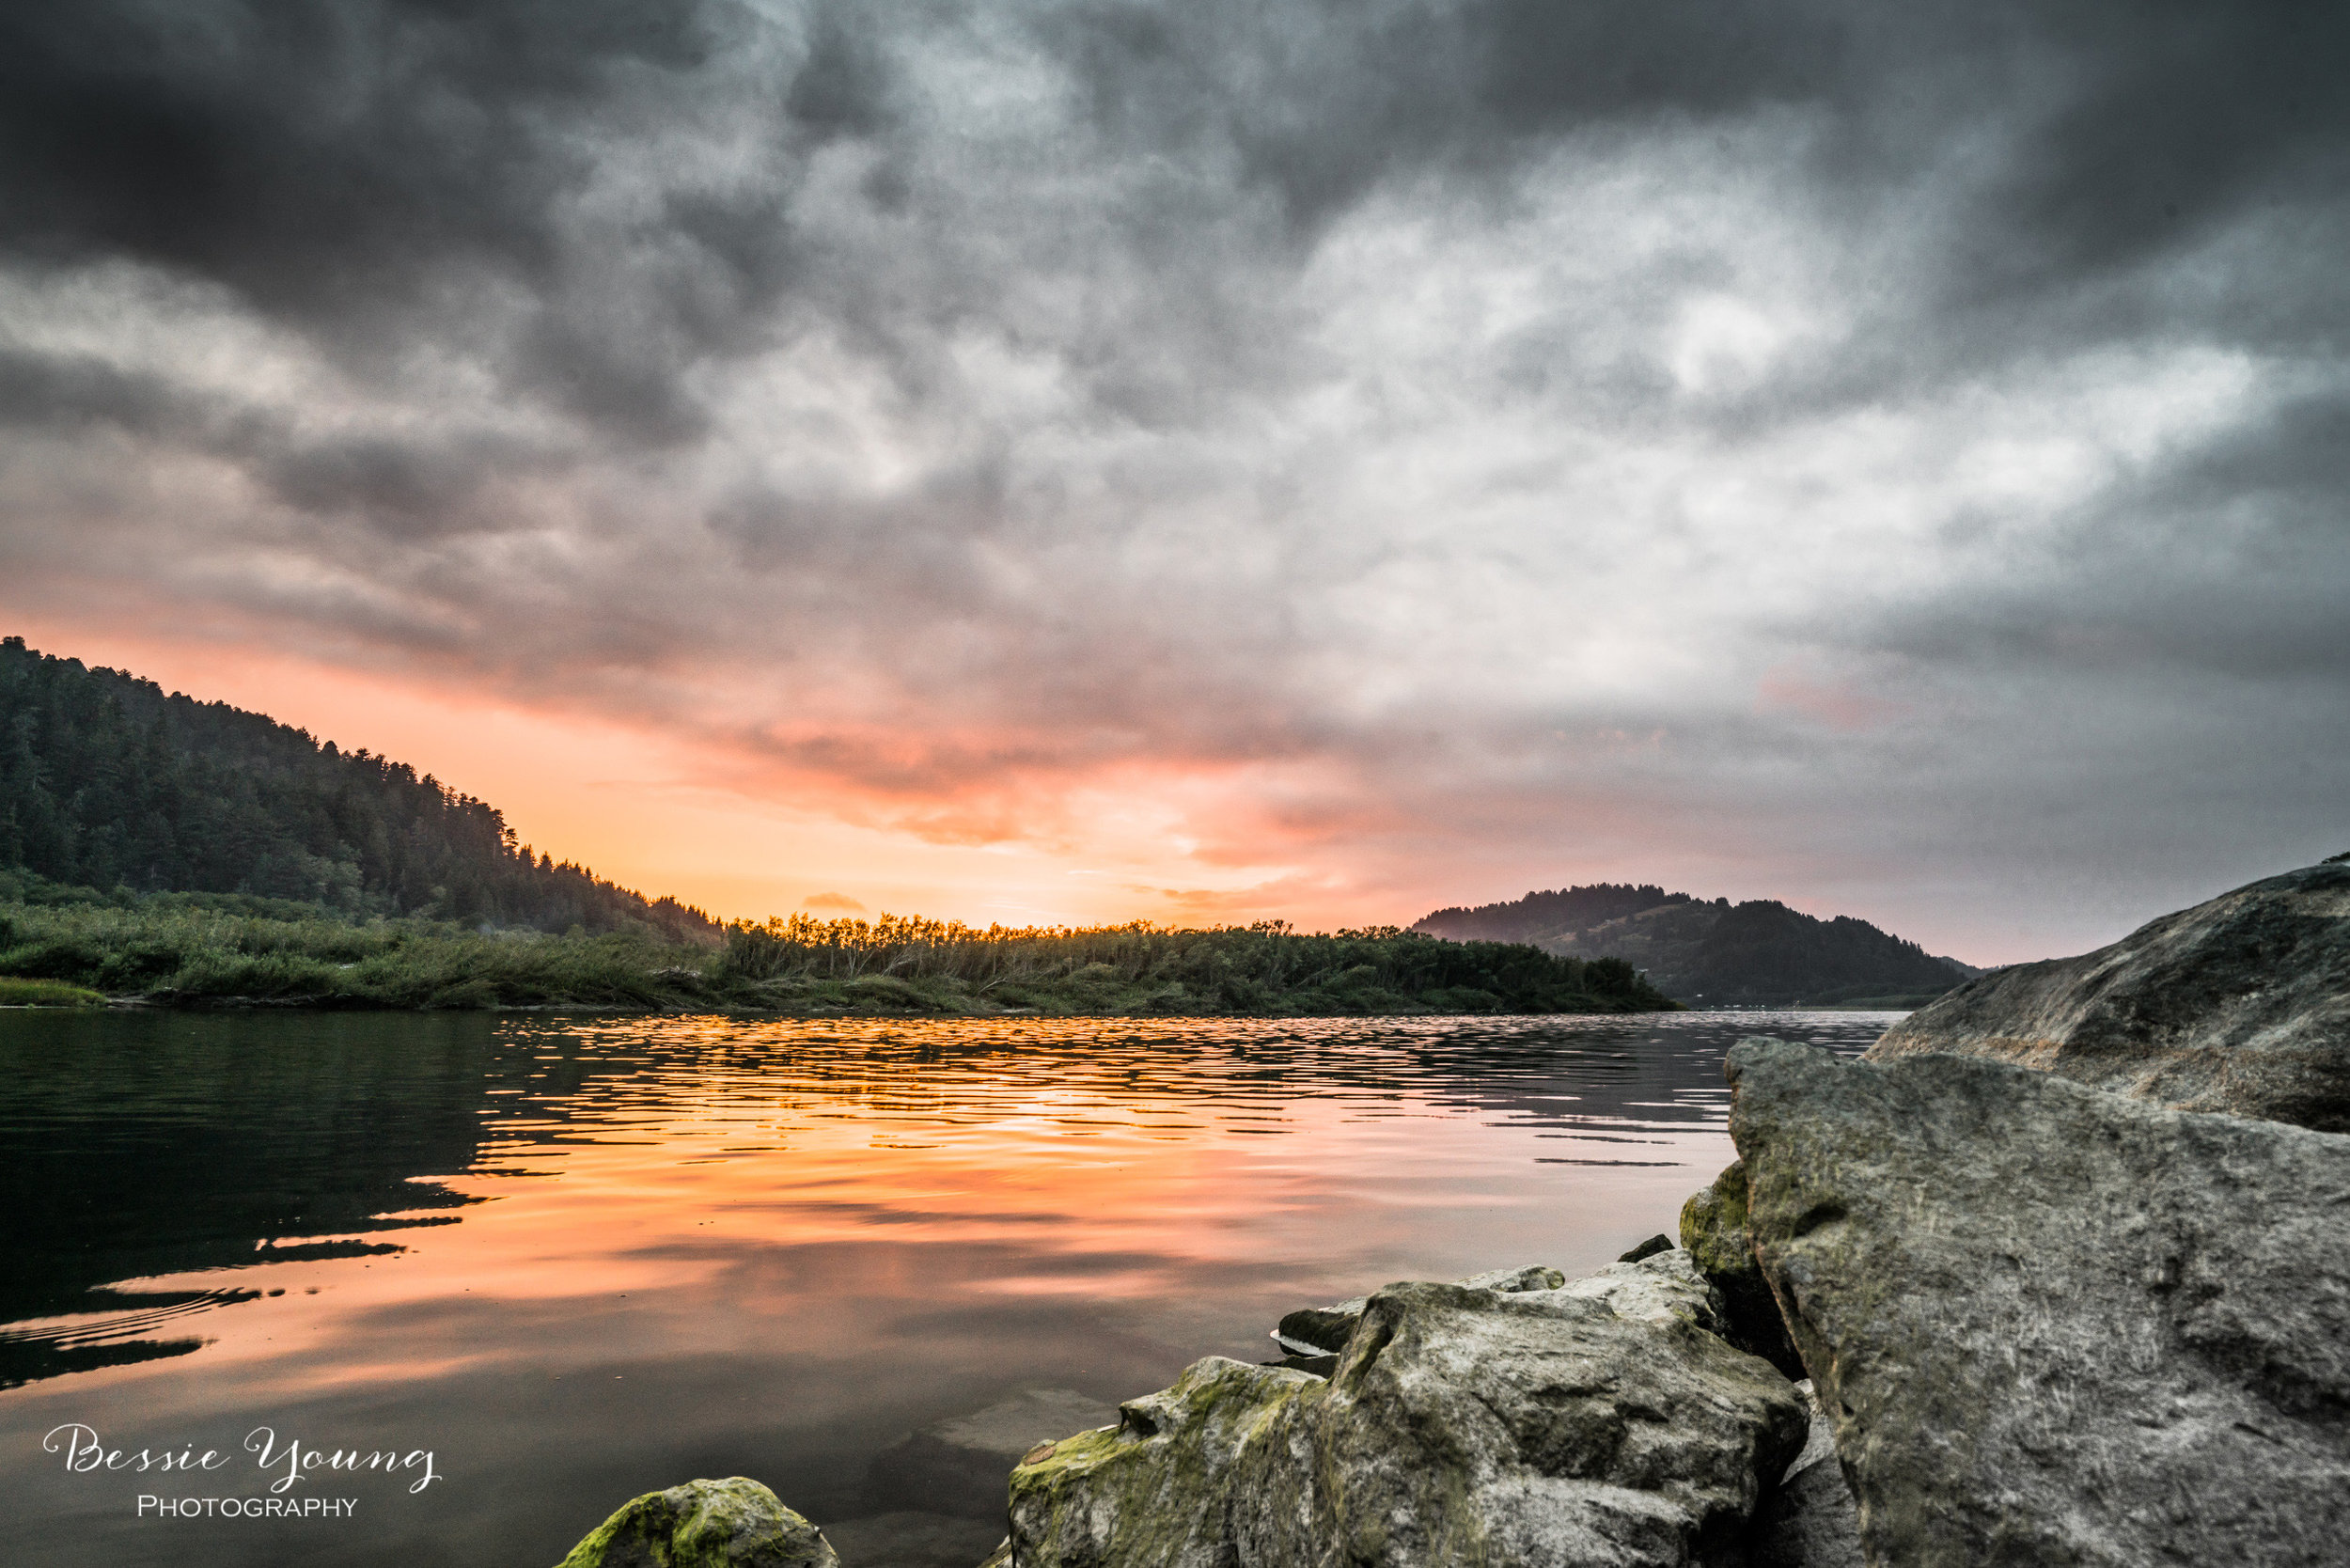
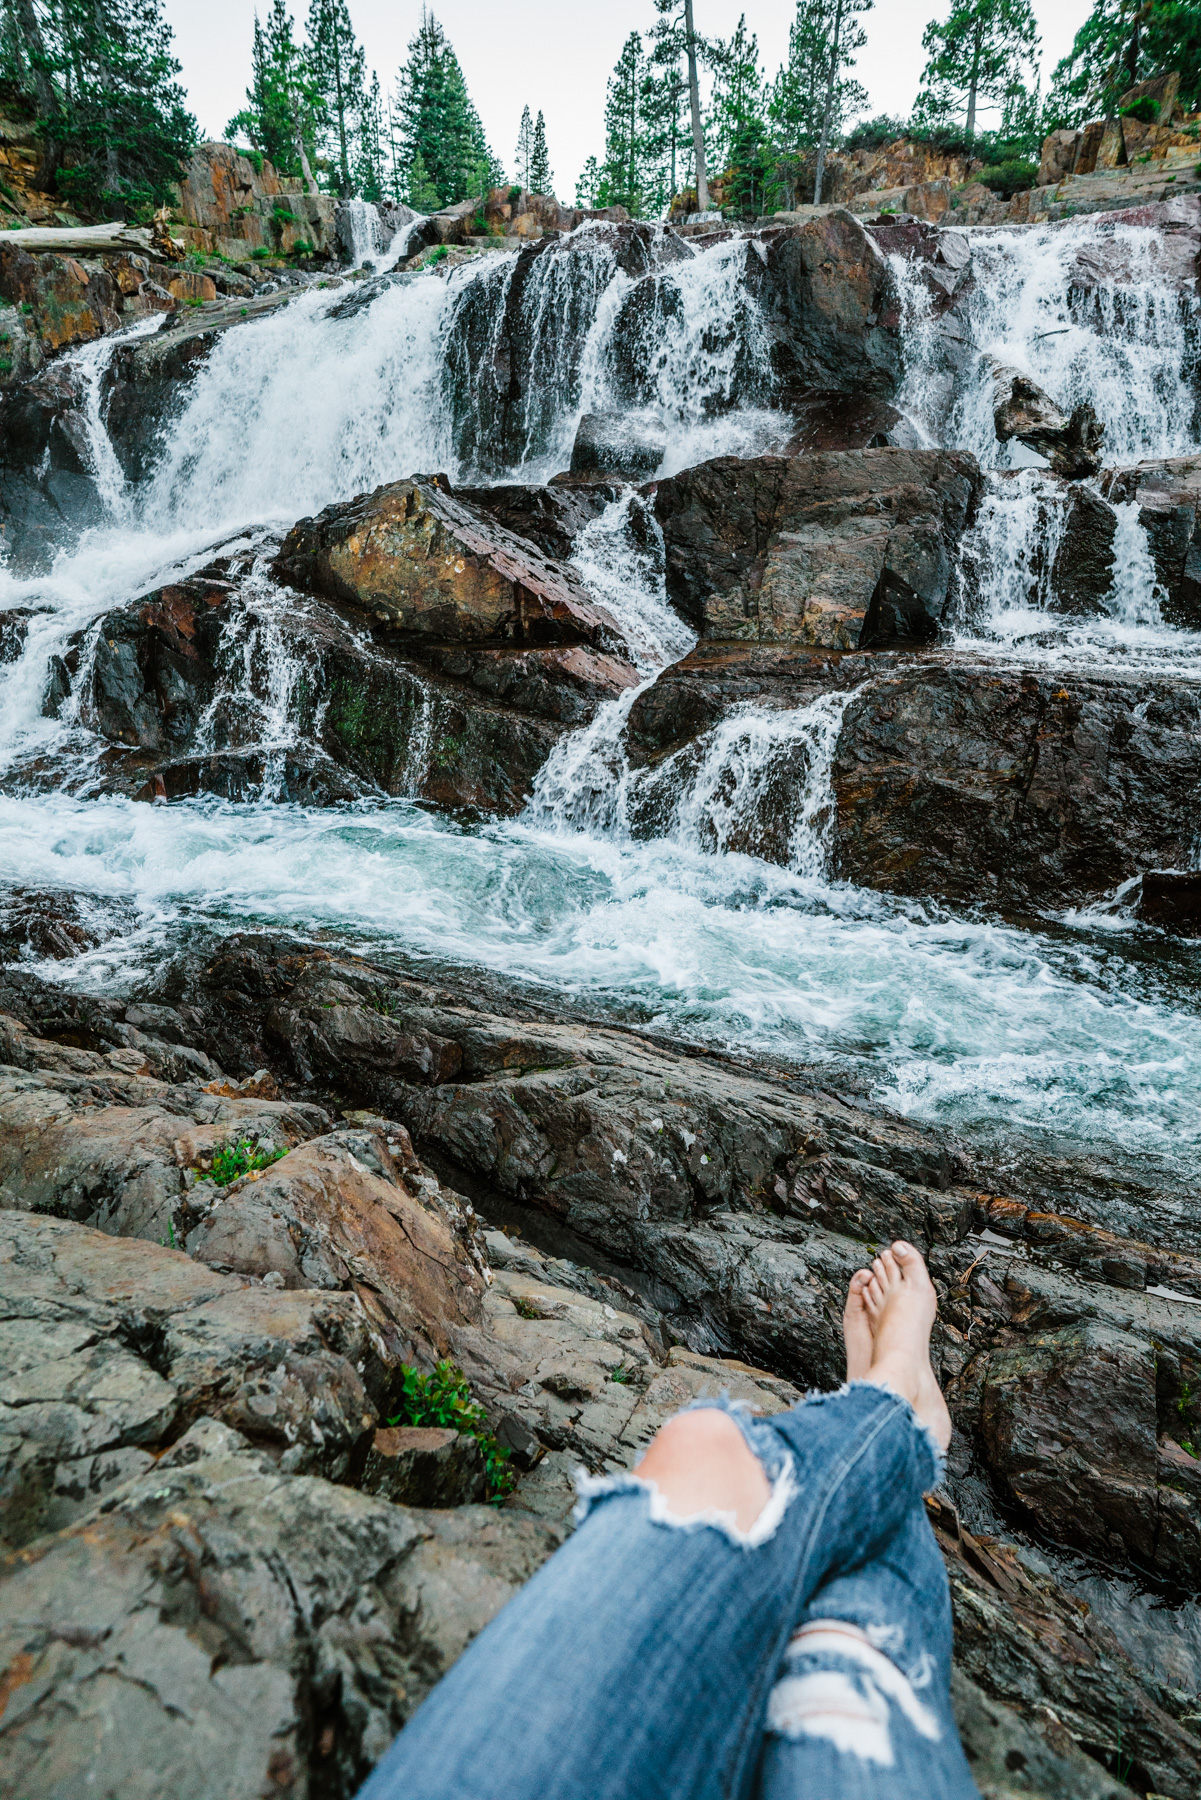
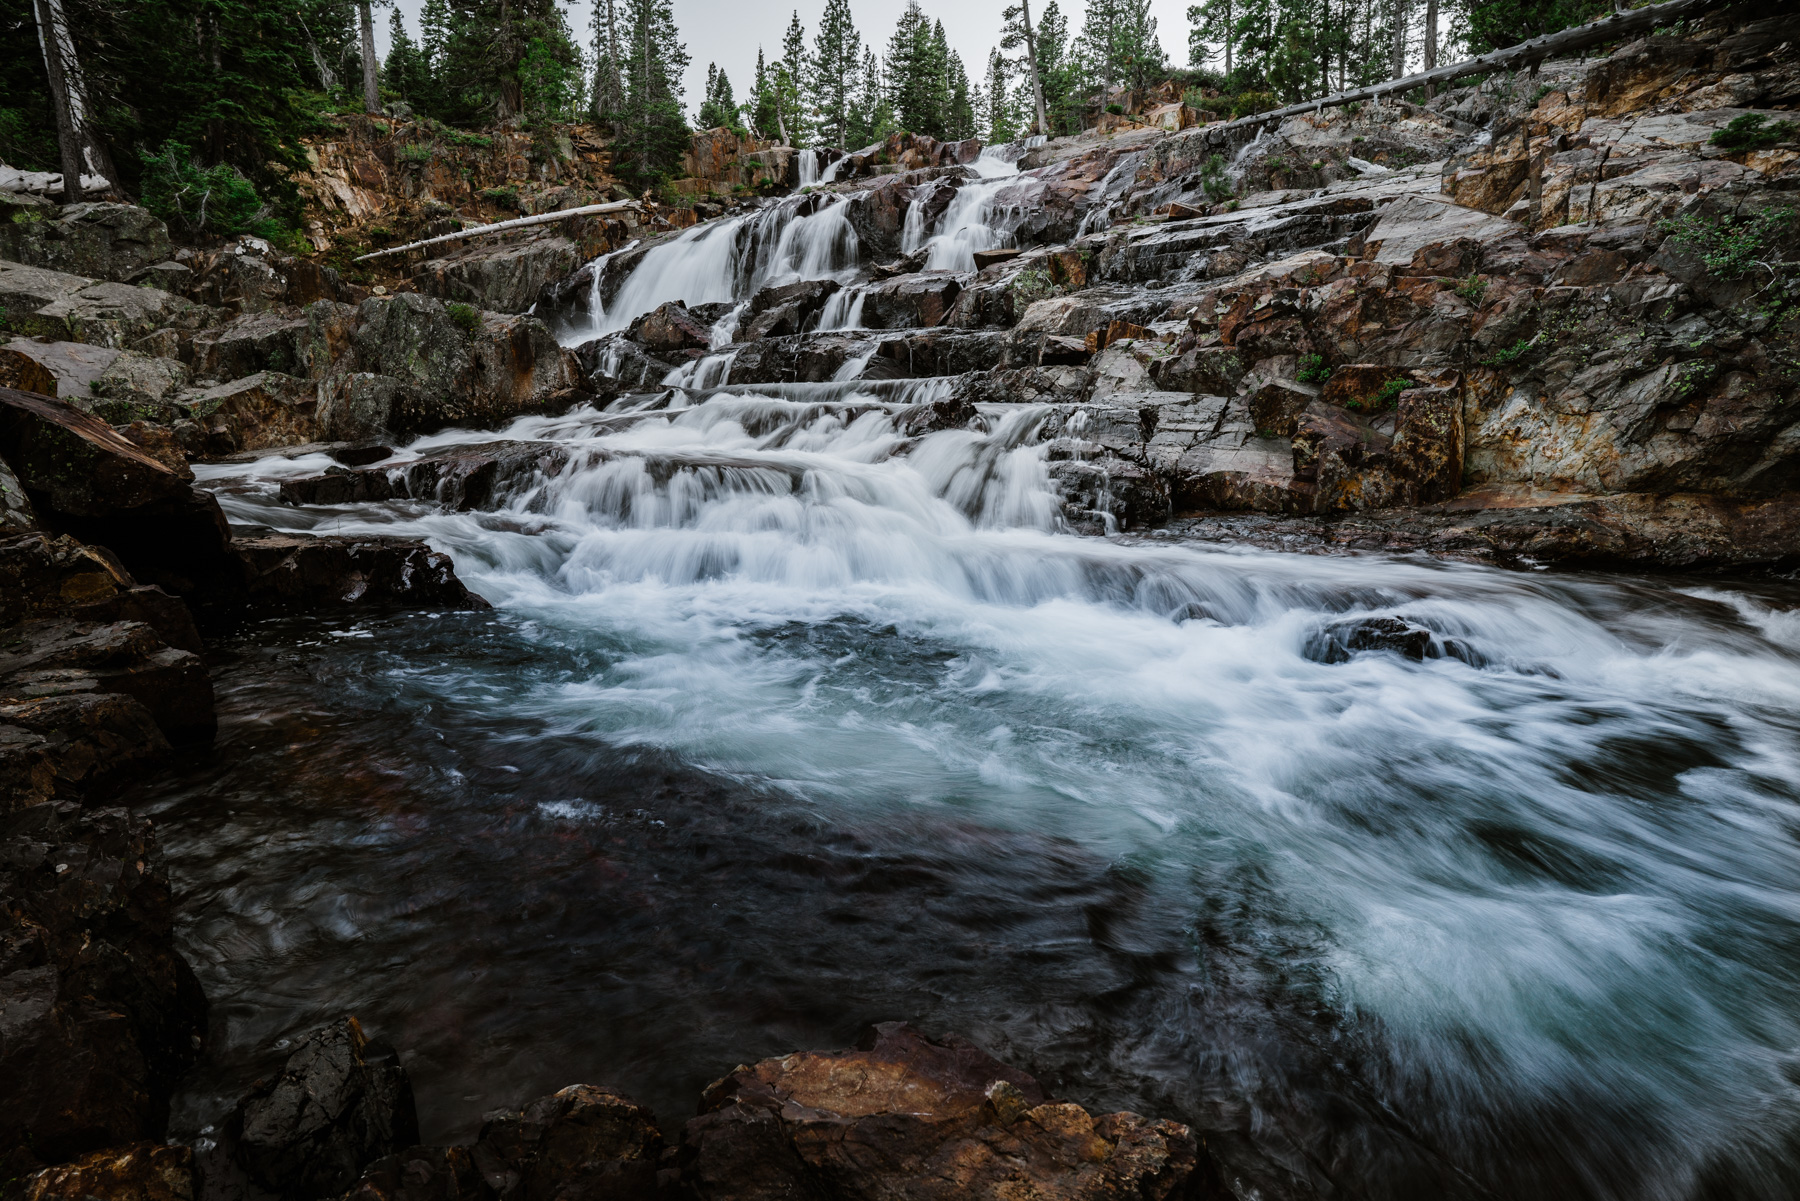
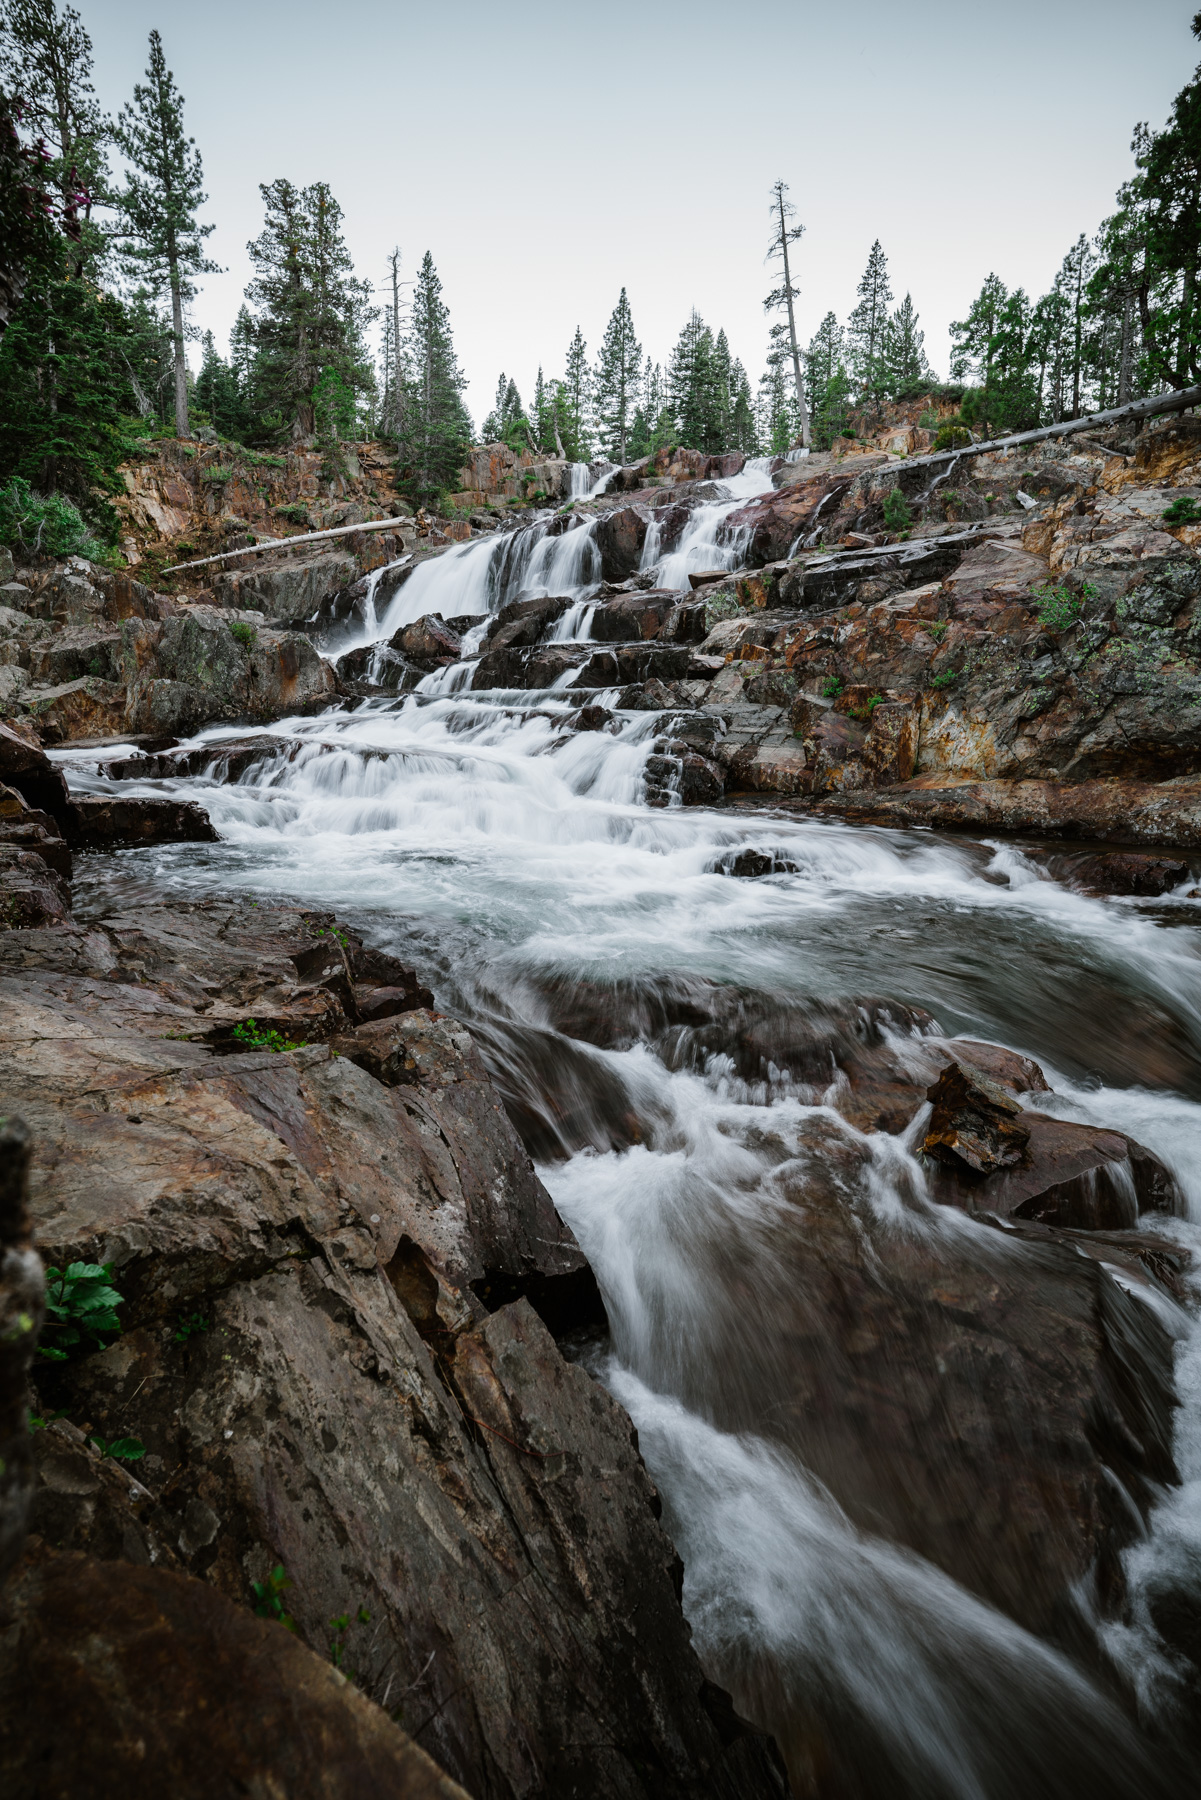
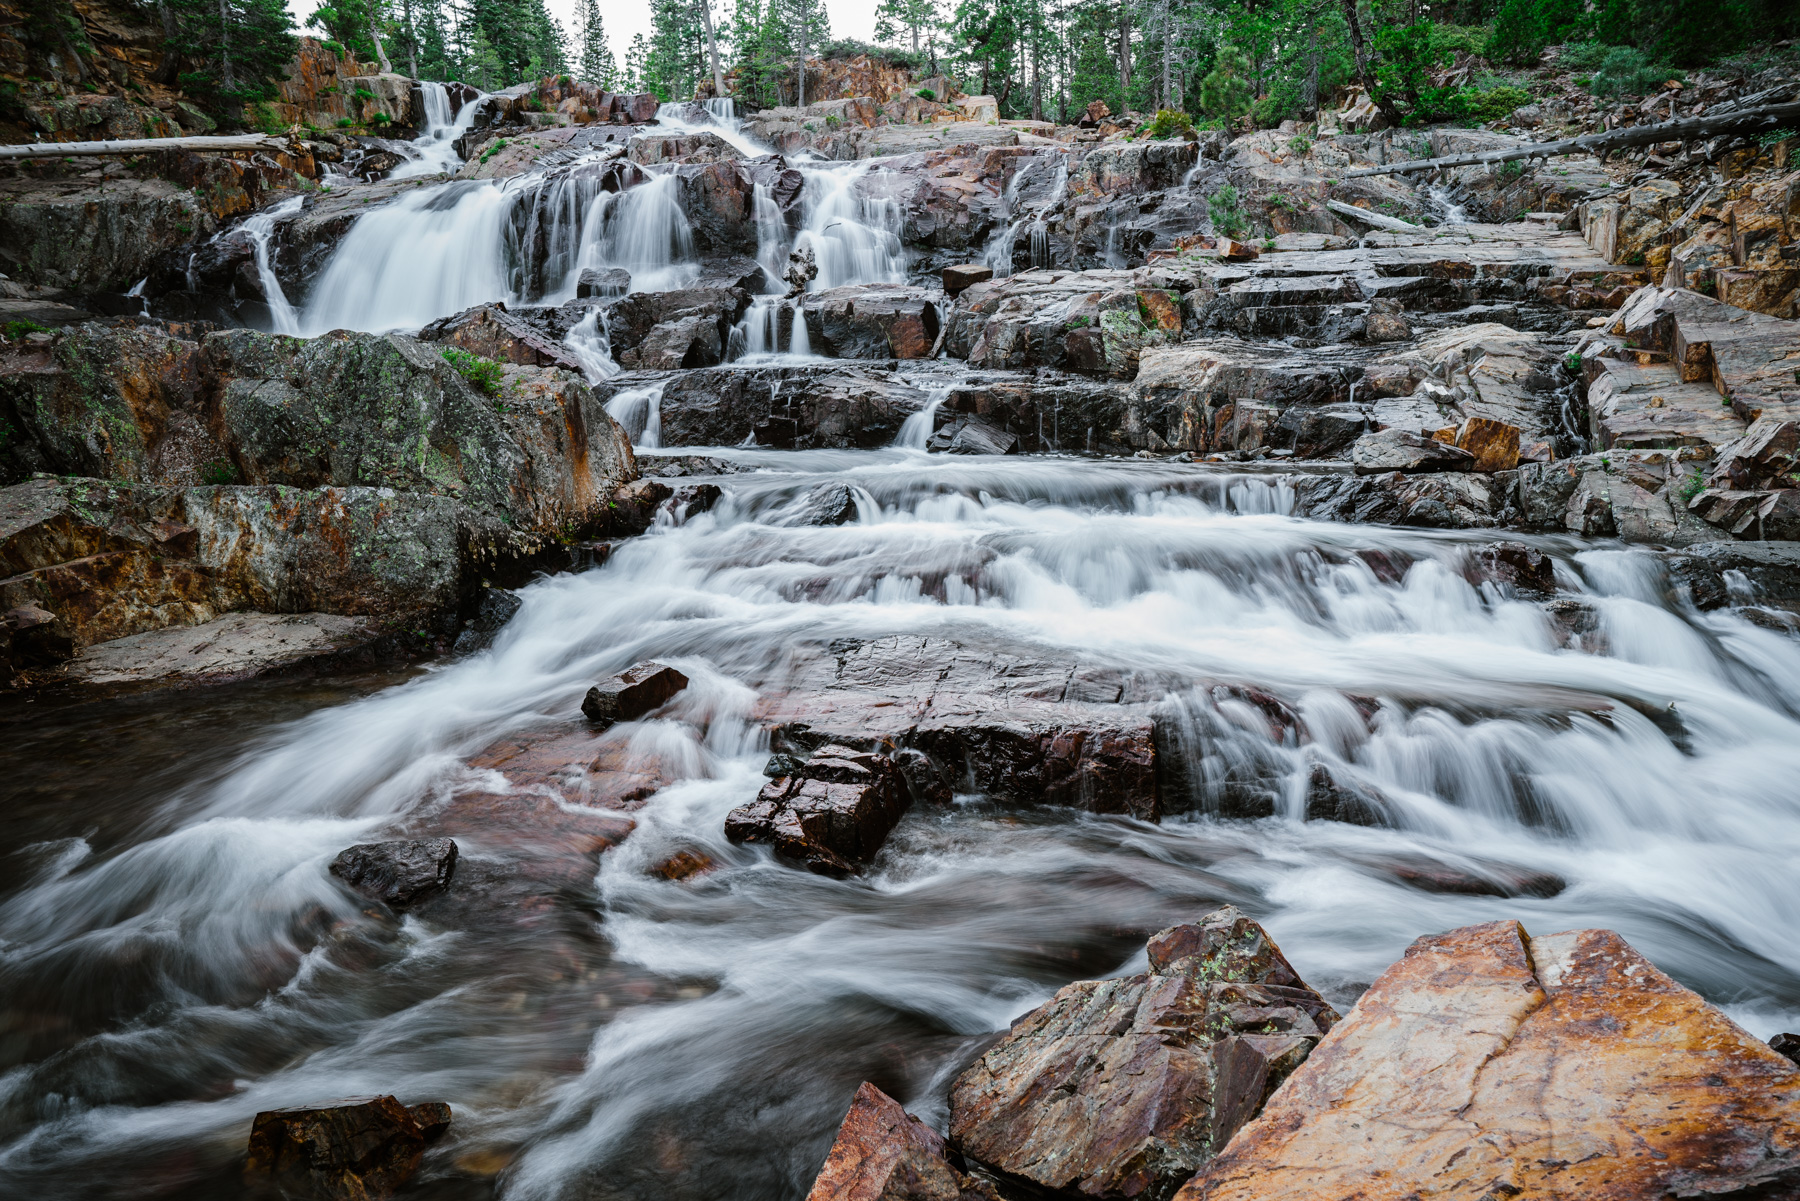
Glenn Alpine Waterfall South Lake Tahoe
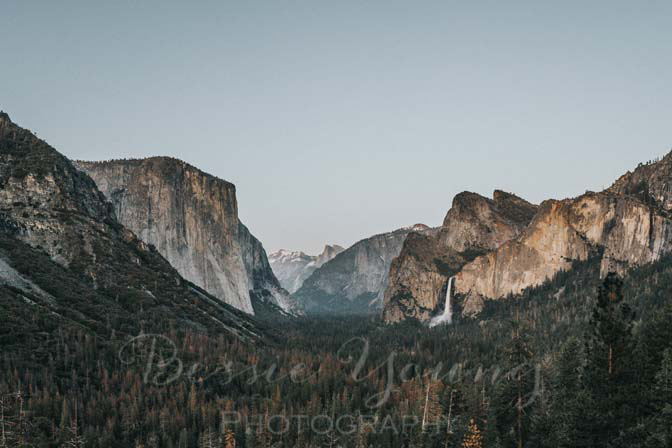
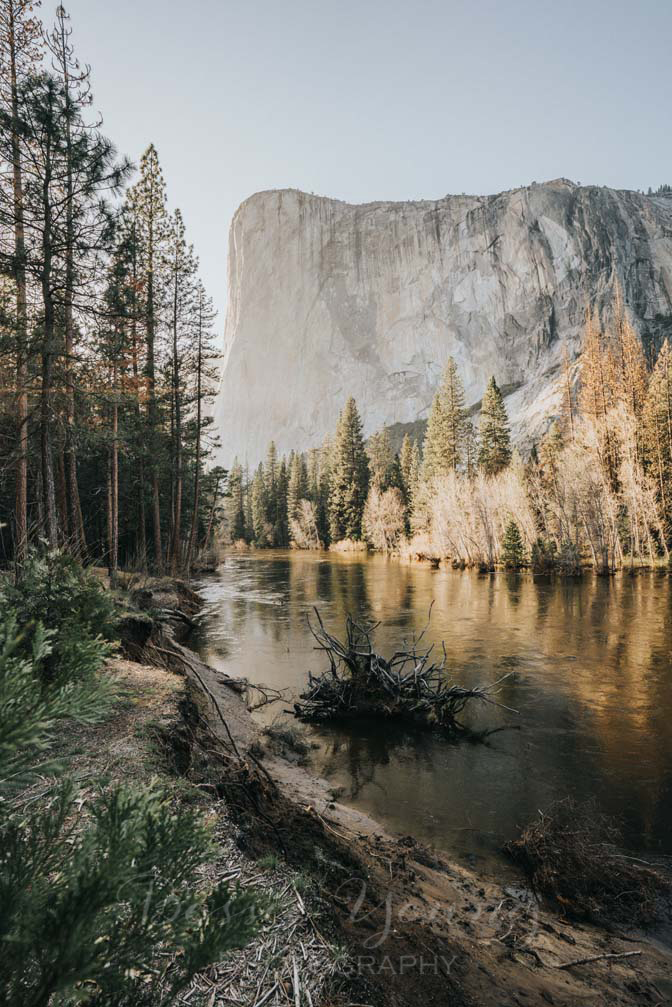
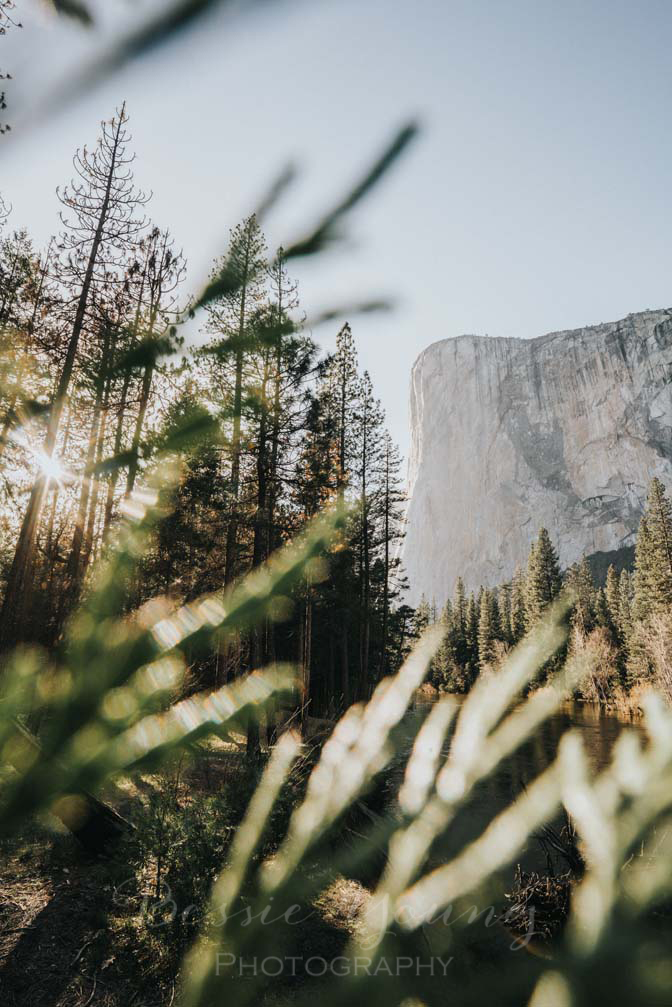
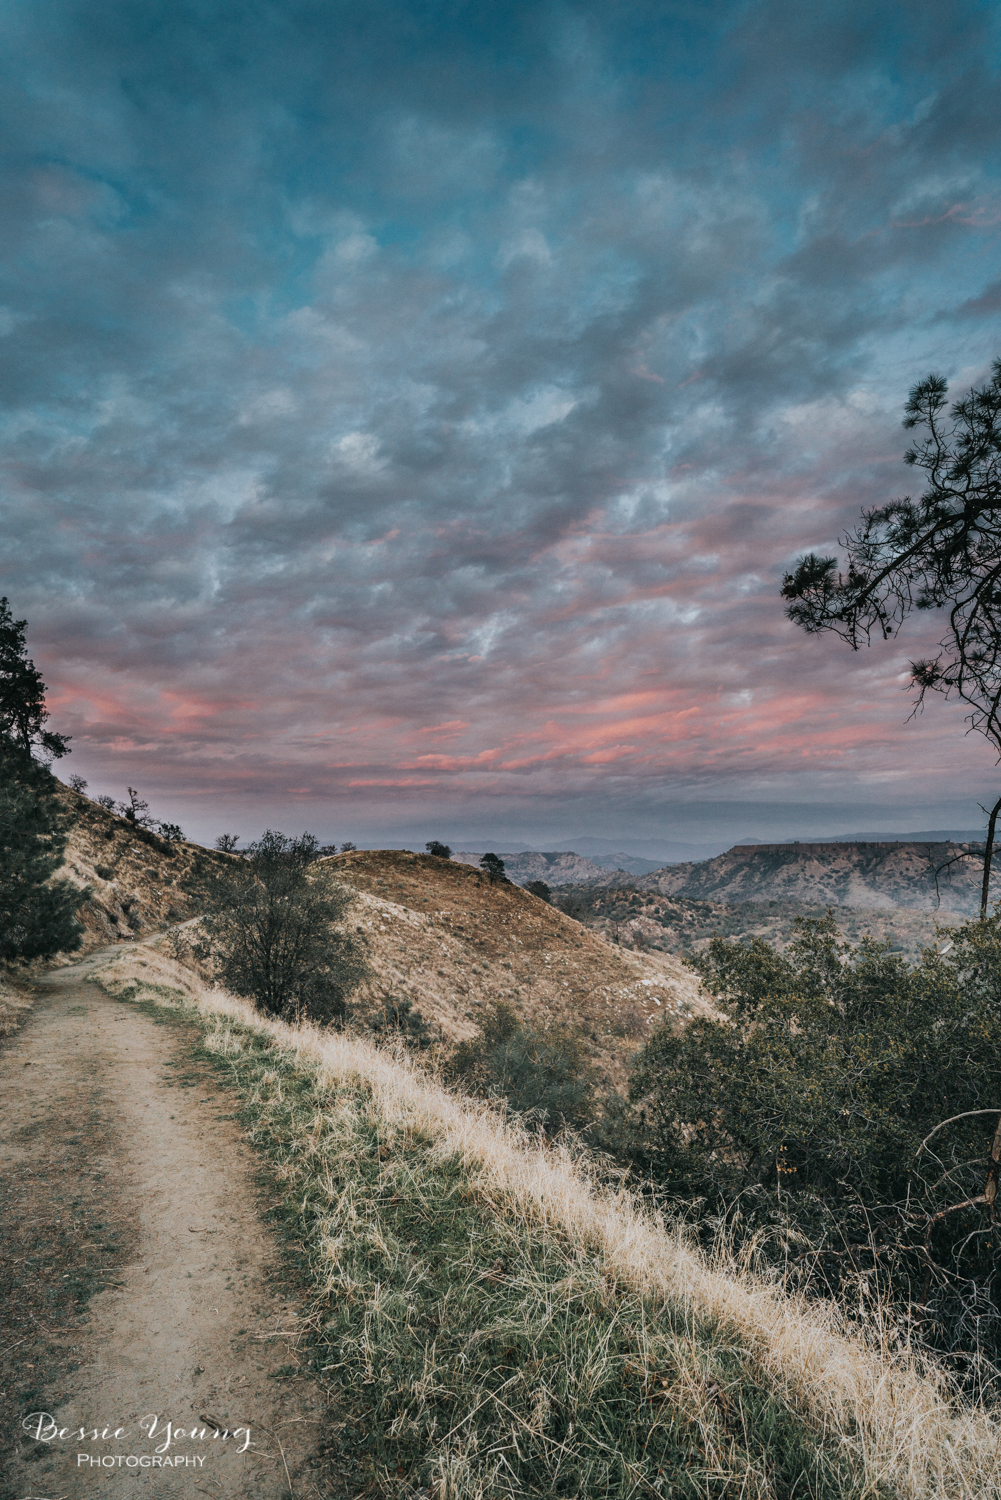
Landscape Photography
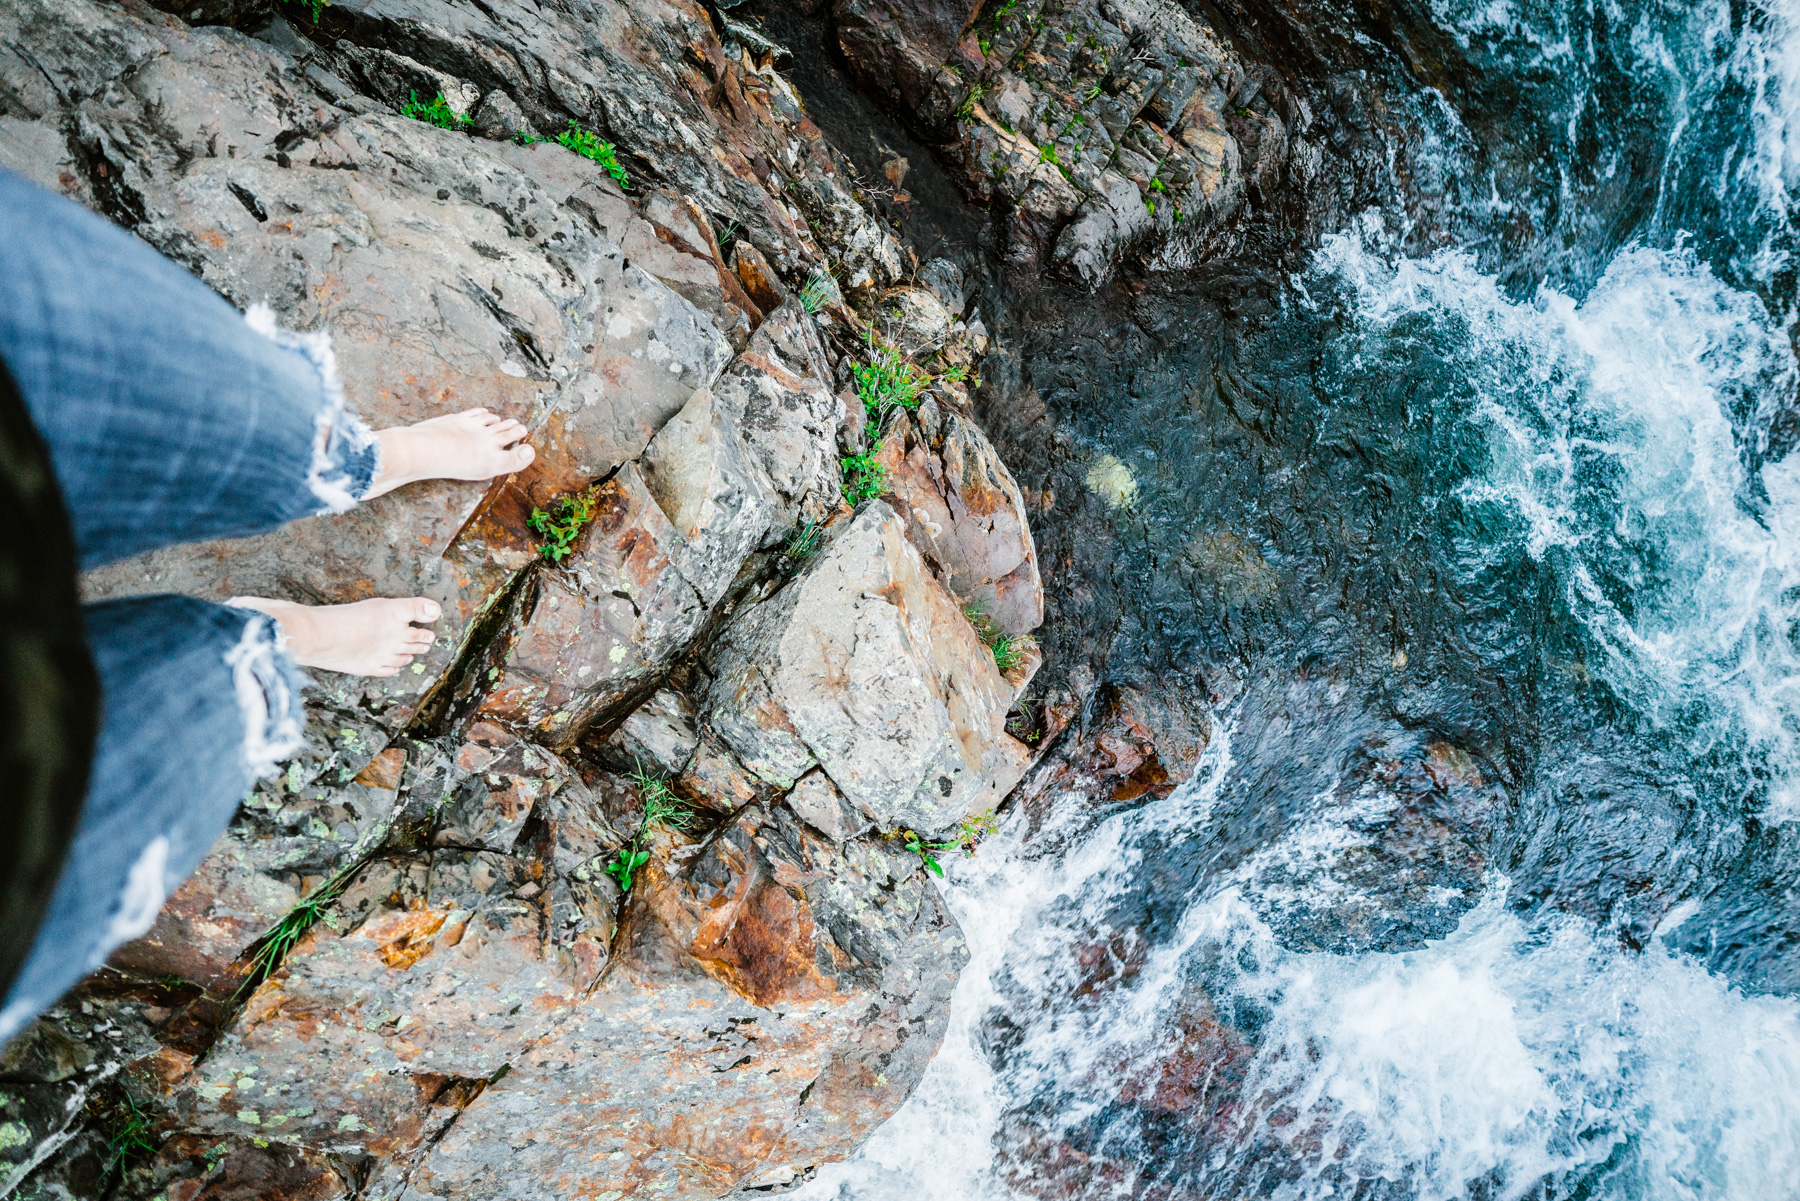
If you don't know by now, I am completely obsessed with waterfalls. I love going to new places and searching for waterfalls. They are so much fun to photograph and just amazing to be around. The rush of the river, the sound of the water, and the creative touch that you can add to each photo is beyond awesome.
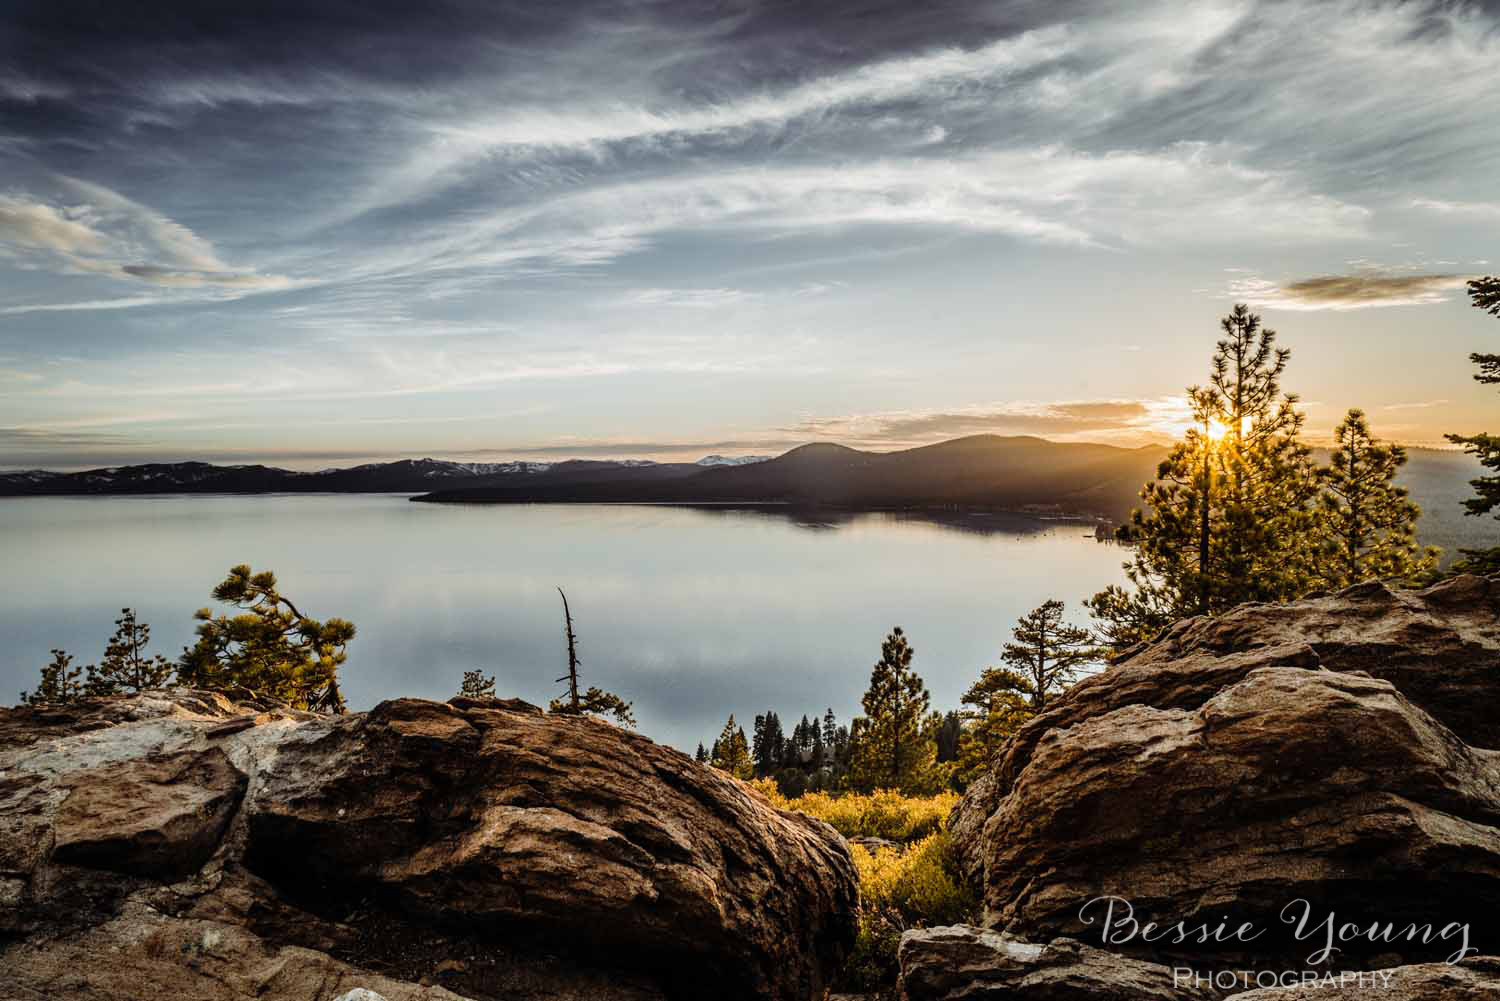
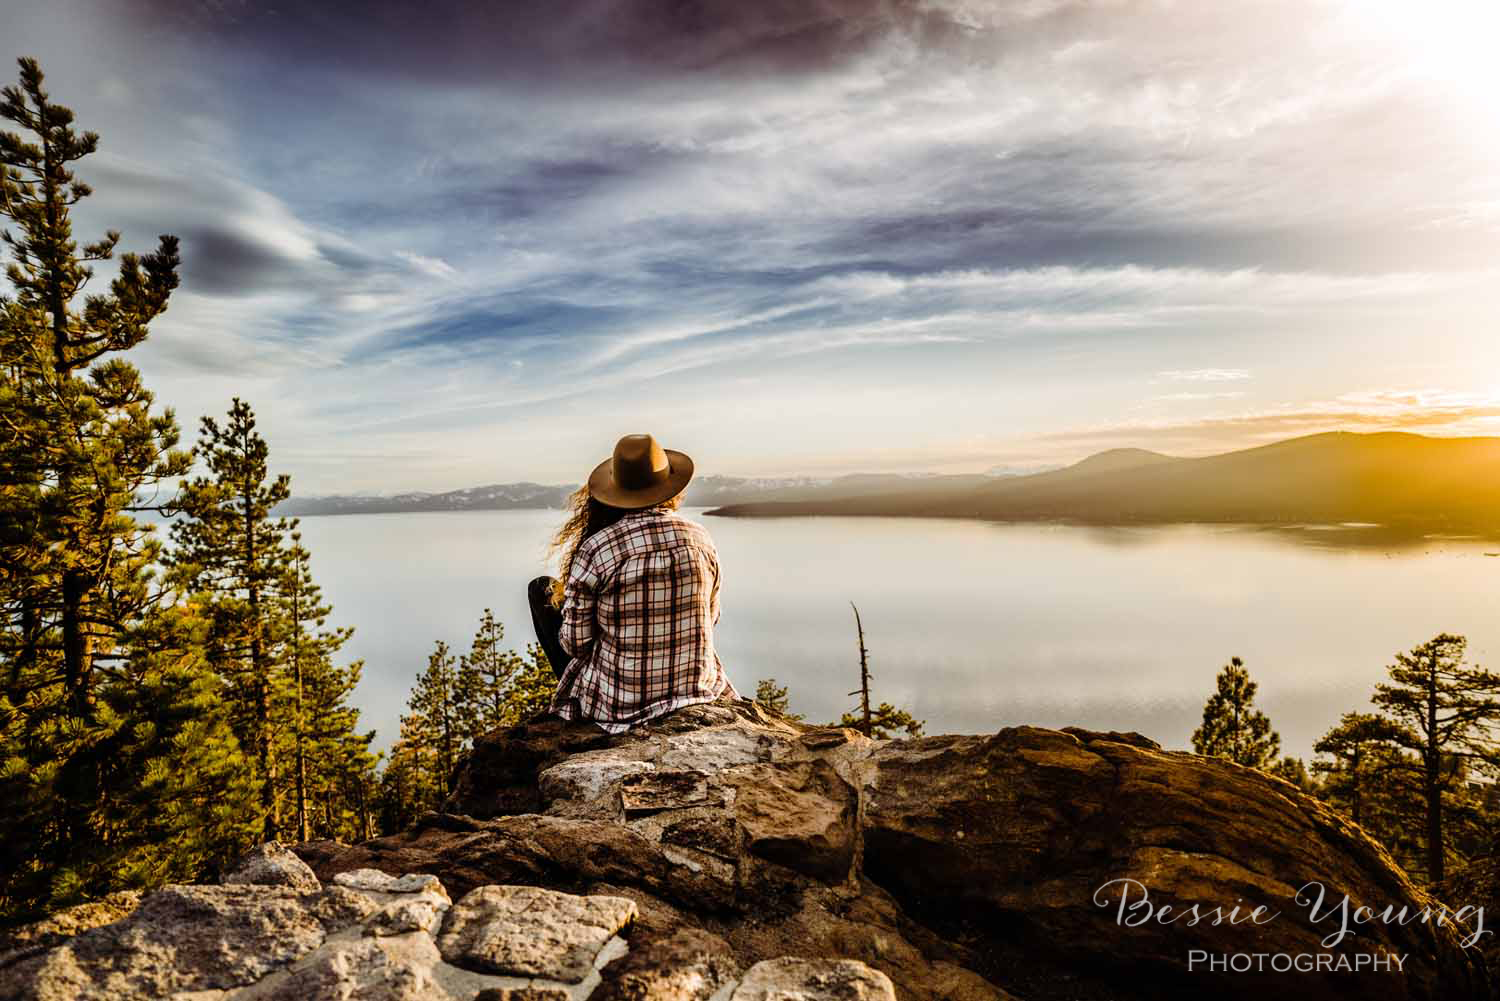
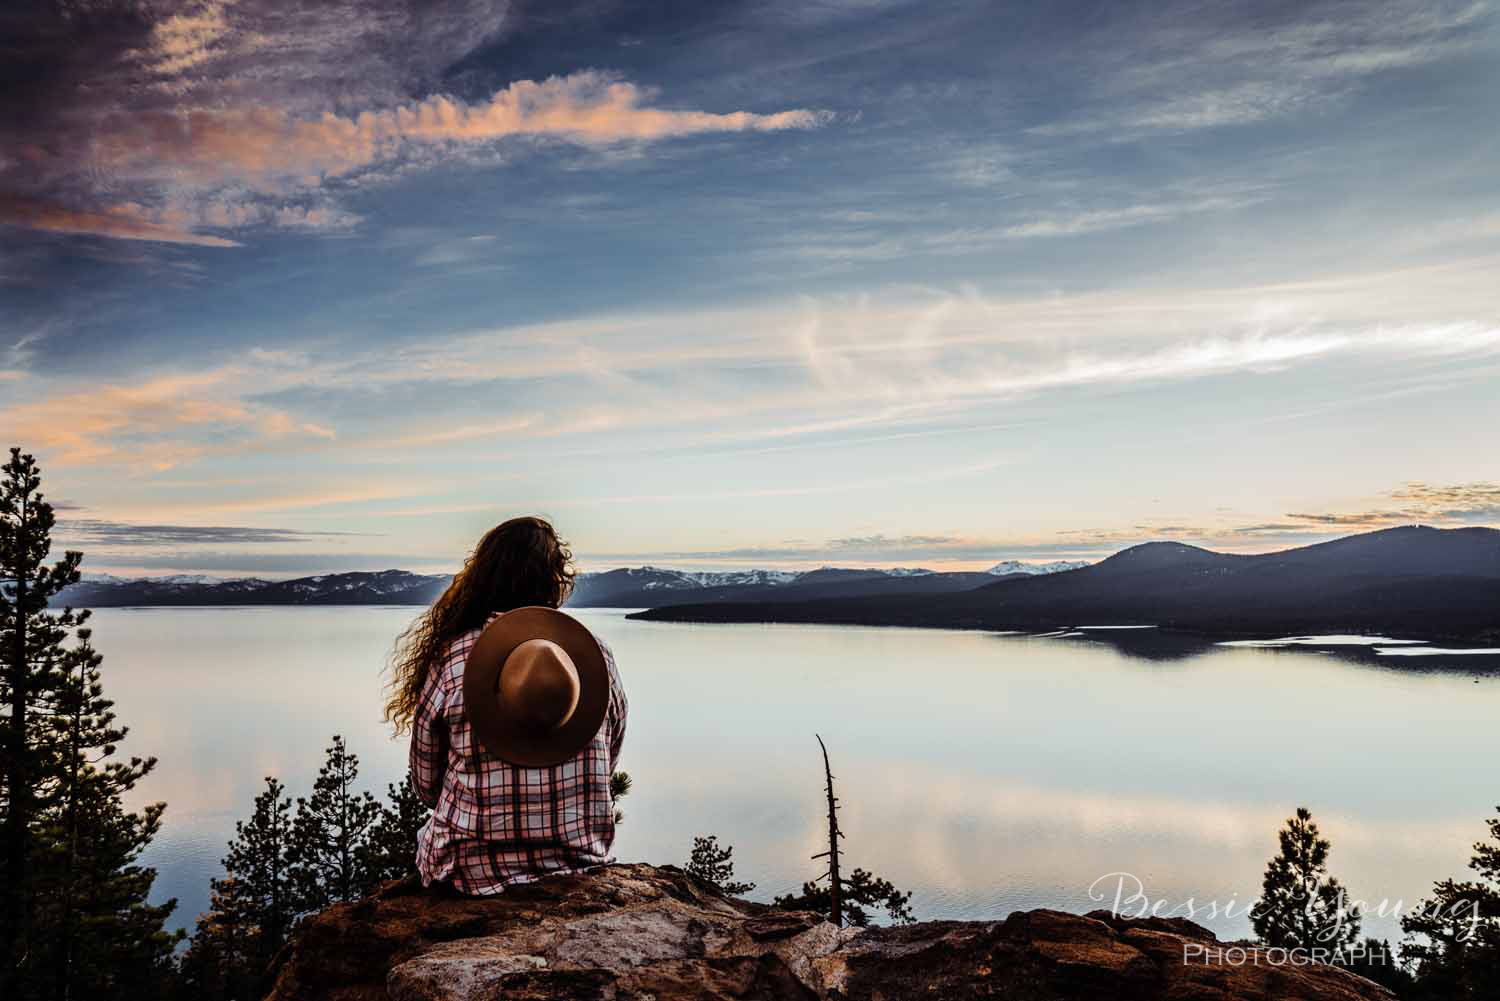
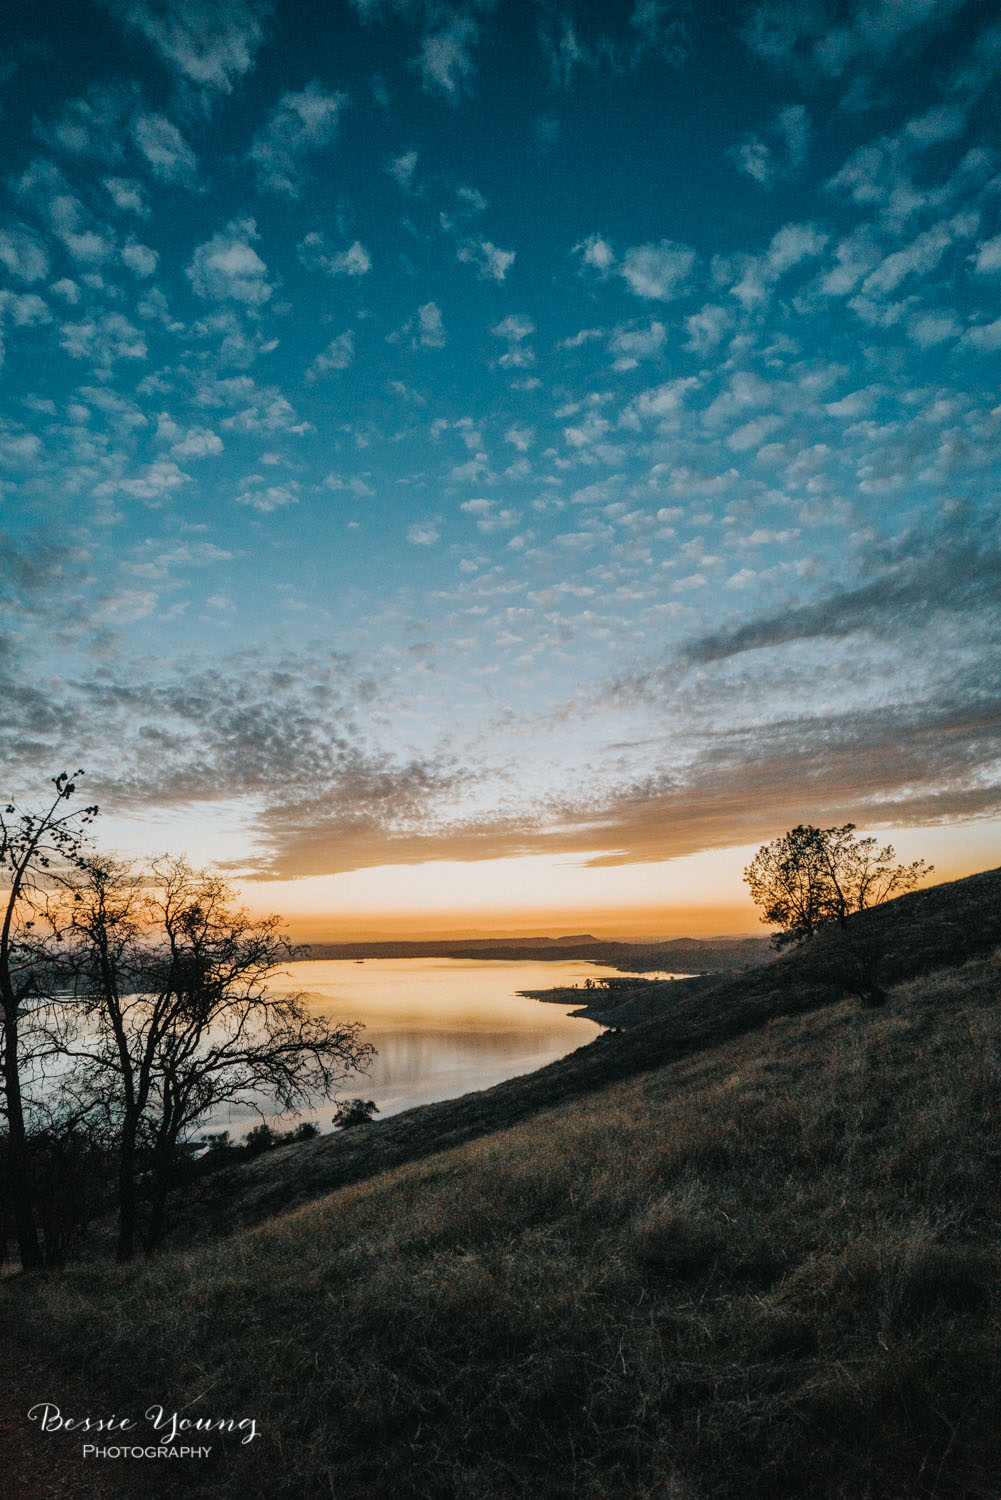
So a few weeks ago I just so happened to find myself in South Lake Tahoe for an amazing Destination wedding. You guys, it was freaking awesome! I ended up going up the night before, and like I always do, I had to get out of the hotel and find a pretty landscape image. I am always saying "take advantage of where you are".
I have been to South Lake Tahoe a bagillion times; however, I have never been to the Glenn Alpine Waterfall near Fallen Leaf Lake. To be honest I didn't even know it existed. So off I went to catch a pretty waterfall landscape photograph during sunset.
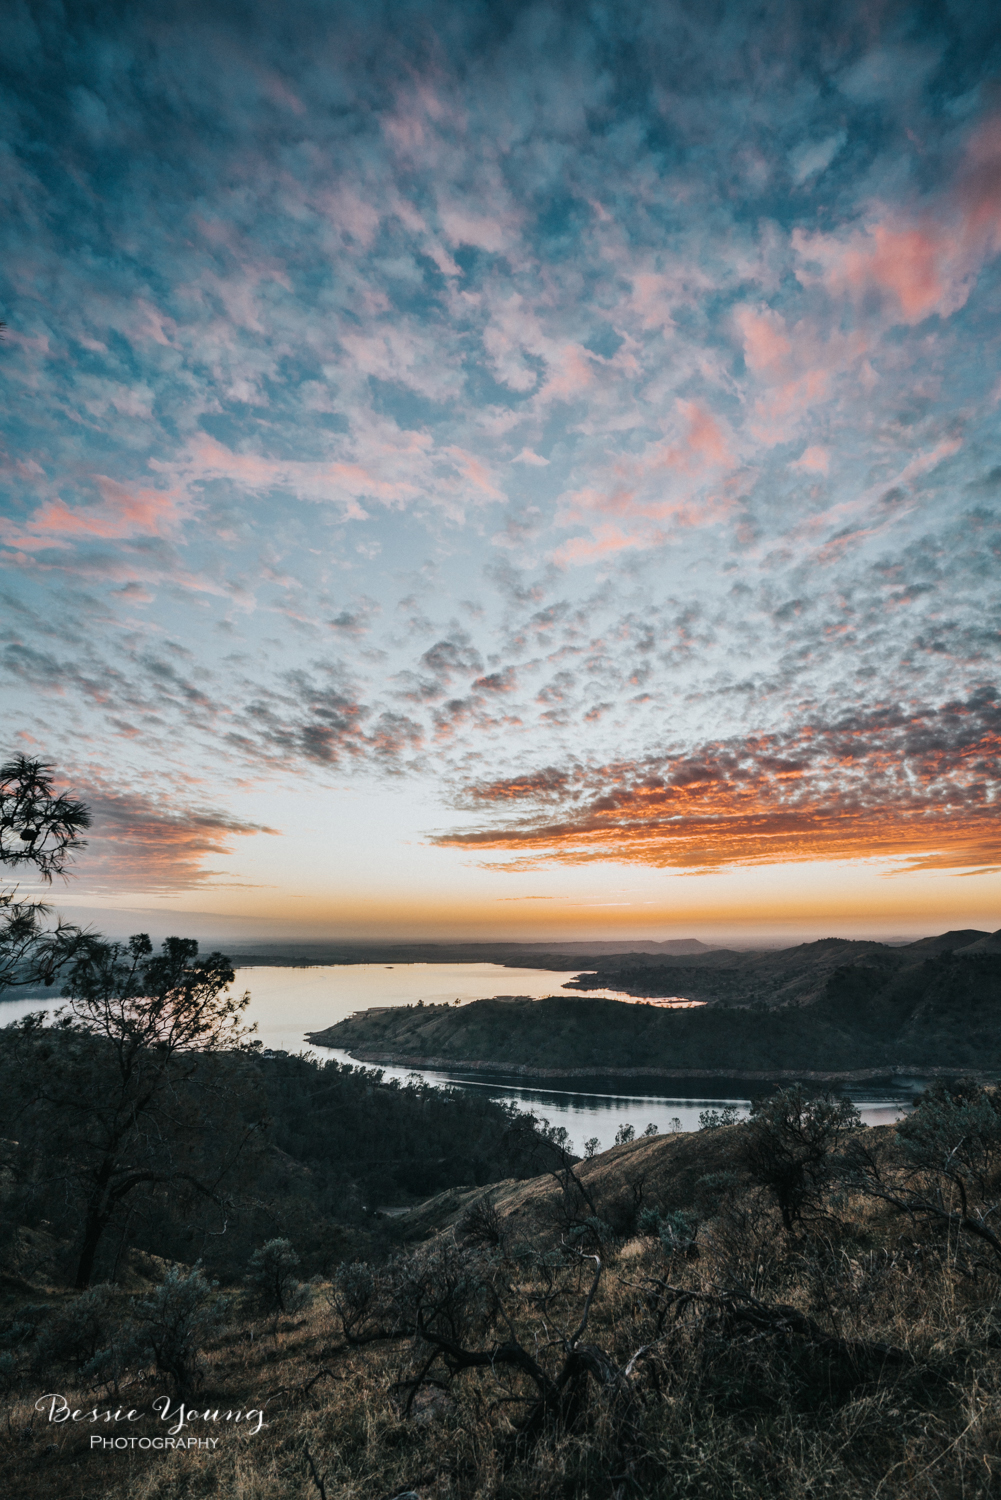
The drive took about a half our from the boarder of California and Nevada. The road was pretty much a one lane road and quite rough, but the waterfall was beyond beautiful!
Let me tell you, I could have stayed here all night just sitting by the water, but the mosquitoes were out in force. They weren't your average mosquito either. They were like pterodactyl mosquitoes. So unfotunately I had to leave before I became one big mosquito bite.

If you get a chance, make sure to stop by the Glenn Alpine Waterfall along the Glenn Alpine creek in South Lake Tahoe. It is right off the road only about 200 feet and totally worth the trip.
How to Photograph Waterfalls:
- Use a low shutter speed for smooth water
- F 6.3 - F11 for a good depth of field
- Keep your ISO low (like always)
- Shoot when there is soft light (best at sunset or sunrise)
These steps will get you a nice smooth beautiful waterfall image.
Have you ever been to Glenn Alpine Falls or are you also obsessed with shooting waterfalls? Leave me a comment. I would love to hear about your trip and see your tips for shooting wateralls :)
Wishing you nothing but the very best!
Bessie
P.s. Did you love this post? Check out these similar ones: